Elevate Your Space: A Unique Family Photo Gallery Wall Featuring Wallpaper or Wrapping Paper
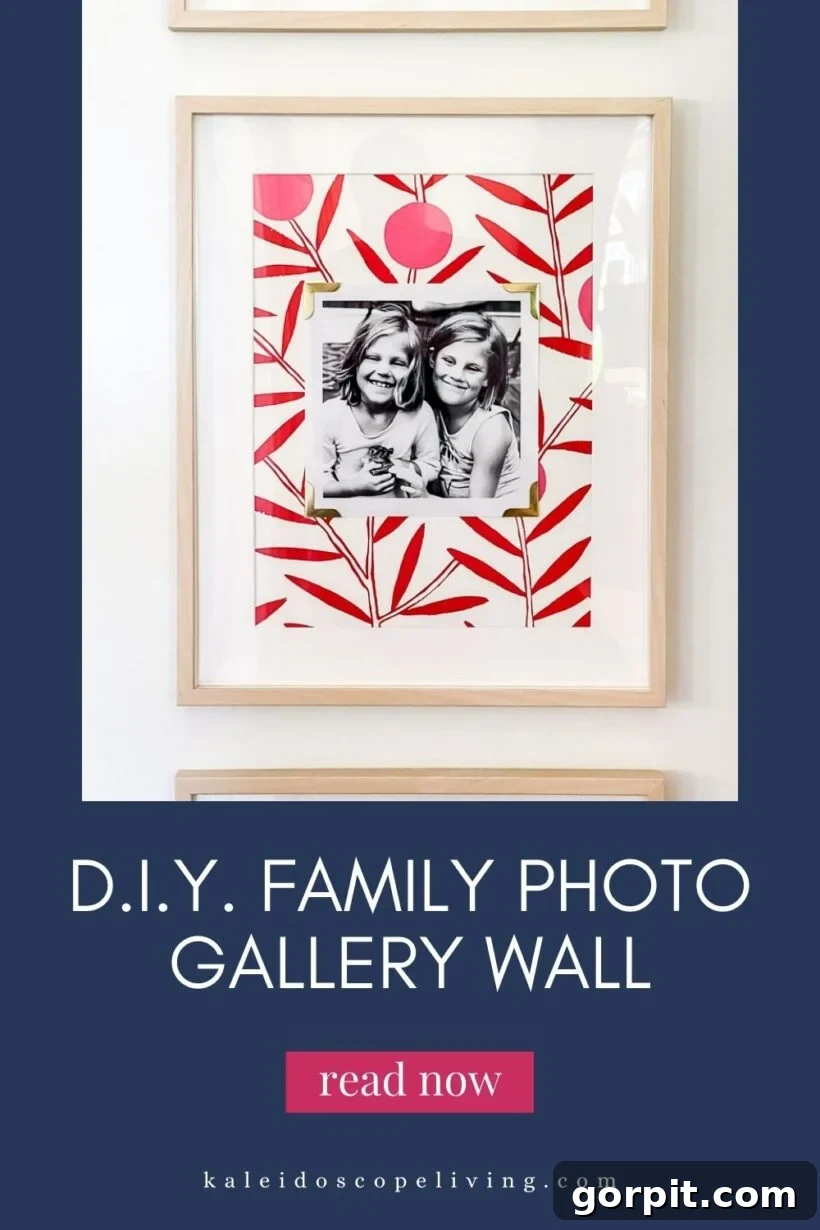
Hello, home decor enthusiasts! If you’ve been searching for an inspired and truly unique way to display your cherished family photos, you’ve landed in the perfect spot. Forget the ordinary; this tutorial will guide you through creating an eye-catching family photo gallery wall that uses wallpaper or even wrapping paper as a vibrant, personalized backdrop within each frame. It’s a method that adds unparalleled color, pattern, and interest, transforming simple photographs into curated works of art.
For those who follow my journey on social media, you might have already caught a sneak peek of this exciting project. Well, the wait is over! I’ve meticulously crafted a detailed, step-by-step guide to help you recreate this stunning look in your own home. While the process is refreshingly straightforward, some crucial details regarding supplies and photo printing can make all the difference in achieving that polished, professional finish. So, if you’re ready to dive into the specifics, read on.
I’ve always been a fervent advocate for displaying family photos prominently throughout a home. They infuse a space with warmth, personality, and a tangible sense of history. You might recall the lively gallery wall that adorned the upstairs hallway of our previous home. While I absolutely adored it, finding the perfect spot to rehang those exact frames in our current residence proved challenging. They simply didn’t complement the upstairs board and batten hallway quite as I’d hoped.
Despite this, my desire to create a dedicated space for our favorite family memories in our new home remained strong. After settling in for a while, a charming little alcove just outside our primary bedroom emerged as the ideal candidate. This particular area had always felt a bit stark, desperately needing a touch of color and visual interest. Integrating this unique family photo gallery wall here perfectly addressed both needs simultaneously – a truly satisfying outcome when design solutions align so beautifully.
This project is more than just hanging pictures; it’s about creating a focal point, a conversation starter, and a deeply personal expression of your family’s story. By incorporating wallpaper or even budget-friendly wrapping paper, you introduce a layer of sophisticated design that elevates the entire display beyond a traditional photo arrangement. It’s an ingenious way to add a custom, high-end look without a designer price tag, making it an excellent DIY home decor project for anyone looking to personalize their living space with flair and creativity.
How to Create a Stunning Family Photo Gallery Wall with Wallpaper Accents
Essential Materials for Your Unique Photo Gallery Wall:
Gathering the right materials is the first step towards a successful and beautiful family photo gallery wall. Here’s a detailed list of what you’ll need, along with tips for selection:
- 16 x 20-inch Frames: I highly recommend these inexpensive frames from IKEA. They offer excellent value, a clean aesthetic, and often come with a mat, which is essential for this project. Their simplicity allows the photos and wallpaper to truly shine. Consider frames with a wider mat opening if you want more of the wallpaper background to show.
- Gold Photo Corners: These small details make a huge impact, adding a vintage touch and a polished finish. While I found my exact set at Hobby Lobby, there are numerous options available online and at craft stores. Look for self-adhesive ones for ease, or be prepared to use a tiny bit of tape or glue if they are purely decorative.
- Wallpaper or Wrapping Paper: This is where your personality comes in! The exact wallpaper I used comes in several charming colorways, and a single roll goes a long way. For an even more budget-friendly approach, high-quality wrapping paper can be an amazing substitute. Choose a pattern and color that complements your home’s existing decor and doesn’t overwhelm your photos. Think subtle patterns, geometric designs, or even a textured solid color.
- Hot Glue Gun (with glue sticks): Essential for securely attaching your photos to the wallpaper background, especially if your photo corners aren’t adhesive. A small bead of hot glue in each corner will do the trick without damaging the photo.
- 8 x 8-inch Black and White Photos: I specifically recommend having your photos printed by Shutterfly with a matte finish. Crucially, ensure they have a **0.4-inch white border** around them. This border is key to making your black and white photos pop against the patterned wallpaper, preventing them from blending in and creating a sophisticated, layered look.
- Painter’s Tape or Double-Sided Tape: Useful for temporarily securing wallpaper to the mat and for securing photo corners that lack adhesive. Painter’s tape is gentle and won’t damage surfaces.
- Laser Level: (This is the one we have and love) A laser level is invaluable for ensuring your frames are perfectly aligned and spaced evenly on the wall, giving your gallery a professional and cohesive appearance. It’s a small investment that pays off in big aesthetic dividends.
- Craft Knife or Scissors: For precise cutting of the wallpaper or wrapping paper to fit your frames’ mats.
- Ruler or Measuring Tape: Accuracy is important for both cutting wallpaper and positioning photos within the frame.
To spark your inspiration, I’ve curated a selection of wallpaper and wrapping paper options that I believe would beautifully enhance this project. When making your choice, consider the overall palette of your room, the mood you want to create, and how busy the pattern is. A subtle pattern might be best if your photos are very detailed, while a bolder print can make a statement with simpler images. Think about texture too – some wallpapers offer tactile interest that can add another dimension to your display.
Explore various patterns and colors to find the perfect backdrop for your cherished memories.
Wallpaper Options to Consider
When selecting wallpaper, look for patterns that complement your interior design style. Floral designs can add a touch of whimsy or elegance, geometric patterns offer modern sophistication, and subtle textures can provide depth without distraction. Removable wallpaper is also a fantastic option, offering flexibility if you like to change your decor frequently.
Budget-Friendly Wrapping Paper Ideas
Wrapping paper is a surprisingly versatile and affordable alternative. High-quality wrapping paper with unique designs, metallic accents, or even custom prints can create a truly distinctive look. Just ensure it’s thick enough to prevent any show-through from the mat board.
For a comprehensive visual guide to the project, I highly recommend watching the short video overview before delving into the detailed written tutorial below. It offers a fantastic summary and helps visualize each step.
Step-by-Step Guide to Assembling Your Custom Photo Gallery Wall:
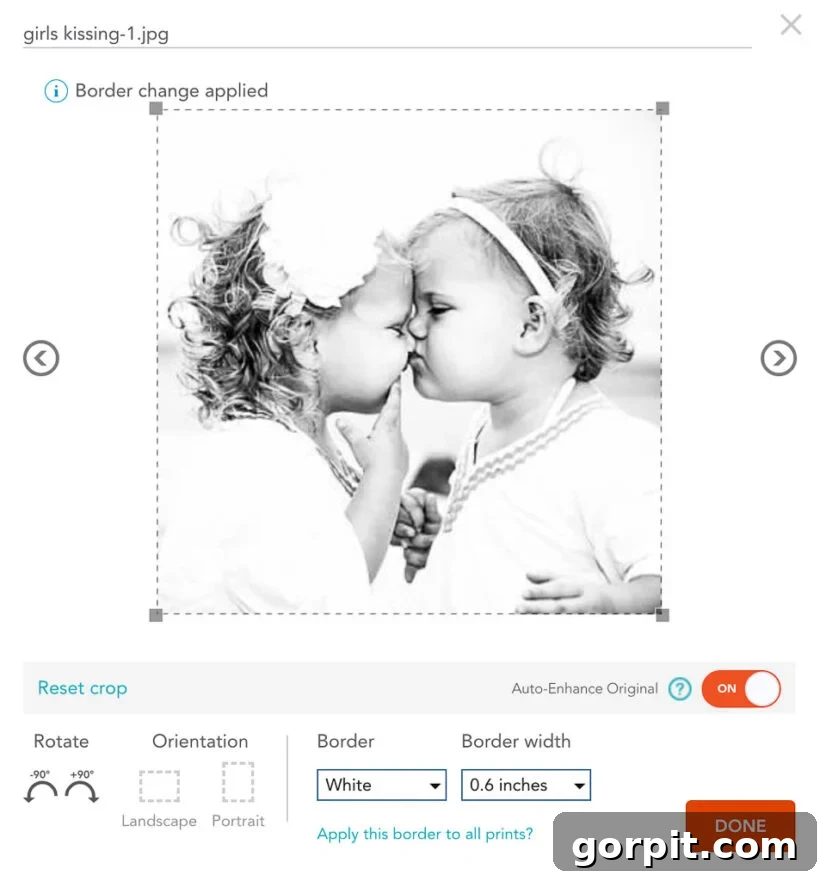
Before we jump into the assembly, a quick but crucial note on photo printing. I cannot emphasize enough the importance of having your photos printed by Shutterfly in black and white with a matte finish. The matte finish reduces glare and gives a sophisticated, art-like quality. Most importantly, ensure you select the option for a 0.4-inch white border around each photo. This deliberate white border creates a visual separation, allowing your photograph to truly stand out against the busy or patterned wallpaper background you choose. Without it, the image might get lost. You can easily select this white border option by clicking the edit button (usually a pencil icon) on your photo within Shutterfly’s interface, then navigating to the border options. I found the 0.4-inch thickness to be perfect, offering just enough contrast without being overwhelming.
Step 1: Prepare Your Wallpaper Backgrounds
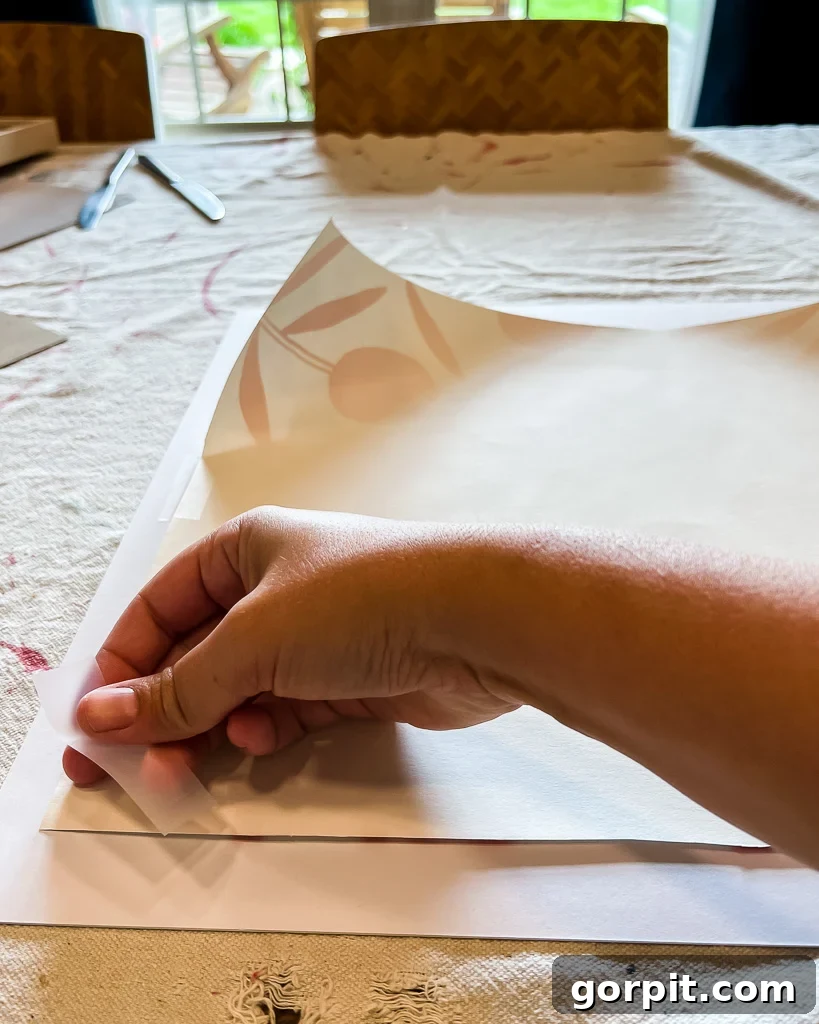
Begin by carefully cutting your chosen wallpaper or wrapping paper to fit precisely behind the mats that came with your frames. The goal is for the wallpaper to completely fill the space visible through the mat opening. Take your time with this step, especially if your paper has a repeating pattern that you might want to align. Once cut, gently tape the wallpaper to the back of your photo mats. Use painter’s tape or double-sided tape around the edges to secure it smoothly and prevent any buckling, ensuring a pristine backdrop for your photographs.
Step 2: Adorn Your Photos with Gold Corners
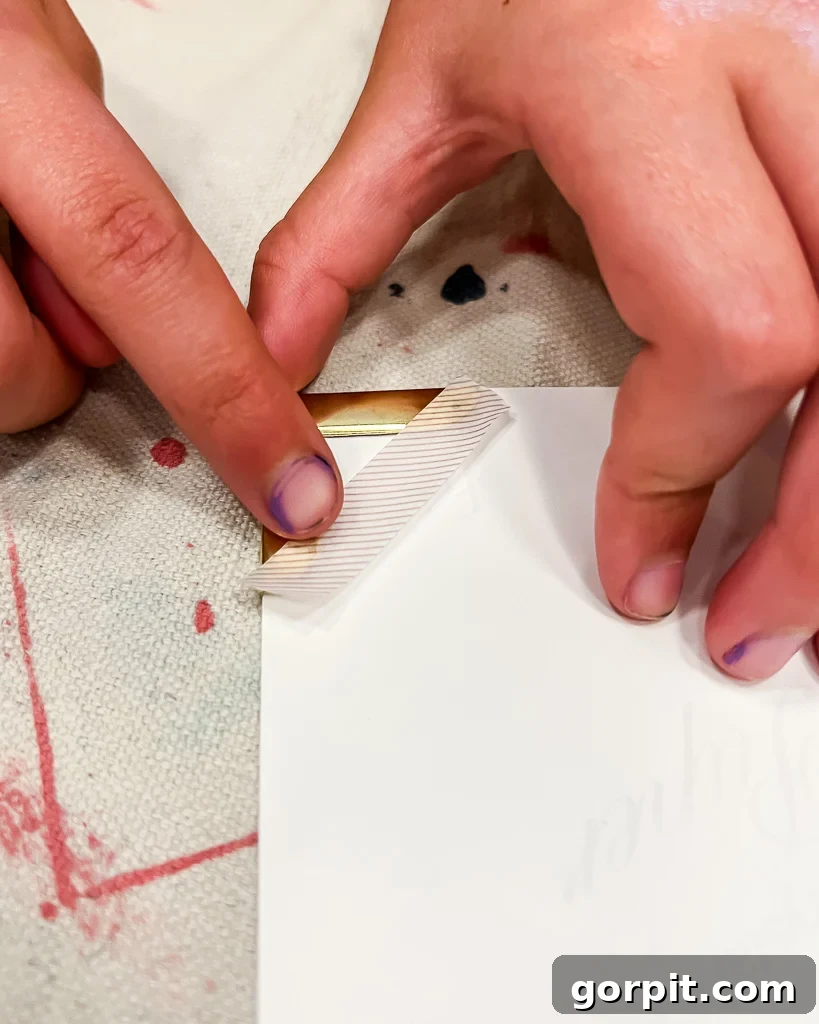
Next, attach the elegant gold photo corners to your printed photographs. The gold accents contribute significantly to the project’s elevated aesthetic. In my case, the photo corners I used didn’t come with adhesive, so I used small pieces of tape on the back of the photos to secure the corners. If your corners are self-adhesive, simply peel and stick. Ensure they are aligned neatly at each corner for a professional look. This step truly frames your photo within the photo, adding a beautiful, timeless detail.
Step 3: Precise Photo Placement within the Mat
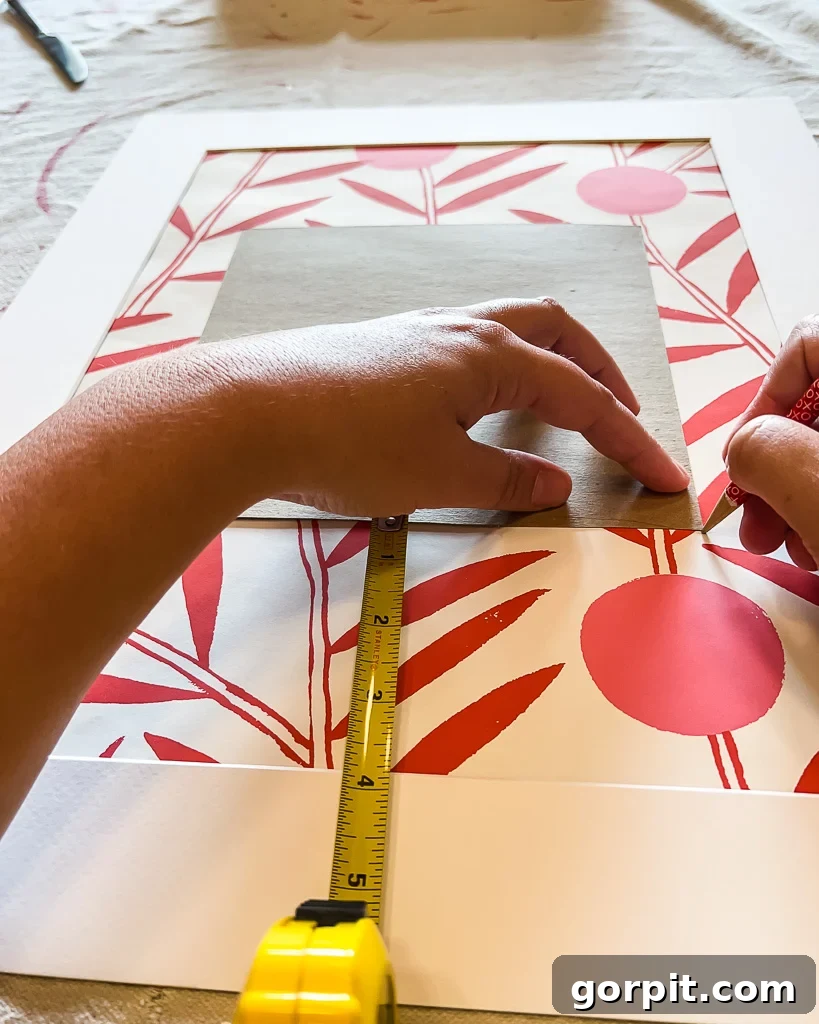
With your wallpaper background set and photo corners in place, it’s time to position your photos. Carefully measure and mark where you want to place each photo on the wallpaper-covered mat. I opted for a perfectly centered placement within the mat opening, which provides a balanced and classic presentation. Use a ruler and a light pencil mark to ensure accuracy. This precision helps in creating a cohesive and artful display across all your frames.
Step 4: Secure Your Photos to the Wallpaper
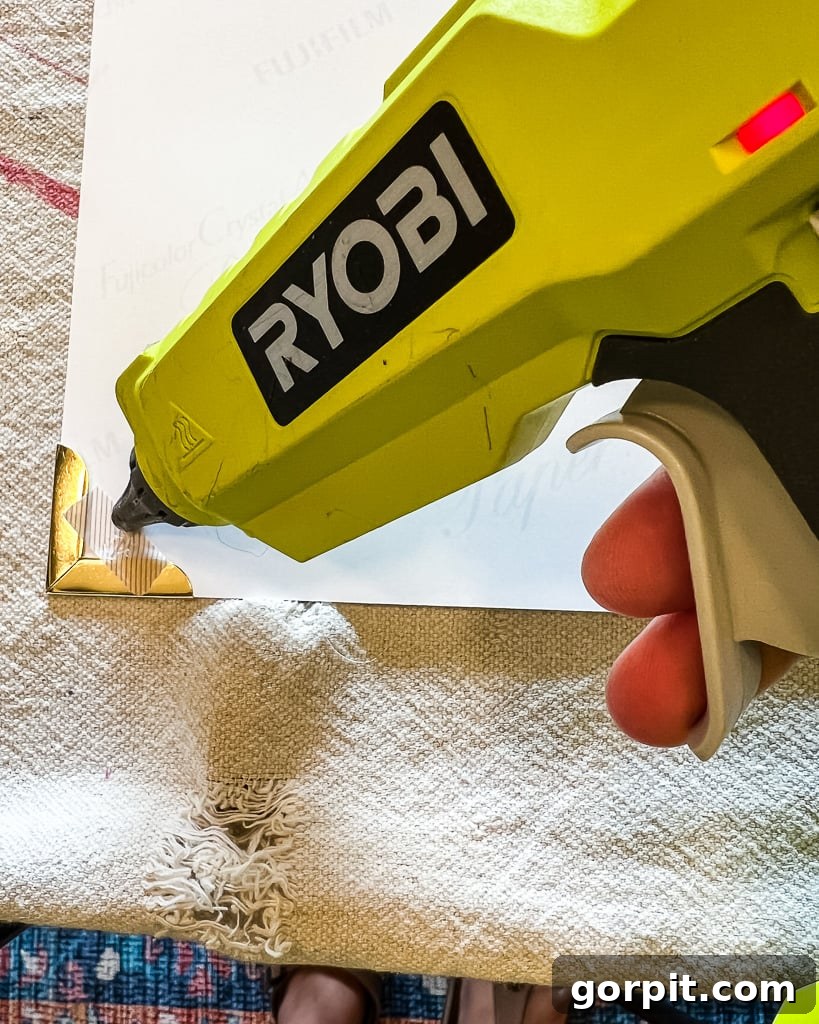
Now, using your hot glue gun, apply a small dab of glue to the four corners on the back of each photo, directly over the secured photo corners. Carefully align the photo with your pencil marks and press it firmly onto the wallpaper background. Hold for a few seconds to allow the glue to set. The hot glue provides a strong, quick bond without causing wrinkles or damage to the photo. If you’re hesitant about hot glue, archival-quality double-sided tape could also work, but hot glue offers immediate adhesion and strength.
Step 5: Frame and Hang Your Masterpieces
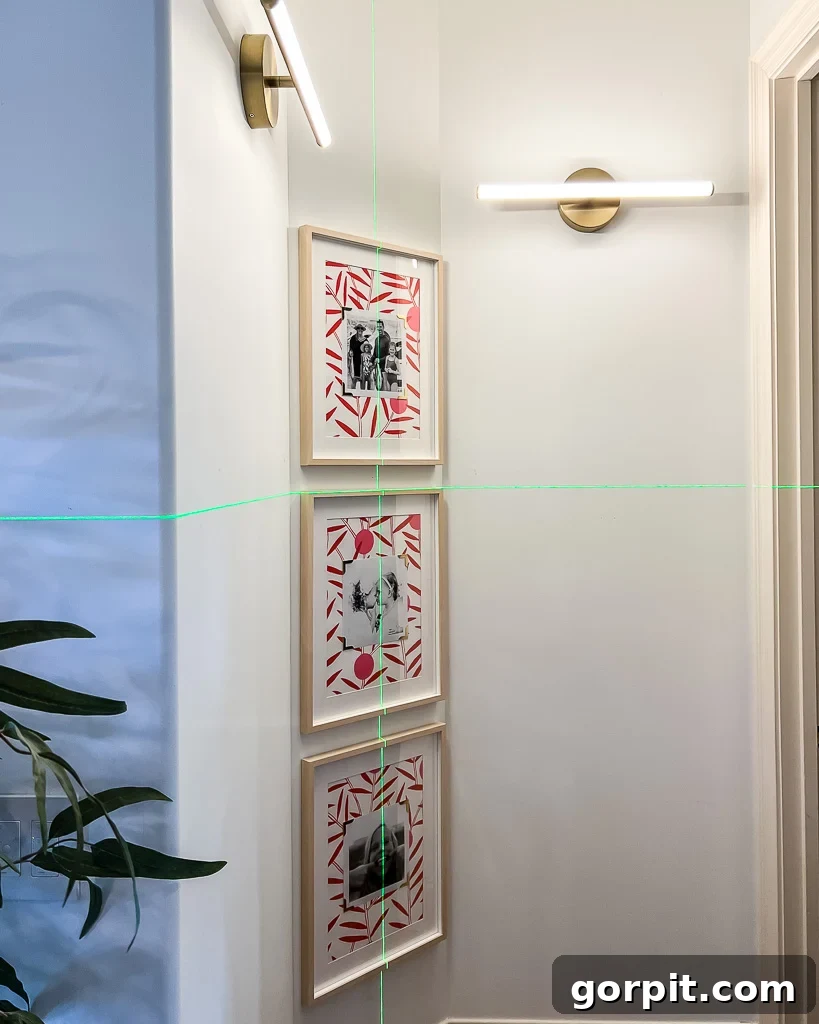
Finally, carefully place your newly adorned photo-and-mat assemblies into their respective frames. Once all frames are ready, it’s time to hang them! I utilized my trusty laser level to achieve perfect alignment and spacing. A laser level is invaluable for ensuring each frame is perfectly level with its neighbors and centered within its section of the wall or alcove. This tool is a game-changer for creating a professional, balanced gallery wall that looks like it was installed by an expert.
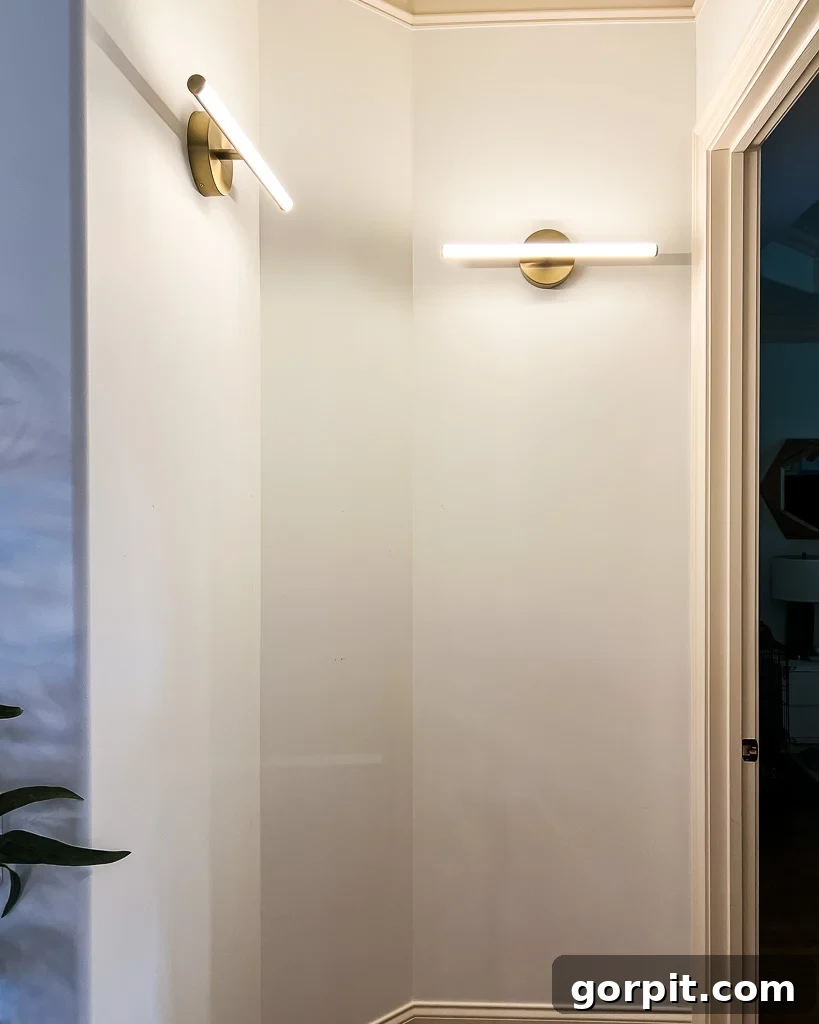
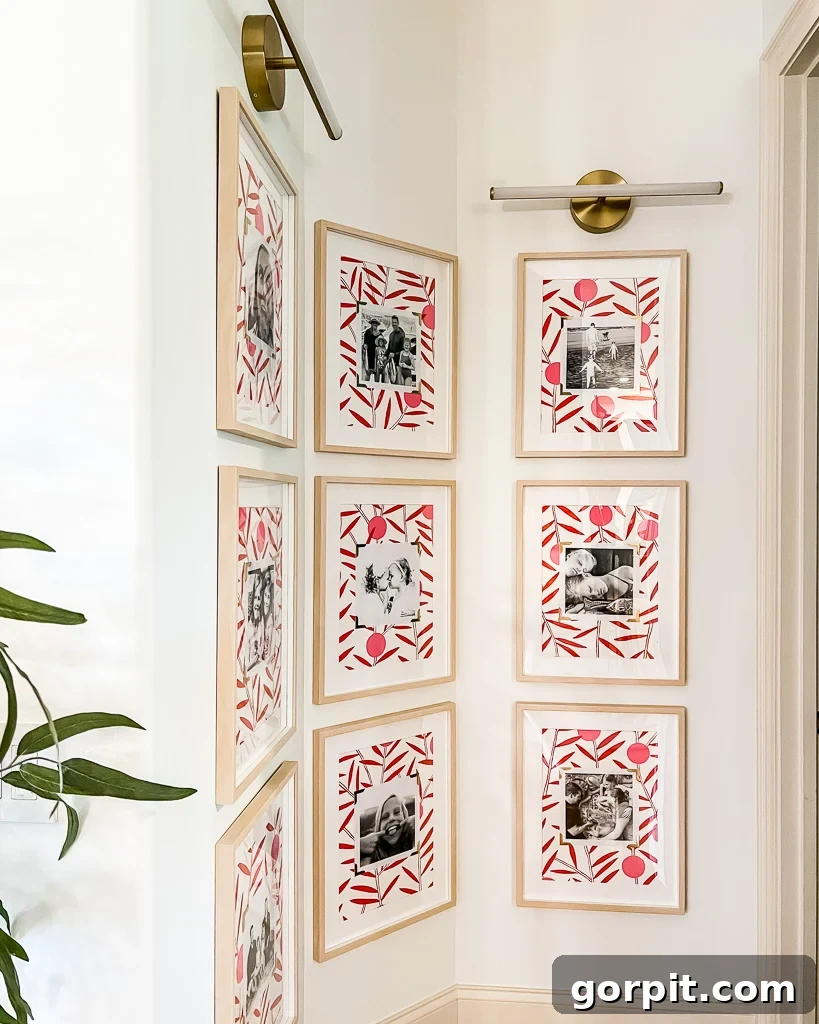
And just like that, you’ve created a captivating and highly personalized family photo gallery wall! I am absolutely thrilled with the result – the combination of simplicity and striking interest is exactly what I envisioned. This project fulfilled my desire to infuse this alcove with color and pattern without the larger commitment of wallpapering the entire wall, a compromise my husband, Joe, was quite pleased with!
Take a moment to appreciate the significant transformation this project brings to the space. It’s truly amazing how a few thoughtful details can dramatically alter the ambiance of an area.
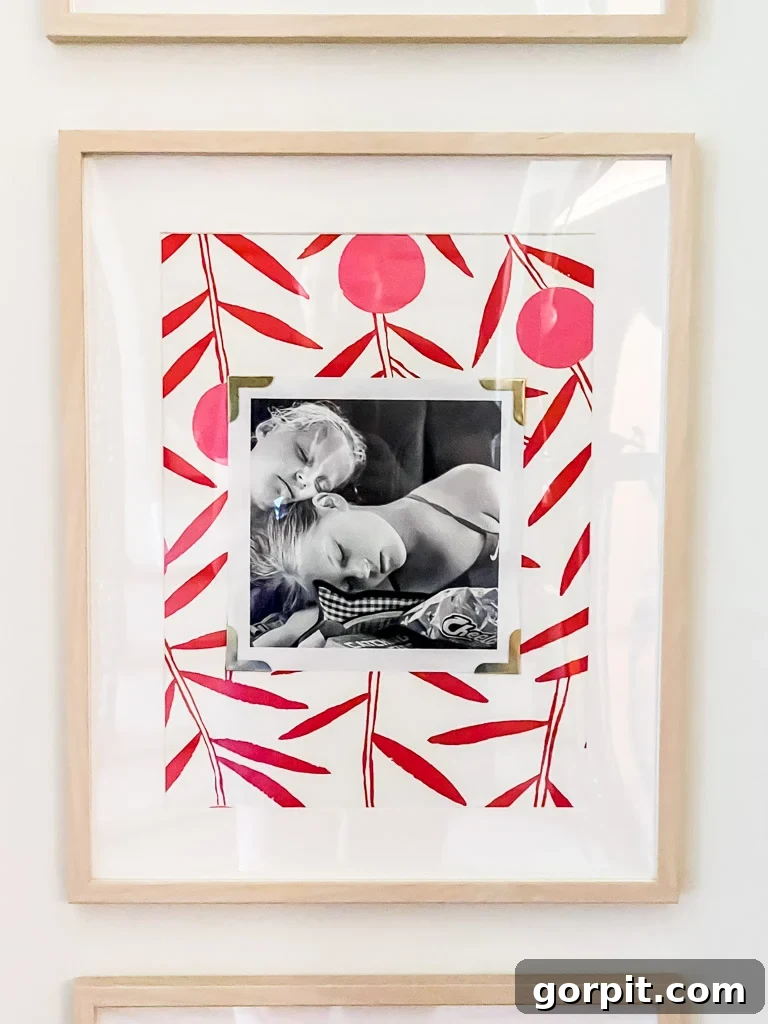
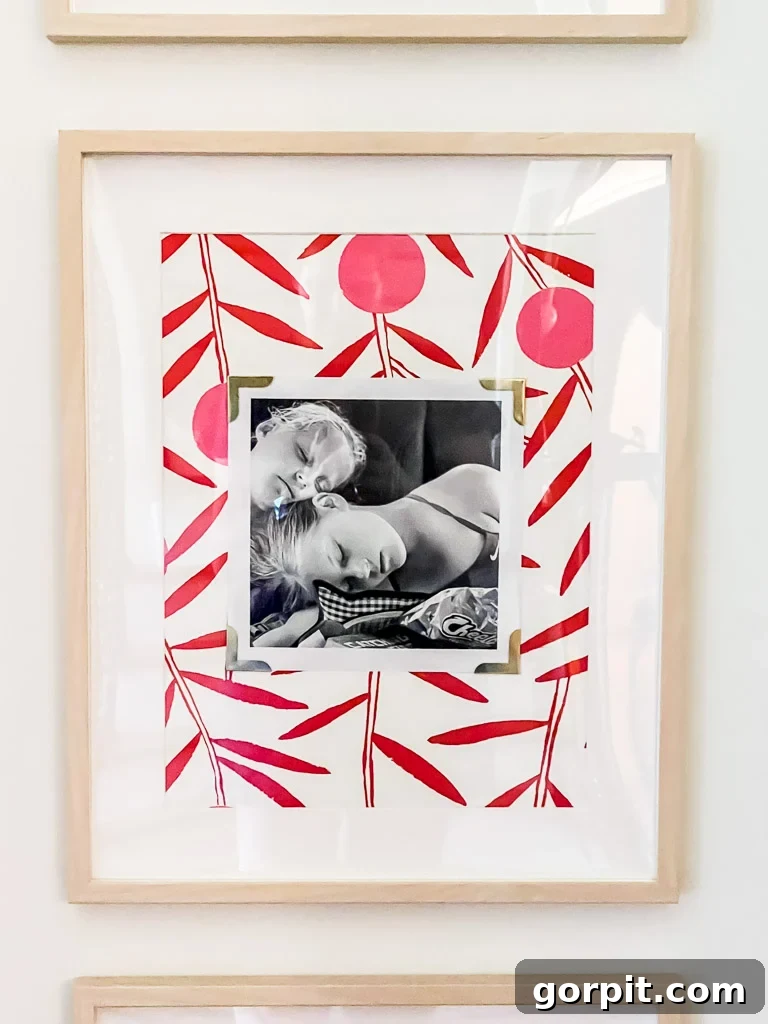
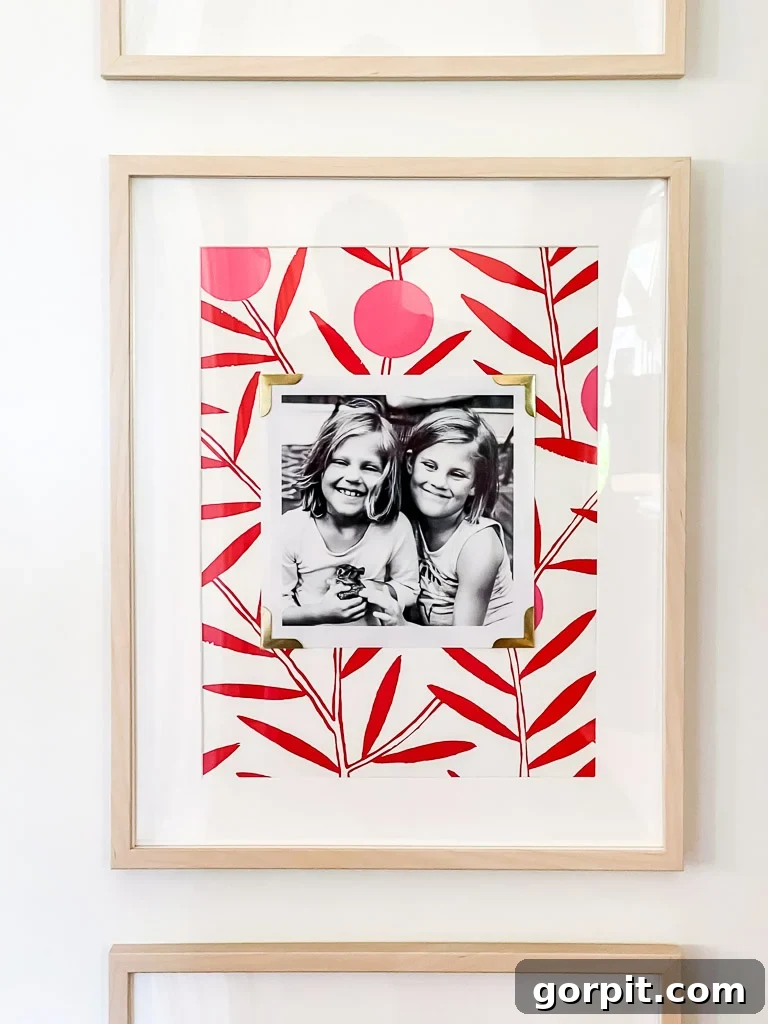
Let’s take a closer look at a couple of these framed beauties. In my opinion, the genius of this project lies in the deliberate combination of the crisp white border on the photos and the elegant gold photo corners. These elements are what truly elevate the display from a simple DIY to a sophisticated design statement. Had I merely placed regular photos directly onto the wallpaper inside the frames, the effect would likely have been chaotic and less refined. The careful layering and contrasting details create an “elevated” and curated feel that makes these family photos truly shine as unique pieces of art.
What are your thoughts on this creative approach to displaying family photos? If this idea resonates with your style, please consider sharing it on your favorite social media platforms or saving it to your Pinterest boards. Your shares help spread unique home decor inspiration to others, and Pinterest ensures you can easily find this tutorial when you’re ready to start your own project!
Discover More Inspiring Home Decor Ideas:
If you enjoyed this project, you might also find these related articles helpful for further transforming your home:
- 16 Gallery Wall Ideas (and Tips) To Inspire You
- Sherwin-Williams Pure White Color Review with Pictures
- How to Make Any Wallpaper Removable & Renter-Friendly
- DIY Photo Canvas Prints With Authentic Texture
- 15 Genius Hallway Decor Ideas
- Stylish Family Photo Wall Display Ideas
Curious about my personal strategy for revamping rooms and spaces in our home effectively and affordably? Uncover all my secrets and organized methods in Designer in a Binder®. It’s the ultimate resource designed to empower you to decorate your home with confidence and ease, guiding you through every step of the design process.
For exclusive content, behind-the-scenes glimpses into my latest projects, and first access to new ideas, be sure to subscribe to my newsletter before you leave. Join our community of home decor lovers and never miss out on inspiration!