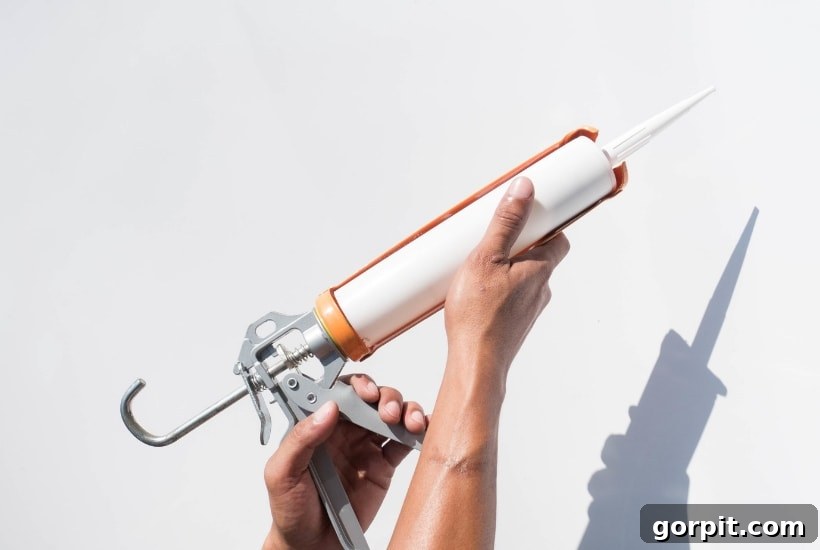
Learning how to caulk is an essential skill for any DIY enthusiast, transforming ordinary projects into polished masterpieces. The good news? It’s incredibly straightforward! This comprehensive, step-by-step guide is designed specifically for beginners, demystifying the art of caulking and equipping you with the confidence to tackle any sealing task.
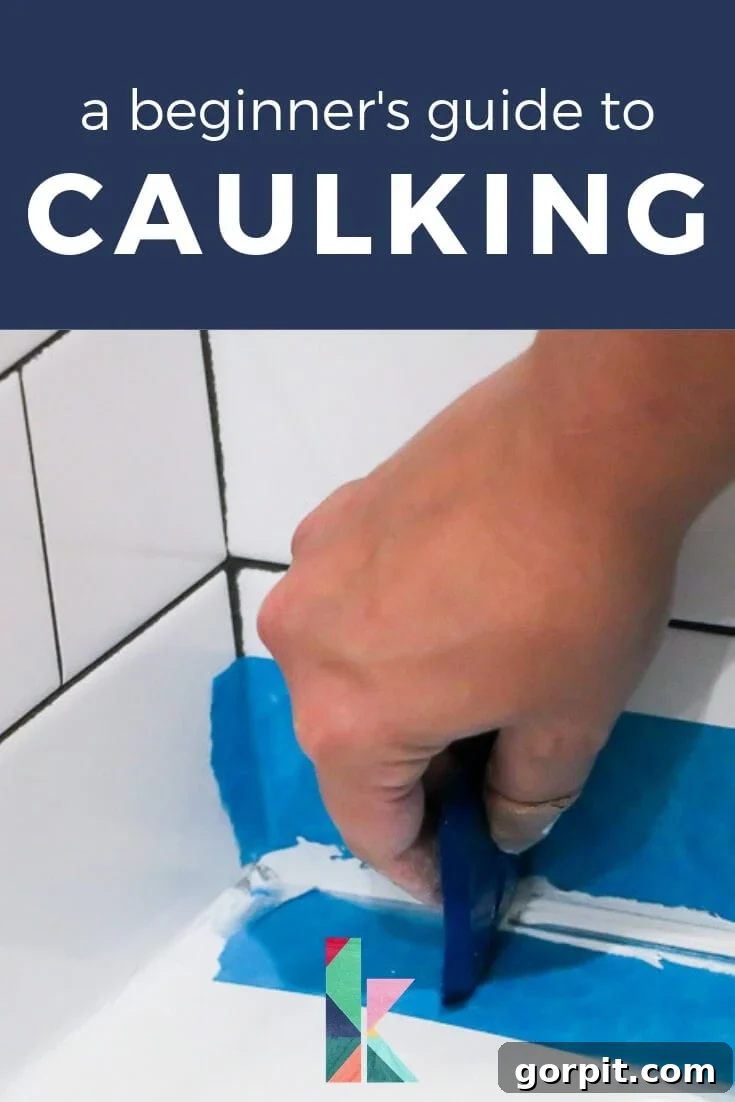
You might be wondering, “Why is learning to caulk so important?” In our home, caulk is truly a DIY superpower. As self-taught DIYers, our carpentry joints and seams aren’t always flawless, but that’s perfectly fine! Caulk has an incredible ability to beautifully finish almost any project, making imperfections disappear and giving everything a professional, polished look. I can’t count the times during a home improvement project when I’ve confidently declared, “No problem, I can caulk that!” It’s a genuine lifesaver.
If you haven’t yet mastered this fundamental skill, now is the time to learn. Caulking is surprisingly simple, and once you understand the basics and how to choose the right product, you’ll open up a world of possibilities for elevating your home projects. This guide will walk you through everything you need to know, from selecting the correct caulk for specific jobs to achieving a perfectly smooth finish.
This post is proudly sponsored by DAP Products and contains some affiliate links for your convenience. Click here to read my full disclosure policy.
The Ultimate Beginner’s Guide to Caulking Like a Pro
Why Caulking is Essential for Your Home and DIY Projects
Beyond just aesthetics, proper caulking offers numerous benefits for your home. It acts as a protective barrier, preventing moisture from seeping into critical areas like bathrooms, kitchens, and exterior openings. This protects against water damage, mold, and mildew growth, which can lead to costly repairs down the line. Furthermore, well-sealed gaps around windows, doors, and baseboards improve your home’s energy efficiency by preventing air drafts, ultimately reducing heating and cooling costs. From a decorative standpoint, caulk fills unsightly gaps and cracks, creating clean, crisp lines that make built-ins, trim, and fixtures look custom-made and expertly installed. It’s the finishing touch that truly elevates any DIY endeavor.
Gather Your Tools: What You’ll Need
Before you begin your caulking project, gather the necessary tools. Having everything on hand will ensure a smooth and efficient process:
- Caulk Gun: Essential for applying caulk from standard tubes. Look for one with a smooth rod for easier application.
- Caulk Tube: The specific type chosen for your project (details below).
- Utility Knife or Caulk Cutter: For opening the caulk tube nozzle and potentially removing old caulk.
- 5-in-1 Tool (Optional but Recommended): This versatile tool often includes a scraper, spreader, and cutter, making old caulk removal and smoothing new caulk much easier.
- Painter’s Tape: For creating clean lines and protecting adjacent surfaces.
- Cleaning Supplies: General household cleaner, rubbing alcohol, and clean rags or paper towels.
- Caulk Smoothing Tool (Optional): While a wet finger works well, a dedicated smoothing tool can provide a perfectly uniform bead.
- Backer Rod (for larger gaps): A foam material used to fill deep gaps before applying caulk.
- Safety Glasses: Always a good idea when working with sharp tools.
Step 1: Assess the Area and Gap Size
The first crucial step is to carefully evaluate the area you intend to caulk. Caulking is primarily designed to seal gaps that are less than 1/2 inch in width and depth. If you’re dealing with a larger or deeper gap, simply applying caulk won’t be enough, and it may not adhere properly or perform its sealing function effectively over time. For gaps exceeding 1/2 inch, you’ll need to use a foam backer rod. This compressible material is inserted into the gap first, providing a stable base for the caulk and ensuring that the caulk doesn’t sag or crack as it cures. The backer rod should be slightly larger than the gap to ensure a snug fit.
Step 2: Choose the Correct Caulk For the Job: The Most Important Decision
Navigating the vast array of caulk options at your local home improvement store can feel overwhelming. However, selecting the right type of caulk for your specific project is arguably the most critical step. Using the wrong caulk can lead to poor adhesion, premature cracking, or failure to adequately seal against moisture. Below, we’ll break down the most common types and their ideal applications. When in doubt, remember that DAP’s technical customer service team is incredibly helpful and offers free advice at 1-888-DAP-TIPS.
A. Best Caulk for Dry Areas & Paint Projects: Acrylic Latex Caulk
For interior projects in dry environments that will be painted, acrylic latex caulk is your go-to choice. It’s budget-friendly, dries relatively quickly, and, most importantly, is paintable. This makes it perfect for seamlessly blending gaps with your wall or trim color. We frequently use this type of caulk to fill small gaps around crown molding, baseboards, door and window trim, and to conceal nail holes or minor imperfections in furniture pieces that are destined for a fresh coat of paint. It creates a smooth, continuous surface, making your paint job look impeccable. My personal favorite in this category is DAP Alex Flex Premium Molding & Trim Sealant, known for its flexibility and excellent adhesion.
B. Best Caulk for More Demanding Applications: Acrylic Latex Caulk Plus Silicone
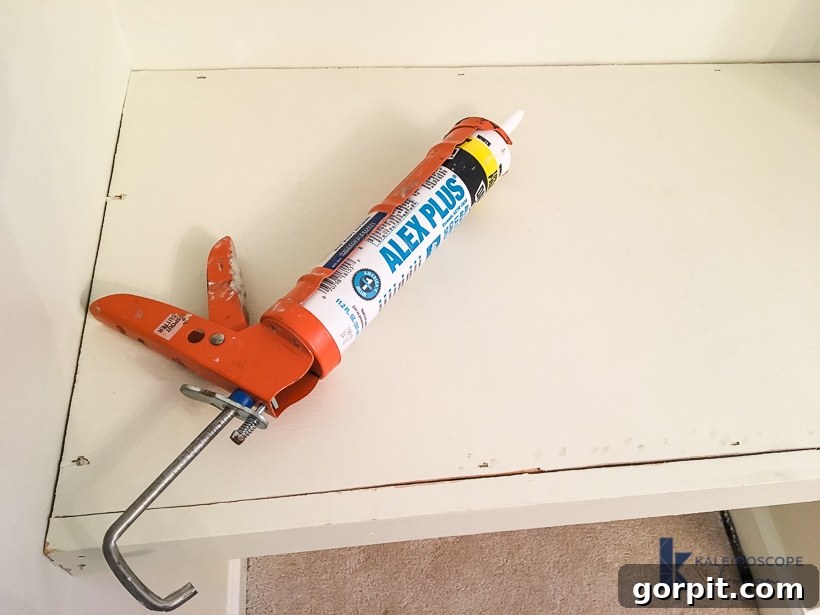
When you need a caulk that offers enhanced performance, look for acrylic latex caulk with added silicone. This hybrid formulation provides a superior bond to a wider variety of materials and delivers significantly more flexibility and durability than standard acrylic latex. It’s designed for areas that might experience some exposure to moisture but not constant water immersion. Think around exterior windows and doors, where it needs to withstand weather fluctuations and provide a robust seal. The silicone content boosts its moisture resistance, making it a reliable choice for less demanding damp areas. For these applications, I highly recommend DAP ALEX PLUS Acrylic Latex Caulk Plus Silicone. For even more rigorous demands, consider DAP DYNAFLEX for its advanced flexibility and adhesion properties.
We often reach for DAP Alex Plus caulk for interior projects that require painting, primarily because it’s water-based (meaning easy cleanup) and fully paintable. Its versatility makes it a staple in our toolkit. We used it extensively on our DIY floating shelves and desk project and, more recently, for our DIY board and batten accent wall in the hallway. These are just two examples; its utility truly extends to countless other projects.
C. Best Caulk for Wet Areas: Specialty Kitchen & Bath Sealants (100% Silicone or Siliconized Acrylic)
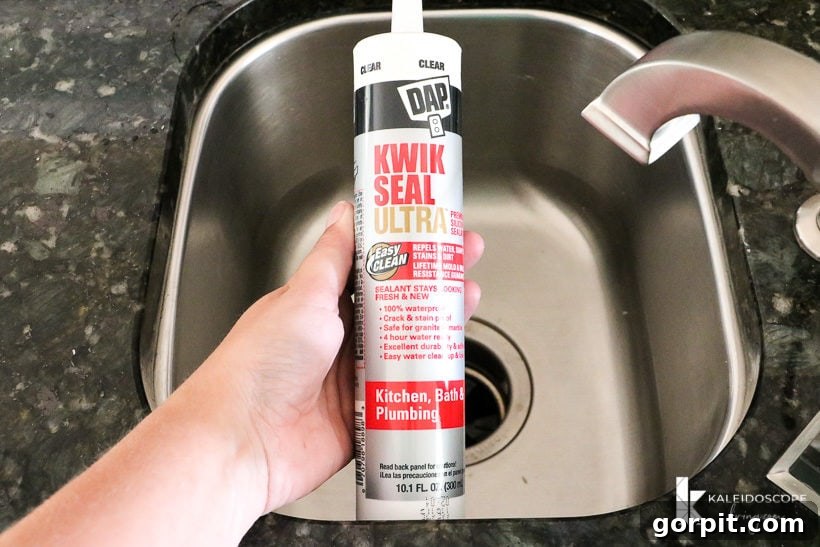
For areas that are consistently exposed to high levels of water and humidity, such as bathtubs, showers, sinks, and toilets, a specialty kitchen and bath sealant is absolutely essential. These sealants are formulated to provide superior water resistance, flexibility, and often include mildew resistance to keep your wet areas looking clean and fresh. Unlike paintable caulks, many pure silicone sealants are not paintable, but they offer unparalleled waterproofing. My top recommendation in this category is DAP Kwik Seal Ultra KWIK SEAL ULTRA Premium Siliconized Sealant. It applies white for easy visibility during application but dries crystal clear, making it simple to achieve an even, discreet bead. Always check product labels, as some siliconized acrylic options may offer a degree of paintability while others, particularly 100% silicones, will not. For a detailed walkthrough on tackling specific wet area projects, you can read exactly how to caulk a kitchen sink in this post.
Step 3: Prepare the Surface for Optimal Adhesion
A flawless caulking job hinges on a meticulously prepared surface. While it might be tempting to apply new caulk directly over old, existing caulk, this practice is highly discouraged. Old caulk often loses its adhesion, can harbor mold or mildew, and will prevent the new caulk from bonding properly, leading to premature failure. Start by completely removing any old caulk using a utility knife, a dedicated caulk removal tool, or a 5-in-1 tool. For delicate surfaces like plastic or fiberglass, opt for plastic scrapers or soft plastic scrubbing pads to prevent scratches. Once the old caulk is gone, thoroughly clean the entire surface to eliminate any dirt, dust, grease, soap scum, or debris. Begin with a general household cleaner, ensuring you get into all crevices. Afterward, wipe the surface down with rubbing alcohol, which helps remove any lingering residues and promotes better adhesion. Allow the surface to dry completely before proceeding; even slight moisture can compromise the caulk’s bond.
Step 4: Tape for Precision and Professional Edges
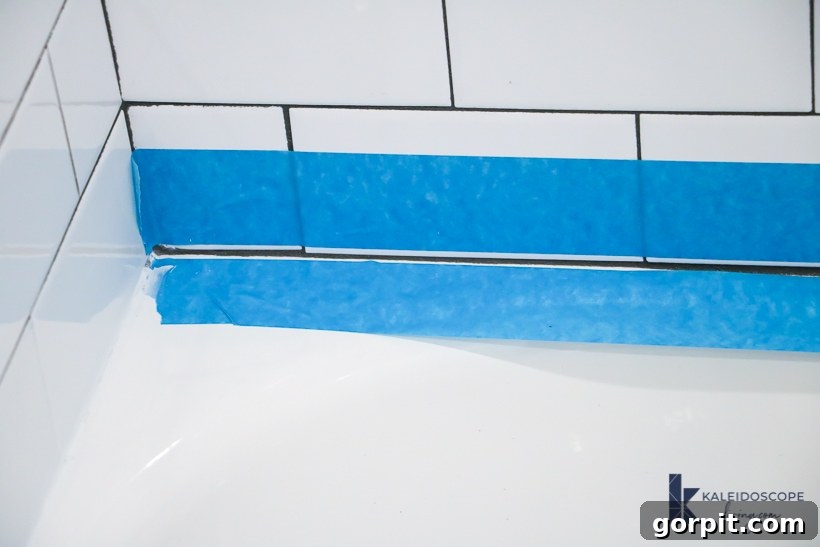
For a truly professional-looking caulk line, painter’s tape is your best friend. Taping off the surrounding area serves two critical purposes: it protects adjacent surfaces from accidental caulk smears and, more importantly, it helps you achieve a perfectly straight and consistent caulk line. Apply two parallel strips of painter’s tape, one on each side of the gap you intend to caulk. Ensure the tape is pressed down firmly to prevent any caulk from seeping underneath. The width between the tape lines will define the width of your caulk bead. This step is particularly invaluable in highly visible areas, such as when we remodeled our twin girls’ bathroom. After weeks of hard work, we wanted the caulk lines to be absolutely perfect, and painter’s tape delivered exactly that. (You can see the full bathroom renovation reveal here for inspiration).
Step 5: Prepare Your Caulk Tube and Gun
Proper preparation of your caulk tube is key to a smooth application. All caulk tubes come with a rigid plastic nozzle. Using a utility knife, carefully cut the tip of the nozzle off at a 45-degree angle. The size of the opening you cut will determine the thickness of your caulk “bead” (the term for a line of caulk). A smaller opening closer to the tip creates a finer bead, ideal for narrow gaps, while a larger opening further down the tip yields a thicker bead for wider gaps. Always start with a smaller cut; you can always enlarge it if needed. After cutting the tip, you’ll need to puncture the inner foil seal that most caulk tubes have. Most caulk guns come equipped with a thin metal poker for this exact purpose, usually located on the side or handle. Insert the poker fully into the nozzle to break the seal. Finally, load your prepared caulk tube into your caulk gun, ensuring it’s securely seated.
Step 6: Apply the Caulk with Confidence
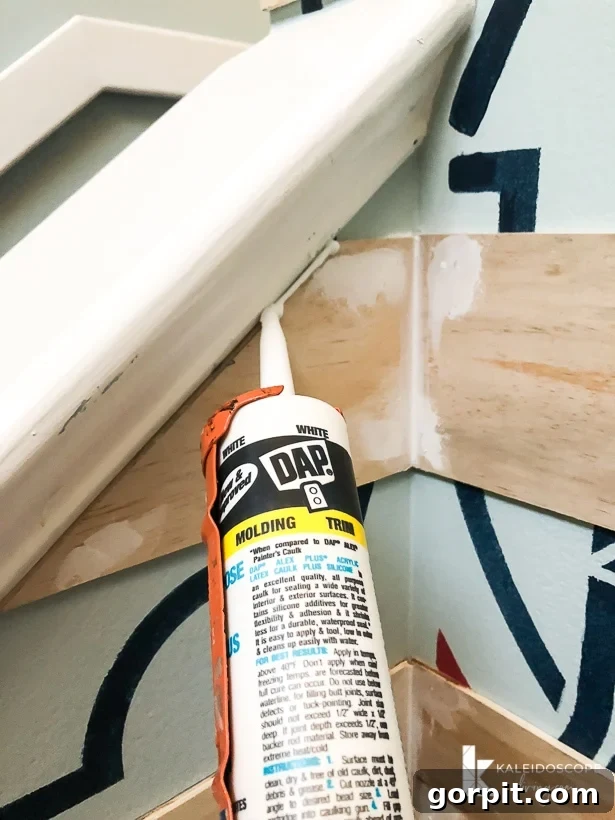
Now, you’re ready for the main event: applying the caulk! Whether you’re using a squeezable tube or a caulk gun, the principle remains the same: apply steady, consistent pressure as you move along the gap. Position the tip of the caulk gun nozzle at the beginning of your seam, maintaining the 45-degree angle you cut. Begin to squeeze the trigger of the caulk gun gently but firmly, and simultaneously move the gun smoothly along the taped line. The goal is to fill the gap with an even and continuous “bead” of caulk. Try to complete each section in one continuous motion rather than stopping and starting, which can create unevenness. Don’t apply too much, as this will lead to excess cleanup, but also ensure you apply enough to fully bridge the gap. Maintain a consistent speed and pressure for the best results. Here, you can see me caulking our DIY modern plank wall before it was painted, demonstrating a continuous, even application.
Step 7: Achieve a Smooth, Clean Finish
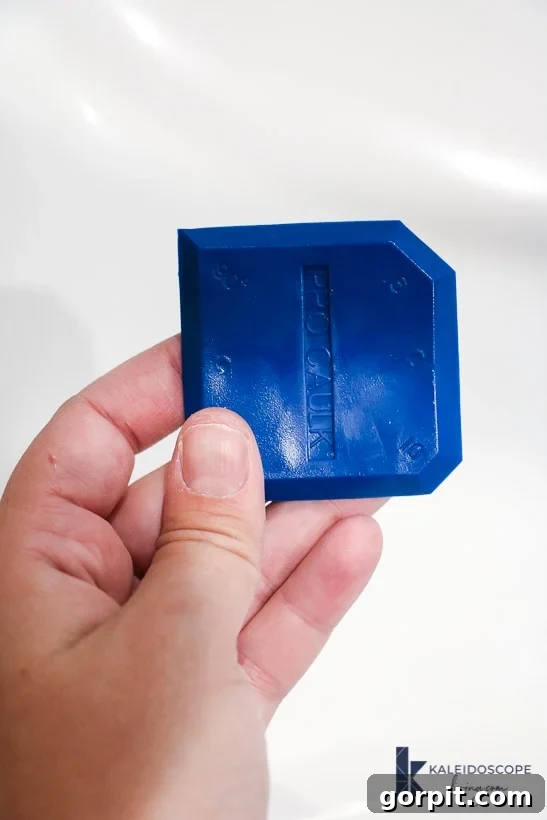
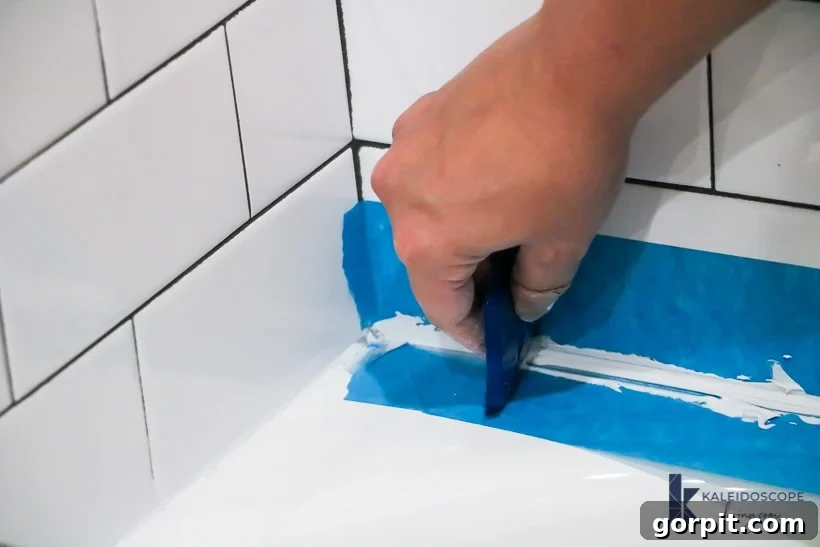
Once you’ve applied your bead of caulk, the next step is to smooth it out. This is where you achieve that professional, sealed look. You can use a damp finger (a time-honored method for many DIYers) or a specialized caulk smoothing tool. If using your finger, wet it slightly to prevent the caulk from sticking, and then run it gently and firmly along the caulk bead in one continuous motion, pressing the caulk into the gap and smoothing its surface. If using a smoothing tool, select the desired profile and drag it along the bead. Immediately after smoothing, and crucially, while the caulk is still wet and pliable, carefully remove the painter’s tape. Pull the tape slowly at a 45-degree angle away from the freshly caulked line. Removing it while wet ensures a crisp, clean edge; waiting until the caulk dries risks pulling up or tearing the cured caulk. Allow the caulk to fully dry and cure according to the manufacturer’s instructions, which can vary by product and humidity levels.
Troubleshooting Common Caulking Mistakes
Even with careful preparation, some issues can arise. Knowing how to troubleshoot them will save you time and frustration:
- Uneven or Bumpy Beads: This often happens due to inconsistent pressure or speed. Practice on scrap material. If it’s still wet, try smoothing again. If dry, carefully remove the uneven section with a utility knife and reapply.
- Caulk Not Sticking: This is almost always a sign of inadequate surface preparation. The surface likely wasn’t clean or dry enough. Remove the caulk, thoroughly clean and dry the area, and then reapply.
- Bubbles in Caulk: Bubbles can appear if the caulk is applied to a porous surface that’s releasing air, or if moisture is trapped beneath. Ensure the surface is completely dry. Sometimes, puncturing larger bubbles with a pin and re-smoothing can work if the caulk is still wet.
- Caulk Cracking: Cracking can indicate the wrong type of caulk was used (e.g., non-flexible caulk in a high-movement area), or the gap was too wide without a backer rod. Remove, reassess the gap size and caulk type, and reapply.
- Messy Edges After Tape Removal: If the caulk has started to skin over or dry before the tape is removed, it can tear the caulk line. Always remove tape immediately after smoothing.
Caulking Maintenance and Longevity
Caulk isn’t a “set it and forget it” solution; regular maintenance ensures its longevity and effectiveness. Periodically inspect all caulked areas in your home, especially in wet environments like bathrooms and kitchens, or exterior areas exposed to the elements. Look for signs of cracking, peeling, shrinking, or discoloration (which can indicate mold). In high-moisture areas, clean your caulk lines regularly with a mild, non-abrasive cleaner to prevent mildew buildup. If you notice any damage, it’s best to address it promptly. Remove the old, failing caulk and reapply fresh caulk following the steps outlined in this guide. This proactive approach will protect your home from potential damage and keep your DIY projects looking pristine for years to come.
That’s it! Learning how to caulk is genuinely easy and incredibly rewarding. It’s a skill that will give all your DIY projects that coveted professional finish and provide lasting protection for your home. We hope this guide was helpful and empowers you to tackle your next caulking project with confidence!
Explore More Home Improvement Inspiration
Looking for more DIY ideas and renovation tips? Check out these related posts to inspire your next home transformation:
- Attley’s Budget-Friendly Bathroom Renovation
- Avery’s Budget-Friendly Bathroom Makeover
- Affordable Master Bathroom Remodel REVEAL
- The Easy Way to Update Bathroom Tile Without Replacing It!
- How to Caulk a Bathtub
- How to Install Quarter-Round Molding
- How to Install a Toilet
- 25 Stunning Powder Room Makeovers
Curious about how I approach transforming rooms and spaces in our home? Discover the secrets with Designer in a Binder®, my comprehensive system for affordable and simple home decorating.
For exclusive content, behind-the-scenes sneak peeks, and the latest DIY tips delivered straight to your inbox, be sure to subscribe before you go!