DIY Outdoor Chalkboard: Craft Your Own Weatherproof Message Board for Endless Fun
Ever dreamed of a versatile message board, menu display, or creative outlet that can withstand the elements and enhance your outdoor living space? If you’ve been searching for a durable and charming DIY outdoor chalkboard, you’ve landed in the perfect spot! This comprehensive guide will walk you through every step to create a beautiful, long-lasting, and truly weatherproof chalkboard that will become a beloved addition to your backyard, patio, or deck.
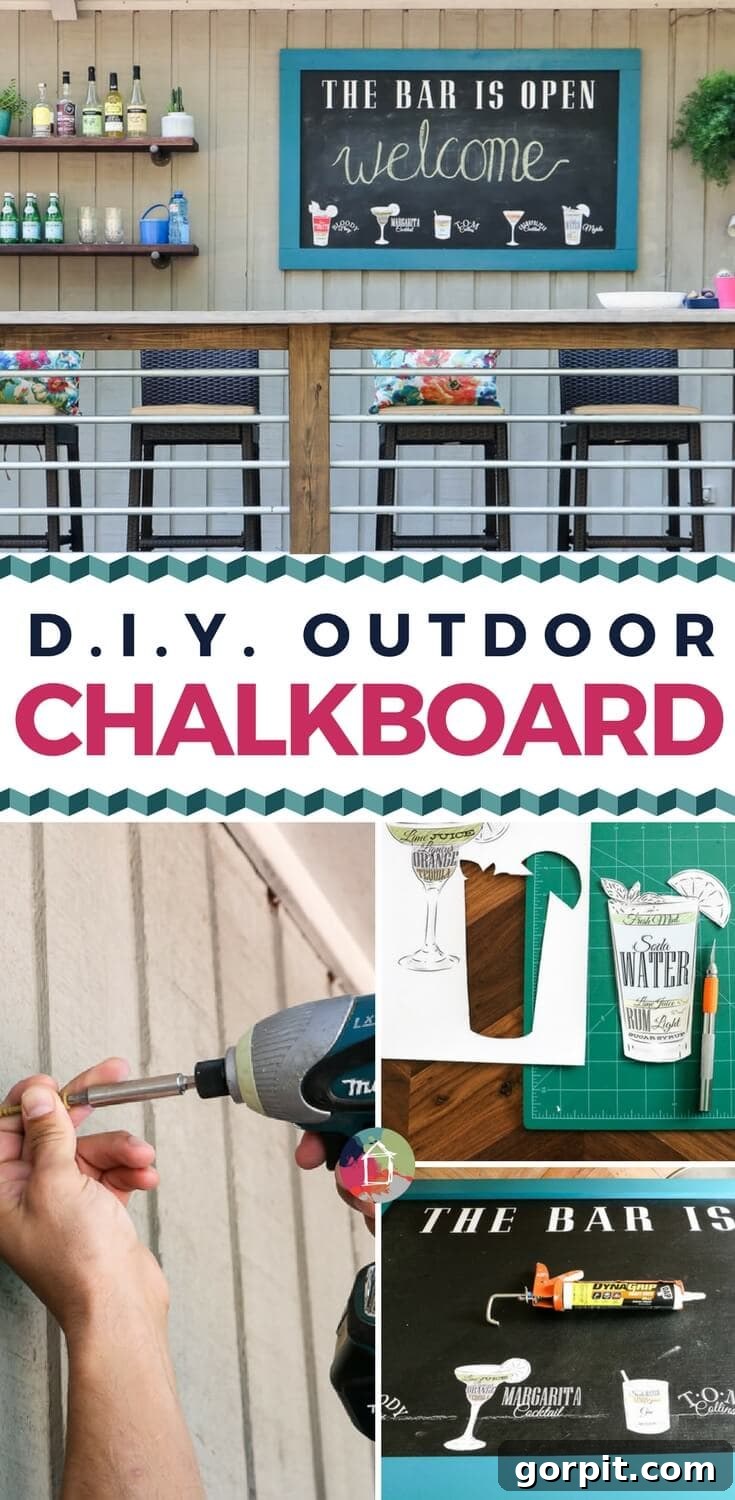
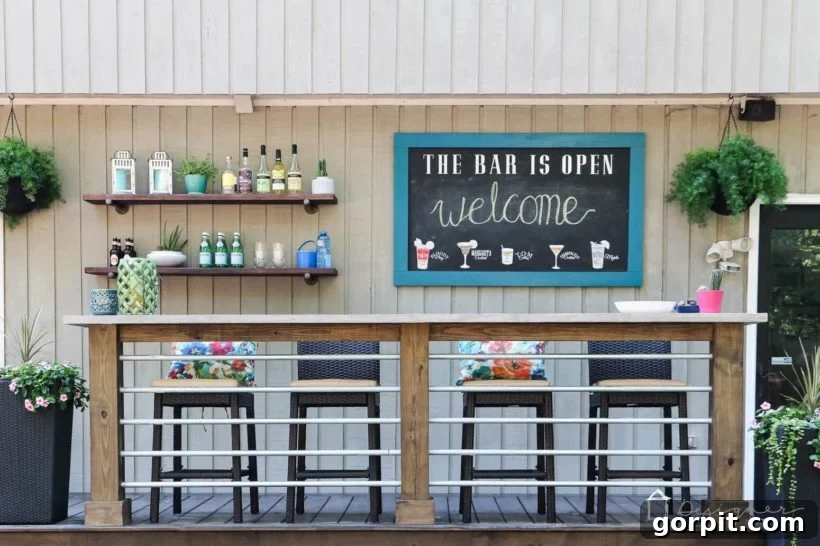
We crafted our own outdoor chalkboard a while back, and I can confidently say that after months of exposure to sun, rain, and varying temperatures, it’s holding up flawlessly! This isn’t just a fleeting trend; it’s a proven, resilient addition that has brought so much character to our outdoor area. It perfectly complements our DIY deck bar and the massive deck project we undertook last year. While it still proudly displays “welcome” (a testament to its initial purpose and our lack of redecorating!), I’m excited to share how incredibly easy it is to make your own and start personalizing it for every season and occasion. Get ready to unleash your creativity with this super easy and rewarding project!
A special thank you to DAP for their sponsorship of this post. Please note that this post includes affiliate links for your convenience. This means that if you choose to make a purchase after clicking on one of these links, I may earn a small commission, but this will not incur any additional cost to you. You can read my full disclosure policy here.
Why a DIY Outdoor Chalkboard is a Must-Have for Your Home
An outdoor chalkboard isn’t just a fun craft project; it’s a functional and decorative piece that offers numerous benefits for any home with outdoor space. Imagine welcoming guests with a personalized message, displaying a fun drink menu for your next barbecue, or providing an engaging activity for kids during playtime. The possibilities are truly endless!
- Unleash Creativity: It serves as a dynamic canvas for notes, drawings, menus, or seasonal greetings.
- Enhance Outdoor Decor: A well-crafted chalkboard adds rustic charm or modern flair, depending on your design choices.
- Weatherproof Durability: Unlike indoor chalkboards, a properly constructed outdoor version can withstand harsh weather, ensuring longevity and year-round enjoyment.
- Cost-Effective: Building your own is often more affordable than purchasing a pre-made outdoor chalkboard, especially for custom sizes.
- Personalization: You have complete control over the size, frame color, and any permanent graphics, allowing it to perfectly match your outdoor aesthetic.
The Secret to Durability: Choosing the Right Materials for Your Outdoor Chalkboard
The key to a long-lasting outdoor chalkboard lies in selecting materials that are specifically designed to resist moisture, temperature fluctuations, and general wear and tear from the elements. This is where conventional wood or plywood falls short, and specialized alternatives shine. Our choice of cement board, for instance, is pivotal to its outdoor success.
Essential Materials You’ll Need:
- Solid Wood for the Frame: For a sturdy and attractive frame, solid wood is ideal. We repurposed old scrap wood, which not only saved money but also gave it character. If buying new, 1 x 4 inch lumber is a great choice for a substantial look and feel. Remember, the wood type (like cedar or treated pine) can further enhance its outdoor resilience.
- Cement Board (or Hardie Board): This is the MOST IMPORTANT component for an outdoor chalkboard. You’ll need a sheet, typically a 3 x 5 foot size, depending on your desired chalkboard dimensions. Unlike wood or plywood, cement board is inherently resistant to water damage, mold, and mildew. It won’t warp, rot, or delaminate when exposed to rain, making it the superior choice for any outdoor application. Even sealed and painted wood eventually succumbs to moisture, but cement board stands strong.
- Chalkboard Paint: A high-quality chalkboard paint is crucial for creating a smooth, durable writing surface. We recommend clicking the link to see the exact product we used for its proven performance. Ensure it’s suitable for outdoor exposure or can be adequately protected.
- DAP Dynagrip Construction Adhesive: This powerful construction adhesive provides an incredibly strong, weather-resistant bond, perfect for securing your frame to the cement board. Using a caulk gun for application ensures precision and ease.
- Mirror Hanging Kit: This kit will provide the necessary D-rings or picture wire for securely hanging your heavy-duty outdoor chalkboard. Choose a kit rated for the weight of your finished project.
- Outdoor Quality Paint for the Wood Frame: Select a paint specifically formulated for exterior use. This will protect your wood frame from UV rays, moisture, and temperature changes. We used Valspar Velvet Curtains, which we had leftover from painting our front door, demonstrating that you can use any color you love as long as it’s durable for outdoors.
Optional Materials for Personalization:
If you wish to add permanent text, graphics, or custom designs to your chalkboard, these materials will open up a world of creative possibilities.
- Cutting Machine: Tools like a Cricut Explore or Silhouette are invaluable for cutting intricate designs from vinyl. If you’re new to these machines, you can compare Silhouette vs. Cricut in this detailed post to find the best fit for your crafting needs.
- Printable Vinyl: Perfect for adding colorful, detailed images that you print directly from your home printer and then cut out.
- Premium Outdoor Vinyl in White (or desired color): This durable vinyl is designed for exterior use, making it ideal for lettering and graphics that need to withstand the elements without fading or peeling.
- Craft Knife: Essential for precise manual cutting of designs, especially if they are too intricate for a cutting machine or if you’re using printable vinyl.
- Cutting Mat: Provides a protective surface for your craft knife and helps with accurate cutting.
- Cute Graphics: Look for vector graphics or designs that can be scaled without losing quality. We found our adorable drink menu graphics here, which added a fun, personalized touch.
Step-by-Step Guide: How to Make Your Own Outdoor Chalkboard
Crafting your outdoor chalkboard is a straightforward project that can be completed in a weekend. Follow these steps for a beautiful and durable result.
Step 1: Prepare Your Chalkboard Surface (Cement Board)
Start by laying your cement board on a clean, flat surface in a well-ventilated area. Using your chosen chalkboard paint, apply an even coat to one side of the board. For optimal coverage and durability, we recommend applying at least two coats. Ensure each coat is completely dry before applying the next, following the manufacturer’s instructions for drying times. Full coverage is key to a smooth, functional chalkboard surface.
Step 2: Construct the Robust Frame
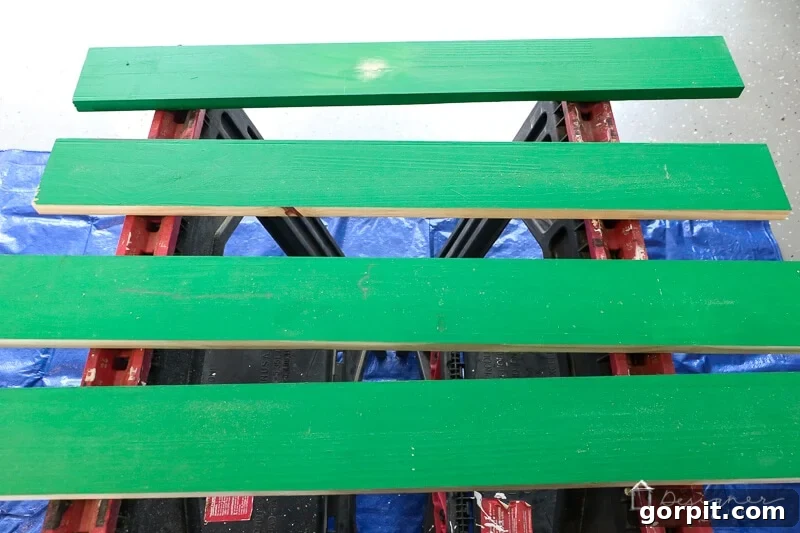
While your chalkboard paint is drying, turn your attention to the wood frame. Carefully measure and cut your wood pieces to size. For a standard 3×5 foot chalkboard, we cut the horizontal pieces to just over 5 feet long and the vertical pieces to 28.5 inches long. These dimensions allow the frame to overlap the edges of the cement board, creating a sturdy border and enabling simple butt joints at the corners. Accuracy in cutting ensures a professional finish and a snug fit. If you’re new to cutting wood, always measure twice and cut once, and use appropriate safety gear.
Step 3: Add a Pop of Color to Your Frame
Now it’s time to paint your wood frame. Select your favorite outdoor-quality paint in a color that complements your outdoor decor. Applying an outdoor-grade paint is crucial for protecting the wood from moisture, UV damage, and rot. Apply an even coat (or two, if recommended by the paint manufacturer) to all sides of your frame pieces, ensuring full coverage and allowing adequate drying time between coats. This step not only adds aesthetic appeal but also significantly extends the life of your frame.
Step 4: Customize with Text and Graphics (Optional)
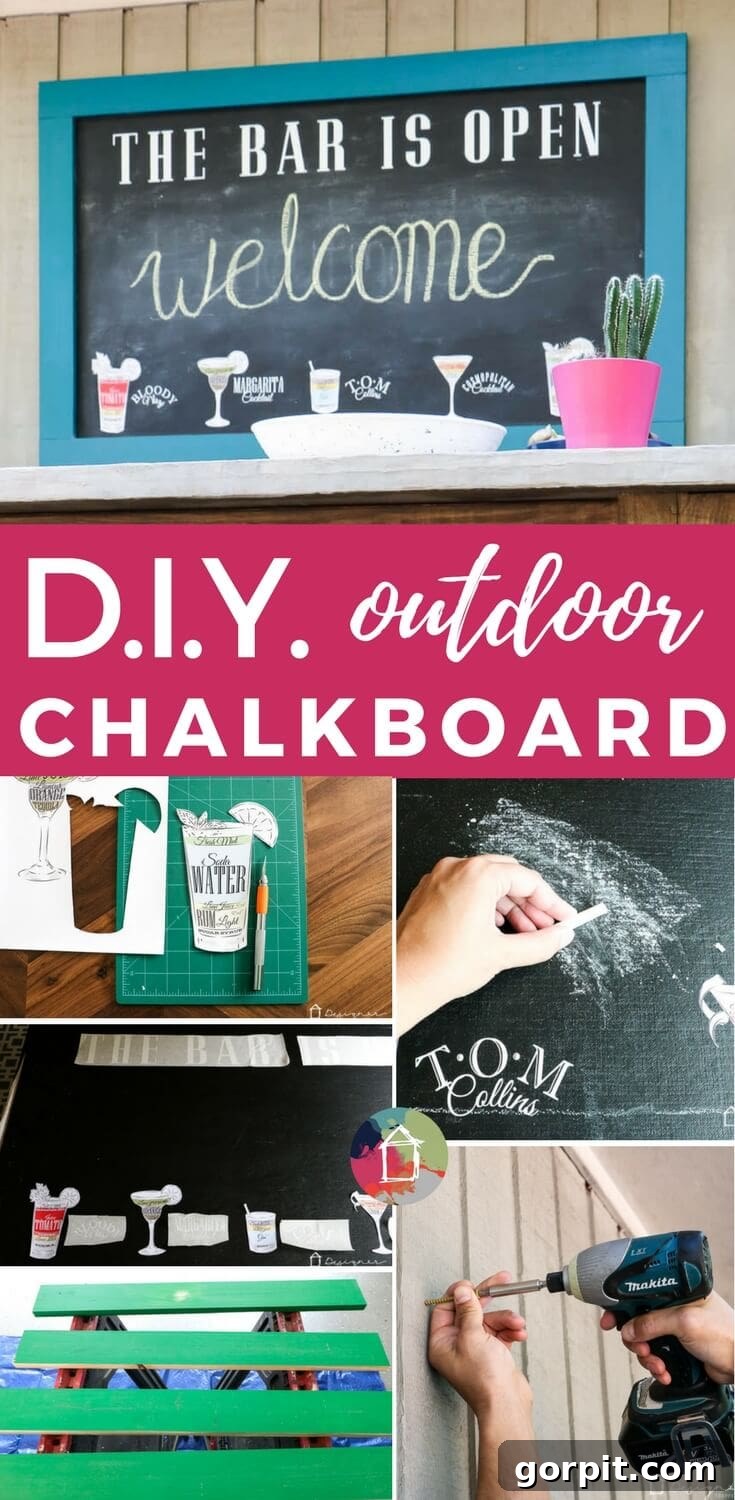
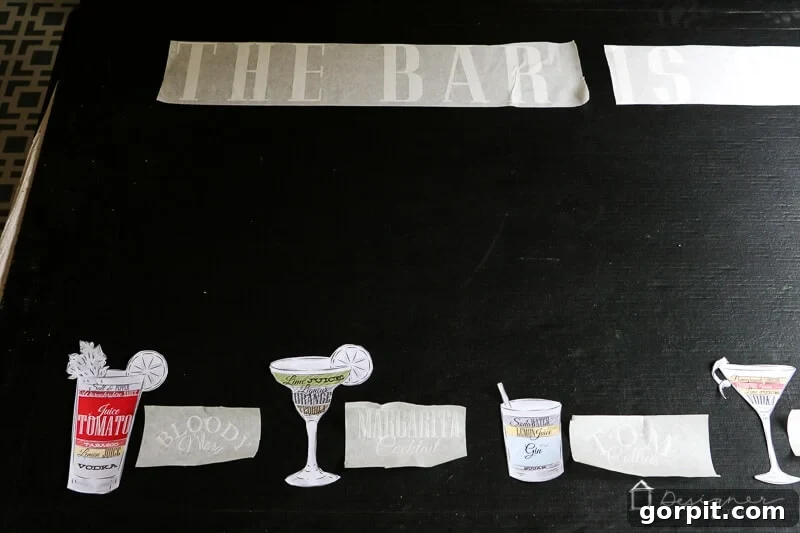
If you plan to add permanent text or images to your outdoor chalkboard, now is the time to prepare your designs. We used our Cricut Explore to precisely cut out phrases like “THE BAR IS OPEN” and various drink names from premium outdoor vinyl. For intricate drink recipe images, we printed them onto printable vinyl. Unfortunately, some complex designs, like the drink graphics we used, can be too detailed for a cutting machine’s print-and-cut feature, requiring careful manual cutting with a craft knife. Once your designs are ready, transfer them onto your dry chalkboard surface. Remember to position them thoughtfully, ensuring they won’t be covered by the frame once it’s attached.
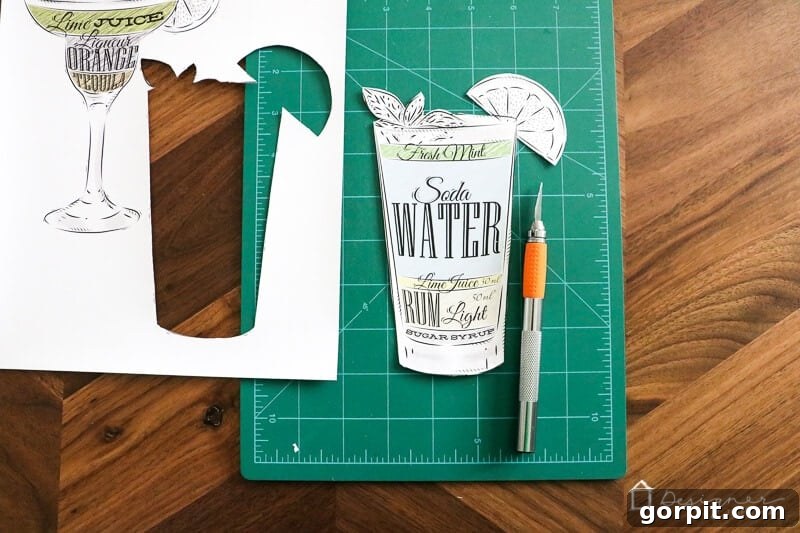
Once your text/designs are cut out, transfer them to your chalkboard before you attach the frame (but don’t forget the frame is going to sit ON TOP of the chalkboard, so be sure your design doesn’t get too close to the edges).
Step 5: Secure the Frame to the Chalkboard
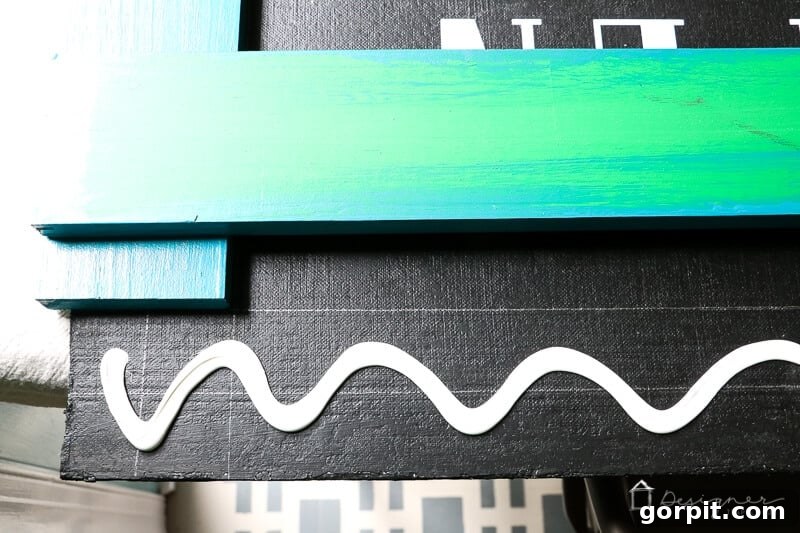
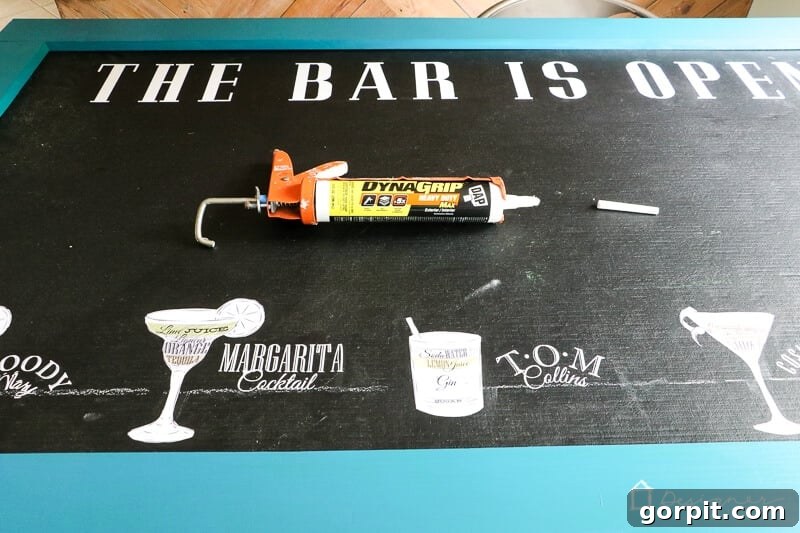
With your chalkboard surface and frame components ready, it’s time for assembly. We relied on our favorite construction adhesive, DAP Dynagrip, for its superior bonding strength and outdoor durability. Apply a generous bead of adhesive along the edges of the cement board where the frame will sit. Carefully position your painted wood frame pieces onto the chalkboard, ensuring they align perfectly. Use clamps to hold the frame firmly in place while the adhesive cures. This clamping action is crucial for a strong, lasting bond, especially for an outdoor item exposed to varying conditions. Allow the adhesive to set completely according to the manufacturer’s instructions, which may take several hours or even overnight.
Step 6: Season Your Chalkboard for Optimal Use
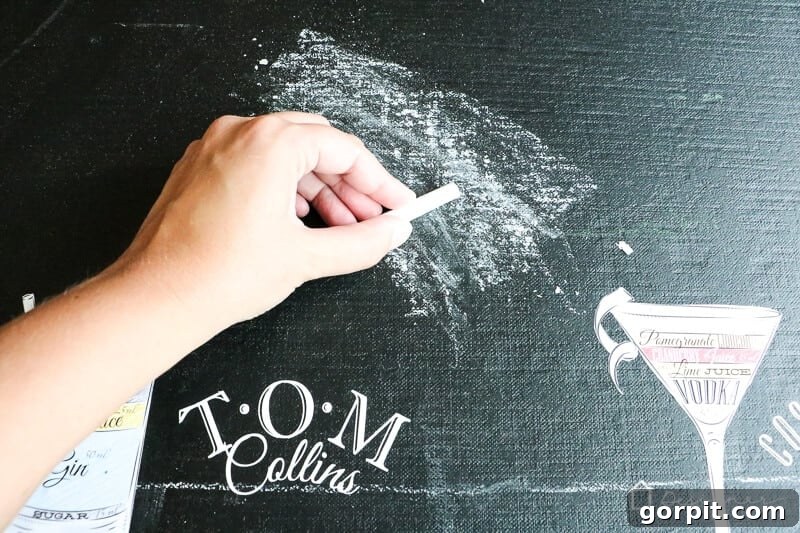
To ensure your chalkboard performs its best and that all chalk marks erase cleanly, it’s important to “season” the surface. This is a simple but vital step! Take a piece of chalk and gently rub it over the entire surface of the chalkboard, covering it completely. Then, using a dry cloth or chalkboard eraser, wipe away the chalk dust. This process fills the tiny pores in the chalkboard paint, preventing “ghosting” or permanent marks from your first chalk writings. It also gives your vinyl designs a more authentic, integrated look by slightly dulling their pristine finish.
Step 7: Install Hanging Hardware
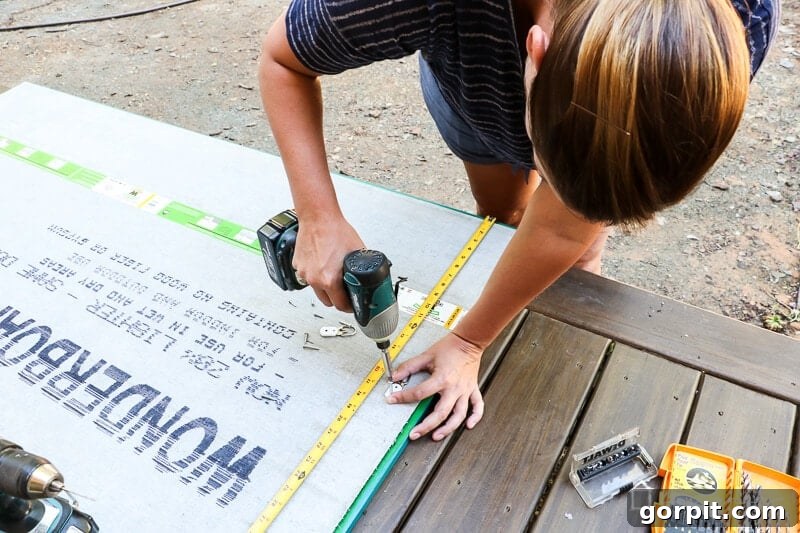
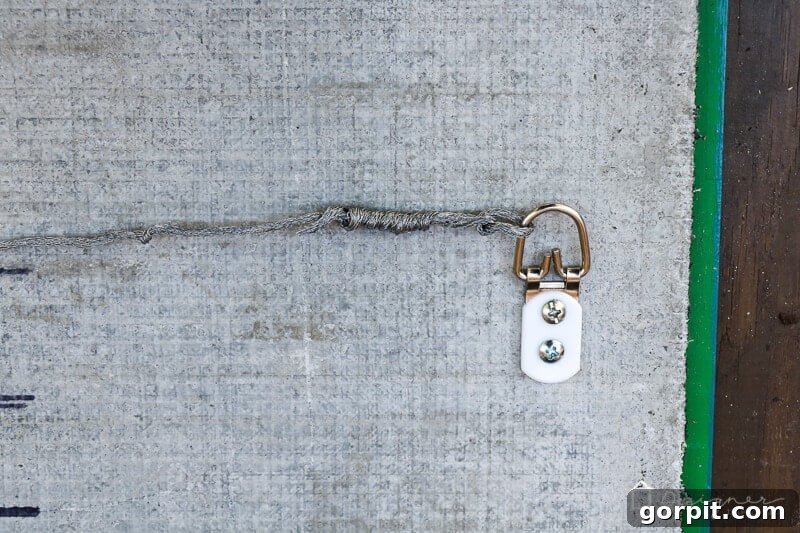
Once your chalkboard is fully assembled and dry, it’s time to attach the hanging mechanism. Use your mirror hanging kit to securely fasten hangers to the back of your outdoor chalkboard frame. Typically, this involves screwing D-rings into the top corners of the frame. After the hangers are attached, thread the hanging wire through them, ensuring it is taut and securely fastened. Double-check that all components are strong enough to support the weight of your completed chalkboard, which can be surprisingly heavy due to the cement board.
Step 8: Mount Your Chalkboard Outdoors
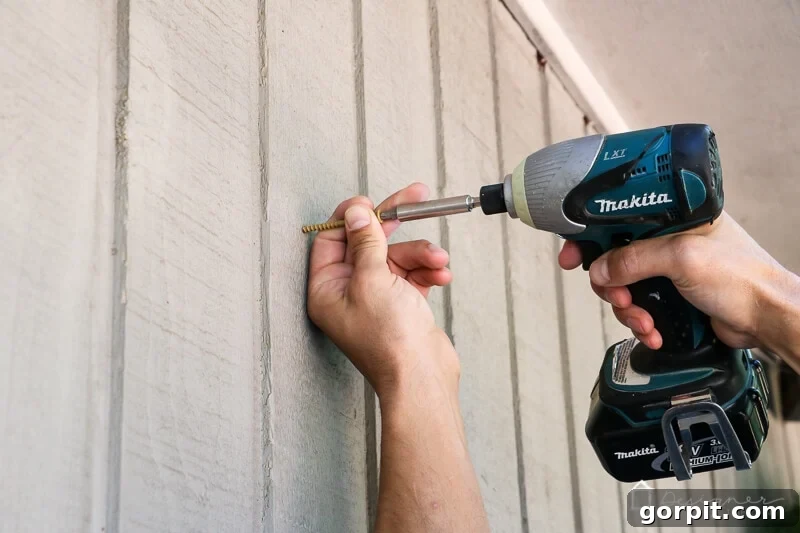
The final step is to hang your new outdoor chalkboard in its chosen location! Select appropriate hanging hardware for your house or deck structure. Since our house features wood with cedar siding, a sturdy 3-inch deck screw was sufficient to safely support the chalkboard. For brick, stucco, or other materials, you might need masonry anchors or specific heavy-duty hooks. Always ensure the hanging hardware is rated to exceed the weight of your chalkboard and is installed into a structural element for maximum safety and stability. Take a step back, ensure it’s level, and admire your handiwork!
Creative Uses and Customization Ideas for Your Outdoor Chalkboard
Once your DIY outdoor chalkboard is complete, the fun truly begins! It’s a dynamic piece that can adapt to countless uses and themes throughout the year. Here are just a few ideas to inspire you:
- Welcome Sign: Greet guests with personalized messages for parties, holidays, or just everyday charm.
- Outdoor Menu Board: Display drink specials, BBQ menus, or dessert options for backyard gatherings.
- Kids’ Activity Zone: Provide an endless canvas for drawings, games like tic-tac-toe, or creative storytelling.
- Gardening Notes: Keep track of planting schedules, crop rotations, or funny garden quotes.
- Inspirational Quotes: Share uplifting messages or seasonal sayings to brighten your outdoor space.
- Event Planner: Outline a party schedule, seating arrangements, or directions for guests.
- Chore Chart: Assign outdoor tasks to family members in a fun, visible way.
- Holiday Decor: Adapt the messages and drawings for various holidays, from Halloween to Christmas.
Maintaining Your Outdoor Chalkboard for Years of Enjoyment
While designed for durability, a little maintenance can keep your outdoor chalkboard looking its best for years to come.
- Regular Cleaning: Use a damp cloth to wipe away old chalk. For a deeper clean, a mild soap and water solution can be used, followed by a rinse and dry.
- Protect from Extreme Weather: If possible, during severe storms or prolonged periods of heavy rain/snow, you might consider temporarily moving your chalkboard to a more sheltered location to extend its life.
- Re-season if Needed: If you notice chalk not erasing cleanly after a while, simply re-season the board as described in Step 6.
- Frame Care: Periodically check the wood frame for any signs of wear or peeling paint. Touch up or repaint as needed to maintain its protective barrier against the elements.
Conclusion: Enjoy Your Custom Outdoor Chalkboard!
That’s all there is to it! With these detailed steps, you’ve successfully crafted a beautiful, durable, and highly functional DIY outdoor chalkboard. It’s a project that combines practicality with aesthetic appeal, giving you a custom piece that reflects your personal style and enhances your outdoor living experience. Now, hang it up, grab some chalk, and let the creativity flow!
Here’s a look at how wonderfully ours turned out, seamlessly blending into our outdoor entertainment area:
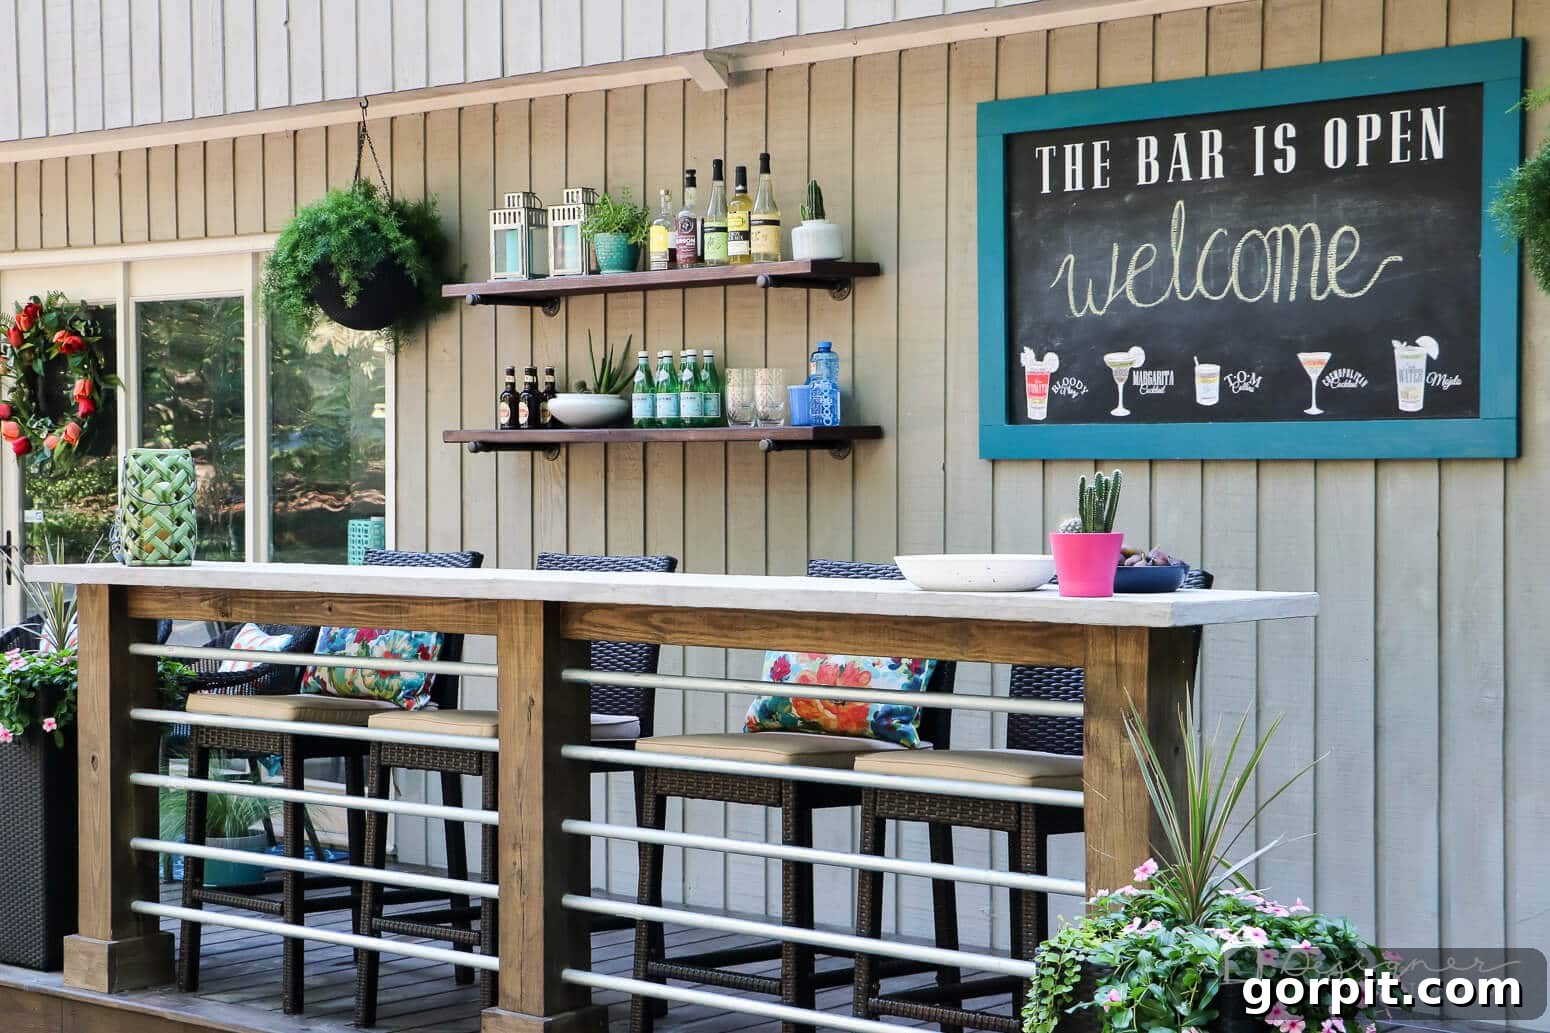
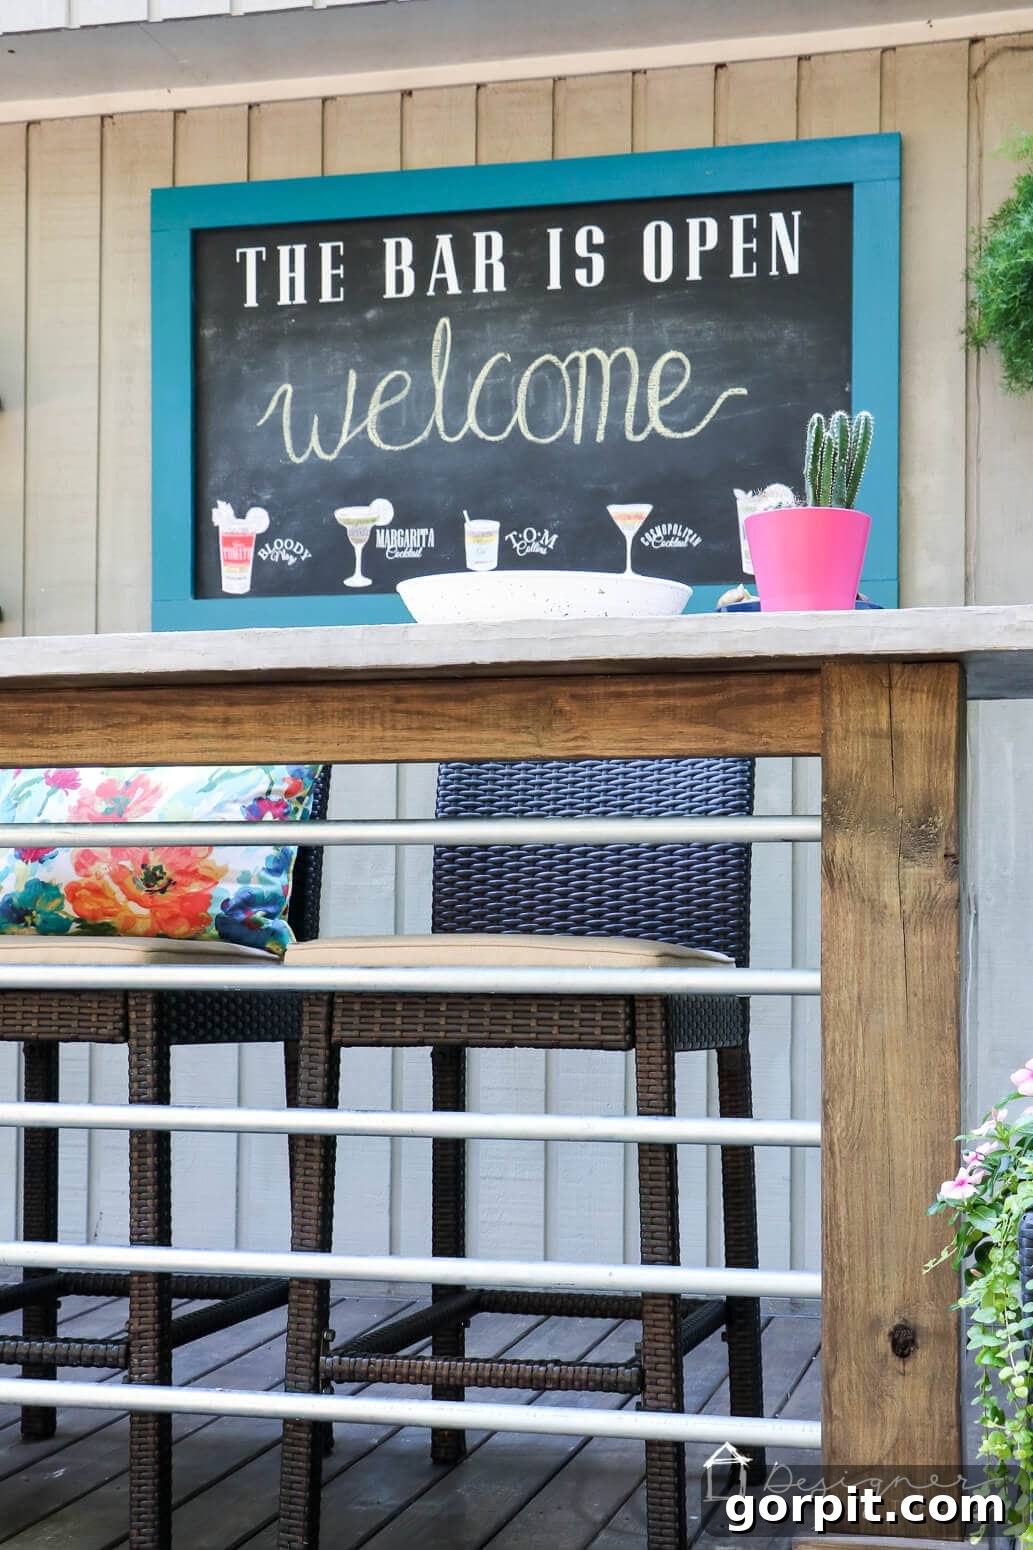
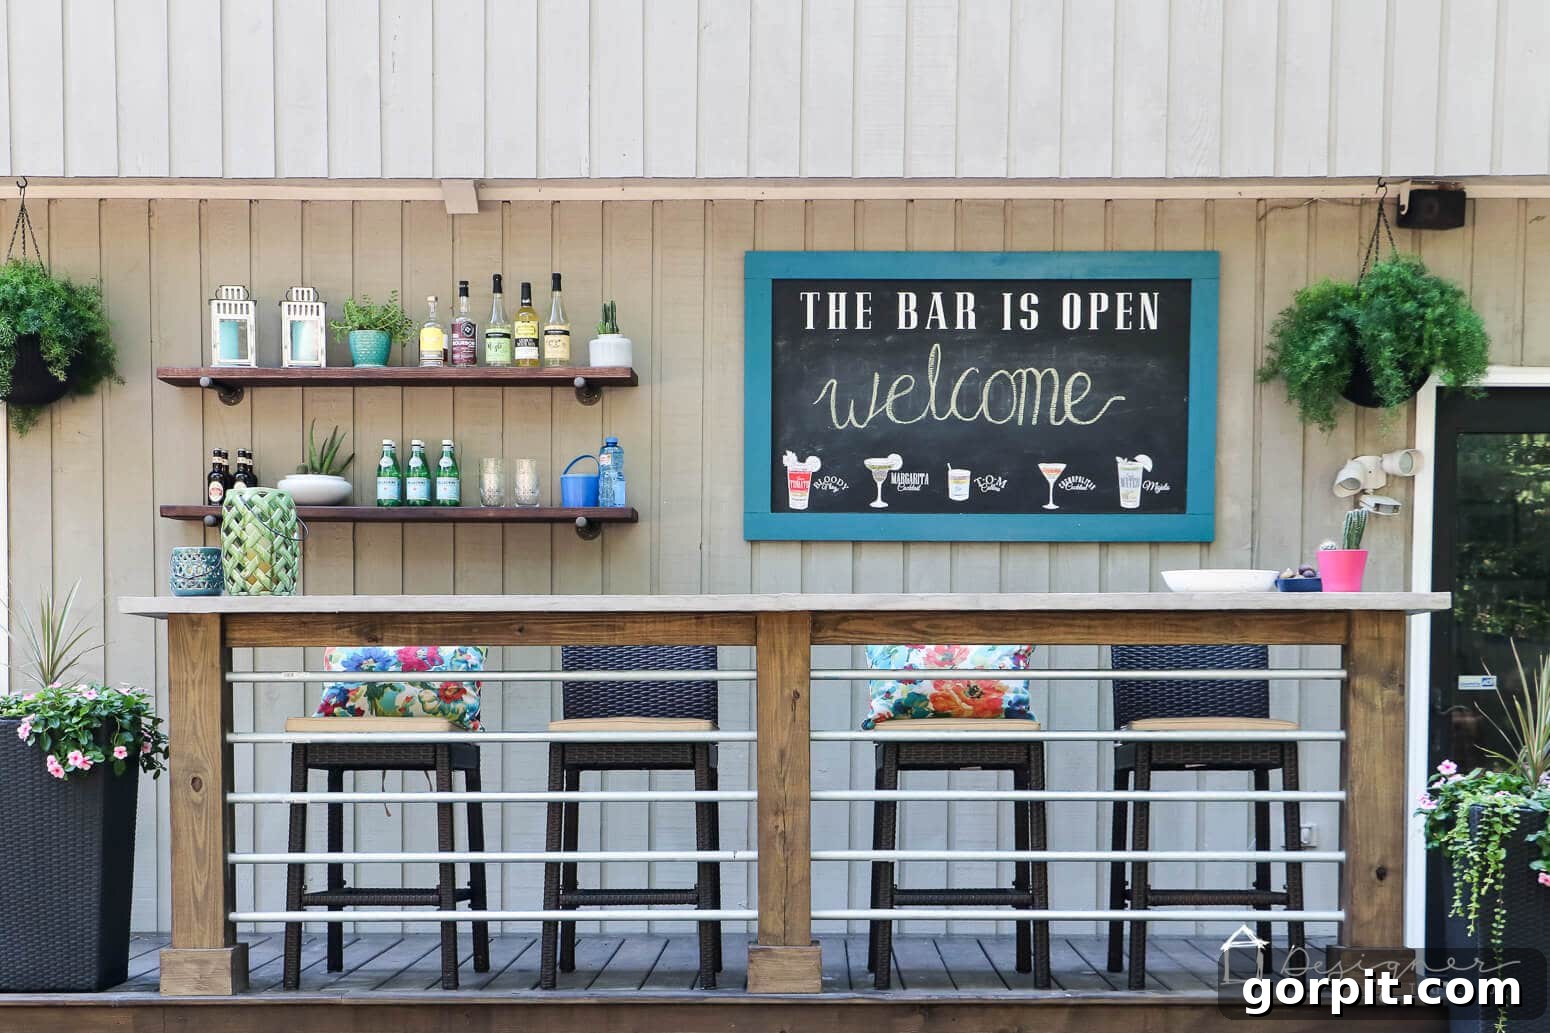
Want to see more of our outdoor projects? You can explore how we made that awesome DIY deck bar in this post and get the full details on the rest of our DIY deck reveal in this post. Oh, and if you love the industrial look, check out how we crafted those industrial pipe shelves in this post.
Happy crafting, and enjoy your fantastic new outdoor chalkboard!