
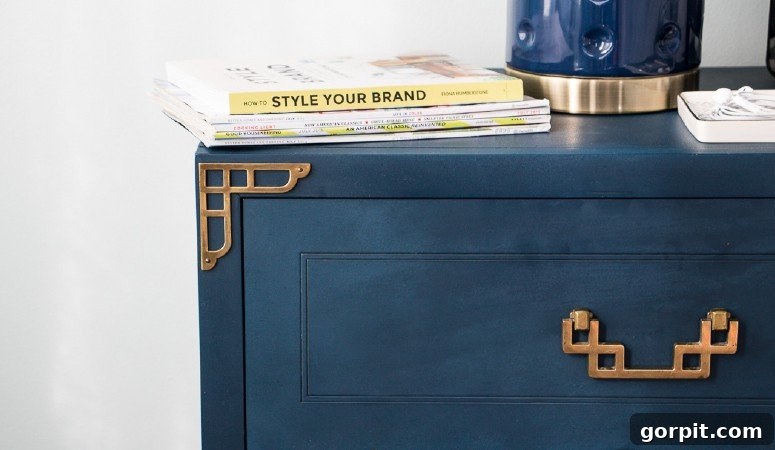
Welcome to another exciting week of DIY transformations! After a wonderfully relaxing weekend filled with beautiful weather – a rare treat in our busy lives – I’m thrilled to finally share a project that has been a long time coming. Forget major construction or intricate builds; this weekend was about capturing and crafting the story of a stunning campaign bedside table makeover we completed a little while ago. Prepare to be inspired, because these “new” pieces in our master bedroom are not just beautiful, they’re a testament to the power of vision and a little elbow grease. I am absolutely head over heels for them!
The Unbelievable Find: How These Campaign Bedside Tables Became Ours
Here’s the incredible truth: these aren’t new at all. In fact, their journey to our home began on the side of the road, specifically in the forgotten parking lot of what used to be a “Fruits and Veggies” storefront. Imagine my delight when I spotted not just one, but an entire solid wood furniture set! This incredible haul included two bedside tables (the stars of today’s makeover), a matching dresser, a chest of drawers, and even a large mirror – all for the unbelievable price of just $160! Yes, you read that right. For less than the cost of a single new bedside table, I acquired a complete suite of robust, solid wood furniture, complete with charming brass hardware that was in surprisingly good condition.
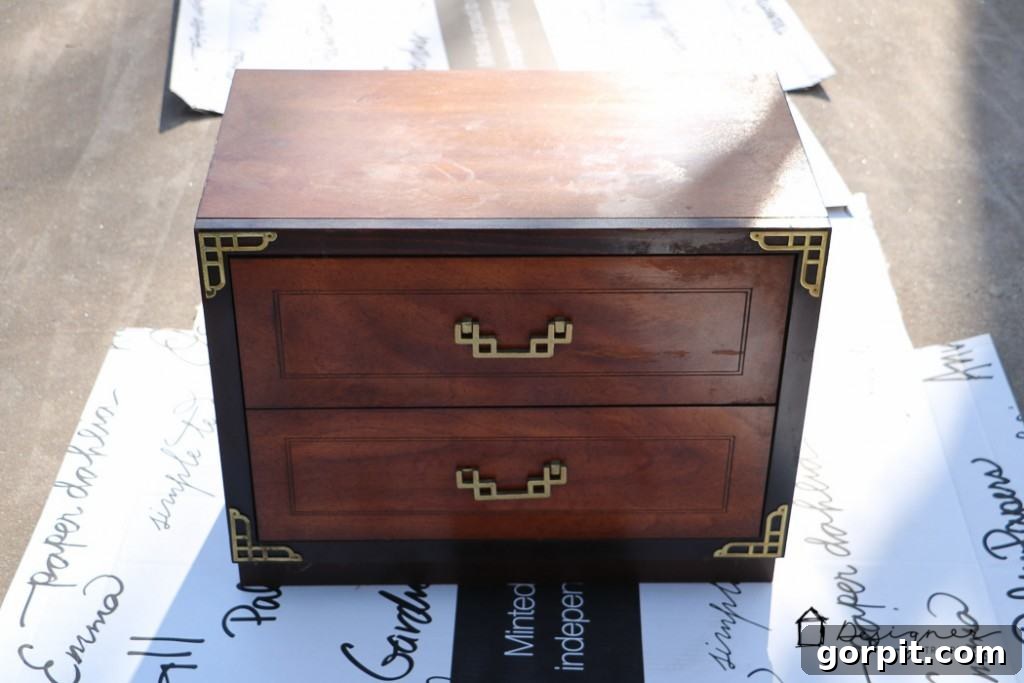
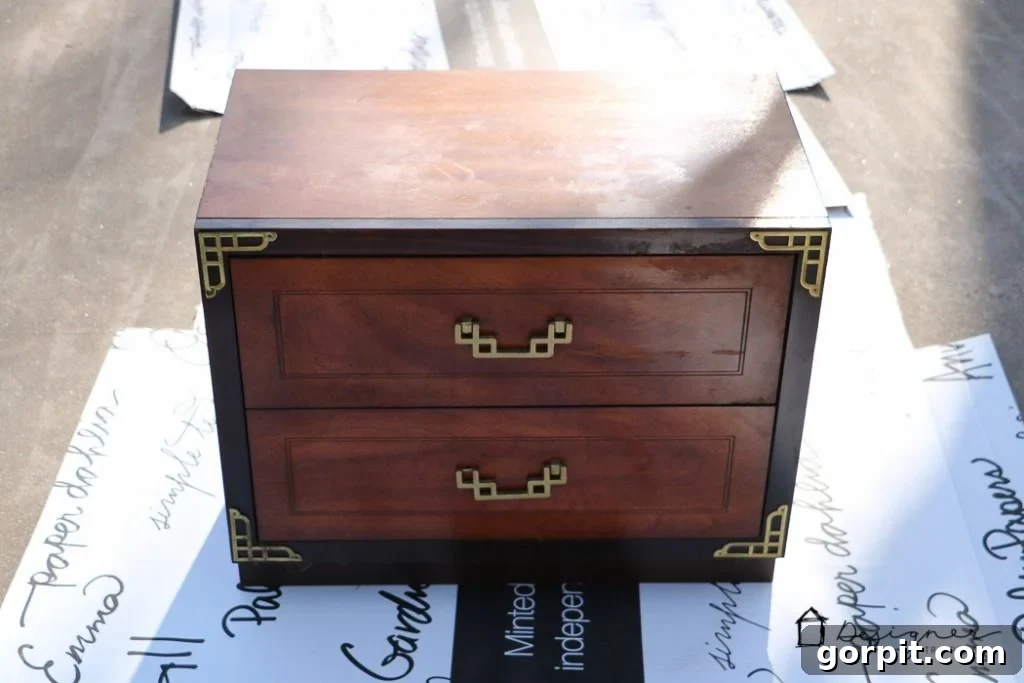
Of course, a roadside rescue at such a bargain price isn’t without its quirks. The wood itself was far from pristine, showing all the signs of its previous life and outdoor exposure. However, for someone like me who genuinely prefers the character and versatility of painted furniture, this was a non-issue. The minor imperfections simply provided the perfect canvas for a complete transformation. We brought these treasures home, eager to begin their journey from forgotten to fabulous. Here’s a glimpse of what the bedside tables looked like when they first arrived:
This post contains some affiliate links for your convenience. Click here to read my full disclosure policy.
Why This Project Was Different: Embracing the Sprayer for a Flawless Finish
Confession time: I usually approach furniture painting with a healthy dose of dread. The endless sanding, the multiple brush strokes, the risk of uneven finishes… it can be quite the undertaking. But for this campaign furniture makeover, I was genuinely excited. Why the sudden shift in enthusiasm? Because this was my opportunity to try out my brand new HomeRight Finish Max Fine Finish Sprayer, along with its complementary spray shelter. These tools promised to revolutionize my painting process, offering the promise of a smooth, professional-grade finish with significantly less effort and time. Read on to discover exactly how I achieved such stunning results with this game-changing duo.
Essential Materials for Your Campaign Bedside Table Makeover
Achieving a high-quality, durable finish on your furniture makeover projects starts with having the right tools and materials. Here’s a detailed list of everything you’ll need to replicate this gorgeous campaign bedside table transformation:
Tools:
- 5-in-1 Painter’s Tool: Invaluable for gently prying off hardware.
- Hammer: For minor adjustments or helping with stubborn hardware.
- Screwdriver: Essential for removing drawer pulls and other fixtures.
- HomeRight Finish Max Fine Finish Sprayer: The star tool for achieving a smooth, factory-like finish. Its precision and ease of use make furniture painting a joy rather than a chore.
- HomeRight Spray Shelter: A crucial accessory that contains overspray, protects your surroundings, and creates an ideal environment for painting, even indoors (with proper ventilation).
Cleaning & Prep Supplies:
- Paper towels: For drying and general clean-up.
- Simple Green All-Purpose Cleaner: An excellent degreaser and cleaner for thoroughly preparing your furniture surface.
- Bar Keeper’s Friend Cleanser: My secret weapon for restoring the shine to tarnished brass hardware.
- Water: For rinsing and thinning paint.
Paint & Finish:
- Paint: The choice of paint is paramount for a lasting and beautiful finish. I personally used and highly recommend Amy Howard At Home One Step Paint in “Lady Singing the Blues.” This gorgeous navy blue is incredibly rich and vibrant. The beauty of “One Step” paint, like many chalk-based or mineral paints, is that it often eliminates the need for extensive sanding or priming, adhering beautifully to various surfaces. Alternatively, any high-quality chalk-based paint or General Finishes Milk Paint would yield excellent results. (For context on the power of quality paint, you can read all about how we achieved perfect results painting our kitchen cabinets with it here). A crucial piece of advice: I NEVER recommend using latex paint for furniture projects due to its tendency to chip, scratch, and not adhere as well in the long term (find out more about why I avoid latex paint on furniture here).
- Amy Howard At Home Light Antique Wax (Optional but recommended): If you desire to add depth, a subtle aged appearance, and an extra layer of protection to your painted piece, this light antique wax is ideal.
Step-by-Step Guide to Your Furniture Transformation
Transforming old, neglected furniture into stylish showpieces doesn’t have to be complicated. With the right approach and tools, you can achieve professional-looking results. Follow these detailed steps to give your campaign bedside tables, or any furniture piece, a stunning new lease on life.
Step 1: Delicately Removing Hardware
The first crucial step is to carefully remove all original hardware. Campaign furniture often features distinctive brass corner pieces and drawer pulls. Use your 5-in-1 painter’s tool to gently pry off the decorative corner hardware, taking care not to damage the wood or the hardware itself. For drawer pulls, a simple screwdriver will suffice. Once removed, don’t forget to clean your hardware thoroughly. I used Bar Keeper’s Friend, which works wonders on tarnished brass, restoring its original luster and preparing it to complement your refreshed furniture beautifully.
Step 2: The Critical Cleaning Phase
Proper cleaning is the foundation of any successful paint job, ensuring optimal adhesion and a smooth finish. Begin by cleaning your entire piece thoroughly using Simple Green, mixed according to the instructions on its label. Pay close attention to any grime, dust, or residue that may have accumulated over the years. Once the initial cleaning is complete, it’s vital to spray the entire piece with plain water and wipe it dry with clean paper towels. This crucial rinsing step ensures that no residual Simple Green remains on the surface, as any leftover cleaner could potentially interfere with the paint’s adhesion, leading to peeling or bubbling down the line. A perfectly clean surface guarantees a professional result.
Step 3: Setting Up for a Flawless Finish with Your Sprayer
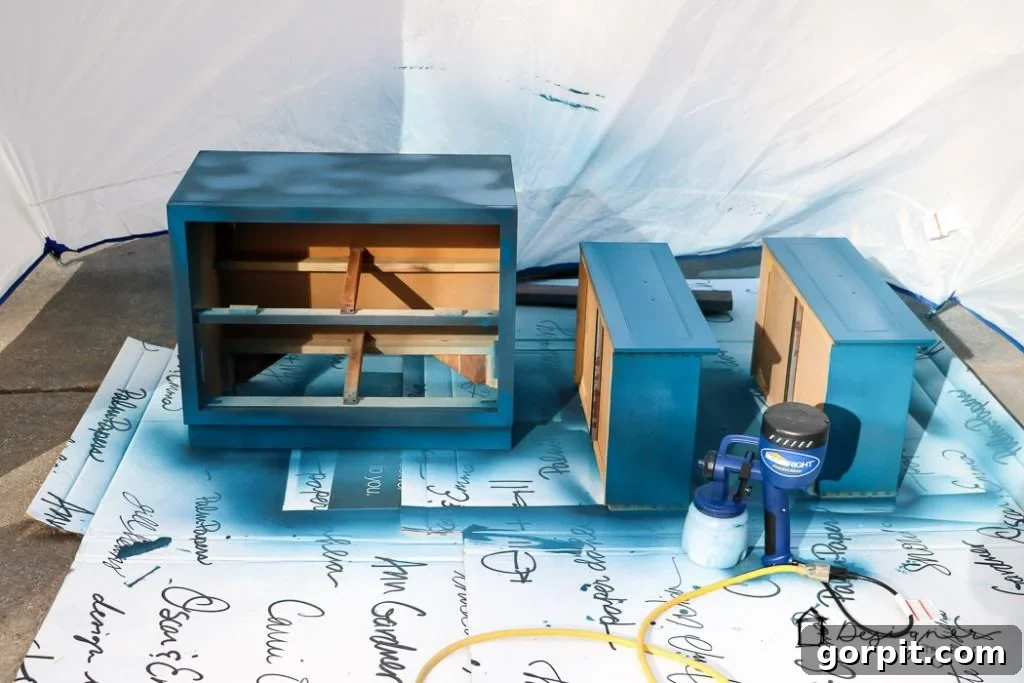
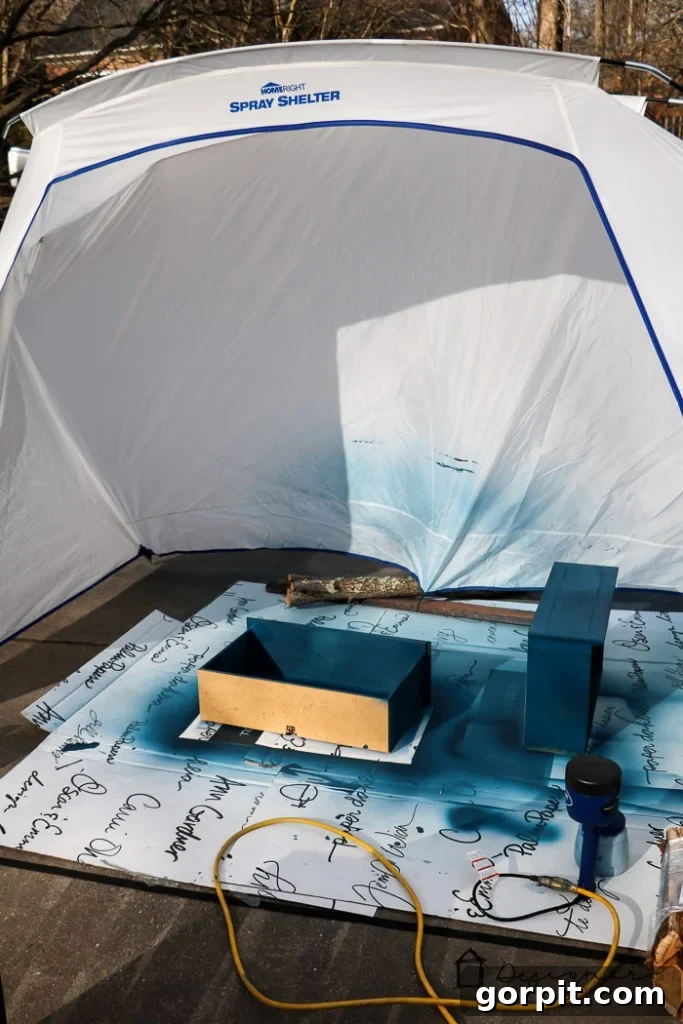
With your furniture clean and hardware removed, it’s time to prepare for painting. This is where the HomeRight tools truly shine. I quickly set up my HomeRight Spray Shelter, which is incredibly easy to assemble and provides an ideal, contained environment for spraying, minimizing overspray and keeping dust away from your wet paint. Next, I loaded my HomeRight Finish Max Fine Finish Sprayer with the chosen paint. A critical tip here: always read the sprayer’s instructions carefully regarding paint consistency. Most sprayers require paint to be thinned to a specific viscosity. For my Amy Howard One Step Paint, I found that thinning it slightly with water was necessary to achieve the perfect flow and atomization for an ultra-smooth finish. Don’t skip this step – proper thinning is key to preventing clogs and ensuring an even spray pattern.
Step 4: Mastering the Art of Spray Painting
Now for the fun part: spray, spray, spray! This is where the HomeRight sprayer truly transforms the painting experience. It’s essential to follow HomeRight’s recommendations for how far away to hold the sprayer from the surface and how to adjust the spray pattern. Experimenting on a scrap piece of cardboard first can help you quickly get a feel for the tool and find the ideal settings for a nice, even coverage. While it took a few minutes of playing around to get my technique just right, I quickly became confident, and I assure you, anyone can master this! I applied two light, even coats of the “Lady Singing the Blues” navy paint. Fortunately, the Amy Howard One Step Paint (and most quality chalk or mineral paints) dries remarkably fast, which meant this entire painting phase, from set-up to the final coat, was completed in approximately two hours. This efficiency is a huge advantage, allowing you to complete projects much faster than traditional brush painting methods.
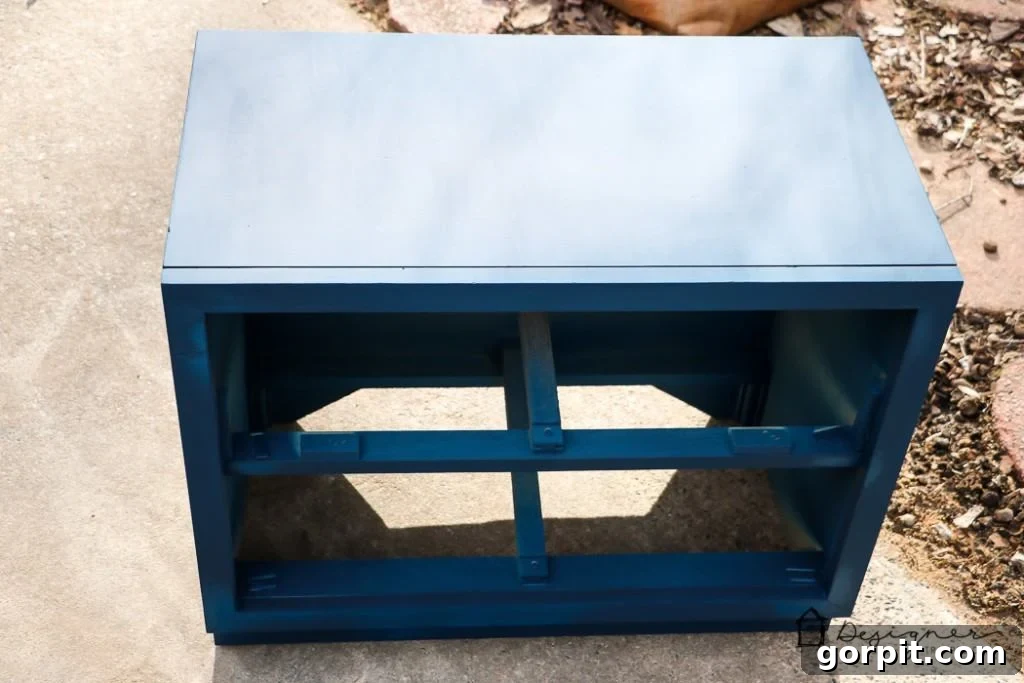
Step 5: Achieving an Aged Patina with Antique Wax (Optional)
Once my paint was completely dry to the touch, I chose to apply Amy Howard Light Antique Wax to the entire piece. This step is entirely optional and depends on the aesthetic you’re aiming for. The light antique wax imparts a subtle dark tint to the painted surface, creating a more realistic, gently aged, and antique look. If your goal is a perfectly uniform, flat, and modern finish, then you should skip the waxing step. However, I personally waxed my bedside tables because I didn’t want them to appear brand new or too perfect. The wax adds a beautiful depth and character, enhancing the vintage appeal of the campaign style. It’s a fantastic way to add dimension and protect your paint. For a visual guide, I typically create video tutorials on wax application on my blog, demonstrating the best techniques to achieve this effect.
Step 6: The Satisfying Reassembly
With the paint and wax fully cured, the final step is the incredibly satisfying process of reattaching your hardware. Carefully position and secure the cleaned brass corner pieces and drawer pulls. This is where your foresight in cleaning the original hardware really pays off, as the sparkling brass beautifully contrasts and complements the rich new paint color. It’s a moment of immense satisfaction, seeing all the elements come together to create a cohesive and stunning piece.
The Grand Reveal: Beyond Our Wildest Dreams
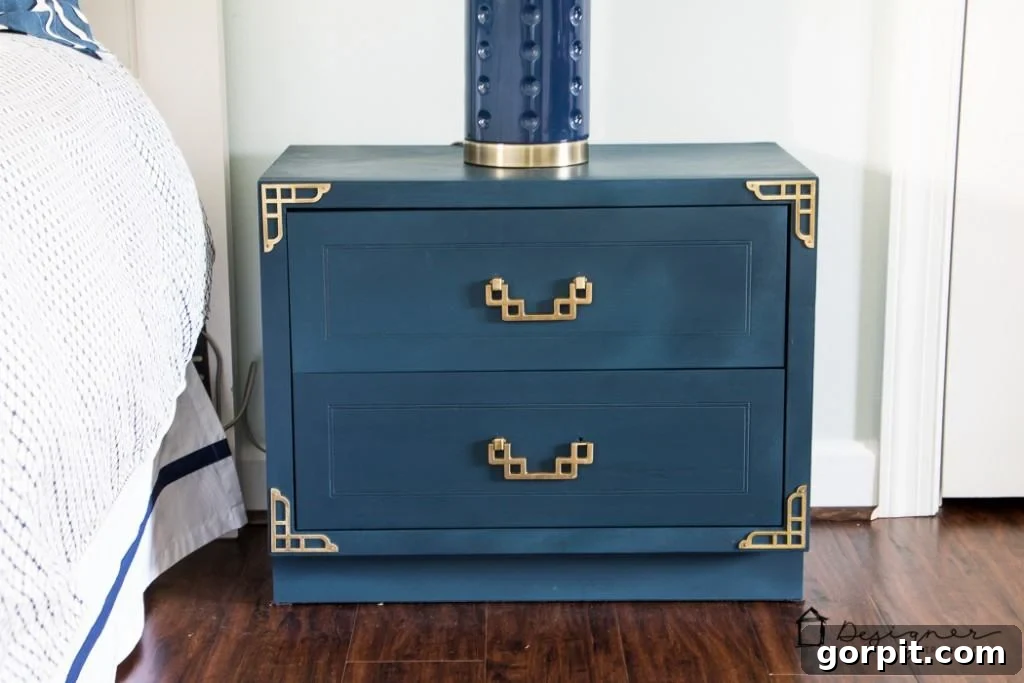
That’s it! The transformation is complete, and I am absolutely ecstatic with how beautifully my campaign bedside table makeover turned out! The deep navy hue paired with the polished brass hardware elevates these roadside finds to pieces that look custom-made and incredibly high-end. They now serve as elegant focal points in our master bedroom, proving that with a little vision and the right tools, “trash” can truly become “treasure.”
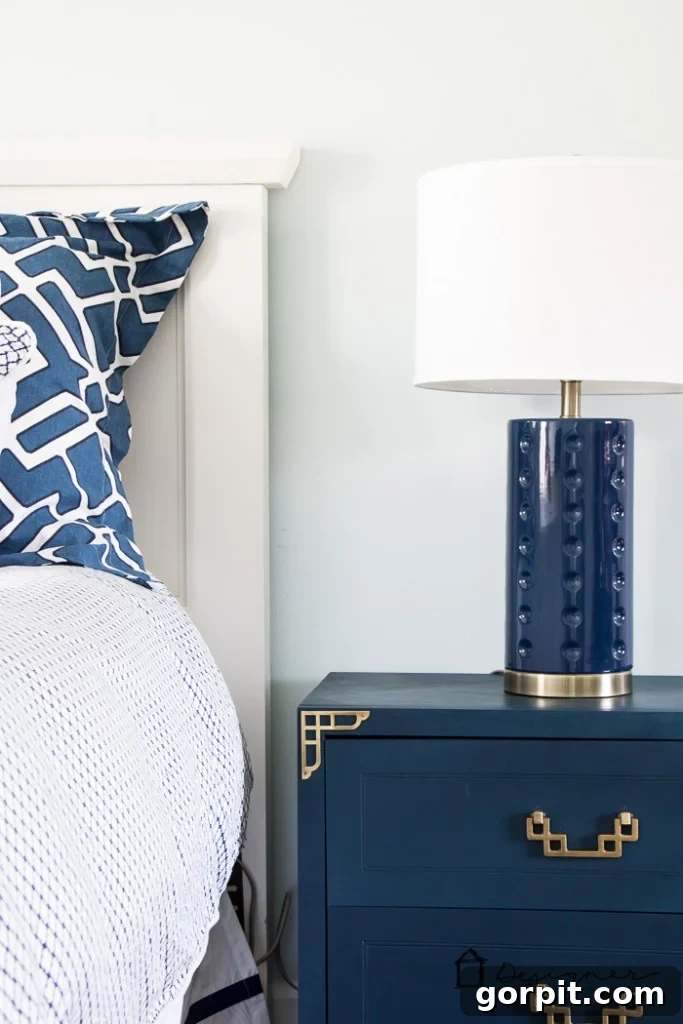
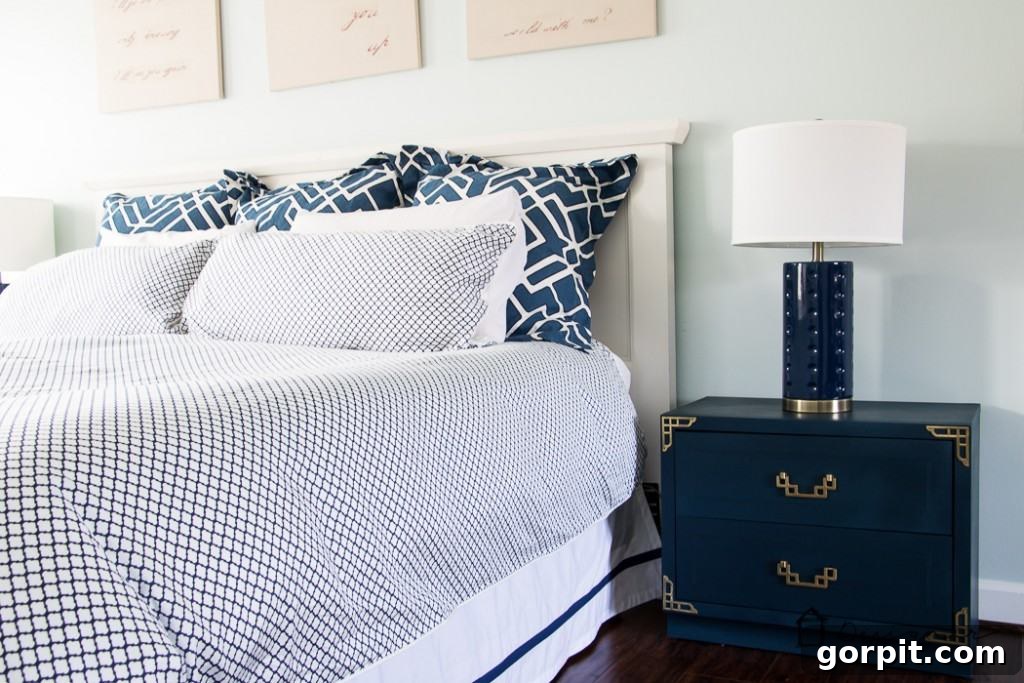
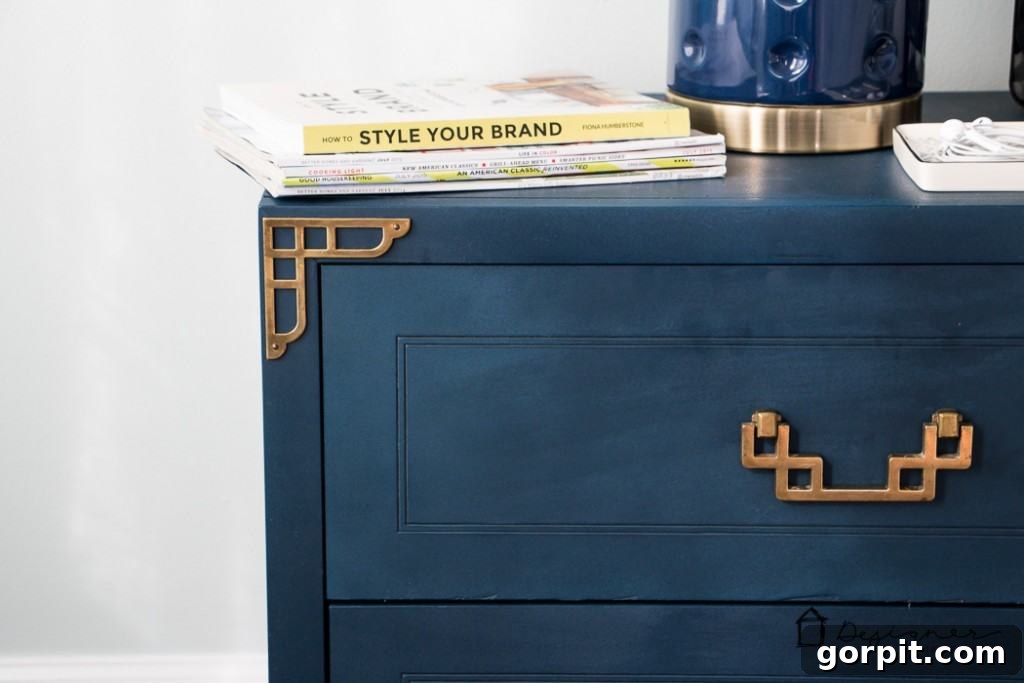
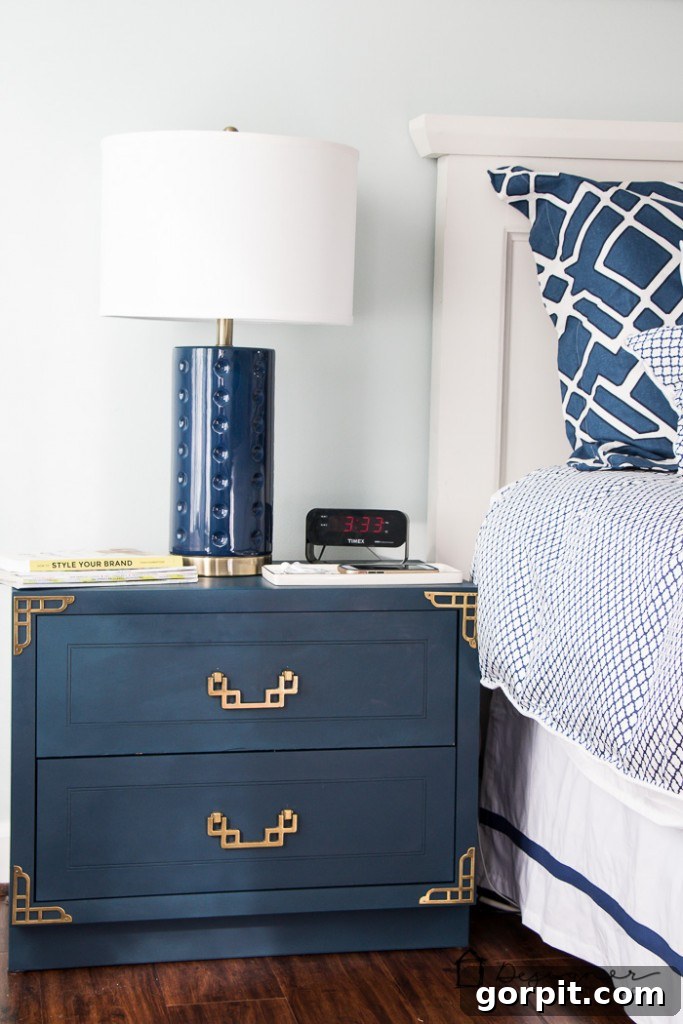
A Look Back: Campaign Bedside Table Before & After
Sometimes, words aren’t enough to convey the full impact of a furniture transformation. The contrast between the initial condition and the finished piece is truly astonishing. This before-and-after comparison highlights just how much potential lies hidden in overlooked items and how a little love (and a lot of paint!) can bring them back to life. Prepare to be amazed:
 |
 |
Final Thoughts & Future Furniture Adventures
This entire furniture set, purchased for a mere $160, stands as the best investment I’ve ever made in home decor. It truly underscores the incredible value you can find in second-hand pieces, especially solid wood items that are built to last. While the bedside tables are now perfectly at home in our master bedroom, there’s still more to do! I’m eagerly looking forward to painting the matching chest of drawers, which we plan to keep for ourselves, and also transforming the dresser and mirror, both of which will be listed for sale. The prospect of tackling these remaining pieces fills me with excitement, not dread, and that’s largely thanks to the tools that have become indispensable in my DIY arsenal.
If you, like me, find yourself frequently undertaking furniture painting projects, trust me when I say that investing in a high-quality paint sprayer and a dedicated spray tent, like the HomeRight sprayer and spray tent, is an absolute game-changer. These tools drastically cut down on time and effort, while significantly improving the quality of your finish. Beyond the tools, remember the importance of selecting the best paint for the furniture you are working on, as quality paint provides superior adhesion and durability. Embracing these game-changing techniques and products will elevate your DIY projects and open up a world of possibilities for transforming your home on a budget!

Disclosure & Acknowledgments
A heartfelt thank you to HomeRight for providing me with the sprayer and spray tent to try out. I have genuinely fallen in love with both products as a direct result of using them on this project! As always, my opinions are 100% genuine, unbiased, and are not influenced by the fact that I received free products to sample. My commitment is always to provide honest and helpful advice to my readers.