
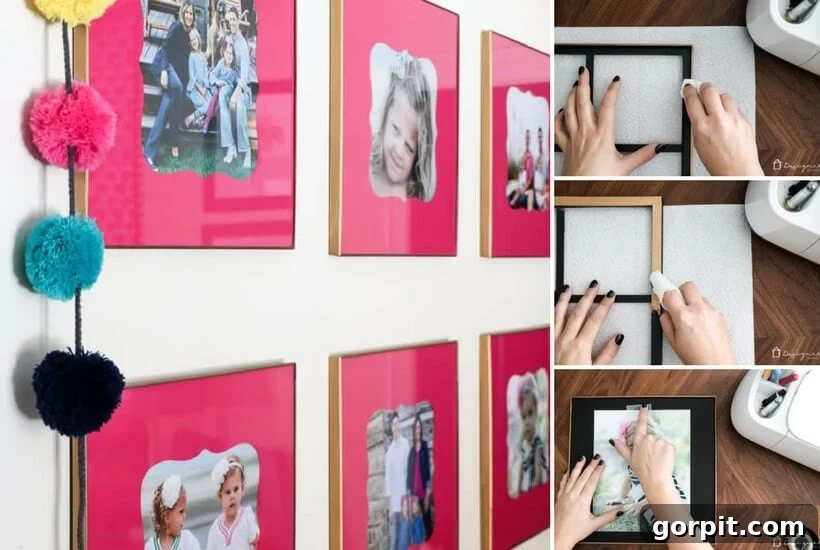
Gold Frames DIY: A Budget-Friendly Tutorial for Stunning Decor
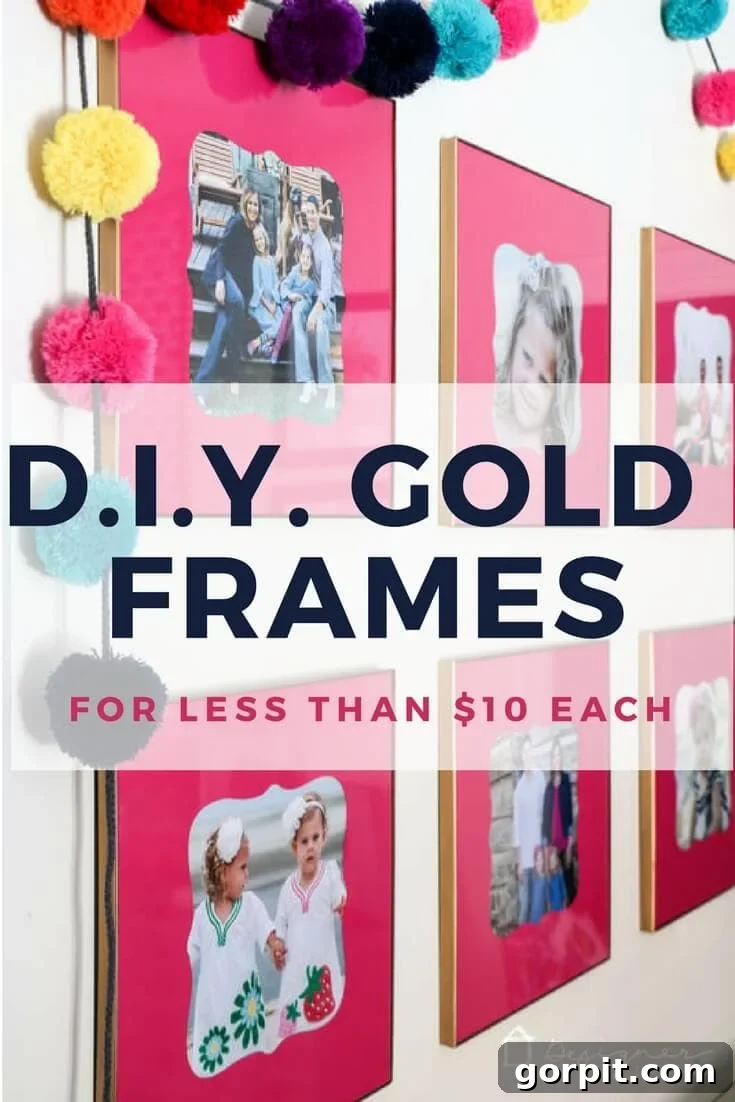
Hello, fellow DIY enthusiasts! Have you noticed that gold frames are everywhere these days? They bring a touch of elegance and sophistication to any space, making artwork and photos truly pop. But let’s be honest, finding genuinely affordable gold frames that don’t compromise on style or quality can feel like a treasure hunt with no reward. Often, even frames marketed as “budget-friendly” come with a price tag that makes you think twice. If you’ve been yearning for that chic, gilded look without draining your wallet, you’re in for a treat!
Recently, I shared a post detailing how I crafted custom DIY photo mats for Attley’s room, and the response was overwhelming. My inbox was flooded with questions about where I sourced the beautiful frames. When I revealed that these weren’t store-bought masterpieces but rather a semi-DIY transformation of inexpensive plastic frames, the requests for a tutorial became instant and insistent. Well, your wish is my command! I’ve put together this comprehensive guide as quickly as possible to show you exactly how to achieve these gorgeous, high-end looking gold frames on a tiny budget. Get ready to elevate your home decor with this simple yet impactful project.
This post contains some affiliate links for your convenience (which means if you make a purchase after clicking a link I will earn a small commission but it won’t cost you a penny more)! Click here to read my full disclosure policy.
Transform Your Space: Semi-DIY Gold Frames Tutorial
Creating your own stunning gold frames is easier than you might think. This semi-DIY approach allows you to achieve a luxurious finish without the hefty price tag associated with genuine metal frames. The secret lies in a versatile product that works wonders on ordinary plastic frames, turning them into elegant pieces that will fool even the most discerning eye. Let’s gather our supplies and get started on this exciting transformation!
Materials You’ll Need:
- Square Plastic Frames (I found great value in a 6-pack, and also purchased 2 individuals to complete my set. You can buy them individually here if you only need a few.) Look for frames with a simple, clean profile. The color doesn’t matter much as we’ll be covering it, but black provides a good base.
- Rub N’ Buff in Antique Gold (This is the magic ingredient! We used less than one tube to cover 8 frames, which speaks to its incredible coverage and efficiency.)
- Soft cloth or Paper towels (For applying the Rub N’ Buff and buffing.)
- Optional: Gloves (To keep your hands clean, though Rub N’ Buff washes off easily with soap and water.)
- Optional: Custom Photo Mats (If you’re also making your own mats, as I did, this can further personalize your frames. For a truly high-end look, consider classic white mats.)
Before diving into the steps, let’s take a moment to appreciate the potential of this project. Gold frames are incredibly versatile. They can complement various interior design styles, from modern minimalist to classic ornate, bohemian chic to farmhouse rustic. By crafting your own, you’re not just saving money; you’re also adding a unique, personalized touch to your home decor that reflects your creativity and resourcefulness.
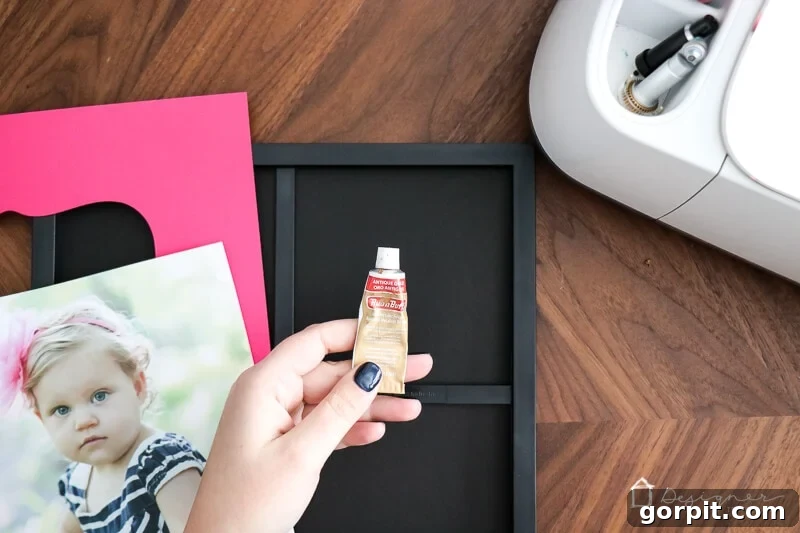
Step-by-Step Guide to Gilded Perfection:
For those who prefer a visual demonstration, a video overview of this project might be available on the original blog. However, the written instructions below provide all the details you need to succeed.
1. Prepare Your Frames:
Begin by carefully removing the glass and the back insert from each of your square plastic frames. It’s crucial to work with the bare frame to ensure complete and even coverage. Don’t worry about the fact that they’re plastic – the transformation you’re about to achieve will make them look like beautiful, solid gold metal pieces!
2. Apply the Rub N’ Buff: The Magic Touch
Now for the fun part! Squeeze a small amount of Rub N’ Buff in Antique Gold onto a paper towel or a soft cloth. Remember, this product is a wax-based metallic finish, and a little goes a very long way. You’ll be amazed at how efficiently it spreads.
Gently rub the Rub N’ Buff onto the black plastic frame. Use circular motions or long, even strokes to ensure thorough coverage. The wax formula adheres beautifully and instantly begins to transform the plain plastic into a rich, metallic gold. Pay close attention to corners and edges, ensuring every part of the frame’s visible surface is coated. This is where precision makes all the difference in achieving that professional, seamless look.
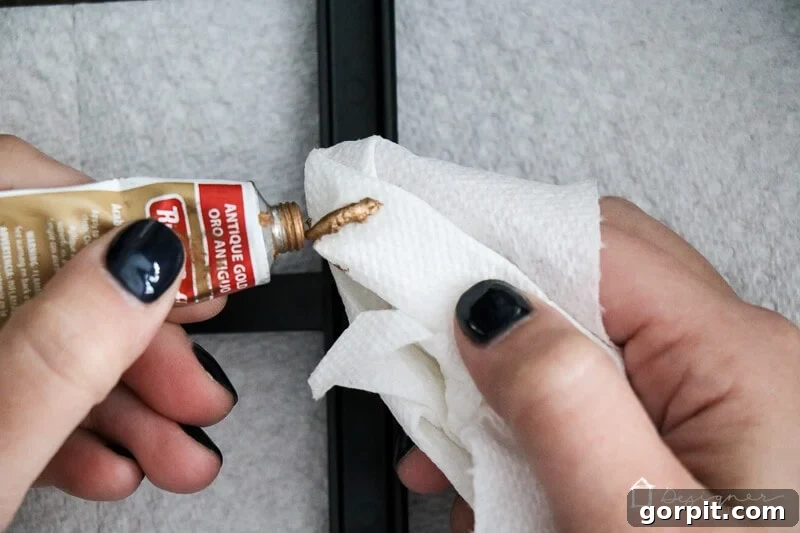
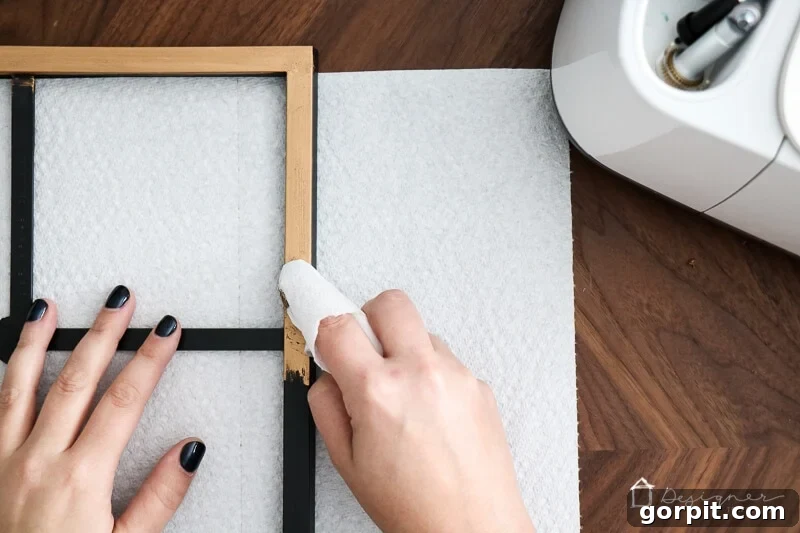
Ensure you achieve complete coverage across the entire front and sides of the frame. Don’t forget to fully coat the thin profile that will be visible from the front and sides once hung. The beauty of Rub N’ Buff is its ability to adhere smoothly and evenly, masking the original material completely. You can always apply a second thin layer if you desire a deeper, more intense gold finish, but often one good coat is sufficient.
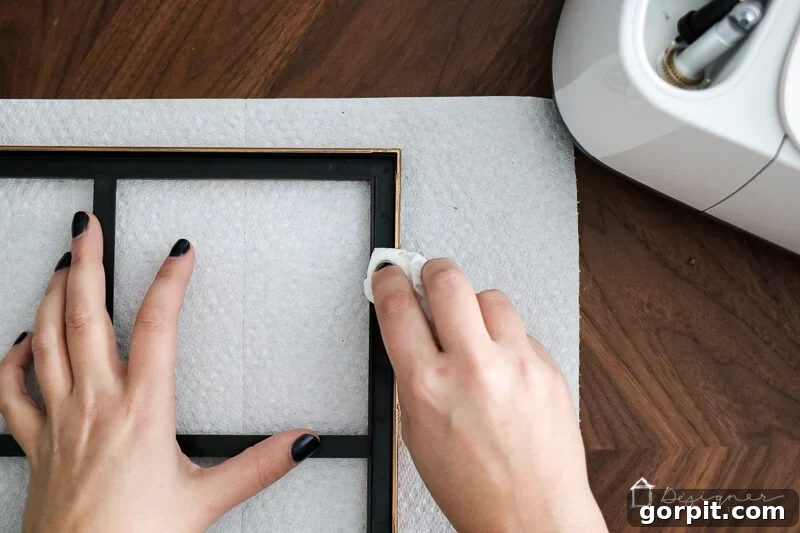
A smart tip: you don’t need to apply the product to the inside edges of the frame that will be completely covered by the glass, photo mat, and backing. Work smarter, not harder – focus your efforts on the parts that will actually be seen!
3. Assemble and Enjoy:
One of the most appealing aspects of working with Rub N’ Buff is its incredibly fast drying time. It dries almost instantly to the touch, and once dry, it’s remarkably durable – far more resilient and less prone to chipping than many spray paints. This means you can move straight to assembly without long waiting periods!
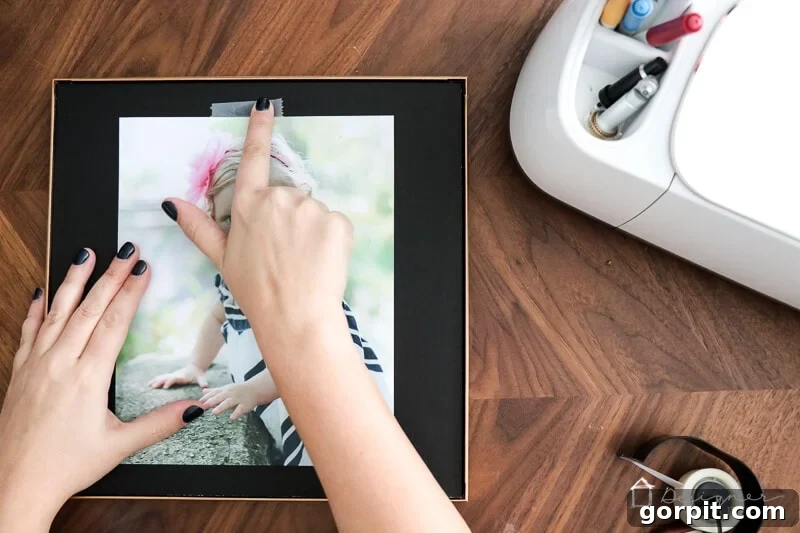
Immediately after applying the Rub N’ Buff, you can reinsert the backer, your custom photo mat (if using), and your chosen photograph or artwork. Then, carefully replace the glass, which should just pop back into place. That’s it! Your transformed gold frames are now ready to be hung and admired.
The Unbeatable Value: A Cost Comparison
Let’s talk about the numbers, because this is where the DIY magic truly shines. We purchased 8 frames for approximately $66. The Rub N’ Buff in Antique Gold costs around $7.00, and as mentioned, we used less than one tube for all 8 frames. If you factor in the cost of making your own photo mats at about $0.50 each (as I did), our total cost per frame comes in at less than $10!
Compare this to store-bought gold frames of similar quality and aesthetic, which can easily range from $20 to $50 or more per frame, especially for larger sizes or specific finishes. This project represents a monumental saving, allowing you to achieve a cohesive, high-end look across multiple frames for a fraction of the retail price. I definitely call that a HUGE win for both your wallet and your home decor!
Customization and Styling Ideas
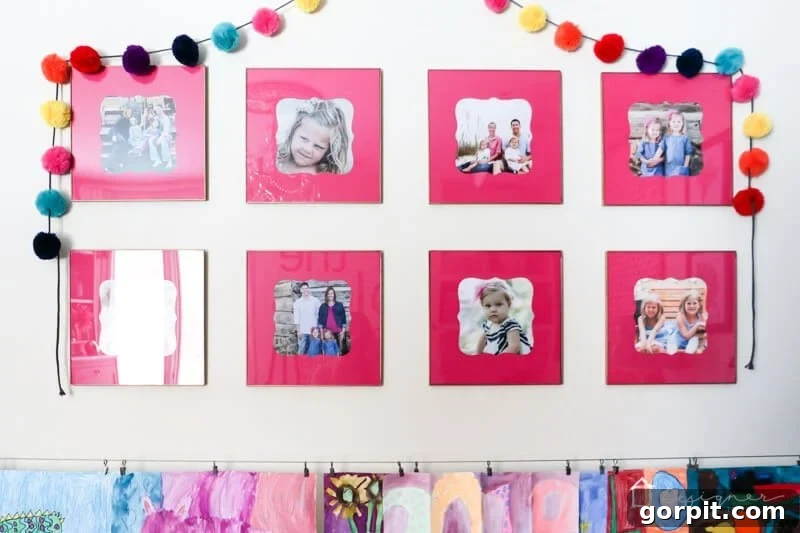
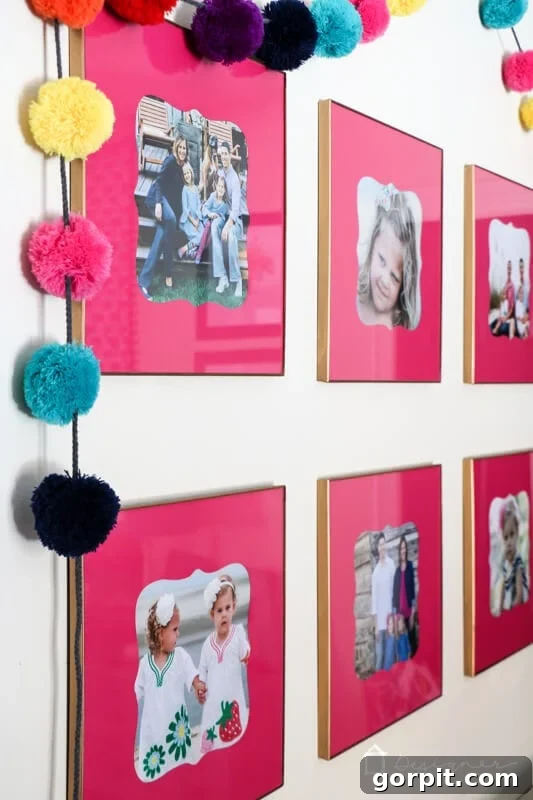
While I opted for vibrant bright pink DIY photo mats to add a pop of color to Attley’s room, the beauty of this project lies in its adaptability. Imagine these frames paired with crisp white photo mats – they would be virtually indistinguishable from much more expensive, high-end options found in boutique home stores. The “Antique Gold” shade of Rub N’ Buff provides a timeless, rich hue that works well with almost any color palette.
But why stop at just gold? Rub N’ Buff comes in a variety of metallic shades. You could experiment with “Gold Leaf” for a brighter gold, “Spanish Copper” for a warm, rustic feel, or even “Silver Leaf” for a modern, sleek look. The possibilities for customization are endless, allowing you to tailor your frames to perfectly match your unique style and existing decor. Consider using these frames to create a captivating gallery wall, highlighting cherished family photos, travel memories, or prints of your favorite artwork.
These frames aren’t just for photographs. Use them to frame small pieces of fabric, pressed flowers, abstract art, or even meaningful quotes to add personality to your space. Their versatile appeal makes them suitable for almost any room – from a sophisticated living room to a serene bedroom, a functional home office, or a charming nursery.
Here’s a sneak peek at the finished frames, proudly hanging in Attley’s room, showcasing how seamlessly they integrate into the space and elevate the overall aesthetic.
Beyond Frames: Expand Your DIY Horizons
The technique used for these gold frames can be applied to a multitude of other objects around your home. Think about transforming old, plain vases, candle holders, decorative trays, or even furniture hardware with a touch of Rub N’ Buff. It’s an incredibly versatile product that can breathe new life into forgotten items, turning them into bespoke pieces of decor that reflect your personal style and creativity.
Before you dash off to gather your supplies, don’t forget to grab our free guide! It’s packed with tips and inspiration to help you design a truly beautiful room – the perfect setting for your newly crafted, super affordable gold frames. Happy decorating!
Explore More DIY Projects
If you loved this tutorial, you’re in for a treat! Our blog is filled with exciting and achievable DIY home decor projects designed to help you create a beautiful living space without breaking the bank. From custom furniture makeovers to clever organizational solutions, there’s always something new to inspire your next creative endeavor. Be sure to browse our collection of most popular projects to discover more ways to personalize and enhance your home.
