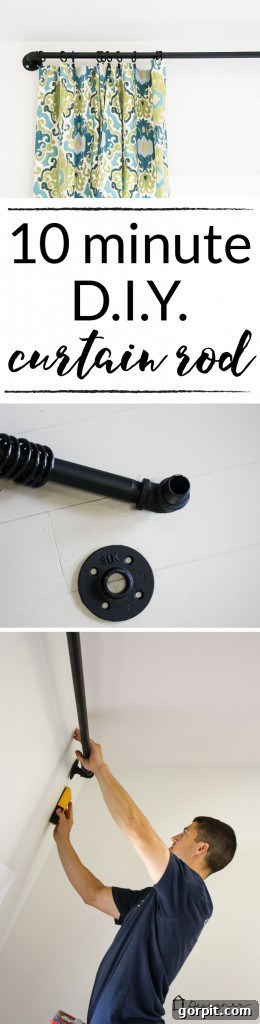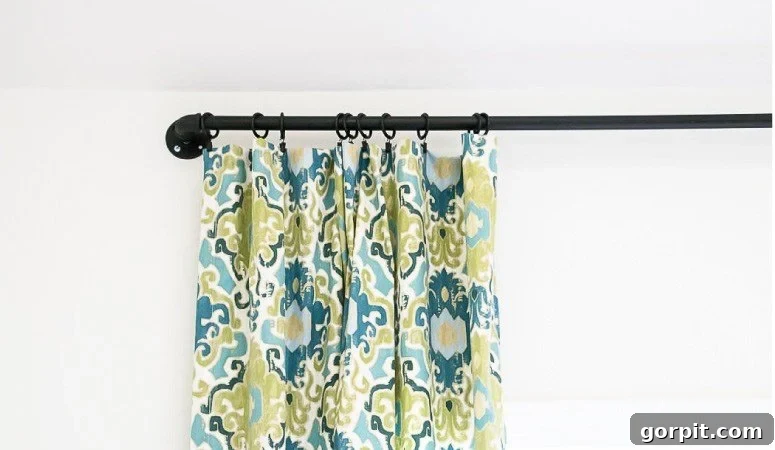
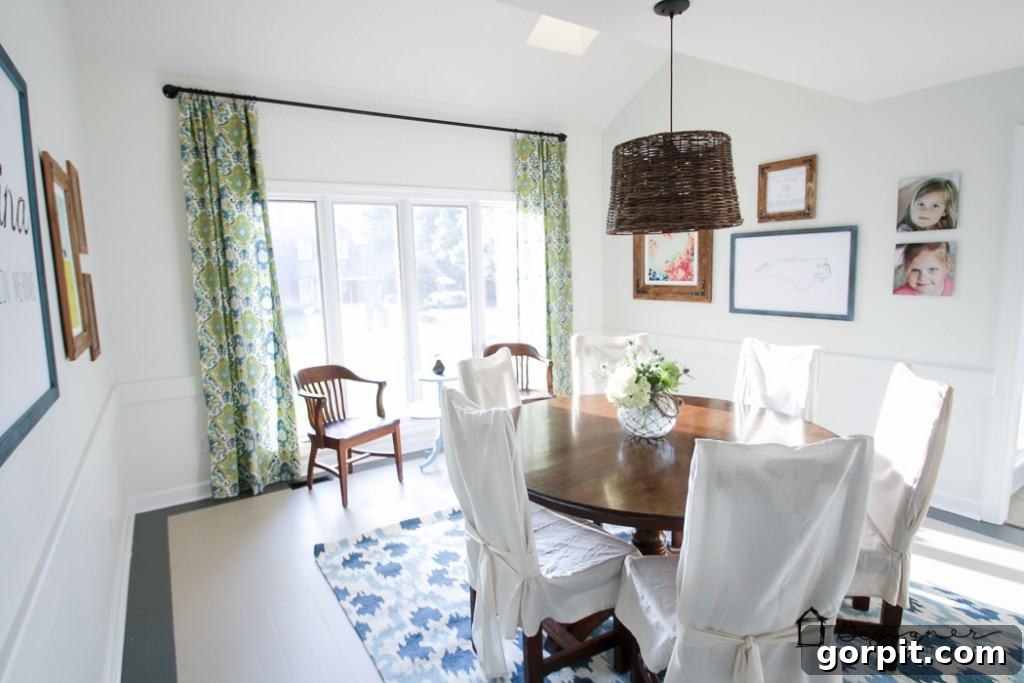
Welcome, home decor enthusiasts! If you’ve been dreaming of a stylish, robust, and budget-friendly curtain rod solution, your search ends here. Today, I’m thrilled to finally share the highly requested tutorial for our magnificent DIY industrial pipe curtain rod. When I unveiled our dining room makeover this summer, the industrial pipe curtain rod quickly became a favorite feature, and for good reason! It brings a unique blend of rugged charm and sophisticated style to any space, all while offering unparalleled durability. And the best part? It’s incredibly easy to create, proving that anyone can achieve a custom, high-end look without breaking the bank. The only significant hurdle you might face is transporting a 10-foot length of pipe home in your vehicle, but trust me, it’s worth the effort!
Let’s be honest: finding a long, sturdy curtain rod that won’t sag over time and doesn’t come with an exorbitant price tag is a rare feat. Many commercially available options are either flimsy, incredibly expensive, or both. This DIY industrial pipe curtain rod tutorial provides the perfect solution, delivering a heavy-duty, visually striking alternative at a fraction of the cost. This project is genuinely accessible to everyone, regardless of your DIY experience.
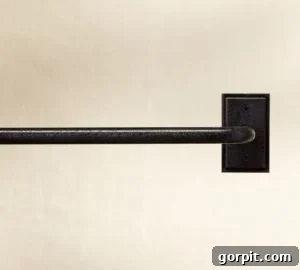
My inspiration for this affordable and durable curtain rod came from a gorgeous cast iron curtain rod I admired from Pottery Barn. I absolutely adored its industrial aesthetic, but I envisioned a slightly thicker rod for my space and knew I could achieve a similar or even superior look while saving a substantial amount of money by crafting my own. That realization sparked the journey to create this unique DIY curtain rod, which perfectly combines form, function, and affordability.
This post contains some affiliate links for your convenience. Click here to read my full disclosure policy.
Craft Your Own Industrial Pipe Curtain Rod: A Step-by-Step Guide
This tutorial will walk you through creating a durable, industrial-chic curtain rod using black steel pipes and fittings. This project is not only satisfying but also results in a show-stopping piece for your home decor.
Why Choose a DIY Industrial Pipe Curtain Rod?
There are numerous advantages to choosing a DIY pipe curtain rod over traditional options:
- Unmatched Durability: Black steel pipes are incredibly strong and resilient, ensuring your curtains hang perfectly without any sagging, even with heavy drapes or extra-long spans. This means no need for unsightly center support brackets!
- Cost-Effective: Compared to high-end designer curtain rods, making your own from plumbing pipes can save you a significant amount of money, often costing less than half the price.
- Industrial Chic Aesthetic: The raw, exposed metal look of black steel pipe adds a trendy, modern industrial vibe that complements a wide range of interior styles, from farmhouse to contemporary.
- Customization: You have complete control over the length and finish. You can easily cut pipes to fit any window size, ensuring a perfect, tailored look.
- Simple Assembly: Despite its robust appearance, assembling this curtain rod is surprisingly straightforward and requires only basic tools and a few common plumbing parts.
Materials Needed:
- 1 inch Black Steel Pipe: We opted for a 10-foot length for our dining room, which provides substantial support without sagging. You can find various pre-cut lengths at major home improvement stores like Home Depot or Lowe’s, or have them cut to your specific dimensions.
- 2 x 1-inch Black Steel Elbow Joints: These will create the clean, right-angle turns at each end of your rod.
- 2 x 1-inch Black Steel Floor Flanges: These are the essential mounting brackets that will secure your curtain rod firmly to the wall.
- 2 x 1-inch by 1-inch Black Steel Nipples: These short connectors bridge the elbow joints to the floor flanges, ensuring a secure attachment.
- Drill: For making pilot holes in your wall.
- Stud Finder: Crucial for locating wall studs for the most secure installation.
- Wall Anchors: Necessary if you cannot mount directly into wall studs, providing reliable support in drywall.
- Drapery Rings with Clips: These allow your curtains to glide smoothly along the rod and provide an easy way to attach your drapes.
- Painter’s Tape: Helpful for marking precise installation points.
- Cleaning Solution (e.g., Simple Green): For removing any grease or residue from the pipes.
Step-by-Step Assembly and Installation:
Follow these simple steps to construct and install your beautiful new industrial curtain rod.
1) Clean Your Pipe Thoroughly: Many black steel pipes come with a protective, greasy coating or stubborn stickers. It’s important to remove this residue for a cleaner look and to prevent any transfer to your curtains or walls. Use a strong degreaser like Simple Green and a rag to wipe down the entire length of the pipe until it’s clean and smooth.
2) Add Drapery Rings: Before you proceed with assembling the end pieces, remember to slide your drapery rings onto the main pipe rod. Once the elbow joints are attached, you won’t be able to add them, so don’t forget this crucial step!
3) Attach the Elbow Joints: Take one black steel elbow joint and firmly thread it onto each end of your pipe rod. Tighten them by hand until they are snug, ensuring they are securely fastened.
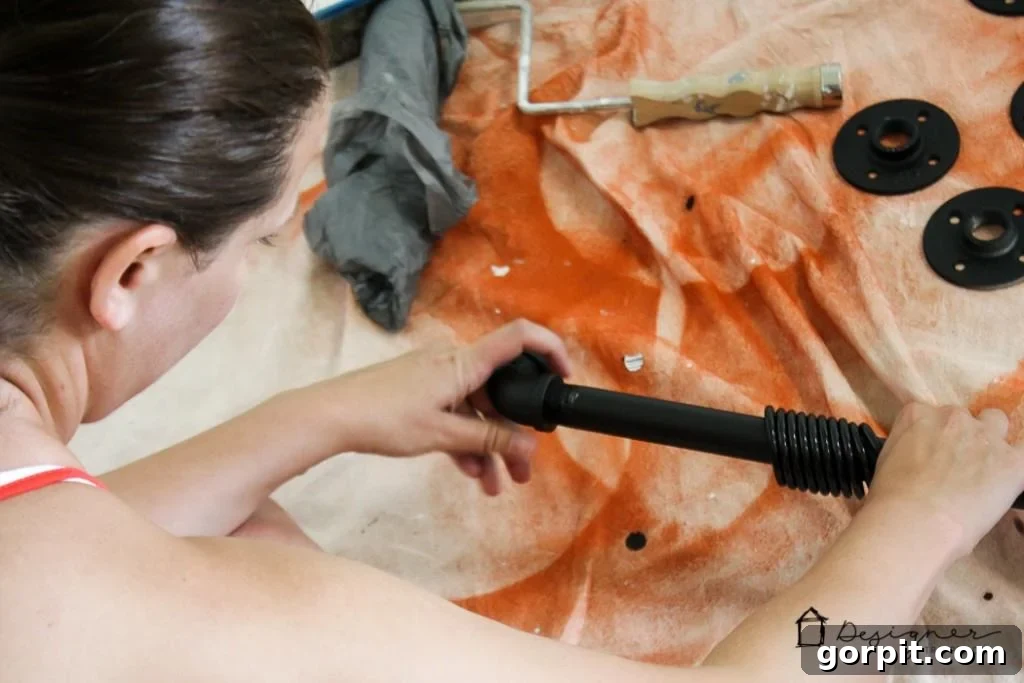
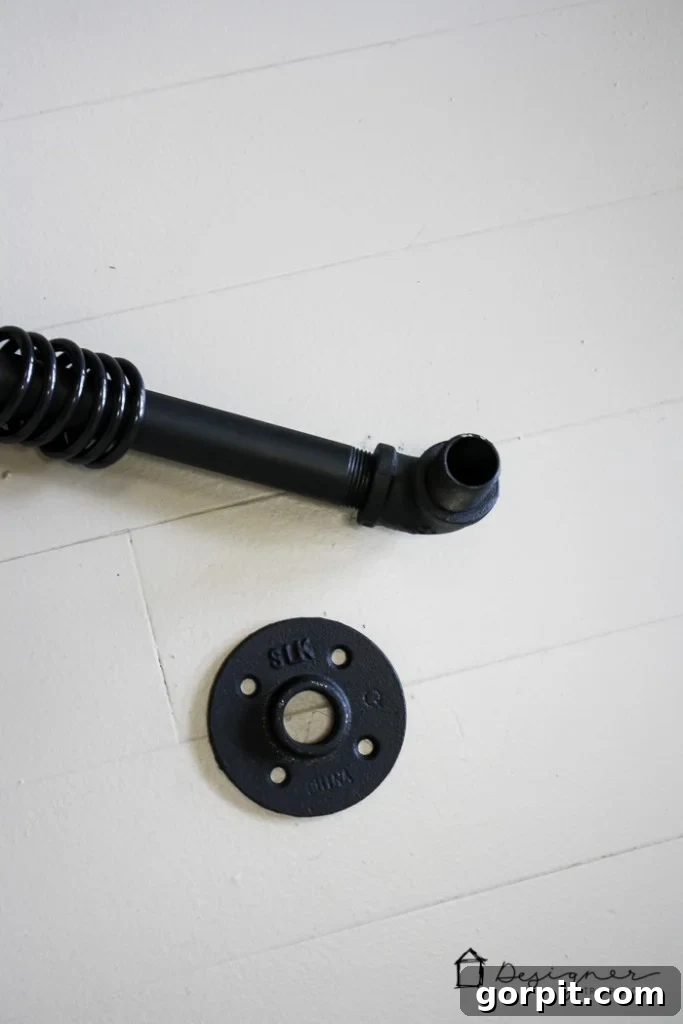
4) Connect Nipples and Floor Flanges: Next, thread a 1-inch steel nipple into the open end of each elbow joint. Following that, attach a floor flange to the other end of each nipple. Ensure all connections are tightened securely by hand. This completes the structural assembly of your curtain rod.
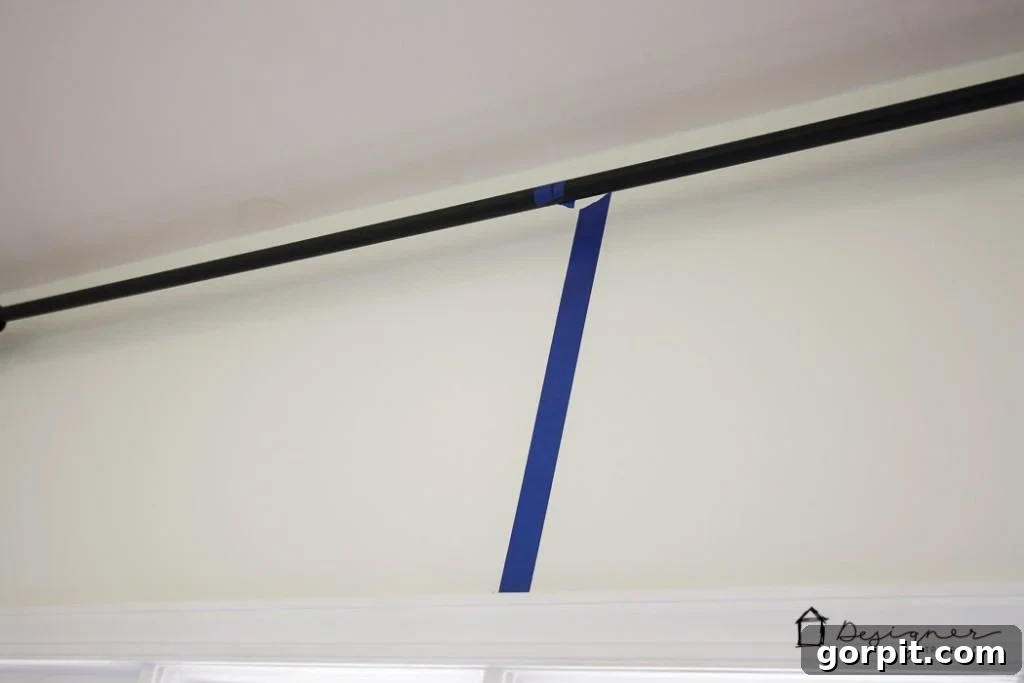
5) Prepare for Hanging: Now, your DIY curtain rod is ready for installation. If you’re working with a 10-foot length, it will be quite heavy, making this a two-person job for safety and ease. To ensure perfect alignment, mark the center of your assembled rod and the center of your window frame with painter’s tape. This visual guide will greatly assist you in positioning the rod accurately.
6) Mark Drilling Points and Install Anchors (If Needed): With the help of your partner, lift the assembled rod into its desired position above your window. Use a pencil to mark the drilling points through the holes in the floor flanges. We were fortunate to hit wall studs on both sides, which provides the most secure mounting. If your marks don’t align with studs, gently set the rod down and install appropriate wall anchors at your marked spots before proceeding. Using a stud finder beforehand can help you plan your installation more effectively.
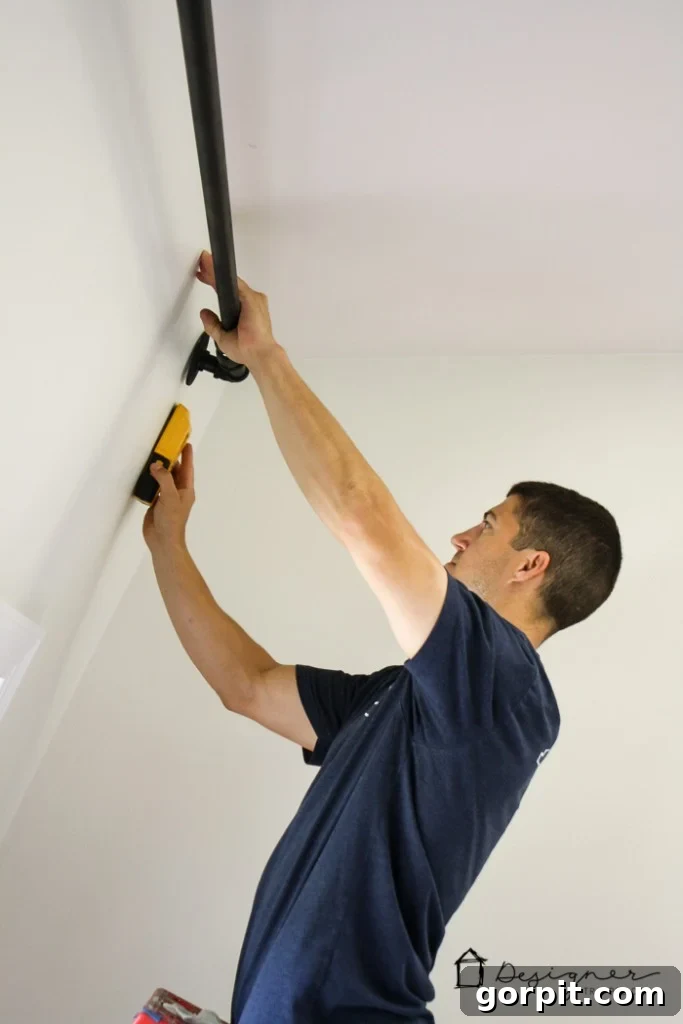
7) Secure the Rod: Once your anchor points are ready (or if you’re drilling directly into studs), lift the rod back into place. Use your drill to drive screws through the floor flanges, securing the rod firmly to the wall. Ensure you use screws that are appropriate for your specific wall material and anchors to guarantee maximum stability.
8) Attach Your Curtains: With your industrial pipe curtain rod securely mounted, the final step is to attach your curtains to the drapery ring clips. Arrange them evenly for a polished look. You’ll be amazed at how effortlessly your curtains glide along the sturdy steel pipe.
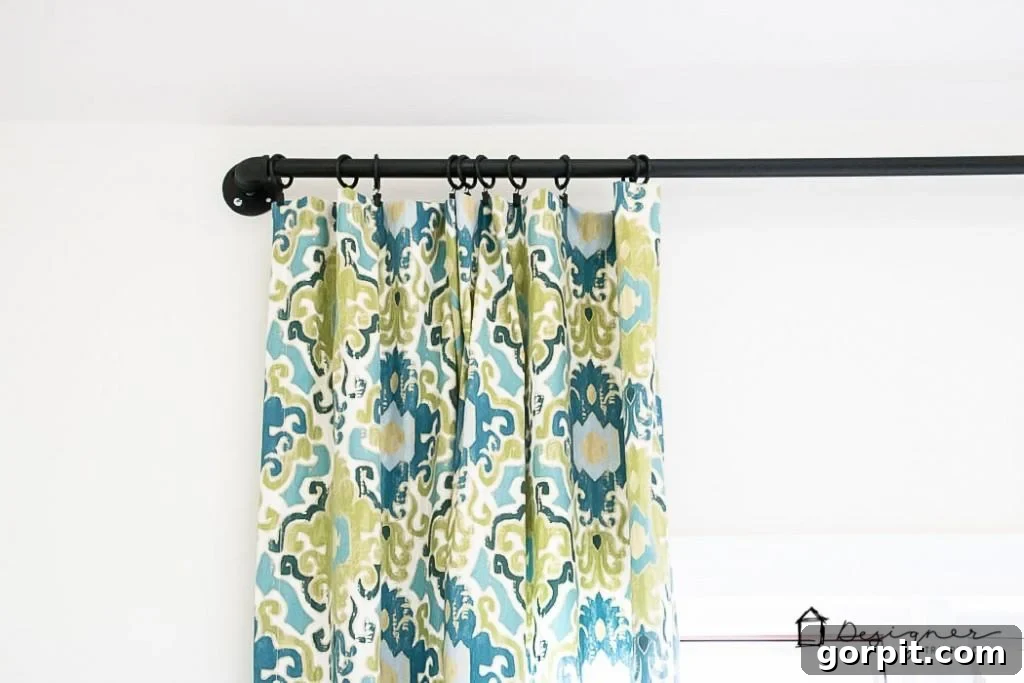
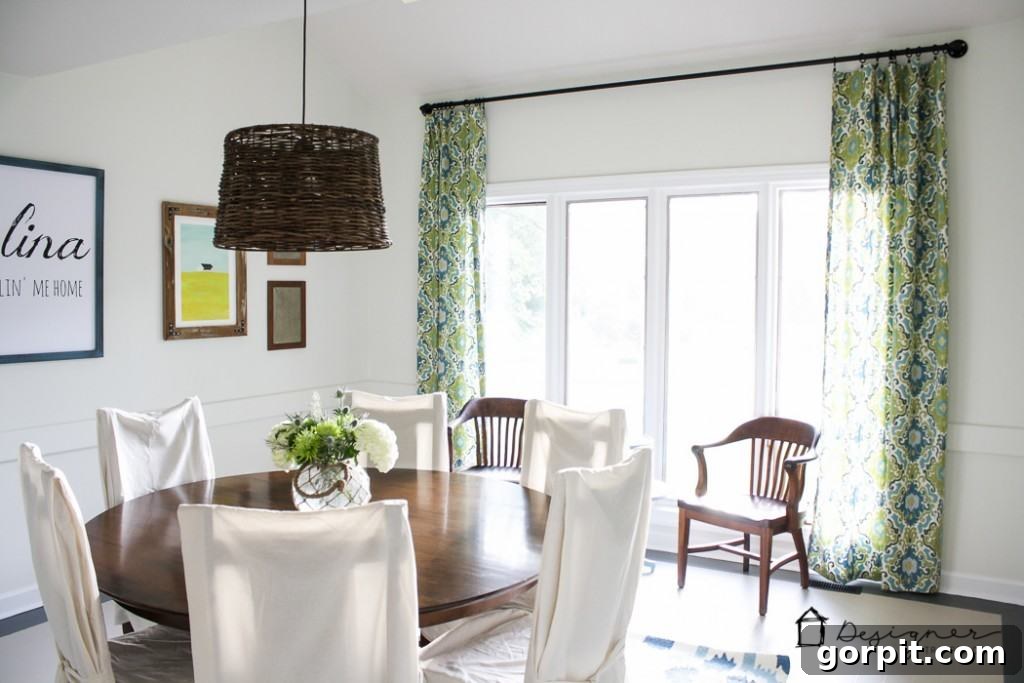
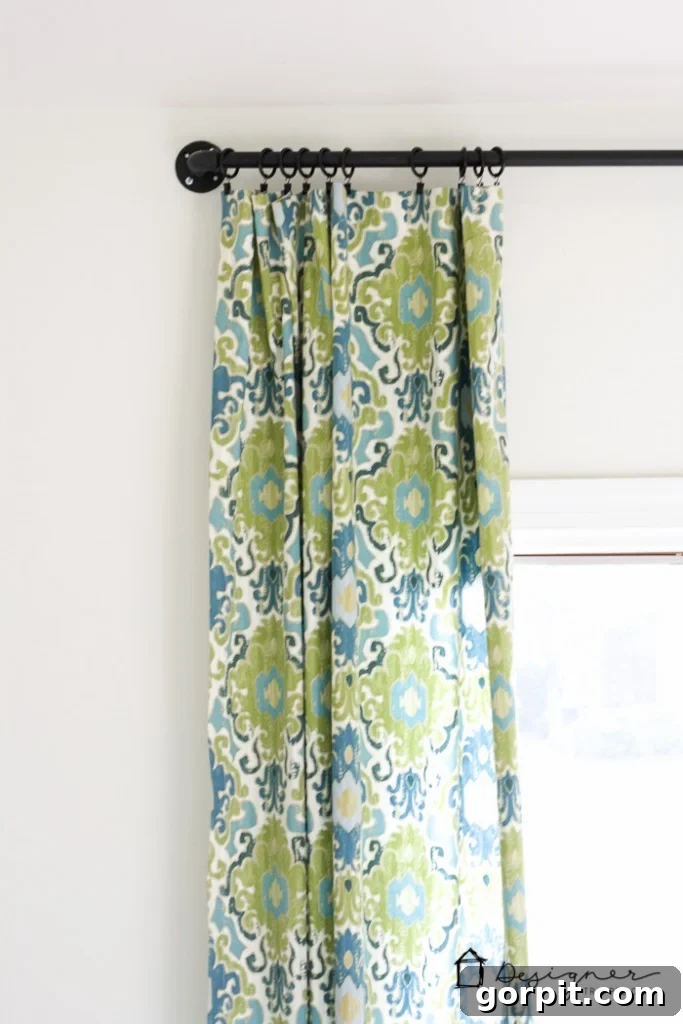
The End Result: Style Meets Durability
That’s it! You’ve successfully created a stunning, heavy-duty industrial curtain rod. We absolutely adore how this project transformed our dining room. For approximately $45.00, we achieved a substantial, stylish curtain rod that exudes that coveted industrial charm – a look that often comes with a much higher price tag. The best part? Because it’s crafted from robust steel, this rod will never sag, eliminating the need for a bothersome center bracket and ensuring your curtains always look their best.
Styling Your Industrial Curtains
To truly complement your new industrial pipe curtain rod, consider pairing it with curtains that enhance its rugged aesthetic. Materials like linen, canvas, or even heavy cotton in neutral tones or subtle patterns work wonderfully. Curtains with grommet tops or back tabs can further emphasize the clean lines and industrial feel, allowing them to glide smoothly across the rod. The contrast of soft fabric against the raw metal creates a visually appealing dynamic that elevates your entire room.
Explore More DIY Home Decor Projects
If you loved creating this custom curtain rod, you might be interested in these related projects. You can learn all about how I made those gorgeous curtains the easy way by clicking here, and see the rest of our DIY dining room makeover by clicking here.
And if you’re constantly seeking inspiring ideas for windows, floors, and general home decor, be sure to follow my board on Pinterest for a wealth of creative inspiration!
What are your thoughts on this project? If you’re as excited about this DIY industrial pipe curtain rod as I am, be sure to pin it for later inspiration and share it with your friends!