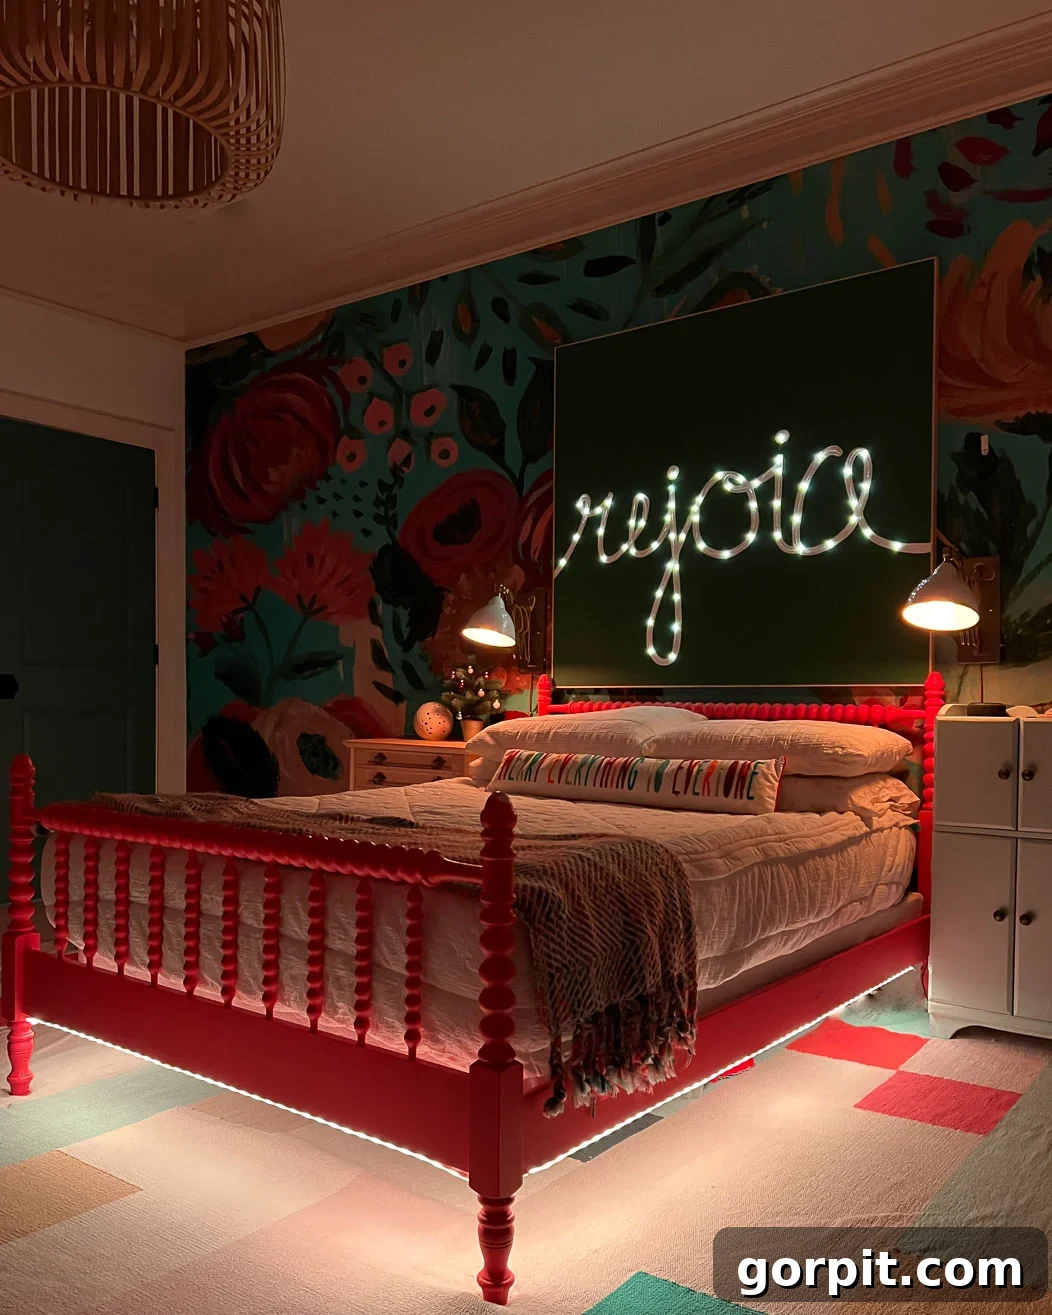
DIY Light-Up Wall Art: Create Magical Ambiance with Fairy Lights
Imagine a soft, enchanting glow illuminating your living space, casting a magical warmth that instantly elevates the mood. That’s the undeniable charm of fairy lights and dewdrop lights! With this comprehensive guide, you can easily craft your very own custom light-up wall art, transforming any room into a haven of cozy wonder. While we initially designed our piece to spell “Rejoice” for the festive Christmas season, this step-by-step tutorial offers endless possibilities for personalized illuminated decor, perfect for any occasion or aesthetic.
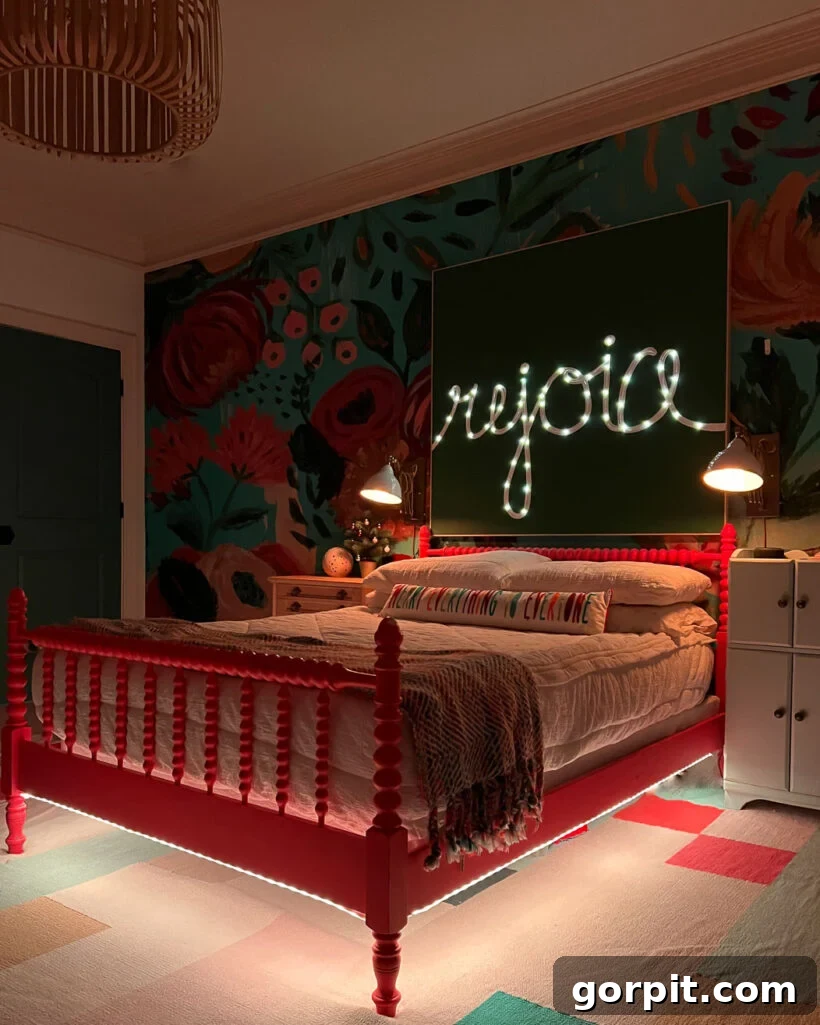
A couple of years ago, we found ourselves dreaming of a grand, eye-catching holiday art piece for our family room. However, the thought of investing a fortune in pre-made options didn’t quite appeal to our DIY spirit. That’s when inspiration struck, leading us to create this distinctive “Rejoice” art piece that truly comes alive at night. The soft radiance it emits is nothing short of magical, transforming the entire atmosphere of the room.
What makes this DIY light-up art project truly remarkable is its incredible adaptability. You have complete creative freedom to tailor it to your exact specifications – any size, shape, color, or message you envision. We opted for a generously sized piece, as I firmly believe that artwork often needs to be more substantial than you initially perceive to make a real impact. In its first year, it found its perfect home perched on a DIY art ledge we built years ago, and the result was even more stunning than anticipated. Read on to discover how you can craft your very own bespoke illuminated decor.
Thank you to DAP Products for sponsoring this post. This post contains affiliate links for your convenience. Click HERE for my full disclosure policy.
How to Make a Custom Light-Up Art Piece
Before diving into the detailed written instructions below, we highly recommend watching the accompanying video (if available) for a visual overview of this exciting project. It provides an excellent demonstration that complements the step-by-step guide.
(Video unavailable for display in this format, but a visual guide is highly recommended for clarity.)
Materials Needed
- 1/2 inch plywood: The foundation of your art piece. We conveniently used a scrap piece measuring 52″ x 48″, saving us a cutting step! Choose a size that fits your desired display area.
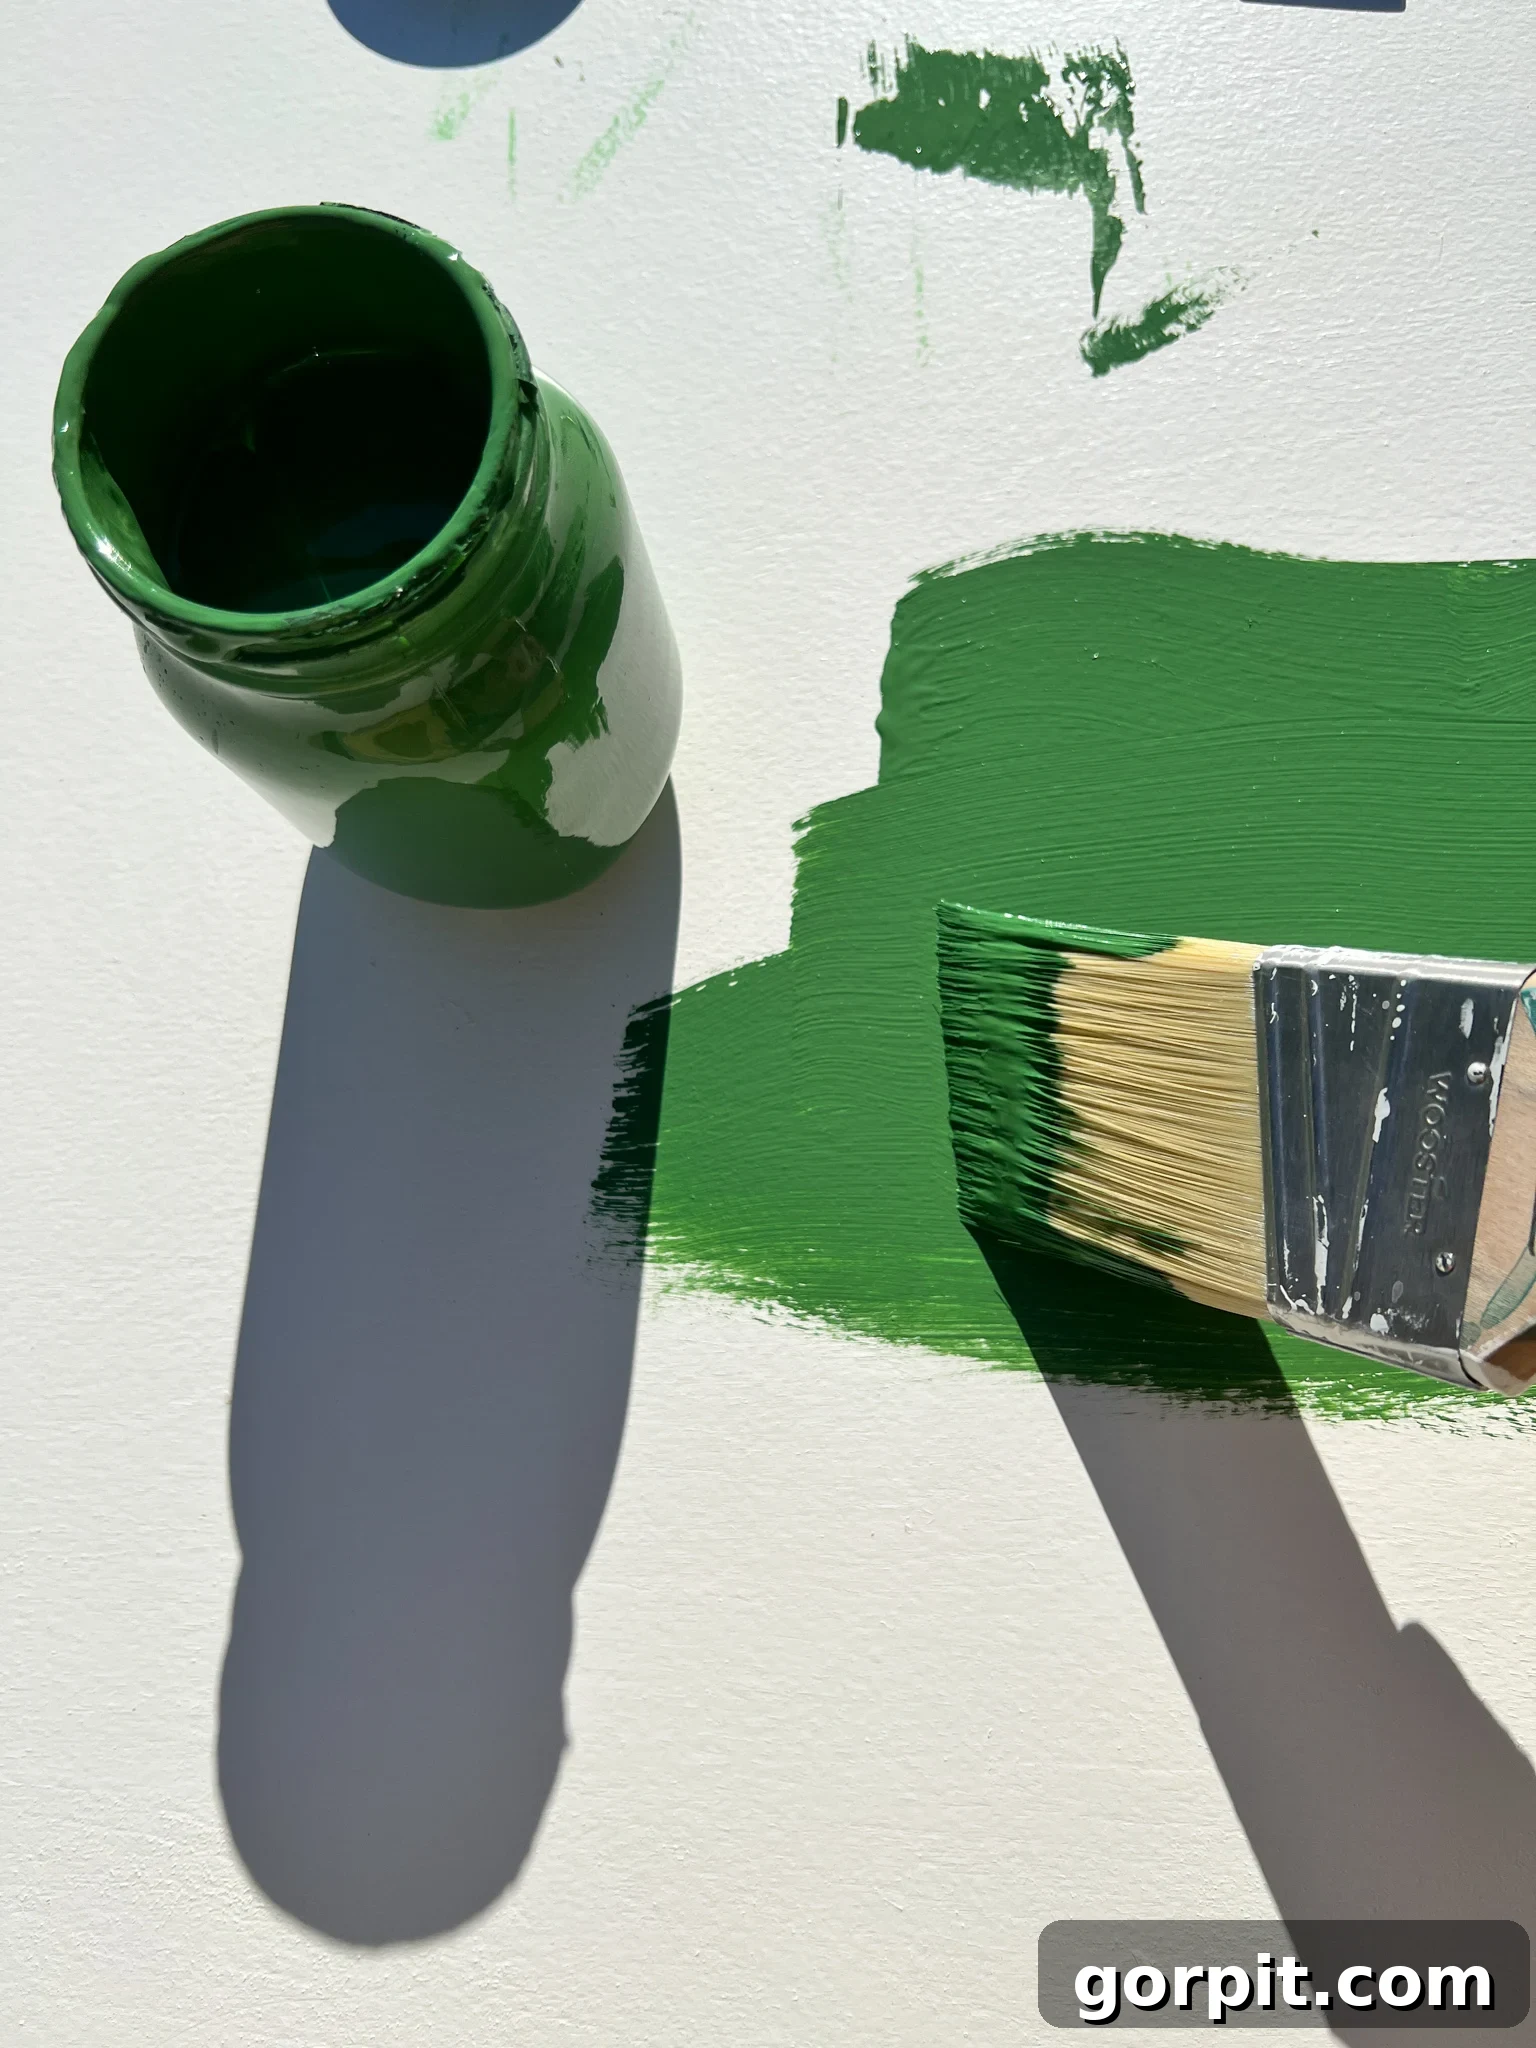
- Paint: For the background of your artwork. This is the beautiful green paint I used to create a rich, inviting base.
- Wood lattice strips: These will serve as the frame, giving your art a polished and finished look.
- Battery-operated dewdrop lights: The magical element! We utilized three strands of these specific lights for ample illumination. Ensure they are battery-operated for easy placement without needing an outlet nearby.
- DAP RapidFuse Ultra Clear: An essential adhesive that dries perfectly clear, ensuring your lights are securely attached without visible glue marks.
- Masking tape: Handy for holding wires in place while glue sets.
- Drill: For creating small holes to thread the light strands through.
- Brad nails: To securely attach the frame strips.
- DAP Plastic Wood X: Ideal for filling nail holes, leaving a smooth, seamless finish.
- Artist’s brush: For painting your design with precision.
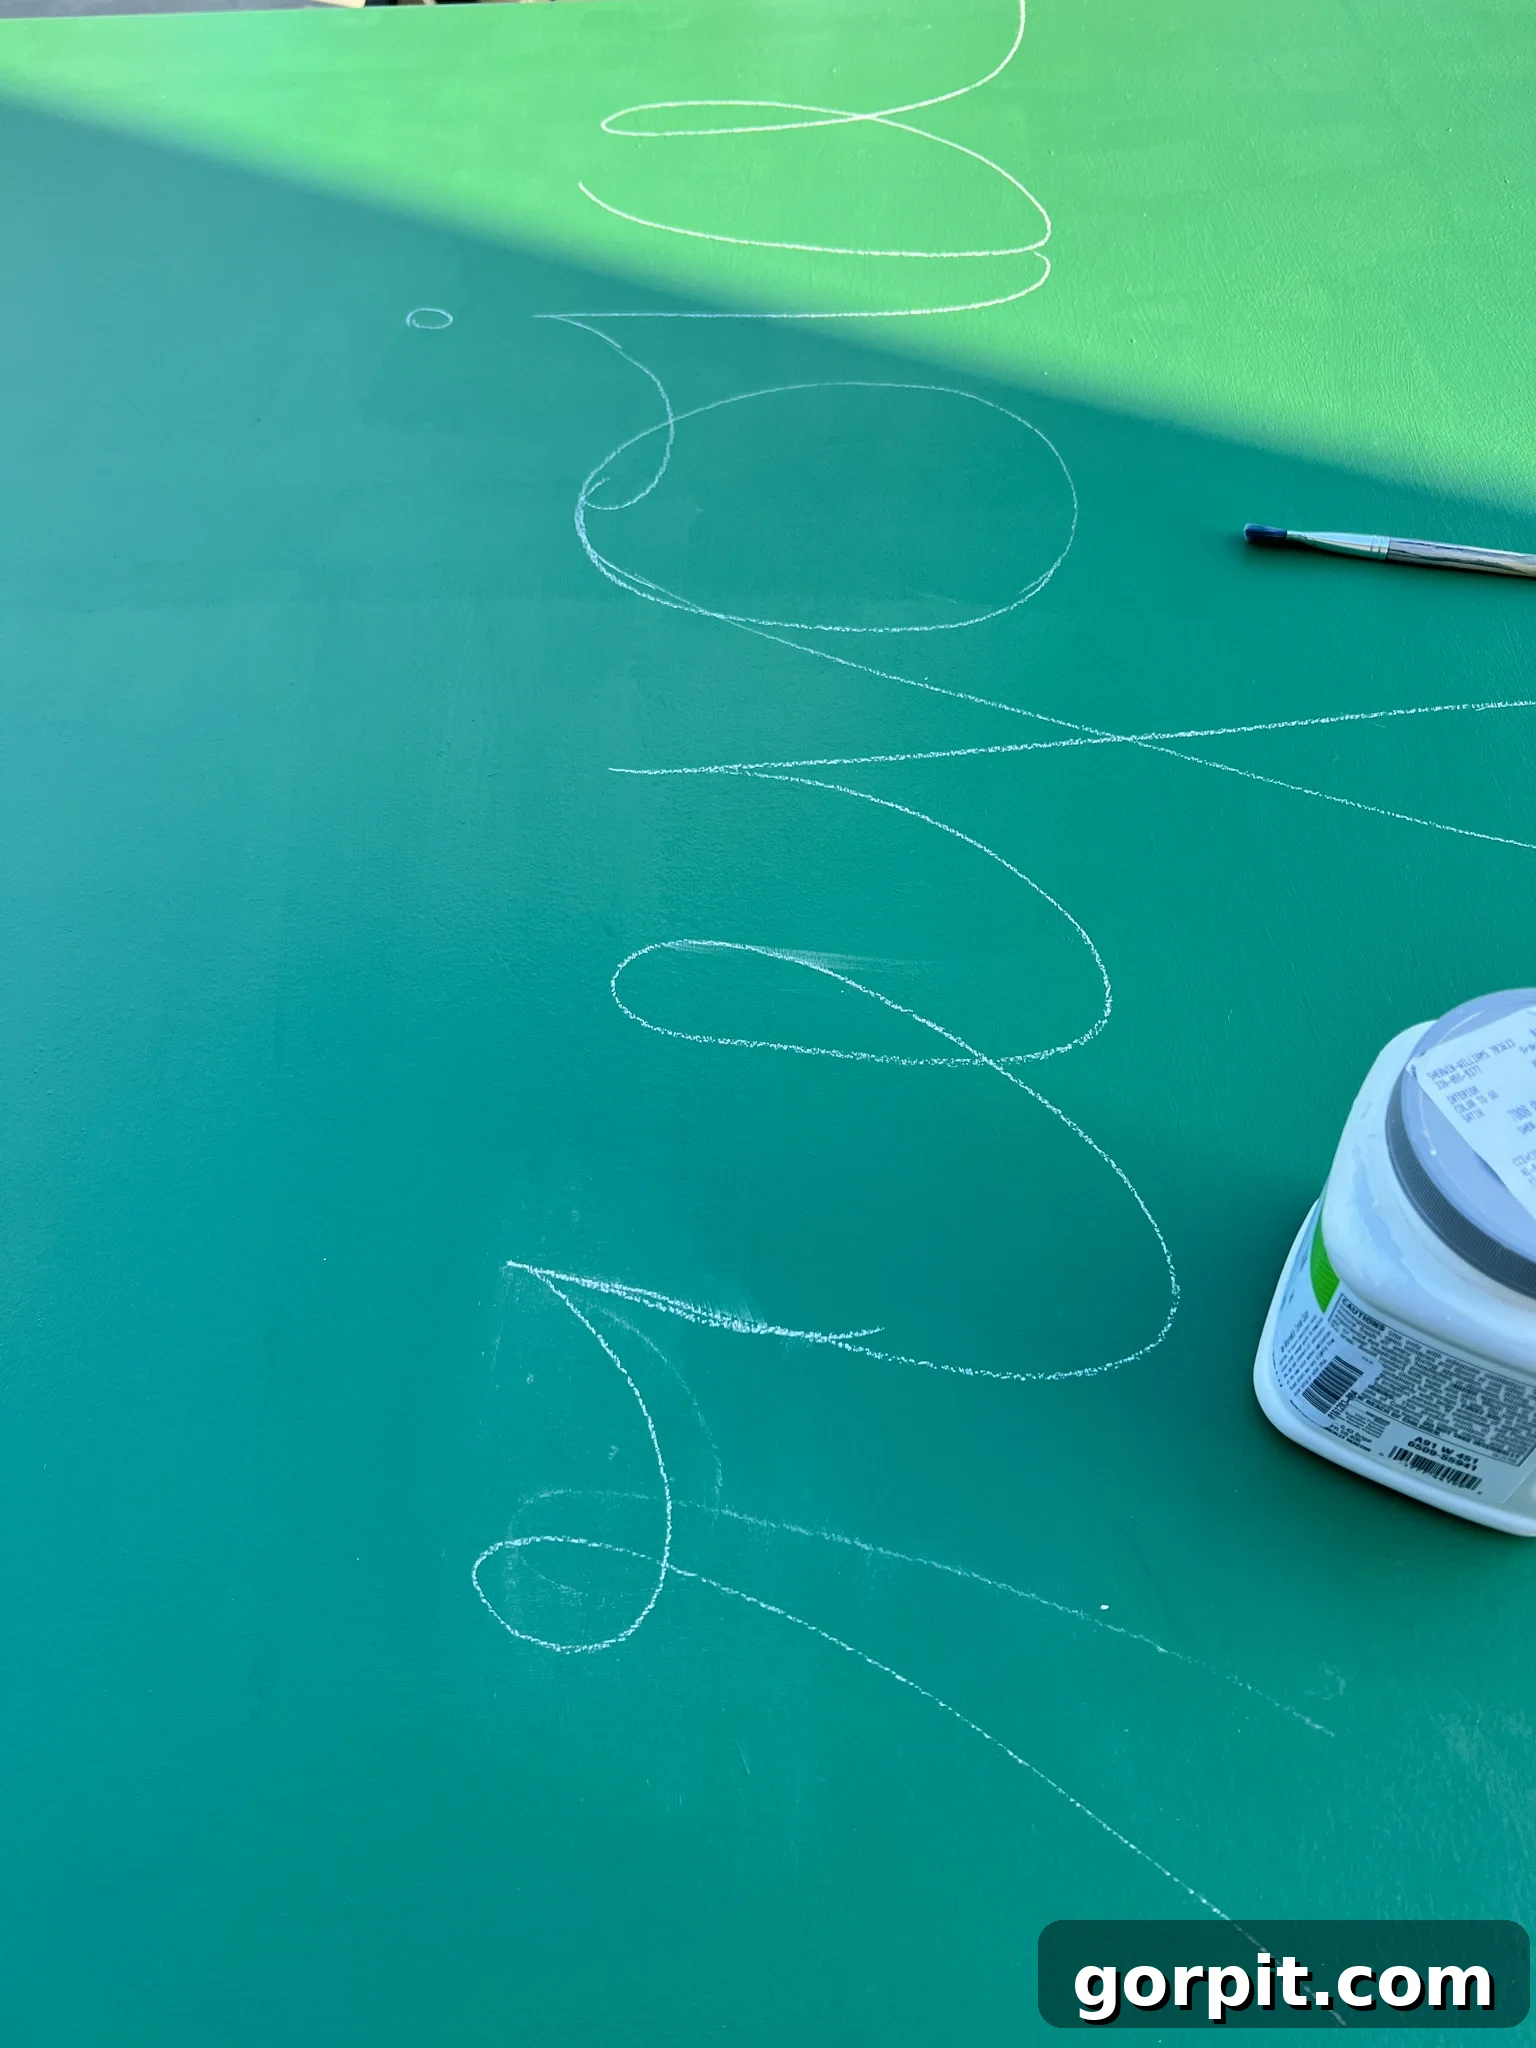
- Chalk: For sketching your design before painting.
- Hot glue gun (optional, for securing battery packs): A quick way to attach battery packs to the back.
Step-by-Step Tutorial
Time needed: 4 hours
This project is designed to be completed in approximately 4 hours, making it an ideal beginner-friendly weekend activity. Gather your materials, clear your workspace, and get ready to create!
-
1. Cut your plywood to size.
Begin by cutting your chosen 1/2-inch plywood to the desired dimensions for your light-up wall art. The beauty of this project is that it can be as big or as small as you like. We were fortunate to have a scrap piece that was already 52″ x 48″, perfectly suiting our vision without requiring any cuts. This saved us valuable time and effort! PRO TIP: If you don’t own a table saw or circular saw, most hardware stores offer cutting services for plywood at a minimal charge. Simply provide them with your exact measurements, and they’ll handle the precision cuts for you.
-
2. Paint your plywood.
Once your plywood is cut to size and sanded smooth, it’s time to apply your background color. Select a paint color that complements your home decor or the theme of your art. I opted for this lovely green shade, which created a deep, rich backdrop for our “Rejoice” design. Apply an even coat, allowing it to dry completely according to the paint manufacturer’s instructions. Depending on your paint’s coverage and the finish you desire, you may need to apply a second coat.

-
3. Sketch out your design with chalk.
With your background paint fully dry, it’s time for the creative magic to begin! Use a piece of chalk to lightly sketch your desired design onto the painted plywood. Whether it’s a word, a phrase, a silhouette, or an abstract pattern, chalk allows for easy adjustments. I carefully drew “Rejoice” onto our board, refining the lettering until I was completely satisfied with its appearance. Chalk is an excellent choice for this step because it wipes off effortlessly, unlike pencil marks which can sometimes remain visible even after being painted over. This forgiving nature means you can make as many changes or corrections as needed without any fuss.
-
4. Paint your design.
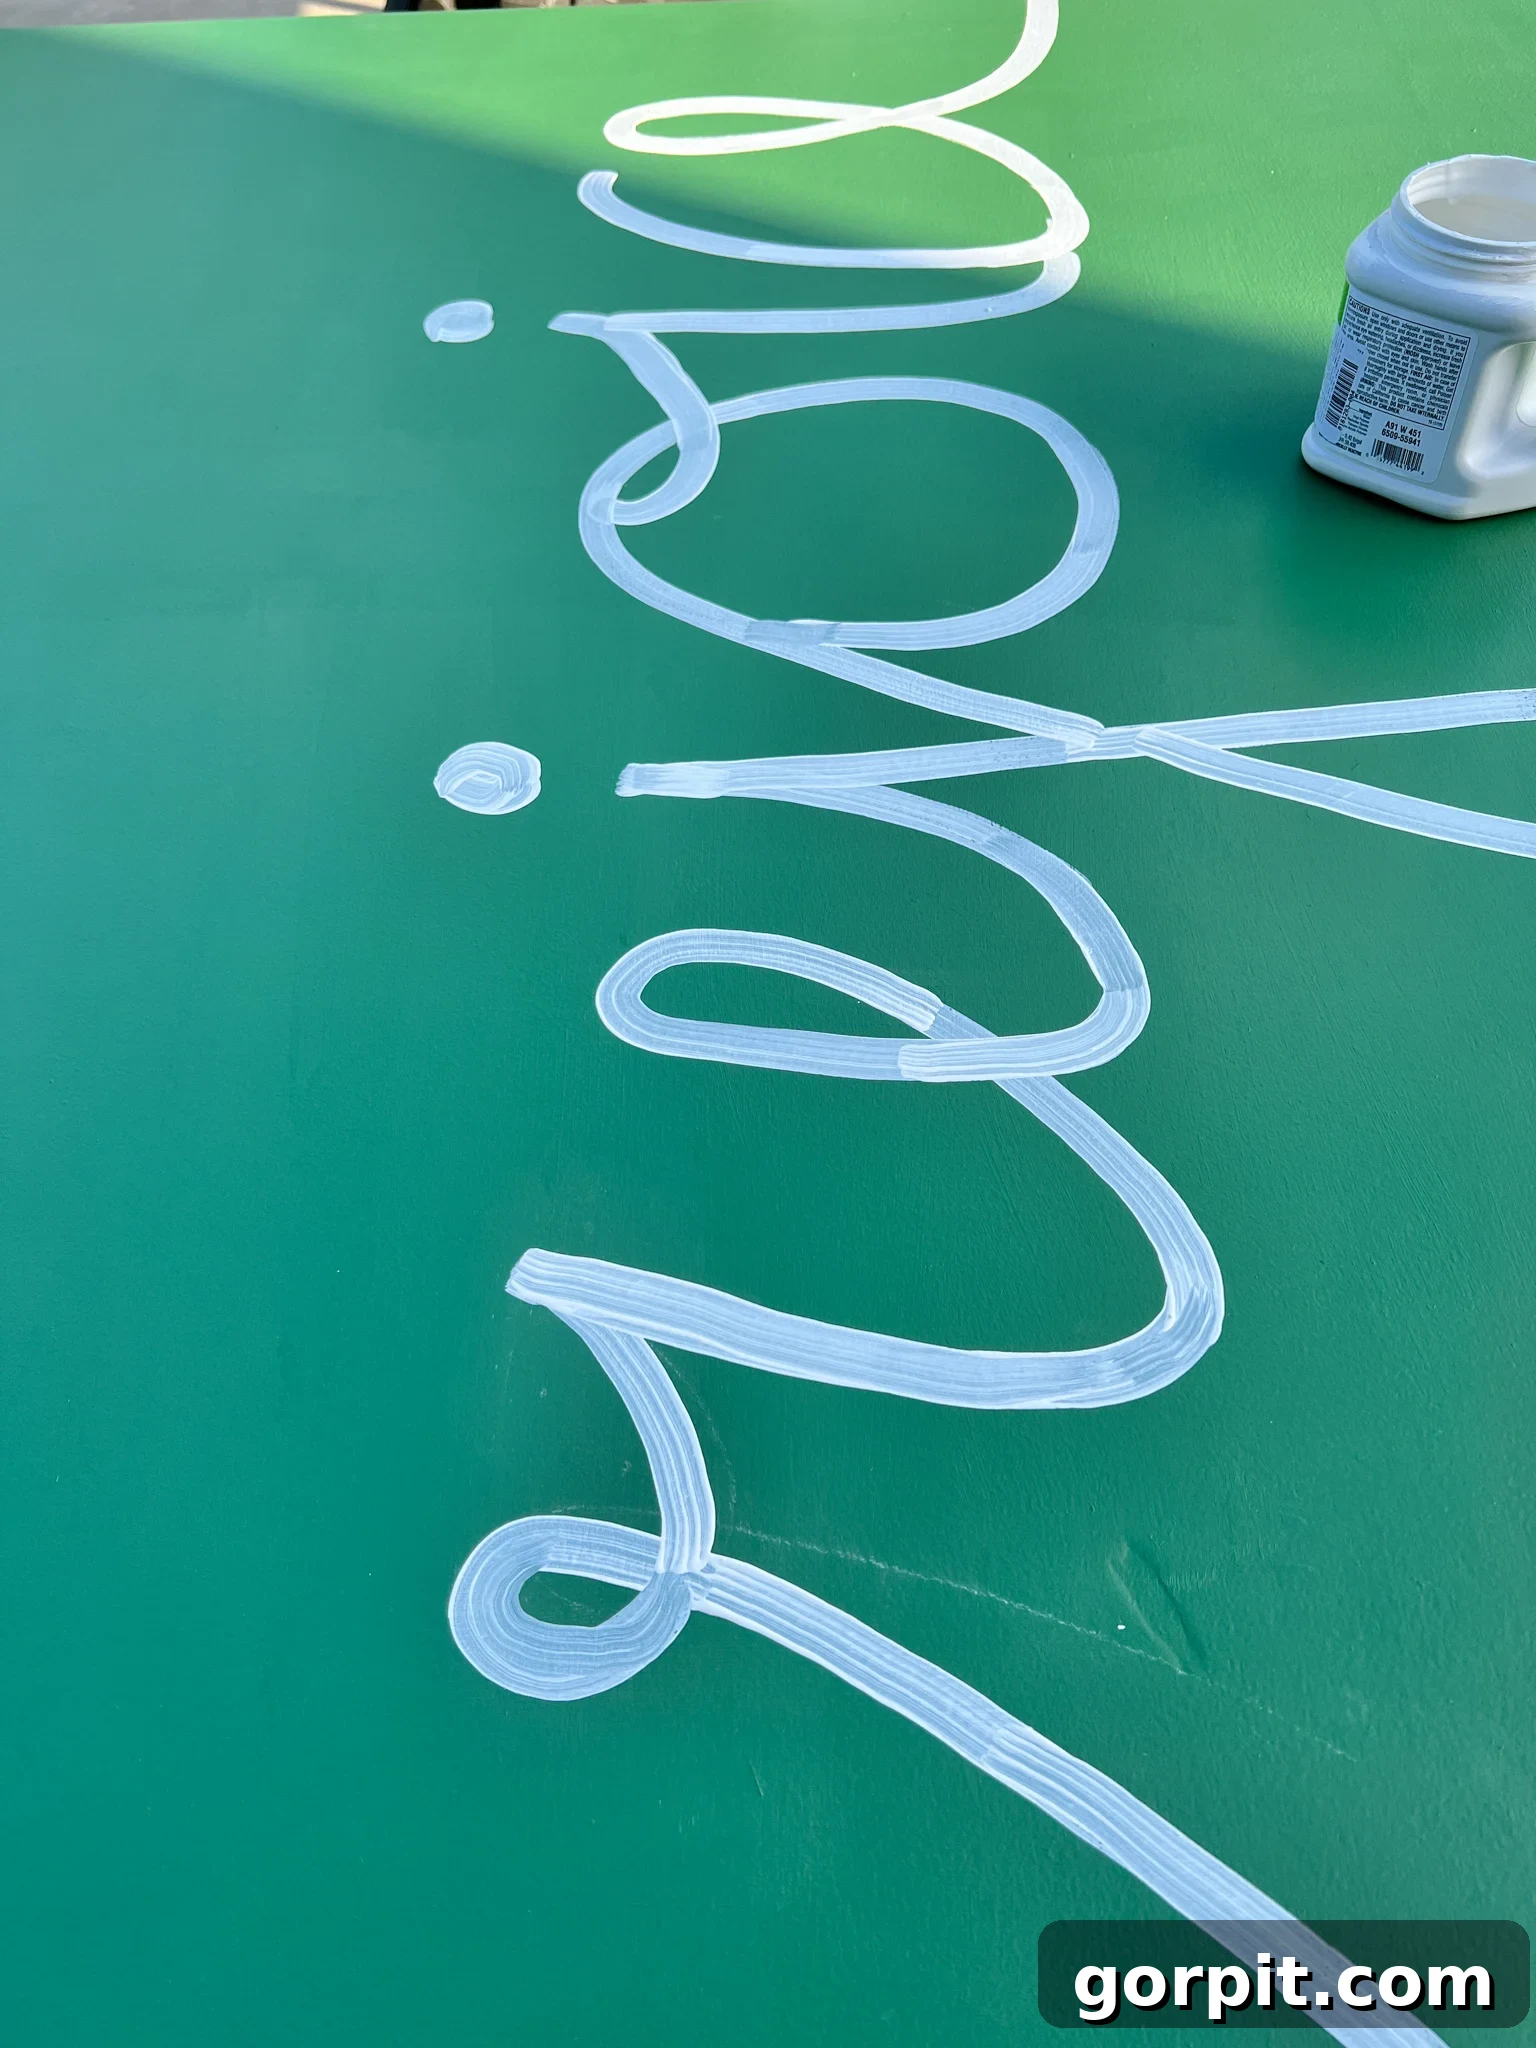
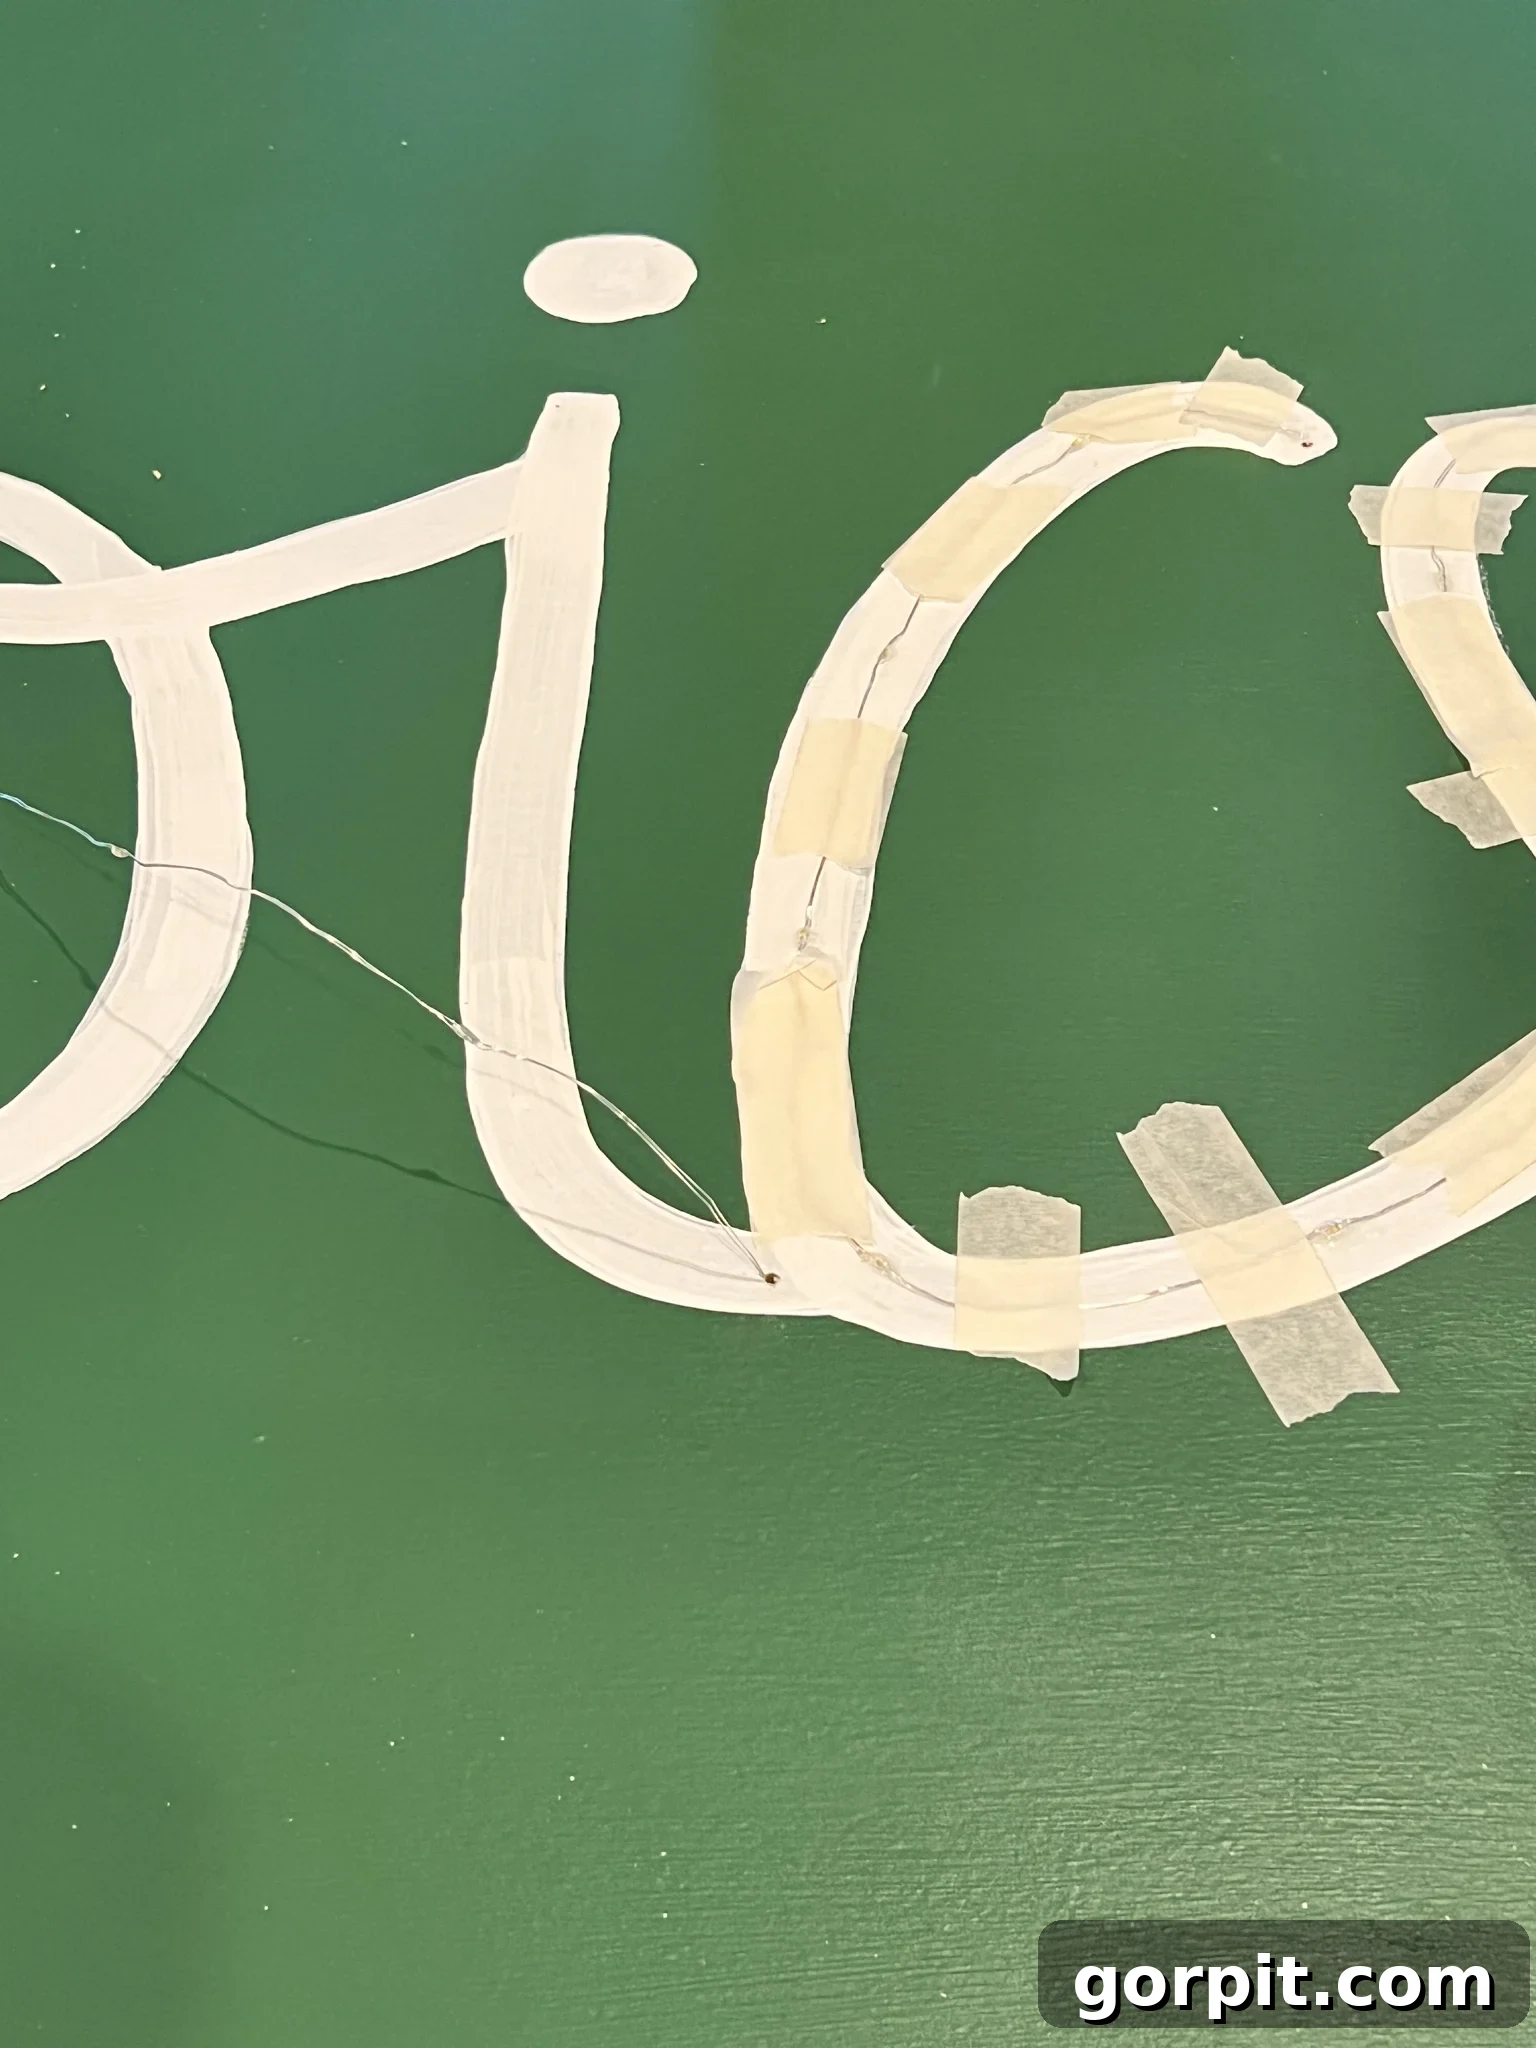
Once your chalk sketch is perfect, carefully trace and fill in your design using an artist’s brush and your chosen accent paint. I used a readily available leftover white paint we had on hand. Due to its slightly lower quality, I needed to apply three coats to achieve a vibrant, opaque finish for “Rejoice.” However, the process was quick and straightforward, and the end result was exactly what I envisioned. The photo below shows the art after just one coat of white paint, demonstrating how the initial coverage looks.
-
5. Attach your frame.
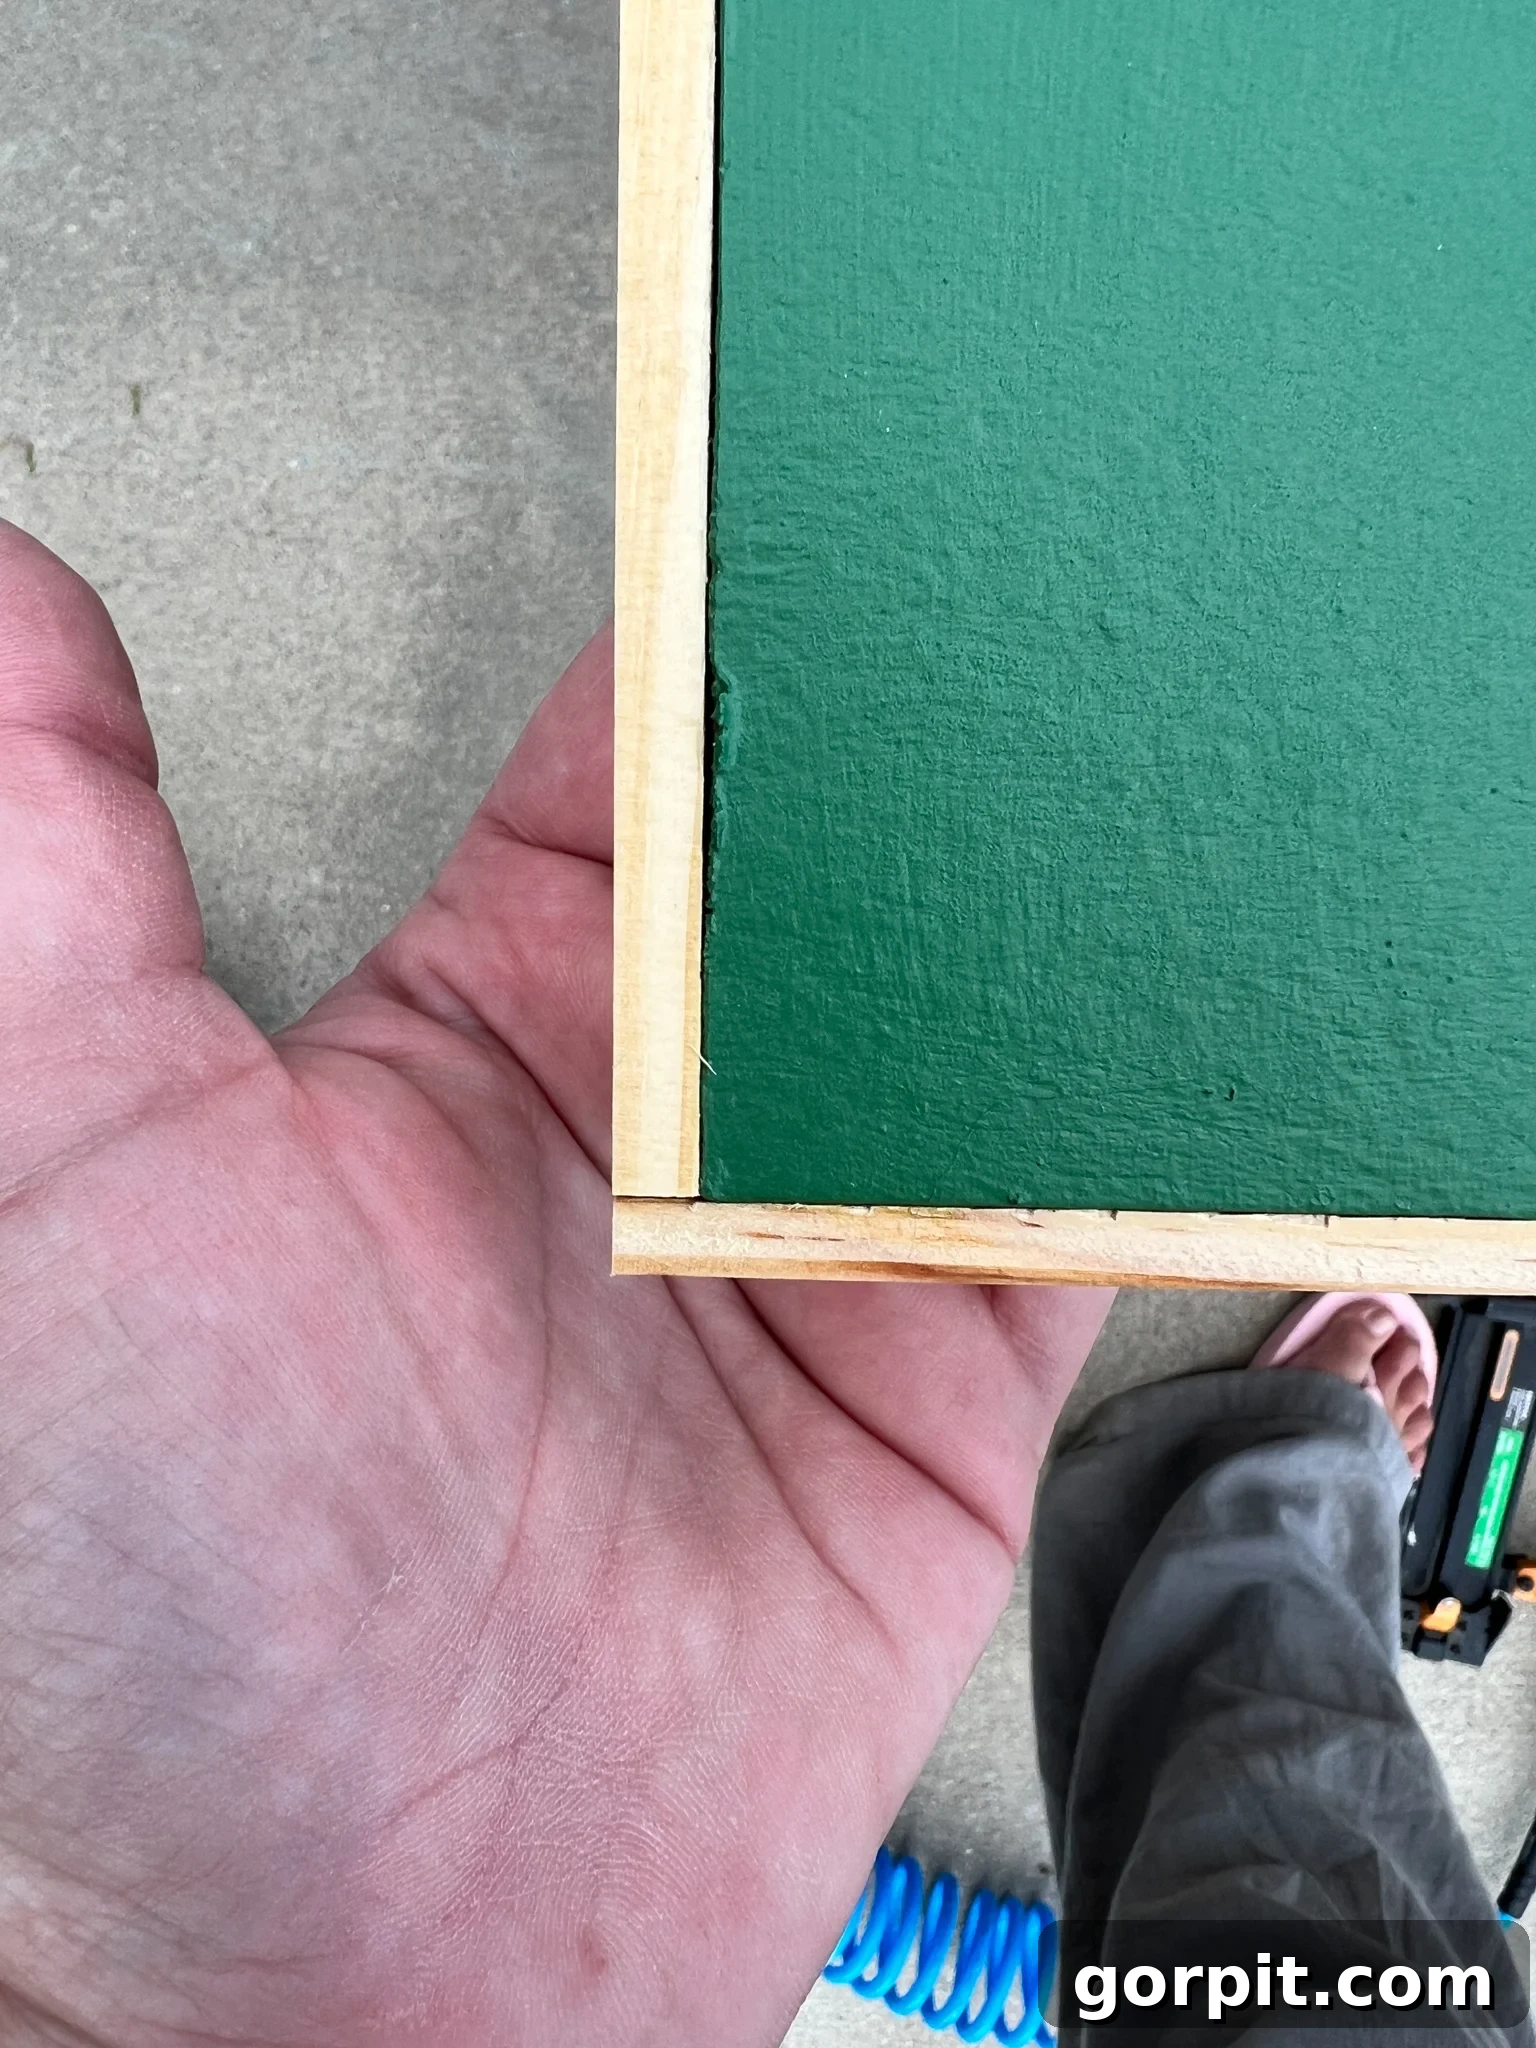
After all the paint has thoroughly dried, it’s time to give your DIY art a finished, polished look by adding a frame. Use the wood lattice strips, cutting them precisely to the length of each side of your plywood. We chose to embrace the natural beauty of the pine wood for our frame, but you can certainly paint or stain them to match your aesthetic if you prefer. For simplicity, we opted for a straightforward butt joint to connect the frame pieces at the corners.
Crucially, position the strips so that they sit flush with the front surface of your plywood. This clever technique ensures that the strips will slightly overhang the back of the plywood, creating a discreet cavity perfect for concealing the battery packs of your lights. We secured our frame using a brad nailer, providing a strong and clean attachment.
-
6. Fill any nail holes with wood filler.
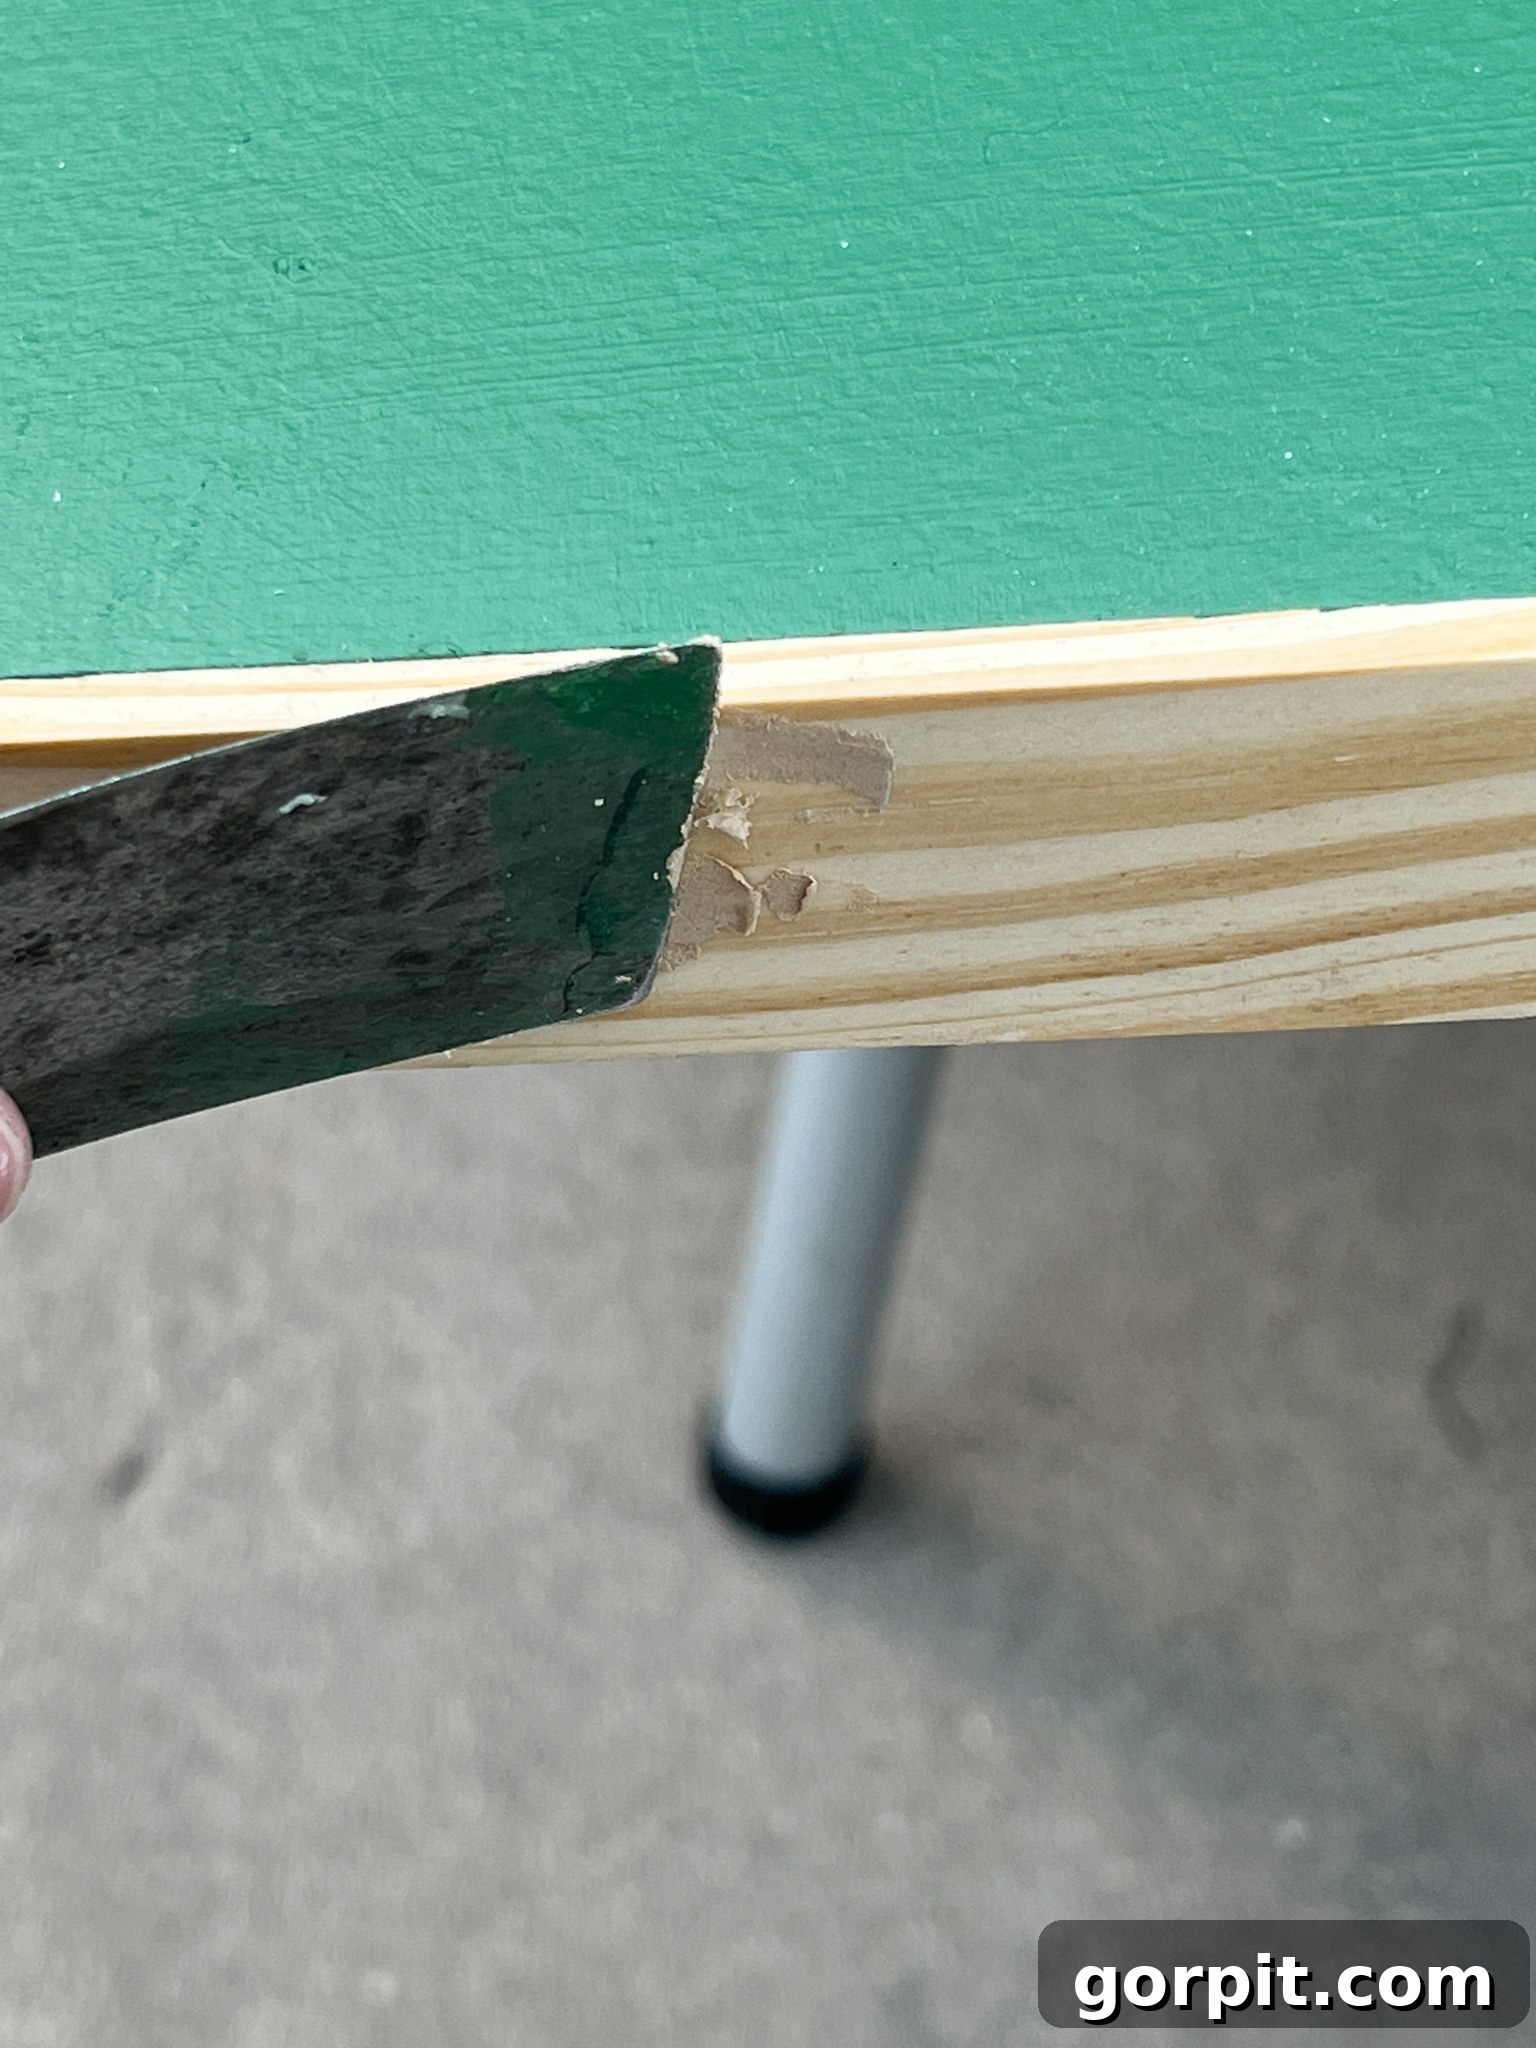
To achieve a professional, flawless finish on your newly framed art, it’s important to address any visible nail holes. We used DAP Plastic Wood X to meticulously fill in each tiny indentation. Once the wood filler had completely dried and hardened, we gently sanded it smooth, ensuring that the surface of the frame was perfectly even and ready for display. This step makes a significant difference in the overall appearance of your finished piece.
-
7. Prepare your fairy or dewdrop lights.
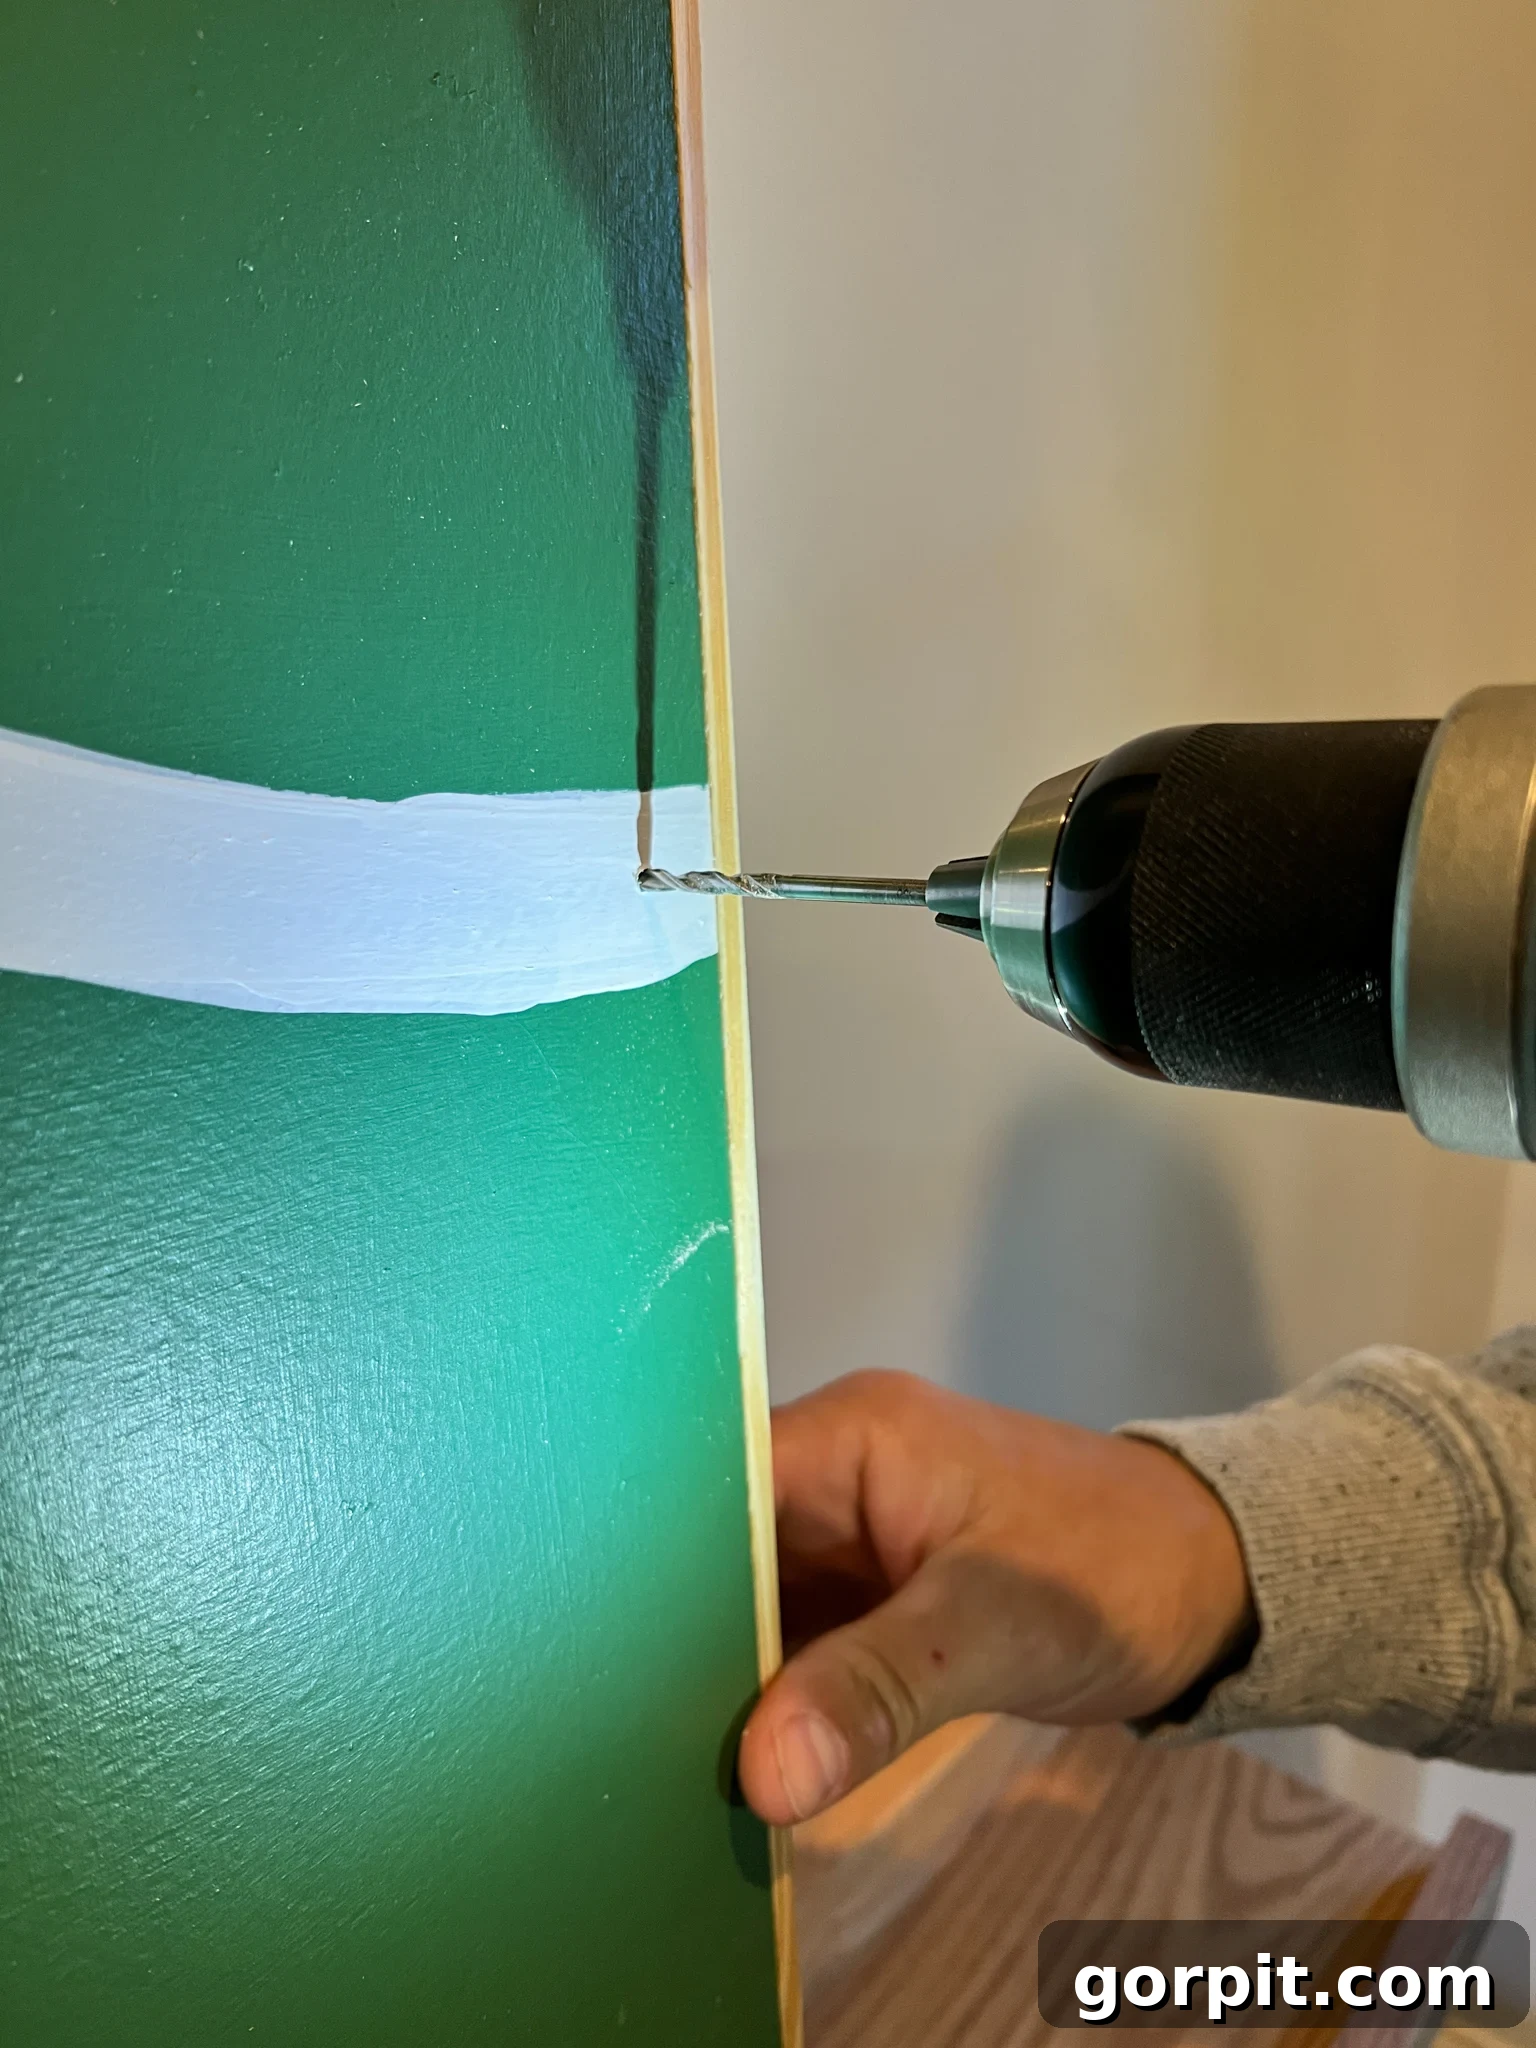
Now for the truly transformative step: integrating the lights! To begin, select a discreet spot near the beginning or end of your design and drill a small, clean hole through the plywood. Carefully thread the dewdrop light strand through this hole, ensuring that the battery pack remains on the backside of your art piece. This strategic placement keeps the battery pack hidden, maintaining the clean aesthetic of your illuminated design. Secure the battery pack to the back of the art using a hot glue gun or strong tape, preventing it from shifting or becoming visible.
-
8. Attach the lights.
Carefully position your dewdrop lights along the precise center of your painted design. For each individual light, apply a small, discrete drop of DAP RapidFuse Ultra Clear directly underneath, then gently press the light into place. The use of this specific glue is crucial as it dries perfectly clear, ensuring no unsightly glue residue detracts from your artwork. Once a light is positioned, use masking tape to secure the wire on either side of the light. This holds it firmly in place while the adhesive fully cures. Continue this process, meticulously attaching each light along your design until the entire word or pattern is illuminated. Due to the large scale of our artwork, we needed to drill two additional small holes to accommodate three separate light strands, resulting in three battery packs neatly glued to the back. A fantastic feature of the lights we selected is their built-in timer, allowing them to automatically glow for 6 hours daily without any manual intervention, a huge convenience given the art piece’s substantial size and weight.
Customization Ideas for Your Light-Up Art
The beauty of this DIY project lies in its boundless potential for personalization. Don’t feel limited to holiday-themed words or phrases. Here are a few ideas to spark your creativity:
- Quotes & Affirmations: “Dream Big,” “Be Kind,” “You Are My Sunshine,” or a meaningful Bible verse.
- Names & Initials: Perfect for a child’s bedroom, a nursery, or a personalized gift.
- Shapes & Silhouettes: A starry night sky, a heart, a tree, a mountain range, or even abstract geometric patterns.
- Seasonal Themes: Beyond Christmas, think “Spring,” “Fall,” “Love” for Valentine’s, or spooky designs for Halloween.
- Color Palettes: Experiment with different background and design colors to match your interior decor. Consider iridescent or metallic paints for added shimmer.
- Light Colors: While clear dewdrop lights are classic, some fairy lights come in various colors. Use warm white for coziness, cool white for a modern look, or colored lights for a playful vibe.
- Materials: Instead of plywood, consider using a stretched canvas, a thin MDF board, or even reclaimed wood for a rustic touch.
Let your imagination be your guide; the possibilities are truly endless for creating a unique piece that reflects your personality and style.
Displaying Your Light-Up Masterpiece
We couldn’t be happier with how our DIY light-up wall art turned out! It adds such a distinct charm to our home. In 2021, it became a focal point in our family room, beautifully complementing our art ledge. The ambient glow at night created an inviting and serene atmosphere, perfect for unwinding.
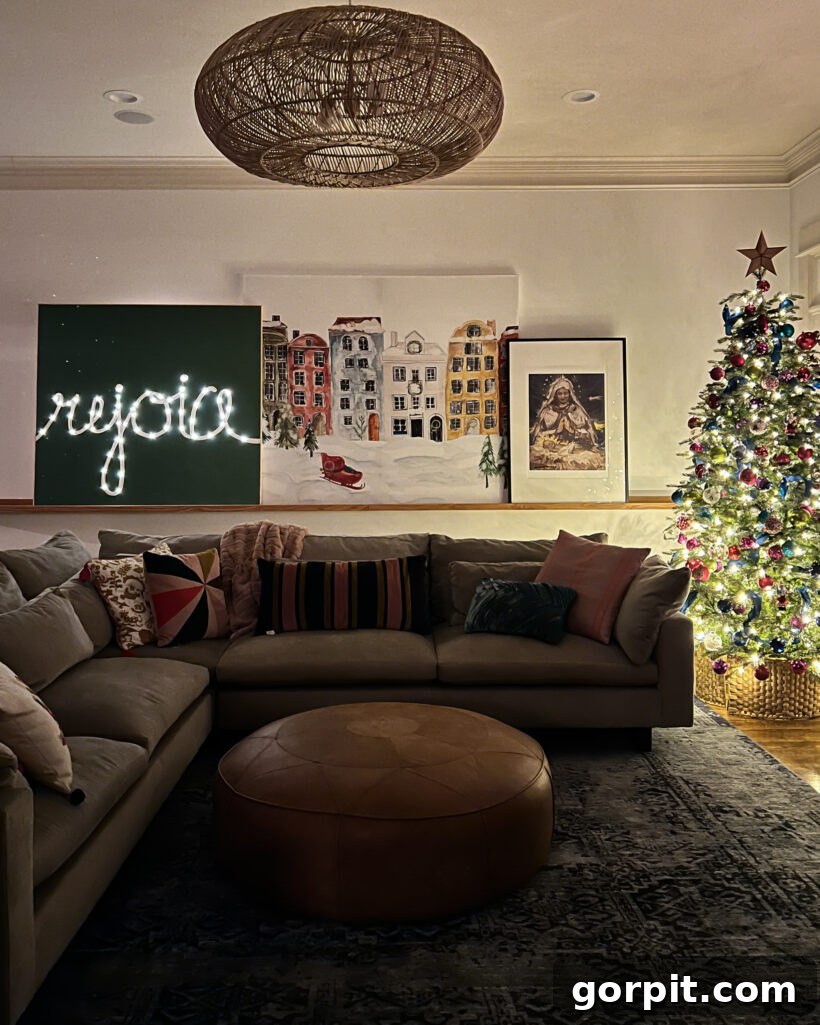
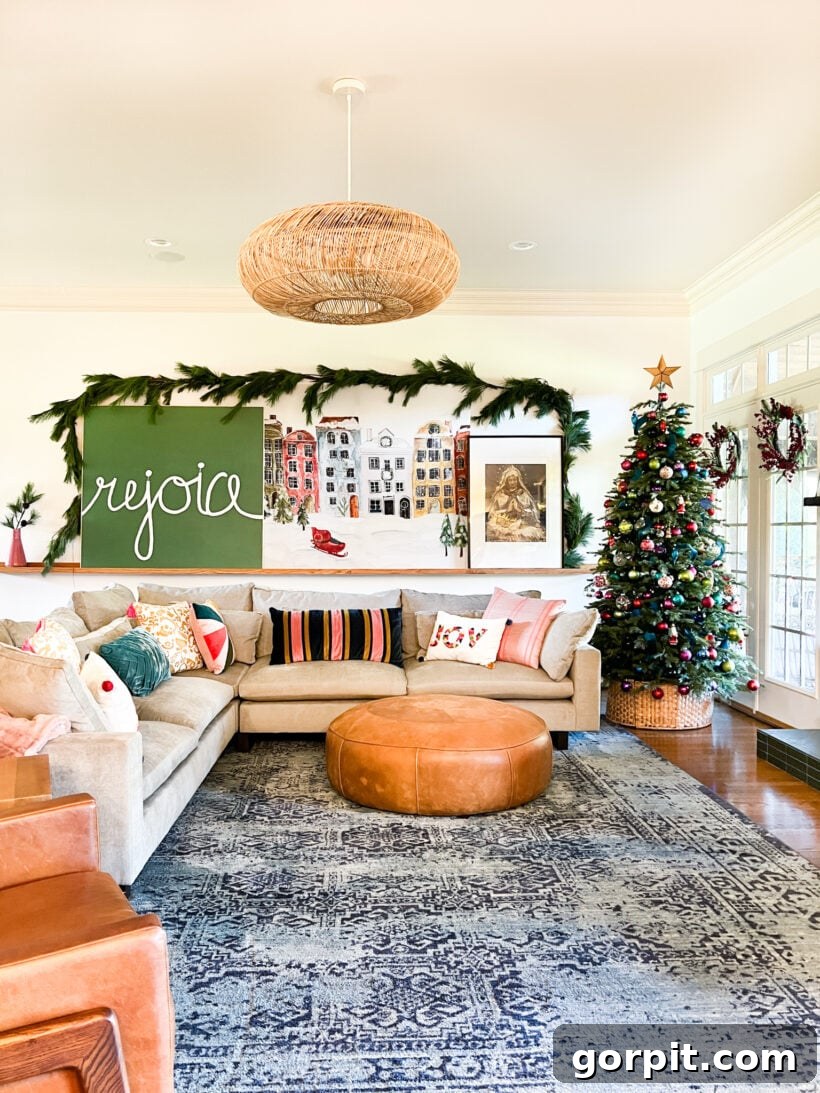
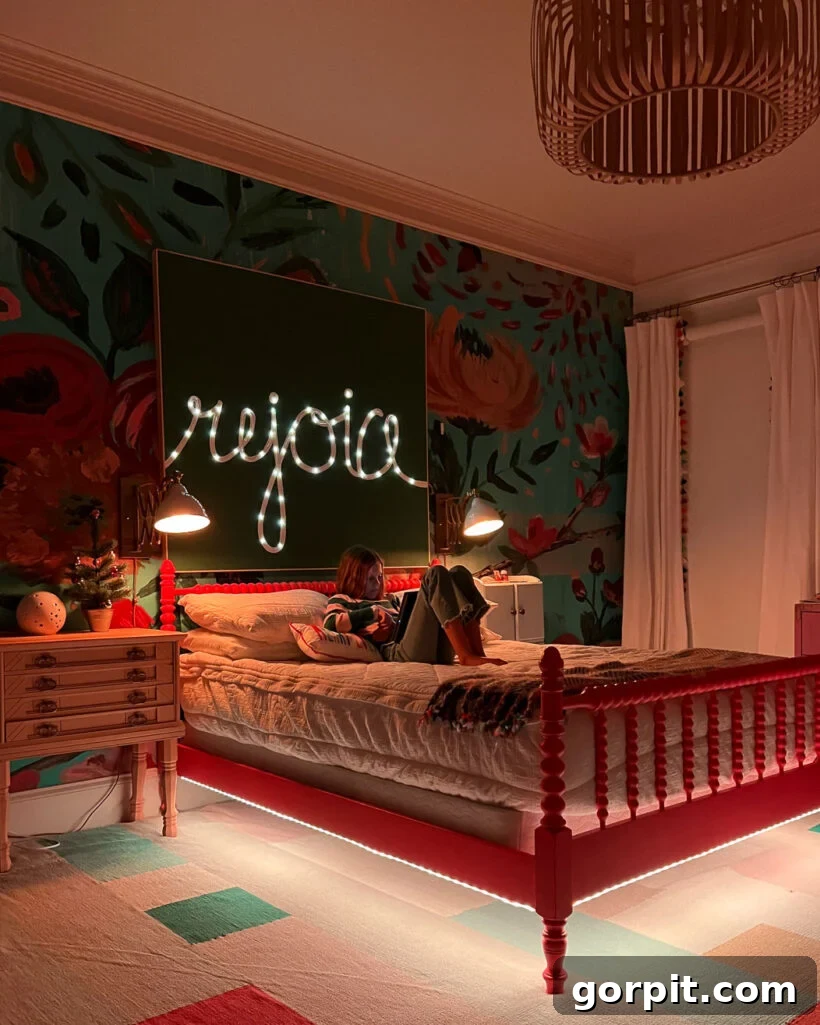
The following year, in 2022, we decided to move it to one of our daughter’s rooms for Christmas, where its soft light created a truly enchanting, fairytale-like setting. This year, its destination remains a delightful mystery! Its portability and battery operation allow us to move it easily, making it a versatile piece of decor that can adapt to different spaces and seasonal transformations.
So, what do you think? Are you feeling inspired to create some enchanting light-up wall art for your own home? I truly hope this tutorial empowers you to embark on this rewarding DIY journey and bring a little extra magic into your living spaces!
More Seasonal Posts
SEE ALL holiday POSTS
-
The Most Realistic Faux Garlands for 2025
-
Stunning Light-Up Paper Snowflake Lanterns
-
How to Decorate Bedroom Doors to Look Like Apartment Doors
-
DIY Santa Sacks Your Kids Will LOVE!
-
Magical Light-Up Paper Christmas Lanterns
-
Inspiring Front Porch Christmas Decorations & Tips
Other posts you may enjoy for more DIY inspiration:
- DIY Magical Christmas Lanterns
- DIY Advent Calendars
- 6 Secrets to Elevate Your Christmas Aesthetic
Curious about my unique approach to transforming rooms and spaces within our home? Discover the secrets and strategies inside Designer in a Binder®, an affordable and straightforward method to achieve your decorating dreams.
For exclusive content and exciting behind-the-scenes sneak peeks into our latest projects and design insights, make sure to subscribe before you go!