
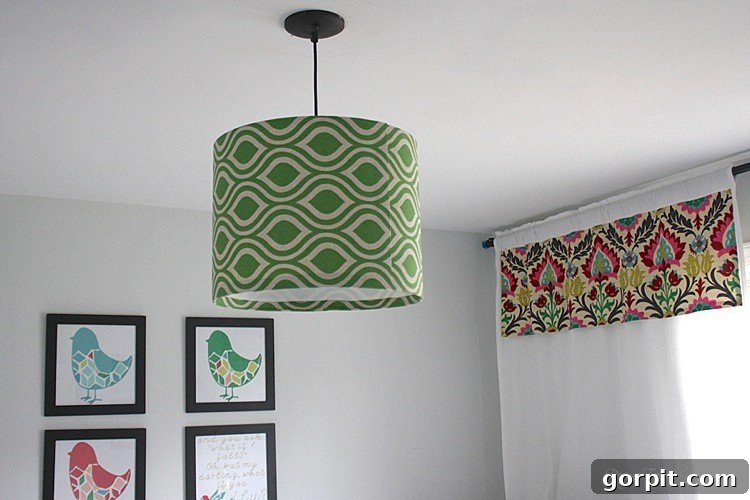
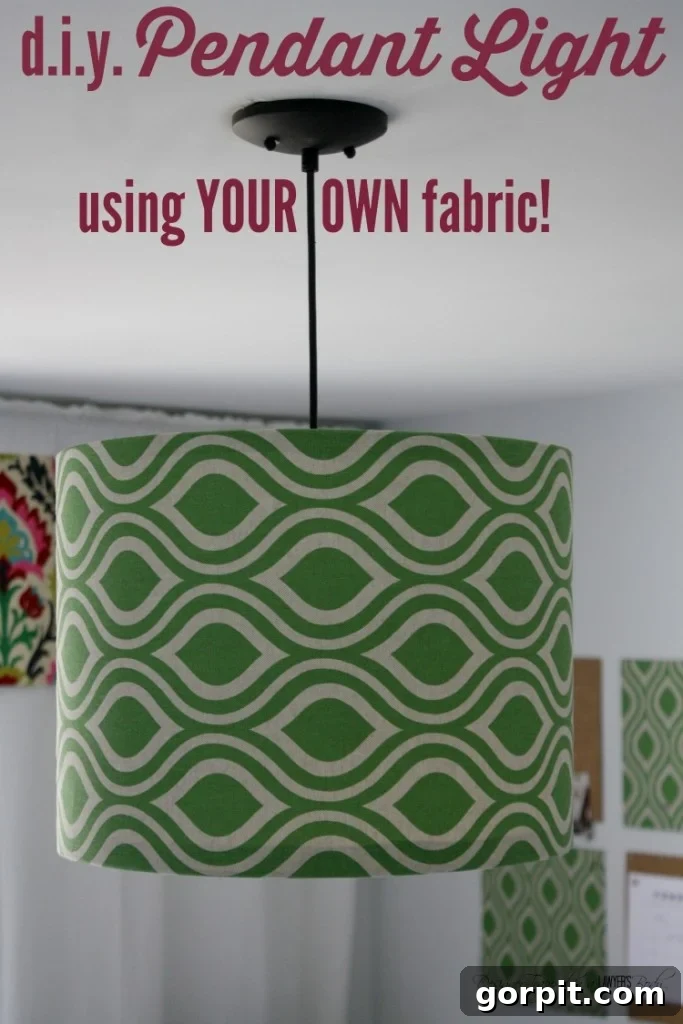
Illuminate Your Space: Create a Custom DIY Pendant Light with Your Favorite Fabric
Hello creative spirits and home decor enthusiasts! Get ready to be inspired, because today, I’m absolutely thrilled to guide you through a project that will transform any room with personalized flair. We’re diving into the exciting world of DIY lighting, specifically how to craft your very own pendant light for spaces like a craft room or home office. This isn’t just any lighting project; it’s an opportunity to inject unique style and much-needed illumination into your home, all thanks to an ingenious lighting kit and a few basic supplies. But before we get to the how-to, let’s explore the journey that led to this brilliant creation.
You might recall the big reveal of my craft room/office last summer. It was a labor of love, designed to be a functional yet stylish sanctuary for all my creative endeavors. While the room boasted many elements I adored, one particular item, a super fun and funky light fixture I picked up from Ikea, proved to be more decorative than practical. This post contains some affiliate links. Click here to read my full disclosure policy.
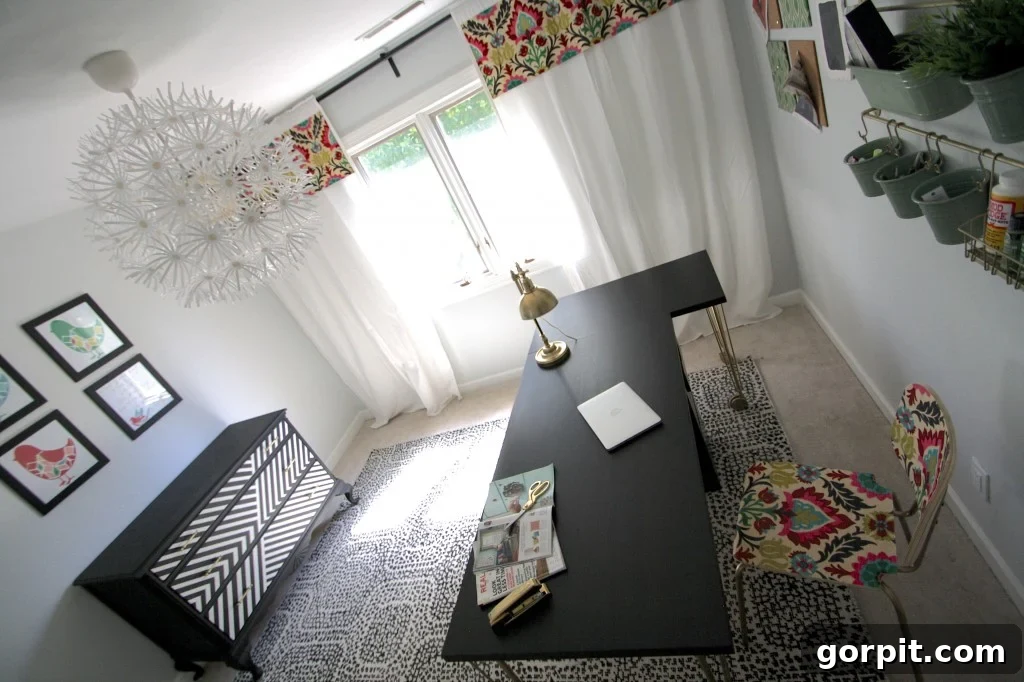
As you can see from the previous setup, that eye-catching fixture, while certainly adding a pop of personality, simply didn’t provide enough light for my needs. My craft room doubles as my office, and a significant amount of my work happens late at night after my girls are tucked into bed. Adequate task lighting is crucial for intricate crafts, detailed writing, or any project requiring focus. Regrettably, our love affair with that stylish but underperforming light ended almost as quickly as it began. (Don’t worry, that fixture is destined for another exciting project down the line!) This realization sparked a quest for a lighting solution that was both functional and aesthetically pleasing, leading me to a truly remarkable discovery.
Why Choose a DIY Pendant Light? The Benefits of Custom Illumination
Before we dive into the specifics of this project, let’s consider why a DIY pendant light is such a fantastic choice for enhancing your home. In an era of mass-produced goods, creating something by hand offers unparalleled advantages:
- Unmatched Personalization: This is arguably the biggest draw. You get to select the exact fabric that complements your existing decor, reflects your personal style, or introduces a pop of color or pattern you can’t find anywhere else. Forget settling for generic options; your light will be truly unique.
- Cost-Effective Elegance: High-end lighting fixtures can come with a hefty price tag. By going the DIY route, you can achieve a sophisticated, custom look for a fraction of the cost, making designer-inspired lighting accessible to everyone.
- A Sense of Accomplishment: There’s immense satisfaction in knowing you’ve created a beautiful and functional piece for your home with your own hands. It’s not just a light; it’s a conversation starter and a testament to your creativity.
- Perfect Functionality: When you build it yourself, you can tailor it to meet your specific lighting needs. For example, by adding an optional twin light-socket adapter, as I did, you can significantly increase the light output, ensuring your space is always brightly lit for any task.
- Eco-Friendly Approach: Choosing to DIY often involves repurposing or selecting materials consciously, contributing to a more sustainable home.
Fast forward several months, and my search for the perfect lighting solution led me to a brilliant product called I Like That Lamp. This discovery was a game-changer for my craft room lighting dilemma.
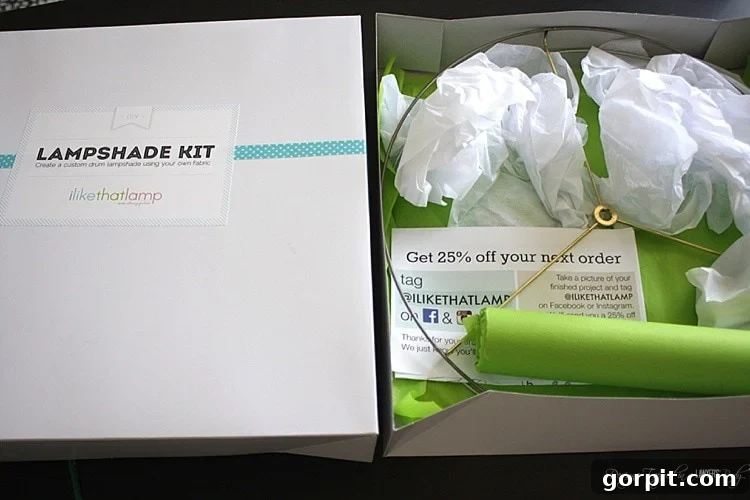
The “I Like That Lamp” kit contains everything you need to construct a custom drum lampshade using your very own fabric. This concept instantly captivated me because it offered the ultimate creative freedom. You can purchase these kits in a variety of sizes directly from the I Like That Lamp website; a limited selection is also conveniently available on Amazon. While these kits are typically designed for creating shades for table and floor lamps, I had a strong intuition that I could easily adapt it to fashion a stunning DIY pendant light. And guess what? My hunch was absolutely correct! It worked out perfectly, providing the ideal blend of style and ample illumination my craft room desperately needed. Read on to discover precisely how I achieved this transformation!
Choosing the Perfect Fabric for Your Custom Lampshade
One of the most exciting aspects of using the “I Like That Lamp” kit is the freedom to select any fabric you desire. This choice is crucial, as it will largely define the aesthetic and the light-filtering qualities of your finished pendant. Here are a few considerations when selecting your fabric:
- Weight and Weave: Opt for a light-weight, natural fiber fabric. Heavier fabrics can be more challenging to work with and may not adhere as smoothly to the styrene backing. A tighter weave will create a more opaque shade, directing light more effectively downwards or upwards, while a looser weave might allow more diffused light through the fabric itself.
- Color and Pattern: This is where your personality shines! Consider the existing color scheme of your room. Do you want a subtle, complementary shade, or a bold statement piece? Patterns can add visual interest and texture. Remember that the color of the fabric can also influence the hue of the light it emits.
- Durability: While not a major concern for a static light fixture, choosing a fabric that is relatively durable and easy to clean (with a gentle wipe) will ensure your pendant light looks fresh for years to come.
- Light Transmission: Think about how much light you want to pass through the fabric. Opaque fabrics will focus light more dramatically at the top and bottom openings, while lighter, semi-transparent fabrics will allow some light to glow through the shade itself, creating a softer ambiance.
For my project, I used Premier Prints Nicole Organic Green Laken Fabric from Online Fabric Store, which was a fantastic choice due to its light weight and beautiful pattern, adding a touch of nature-inspired calm to my workspace.
DIY PENDANT LIGHT TUTORIAL: Step-by-Step Guide
Ready to create your own custom lighting masterpiece? Let’s gather our materials and get started!
Materials Needed:
- 1 I Like That Lamp kit {I used the 18 inch x 12 inch kit for my light. This specific size is a wonderful choice for creating a substantial and impactful pendant. It is not available on Amazon, but you can order it directly from I Like That Lamp by clicking HERE}.
- 1 Pendant Light Kit with Oil-Rubbed Bronze Finish {Choosing a finish like oil-rubbed bronze adds a touch of classic elegance that can complement a wide range of fabric patterns and room decors. Ensure your chosen kit is compatible with the shade ring size of your “I Like That Lamp” kit}.
- 1 Twin Light-Socket Adapter {Optional, but highly recommended if you need to boost the light output from your pendant, especially for task-oriented spaces like a craft room or kitchen island. This adapter allows you to use two bulbs instead of one, doubling your illumination.}.
- 1 2/3 yards {approximately 60 inches long} of light-weight, natural fiber fabric {As mentioned, I used Premier Prints Nicole Organic Green Laken Fabric from Online Fabric Store. Always ensure you have a bit extra than the kit specifications, just in case!}.
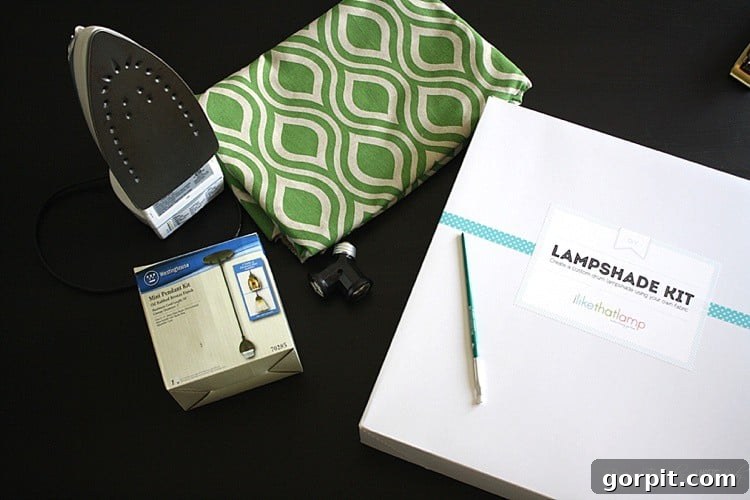
Step 1: Assembling Your Custom Drum Lampshade
The “I Like That Lamp” kit is incredibly well-designed, but for optimal guidance, I highly recommend watching this accompanying YouTube video provided by the manufacturer. It will offer invaluable visual instruction. Below is my detailed tutorial, complete with step-by-step photos to ensure a smooth process.
-
Prepare Your Fabric: First things first, ensure your fabric is impeccably smooth. Iron it very well to eliminate any seams, creases, or wrinkles. A perfectly flat fabric is crucial for achieving a professional, unblemished finish on your lampshade.
-
Attach Styrene to Fabric: Lay your chosen fabric out, pattern-side down (UPSIDE DOWN), on a large, clean, and flat surface. Carefully peel back about six inches of the protective backing from the styrene sheet included in your kit. Align the sticky side of the styrene precisely onto your fabric, ensuring you leave approximately 1/2 inch of fabric overhang on each of the long sides and one short end. Slowly and steadily remove the rest of the backing, meticulously pressing the styrene onto the fabric as you go. Work slowly to prevent air bubbles and ensure a perfectly smooth adhesion.

-
Trim Excess Fabric: Once the styrene is fully adhered to your fabric, it’s time to trim away the excess. Using sharp scissors or a rotary cutter and ruler for precision, carefully cut the fabric, again leaving a consistent 1/2-inch overhang on both long sides and one short side. Crucially, leave NO fabric overhang on the *other* short side; this edge should be flush with the styrene.
-
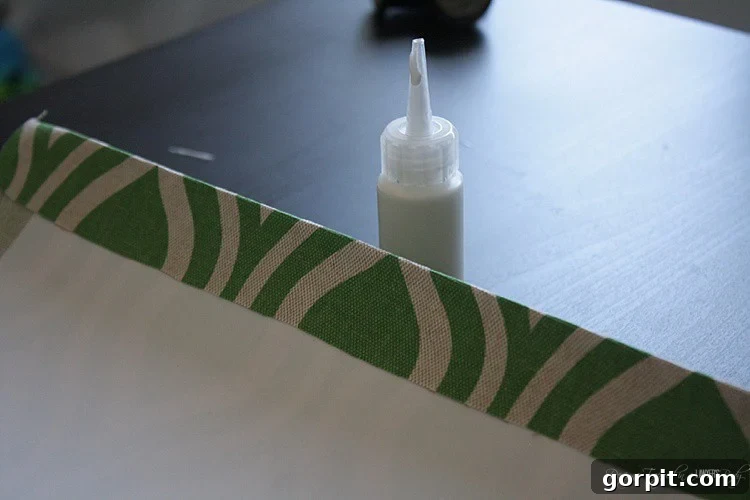
Secure the First Short End: Locate the short end where you intentionally left a 1/2-inch fabric overhang. Fold this overhang neatly over the edge of the styrene and firmly glue it down using the specialized glue provided in your kit. This creates a clean, finished edge for the seam of your lampshade.
-
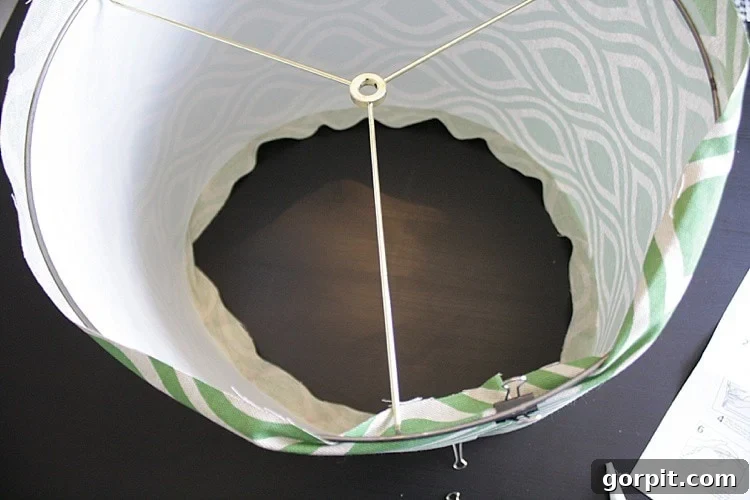
Form the Shade and Insert Top Ring: Gently stand the styrene sheet upright and carefully shape it into a circular lampshade. Take one of your lampshade rings – specifically, the top ring which will have the small finial attachment hole – and position it into place at the top edge of your newly formed drum. Use the binder clips supplied in the kit to securely hold the ring in place, ensuring it’s centered and snug.
-
Glue Fabric to Top Ring: Now, apply a thin, even bead of the kit’s glue along the edges of the fabric that overhang the top ring. Use the small paintbrush (or your finger, if you prefer) to spread the glue around thoroughly. Carefully fold the fabric overhang over the ring and press it down firmly. The trick here is to achieve a taut, smooth finish. For a truly professional look, use the wooden stick provided with the kit to push the fabric firmly under the ring, tucking it in cleanly. (Apologies, this is a two-handed operation, so I couldn’t capture a photo of this precise step).
-
Repeat for the Bottom Ring: Once the fabric is securely glued around the top ring, carefully flip your lampshade over. Insert the remaining bottom lampshade ring into place, securing it with binder clips, and repeat the entire gluing process as described in step 6. Ensure both top and bottom edges are perfectly finished.
-
Seal the Side Seam: For the final step in shade assembly, bring the two short end edges of the lampshade together. Apply a generous line of glue between them and press them firmly and evenly together to create a strong, seamless vertical seam. Hold them in place for a few moments or use clips if needed. Allow ample time for all the glue to dry completely before proceeding to the next steps. Patience here will ensure the longevity and structural integrity of your lampshade.
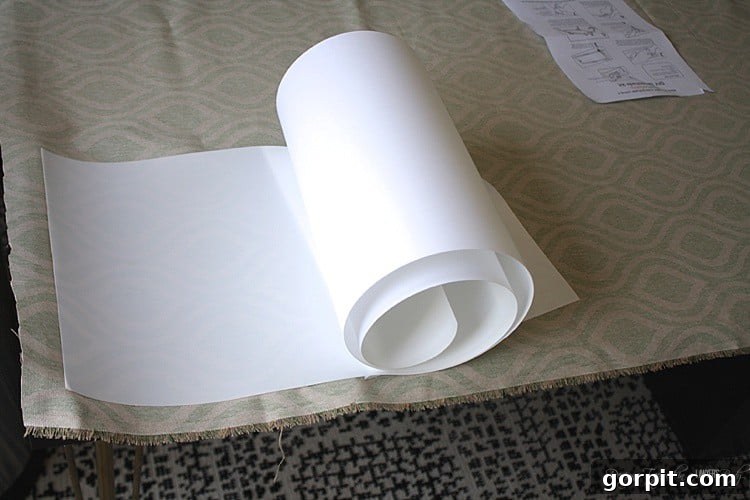
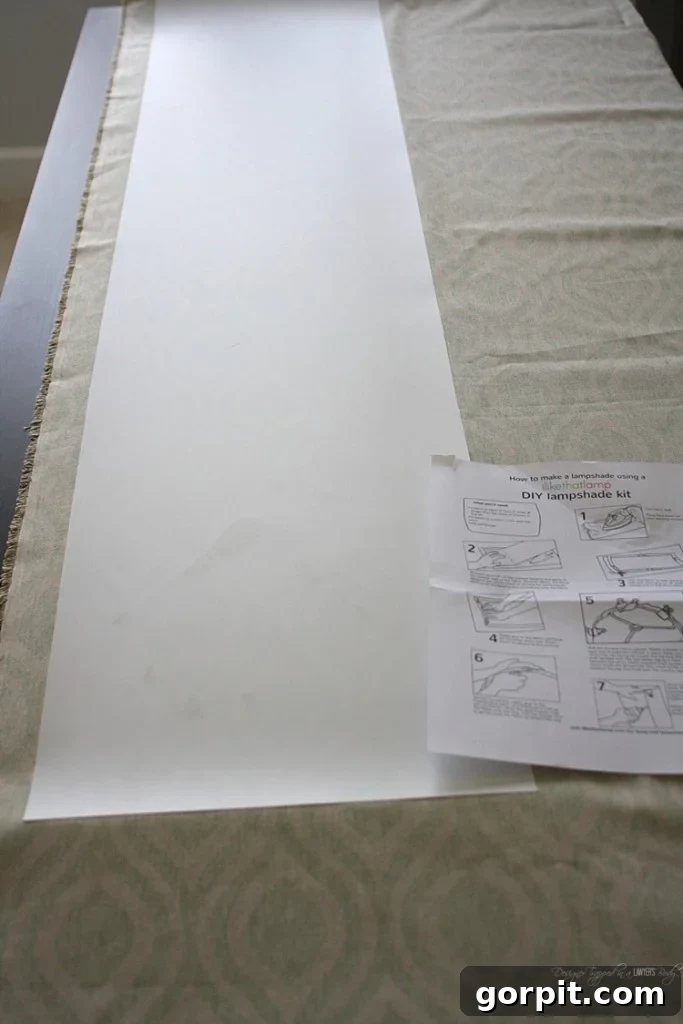
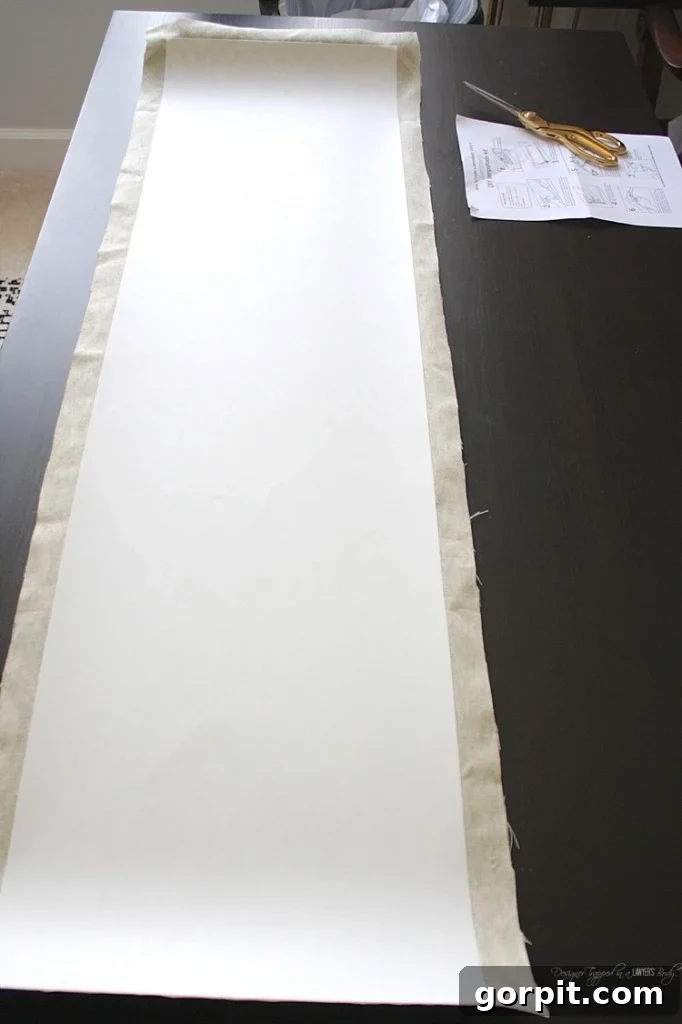
Step 2: Integrating the Pendant Light Kit
With your beautiful custom lampshade assembled and completely dry, it’s time to integrate the pendant light hardware.
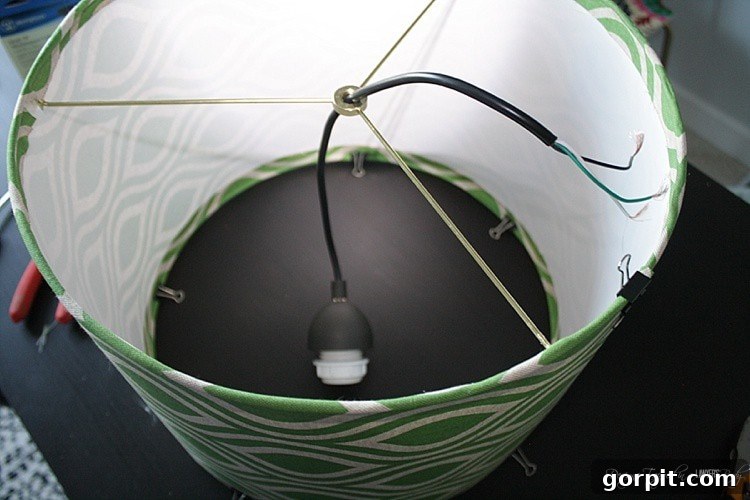
Thread the electrical wire of your chosen pendant light kit carefully through the finial ring located on the top of your newly constructed lampshade. Ensure the wire passes smoothly through, and position the fixture neatly within the shade’s opening. This connection is critical for both the functionality and aesthetics of your DIY pendant light.
Step 3: Safely Hanging Your New Pendant Light
Now for the exciting part – hanging your magnificent creation! While I don’t provide explicit electrical wiring tutorials on my site (always consult a licensed electrician if you’re unsure), I can assure you that replacing a basic light fixture is a surprisingly manageable DIY task for many homeowners. That said, safety is paramount.
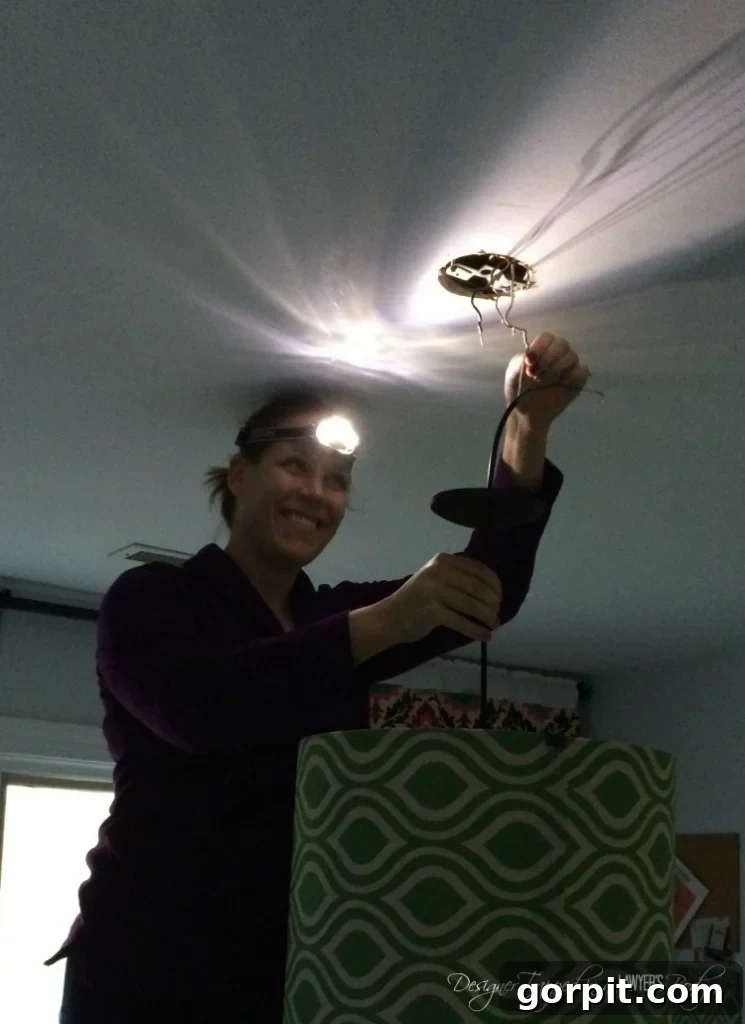
I must share a valuable lesson learned: this was actually the very first light fixture I attempted to hang entirely by myself (my husband Joe usually handles all electrical work). In my enthusiasm, I made the crucial mistake of turning the power off only at the wall switch, not at the main breaker box. The result? A rather startling electrical shock about ten seconds after Joe snapped the photo below. Trust me, I wasn’t smiling quite as brightly afterward! But I quickly regrouped, ensured the power was unequivocally OFF at the breaker box, and then confidently completed the installation. Always, always turn off the main power to the circuit at your home’s breaker box before beginning any electrical work. If you have any doubts, please hire a qualified electrician.
Step 4: Adding the Bulbs for Optimal Brightness
Finally, to complete your custom pendant light, if you’ve chosen to use a twin light-socket adapter (which I highly recommend for maximizing light output in a workspace), screw it securely into the pendant light’s socket. Then, screw in your desired light bulbs. Consider using LED bulbs for energy efficiency and a longer lifespan, and choose a color temperature (warm white for cozy ambiance, cool white for task lighting) that best suits your room’s function.
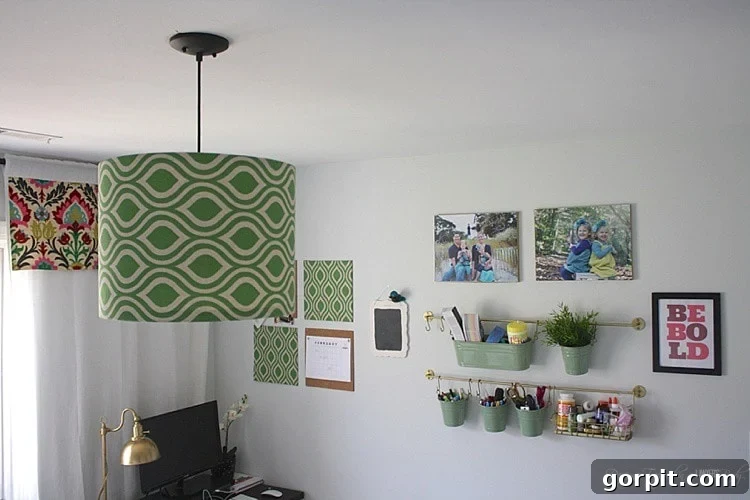
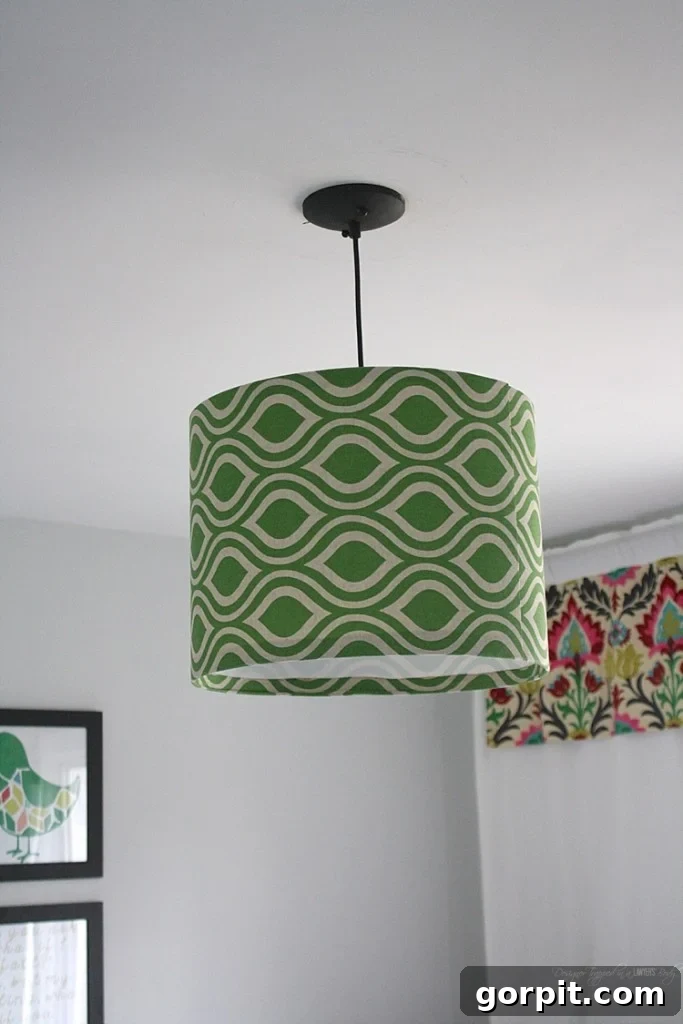
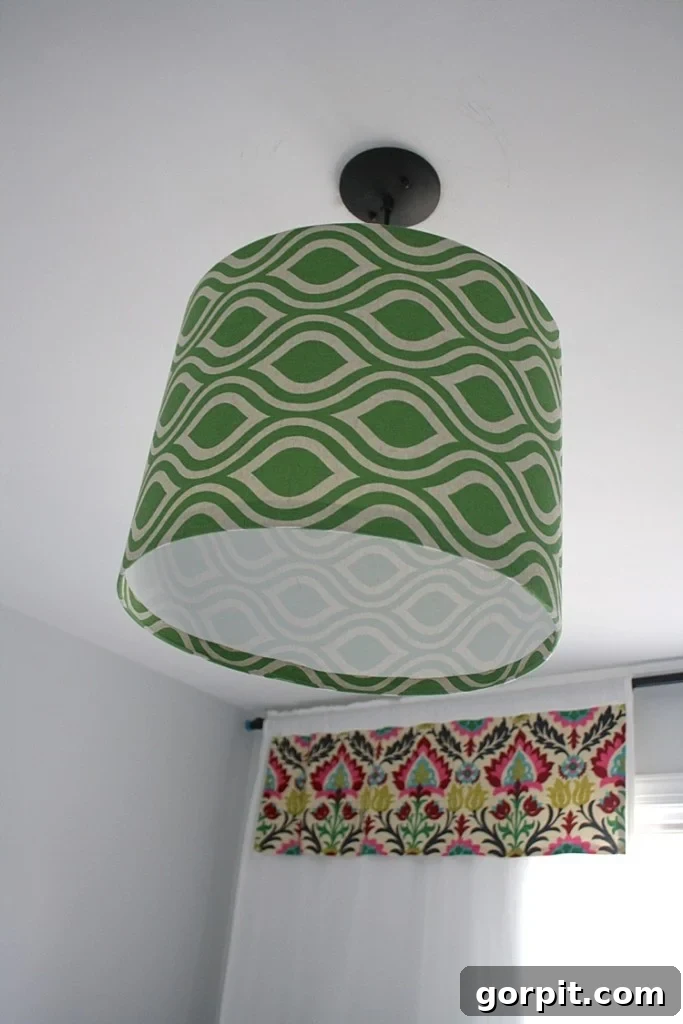
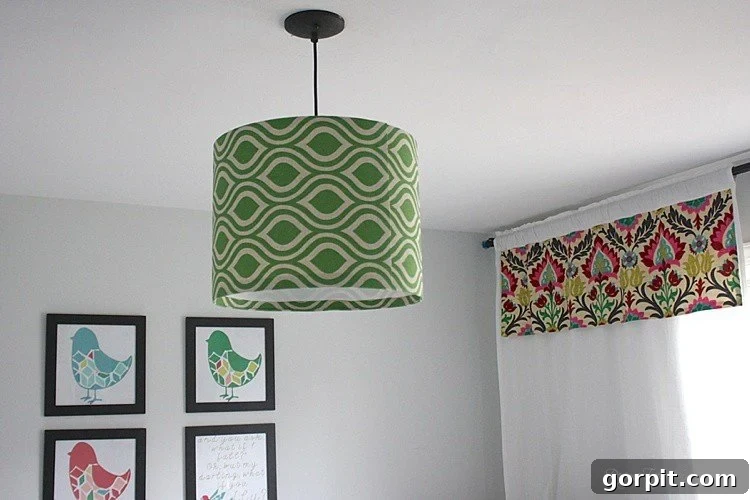
That’s it! Your stunning, custom-made DIY pendant light is complete. Isn’t it absolutely GORGEOUS? The difference it makes in the room, both functionally and aesthetically, is truly remarkable. From insufficient lighting to a bright, beautifully personalized focal point – this project delivers on all fronts.
Beyond This Project: Explore More DIY Lighting Inspiration
If you’ve enjoyed creating this custom pendant light and are eager for more innovative ways to brighten your home, I invite you to explore my other DIY lighting projects. There’s a whole world of possibilities when it comes to personalizing your illumination:
Perhaps you’ll love this DIY bentwood pendant light that I ingeniously crafted from simple quilting hoops. It’s a fantastic example of turning everyday items into stunning, high-end decor pieces:
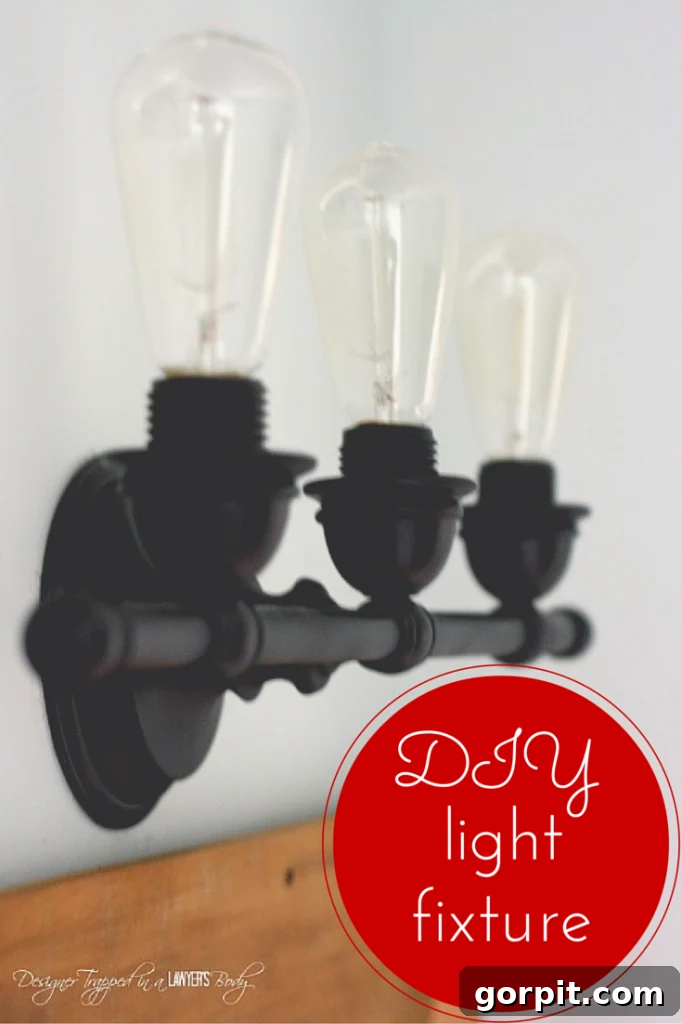
Or, for those seeking a more rugged yet refined aesthetic, check out this brilliant DIY industrial lighting update for our powder room. It proves that impactful design doesn’t have to break the bank, creating a stylish transformation for less than $30!
Share Your Creations & Pin for Later!
I hope this comprehensive guide has empowered you to tackle your own DIY pendant light project. Do you love this latest DIY pendant as much as I do? What fabric will you choose for your custom creation? Share your thoughts and questions in the comments below!
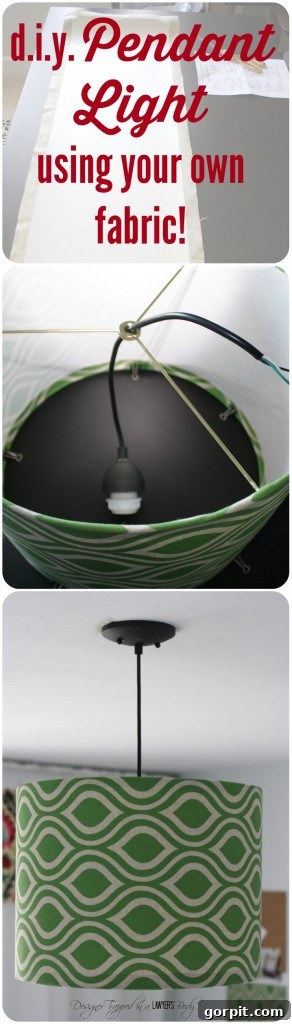
If you’re feeling inspired and want to remember this fantastic project for your next home improvement endeavor, be sure to pin it! Your support helps others discover creative and affordable ways to personalize their spaces.
For more home decor inspiration and budget-friendly DIYs, explore our Most Popular Projects section.