
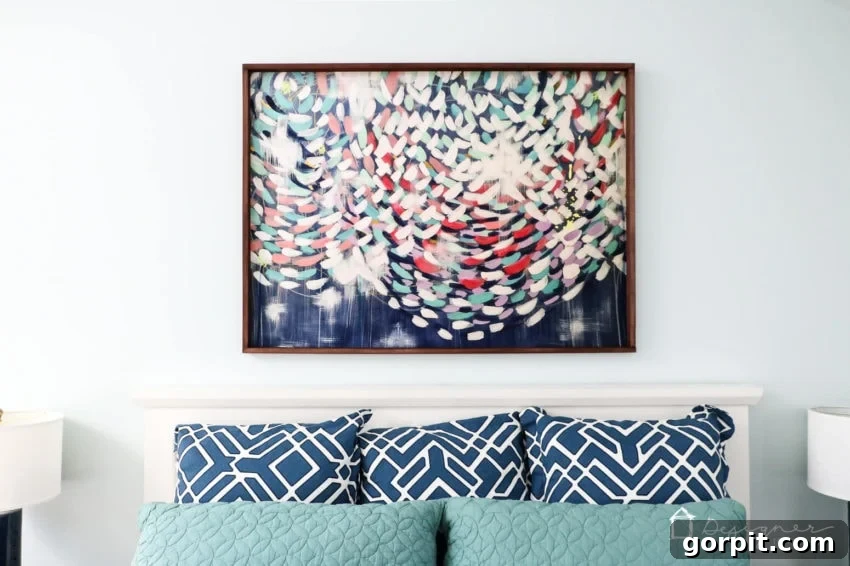
This post is sponsored by Mohawk Consumer Products.
Transform Your Space: The Easiest DIY Picture Frames for Large Prints
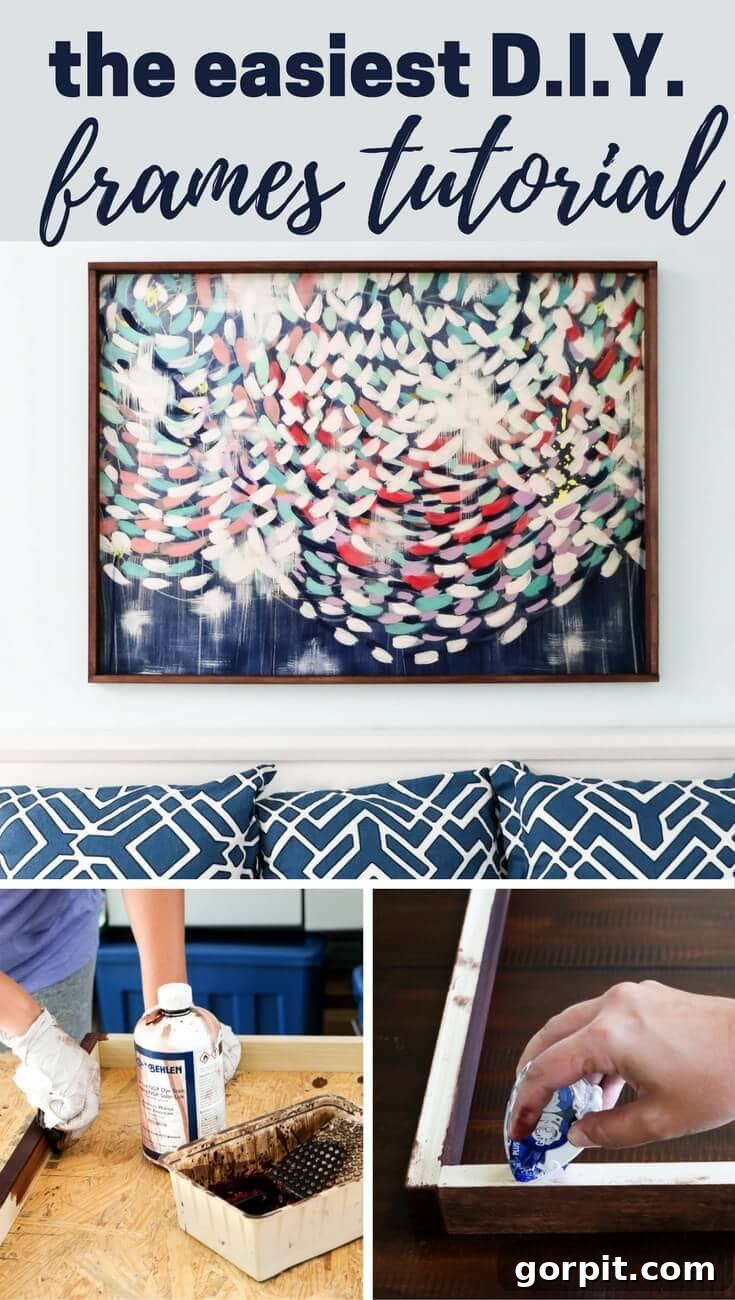
Are you looking to enhance your home decor with stunning artwork but find custom framing prices prohibitively expensive? You’re not alone! Many homeowners dream of adorning their walls with large, impactful prints, only to be deterred by the significant cost of professional framing. Custom frames can easily double or even triple the investment in your artwork, making beautiful display feel out of reach.
But what if we told you there’s a remarkably simple, budget-friendly solution? This comprehensive guide will walk you through creating your own gorgeous DIY picture frames for large prints. We’ve mastered the art of inexpensive, yet elegant, framing, and we’re excited to share our easiest-ever tutorial with you. Whether you’re framing a single statement piece or building an entire gallery wall, these homemade frames will add warmth, character, and a touch of professional flair to any room, all while keeping your budget intact.
We recently faced this very challenge when decorating our master bedroom. After nearly four years of bare walls, we finally invested in some beautiful, vibrant abstract prints that completely transformed our space. The only catch? The prints themselves consumed our entire decor budget, leaving nothing for custom framing. Instead of compromising on our vision or waiting to save more, we decided to tackle the framing ourselves. The result? Frames that look custom-made but cost a fraction of the price, and they were unbelievably easy to build. We’ve tried many DIY frame projects before, but this method is truly the simplest and, dare we say, our favorite!
This post contains some affiliate links for your convenience (which means if you make a purchase after clicking a link I will earn a small commission which helps keep my blog up and running but it won’t cost you a penny more)! Click here to read my full disclosure policy.
Why Choose DIY Frames for Your Large Artwork?
Opting for DIY picture frames offers a multitude of benefits, especially when dealing with large prints:
- Significant Cost Savings: This is arguably the biggest motivator. Custom framing can cost hundreds, even thousands, of dollars for large pieces. By making your own, you dramatically reduce expenses, allowing you to invest more in the artwork itself or other home decor elements.
- Complete Customization: Professional frames come in standard sizes and finishes. With DIY, you have total control over the wood type, dimensions, stain or paint color, and overall aesthetic to perfectly match your art and interior design.
- Sense of Accomplishment: There’s immense satisfaction in creating something beautiful with your own hands. Every time you admire your framed artwork, you’ll feel a sense of pride knowing you crafted it yourself.
- Accessibility: This tutorial uses readily available materials and tools that are common in most hardware stores or can be easily rented/borrowed. You don’t need advanced carpentry skills to achieve stunning results.
- Perfect Fit Every Time: No more struggling to find a frame that perfectly fits an odd-sized print. You’ll cut your frame components to the exact dimensions of your artwork, ensuring a seamless and professional look.
So, if you’re ready to bypass the high costs of custom framing and embrace a rewarding DIY project, keep reading. We’ll show you exactly how to make a picture frame that looks high-end without breaking the bank.
DIY Frames for Large Prints Tutorial: Step-by-Step Guide
Before you dive into building, it’s essential to gather your materials and prepare your workspace. This project is straightforward, but having everything organized will ensure a smooth and enjoyable process.
Materials and Tools Needed:
- 1×2 Pine Boards: The backbone of your frames. Pine is an excellent choice for its affordability, availability, and ease of working with. The exact quantity and length will depend on your print sizes. For reference, we used a total of 11 boards varying in length from 7 to 9 feet for our multiple prints.
- Behlen Solar Lux Dye Stain (American Walnut): Our preferred choice for its rich, deep color and excellent coverage, often requiring just one coat.
- Compound Miter Saw: Crucial for making precise, straight cuts. If you don’t own one, many hardware stores offer cutting services, or you can use a hand saw with a miter box for smaller projects.
- Sawtooth Hangers: Simple and effective hardware for hanging your finished frames.
- Paper Towels or Lint-Free Cloths: For applying stain and wiping off excess.
- Latex or Nitrile Gloves: Essential for protecting your hands during the staining process.
- Glue Tape (e.g., Scotch ATG Adhesive Applicator): This is our secret weapon for attaching prints easily and securely. This is the exact one we used for this project for its strong, instant bond.
- Sandpaper (Medium to Fine Grit): For smoothing rough edges after cutting, ensuring a professional finish.
- Staple Gun or Brad Nailer: For securely joining the frame corners. We absolutely love this one and used it for this project for its efficiency and ease of use.
- 90-Degree Clamps: Indispensable for holding your frame pieces perfectly square while you fasten them.
- Measuring Tape and Pencil: For accurate measurements and markings.
- Safety Glasses: Always wear eye protection when cutting wood.
Step 1: Precision Cutting for Your Frame Components
The first and most critical step in building your DIY frames is accurately cutting your pine boards to size. Precision here ensures your frame will fit your print perfectly and look professionally made.
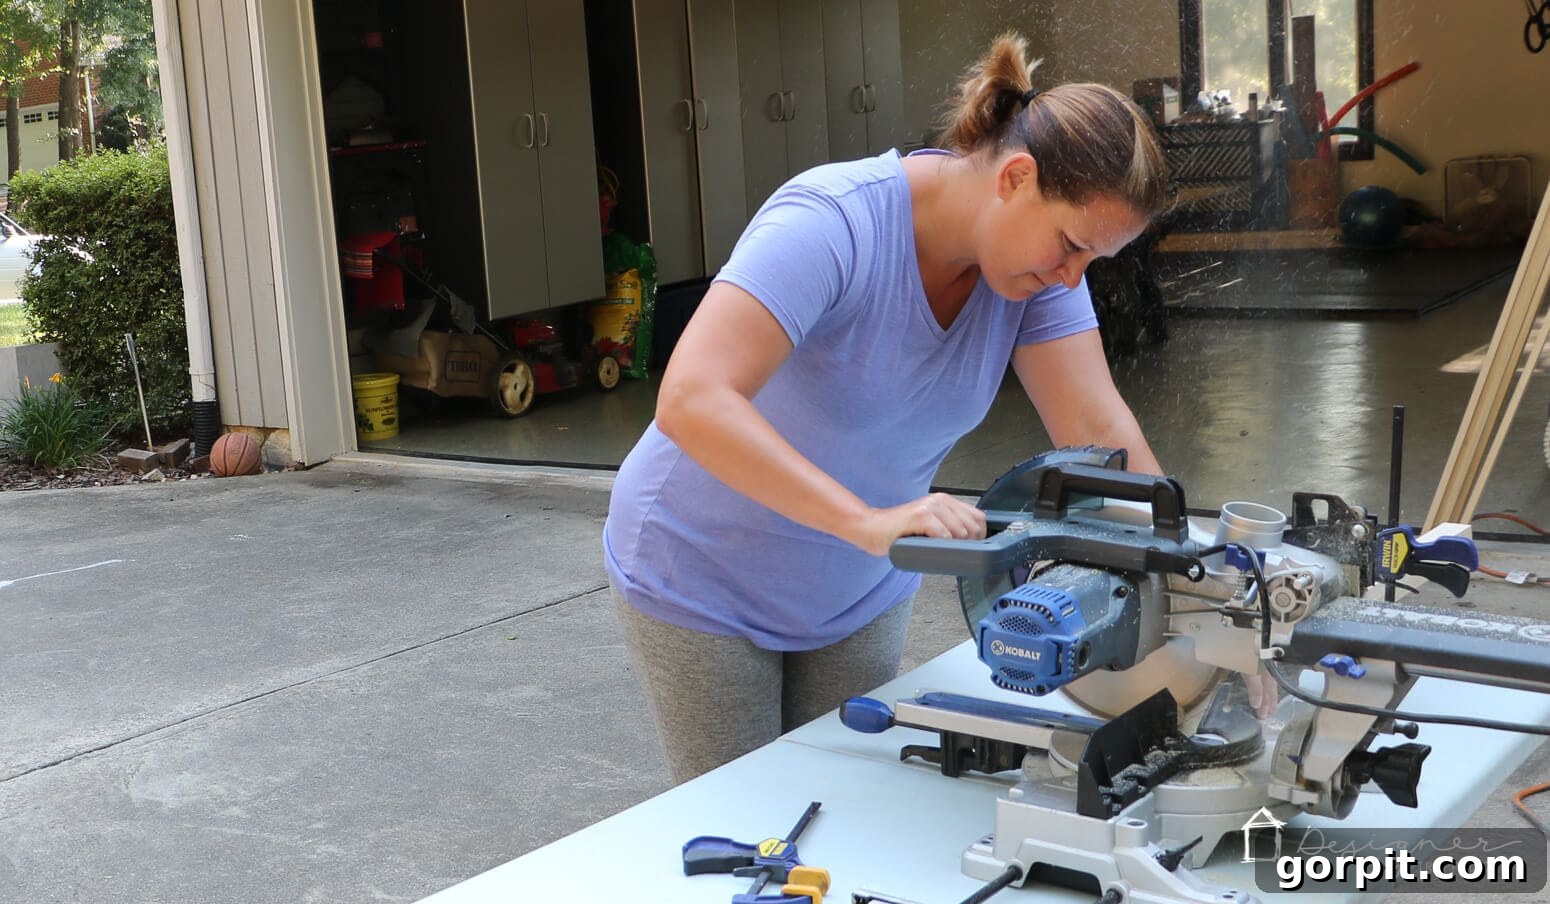
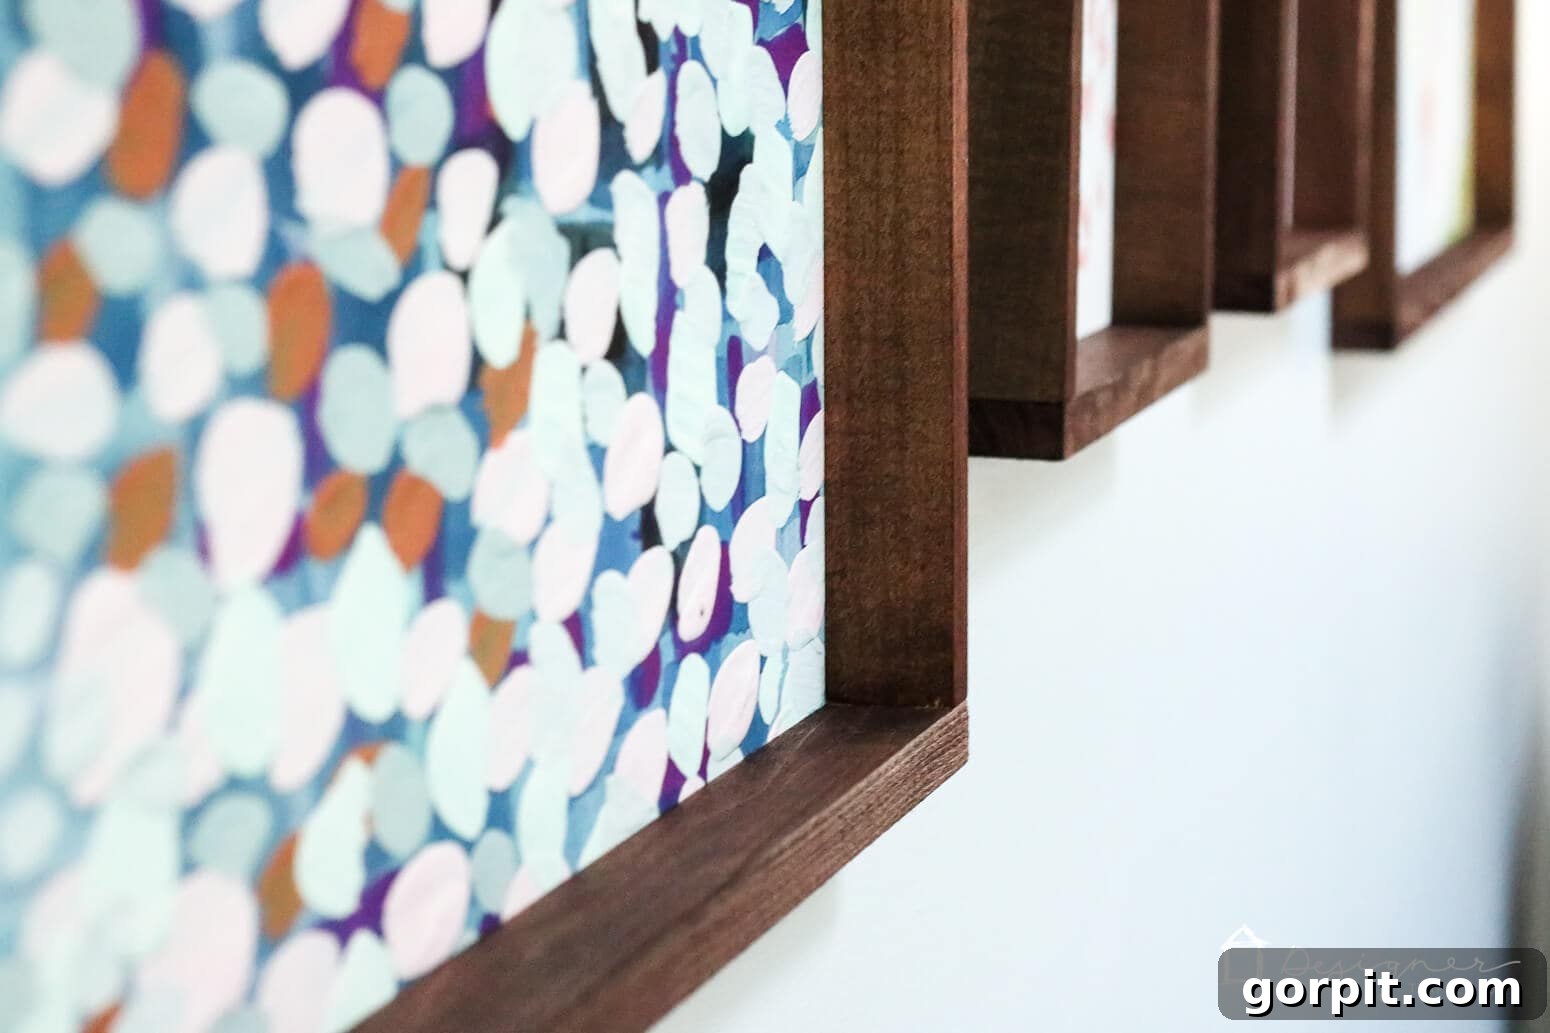
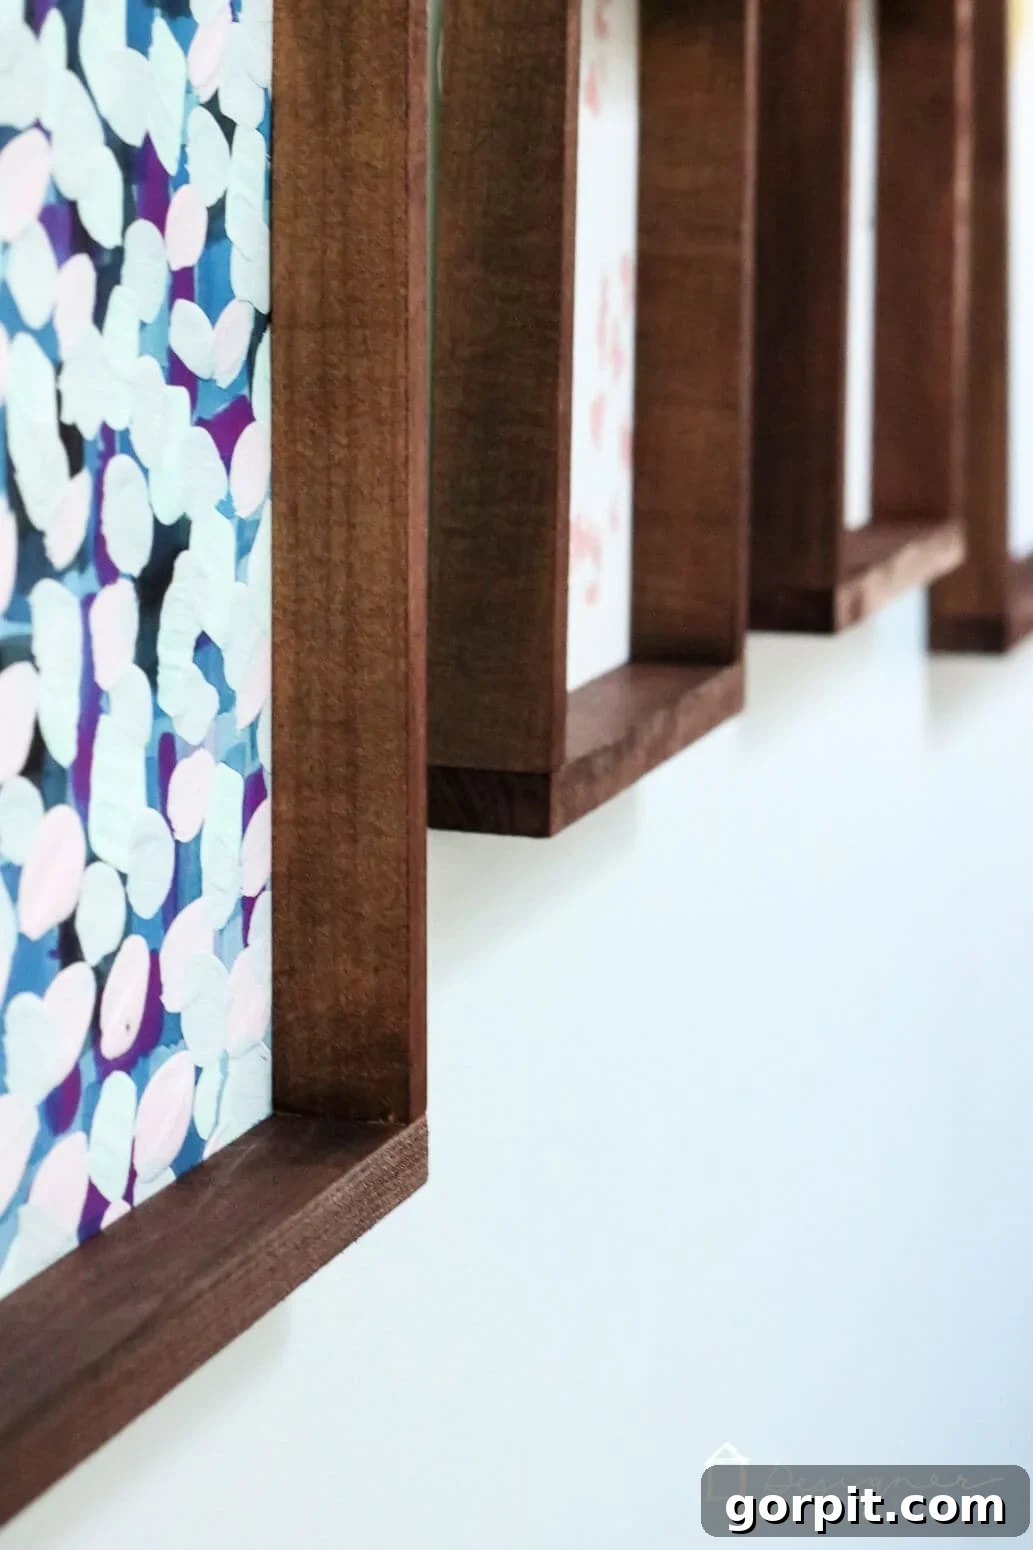
Each picture frame will require four individual boards: two horizontal pieces and two vertical pieces. Our unique design features the horizontal pieces overhanging the vertical ones slightly. This creates a small lip on the back, providing the perfect surface to attach your artwork without needing a separate backing board.
To achieve the ideal dimensions, follow this simple formula for any size print:
- Horizontal Pieces: Cut each horizontal board to be 1/4 inch longer than the width of your print. This slight extra length allows for a small overhang, creating a clean look on the front and space for print attachment on the back.
- Vertical Pieces: Cut each vertical board to be 1 1/4 inches shorter than the height of your print. This accounts for the width of the two horizontal boards (which are 3/4 inch thick each, totaling 1 1/2 inches, but we’re only making it 1 1/4 inches shorter to allow the horizontal pieces to slightly extend beyond the vertical ones), ensuring a snug fit within the horizontal pieces.
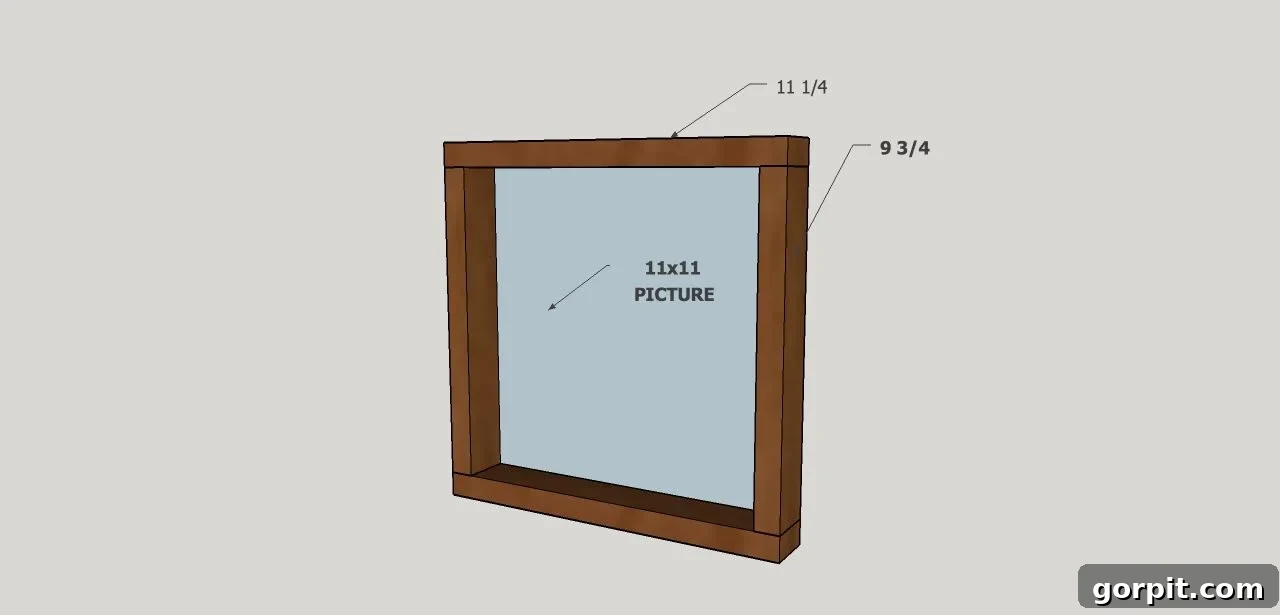
For example, if you are framing an 11 x 11-inch print:
- Horizontal pieces would be: 11 inches (print width) + 1/4 inch = 11 1/4 inches long.
- Vertical pieces would be: 11 inches (print height) – 1 1/4 inches = 9 3/4 inches long.
This “formula” can be applied to any print size. We found it incredibly efficient to cut pieces for multiple frames at once, especially for prints of the same size. By stacking the boards on top of each other and clamping them firmly before cutting, we ensured all pieces were precisely the same length, saving valuable time and ensuring consistency. Remember to always wear safety glasses when using power tools.
Step 2: Smooth Edges with Light Sanding
After cutting, your wood pieces may have some rough edges or splinters from the saw blade. Light sanding is a quick but important step to achieve a smooth, professional finish. Not only does this make the frame more pleasant to handle, but it also ensures a more even stain application.
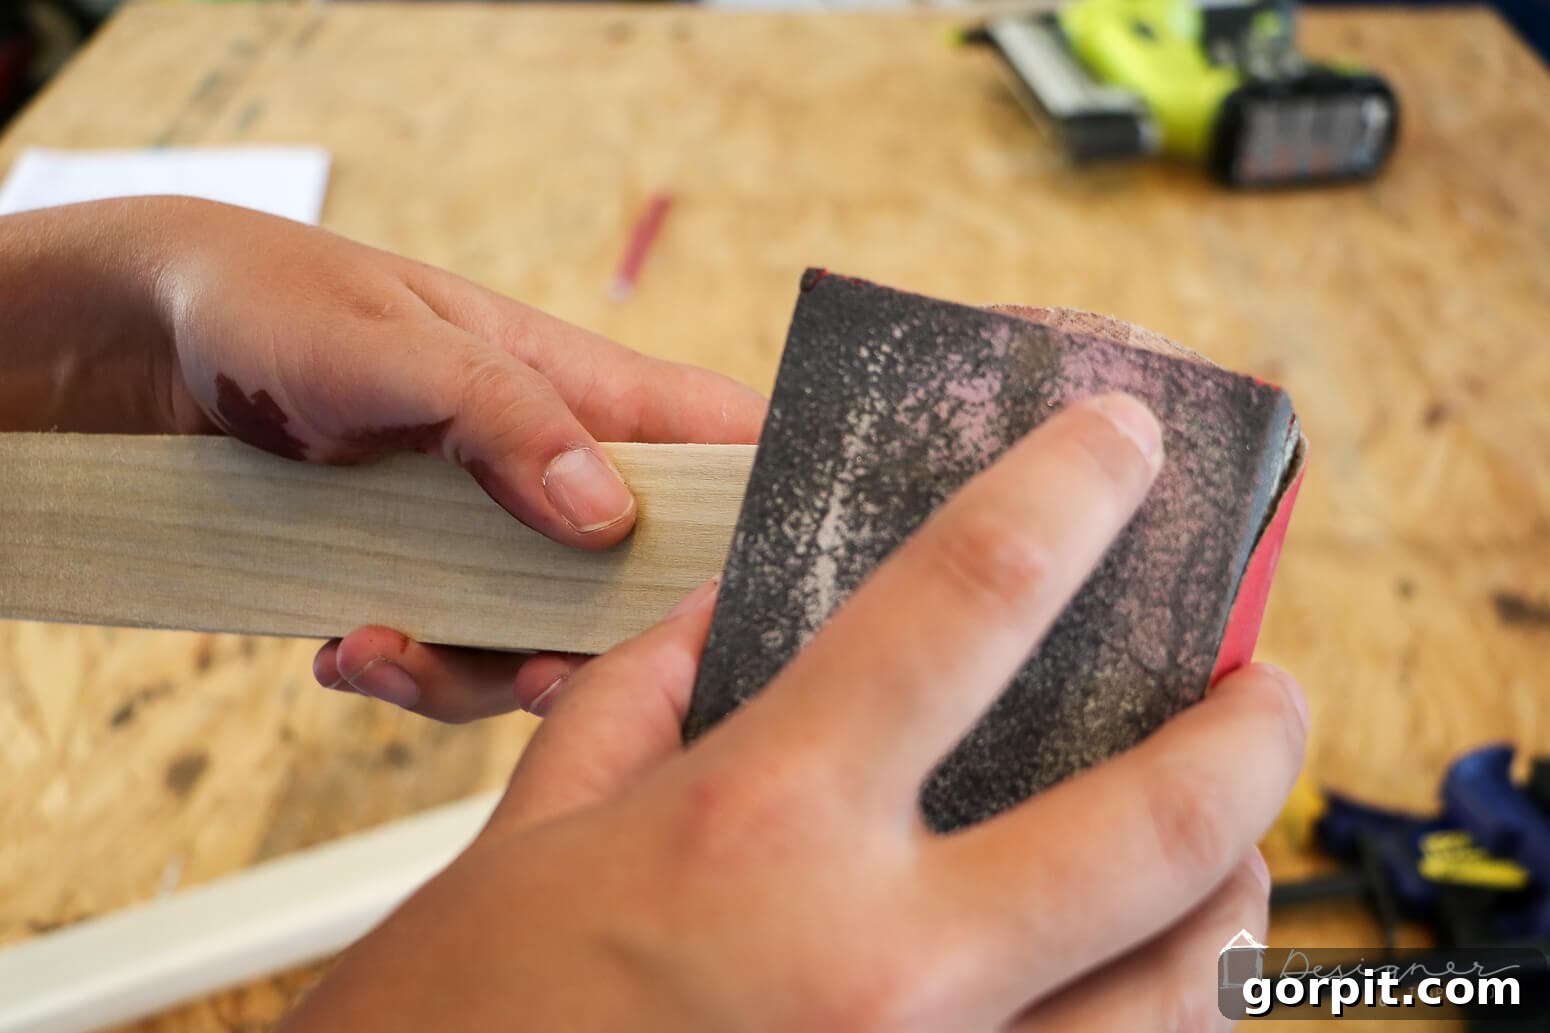
Use medium to fine-grit sandpaper (around 120-180 grit is usually sufficient for pine) to gently smooth out any rough spots on all four edges and ends of each board. Pay particular attention to the cut ends. This simple step greatly enhances the overall look and feel of your finished frame.
Step 3: Assembling Your Frame Corners
Now it’s time to bring your individual pieces together to form the frame. This step requires careful alignment to ensure perfectly square corners, which are crucial for a professional appearance.
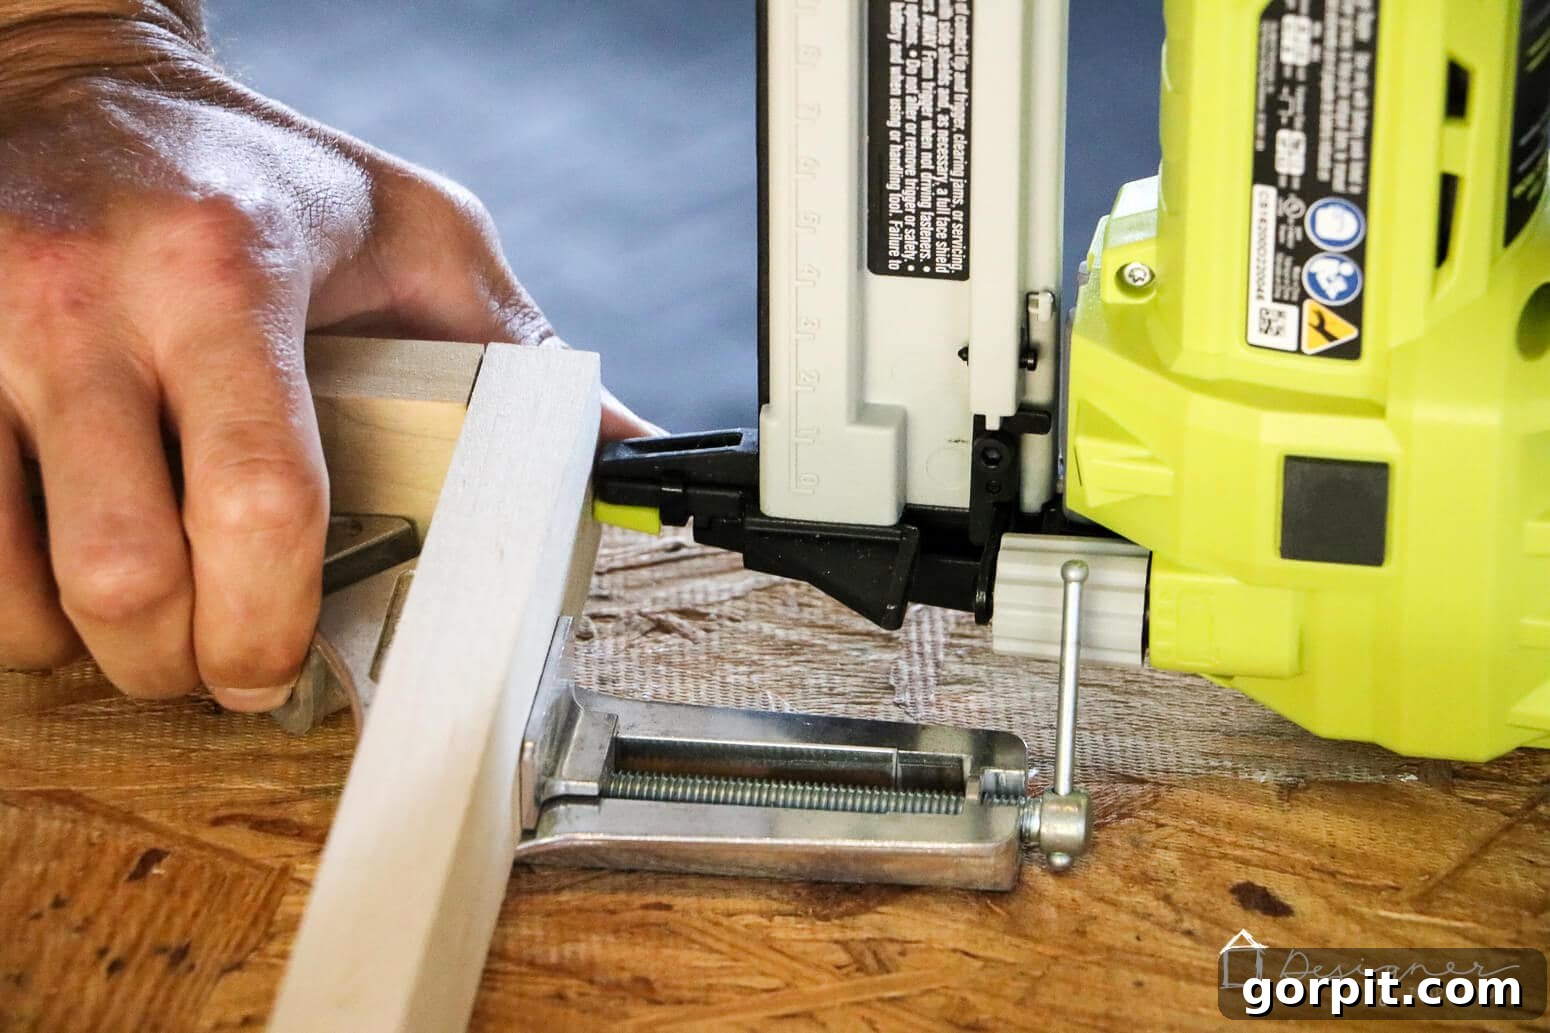
Begin by dry-fitting your four pieces together on a flat surface to visualize the final frame. Remember that the horizontal pieces will sit on top of the vertical pieces at the corners. Once you have them arranged correctly, use your 90-degree clamps to secure each corner, ensuring they are perfectly square. These clamps are invaluable for holding the boards tightly in position, preventing any shifting while you attach them.
With the clamps firmly in place, use your staple gun or brad nailer to attach the boards at each joint. Drive several staples or brad nails through the horizontal piece into the end grain of the vertical piece below it. For added strength, you can also apply a small amount of wood glue to the joints before clamping, wiping away any excess squeeze-out immediately. If you don’t have a nailer, a hammer and small finishing nails can also work, though it may require a bit more precision to avoid splitting the wood.
Step 4: Staining Your Frame for a Rich Finish
With your frame assembled, it’s time to add character and depth with a beautiful stain. This step allows you to customize the look of your frame to complement your artwork and existing decor.
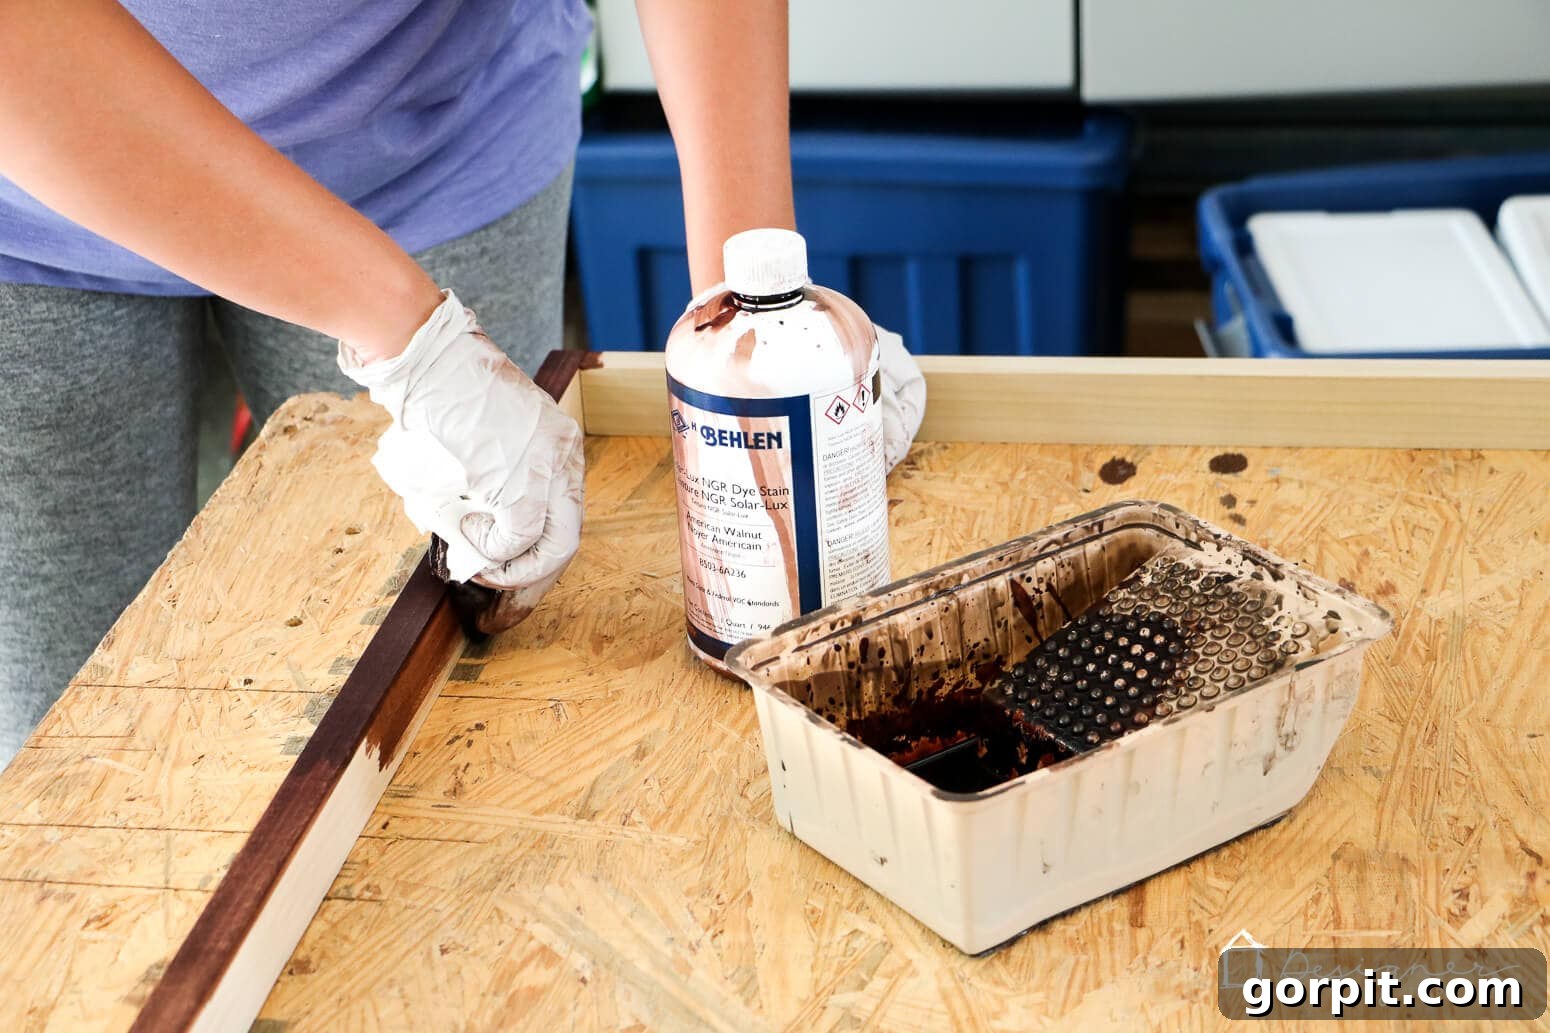
We used our absolute favorite, Behlen Solar Lux Dye Stain in American Walnut. This dye stain delivers an incredibly rich, deep color that truly transforms the raw pine. The beauty of this particular stain is its excellent coverage; in most cases, it only required a single coat for us to achieve the desired intensity.
Before applying, ensure your frame is clean and free of dust. Wearing latex gloves, apply the stain evenly using a paper towel or a lint-free cloth. Work in small sections, wiping off any excess stain after a few minutes to prevent pooling and ensure a uniform finish. Allow the stain to dry completely according to the manufacturer’s instructions. If you prefer a lighter shade, apply sparingly and wipe immediately. For a darker tone, you can apply a second coat after the first has dried, although we found one coat was often sufficient.
Step 5: Applying Glue Tape to Secure Your Prints
Once your stain has fully dried, your frame is ready for the artwork! This method of attaching prints is incredibly simple and effective, particularly for large posters, reproduction paper prints, or any non-irreplaceable art. We do not recommend this method for original, highly valuable, or irreplaceable art pieces.
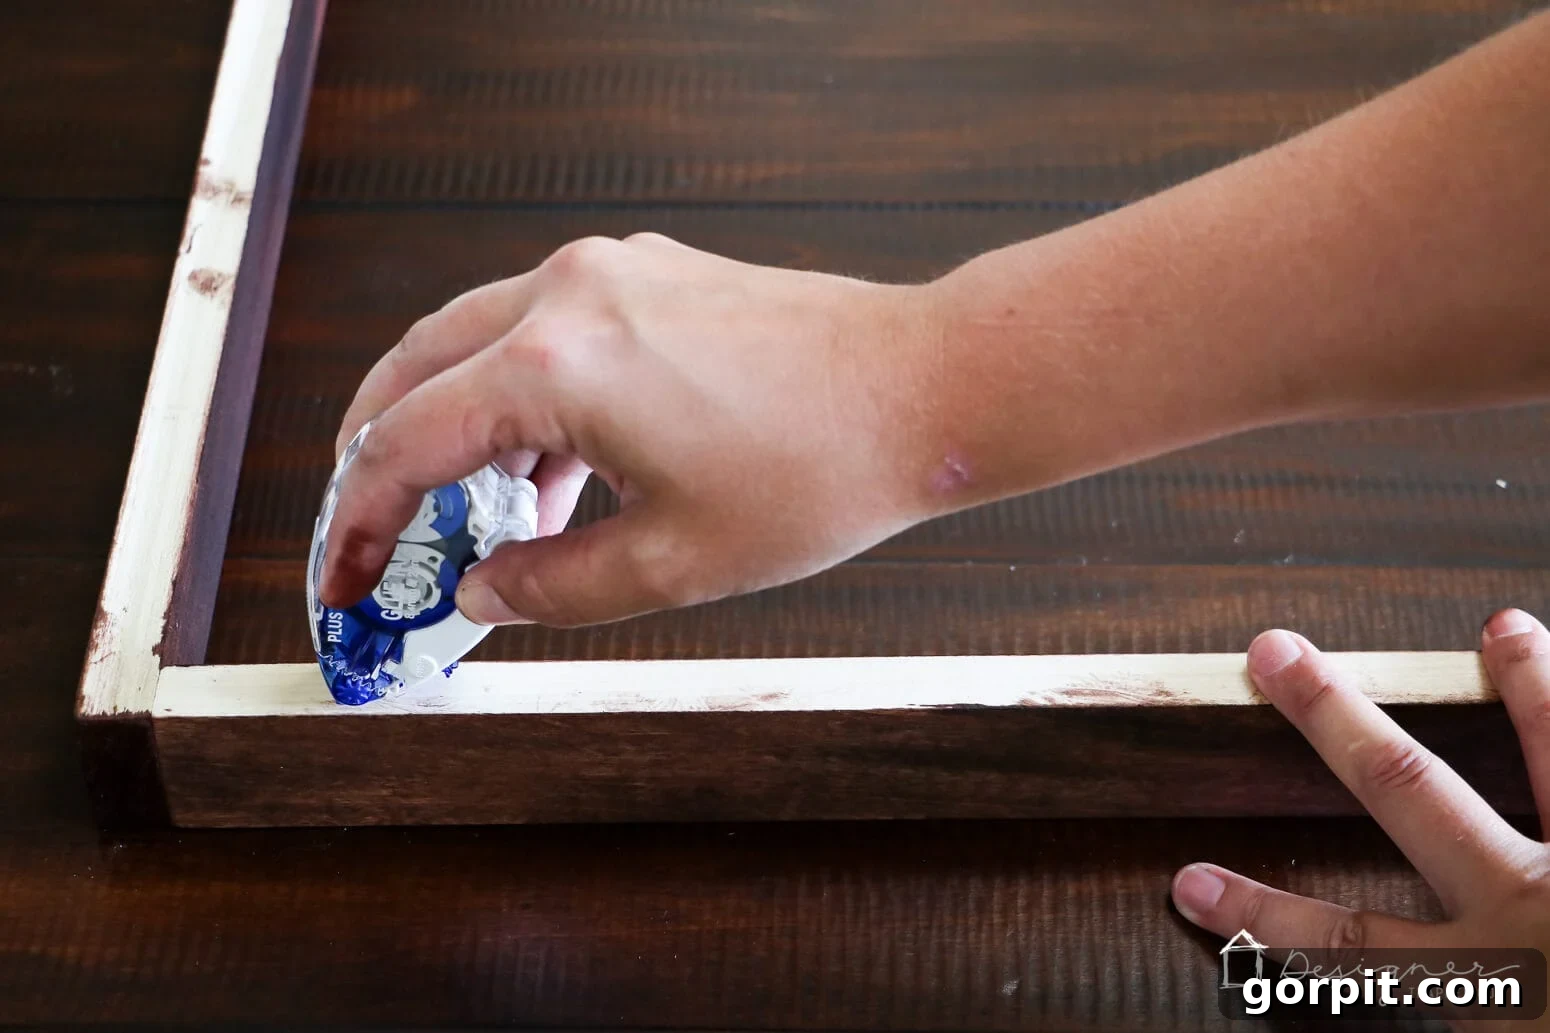
Lay your stained frame face down on a clean, flat surface. Take your glue tape applicator and run a continuous strip along each of the four inner edges on the BACK side of your frame. Make sure the tape is close to the inner edge but not so close that it might be visible from the front once the print is attached. The glue tape provides a strong, instant, and clean bond without the mess or drying time of liquid adhesives.
Step 6: Carefully Attaching Your Artwork
This step requires a steady hand and, for larger prints, an extra set of hands! With the glue tape applied to your frame, you’re ready to position your print.
Carefully lay your large print flat, face-up, on a clean surface. Then, very deliberately, position your frame (with the glue tape facing down) over the print. For particularly large prints, we highly recommend working with a partner. One person can hold one end of the frame, while the other guides the opposite end, ensuring the print is perfectly centered and aligned before making full contact with the glue tape. We don’t have photos of this specific step because our prints were so large, it truly was a two-person job!
Don’t panic if you don’t achieve perfect alignment on the first try. One of the great advantages of using glue tape (especially the one we recommend) is that it allows for slight repositioning as long as you haven’t pressed down super firmly yet. Once you are satisfied with the print’s position, gently but firmly press down along all edges of the frame to secure the artwork to the adhesive. Smooth out any air bubbles or wrinkles from the center outwards.
Step 7: Adding Hanging Hardware and Displaying Your Masterpiece
The final step is to prepare your beautifully framed artwork for display. This involves attaching the hanging hardware so you can proudly hang it on your wall.
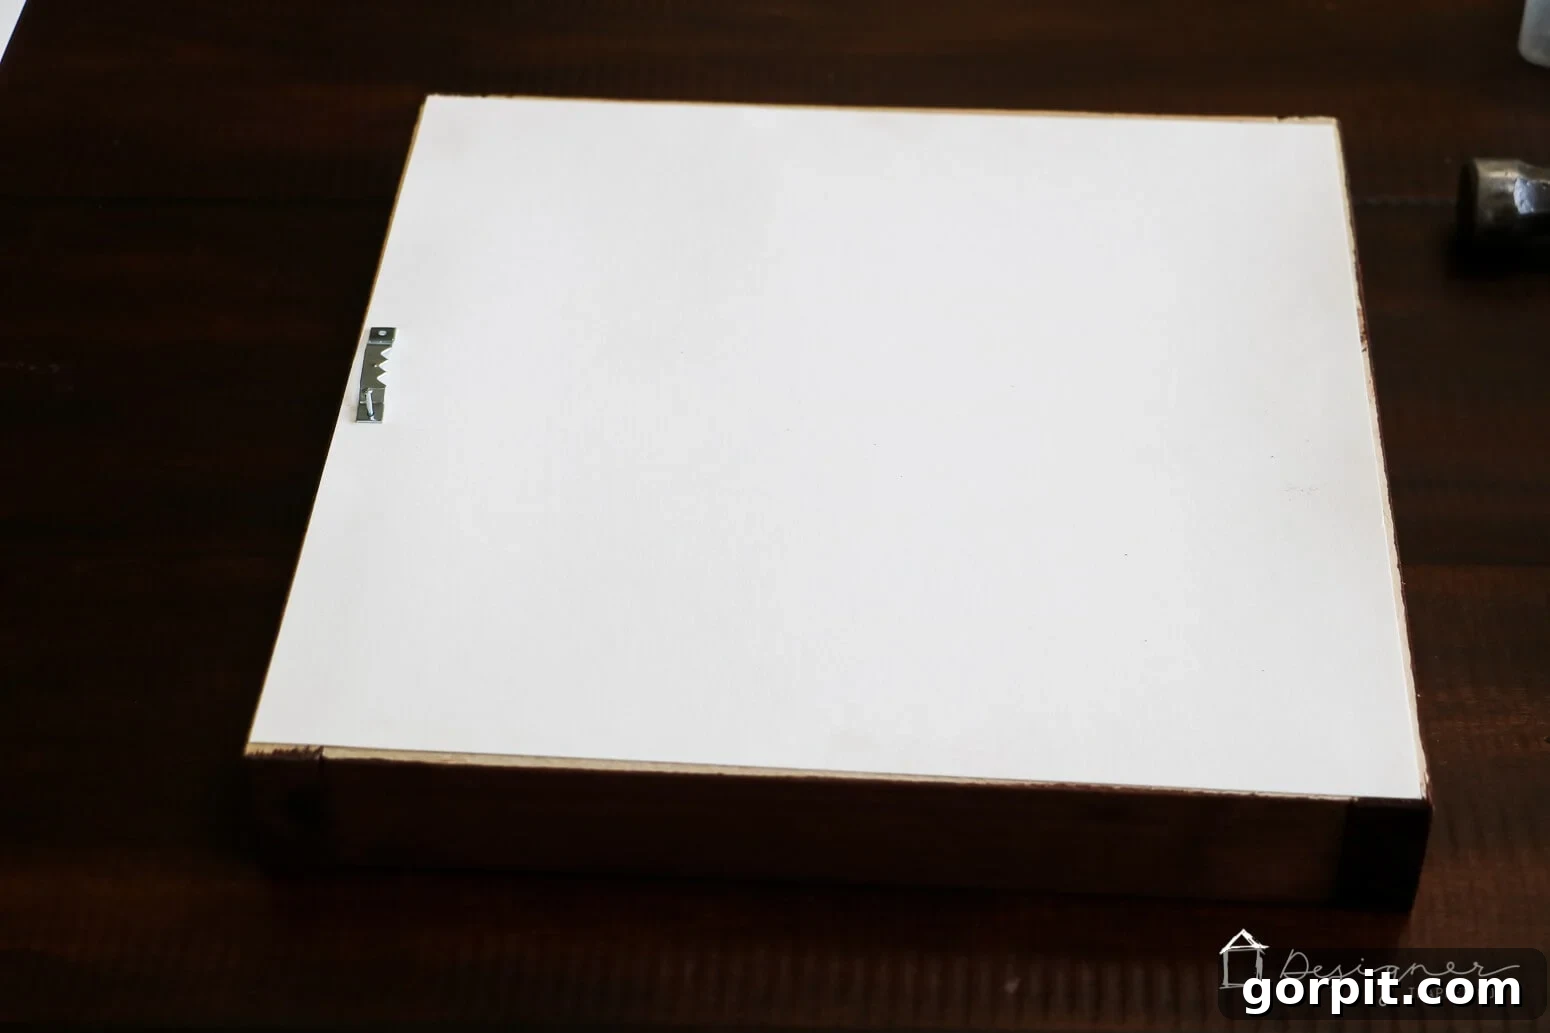
Take your sawtooth hangers and position one at the top center of the back of each frame. Use a small hammer to gently tap the nails of the hanger into the wood, ensuring it’s level and secure. For larger or heavier frames, you might consider using two sawtooth hangers spaced a few inches apart for added stability, or D-rings with picture wire for even distribution of weight.
Once the hanger is attached, your DIY picture frame is complete and ready to adorn your walls! Step back and admire your handiwork. It’s incredibly satisfying to see your vision come to life with a fraction of the cost and effort of traditional framing.
Pro Tips for Flawless DIY Framing
- Measure Twice, Cut Once: This age-old carpenter’s adage is especially true for framing. Double-check all your measurements before making any cuts to avoid costly mistakes.
- Test Your Stain: If you’re unsure about a stain color, test it on a scrap piece of the same wood before applying it to your finished frame. This ensures you achieve the desired hue.
- Work in a Well-Ventilated Area: Stains and finishes can emit fumes. Always work outdoors or in a well-ventilated space, and consider wearing a respirator mask.
- Cleanliness is Key: Ensure your workspace and hands are clean, especially when handling prints. Fingerprints or dust can transfer to the artwork.
- Allow Adequate Drying Time: Patience is a virtue in DIY. Let stains and any glues dry completely according to instructions before moving to the next step. Rushing can lead to smudges or less durable joints.
- Don’t Be Afraid to Experiment: While we suggest a specific stain, feel free to experiment with different wood types, paint colors, or even distressed finishes to truly personalize your frames.
See the Transformation: Our Finished DIY Frames!
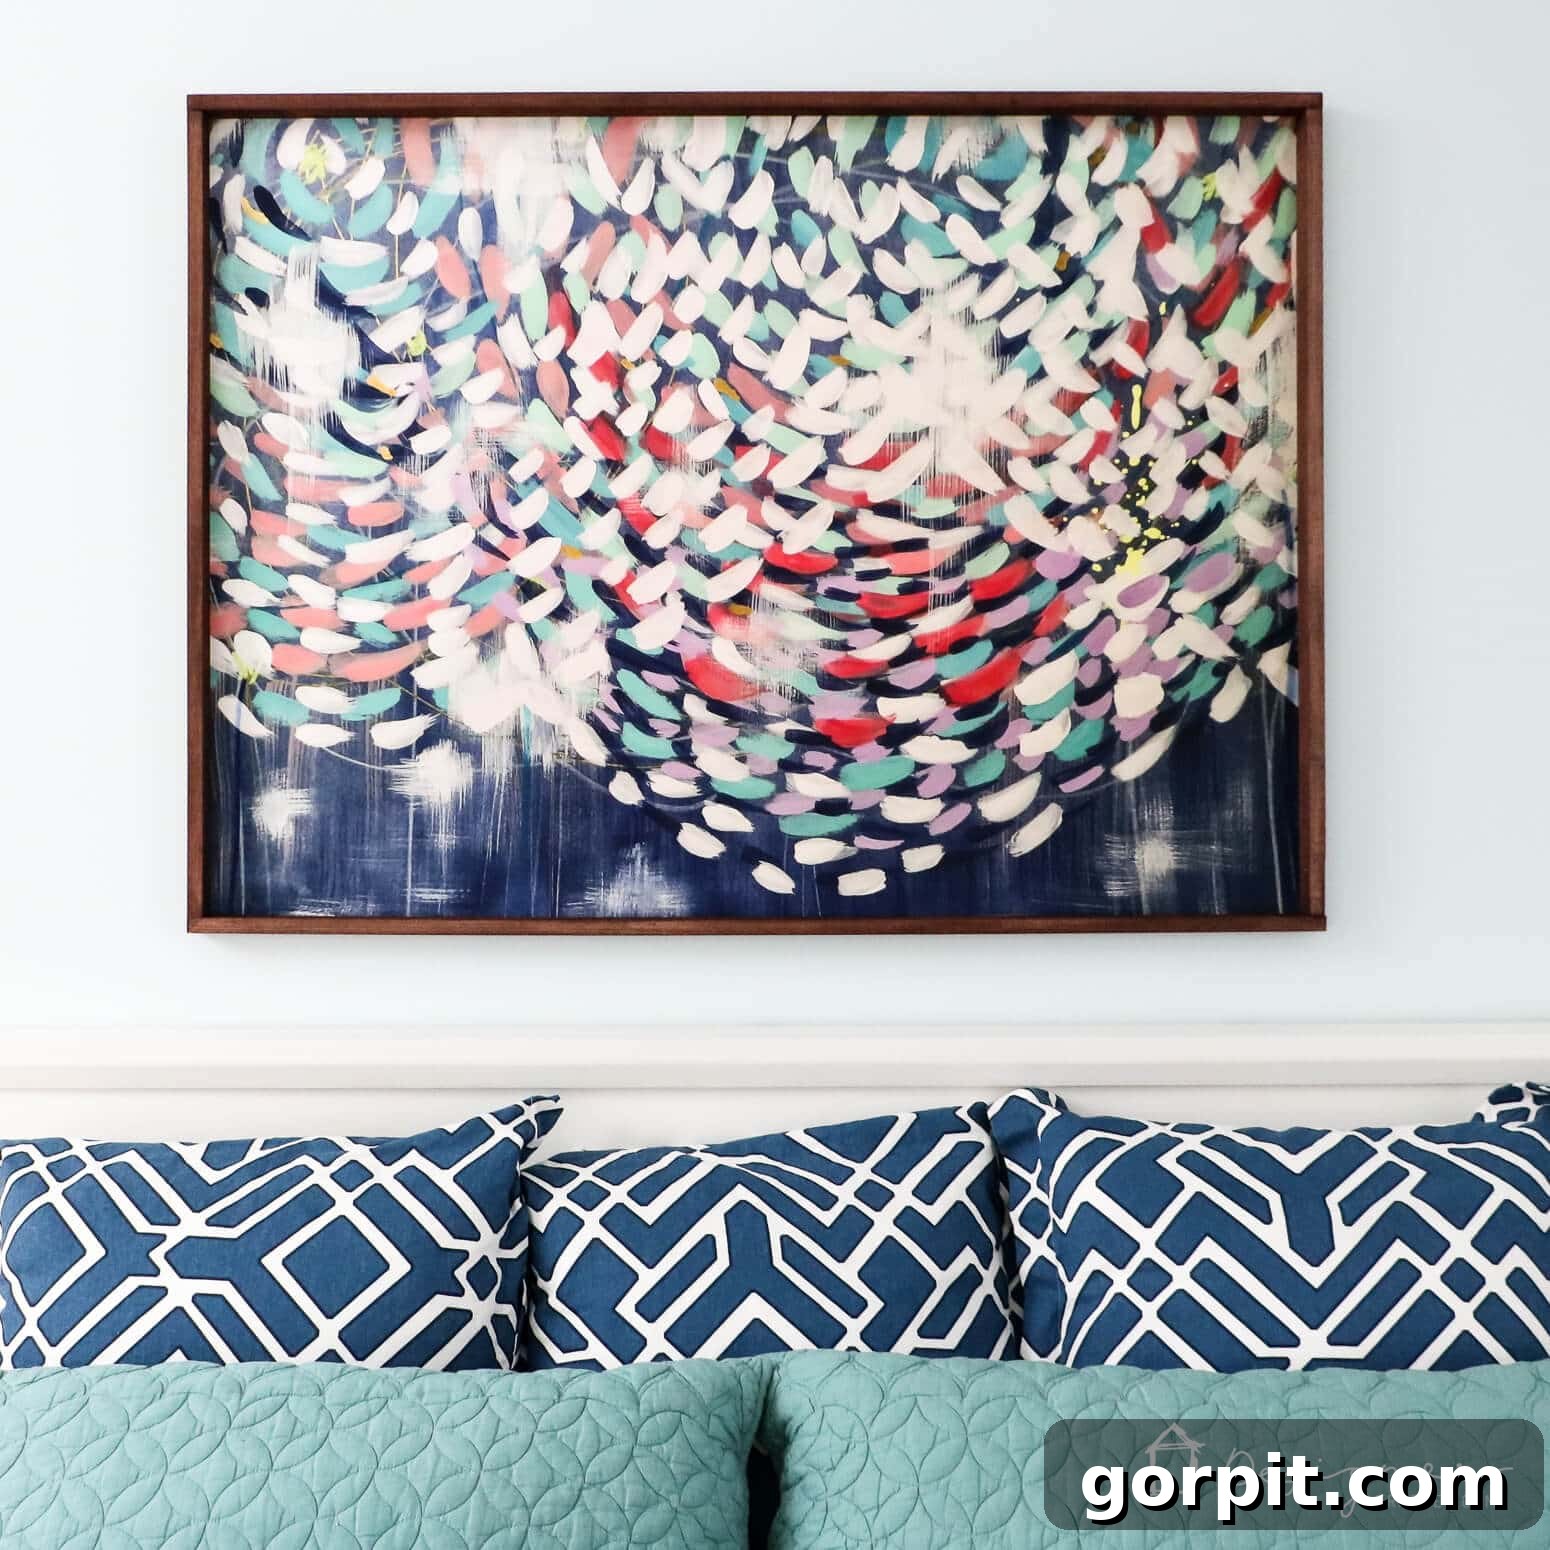
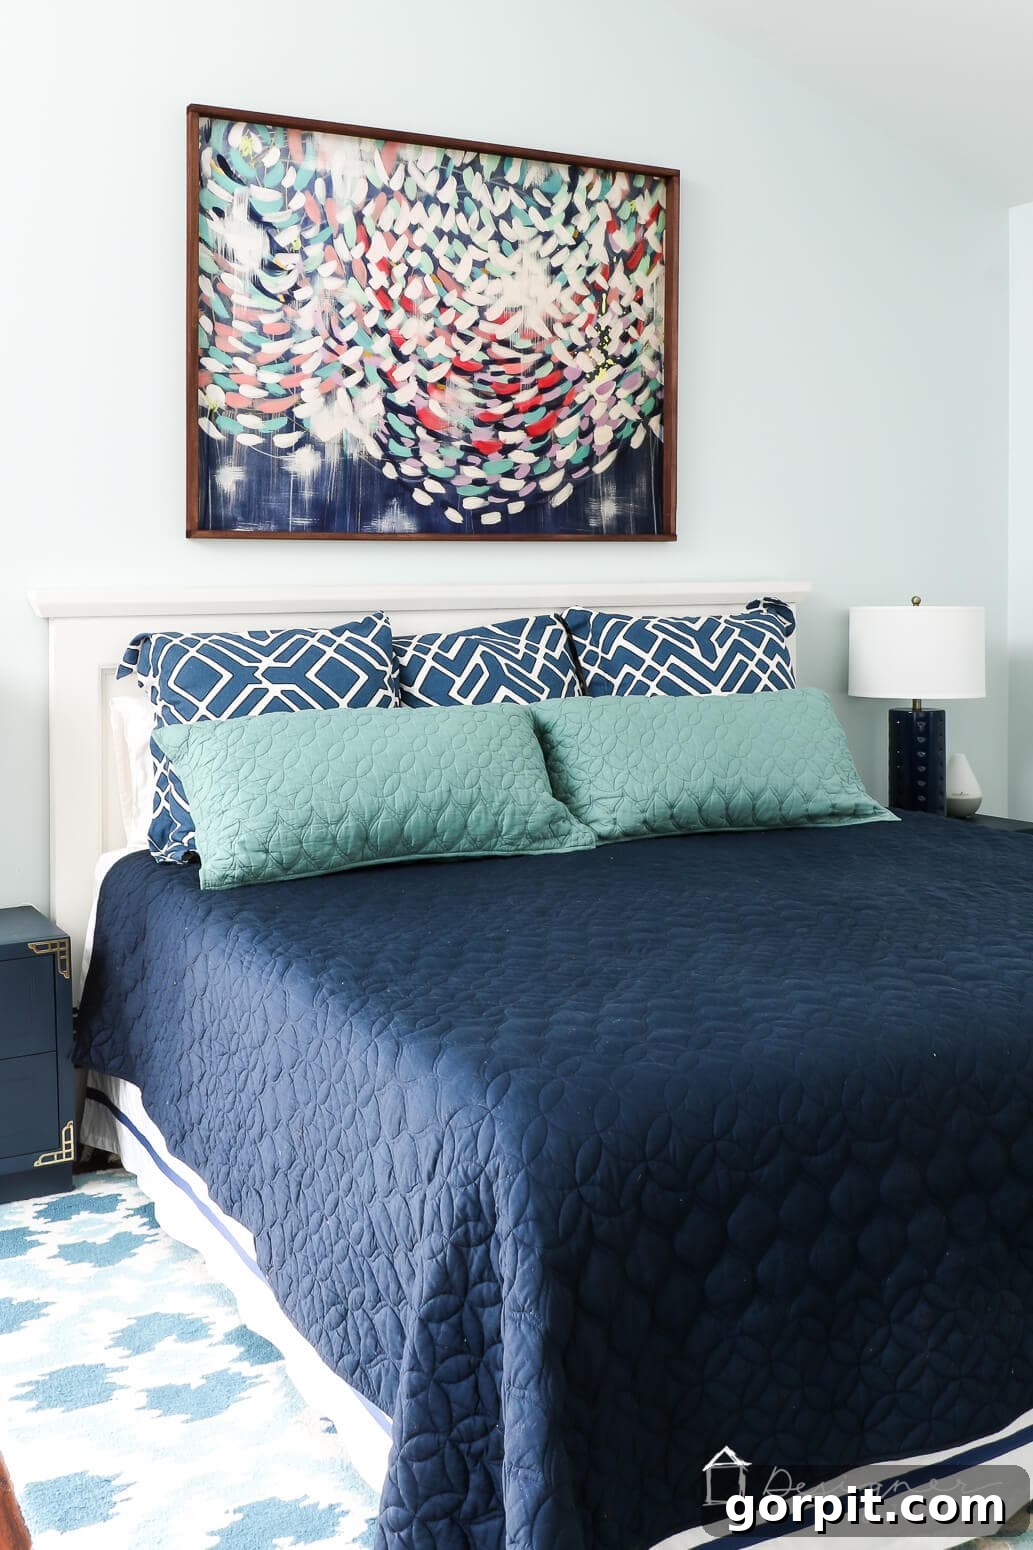
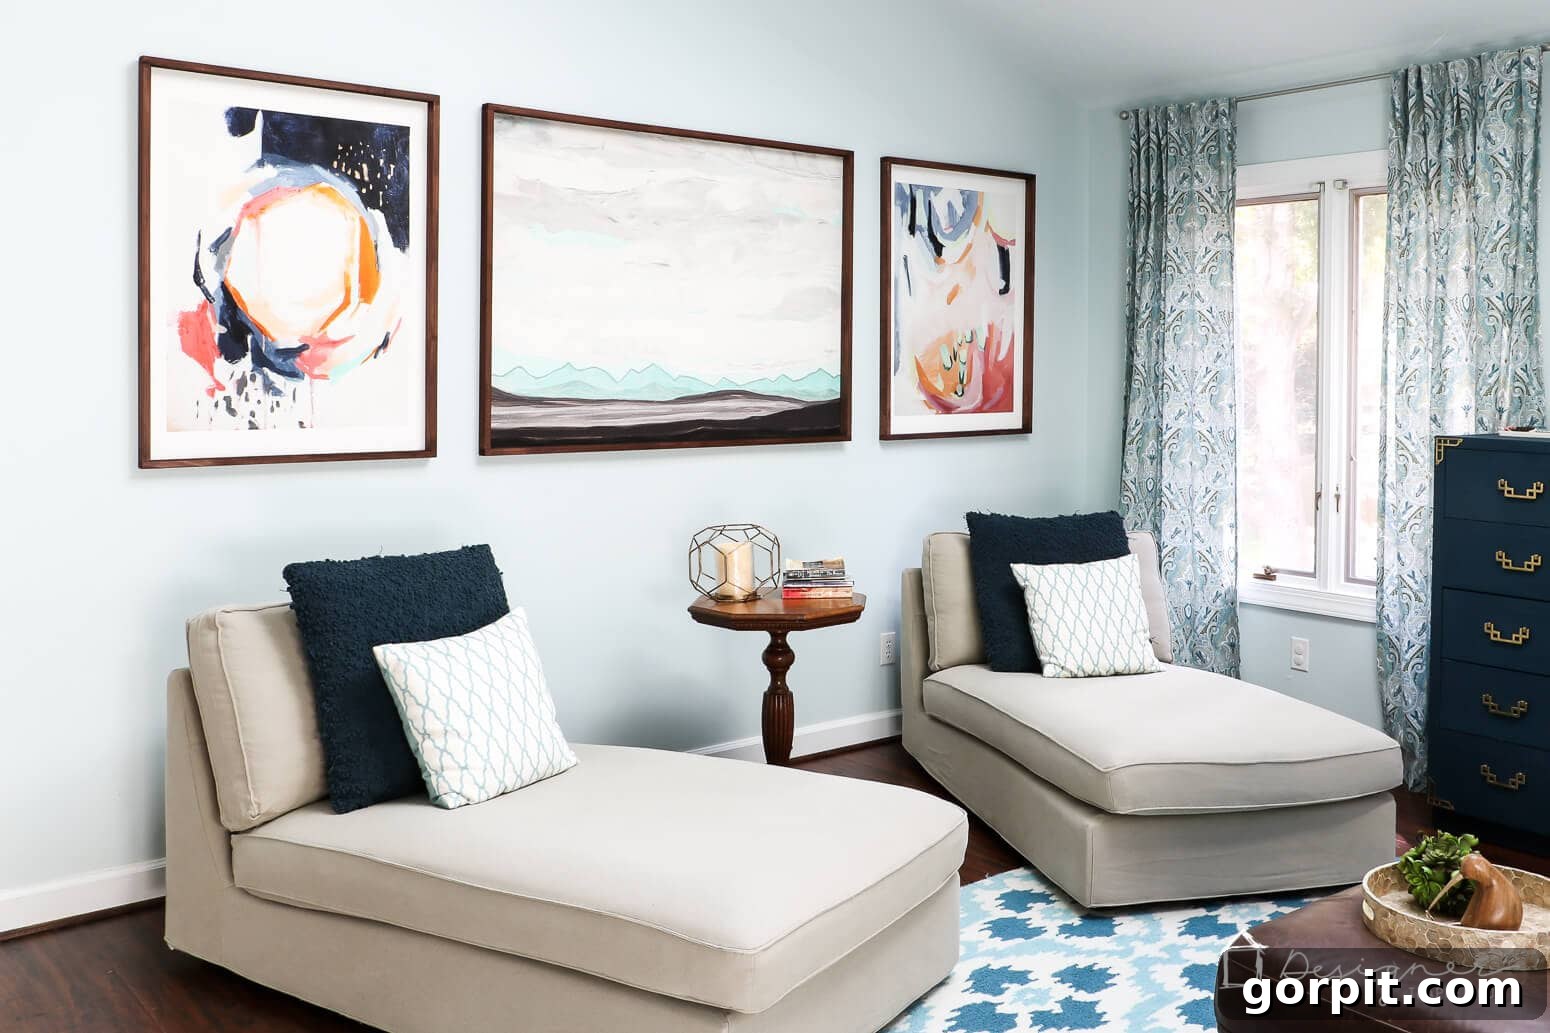
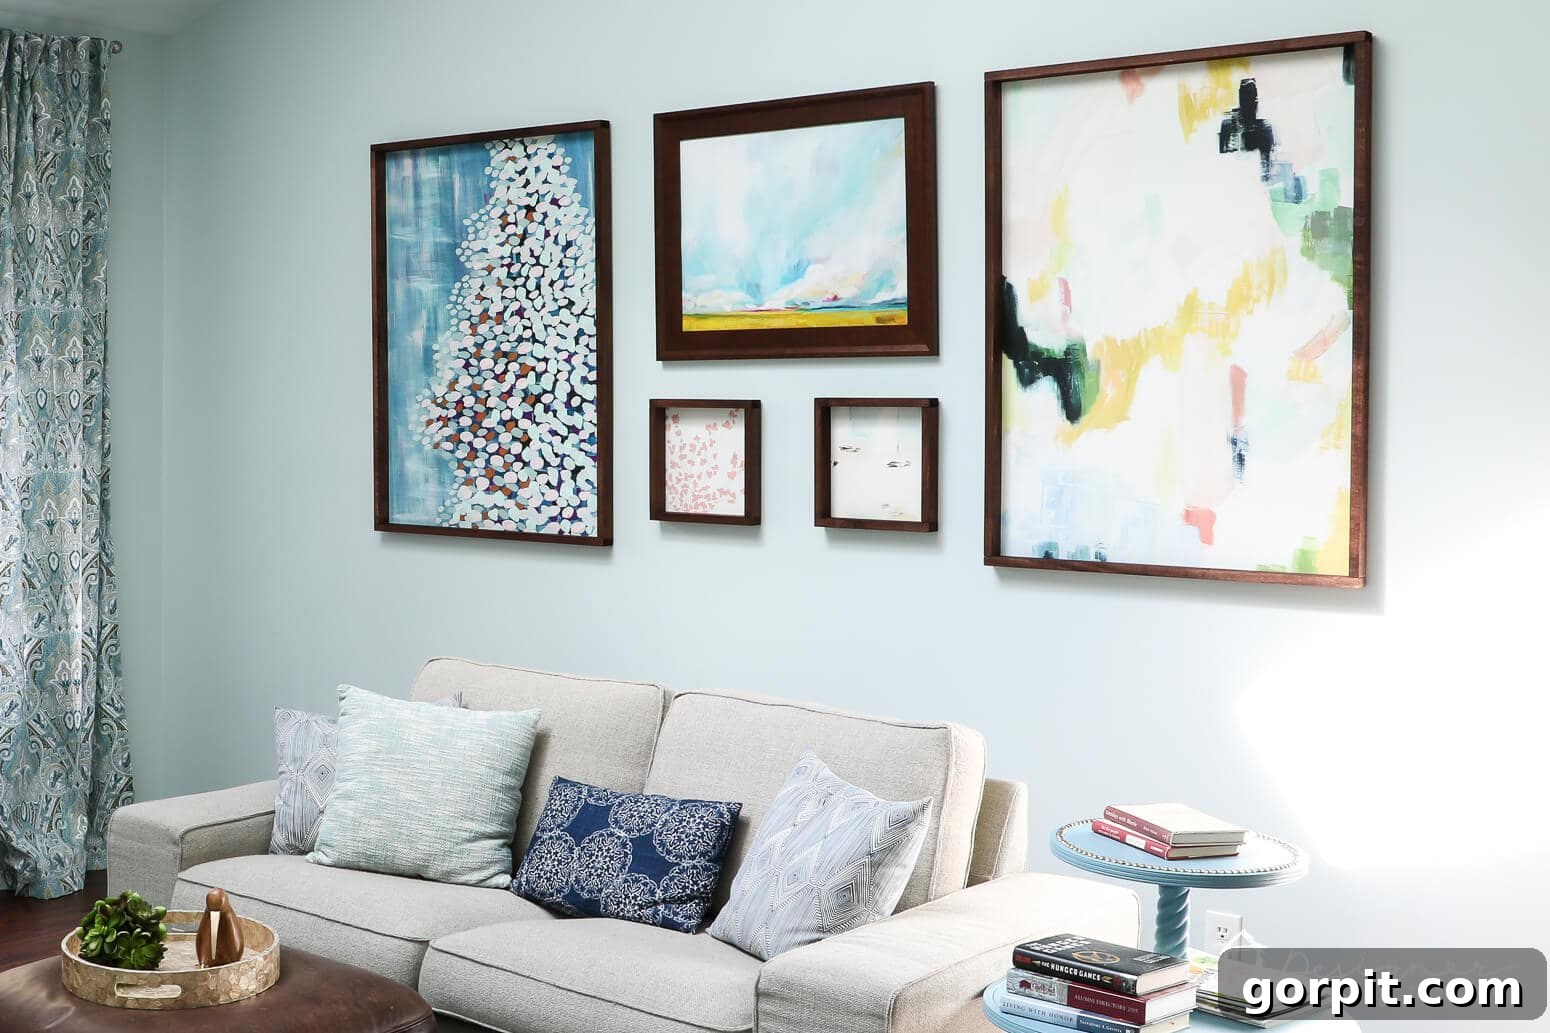
It’s truly SO EASY! And the results speak for themselves. Our homemade frames turned out beautifully, adding the perfect touch of elegance and warmth to our abstract prints. Take a look at how they transformed our master bedroom and other living spaces:
Ready to Frame Your Dreams?
We hope this tutorial inspires you to tackle your own DIY picture frame project! It’s an incredibly rewarding endeavor that allows you to beautifully display your large prints without the prohibitive cost of custom framing. You’ll not only save money but also gain the satisfaction of creating something functional and beautiful for your home.
Don’t forget to save this post to Pinterest or share it on Facebook so you can easily find it again when you’re ready to make your own custom-look DIY frames. And if you’re on the hunt for awesome and super affordable large prints to frame, be sure to check out our printable art shop. We offer a wide selection of designs perfect for adding a splash of color and personality to your walls. Here are some of our most popular prints that would look fantastic in your new frames!
If you loved this project, you might also enjoy these popular DIY home decor projects:
