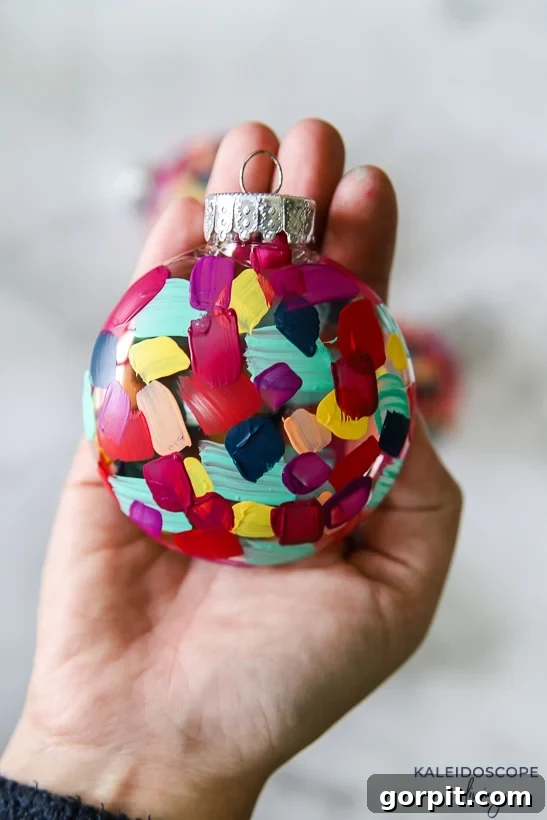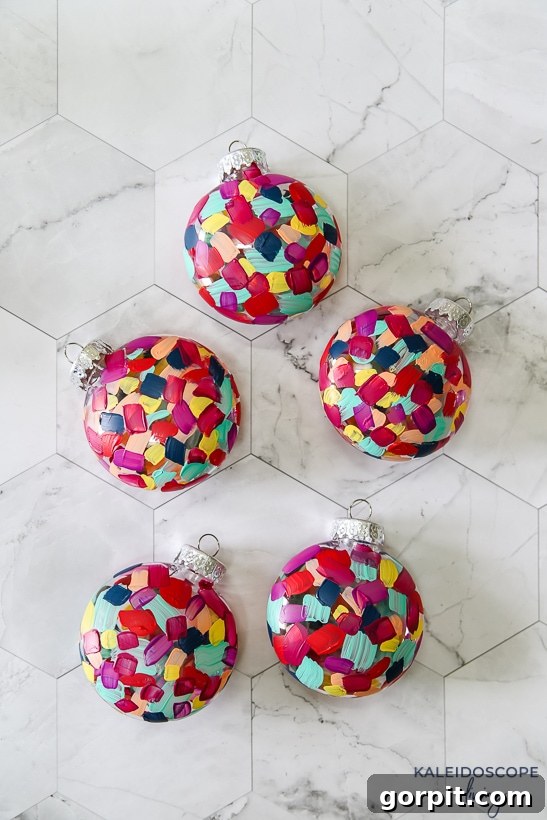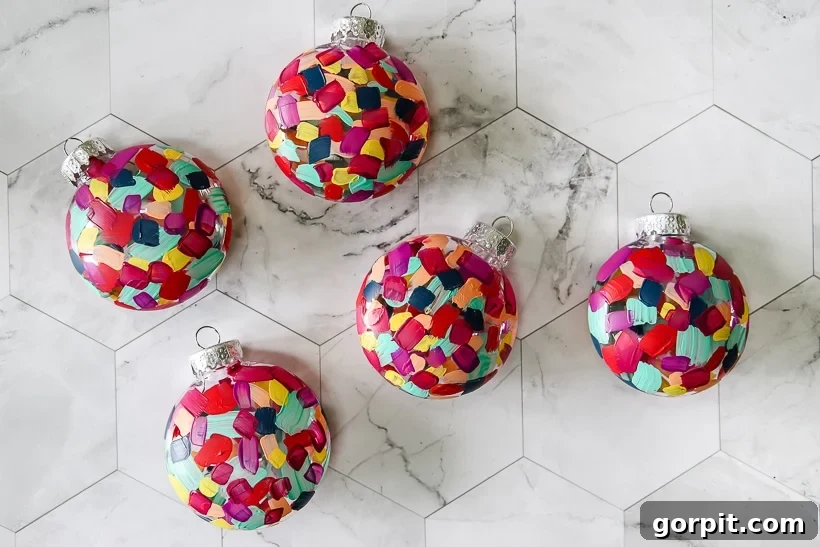
Crafting Joy: Easy & Colorful DIY Hand Painted Christmas Ornaments for the Whole Family
Transform plain ornaments into vibrant works of art with our simple brushstroke painting guide. This fun and engaging DIY project is perfect for creative minds of all ages, from little hands to seasoned crafters. Get ready to add a burst of personalized color to your holiday decor!
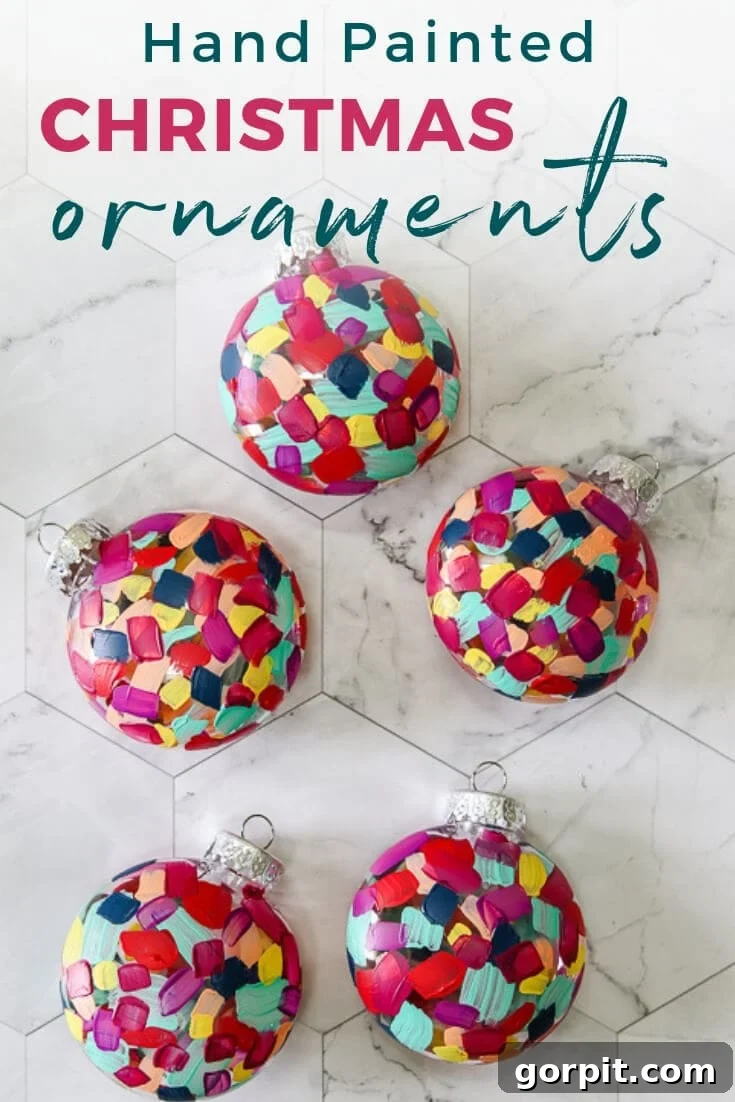
Unleashing Creativity: The Story Behind Our Hand Painted Ornaments
Hello, fellow crafters and holiday enthusiasts! The festive season often inspires us to create something truly special, something that carries a personal touch and brings warmth to our homes. A while back, I stumbled upon an incredible deal on plain, plastic Christmas ornaments – a fantastic 70% off an already low price. Naturally, I couldn’t resist. While I wasn’t entirely sure what their fate would be at the time, I knew the potential for a wonderful DIY project was immense.
The idea of brushstroke painting had been swirling in my mind for a while. It’s a technique that truly appeals to me because it doesn’t demand advanced artistic skills. In fact, it’s incredibly forgiving and perfect for beginners! With that in mind, I stocked up on an array of colorful acrylic paints, just in case inspiration struck. And strike it did!
On a chilly afternoon, seeking a fun indoor activity that didn’t involve screen time, my daughters and I decided it was the perfect day to embark on our ornament-painting adventure. What started as a simple craft quickly became a delightful family memory. The vibrant results were instantly captivating, arguably even more so than other DIY ornaments we’ve made recently. While opinions might differ on which style reigns supreme (my family has a strong preference for these colorful creations!), one thing is certain: these hand-painted Christmas ornaments brought a unique joy to our holiday crafting.
This post contains some affiliate links for your convenience. Click here to read my full disclosure policy.
Why You’ll Love Making Your Own Hand Painted Christmas Ornaments
Creating your own DIY hand painted Christmas ornaments offers a multitude of benefits beyond just decorating your tree:
- Personalized Decor: Each ornament becomes a unique reflection of your style and creativity, adding a truly personal touch to your holiday display that store-bought items simply can’t match.
- Budget-Friendly Fun: Starting with inexpensive plastic ornaments and basic acrylic paints makes this a very economical way to update your holiday decor or create thoughtful gifts without breaking the bank.
- Family Bonding: It’s an ideal activity for all ages. Kids love the freedom of expression, and adults find the process therapeutic and rewarding. Gather around the table and make cherished memories together!
- Thoughtful Handmade Gifts: Hand painted ornaments make incredibly heartfelt gifts for friends, family, teachers, or neighbors. They show care and effort, making them much more special than a generic present.
- Boost Creativity & Relaxation: Engaging in a simple craft like brushstroke painting can be wonderfully relaxing and a fantastic way to tap into your creative side, even if you don’t consider yourself an artist.
DIY Hand Painted Christmas Ornaments Tutorial: Step-by-Step Guide
Essential Materials for Your Colorful Ornament Project:
Gathering your supplies is the first exciting step in bringing your vision to life. Here’s what you’ll need for these vibrant, hand-painted ornaments:
- Inexpensive Plastic Ornaments: The beauty of this project is that you don’t need fancy, expensive ornaments. Simple, plain plastic ones work perfectly as your canvas. We specifically used these versatile ornaments, which are durable and easy to work with.
- Acrylic Paints in Assorted Colors: This is where the magic happens! Choose a spectrum of colors that spark joy. Acrylic paints are ideal because they’re fast-drying, water-soluble for easy cleanup, and offer excellent coverage on plastic surfaces. We had great success with this vibrant paint set, which provided a fantastic range of hues.
- Paper Plates: These are indispensable for squeezing out paints, mixing colors, and serving as a convenient drying rack for your ornaments.
- Small Artist Brushes: Don’t feel the need to invest in high-end brushes. Any quality will do for this brushstroke technique, as precision isn’t the primary goal. A variety of small to medium sizes can be helpful for different stroke styles.
With these basic supplies, you’re all set to create stunning, personalized Christmas decorations!
Painting Your Masterpiece: Easy Steps to Follow:
Let’s dive into the fun part – the painting! Follow these simple steps to transform your plain ornaments into colorful works of art:
Step 1: Prepare Your Ornaments for Painting
Begin by gently removing the metal hanger from the top of your plastic ornament. This makes painting much easier, allowing you to cover the entire surface without obstruction. Set the hanger aside in a safe place, as you’ll need it later.
Step 2: Set Up Your Paint Palette
Squeeze out small blobs of your chosen acrylic paints onto a clean paper plate. Arrange them in a way that’s easy to access. A little goes a long way, so start with small amounts; you can always add more. This also allows you to see your color options clearly and plan your design.
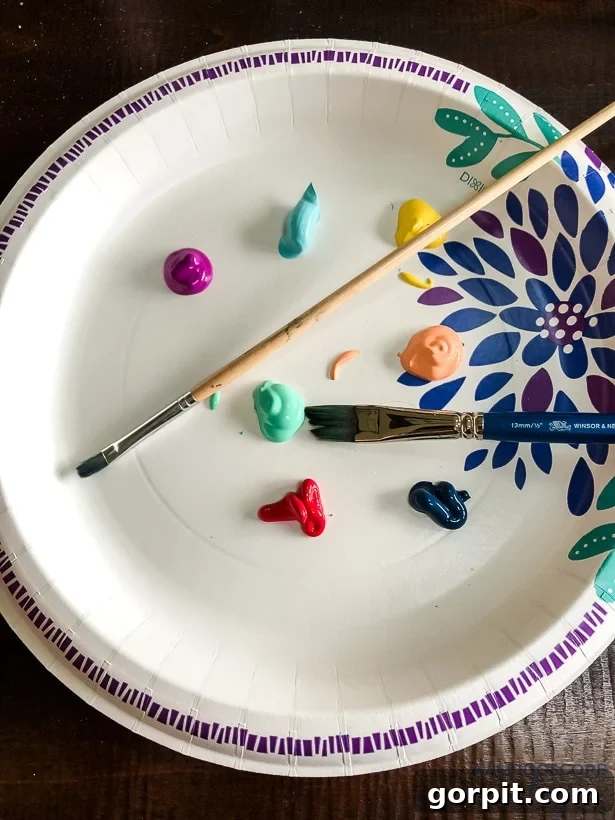
Step 3: Apply Your First Layer of Brushstrokes
Choose your first color and begin painting random, expressive brush strokes all over the outside of your ornament. There’s no right or wrong way here – embrace the spontaneity! You can use short dabs, sweeping lines, or swirling motions. The goal is to create texture and a base layer of color. Once you’re satisfied with the first color application, place your ornament upside down on a clean section of the paper plate. This prevents smudging and allows the paint to dry thoroughly. Drying time will vary depending on the thickness of your paint and humidity, but generally, acrylics dry to the touch in about 15-30 minutes.
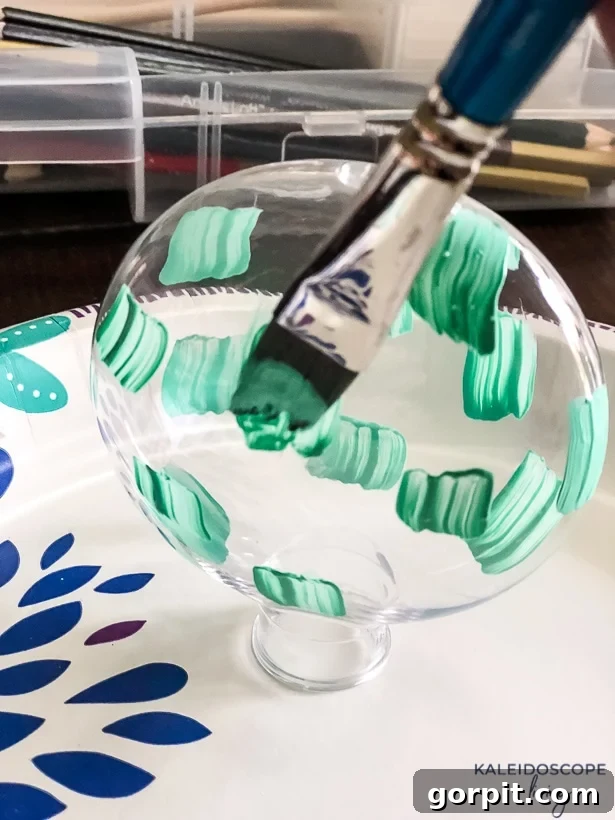
Step 4: Layering Colors for Depth and Vibrancy
Once the first layer of paint is dry, pick another color and repeat the process. Apply random brushstrokes, layering them over and around the previous color. The key here is to allow each color to dry completely before introducing the next. This prevents colors from blending unintentionally and ensures each hue retains its vibrancy. Experiment with complementary or contrasting colors for a striking effect, or use analogous colors for a more harmonious look. The more layers you add, the richer and more dynamic your ornament will become!
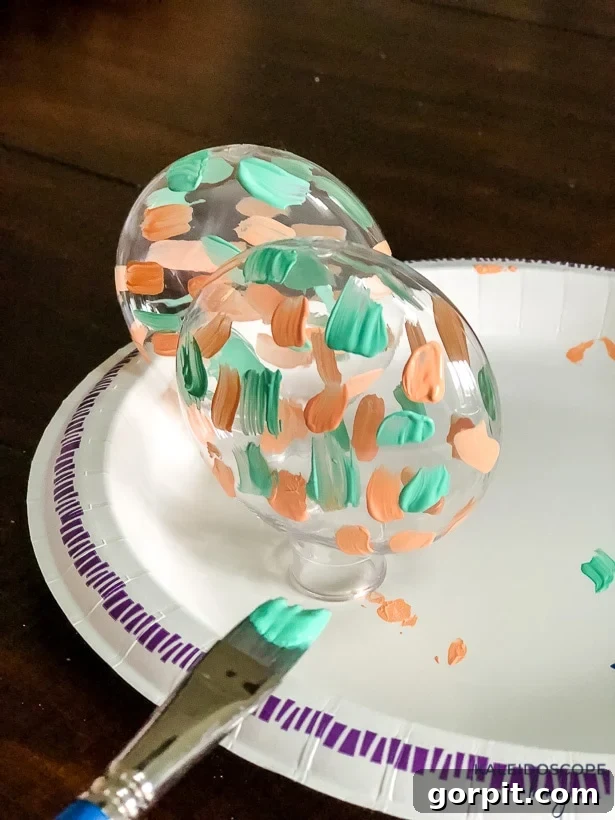
Step 5: Completing Your Colorful Design
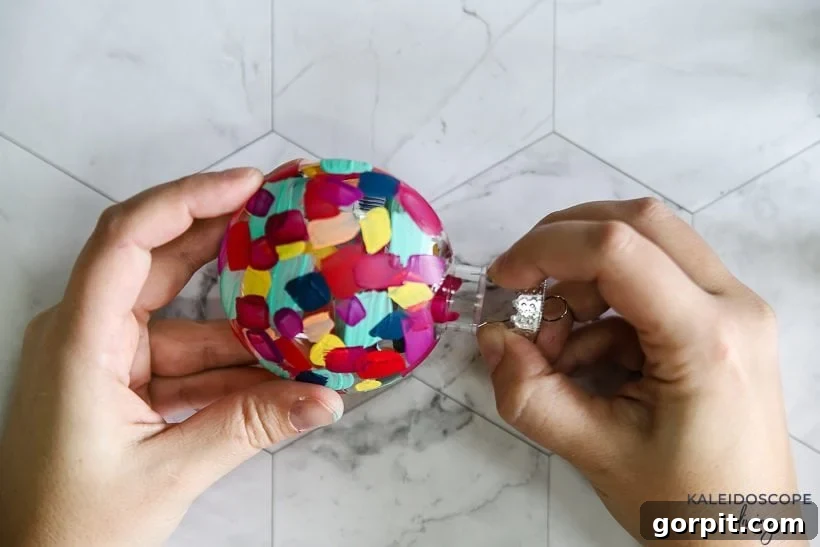
Continue adding colors and brushstrokes until your ornament is almost entirely covered. I like to leave a tiny bit of the original clear ornament peeking through in a few spots, but mostly, I aim for full, vibrant coverage. The amount of space you leave between colors, or whether you aim for complete opacity, is entirely up to your personal preference and artistic vision. This step is about refining your design and adding those final touches that make each ornament uniquely yours.
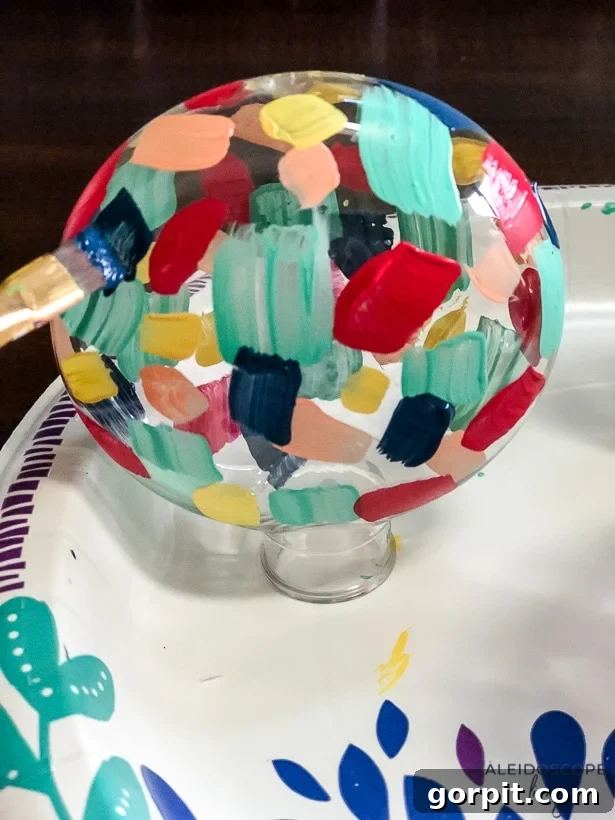
Step 6: Reassemble Your Finished Ornament
Once you are completely satisfied with your painting and all layers of paint have dried thoroughly (which might take a few hours depending on thickness), it’s time for the final touch. Carefully replace the metal hanger back into the top of your ornament. Ensure it’s securely in place, and voilà! Your stunning, custom hand-painted Christmas ornament is ready to adorn your tree or be gifted to someone special.
Tips for Creating Your Best Hand Painted Ornaments
To ensure your DIY hand painted Christmas ornaments turn out perfectly, here are a few extra tips:
- Clean Your Ornaments: Before painting, wipe down your plastic ornaments with rubbing alcohol or a mild soap and water solution to remove any dust or oils. This helps the paint adhere better.
- Control Paint Consistency: If your acrylic paint is too thick, you can add a tiny drop of water to thin it slightly. If it’s too thin, it might run. Test on a scrap piece first.
- Brush Care: Clean your brushes thoroughly with water after each color change and immediately after you finish painting. This extends their life and ensures clean color application.
- Embrace Imperfection: The beauty of brushstroke painting is its organic, freestyle nature. Don’t strive for perfection; let the unique character of each stroke shine through.
- Painting with Kids: Lay down plenty of newspaper or an old tablecloth to protect your workspace. Provide smocks or old clothes. Encourage them to experiment with colors and strokes – it’s all about the process and having fun!
- Consider a Sealant: For added durability and to protect your beautiful artwork, you might consider applying a clear acrylic sealant (either glossy or matte) once all paint layers are completely dry. This is especially useful if the ornaments will be handled frequently or stored for many years.
Creative Variations & Personalization Ideas
While the brushstroke technique offers fantastic results, don’t stop there! These DIY hand painted Christmas ornaments can be further customized:
- Glitter Glam: Before the paint fully dries on your final layer, sprinkle some fine glitter for a touch of sparkle.
- Metallic Accents: Incorporate metallic acrylic paints (gold, silver, bronze) for elegant highlights and festive shimmer.
- Theme It Up: Instead of random brushstrokes, try painting specific patterns like stripes, polka dots, or even simple holiday shapes if you’re feeling adventurous.
- Personalized Messages: Use a fine-tip paint pen to add names, dates, or small festive messages to your finished ornaments, turning them into cherished keepsakes or gifts.
- Mixed Media: Combine brushstrokes with other elements like small rhinestones, sequins, or even decoupage elements for a truly unique look.
- Different Surfaces: While plastic is great for kids and durability, you can apply this technique to glass ornaments for a more sophisticated finish (though handling with care is crucial).
Displaying and Gifting Your Hand-Painted Treasures
Your beautiful DIY hand painted Christmas ornaments deserve to be shown off! Here are some ideas for displaying and gifting them:
- The Christmas Tree: Of course, they’ll look stunning nestled among the branches of your Christmas tree, adding a vibrant, homemade touch.
- Wreaths and Garlands: Incorporate them into homemade wreaths or attach them to existing garlands for an extra pop of color.
- Table Centerpieces: Arrange a collection of your ornaments in a decorative bowl or on a festive platter for an eye-catching holiday centerpiece.
- Gift Toppers: Instead of a traditional bow, tie one of your handmade ornaments onto a wrapped gift for an extra special touch.
- Thoughtful Presents: Package a set of 2-3 hand-painted ornaments in a small decorative box or organza bag. They make perfect hostess gifts, teacher appreciation presents, or stocking stuffers.
Care and Storage for Your Keepsakes
To ensure your DIY hand painted Christmas ornaments last for many seasons to come, proper care and storage are essential:
- Gentle Cleaning: If they get dusty, simply wipe them gently with a soft, dry cloth. Avoid harsh chemicals or excessive scrubbing, especially if you haven’t applied a sealant.
- Individual Wrapping: When storing, wrap each ornament individually in tissue paper, bubble wrap, or soft fabric to prevent chipping or scratching.
- Sturdy Storage Box: Use a sturdy, divided ornament storage box. This keeps them organized and prevents them from bumping into each other during off-season storage.
- Temperature Control: Store them in a cool, dry place away from extreme temperature fluctuations to prevent paint from cracking or peeling over time.
Frequently Asked Questions About Hand Painted Christmas Ornaments
- Q: Can I use glass ornaments instead of plastic?
- A: Absolutely! The brushstroke technique works beautifully on glass ornaments as well. Just be sure to handle them with extra care, and you might consider a glass-specific primer if you’re concerned about paint adhesion.
- Q: What type of paint is best for this project?
- A: Acrylic paints are highly recommended due to their versatility, quick drying time, and excellent adhesion to plastic and glass. They come in a vast array of colors and are generally non-toxic, making them suitable for family crafting.
- Q: How long does the paint take to dry?
- A: Acrylic paints typically dry to the touch within 15-30 minutes, depending on the thickness of the application and humidity levels. However, it’s best to allow several hours (or even overnight) for complete curing, especially between layers, to prevent smudging.
- Q: Are these ornaments durable?
- A: Yes, plastic ornaments painted with acrylics are quite durable, especially if you apply a clear sealant. They are less prone to breaking than glass ornaments, making them a great choice for homes with pets or small children.
- Q: Is this project truly suitable for kids?
- A: Definitely! This project is designed to be simple and forgiving, making it perfect for children. The brushstroke technique encourages free expression, and there’s no pressure for perfection. Adult supervision is always recommended, especially with younger children, for paint handling and cleanup.