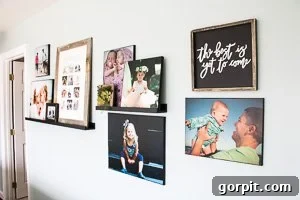
Are you looking for a unique and affordable way to display your cherished memories? Do you have favorite photos hidden away on your phone or computer that deserve to be showcased beautifully in your home? Look no further! This comprehensive guide will show you how to transform your beloved photos into stunning DIY canvas art with an authentic canvas texture, all while saving you a significant amount of money compared to custom-ordered prints.
Creating your own photo canvases isn’t just a budget-friendly alternative; it’s a wonderfully personal way to infuse your living space with sentiment and style. Imagine transforming a vibrant family portrait, a serene landscape, or a candid moment into a tactile work of art that feels professionally made. This step-by-step tutorial demystifies the process, making it accessible for anyone to achieve beautiful, gallery-worthy results right at home. Get ready to add a personal touch to your decor and bring your favorite memories to life!
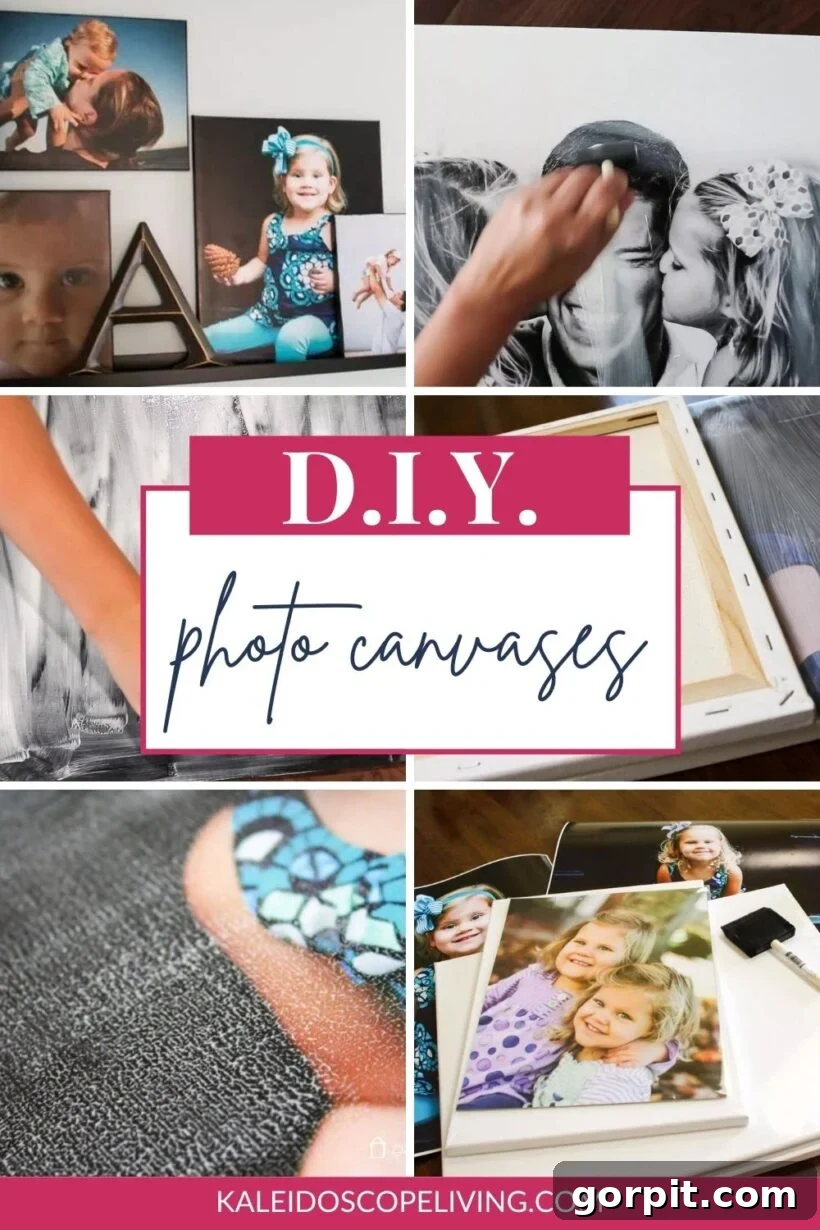
Table of Contents
If you’ve ever pondered, “Can I turn a printed photo into a canvas?” or “How do I transform a print into canvas art without breaking the bank?”, then you’ve landed in the perfect spot! While numerous online services allow you to upload a photo and have it printed directly onto canvas, these convenient options often come with a surprisingly hefty price tag. For those who love the aesthetic of canvas prints but are mindful of their budget, a DIY approach offers an incredible solution.
For years, I’ve been creating my own canvas photo prints by simply adhering a photo to a blank canvas, and I can tell you, they are truly one of my favorite ways to display cherished family photos. This method isn’t just fun and engaging; it’s an unbelievably affordable option that yields stunning results. So, gather those amazing photos from your phone or computer, and let’s start transforming them into beautiful wall art for your home. Once you discover how simple it is to make your own DIY photo canvas, you’ll be completely hooked!
This post contains affiliate links for your convenience. Click here for my full disclosure policy.
You can subscribe to get FREE printable instructions for this project and more DIY inspiration!
Materials Needed for Your DIY Photo Canvas
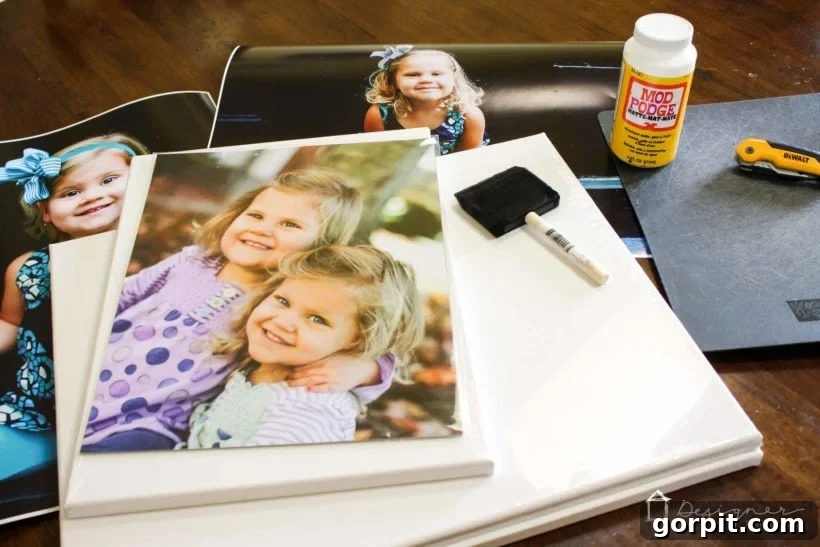
Before diving into this exciting DIY project, let’s gather all the essential materials. Having everything ready will ensure a smooth and enjoyable crafting experience. Most of these items are readily available at craft stores or online.
- Blank Canvases
- Choose sizes that match your enlarged photo prints. You can buy new ones or save money by upcycling old canvases found around your house or at thrift stores like Goodwill.
- Enlarged Photo Prints on Photo Paper
- It is crucial that these are professional photo lab prints (e.g., from Costco’s photo lab). I strongly advise against using photos printed at home, as Mod Podge can react negatively with most home printer inks, causing smearing. Also, avoid “poster prints” from office supply stores; these are often printed on banner paper which tends to peel and wrinkle when exposed to Mod Podge.
- Mod Podge Matte Finish
- The matte finish is key to achieving that authentic canvas look without unwanted shine. Mod Podge acts as an adhesive, sealer, and finish all in one, perfect for decoupage projects.
- Foam Brushes
- These are ideal for applying Mod Podge smoothly and evenly without leaving brush strokes.
- Black Acrylic Paint
- Any type of black acrylic paint (latex, chalkboard, etc.) will work. This is optional but highly recommended for a professional, finished look on the canvas edges.
- Exacto Knife / Craft Knife
- Essential for precise trimming of excess photo paper.
- Cutting Board or Self-Healing Mat
- To protect your work surface when using the Exacto knife.
How to Create a DIY Photo Canvas: A Step-by-Step Tutorial
This tutorial guides you through the process of adhering a photo to a canvas and then adding a beautiful, authentic texture on top. This method is by far the most affordable way I’ve discovered to create custom photo canvases with a professional finish. If you prefer visual learning, the short video below provides an excellent overview of this project. It will play after a brief advertisement.
Time needed: 20 minutes
Making your own DIY photo canvas is surprisingly quick, taking only about 20 minutes of active work, excluding drying time. The results are incredibly rewarding!
-
Have your photos professionally printed.
Begin by selecting the perfect photo you wish to transform into canvas art. Have it enlarged and printed to your desired size at a reputable photo lab, specifically on photo paper. This step is critical; I cannot stress enough why printing at home is not recommended for this method. Numerous people have shared experiences where Mod Podge smeared their home-printed photos, even those on high-quality photo paper. Additionally, avoid “banner paper” often used for poster prints at office supply stores like Office Depot or Staples, as this paper type is prone to peeling. For this particular tutorial, I chose to highlight beautiful professional photos of my daughters taken at a lighthouse. Given my love for these images, I opted for a generous 16 x 20-inch size, which cost me only $5.99 each at Costco.
-
Prepare and paint your canvas (optional).
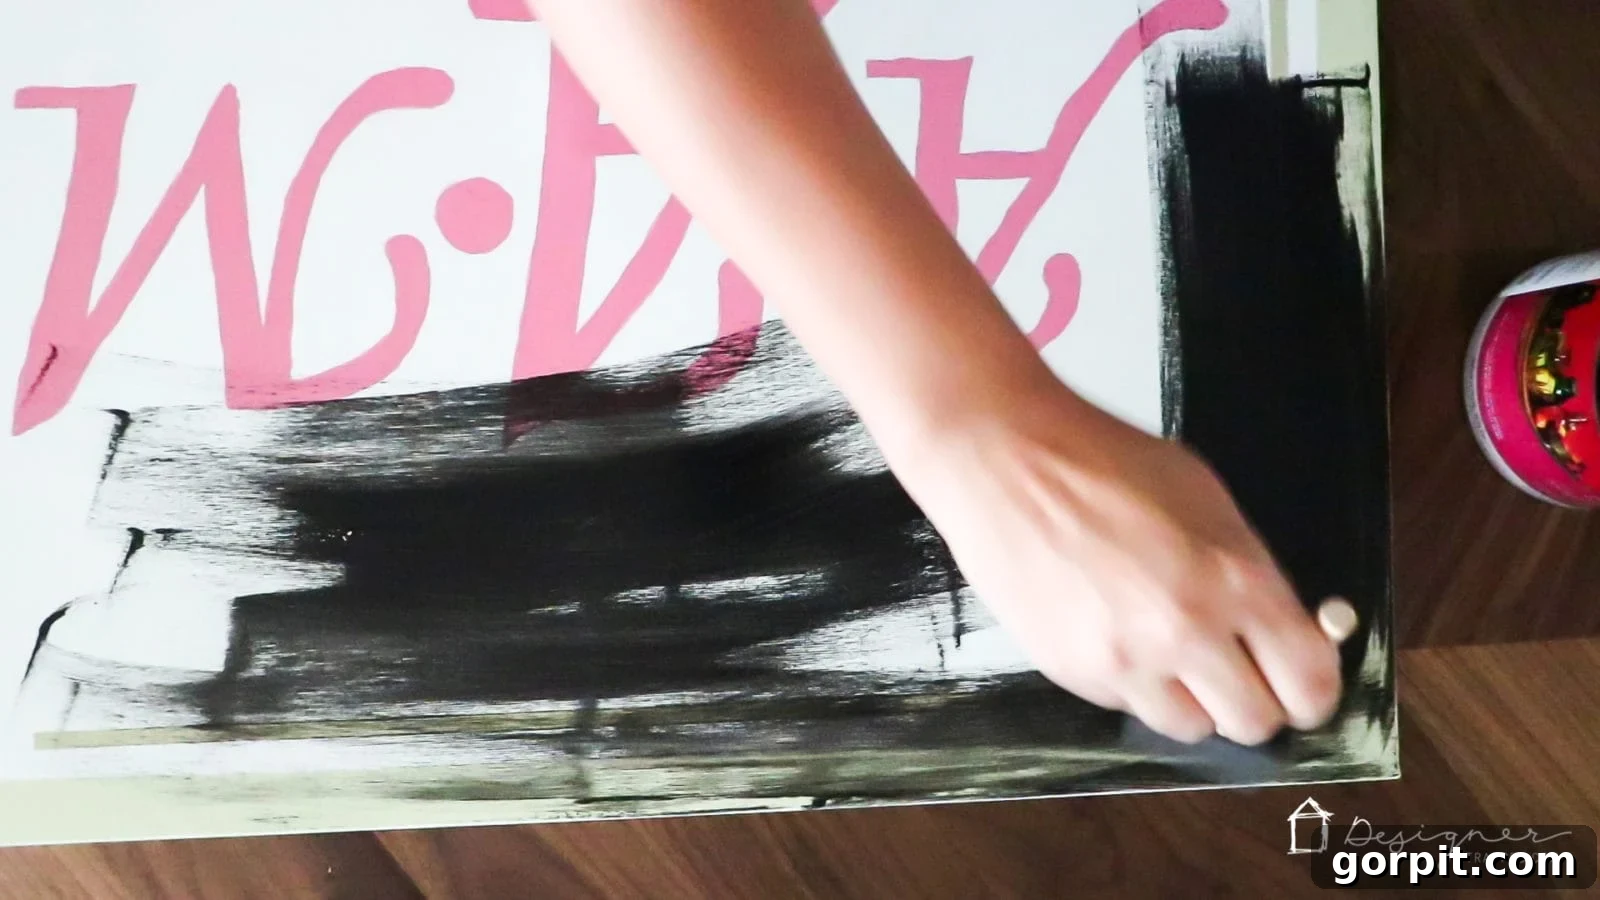
Acquire a blank canvas that corresponds perfectly with the dimensions of your enlarged photo print. For my 16 x 20 photos, I found a convenient 5-pack of 16 x 20 canvases on sale at Michael’s Crafts for just $15.00. While entirely optional, I highly recommend painting the sides of your canvas with black acrylic paint. This simple step adds a crisp, finished, and more professional appearance to your final piece, giving it a subtle framing effect. If you’re utilizing an old canvas, painting the entire surface black first is an excellent way to cover any previous artwork or imperfections, which is exactly what I did for some of mine.

-
Coat your canvas with Mod Podge.
Once your paint is completely dry (if you chose to paint your canvas), take a foam brush and apply a generous, even layer of Mod Podge Matte Finish across the entire front surface of the canvas. Think of Mod Podge as a specialized adhesive, sealant, and finish all rolled into one, making it perfect for decoupage and crafting. Ensure the layer is consistent to promote uniform adhesion, avoiding dry spots or excessive pooling. This sticky base is what will securely bond your photo to the canvas.
-
Carefully apply your photo on top of the wet Mod Podge.
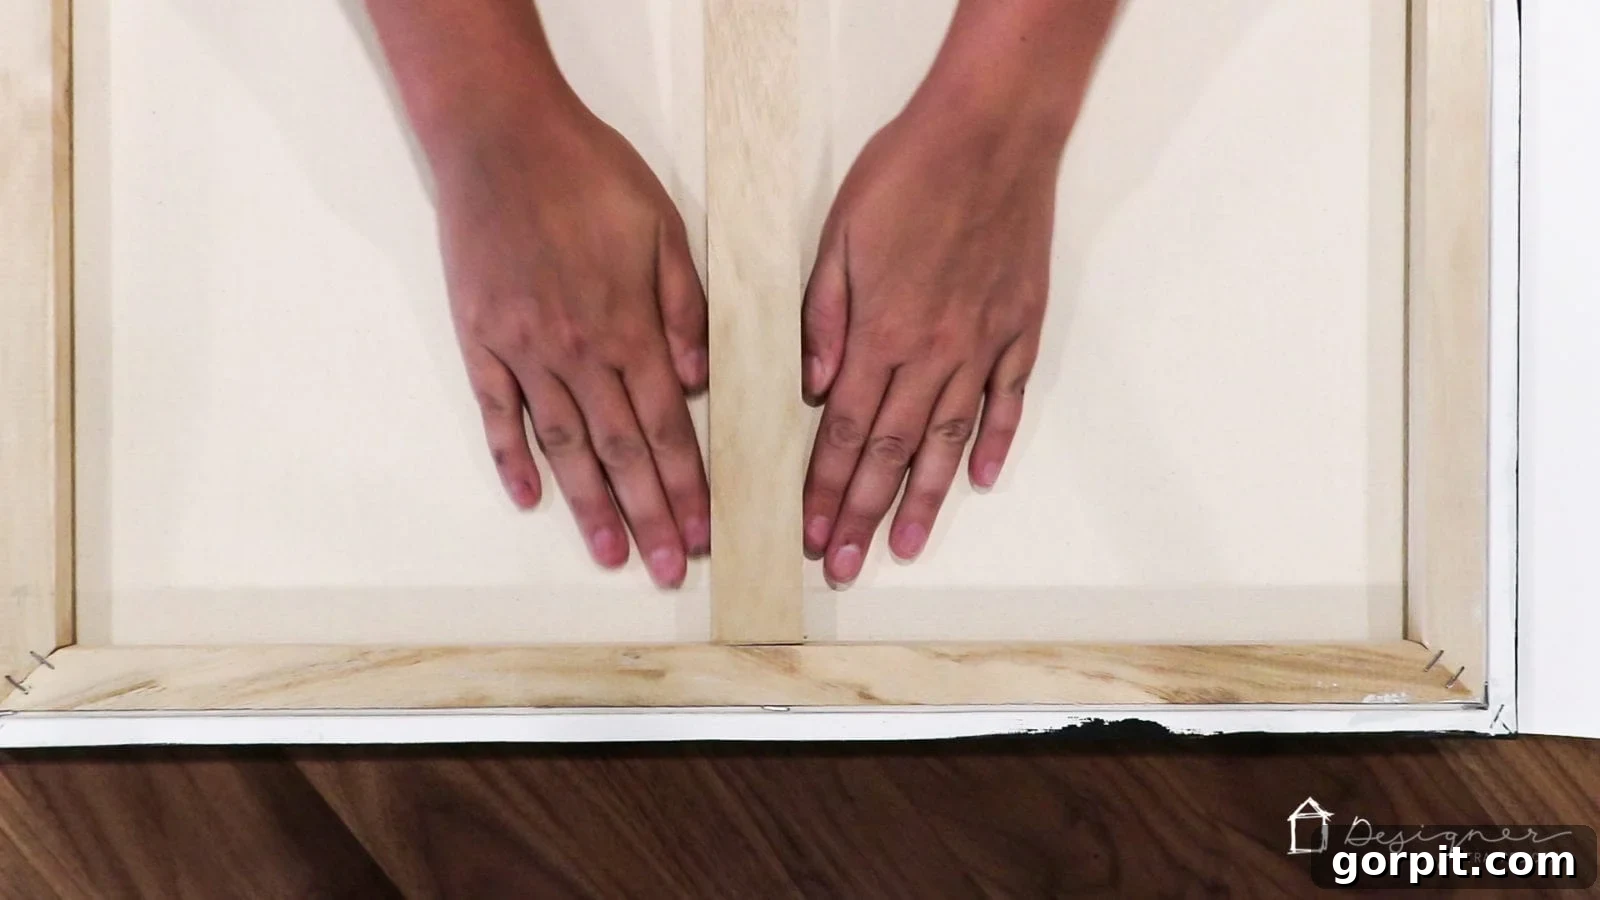
While the Mod Podge is still wet and tacky, carefully position your enlarged photo print onto the canvas. Ensure the photo side is facing up. Use your hands to gently press the photo onto the canvas, starting from the center and working your way outwards to minimize air bubbles and ensure the photo is perfectly straight. Precision is key here! Once positioned, flip the canvas over and continue to press and flatten the photo from the backside. This ensures maximum adhesion and helps to smooth out any remaining air bubbles. For an even smoother finish, you could use a brayer or a flat tool like a credit card to roll across the back of the canvas, pushing out air and securing the print firmly.
-
Allow it to dry overnight.
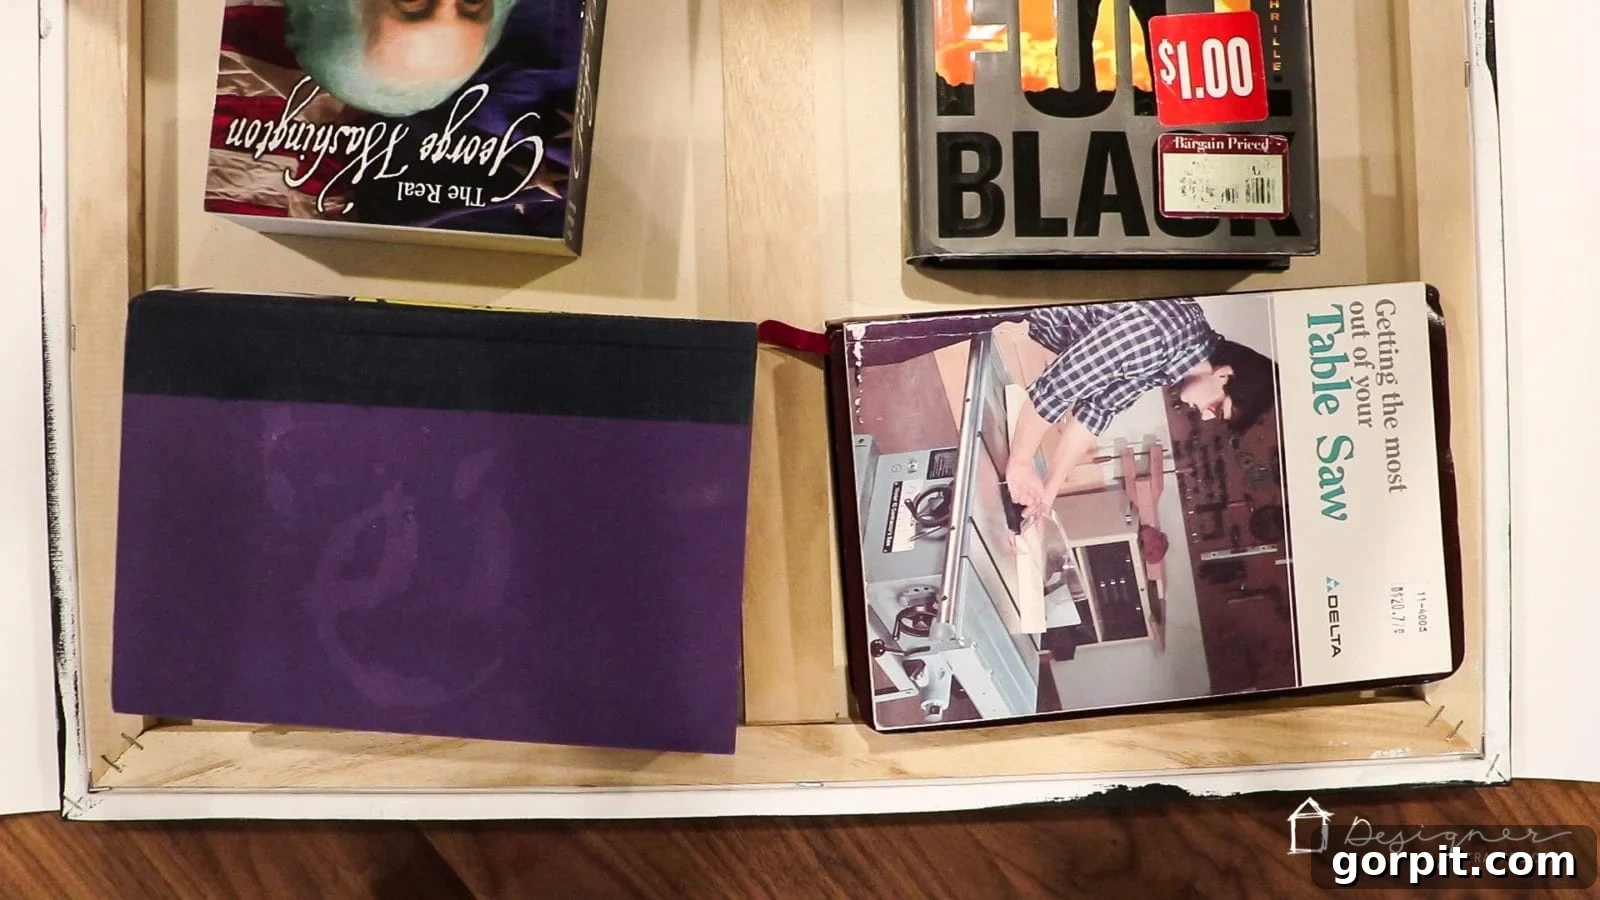
To ensure your photo adheres perfectly and prevents any wrinkling or warping as the Mod Podge dries, leave your canvas face down. Place a few heavy books or other flat, weighted objects on top of the canvas. This gentle pressure helps to maintain a flat surface and ensures a strong bond between the photo and the canvas. It’s crucial to allow the canvas to dry completely, ideally overnight, for the best results. Rushing this step could lead to imperfections in your final canvas print.
-
Trim off any excess photo paper.
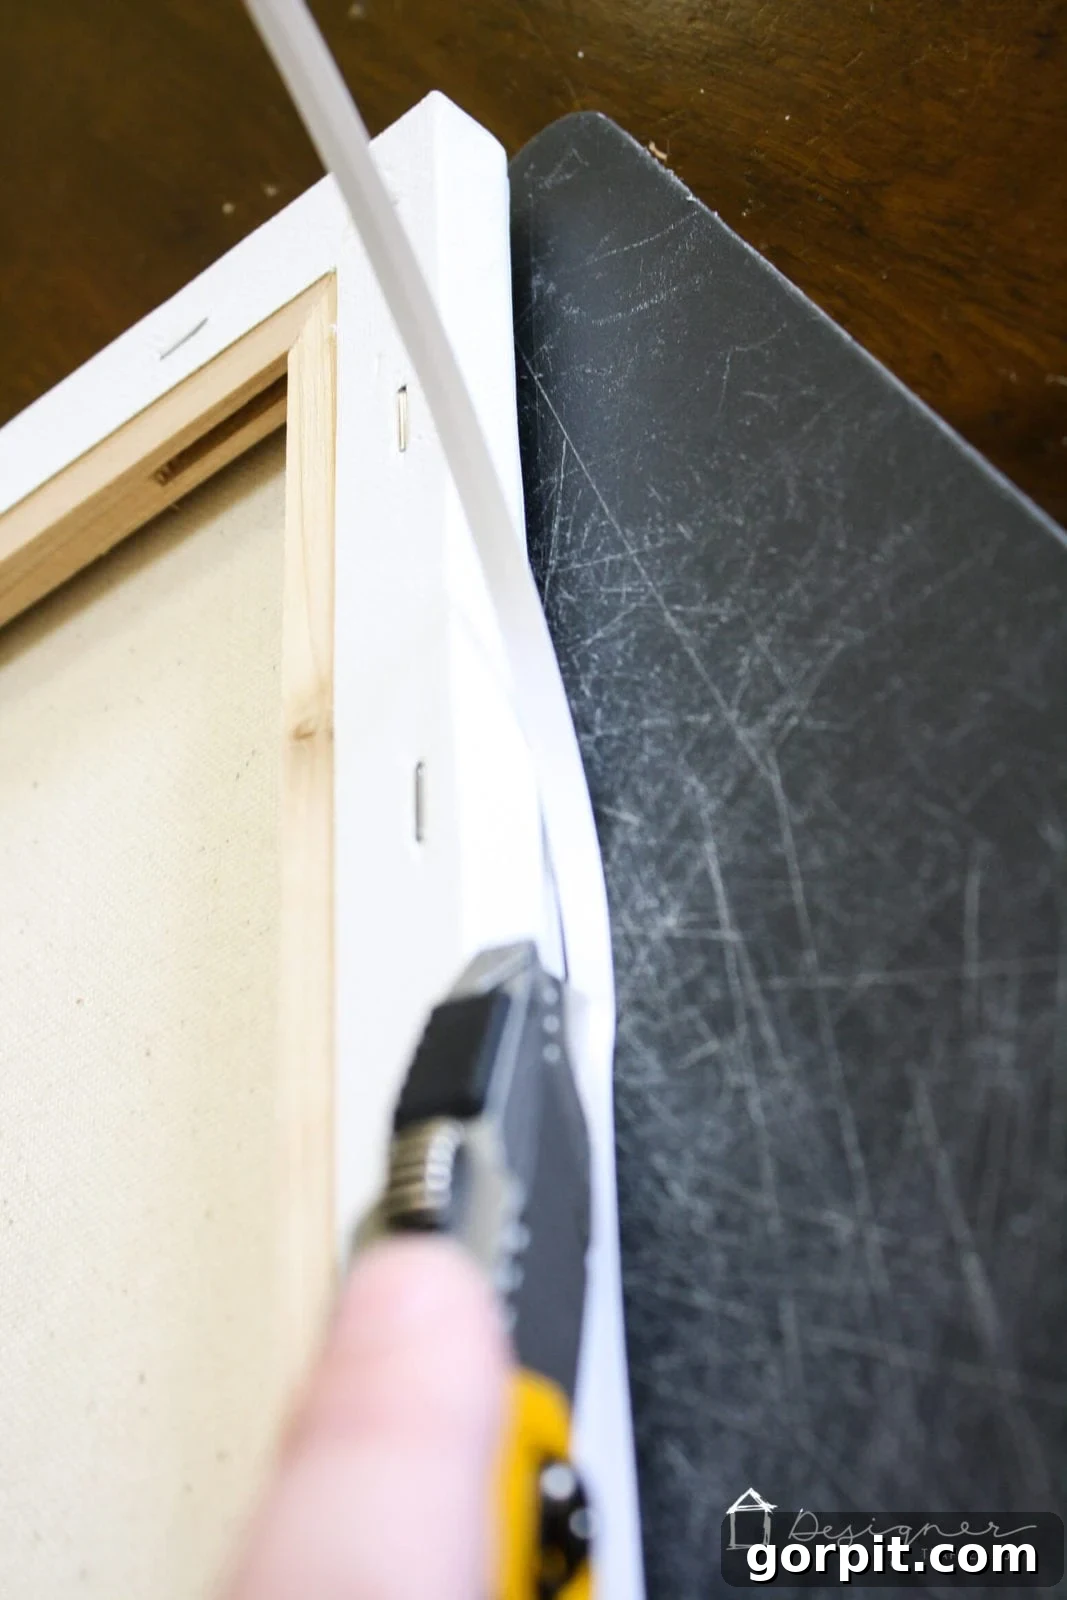
After the canvas has thoroughly dried, you may find that your photo enlargement from the lab is slightly larger than your canvas, resulting in a small overhang. This is a common occurrence and easily remedied. Flip the canvas over onto a protected surface like a cutting board or a self-healing mat. Grab your Exacto knife or craft knife. Using the rigid edge of the canvas as your guide, carefully and precisely trim away any portion of the photo that extends beyond the canvas edge. Take your time to ensure a clean, sharp cut for a flawless finish. Always cut away from your body for safety.
-
Add your unique canvas texture!
Now for the most exciting and transformative part of this project: adding that authentic canvas texture to your photo! This step truly elevates a simple photo print into a genuine-looking canvas masterpiece, so don’t skip it! First, paint a thin, even layer of Mod Podge (matte finish) over the entire front surface of your photo. Don’t panic when it looks cloudy or streaky; I promise it will dry perfectly clear and reveal a gorgeous textured finish. Use long, consistent strokes for the best application. Seriously, take a deep breath; you’re just moments away from the magic!
I’ve successfully used two distinct methods to impart that authentic canvas texture onto the surface of my photos:
Texture Method #1: Canvas Stamping
Working quickly while the Mod Podge is still wet, grab a clean, blank canvas (it can be smaller than your current project if needed). Gently press this blank canvas directly ON TOP of your Mod Podge-coated photo. Apply even, light pressure across the surface. Immediately peel the blank canvas off. As you lift it, the wet Mod Podge will retain the subtle texture of the blank canvas, leaving a beautifully textured finish on your photo. If your blank canvas is smaller than your project, you can repeat this “stamping” process across the entire surface, ensuring each section gets the desired texture while the Mod Podge is still wet.
Texture Method #2: Fabric Impression
Alternatively, you can achieve a similar effect using a clean, old t-shirt or a textured dish towel. Spread the fabric smoothly over the Mod Podge-coated photo, taking care to avoid any wrinkles in the fabric itself. Gently press the fabric onto your photo, transferring its subtle woven pattern to the wet Mod Podge. Then, lift the fabric off carefully. This method also creates a wonderful, natural-looking canvas texture. Both methods are effective, so choose the one that feels most comfortable for you or that you have materials readily available for.
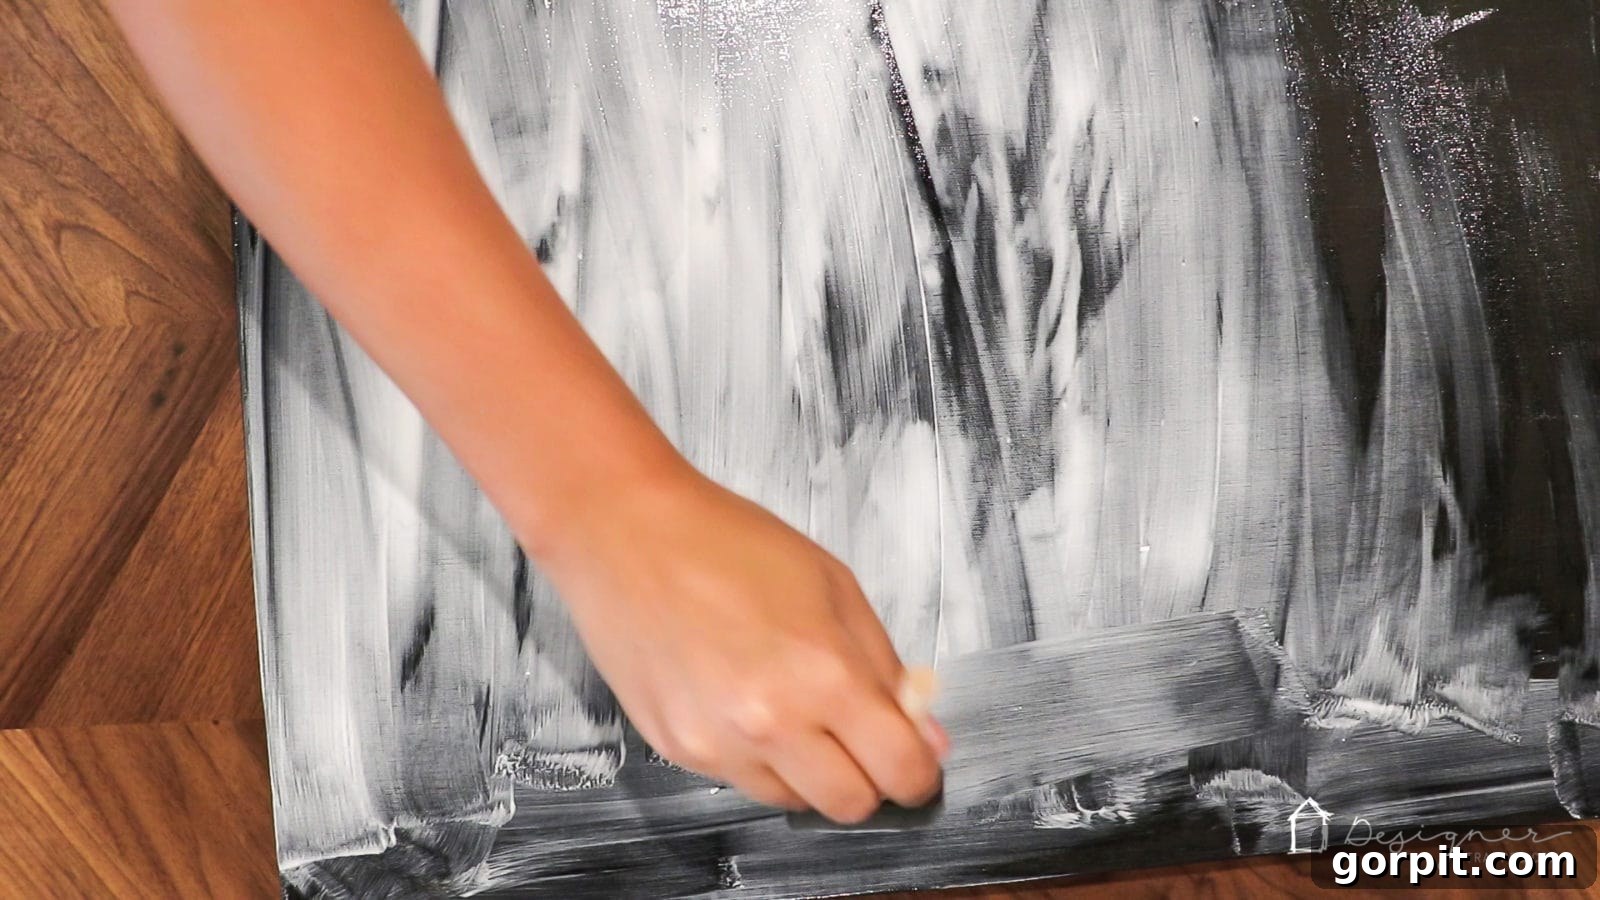
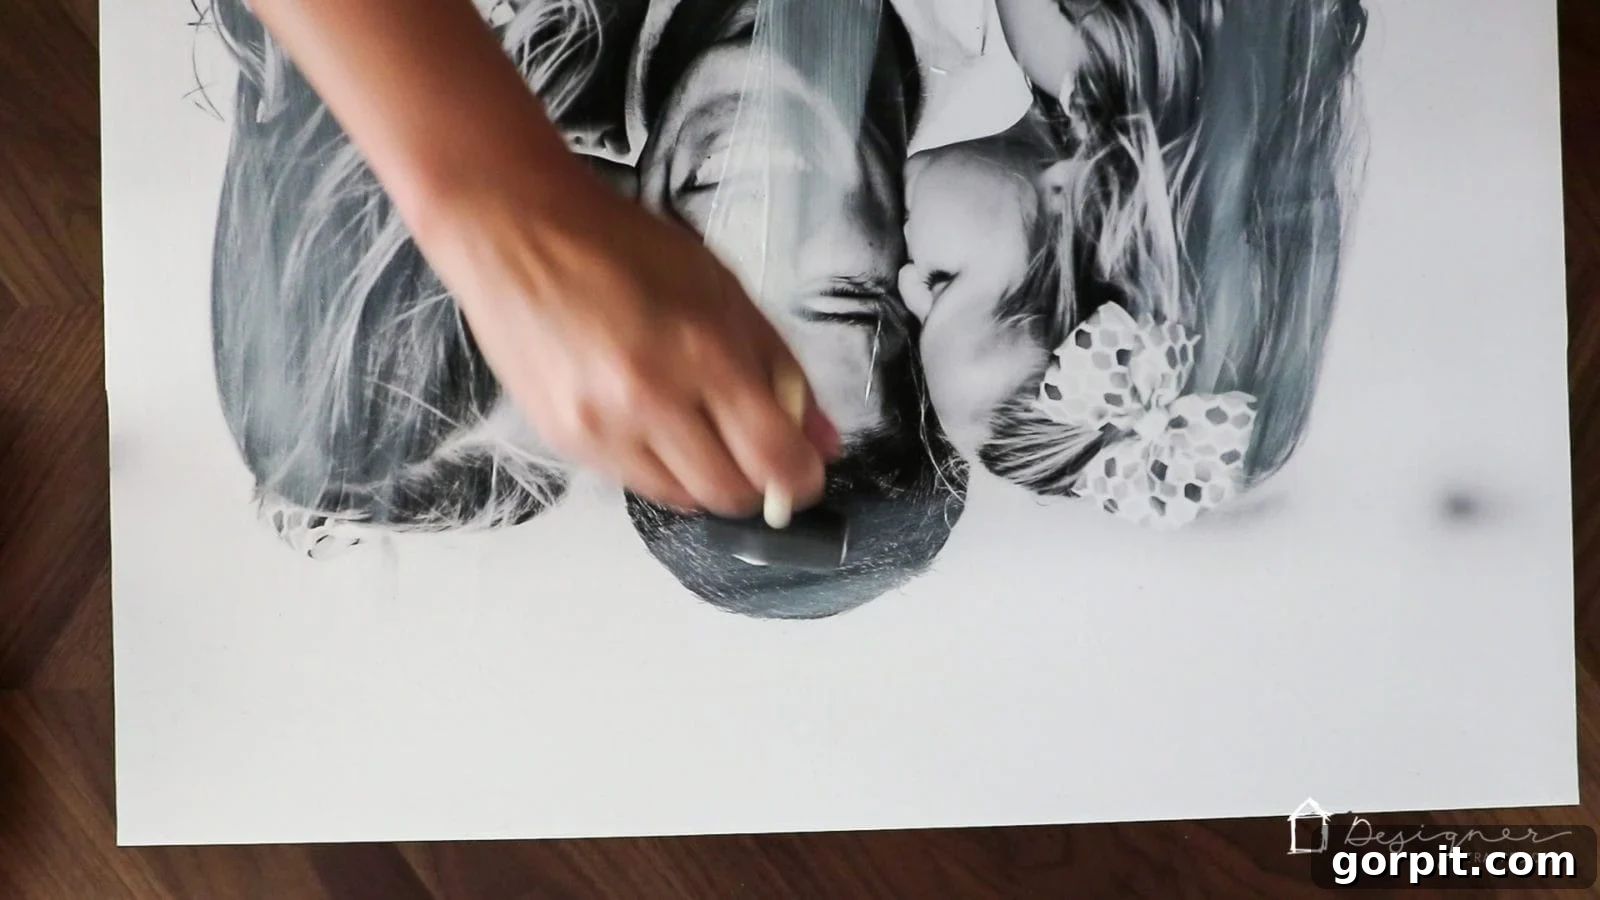
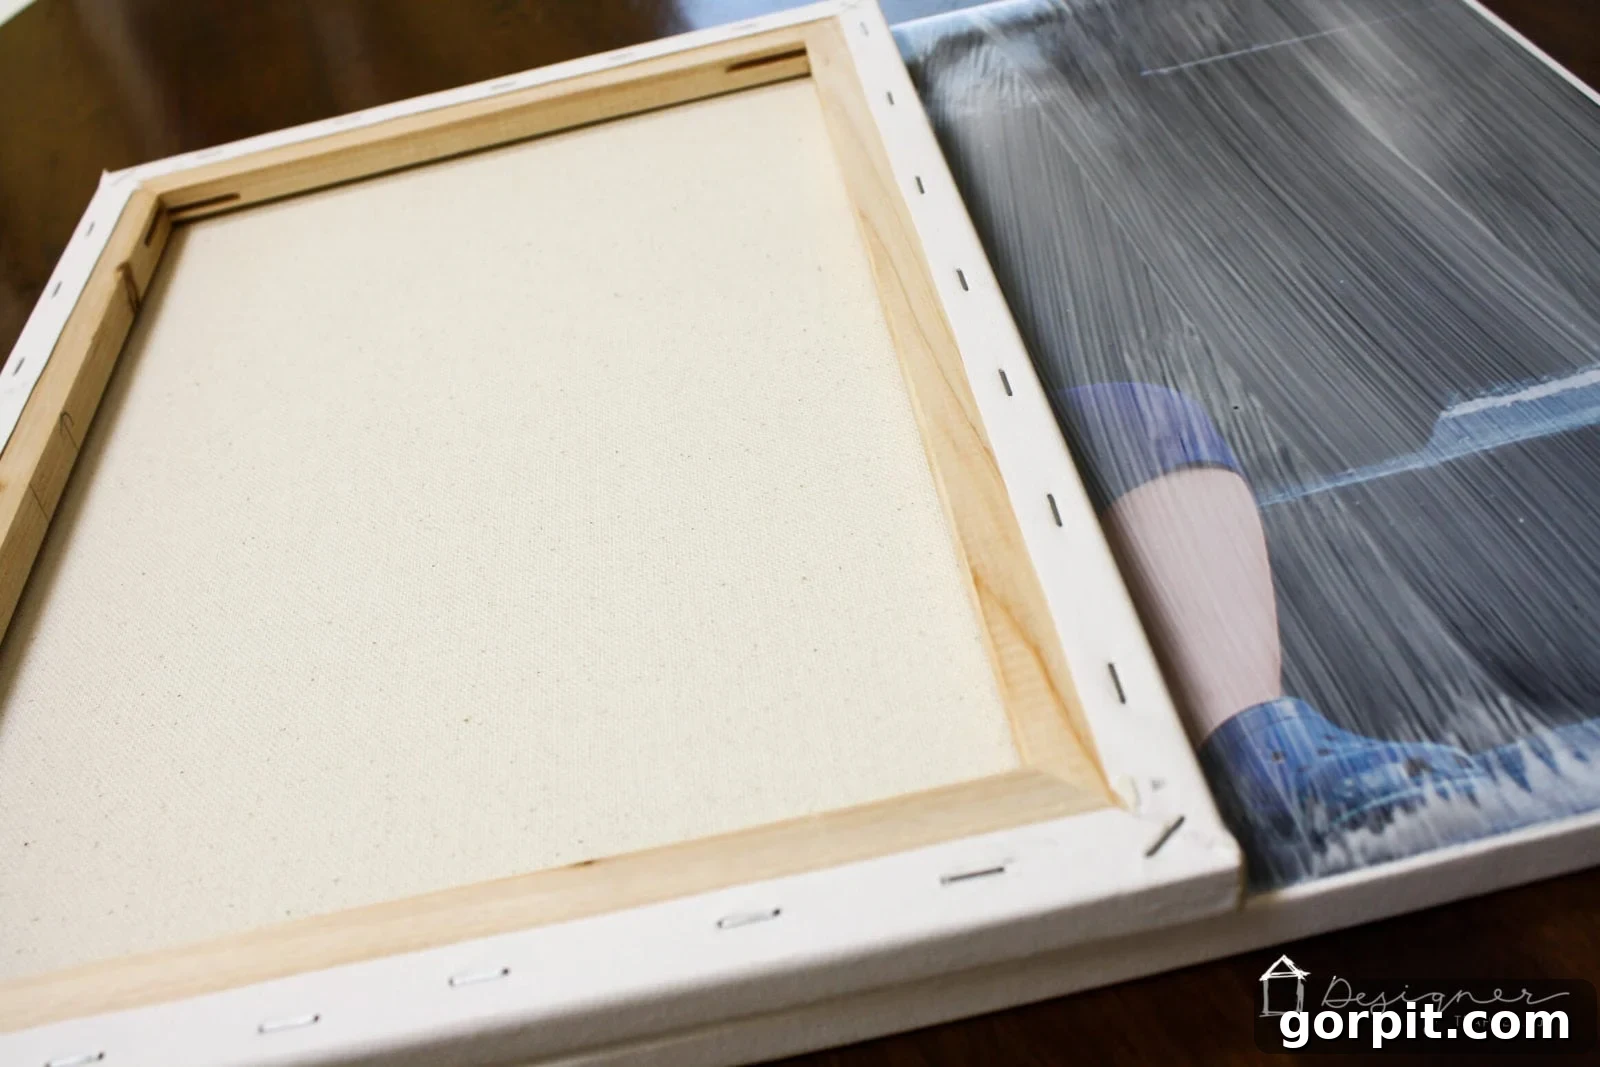
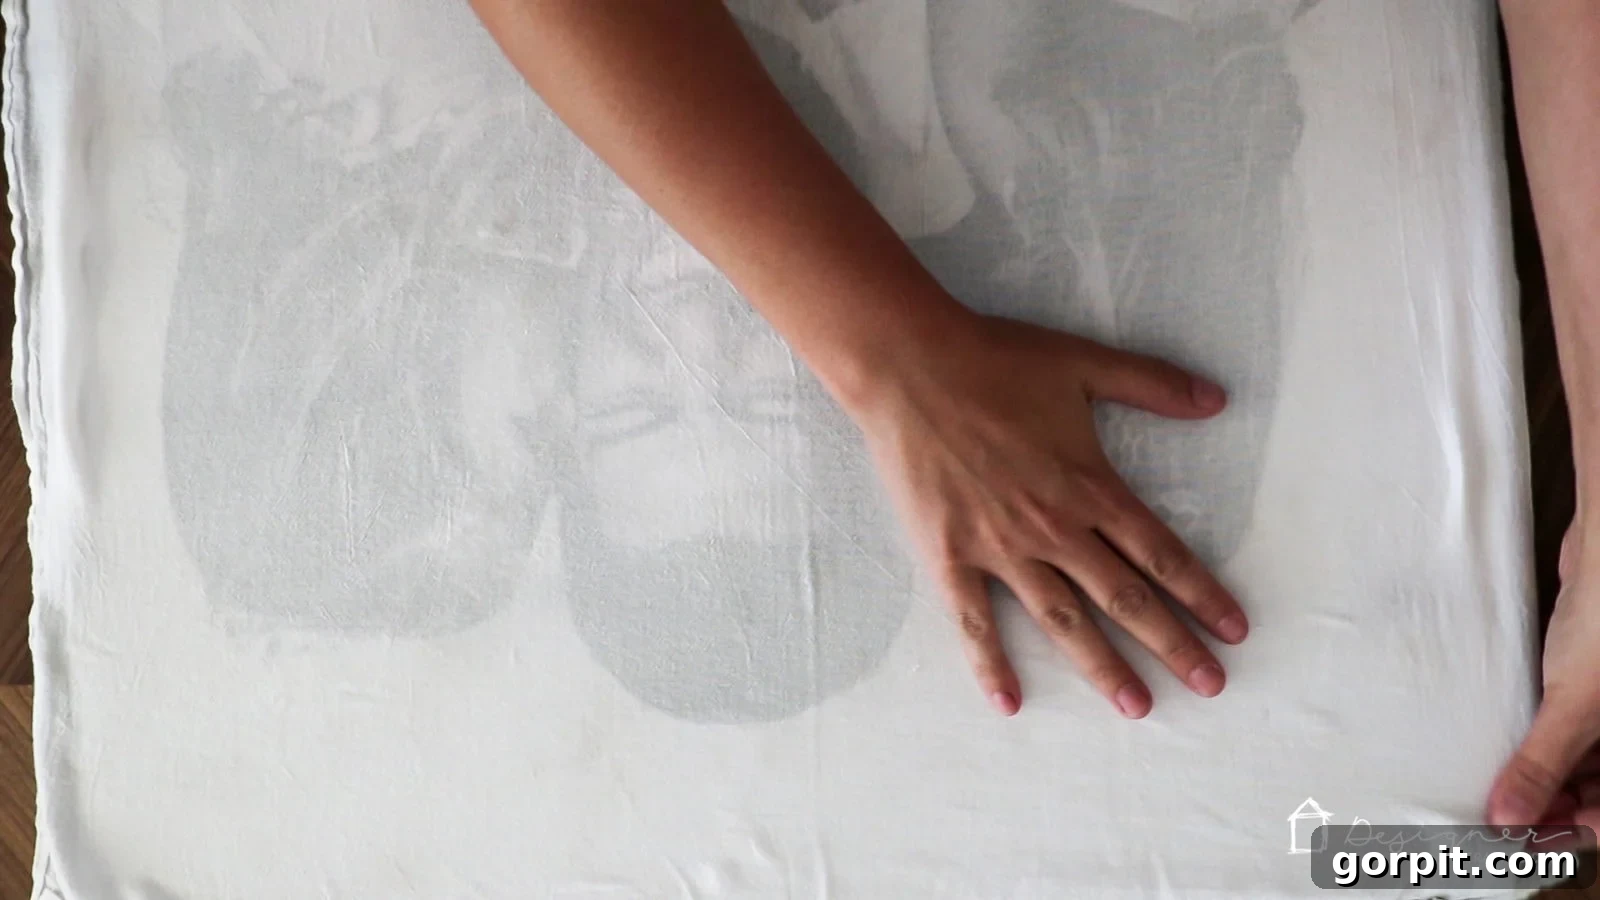
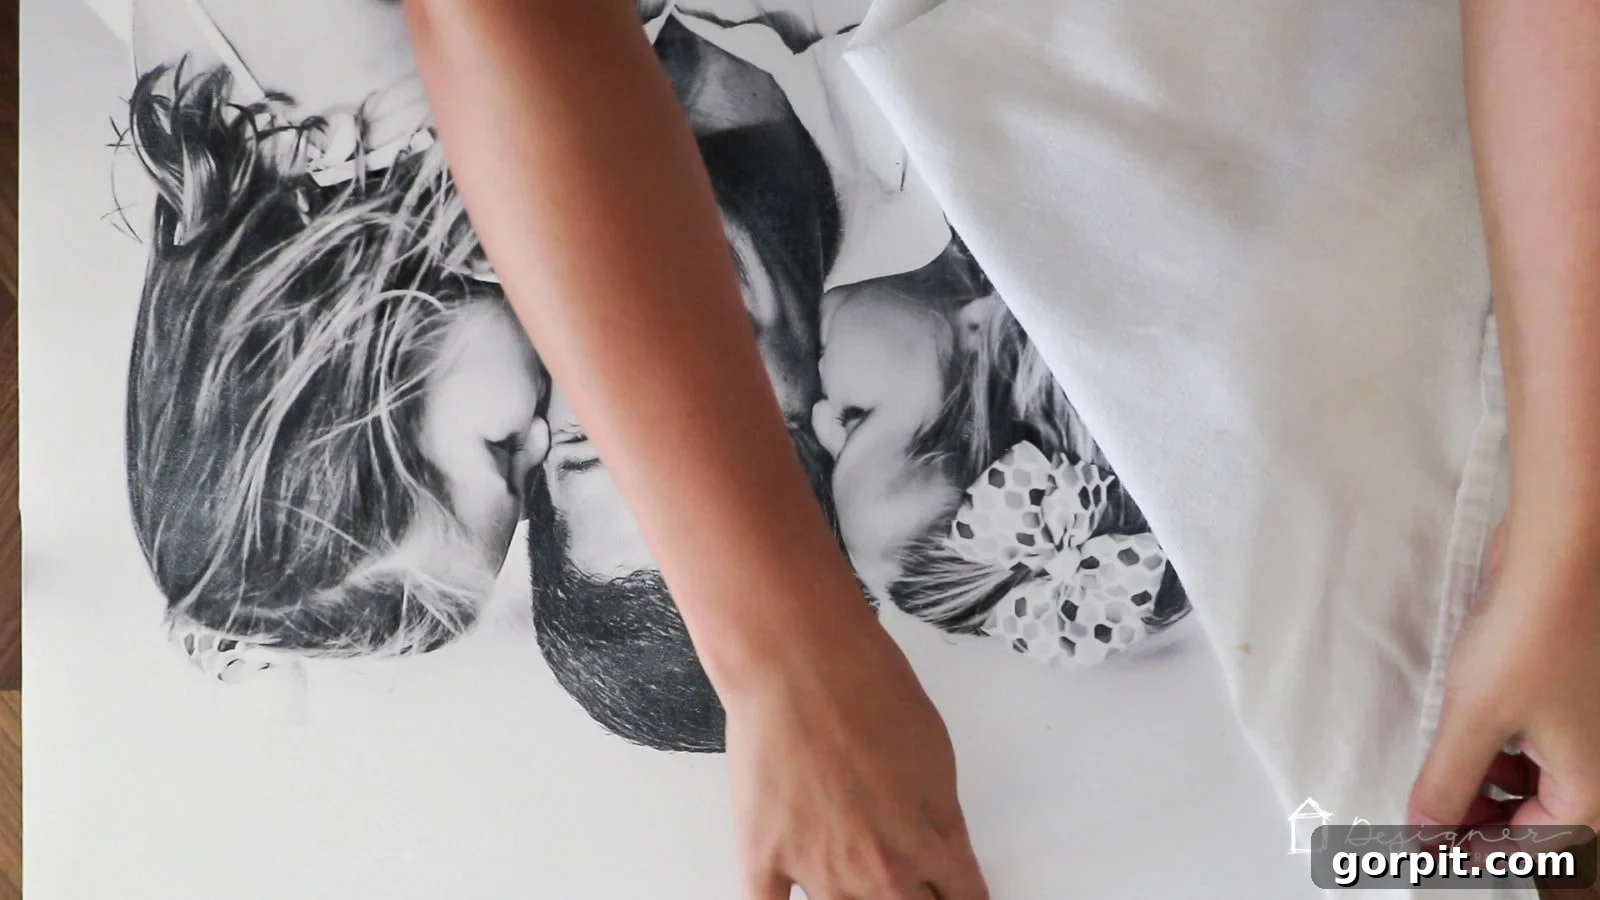
This is how the texture will appear while the Mod Podge is still wet – slightly cloudy, but don’t worry, it will dry clear!
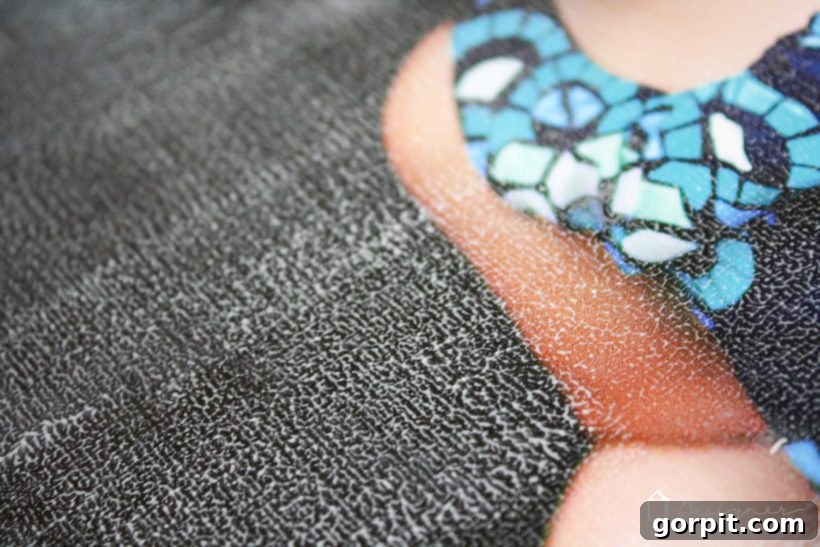
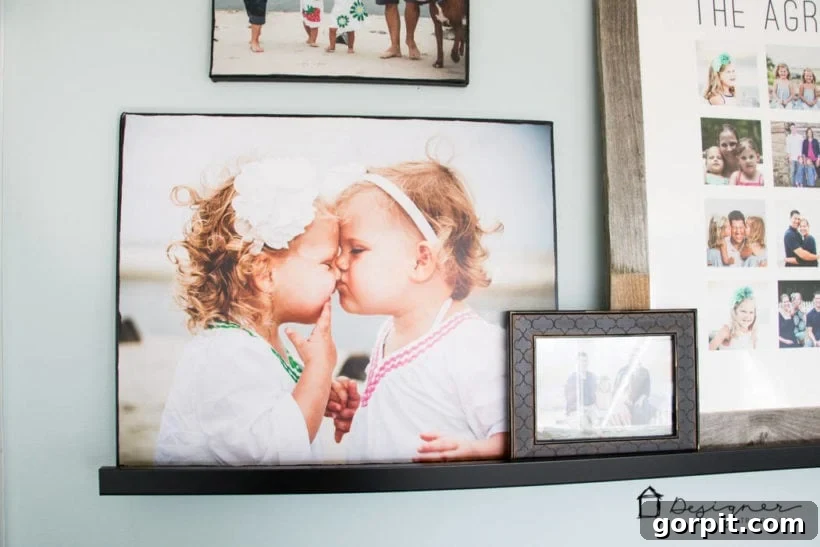
And behold! This is how that G.O.R.G.E.O.U.S. texture will look once it is completely dry. The first photo below showcases the texture achieved using the canvas stamping technique, which creates a fine, distinct canvas weave. The second photo demonstrates the texture from using the dishtowel technique, often resulting in a slightly softer, more subtle fabric impression. Both methods yield beautiful, professional-looking results, so feel free to choose whichever technique you prefer or have the materials for!
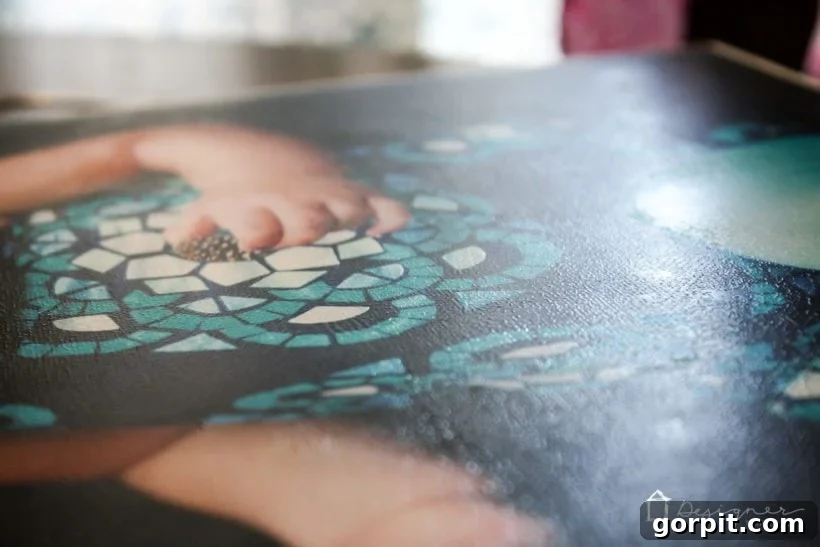
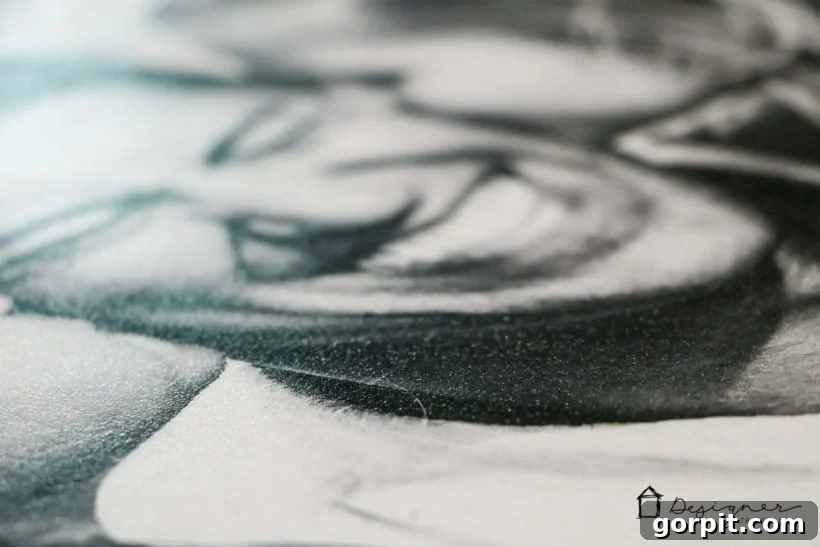
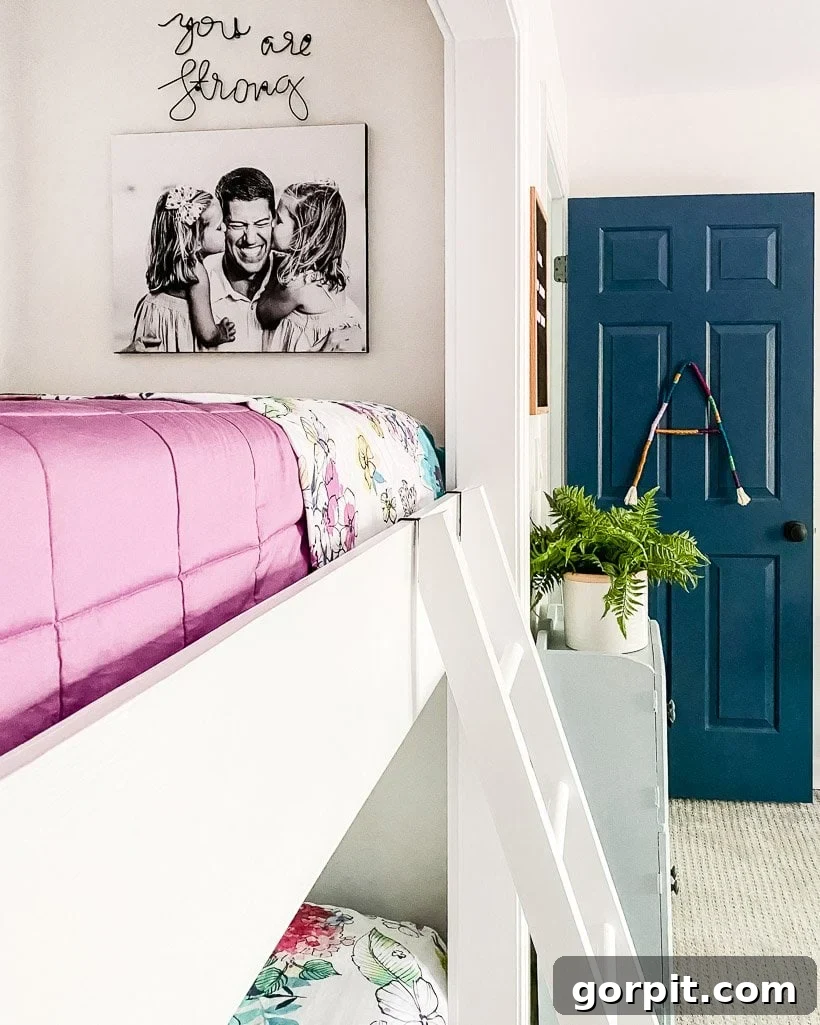
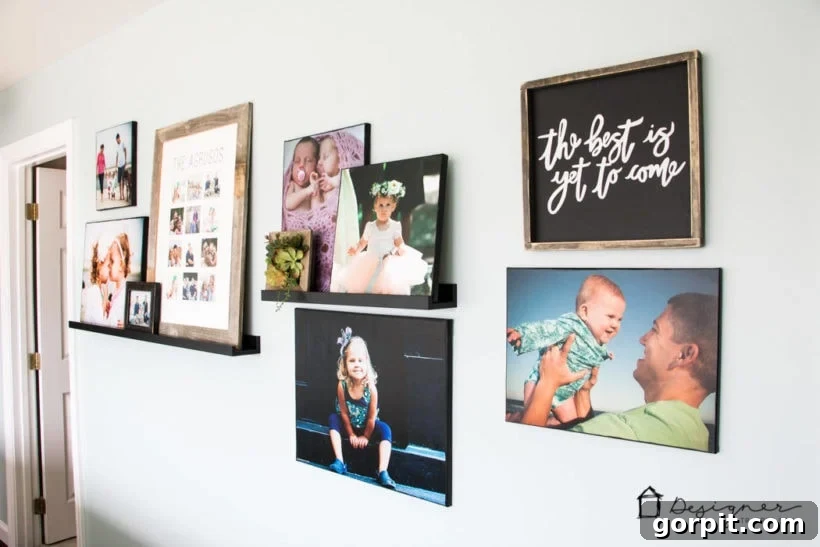
Once the Mod Podge is fully dry and cured, your beautiful DIY photo canvas is ready for display! Hang it up in your favorite spot and admire the incredible work you’ve accomplished. This personalized piece of art will undoubtedly be a conversation starter and a constant reminder of your cherished memories.
Frequently Asked Questions About DIY Photo Canvases
Here are some common questions you might have about making your own photo canvases, along with detailed answers to help you achieve the best results.
The cost-effectiveness of a DIY photo canvas is one of its most appealing aspects! For a 16 x 20-inch canvas, my total cost was roughly $10. This is a staggering saving when you consider that a custom 16 x 20 canvas from a major retailer like Shutterfly can cost upwards of $71.99, even when on sale. Imagine saving over $60 on a single piece of art! Each canvas takes me about 20 minutes of active crafting time to complete, not including the necessary drying periods. It’s truly a fast, easy, and incredibly fun project that delivers high-end results at a fraction of the price.
I strongly advise against using photos printed at home, regardless of whether you use an inkjet or laser printer, even if printed on high-quality photo paper. The reason is that Mod Podge, being a water-based product, often causes home printer inks to bleed or smear. Many crafters have reported this issue, leading to disappointing results where the photo’s colors run and blur. For the best outcome and to ensure your precious memories are preserved beautifully, always opt for professionally printed photos from a photo lab.
No, I do NOT recommend using regular paper or even cover-weight paper for this method. Standard printer paper is too thin and lacks the structural integrity needed to withstand the moisture from Mod Podge. It will almost certainly wrinkle, bubble, and warp significantly, resulting in a very unsatisfactory and unprofessional appearance. For a smooth, durable, and beautiful finish, professional photo paper prints are essential.
Unfortunately, I do not recommend using “poster prints” from office supply stores like Staples or Office Depot for this DIY project. These prints are typically made on a material often referred to as “banner paper” or a similar thin, coated stock. This type of paper is prone to peeling, especially when exposed to the moisture and adhesive properties of Mod Podge. The material is not designed for the lamination and texturing process involved in making these canvases, and you’re likely to encounter issues with adhesion and durability.
When properly made with quality photo lab prints and Mod Podge, your DIY photo canvas can last for many years! Mod Podge acts as a protective sealant, guarding against dust and minor scuffs. To maximize its lifespan, display your canvas out of direct sunlight to prevent fading, and avoid placing it in areas with high humidity.
While you technically *can* use glossy Mod Podge, I highly recommend sticking with the matte finish for this project. The matte finish helps to reduce glare and, more importantly, enhances the illusion of a true canvas texture. A glossy finish might reflect too much light and detract from the authentic, painterly feel we are aiming for with this DIY photo canvas technique.
What do you think? Don’t you just LOVE that authentic texture? It truly MAKES this project, elevating it from a simple photo print to a genuine piece of art. This texturing tip wasn’t something I had seen widely used before I first experimented with it, and I was quite proud to discover how impactful it is! If you’re inspired to try this, be sure to pin this post to Pinterest so you can easily find it again later.
Making your own photo canvases is a creative, meaningful, and incredibly fun way to display your favorite memories. They are, without a doubt, one of my favorite DIY wall decor ideas ever! With just a few basic materials and a little bit of your time, you can craft personalized pieces of home decor that beautifully reflect your unique style and personality. So, why wait? I sincerely hope this detailed step-by-step guide has empowered and inspired you to embark on creating your very own DIY photo canvas masterpieces!
Hungry for more brilliant ideas for displaying pictures and enhancing your home decor? Be sure to explore my colorful gallery wall and discover this unique family photo gallery wall for even more inspiration.
More Art & Wall Decor Ideas
SEE ALL ART POSTS
-
How to Display Art On Almost Any Smart TV
-
How to Make Faux Oversized Poster Hangers
-
DIY Light Up Wall Art
-
Make Large DIY Picture Frames For Less than $20 Each
-
DIY Magnetic Poster Hangers
-
27 Gallery Wall Ideas + Practical Tips to Inspire You
Other posts you may enjoy for more home decor inspiration:
- 16 Genius Hallway Decor Ideas
- Stylish Family Photo Wall Display Ideas
Curious about my personal approach to transforming rooms and spaces in our home? Be sure to check out Designer in a Binder®, my comprehensive guide to affordable and simple home decorating.
And for exclusive content, behind-the-scenes sneak peeks, and more creative DIY ideas delivered straight to your inbox, don’t forget to subscribe before you leave!