
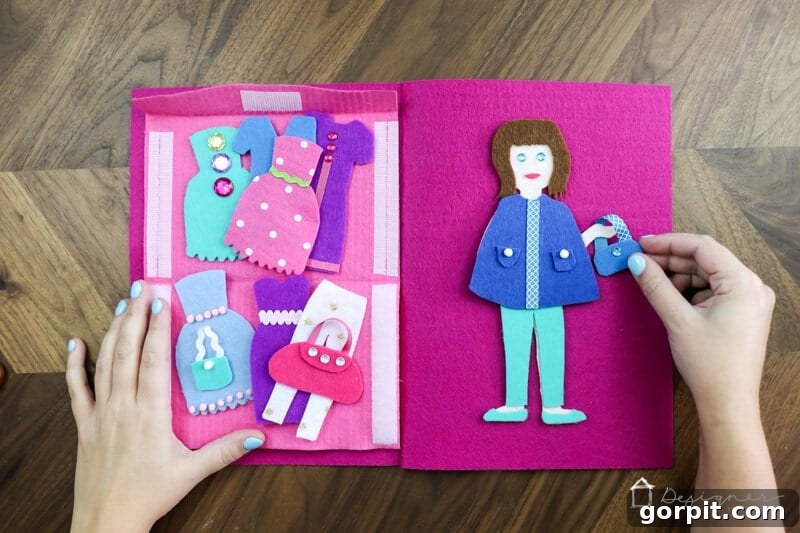
Craft the Perfect DIY Felt Doll Kit: A Comprehensive Guide for Hours of Screen-Free Fun
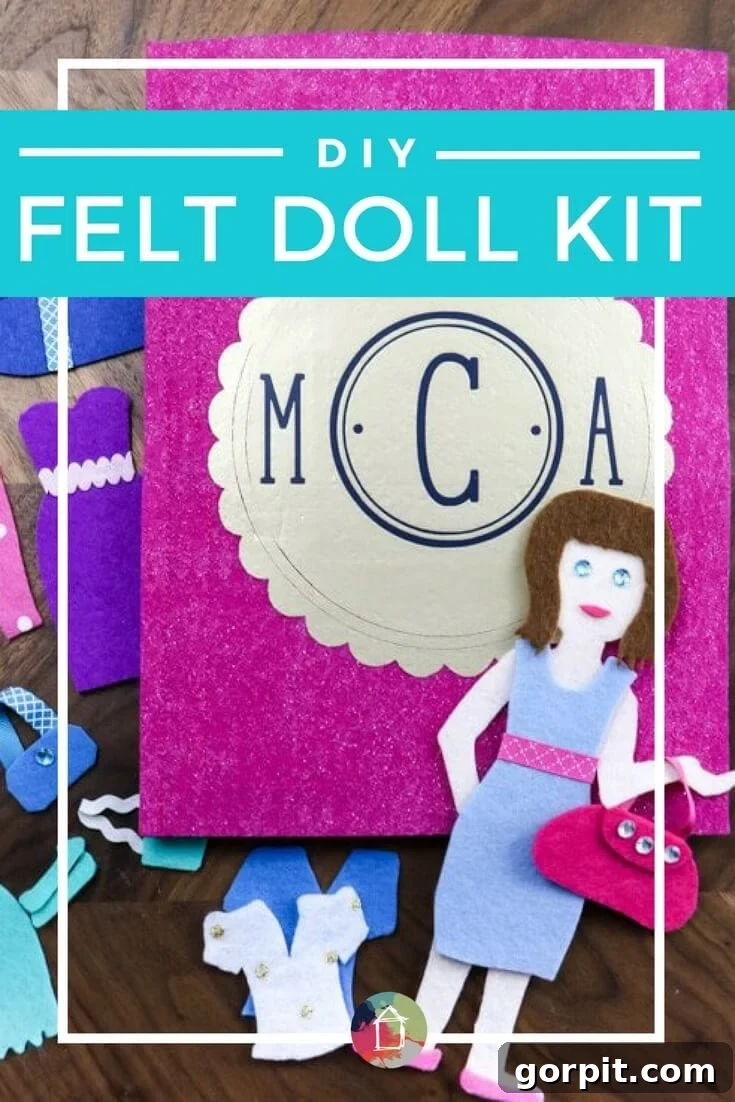
This engaging DIY felt doll kit project was proudly sponsored by Cricut.
As parents, we constantly seek enriching and quiet activities for our children, especially when out in public or during moments requiring focused attention. The challenge often lies in finding compelling alternatives to screen time. If you, like me, are a mom of little ones, you’ll understand the universal quest for portable, entertaining solutions that don’t involve a tablet or smartphone. I vividly recall those crucial early years with my two daughters, when having a “quiet activity” on hand was not just a convenience but a necessity for surviving restaurant visits or peaceful moments at church.
Years ago, I embarked on a creative journey to make them a set of delightful felt dress-up dolls, which quickly became a cherished part of their playtime. The joy and imaginative engagement these simple felt dolls brought inspired me. So, when a dear friend recently asked if I could create a similar felt doll kit for her almost three-year-old daughter this Christmas, I didn’t hesitate. I instantly envisioned ways to enhance my original design, refining it into an even more enchanting and durable toy. This guide shares all the improvements and insights, so you can craft the cutest and most engaging felt doll kit ever for the special little girl in your life. Get ready to dive into a world of creativity and provide endless hours of screen-free, imaginative play!
Please note: This post may contain affiliate links for your convenience. This means that if you make a purchase after clicking a link, I may earn a small commission, but it won’t cost you a penny more! You can read my full disclosure policy here.
Ultimate DIY Felt Doll Kit: Materials & Crafting Essentials
Materials Needed to Craft Your Felt Doll Kit:
- Cricut Maker Cutting Machine: While scissors and paper templates are an option (that’s how I made my first set!), the precision and ease of a Cricut Maker are unparalleled. It significantly streamlines the cutting process, resulting in impeccably clean edges and consistent shapes, saving you considerable time and effort.
- For an in-depth look at this incredible machine, read my comprehensive review of the Cricut Maker here. It truly is amazing, capable of cutting not just felt, but a wide array of materials including wood and thick leather.
- If you’re still weighing your options for cutting machines, my comparison of Silhouette vs. Cricut will help you decide.
- Felt for Doll’s Skin Tone: One sheet of felt in your preferred skin tone. Consider using a stiffer felt or preparing to stiffen regular felt yourself for better durability.
- Stiff Felt for Kit Covers: Two sheets of stiff felt in your chosen color for the front and back covers of your felt doll kit. The stiffness is crucial for creating a sturdy, book-like structure.
- Regular Felt for Pockets: Two sheets of regular felt in a complementary color for the internal pockets designed to hold your doll’s extensive wardrobe.
- Assorted Felt for Doll Clothes: A vibrant selection of felt sheets in various colors for crafting diverse outfits and accessories.
- I experimented with both felt purchased from Joann’s and Cricut brand felt. I found myself strongly preferring the Cricut brand felt. Although slightly thinner, it boasts a smoother texture and a more refined feel, making it a joy to work with and resulting in a higher-quality finish for the doll’s attire.
- Felt Glue: A reliable adhesive specifically designed for felt, ensuring long-lasting bonds without seeping or hardening excessively.
- Embellishments for Customization: Sparkle and charm with stick-on rhinestones, decorative ribbon, small pom-poms, beads, or any other small decorative elements to personalize your doll and her outfits.
- Fabric Stiffener: Essential if your chosen skin-tone felt isn’t stiff enough. Many beautiful felt colors don’t come in a pre-stiffened option, so this allows you to achieve the desired rigidity for your doll’s body.
- Iron-on Vinyl: Perfect for adding a personalized touch, like a monogram or the recipient’s name, to the front cover of your kit. This adds a professional and custom finish.
- Sew-on Velcro: For securing the pockets within the kit, ensuring clothes and accessories stay neatly organized and contained.
- Cricut EasyPress: This tool is a game-changer for applying iron-on vinyl quickly and efficiently, ensuring perfect adhesion every time.
- Weeding Tool: An indispensable tool for cleanly removing excess vinyl from your iron-on designs.
If you plan to utilize the precision of a Cricut Maker for cutting your felt, you’ll need the digital cut files I developed for this project. I meticulously sketched these designs on my iPad Pro, using the adorable templates from Smile and Wave as a guide with only minor modifications. The best part? These ready-to-use .png files, perfectly compatible with Cricut Design Space, are absolutely free for all my newsletter subscribers! Simply click on the image below to have them delivered straight to your inbox, and you’ll be ready to cut with unparalleled precision in no time.
Alternatively, if you prefer the traditional method of using paper templates and scissors to cut out your felt dolls and their adorable outfits, you can easily find and print the original templates directly from Smile and Wave. Both methods yield fantastic results, allowing you to choose the approach that best suits your crafting style and available tools.
Step-by-Step Guide: Crafting Your Enchanting Felt Doll Kit
For those who prefer a visual demonstration, a detailed video overview of this project is available. Click below to watch the entire process unfold.
Creating the “Book” Structure for Your Felt Doll Kit:
The foundation of your felt doll kit is its clever “book” design, which not only houses the doll but also neatly organizes all her clothes and accessories. This sturdy, portable design makes it perfect for travel, doctor’s appointments, or simply keeping everything tidy at home.
1) Decorating the Front Cover: Personalizing Your Felt Doll Kit
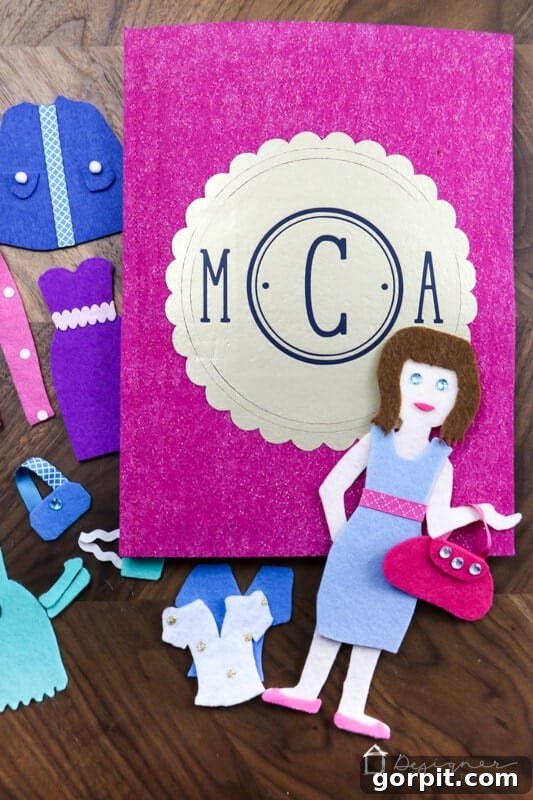
Begin by adding a personal touch to the front cover of your DIY felt doll kit. I chose a charming scallop circle and a personalized monogram design, which I cut from durable iron-on vinyl. When preparing your vinyl, remember to mirror your image before cutting to ensure it applies correctly! After cutting, use your trusty Cricut EasyPress for a super-fast and effortless application. I first applied the scalloped circle using gold heat transfer vinyl. Once it had cooled completely, I layered the navy heat transfer vinyl monogram directly over it. Yes, you can successfully layer vinyl to create multi-dimensional designs, adding depth and visual interest to your cover!
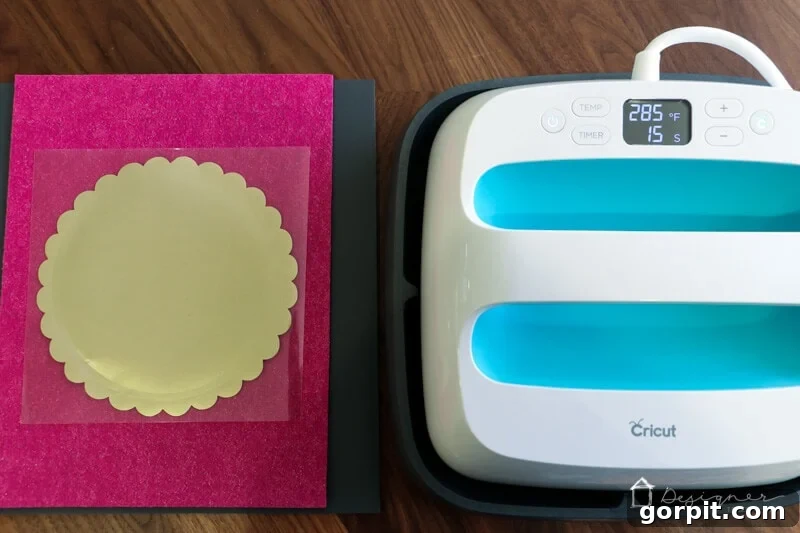
2) Crafting Functional Pockets for Organization:
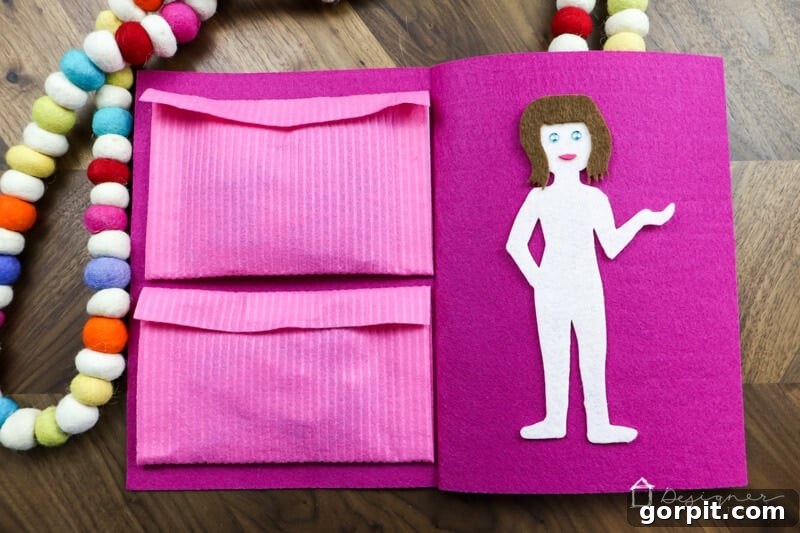
Next, you’ll create the two essential pockets that will neatly hold your doll’s extensive wardrobe and accessories. For each pocket, you’ll need one piece of regular felt. Start by trimming approximately one inch off the long edge of the felt. This adjustment ensures the pocket fits perfectly onto the back of the cover without any unsightly overhang. Then, fold the bottom end of the felt piece up a little less than halfway. Ensure you leave enough extra fabric on the top half to fold over and create a secure flap. To achieve crisp, professional-looking folds, I highly recommend pressing them into the felt using my EasyPress – it’s so much easier and quicker than hauling out a traditional iron!
3) Attaching Velcro for Secure Closure:
Once your folds are set, the next step is to sew on the Velcro. Stitch Velcro strips along the sides of the envelope-like pocket. Additionally, attach Velcro to the top flap and its corresponding position on the outside of the pocket when it’s in the closed position. This simple addition ensures all those tiny clothes and accessories stay securely inside, preventing them from scattering during transport or play.
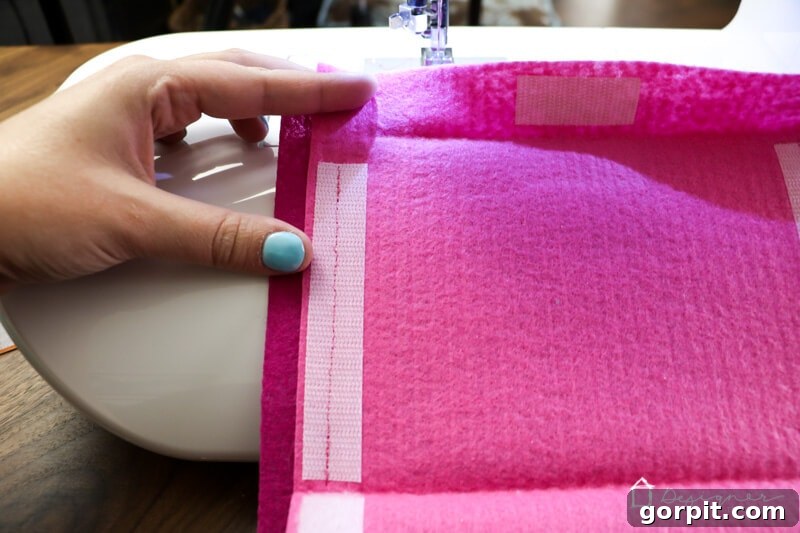
4) Assembling the Pockets onto the Cover:
With the pockets ready, it’s time to stitch them onto the back of your kit’s front cover. Carefully align the pocket and stitch it into place, ideally following the same stitch line you used for the Velcro. This creates a neat and professional finish. A crucial detail to remember: only sew the top half of the pocket onto the back cover. The bottom half, which forms the flap, should remain loose to allow it to hinge open and closed, giving easy access to the contents.
5) Finalizing the Book Structure:
To complete the “book,” take your decorated front cover (with attached pockets) and your plain back cover. Align them perfectly and stitch them together by running a neat seam along their outer edges. This final step binds everything, creating a robust and attractive felt book that is ready for endless adventures.
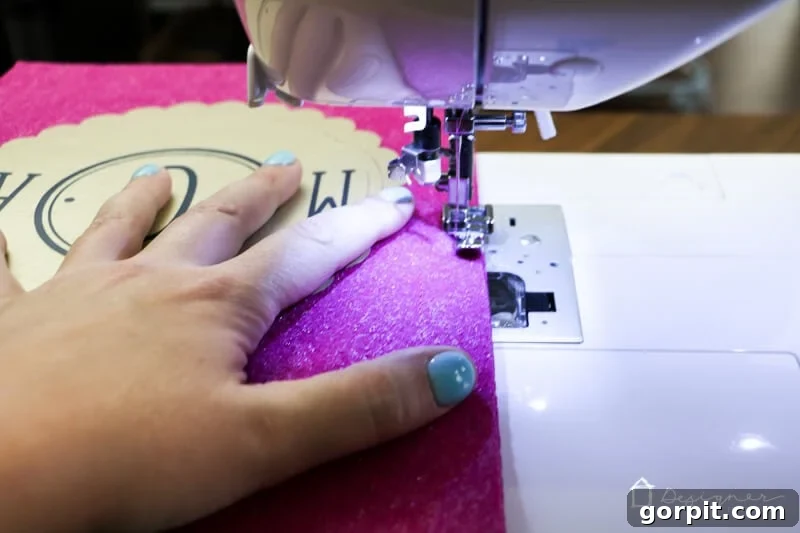
Witnessing the finished “book” structure come to life is truly satisfying – it’s both functional and incredibly charming!
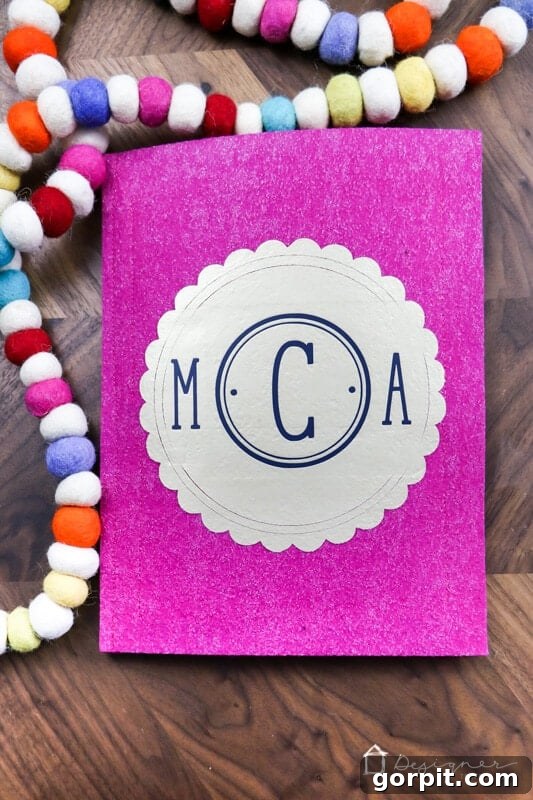
Crafting the Doll, Clothes, and Accessories: Bringing Your Felt World to Life
Now for the most exciting part – creating the adorable felt doll and her entire whimsical wardrobe! This is where imagination truly takes flight, allowing for endless customization and creative expression.
1) Preparing the Doll’s Body: Achieving the Perfect Stiffness
If the felt you’ve selected for your doll’s body lacks sufficient stiffness, it’s essential to apply fabric stiffener. This step ensures your doll is durable and easy for little hands to manipulate during playtime. Apply the stiffener evenly and allow it to dry completely BEFORE attempting to cut out the doll shape with your Cricut. Once stiffened and dry, you’re ready to cut the doll body. To cut just the doll’s body, separating it from the hair design (as you likely want the hair to be a different color), utilize the powerful Contour feature in Cricut Design Space. This allows you to hide specific elements of a design. If you’re new to this feature, this comprehensive article explains how to effectively use the Cricut Contour feature.
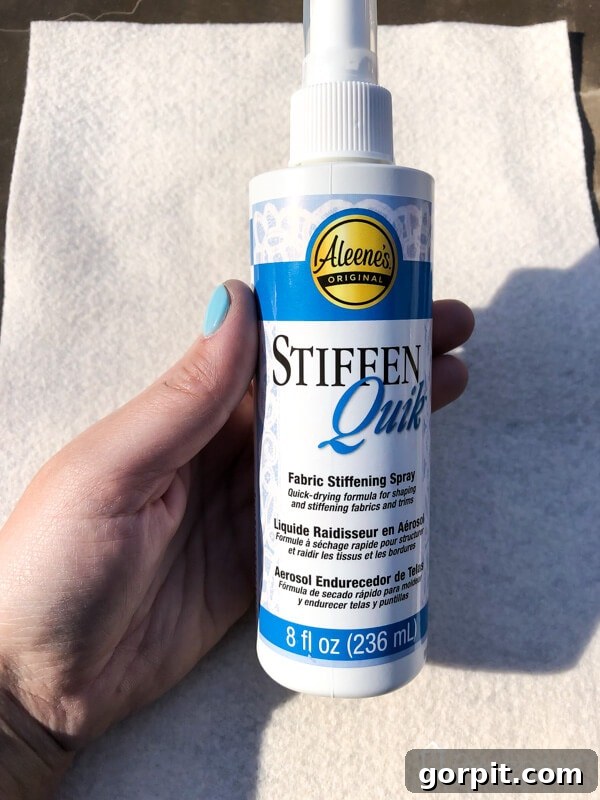
2) Precise Cutting of the Doll Body:
With your felt prepared, place it on your Cricut mat. I used my rotary blade and set the material type to “felt” in Cricut Design Space. The result was absolutely flawless, yielding a perfectly cut doll body with crisp, clean edges. The Cricut Maker’s precision truly shines when working with delicate materials like felt.
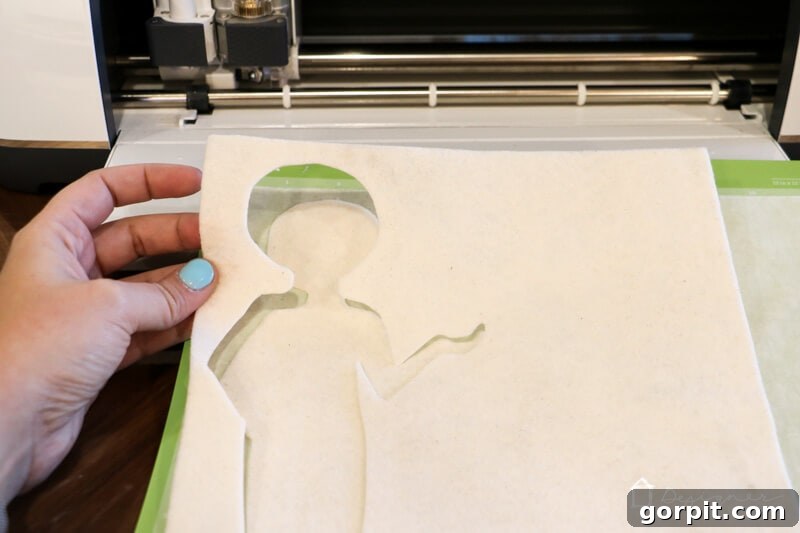
3) Cutting a Diverse Wardrobe and Accessories:
Now, let your creativity soar as you cut out an abundance of clothes and accessories in as many colors and styles as you desire! Again, the Contour feature in Cricut Design Space is your best friend here. It enables you to “hide” any items from a .png file that you don’t wish to cut from a particular color of felt. This flexibility means you can create a truly customized and varied wardrobe for your doll. For a refresher on mastering this technique, remember that this article explains the Contour feature really well.
4) Assembling and Decorating Your Doll:
Once all your felt pieces are meticulously cut, it’s time for assembly. Begin by securely gluing your doll’s hair onto her body using felt glue. For her charming facial features, you have several creative options: small pom-poms or stick-on rhinestones make wonderful eyes. For the lips, I opted for a handmade touch, carefully cutting out a delicate mouth shape from pink felt. This allows for a unique, handcrafted look.
5) Embellishing the Wardrobe: Unleash Your Creativity!
Now for the truly fun part: decorating your doll’s clothes and accessories to your heart’s content! Utilize rhinestones, ribbons, tiny buttons, or any other small embellishments to make each outfit unique and special. The felt glue performs exceptionally well in holding everything together, but it does require adequate drying time. After applying glue, arrange all your decorated pieces flat in a undisturbed area, allowing them to fully dry and set before handling.
I’m absolutely thrilled with how this DIY felt doll kit turned out! It’s such a rewarding project, and I’m delighted to report that the little recipient adores it. Her mom is equally pleased, appreciating that it provides quiet, hands-on entertainment without resorting to screens. It’s a win-win for everyone!
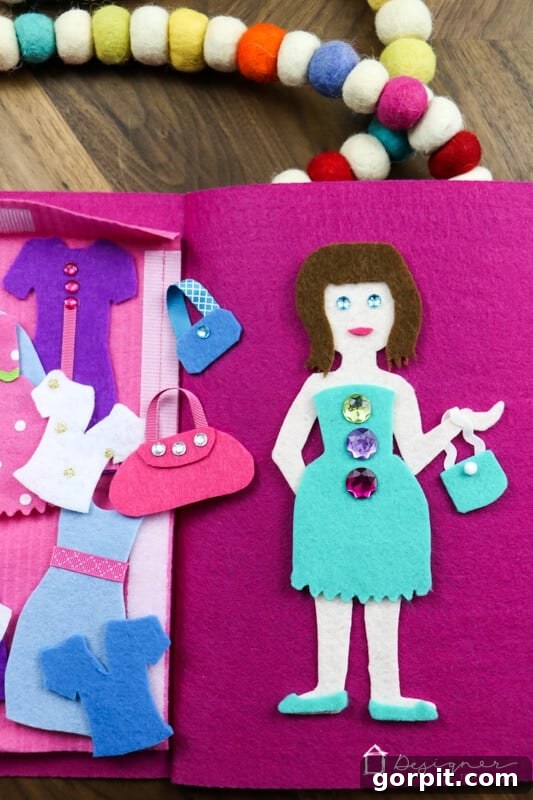
Here’s a glimpse of the felt doll kit when everything is neatly tucked away, ready for its next adventure.
And here’s how it looks during playtime, with all the adorable clothes and accessories laid out, sparking imaginative stories and dress-up fun.
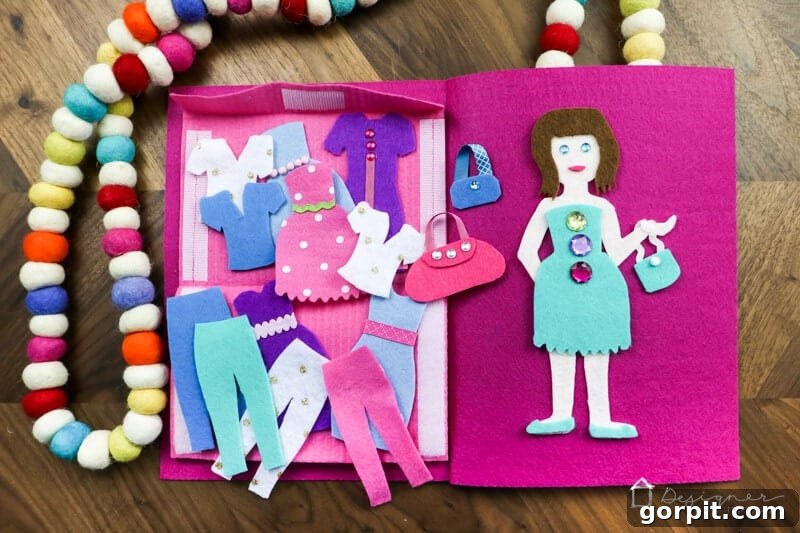
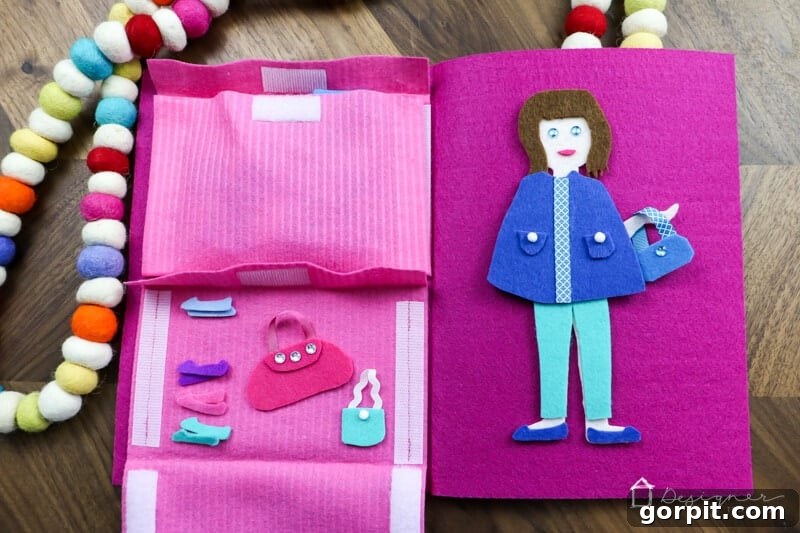
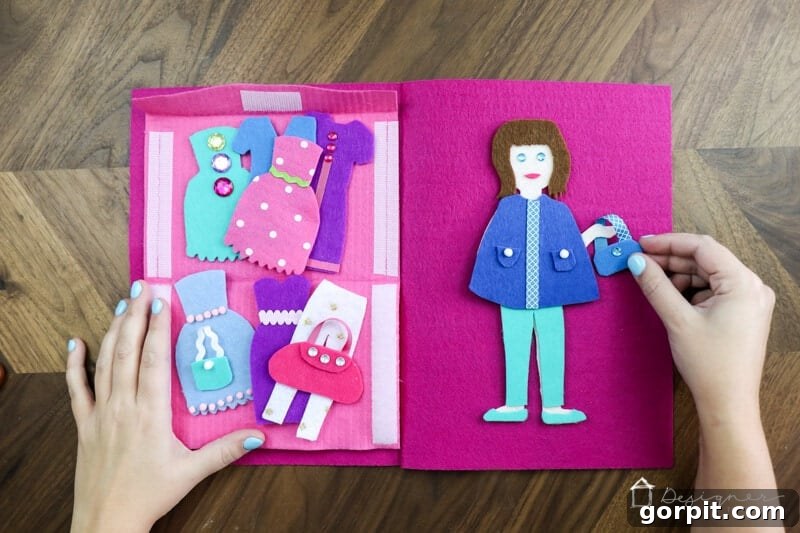
I strategically placed all the delightful felt clothes in the top envelope pocket, while the bottom pocket became home to all the shoes and charming accessories – including that utterly cute little cape!
If you know a little girl who would absolutely adore this personalized, screen-free activity, be sure to save this tutorial to Pinterest or share it on Facebook so you can easily find it again when inspiration strikes! This DIY felt doll kit makes for an exceptional handmade gift, fostering creativity and providing countless hours of quiet, imaginative play.
And before you leave, don’t forget to subscribe to my newsletter! As a subscriber, you’ll gain exclusive access to my FREE printables library, packed with even more creative resources and project ideas.
This felt doll kit isn’t just a toy; it’s a doorway to imaginative worlds, a tool for developing fine motor skills, and a wonderful way to provide cherished, screen-free moments for any child. Happy crafting!
[mv_create 1 11 200 2016 key=”1″ type=”list” title=”Most Popular Projects” thumbnail=”This content is a sponsored conversation written by me on behalf of Cricut. All opinions, creative choices, and text are entirely my own.