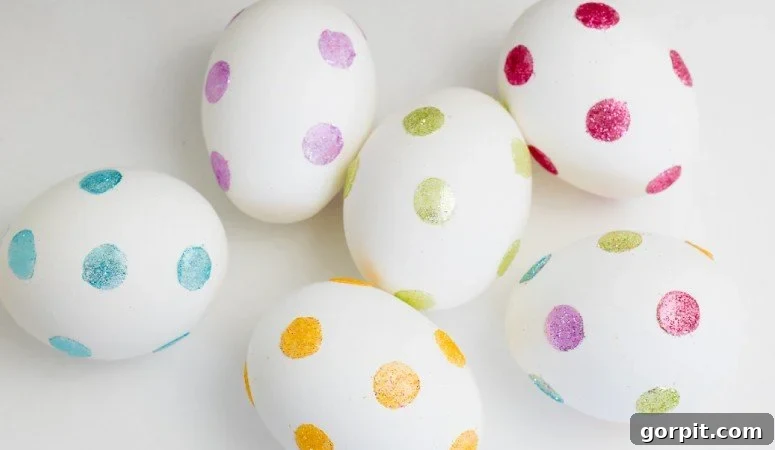
Sparkling Easter Eggs: A Mess-Free Glitter Dot Decorating Guide for All Ages
Happy Easter crafting, friends! The arrival of Spring brings with it the excitement of Easter, a holiday that truly comes alive with the joy and wonder of children. For parents and guardians, holidays like Easter, Christmas, and Halloween become even more magical when shared with little ones. This year, I wanted to discover a delightful new way to decorate Easter eggs – a method that my daughters, Attley and Avery, could easily participate in and absolutely adore. Knowing their love for all things sparkly and girly, a glitter-themed project seemed like the perfect fit!
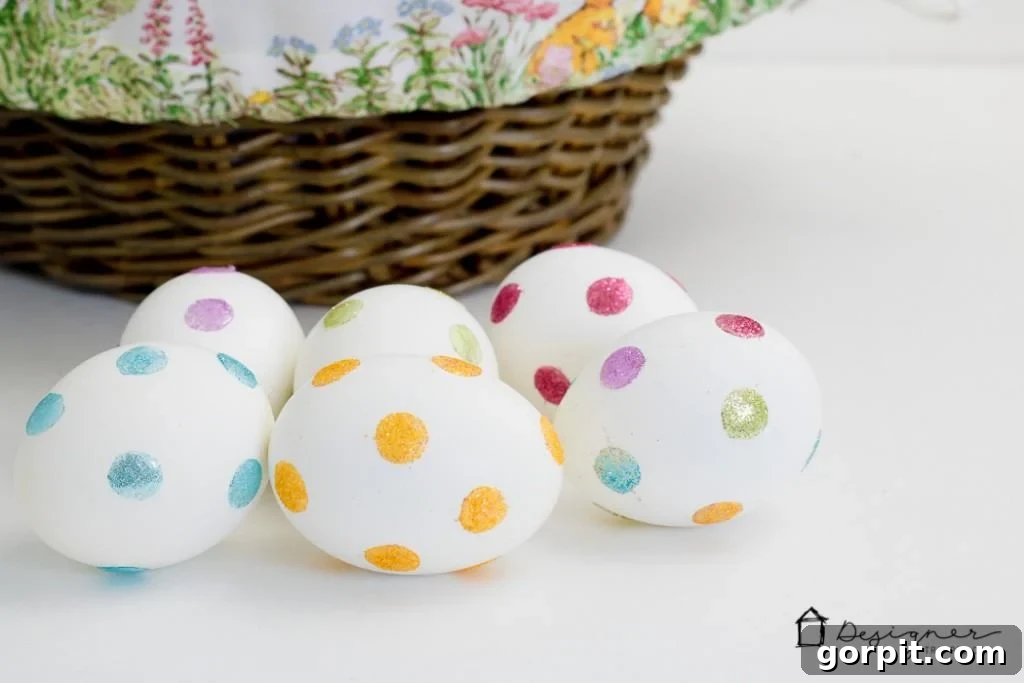
Forget the traditional, often messy, and sometimes frustrating process of food coloring dyes. We’re about to dive into a simple, elegant, and incredibly fun technique for decorating Easter eggs with beautiful, shimmering glitter dots. It’s an innovative approach that promises stunning results without the usual fuss, making it perfect for families seeking a less chaotic craft. This project is not only easy but also guarantees a dazzling display that will capture everyone’s attention. So, read on to learn how you can transform ordinary hard-boiled eggs into sparkling works of art with minimal effort and maximum sparkle!
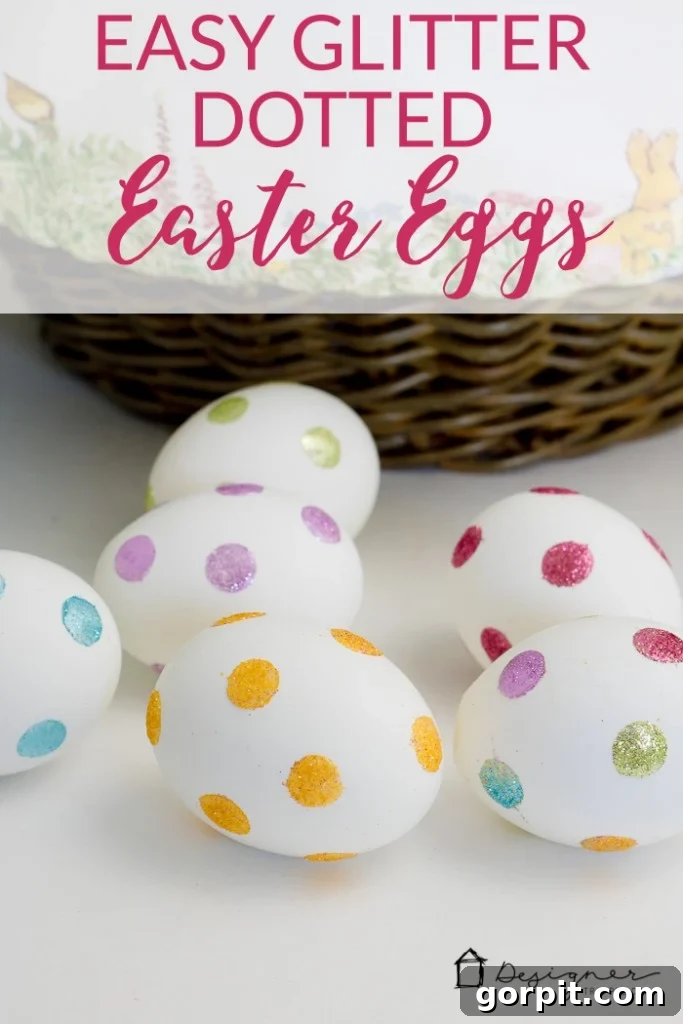
Please note: This post contains some affiliate links for your convenience. Click here to read my full disclosure policy.
DIY Glitter Dot Easter Eggs: The Ultimate Easy Tutorial
Are you ready to create some truly enchanting Easter eggs? This tutorial will walk you through every step of decorating Easter eggs with dots and glitter, ensuring a stress-free and enjoyable crafting experience. This method is incredibly versatile, allowing for endless creativity, and the results are consistently charming. Let’s gather our supplies and get started on this journey to crafting beautiful, sparkling Easter treasures!
Materials You’ll Need:
One of the best aspects of this Easter egg decorating project is its simplicity, requiring only a few readily available materials. You might even have some of these lying around your craft drawer!
- Hard-boiled eggs: These are your blank canvases! Ensure they are completely cooled and dry before you begin. You can also use craft eggs (like wooden or plastic eggs) if you want to create a keepsake that lasts beyond the holiday. For best results with real eggs, boil them ahead of time and let them cool thoroughly. Using eggs that are at least a day or two old can sometimes make them easier to peel if you plan to eat them later.
- Artist’s paint brush (fine-tipped is best): A small, fine-tipped brush is ideal for precise glitter application. It allows you to gently dab and spread the glitter exactly where you want it, ensuring full coverage on each adhesive dot. A stiffer bristle brush can help in cleaning up excess glitter around the dots.
- Glitter (various colors and types): This is where the magic happens! I highly recommend investing in a good variety pack. These are my favorite glitter variety packs because they offer a fantastic range of colors and textures, from fine iridescent dust to slightly chunkier sparkle. Consider a mix of traditional Easter pastels (pinks, blues, yellows, greens) and more vibrant shades to create a truly spectacular collection.
- Adhesive glue dots: These are the secret weapon of this project! Glue dots are small, pre-formed dots of adhesive that are incredibly easy to apply and provide an instant, strong bond. They come in various sizes – opting for a medium or small size will give you the classic “dot” effect. Their mess-free nature is a huge advantage over liquid glues, making the process much cleaner and quicker.
Simple Steps to Sparkling Easter Eggs:
Get ready for a surprisingly straightforward crafting session. This method is so intuitive, you’ll wonder why you haven’t tried it before!
Step 1: Prepare Your Eggs and Workspace
Before you begin, ensure your hard-boiled eggs are completely dry and at room temperature. A clean, dry surface is essential for the glue dots to adhere properly. Lay down some newspaper or a craft mat to catch any stray glitter – glitter has a way of getting everywhere, but with this method, we aim to minimize it!
Step 2: Place Adhesive Glue Dots on Your Hard-Boiled Egg
This is where you start designing! Take one adhesive glue dot at a time and carefully place it onto your hard-boiled egg. You can create various patterns: a random scattering for an organic look, neat rows for a structured design, or even larger clusters of dots for a more pronounced sparkle. Press each dot firmly onto the egg to ensure good adhesion. The beauty of glue dots is their immediate stickiness, allowing you to move quickly from one dot to the next. Feel free to use different sizes of glue dots to add dimension to your designs.
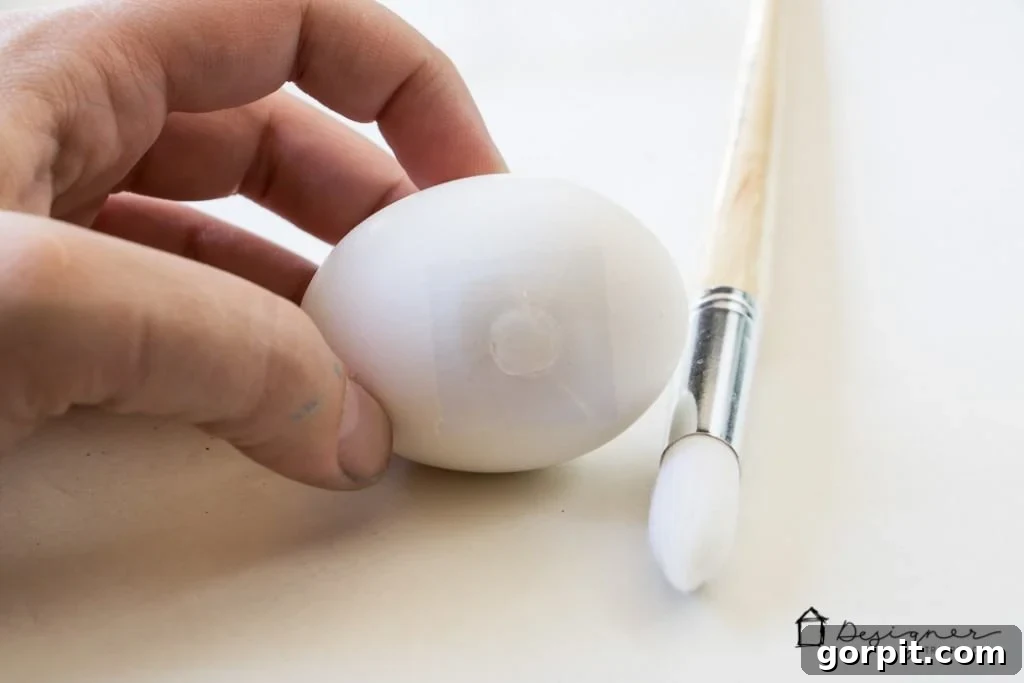
Step 3: Peel the Backing and Apply Glitter
Once your glue dots are in place, gently peel the protective backing off each dot. You’ll notice the sticky surface is now exposed. Now for the fun part! Dip your artist’s brush into your chosen glitter color. Using the brush, carefully dab, sprinkle, or gently spread the glitter directly onto the exposed glue dot. The glue dot will instantly grab the glitter, creating a vibrant, sparkling circle. Ensure the entire surface of the glue dot is covered for maximum sparkle. You can use different glitter colors for different dots to create a multi-colored masterpiece!
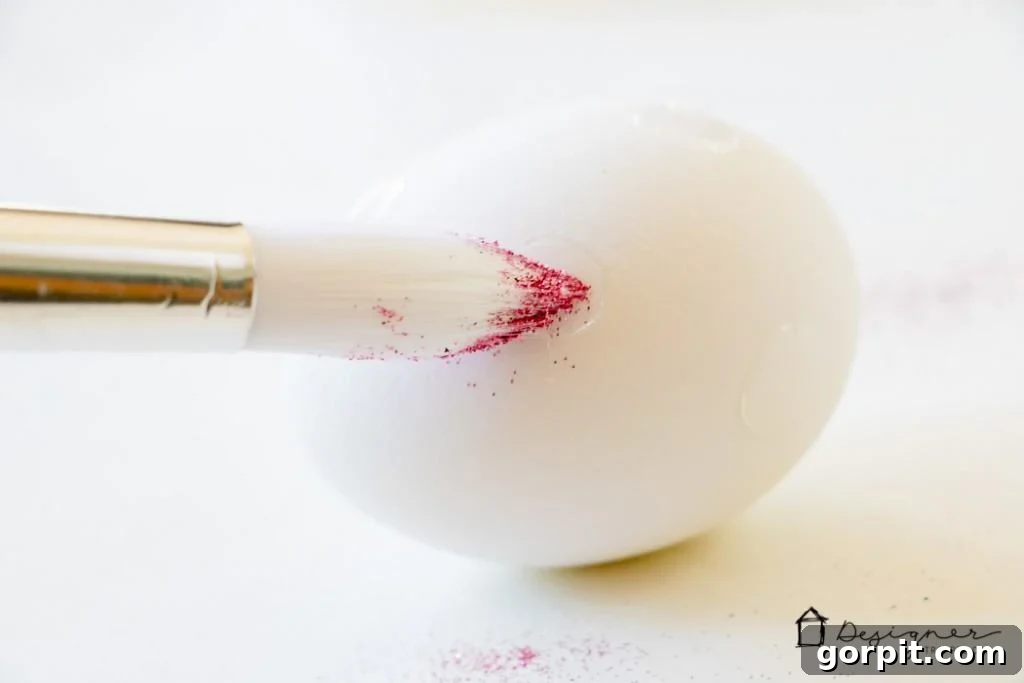
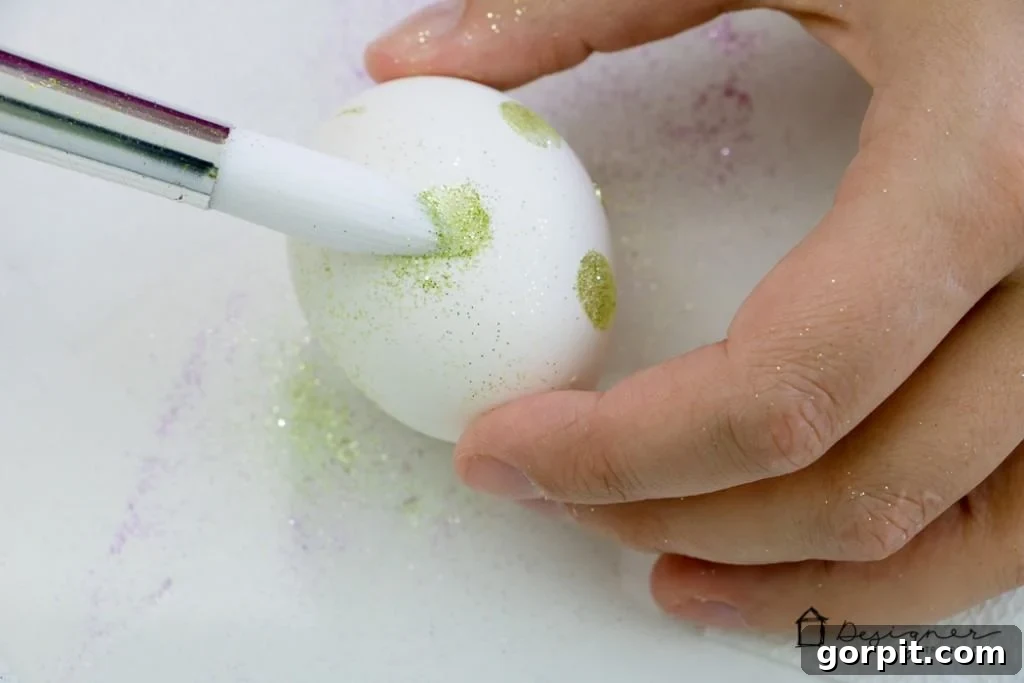
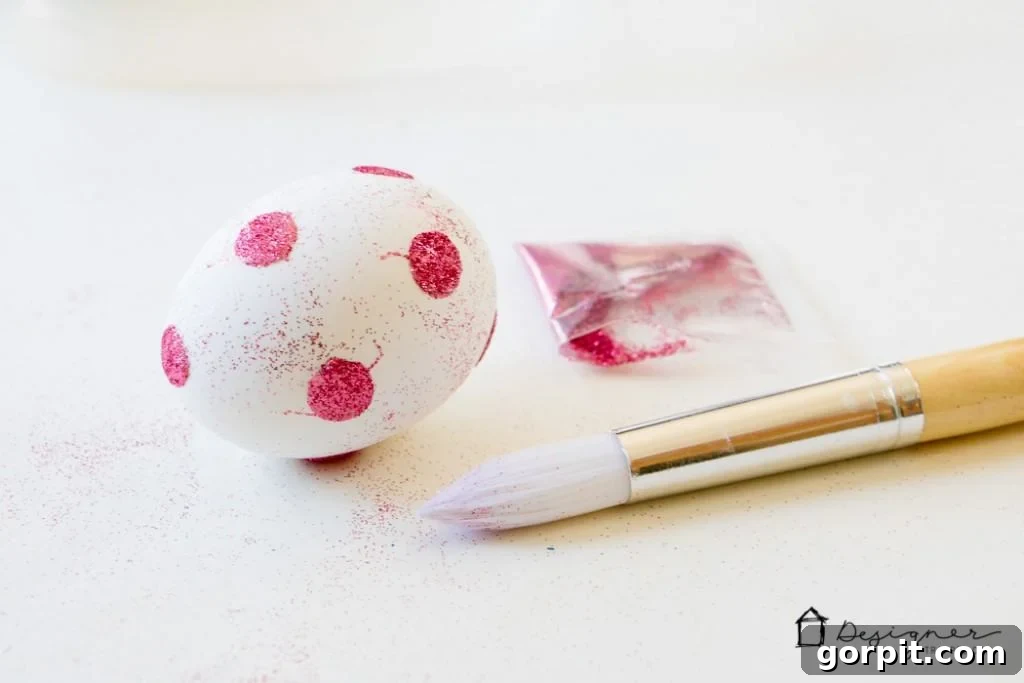
Step 4: Wipe Away Any Excess Glitter
After all your dots are covered with glitter, gently tap the egg to dislodge any loose particles. You can also use a clean, dry, soft brush (a larger, fluffy makeup brush works wonderfully for this!) to carefully sweep away any excess glitter from the egg’s surface. This step ensures that your dots remain crisp and distinct, and the overall egg design looks clean and polished. Don’t worry if a few stray glitters remain; a little extra sparkle never hurt anyone!
THAT’S IT! Seriously, it’s that simple. My girls, Attley and Avery, were absolutely smitten with their sparkly creations. The joy on their faces as they saw the glitter transform plain eggs into dazzling gems was truly priceless. What do you think of this super easy and incredibly cute Easter egg decorating method?
Tips for Success and Creative Variations:
- Kid-Friendly Crafting: This project is fantastic for kids of almost any age! For younger children, pre-place the glue dots and let them handle the glitter application with supervision. Older kids can take full creative control, experimenting with different patterns and color combinations. Always supervise children when handling small craft supplies.
- Varying Glitter Types: Don’t limit yourself to just one type of glitter! Mix fine glitter with chunky glitter for varied textures. Try holographic glitter for an extra magical touch, or iridescent glitter for a subtle shimmer.
- Pattern Play: Get creative with your dot placement. Instead of random dots, try creating stripes, spirals, or even initial letters using the glue dots as a guide. You can also create ombre effects by using shades of glitter from light to dark.
- Mixing Adhesives (with caution): While glue dots are perfect for distinct dots, you could also use a thin layer of liquid craft glue (like Mod Podge) and sprinkle glitter over larger areas for a different effect. Just be aware that liquid glue can be messier and requires drying time.
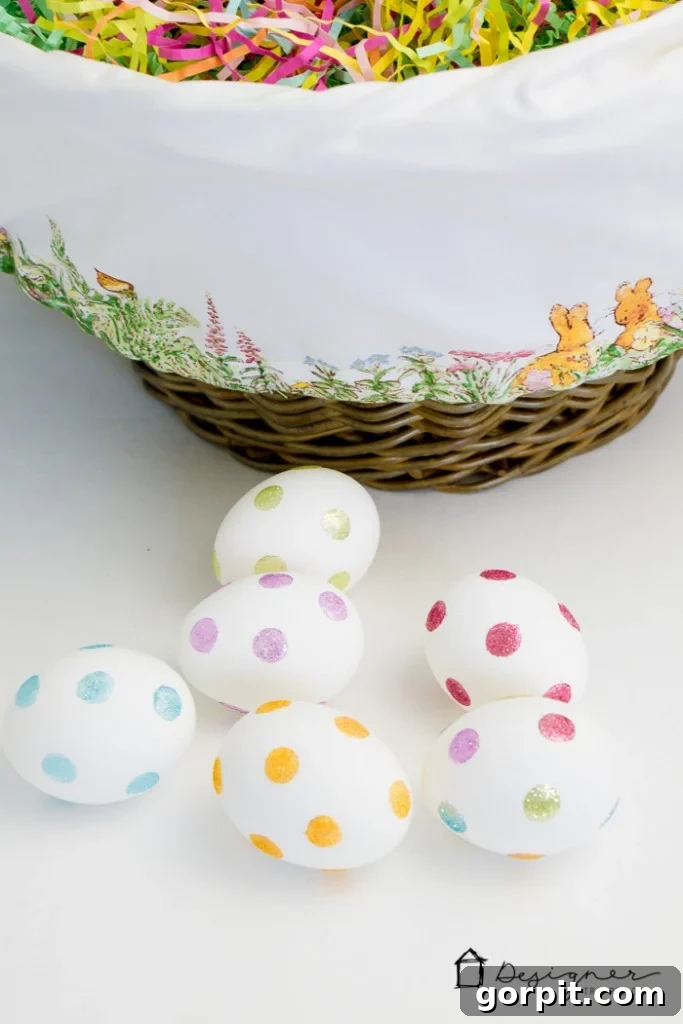
- Displaying Your Masterpieces: Once your glitter eggs are complete, showcase them proudly! Arrange them in an Easter basket with faux grass, place them in a decorative bowl as a centerpiece, or use them to adorn an Easter tree. If using real eggs, remember they are perishable and should not be left out indefinitely. For long-lasting decor, use craft eggs.
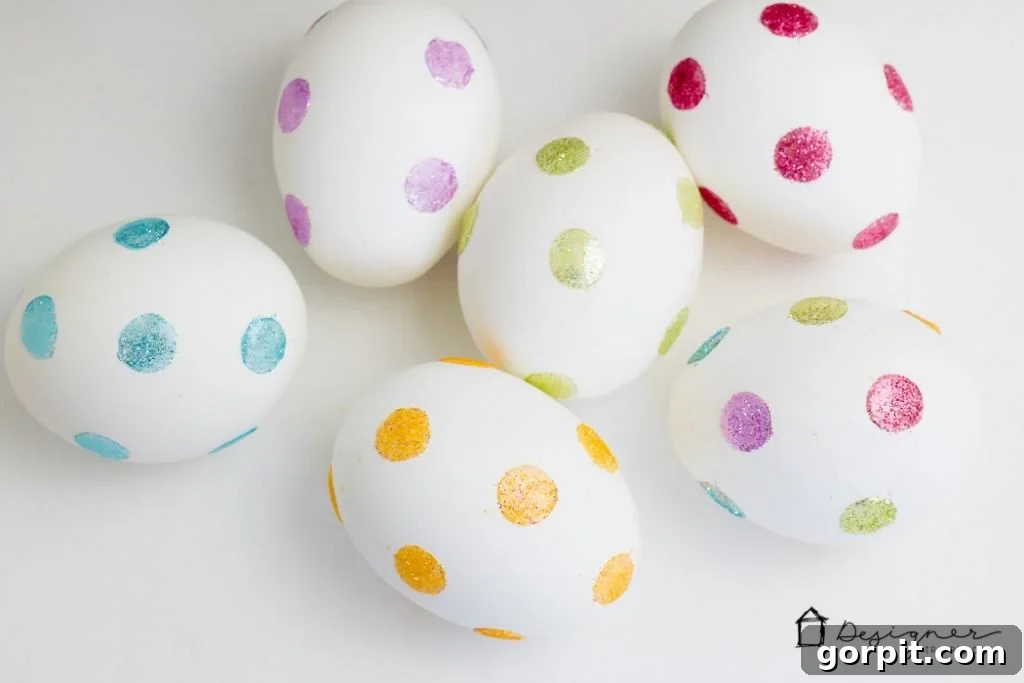
Why Choose Glitter Dots Over Traditional Dyeing?
While traditional egg dyeing holds a nostalgic charm, the glitter dot method offers several compelling advantages, especially for busy families or those seeking a cleaner alternative:
- Minimal Mess: No more stained fingers, countertops, or clothing from colorful dyes. Glitter dots are remarkably clean to work with.
- Instant Gratification: There’s no waiting for dye to set or eggs to dry. The glitter adheres instantly, allowing for immediate enjoyment of your finished creations.
- Kid-Friendly: The process is simple enough for even young children to participate, fostering creativity and fine motor skills without the frustration often associated with delicate dyeing techniques.
- Stunning Results: The sparkle and texture of glitter create a unique, eye-catching aesthetic that stands out from traditionally dyed eggs.
- Versatility: Easy to combine with other decorating methods like drawing with markers or applying stickers for even more elaborate designs.
If you loved this fun and easy Easter egg decorating idea, be sure to pin it to your favorite Pinterest board so you can easily refer back to it next year, or whenever inspiration strikes! And before you hop away, don’t miss out on these other fantastic Spring and Easter projects designed to add charm and joy to your home.
Other Posts You May Enjoy for Spring & Easter Inspiration:
Looking for more creative ways to celebrate the season? Explore these popular articles:
- Easy Dotted Sharpie Easter Eggs: Discover another mess-free method for decorating eggs using colorful Sharpie markers to create intricate dot patterns.
- My Favorite DIY Easter Decorations + More: A comprehensive guide to various DIY crafts and decor ideas to make your home festive for Easter.
- Easter Egg Carrot Cupcakes: A delicious and adorable baking project, perfect for an Easter treat that’s both fun to make and eat.
- Personalized Easter Mason Jars: Learn how to create charming, customized mason jars that make wonderful gifts or decorative accents for the holiday.
- Easter Basket Gift Ideas: Get inspired with unique and thoughtful gift ideas to fill your Easter baskets for everyone in the family.
Wondering how I approach transforming rooms and spaces in our home, making interior design accessible and enjoyable for everyone? Check out my signature system, Designer in a Binder®. It’s the affordable and simple way to decorate your home like a pro!
And for exclusive content, behind-the-scenes sneak peeks into my latest projects, and decorating tips delivered straight to your inbox, be sure to subscribe before you head out! Join our community and never miss another creative idea.