Crafting Custom Curtains: An Easy DIY Tutorial for Stunning Home Decor
Have you ever struggled to find the perfect curtains that truly complete your room’s aesthetic? It’s a common dilemma. Many of us know the frustration: you fall in love with a fabric or pattern, but it doesn’t come in the right length, leaving your windows looking unfinished. Or perhaps you find the ideal length, only to discover the price tag is exorbitant, or the fabric quality just isn’t what you envisioned. Standard retail options often fall short, with limited sizes (seriously, what’s with only 84-inch lengths dominating the market?) and uninspiring selections.
But what if you could bypass these challenges entirely? Imagine creating custom curtains that perfectly match your decor, fit your windows flawlessly, and don’t break the bank. You don’t need to be a seasoned seamstress to achieve professional-looking results. In this comprehensive guide, I’m here to show you how to make curtains the easy way, empowering you to infuse your home with personalized style and save money in the process!
This post contains some affiliate links for your convenience. Please click here to read my full disclosure policy.
Why DIY Curtains Are Your Best Solution
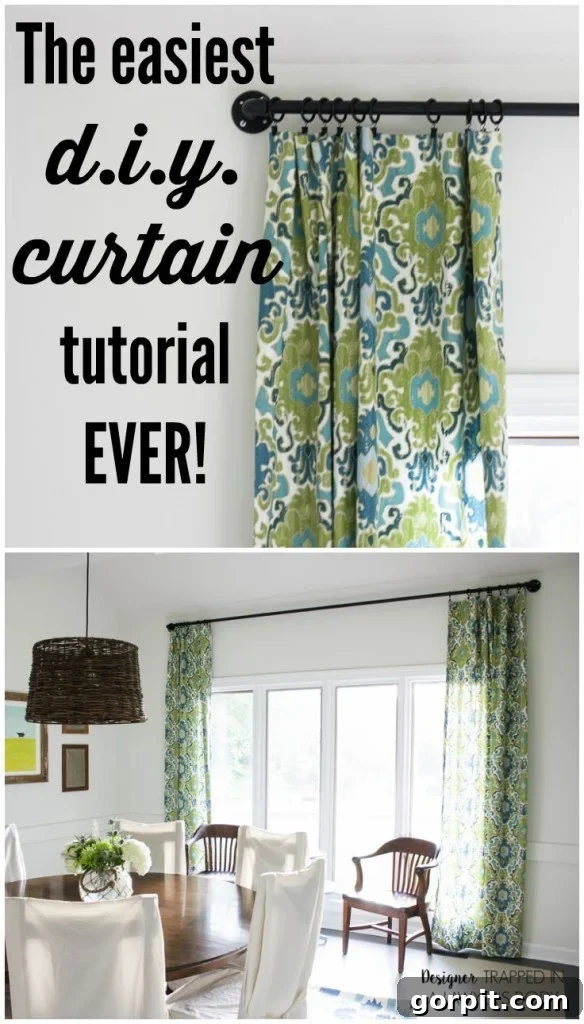
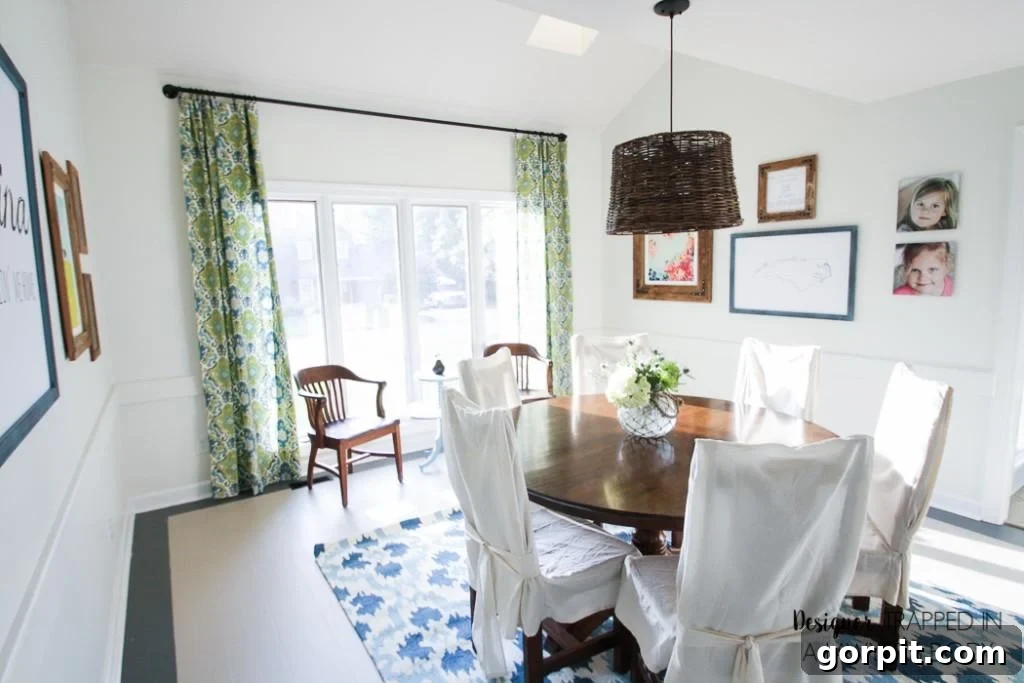
When it came time to select curtains for our recently redecorated dining room, I faced the familiar struggle. I needed panels that were precisely 104 inches long – a length almost impossible to find in stores without opting for expensive custom orders. After countless unsuccessful searches, I decided to take matters into my own hands. I stumbled upon the perfect fabric at Joann Fabrics while shopping for another project, and a lightbulb went off: I could sew them myself! While I don’t consider myself a sewing enthusiast, my new sewing machine has made the process far less daunting than it used to be. The decision to DIY meant I could achieve the exact look and fit I desired without compromising on budget or style.
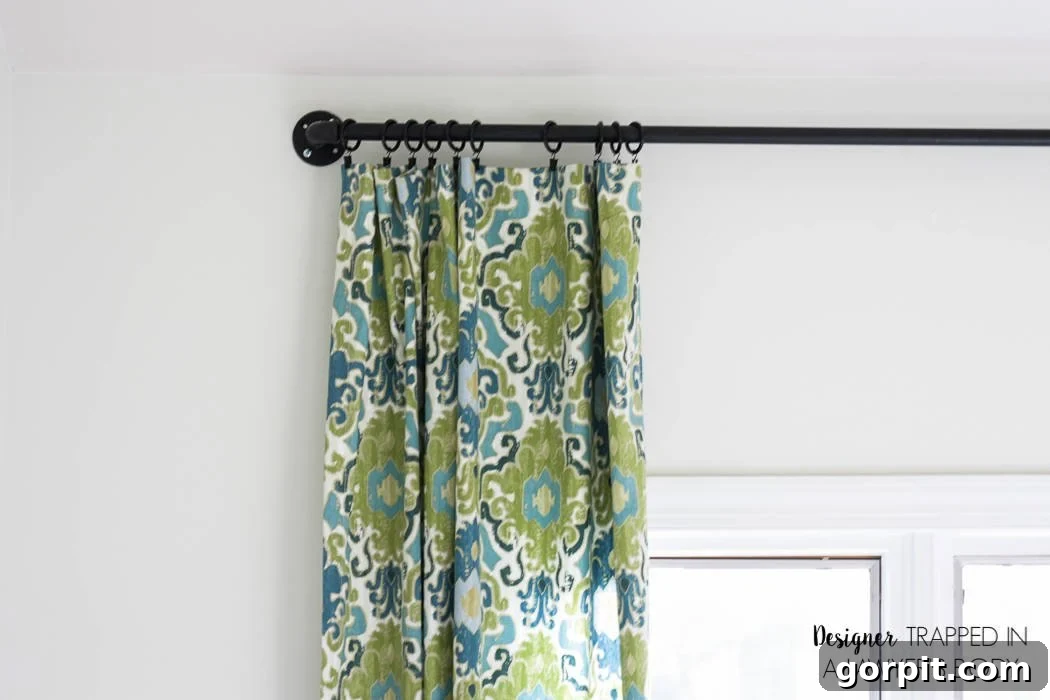
The beauty of this project lies in its simplicity. I kept the sewing to an absolute minimum, opting for straightforward 1/2-inch hems on all four sides of each curtain panel. The choice to hang the curtains with drapery rings and clips eliminated the need for complex rod pockets, grommets, or back tabs, further simplifying the process. This method is so easy, in fact, that you can even make these curtains without any sewing at all! Simply substitute a sewing machine for iron-on hem tape, and you’re good to go.
The Golden Rule of Curtain Hanging: Elevate Your Windows
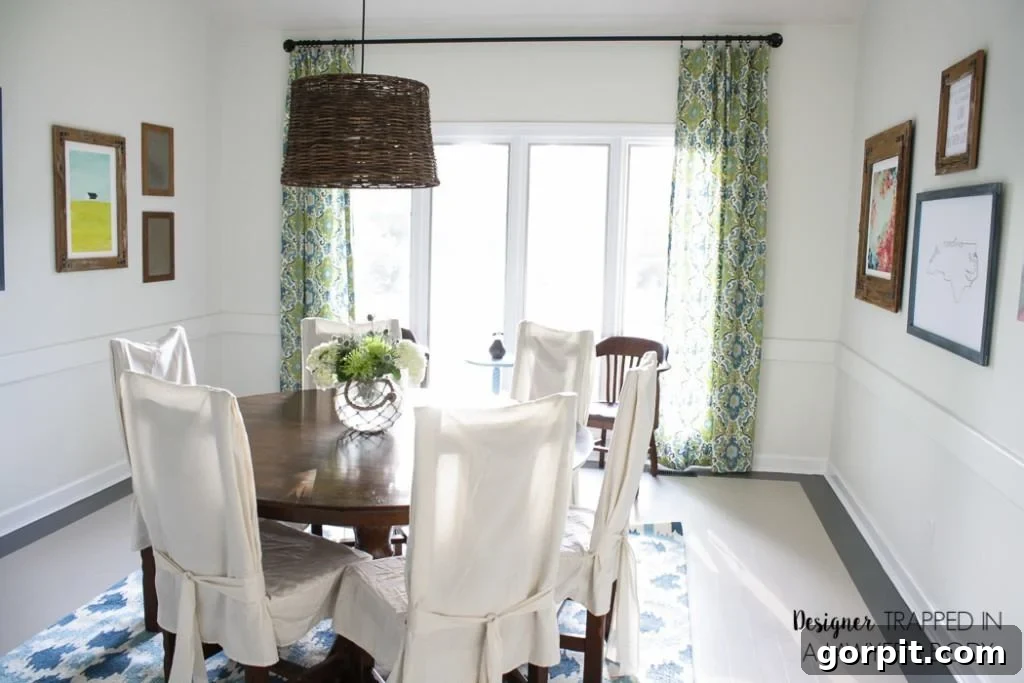
Before we dive into the tutorial, let’s address a crucial design principle that can dramatically impact the look of your room: how you hang your curtains. I firmly believe that curtains should be hung as close to the ceiling as possible, and they should extend beyond the outer frame of the window. This simple trick makes your windows appear larger and taller, creating a grander, more expansive feel in the room. Avoid the common mistake of hanging curtains directly on the window frame or just above/beside it, as this can visually shrink your windows and make the room feel smaller.
Essential Supplies for Your DIY Curtain Project:
Gathering your materials is the first step towards your beautiful new curtains. Here’s what you’ll need:
- Fabric: Choose a fabric that complements your existing decor and suits the function of the room. I found the ideal fabric for my dining room at Joann Fabrics. For two panels that needed to be 104 inches long, and considering the fabric was 54 inches wide, I purchased 6 yards. Always calculate your fabric needs carefully: (desired finished length + top hem allowance + bottom hem allowance) x number of panels. Remember to pre-wash your fabric if it’s washable to account for any shrinkage before cutting.
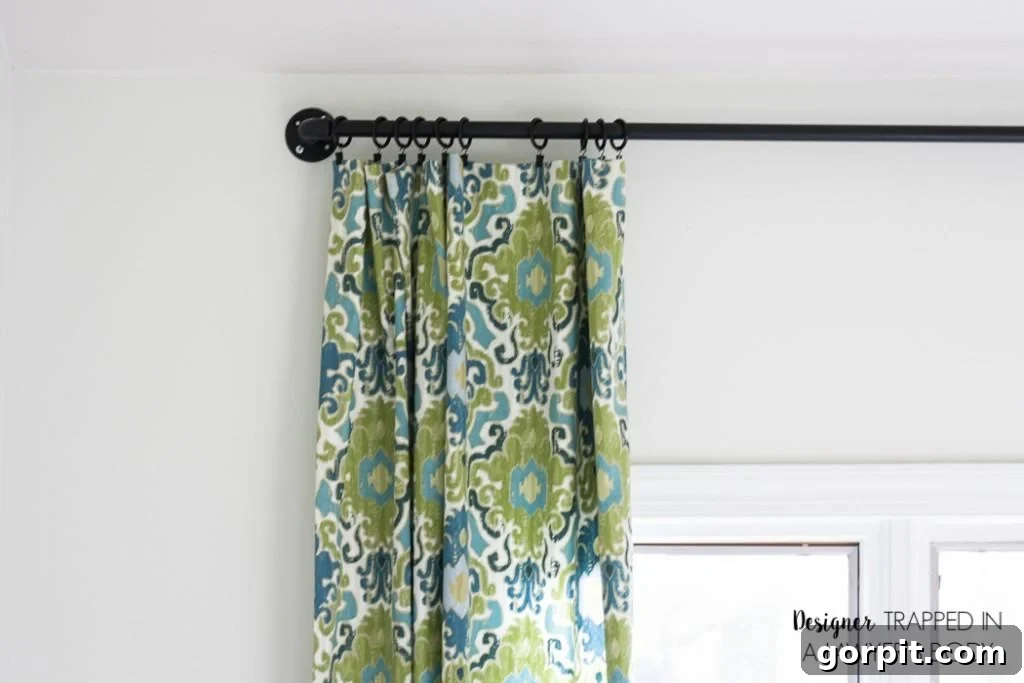
- Drapery Rings and Clips: These are key to the “easy way” method, allowing for simple hanging and smooth gliding of your curtains. Ensure you have enough clips to evenly space along the top of each panel, typically one clip every 4-6 inches.
- Sewing Machine and Thread OR Iron-On Hem Tape: Your choice depends on your preference and skill level. If you’re sewing, a basic machine is all you need. This is my exact sewing machine – it’s incredibly user-friendly and sews like a dream, making it perfect for beginners or those (like me!) who don’t love fussing with complex machines. If you prefer a no-sew option, high-quality iron-on hem tape will create durable, clean edges.
- Fabric Scissors: Sharp scissors are essential for clean, straight cuts, which are fundamental for professional-looking hems.
- Iron and Ironing Board: Ironing at each stage is non-negotiable for crisp, professional hems, whether you’re sewing or using hem tape. Don’t skip this step!
- Measuring Tape or Yardstick: For accurate measurements of your fabric.
- Straight Pins (Optional but Recommended for Sewing): To hold hems in place before sewing.
How to Make Curtains: A Step-by-Step Tutorial
Let’s get started on creating your gorgeous custom curtains!
Step 1: Prepare and Cut Your Fabric Panels
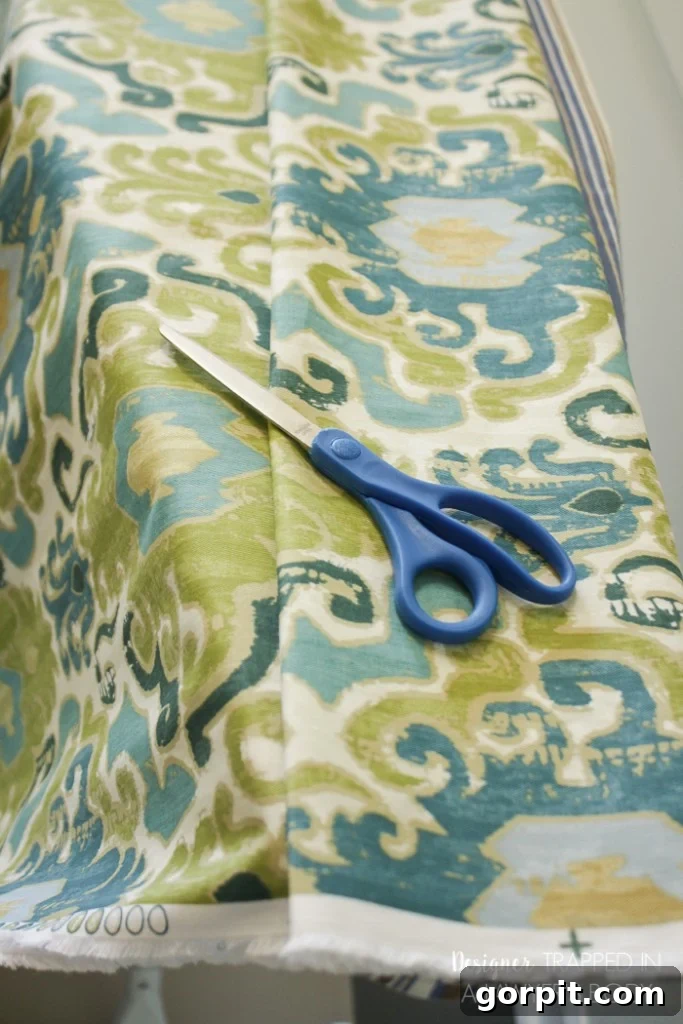
Before you begin, ensure your fabric is pre-washed (if applicable) and thoroughly ironed to remove any wrinkles or creases. This ensures your final curtains will maintain their shape and size. Since my panels needed to be the exact same size and my fabric was already 54 inches wide (which was the desired width for my panels), I simply folded the entire length of the fabric in half lengthwise. This allowed me to cut both panels simultaneously, using the fold as a perfectly straight guide. Measure the exact length you need for each panel (104 inches in my case), adding approximately 2 inches for top and bottom hems (a 1-inch double fold for each). Mark your cutting line clearly across the folded fabric and carefully cut to ensure straight edges. Precision here will pay off in the final look.
Step 2: Create and Press the Side Hems
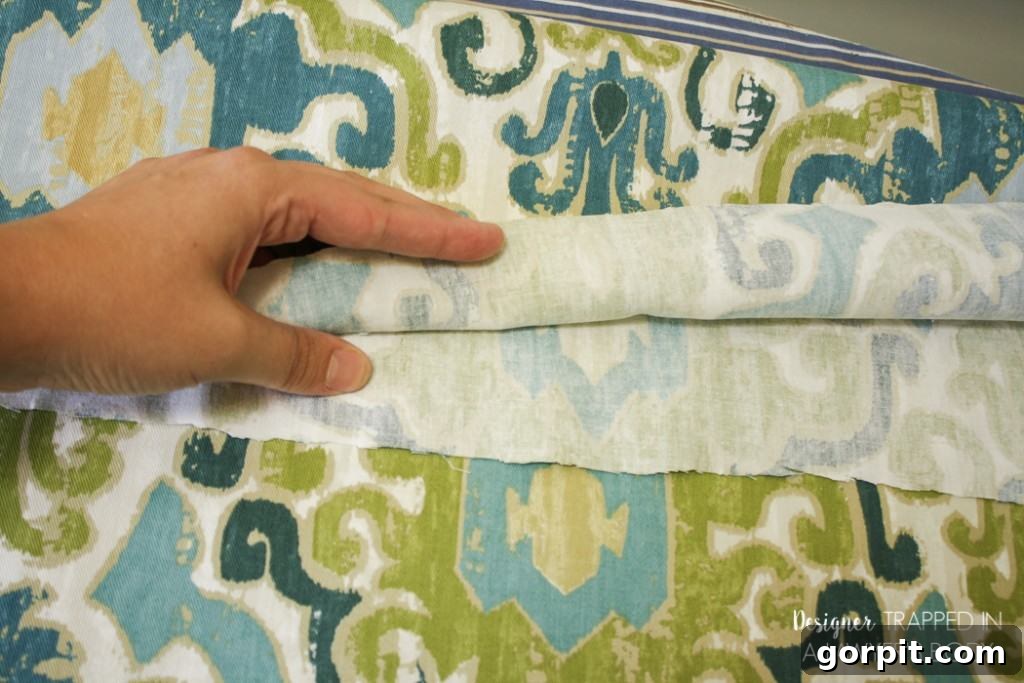
We’ll start with the two long edges of your curtain panel. Take one long edge and fold it over approximately 1/2 inch towards the wrong side of the fabric. Press this fold flat with your iron. This initial fold creates a clean edge and helps prevent fraying. Next, fold it over again, another 1/2 inch, enclosing the raw edge completely. Press this second fold flat as well. This double-fold technique results in a perfectly finished, durable hem. The key to crisp hems is consistent pressing at each stage. Repeat this process for the other long edge of your curtain panel.
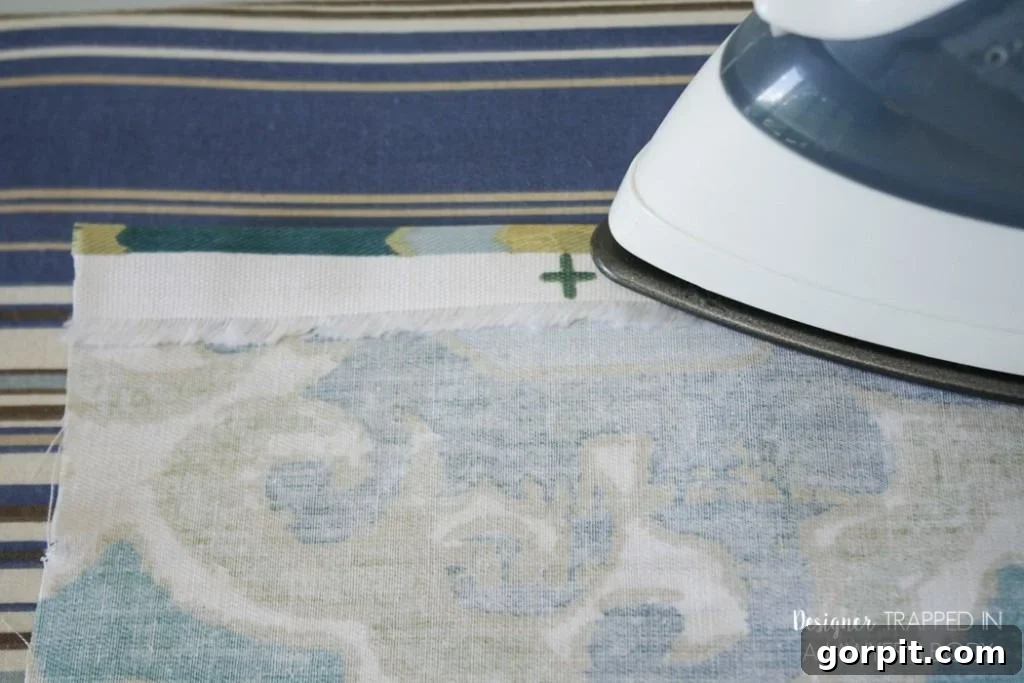
After making this second fold, you will have a perfect, finished edge that’s ready for stitching or bonding. If you are using iron-on hem tape, this is when you’ll incorporate it: place your hem tape under the second fold before ironing it flat. Be sure to follow the instructions on the hem tape package precisely regarding iron temperature and the length of time needed to bond the tape effectively.
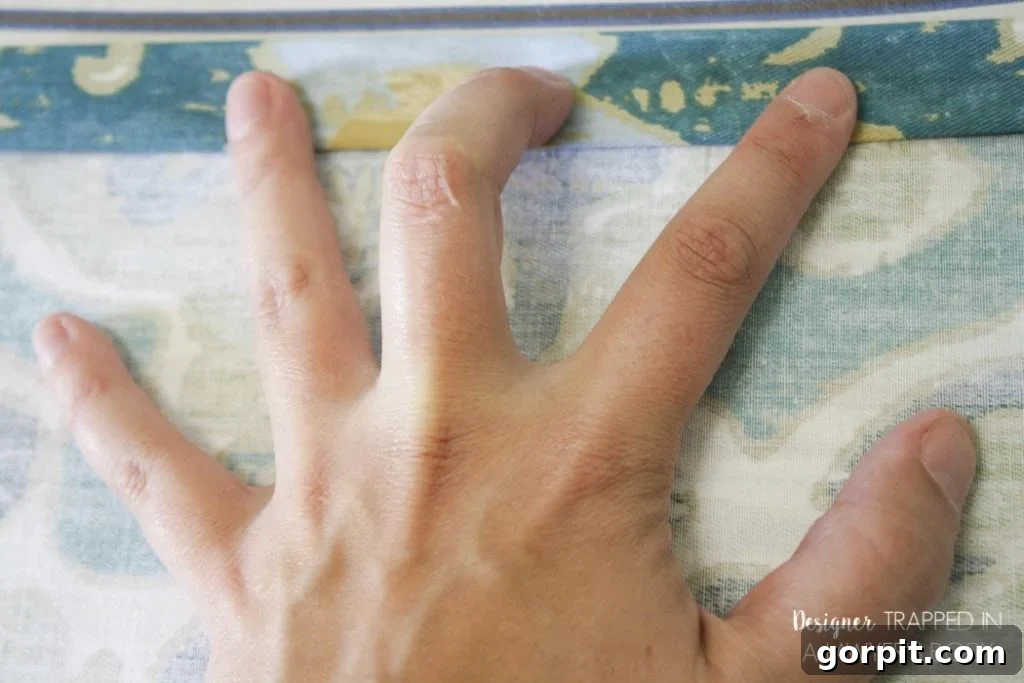
Step 3: Secure the Side Hems (Sewing or No-Sew)
If you’re sewing, carefully stitch the ironed hems of the two long edges into place. Use a basic straight stitch, ensuring you backstitch at the beginning and end of each seam to secure the thread. Maintain an even distance from the folded edge for a clean, consistent look. If you’re using iron-on hem tape, activate it by pressing firmly with your iron according to the manufacturer’s directions, ensuring the bond is secure along the entire length of both side hems.
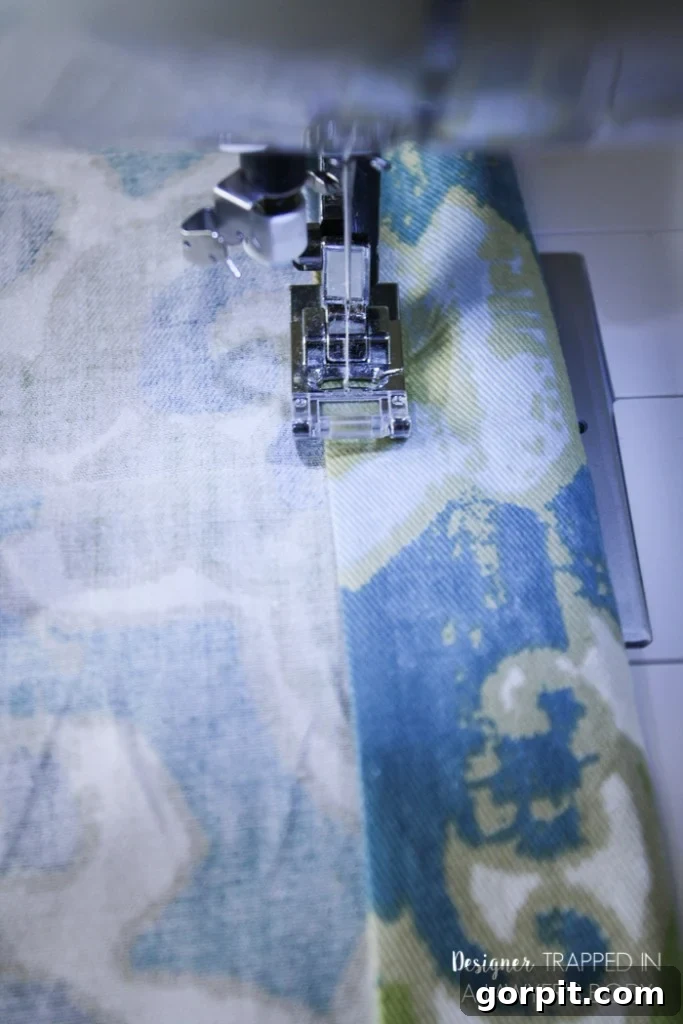
Step 4: Create and Secure the Top and Bottom Hems
Now, repeat steps 2 and 3 for the top and bottom edges of your curtain panel. Again, fold the raw edge over by 1/2 inch, press flat, then fold it over another 1/2 inch to enclose the raw edge, and press flat. This creates the same clean, finished edge as the sides. If sewing, stitch these hems into place. If using hem tape, apply and activate it as you did for the side hems. Ensure all hems are securely finished before moving to the final step.
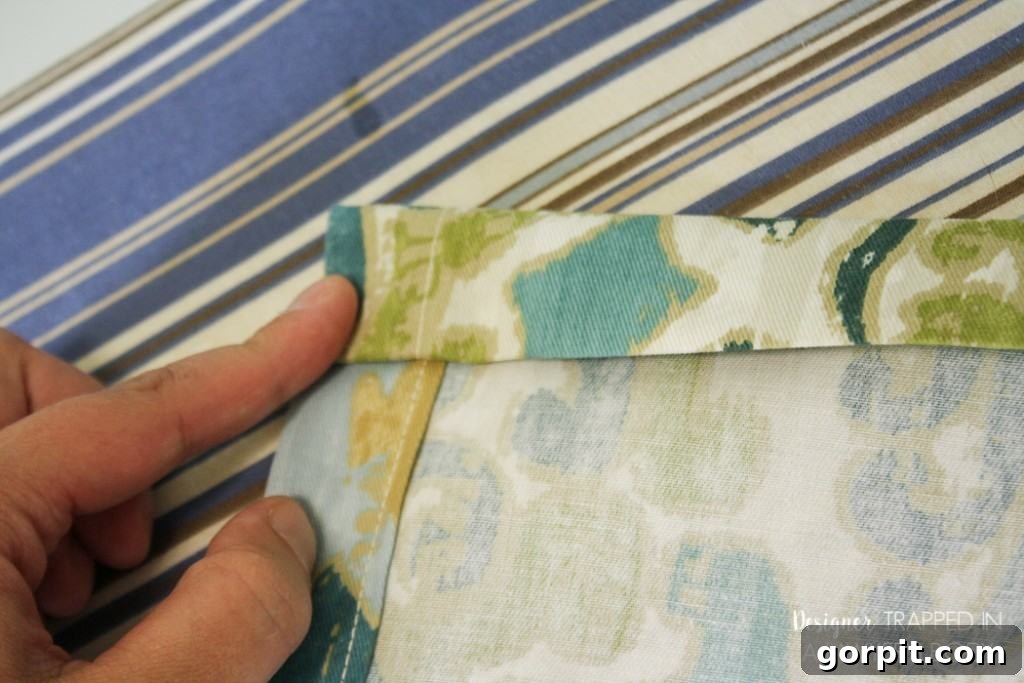
Step 5: Add Drapery Clips and Hang Your Beautiful Panels!
With all your hems complete, the hardest part is over! Now it’s time for the exciting reveal. Attach your drapery clips evenly along the top hem of your finished curtain panel. Space them out consistently, usually 4-6 inches apart, to ensure the fabric drapes beautifully without sagging. Once the clips are attached, simply hook them onto your curtain rod. Stand back and admire your beautiful new custom curtains!
Embrace Your Inner Designer!
See? That wasn’t so bad, was it? You’ve just created beautiful, custom-length curtains that perfectly fit your home, all without the usual hassle or exorbitant cost. For me, these long panels cost right around $60.00 for the pair, which is an incredible deal for custom-sized window treatments. This project is not only budget-friendly but also incredibly rewarding. Do you feel ready to tackle this project and transform your windows?
I encourage you to give this easy curtain tutorial a try. It’s a fantastic way to add a personal touch to your home decor and enjoy the satisfaction of a DIY accomplishment. Before you head out, be sure to explore all the details of our complete dining room makeover for more inspiration.
If you enjoyed this simple yet impactful project, you might also be interested in our other creative curtain and pillow tutorials:
|
|
|
|