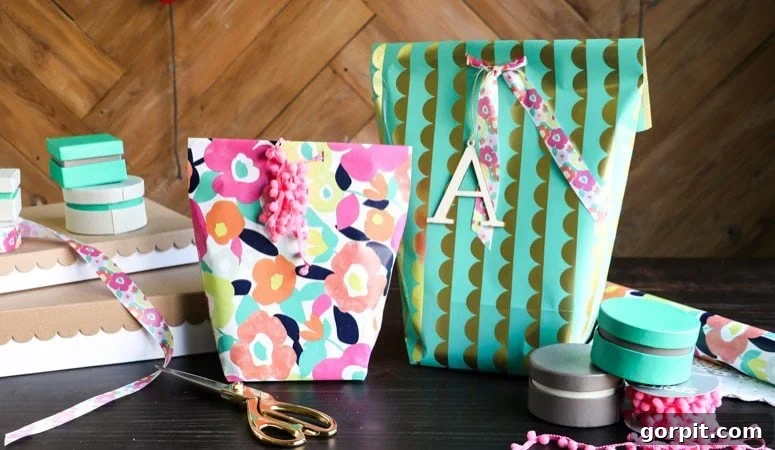
Do you often find yourself in a gift-wrapping dilemma, staring at an awkwardly shaped present with no idea how to neatly enclose it? Or perhaps you’ve realized at the last minute that you’re out of gift bags, and a trip to the store just isn’t feasible. Fret no more! Discover the simple, satisfying solution of crafting your very own DIY gift bags from wrapping paper. These homemade gift bags are not only incredibly easy to create but often possess a unique charm that store-bought options simply can’t match. This comprehensive guide will walk you through the process of how to make a gift bag from wrapping paper, transforming your gifting experience with a few straightforward steps. It’s truly the perfect, personalized, and budget-friendly answer for presenting even the most unusually shaped items.
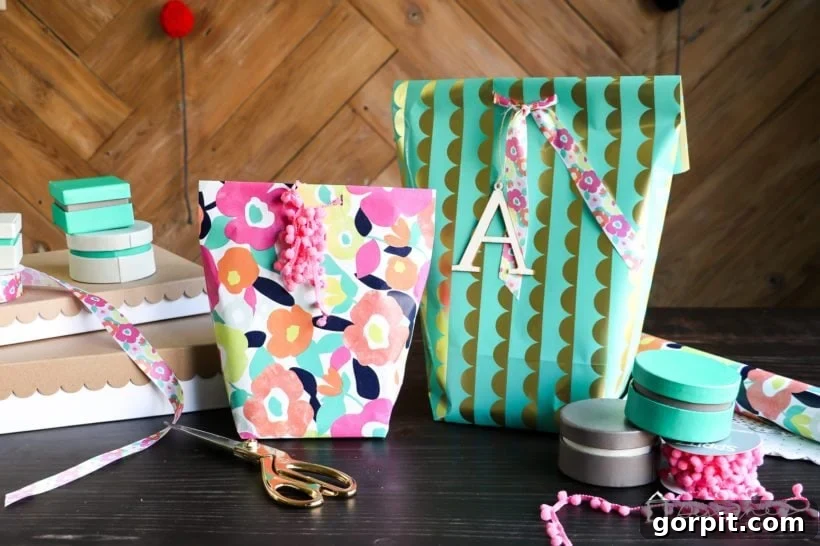
Table of Contents
The inspiration for this ingenious craft struck me around Christmas, as I watched a video—likely from a popular morning show like The Today Show—demonstrating how readily gift wrap could be transformed into a stylish paper bag for presents. I was utterly captivated by the simplicity and brilliance of the concept. It’s a game-changer, especially when you consider the vast array of beautiful wrapping papers available compared to the often-limited selection of unique gift bags in stores. With a stash of gorgeous wrapping paper at hand, the ability to create a custom bag opens up a world of possibilities for truly personalized and heartfelt gift-giving.
This post contains some affiliate links for your convenience. You can read my full disclosure policy here.
How to Make a Gift Bag from Wrapping Paper: A Step-by-Step Guide
If you’re a visual learner, I’ve prepared a concise video tutorial to guide you through making your own DIY gift bag. For those who prefer detailed written instructions, you’ll find a comprehensive step-by-step guide below that covers every fold and tape, ensuring your homemade gift bag turns out perfectly.
Essential Materials Needed to Craft Your DIY Gift Bag
Gathering the right tools before you begin will make the gift bag creation process seamless and enjoyable. The beauty of this project lies in its simplicity, requiring only a few common crafting supplies you likely already have on hand. For a durable and attractive homemade gift bag, focus on quality wrapping paper and strong adhesive.
- Scissors: A sharp pair of scissors will ensure clean cuts, essential for a professional-looking finish on your DIY gift bag.
- Scotch Tape: Opt for a good quality clear tape that offers strong adhesion without being overly visible. This will secure all your folds and seams, creating a sturdy structure for your gift.
- Rectangle Hole Punch: While a standard circle punch works, a rectangle hole punch creates a more polished and professional look for the ribbon handles of your homemade gift bag.
- Ribbon: Choose a ribbon that complements your wrapping paper in terms of color and style. The ribbon will serve as both the handle and a decorative element, adding a touch of elegance to your DIY gift bag.
- Wrapping Paper: This is the star of the show! Select a design and quality that you love. For exceptional results and unique patterns, I highly recommend exploring options from Minted, Etsy, and Rifle Paper Co. Their papers often boast thicker stock, which translates to a more durable and luxurious DIY gift bag.
Detailed Steps to Make a DIY Gift Bag from Wrapping Paper
Follow these easy instructions to create a beautiful and functional gift bag, perfectly tailored to your present. This method is especially great for those tricky items that never quite fit into standard gift boxes or bags.
Time needed: 10 minutes
Craft a personalized gift bag from wrapping paper in just a few simple steps. This DIY project is quick, fun, and perfect for unique gifts!
- Determine the Optimal Amount of Wrapping Paper.
Begin by unrolling your chosen wrapping paper onto a clean, flat surface, such as a large table or the floor. Place the gift you intend to wrap directly on top of the paper. This is your chance to estimate the size of your homemade gift bag. Ensure you have enough paper to completely cover the item, leaving ample excess on all sides for folding and creating the base. A good rule of thumb is to allow at least twice the width of your gift, plus enough height to form the bag and a sturdy bottom. Once you’re confident in your measurements, carefully cut the wrapping paper to the desired size. Precision here will make subsequent steps easier and result in a neater DIY gift bag.
- Fold and Secure the Sides to Form the Bag’s Body.
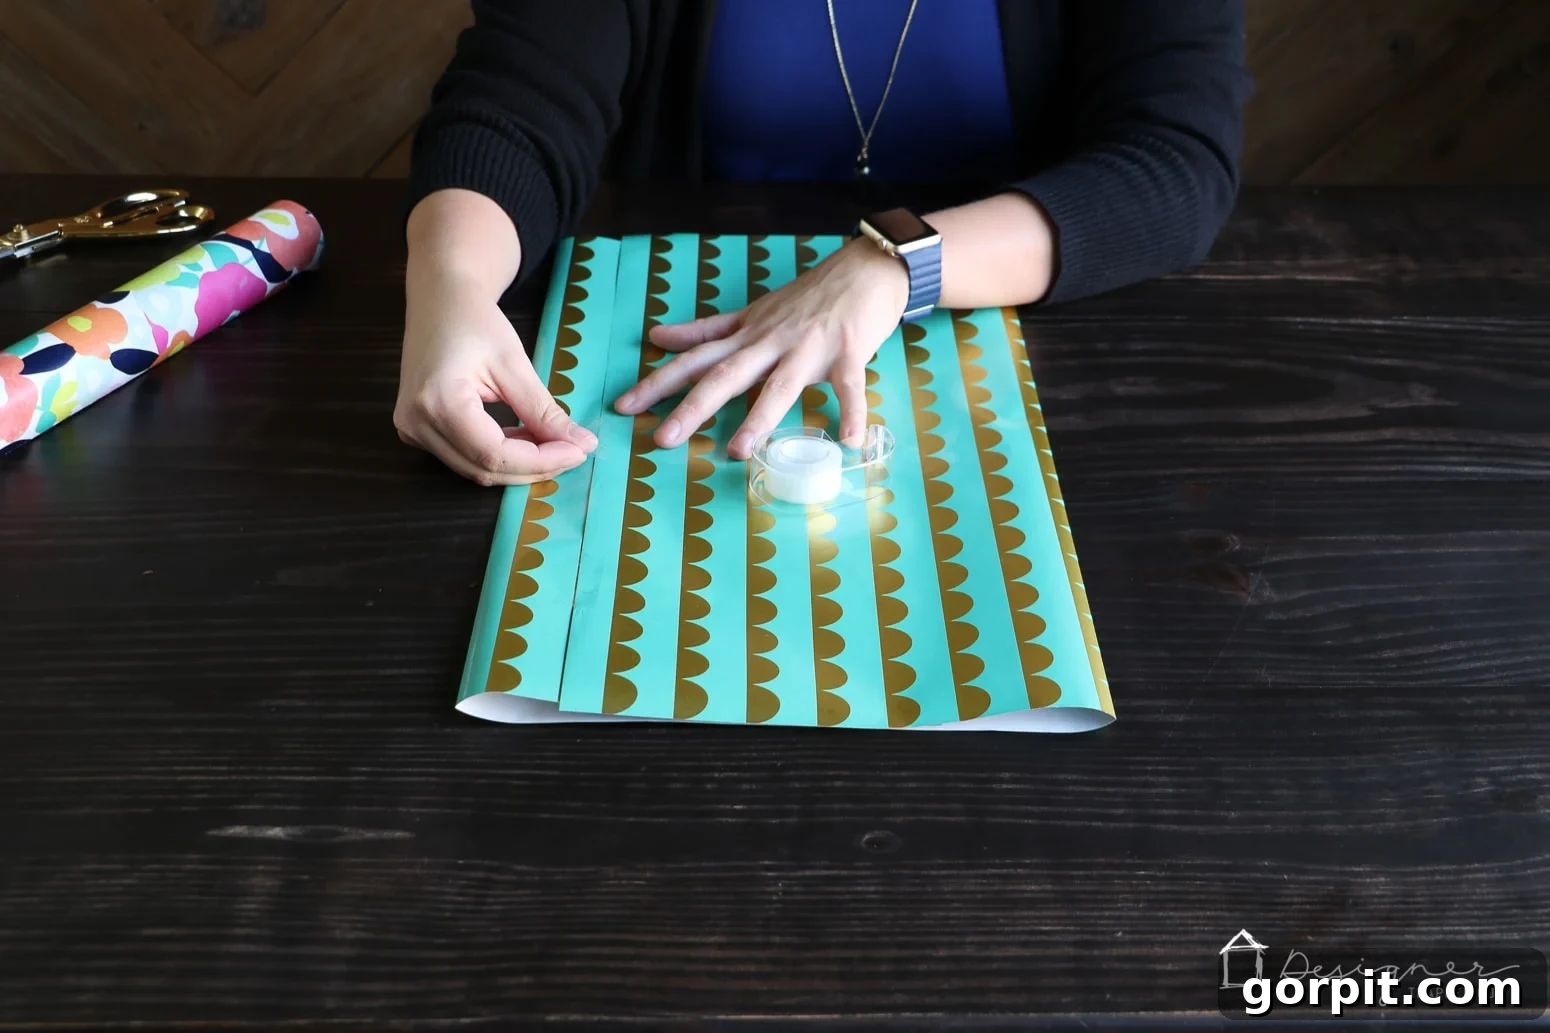
With your cut piece of wrapping paper, lay it face down on your workspace. Take the right side of the paper and fold it inward towards the center. Repeat this with the left side, bringing it to meet the folded right edge. The two sides should overlap slightly in the middle, creating a seam. This overlap is crucial for providing enough surface area to securely tape the edges. Using your Scotch tape, firmly secure this seam along its entire length. Apply tape generously to ensure the sides of your DIY gift bag are well-sealed and won’t come apart. This initial fold establishes the main cylindrical shape of your gift bag. Run your fingers along the fold lines to create crisp creases.

- Create the Base Fold for Your Gift Bag.
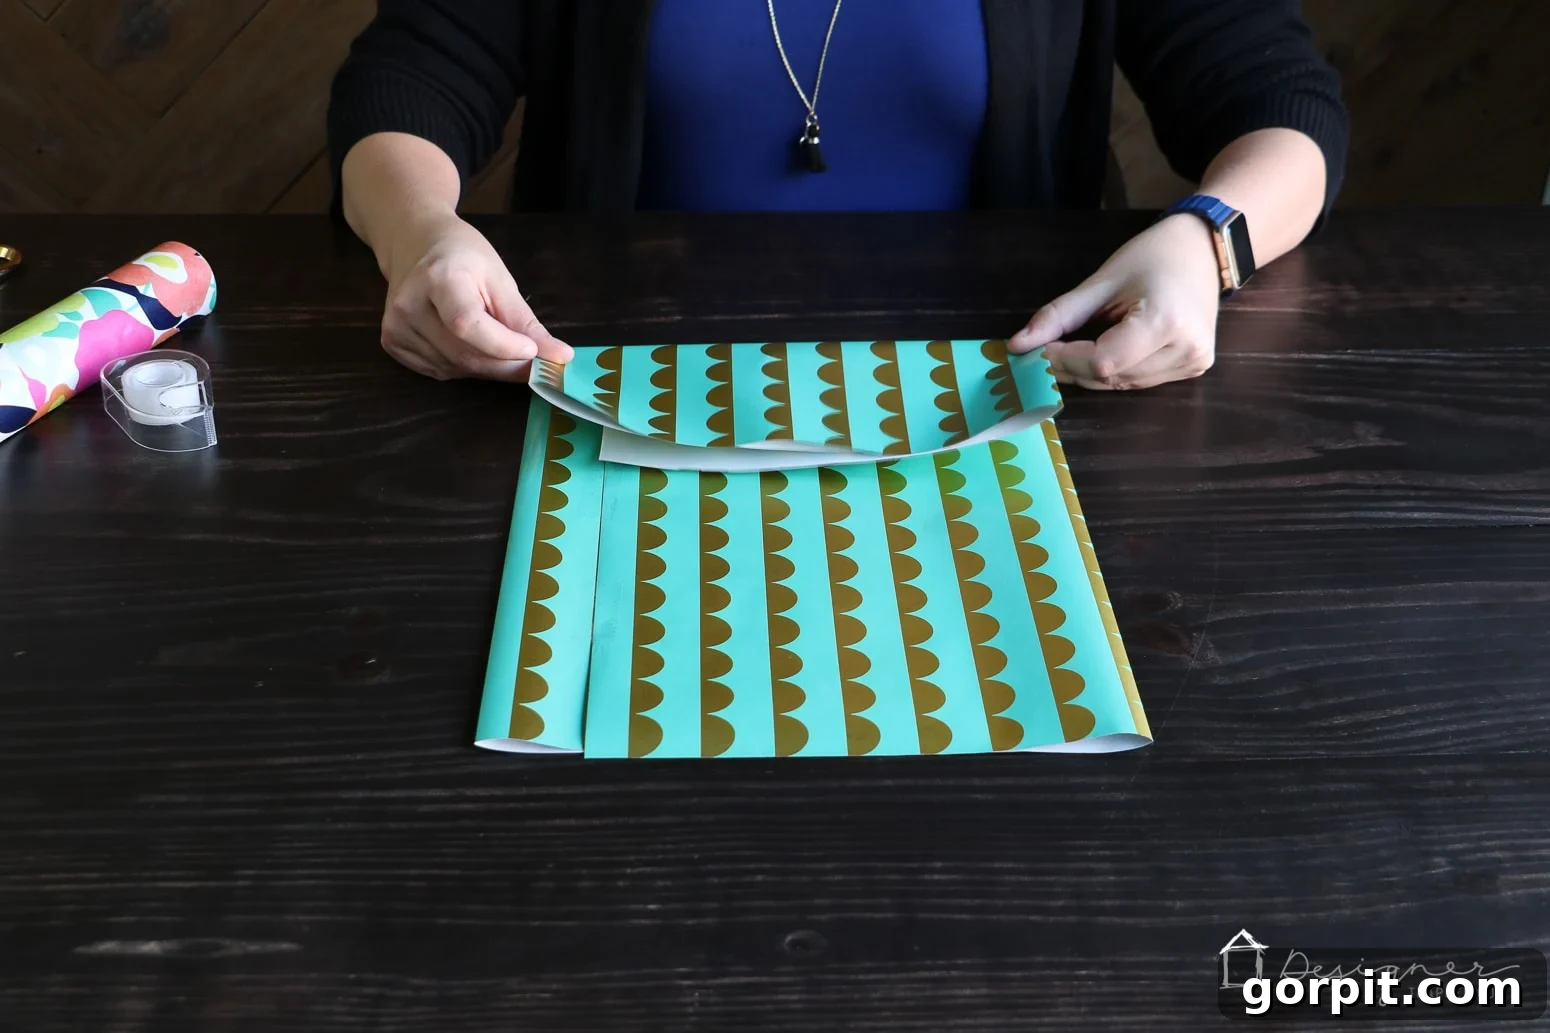
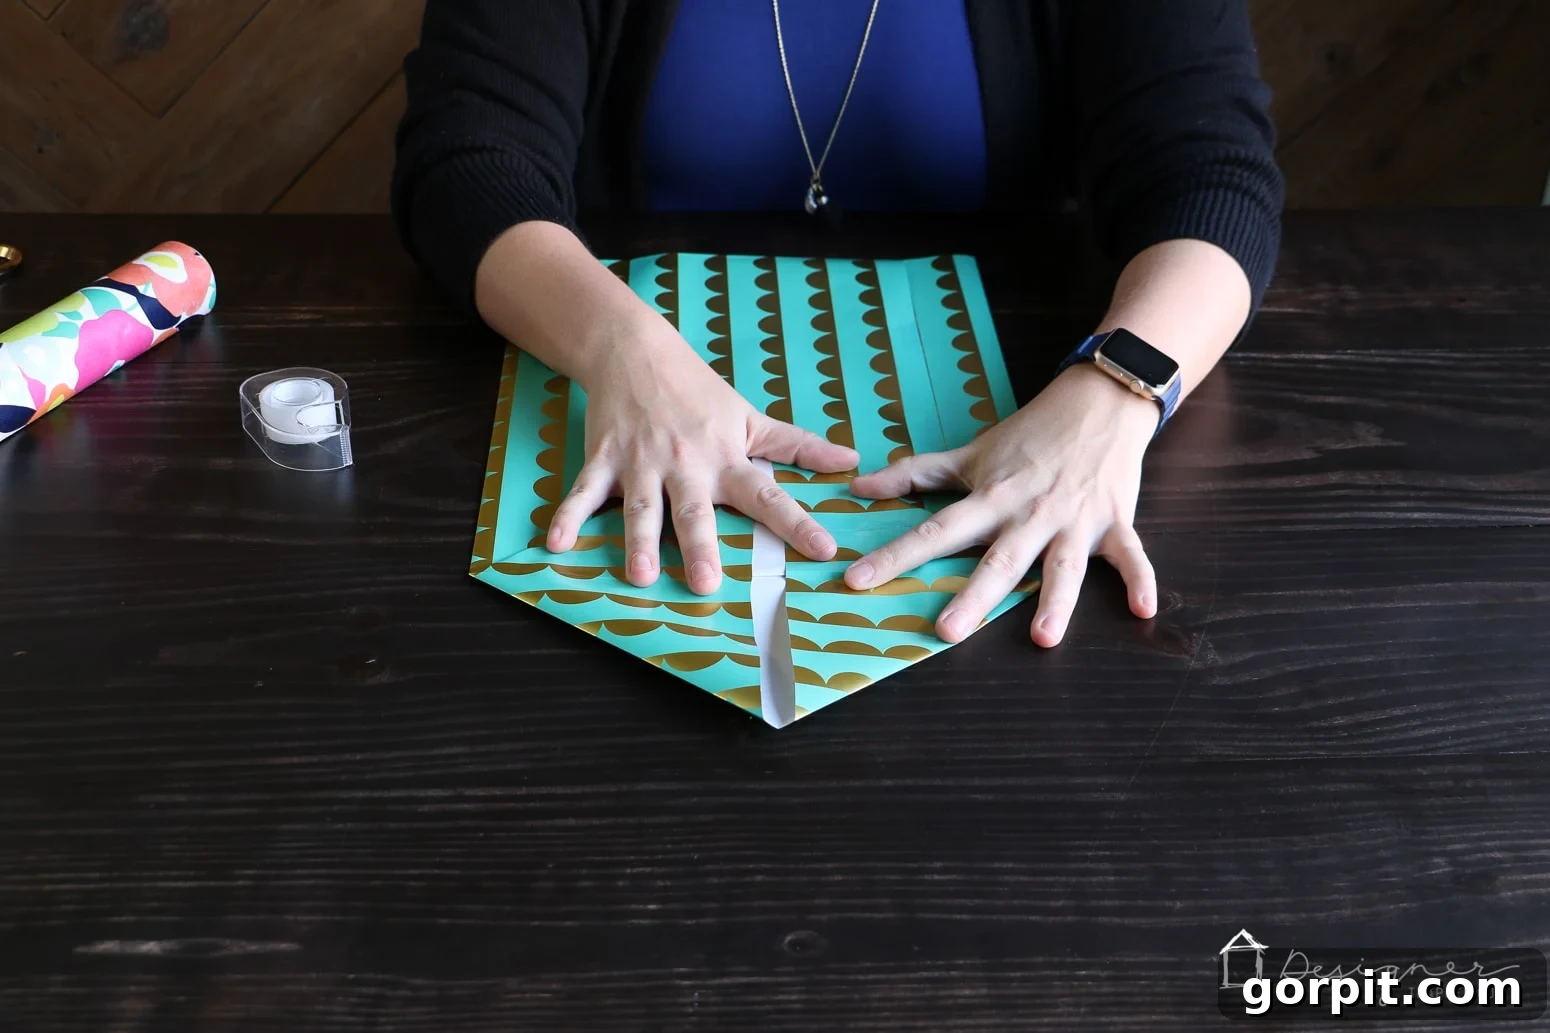
Now it’s time to give your gift bag its foundation. With the taped seam facing down, take the bottom edge of the wrapping paper and fold it upwards. The height of this fold will determine the depth and stability of your finished bag’s bottom. If you have a wider gift, you’ll need a larger fold. For a sturdy DIY gift bag, make sure this fold is substantial enough to support the weight and dimensions of your item. Once folded, press down firmly to create a sharp crease. This fold is critical for the next step, where you’ll shape the bag’s base, so ensure it’s straight and even across the width of the paper.
- Shape the Base into a Triangle (Diamond) Form.
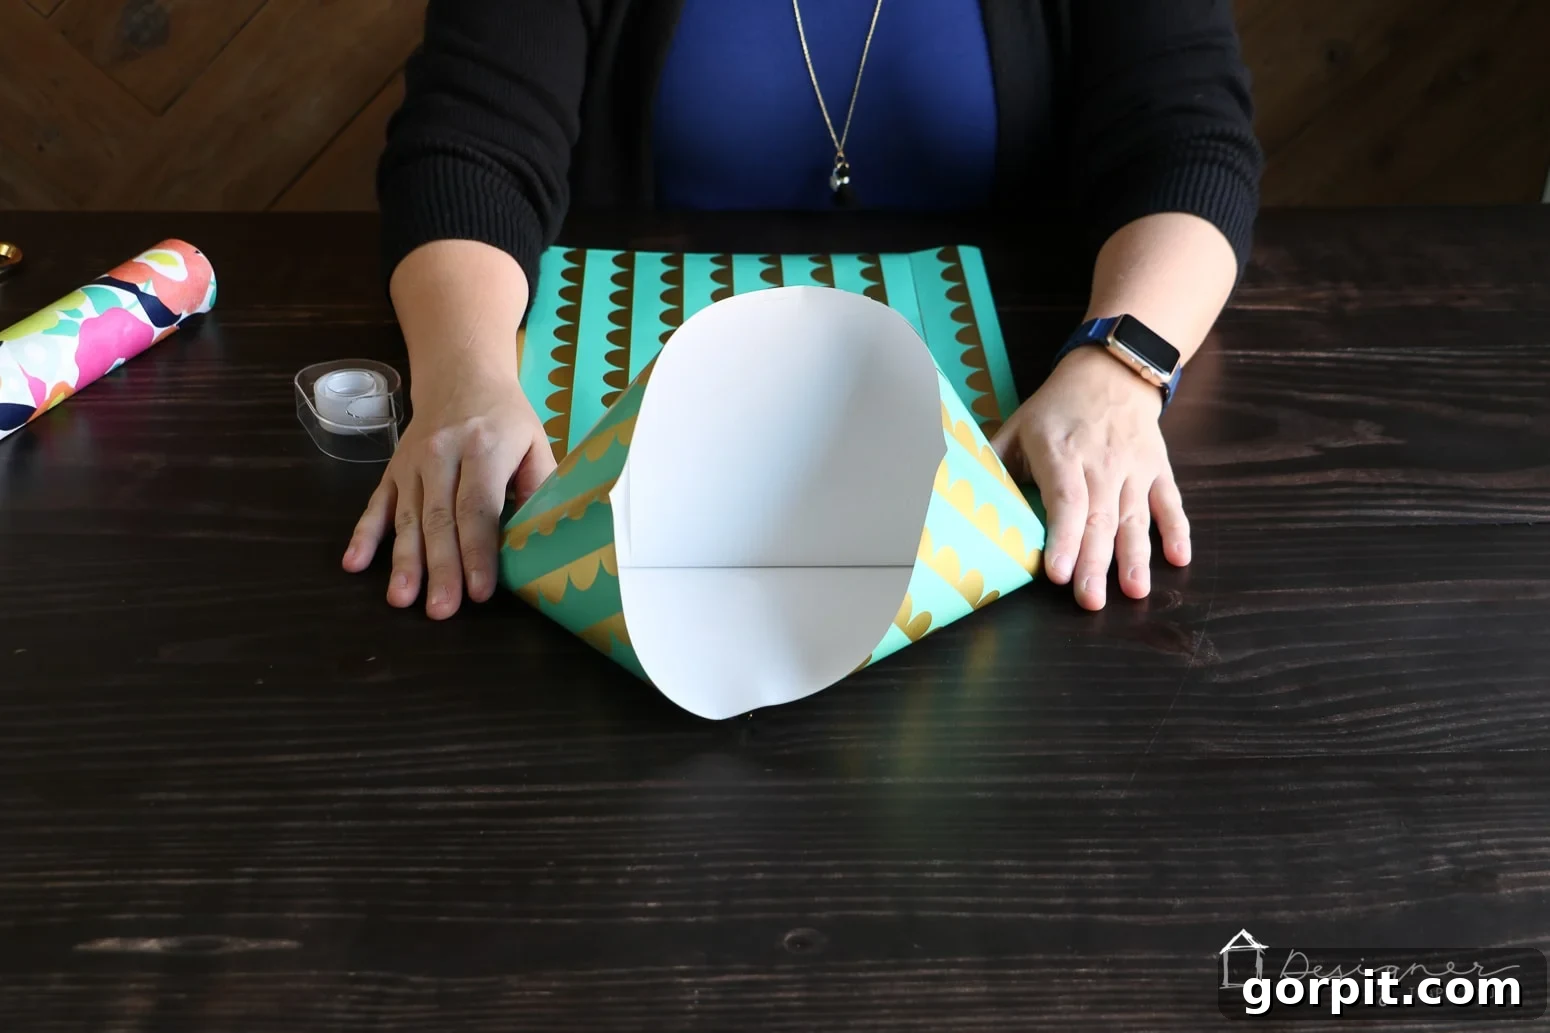
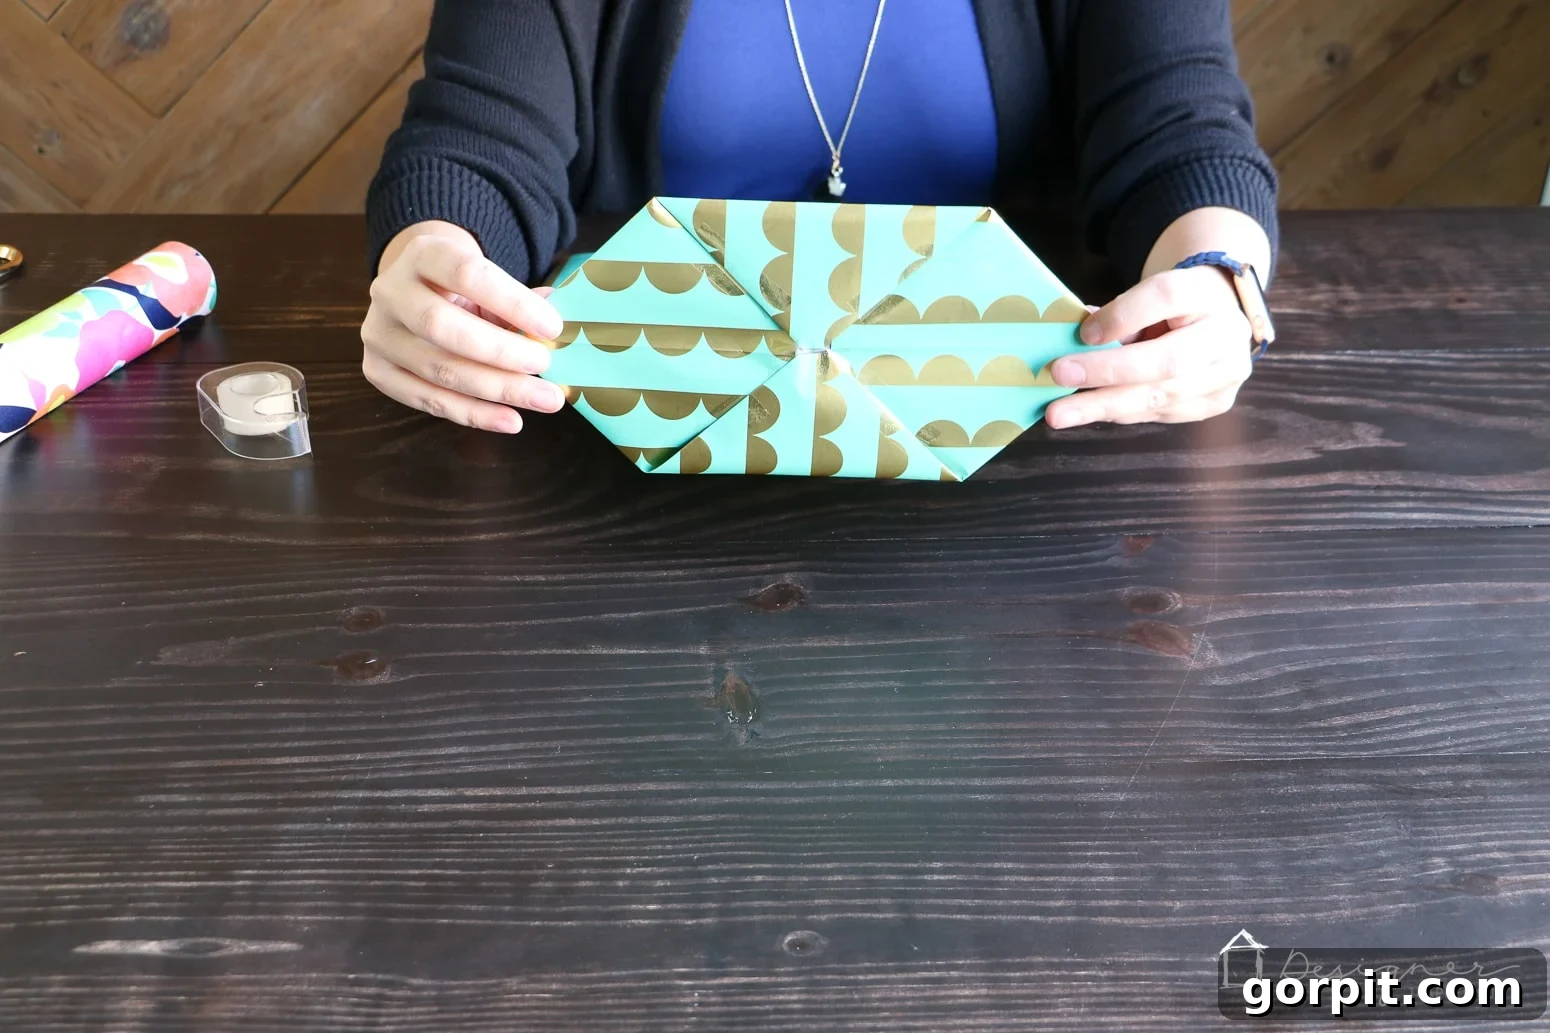
This step might appear a bit intricate, but it’s surprisingly straightforward after a couple of tries and is key to a perfectly structured DIY gift bag. Gently open up the bottom fold you just made. You’ll notice the paper now has a layered opening. Carefully separate the two pieces of wrapping paper at the corners of this opening. Flatten out each corner, pushing the paper outwards to create distinct triangular shapes on both sides. When done correctly, this will form a diamond shape in the center of what will become the bottom of your gift bag. Take your time to make these folds clean and symmetrical, as this will define the final structure of your homemade gift bag’s base. This origami-like step is truly where the magic happens!
- Complete and Secure the Base of Your Gift Bag.
You’re almost there! With the diamond shape now prominently formed, take the top corner of the diamond and fold it down towards the center. Similarly, take the bottom corner and fold it up, overlapping the previously folded top corner. This action will create a neat, compact base for your DIY gift bag. Press down firmly to create sharp creases where these folds meet. Now, it’s time to secure everything. Apply Scotch tape generously along all the newly formed seams and overlaps on the bottom of your gift bag. Ensure every edge is tightly sealed to create a strong and durable base that can hold your gift without tearing. This is a critical step for the integrity of your homemade gift bag.
- Open and Fill Your Newly Created Gift Bag.
Your beautifully constructed DIY gift bag is now ready for use! Gently open it up, pushing out the sides to give it its full volume. Flatten the newly formed bottom against your work surface to ensure it’s stable and can stand upright. Before placing your gift inside, take a moment to double-check all the taped seams on both the sides and the bottom. If any areas seem less secure, add an extra piece of tape for reinforcement. Once satisfied with its sturdiness, carefully place your gift inside. If your gift is smaller or you want to add an extra touch of elegance, consider filling any empty space with coordinating tissue paper for a professional and cushioned presentation.
- Fold the Top and Prepare for Ribbon Handles.
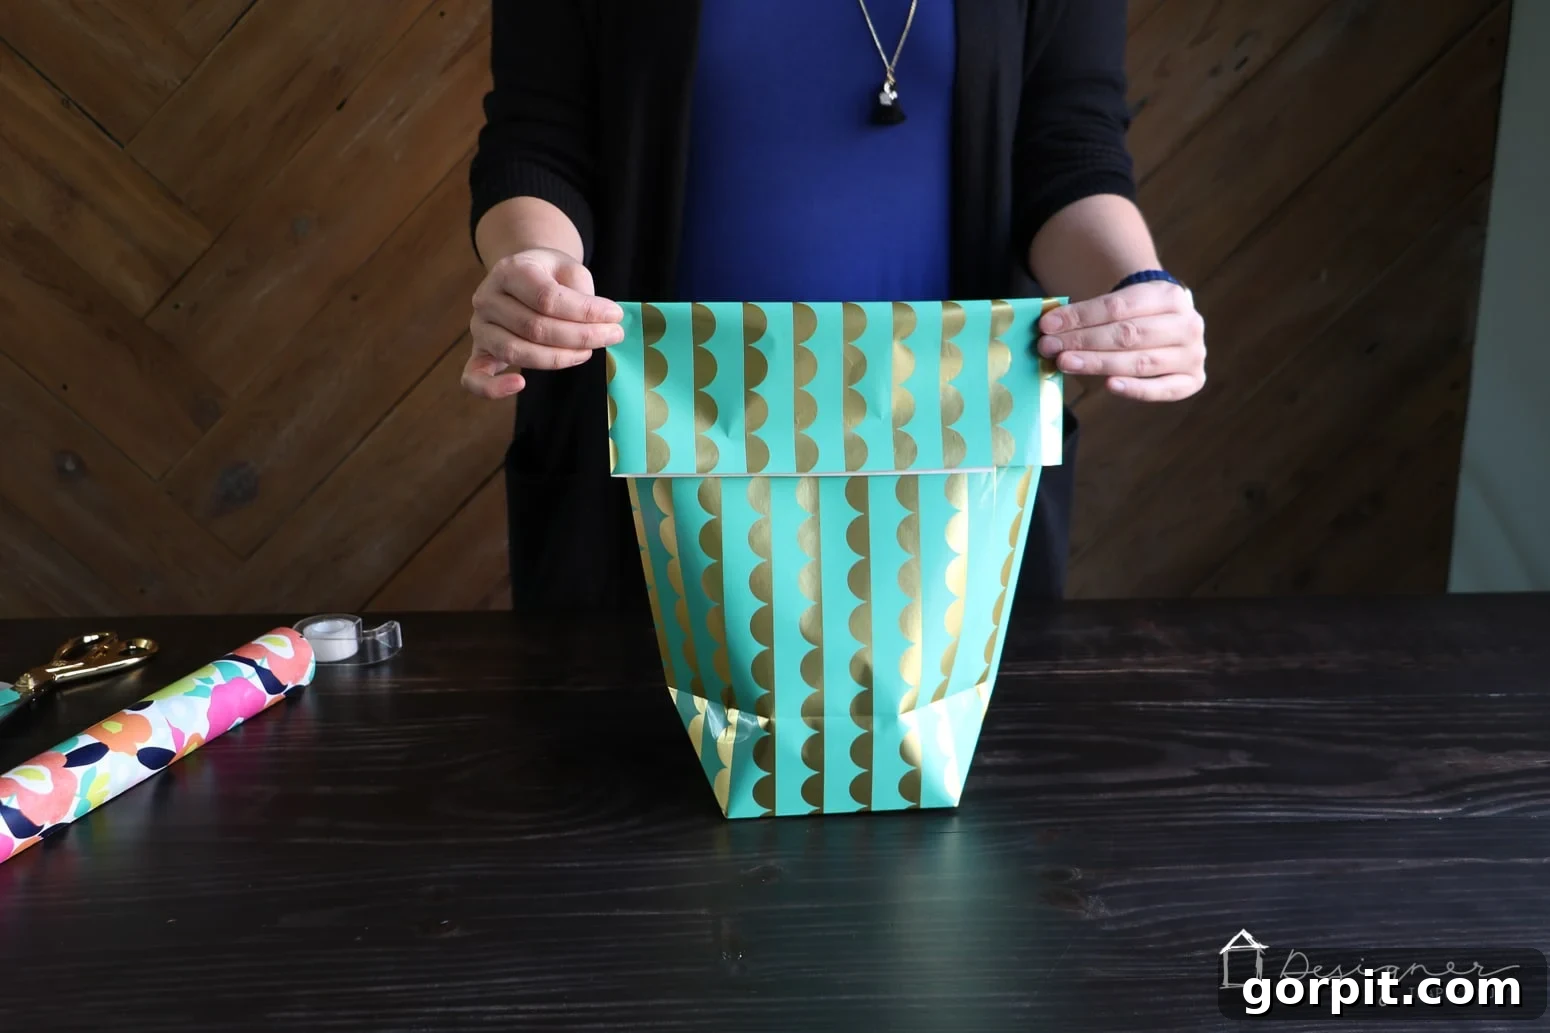
With your gift nestled securely inside your homemade gift bag (and perhaps some tissue paper for flair), it’s time to refine the top edge. Fold the top flap of the bag neatly over to the backside, creating a clean, crisp edge. This fold provides extra strength and a finished look. Next, take your rectangle hole punch. Carefully punch two evenly spaced holes through the top, folded section of the bag. These holes will be where you thread your ribbon, transforming your paper creation into a functional and stylish gift bag with handles. Ensure the holes are symmetrical and far enough from the edge to prevent tearing when the ribbon is added.
- Add the Finishing Touch with Ribbon and a Tag.
This final step brings your DIY gift bag to life! Take your chosen ribbon and thread it carefully through the holes you created in the top of the bag. You can thread it from the outside in, or vice-versa, depending on your preferred aesthetic. Once threaded, tie the ends of the ribbon into a beautiful, secure knot or an elegant bow. Ensure the ribbon length is comfortable for carrying the bag. For an extra special touch, consider attaching a personalized gift tag to one of the ribbon handles. Your custom-made, eco-friendly, and stylish gift bag is now complete, ready to impress the recipient!
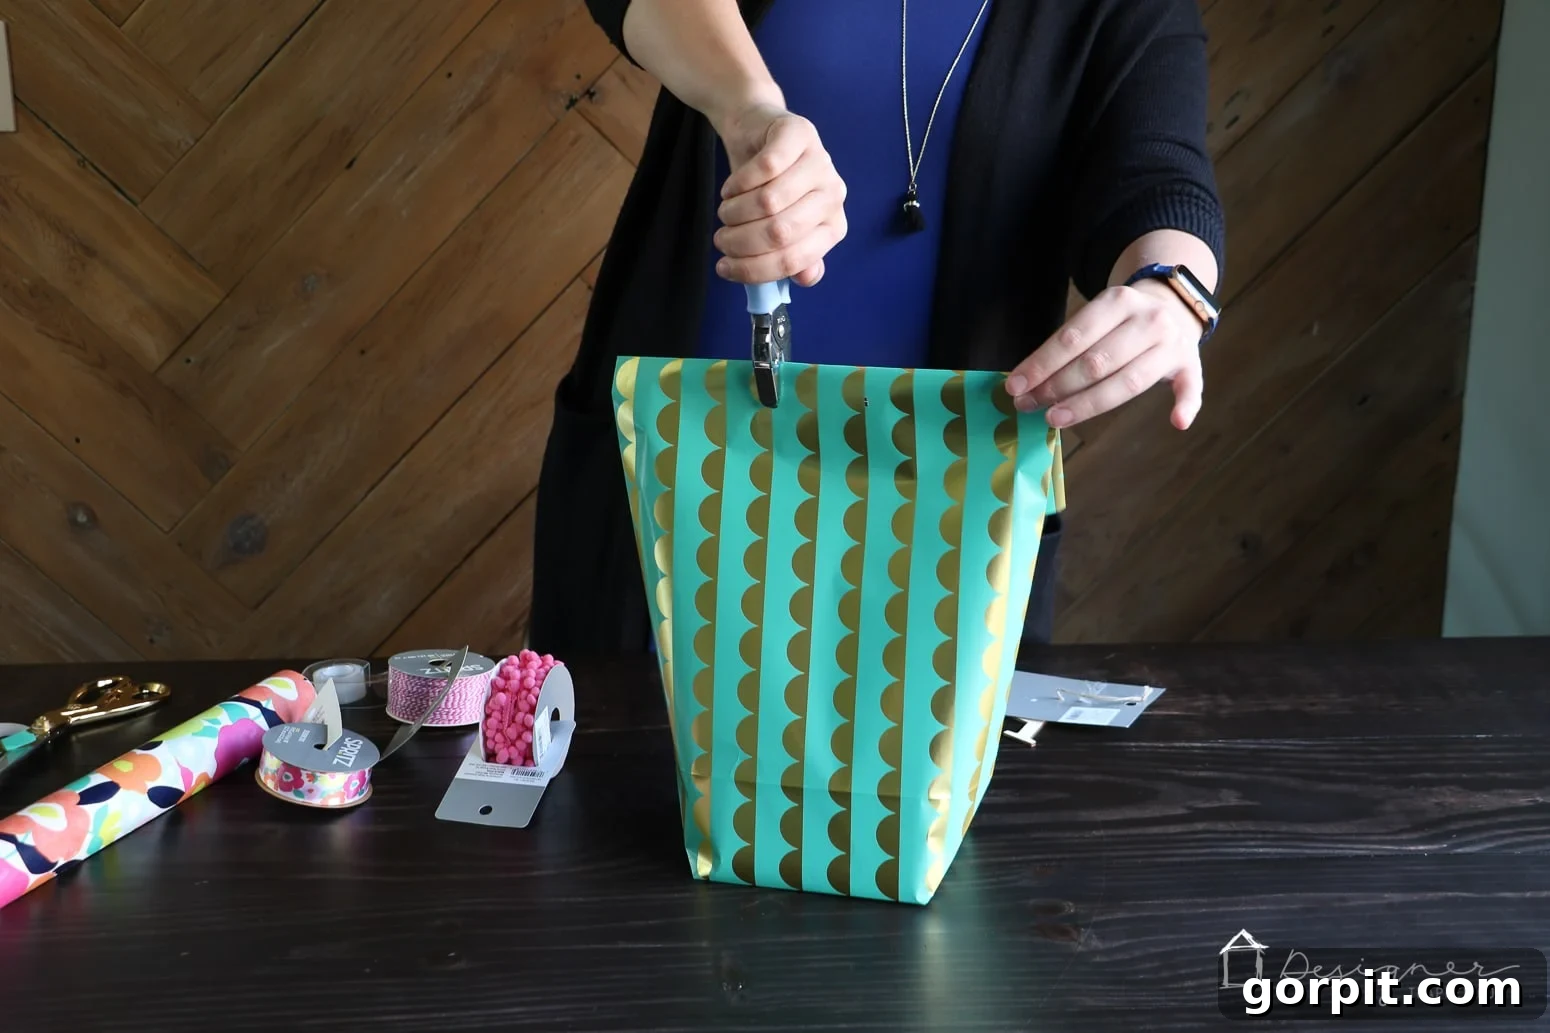
And there you have it! You’ve successfully learned how to make a gift bag from wrapping paper. Aren’t these DIY gift bags absolutely charming? The ability to personalize every aspect, from the paper pattern to the ribbon choice, makes each one a unique work of art.
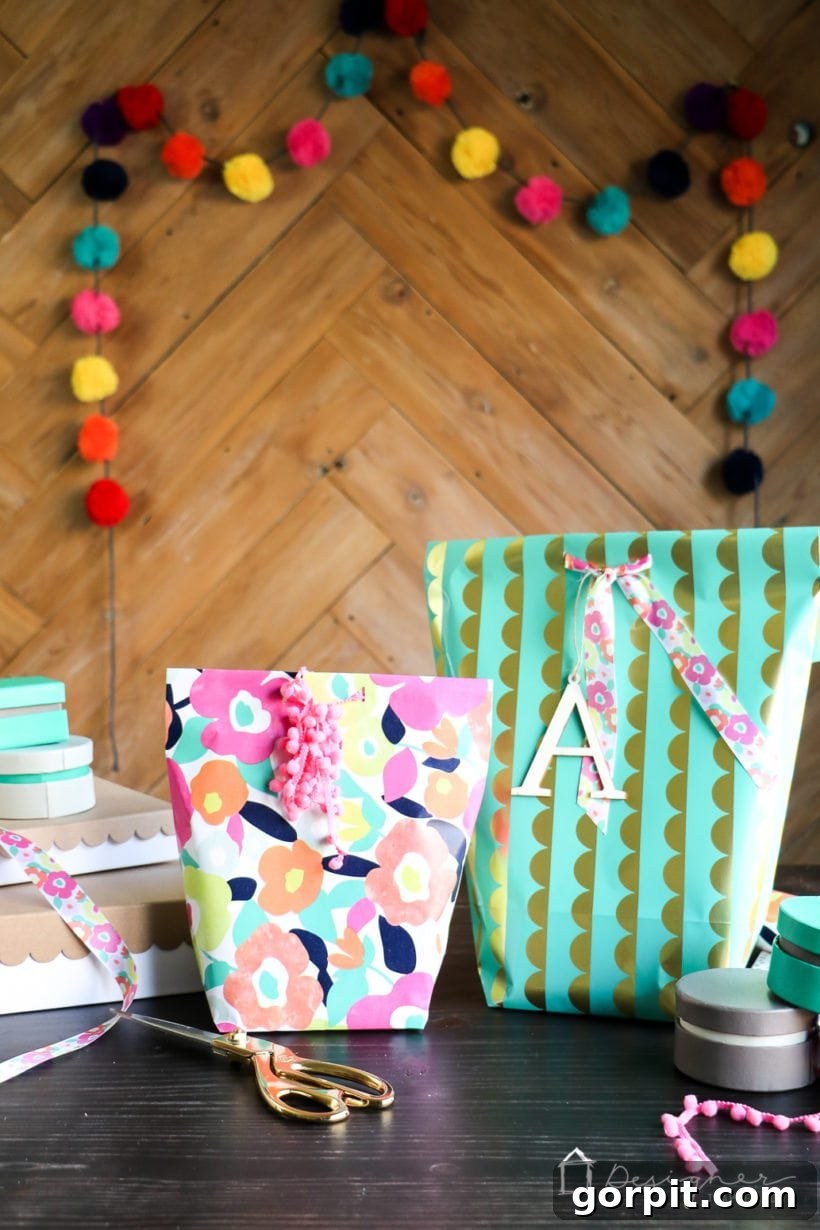
What are your thoughts on this simple yet brilliant method? With just a few easy steps, you can create perfectly tailored wrapping paper bags for any occasion. Now that you’re equipped with the knowledge of how to make a gift bag, will you ever find yourself reaching for a generic, store-bought option again? I genuinely doubt I will! This DIY approach offers unparalleled customization, often at a fraction of the cost, and is a fantastic way to utilize leftover wrapping paper, reducing waste.
For those eager to elevate their DIY gift bag game, let’s talk about choosing the right wrapping paper. Below, I’ve curated some of my absolute favorites. I advocate for investing in high-end paper for this project. Even with a slightly higher price point, the resulting homemade gift bag remains significantly more affordable than many specialty store-bought bags. More importantly, premium wrapping paper tends to be thicker and more durable, making the folding and taping process easier, and the final bag sturdier. It also allows you to explore an incredible array of unique, sophisticated, and artistic patterns that truly make your gift stand out. Whether you prefer large rolls for multiple projects or convenient packs of single sheets for quick crafting, stocking up on a few favorite designs will ensure you’re always ready to whip up a quick and easy DIY gift bag for any gifting emergency.
Scroll and click on any image for full product details.
GIFT GUIDES & Ideas
SEE ALL gift guides
-
The Best Gifts for Crafters, DIYers and Makers
-
The 19 Best Gifts for Grandparents
-
The Absolute Best Housewarming Gift Ideas
-
Thoughtful Mother’s Day Gift Ideas
-
Favorite Things Gift Ideas Under $25
-
Holiday Gift Guide Collection
Curious about my unique approach to transforming living spaces and making them truly shine? Dive into the details with Designer in a Binder®, my signature system designed to make decorating your home both affordable and straightforward.
For those who crave exclusive content, behind-the-scenes glimpses into my creative process, and early access to new projects and tips, don’t forget to subscribe to my newsletter before you leave! Join our community and never miss out on inspiration.