
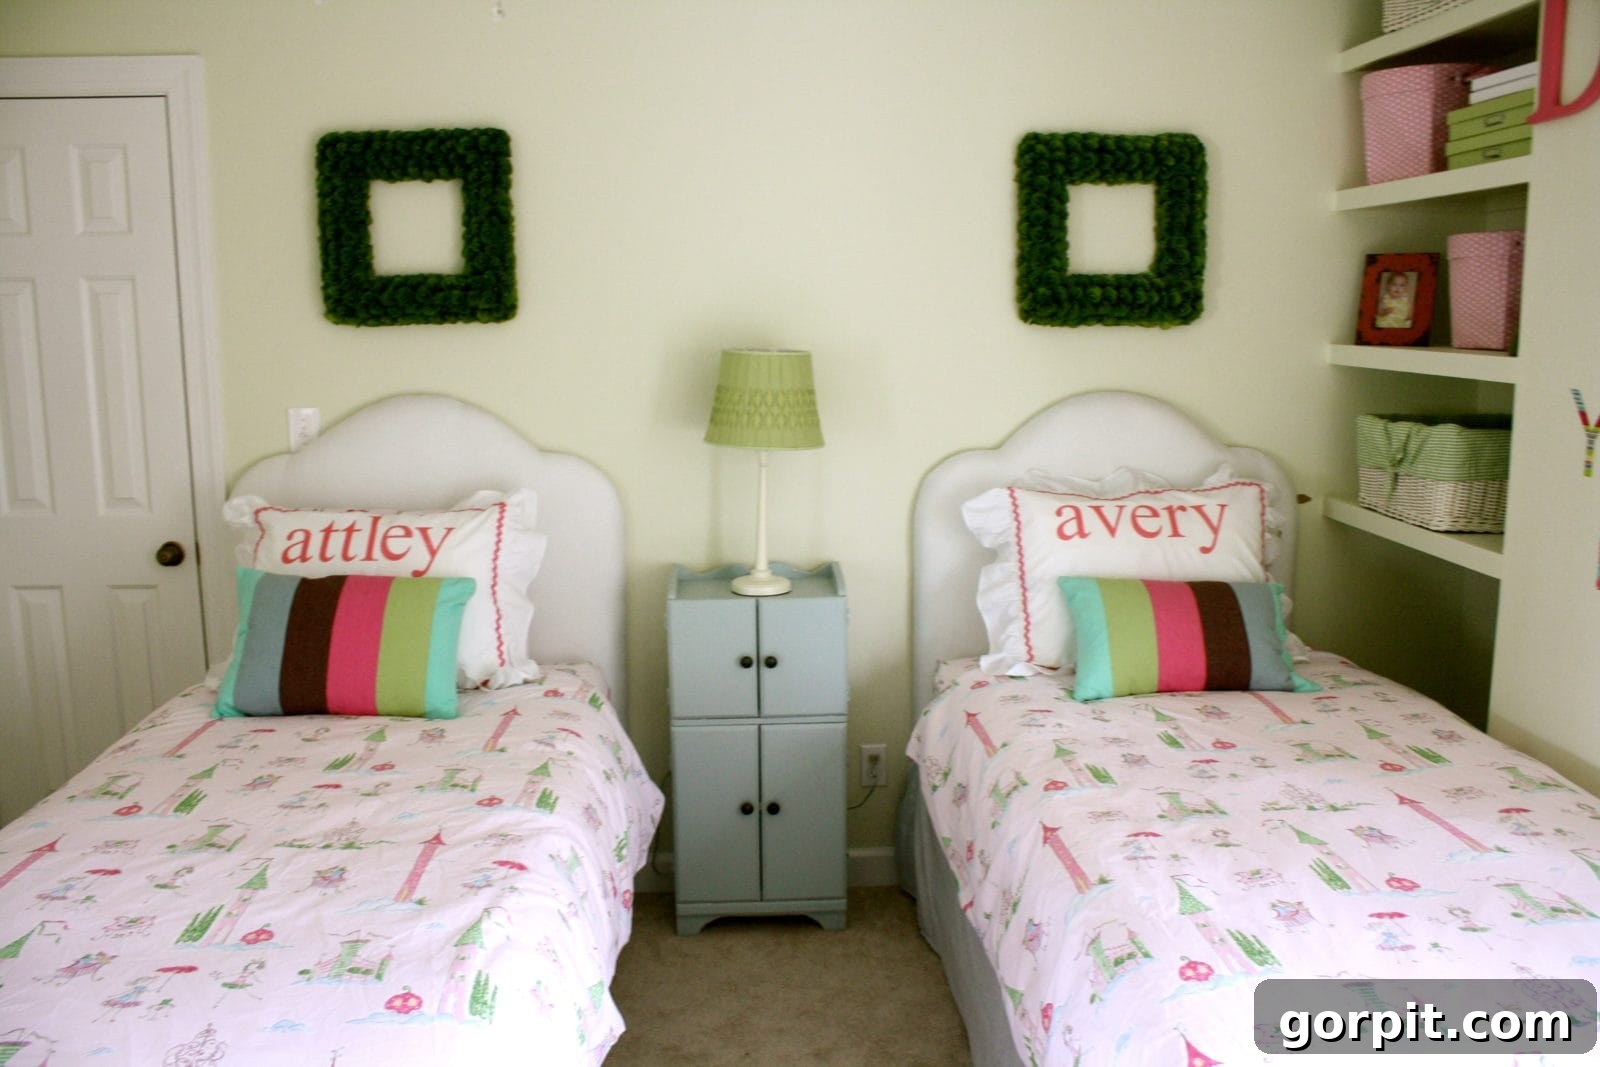
Create a Stunning DIY Upholstered Headboard for Under $50: The Ultimate Easy Guide
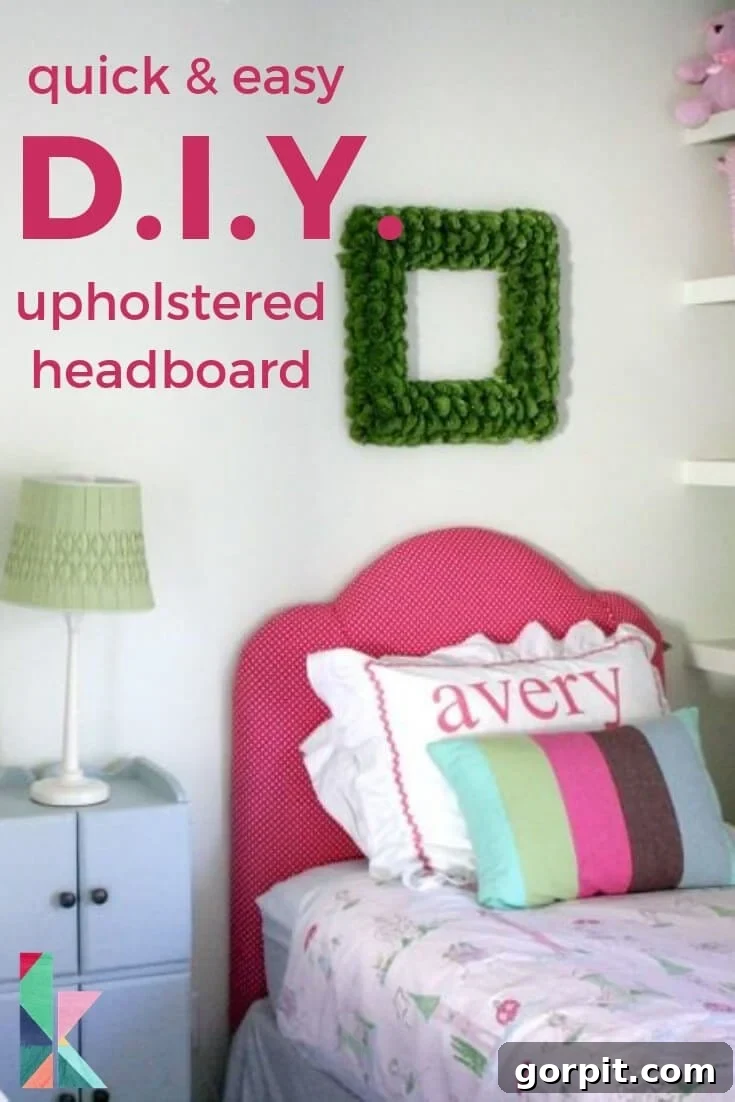
Are you dreaming of a cozy, inviting bedroom but balking at the high cost of stylish furniture? Look no further! This comprehensive tutorial will guide you through creating your very own DIY upholstered headboard for an unbelievably low price – often under $50! This project is not only incredibly affordable but also surprisingly simple, even for beginner DIYers. Get ready to transform your bedroom with a custom touch that looks professionally made.
I am thrilled to share the step-by-step process for making an upholstered headboard. When I first embarked on this project for my twin girls’ room, I expected a challenge, but it turned out to be SO much easier than I ever anticipated. Seriously, you absolutely CAN do this!
My motivation for creating these custom upholstered headboards was twofold: Firstly, I absolutely adore the soft, warm, and inviting aesthetic that an upholstered headboard brings to a bedroom. It instantly elevates the space and adds a touch of luxury. Secondly, purchasing two new beds, mattresses, and headboards for a twin room can be a significant expense. We needed a budget-friendly solution to make their “big girl” room both beautiful and affordable. If you’re curious to see the full transformation of their space, you can check out their room reveal here. Now, let’s dive into how you can craft your own personalized upholstered headboard! This post contains some affiliate links for your convenience. Click here to read our full disclosure policy.
Why Choose a DIY Upholstered Headboard?
Opting to build your own upholstered headboard offers numerous advantages over buying one from a retail store:
- Significant Cost Savings: As you’ll see, the materials for a DIY headboard can cost a fraction of what a store-bought one would. This project makes a luxurious look accessible on a modest budget.
- Complete Customization: You have full control over the design! Choose the exact shape, size, fabric, and level of padding to perfectly match your bedroom decor and personal style. This means no more compromising on color, texture, or dimensions.
- Sense of Accomplishment: There’s immense satisfaction in creating something beautiful and functional with your own hands. It’s a rewarding project that adds a unique, personal touch to your home.
- Quality Control: By selecting your own materials, you can ensure the quality and durability meet your standards. You know exactly what goes into your headboard.
- Easy Updates: Should your style evolve or the fabric get stained, re-upholstering a DIY headboard is far simpler and cheaper than replacing an entire store-bought unit.
Materials & Tools Needed to Build a Twin Size DIY Upholstered Headboard
Before you begin, gather all your materials and tools. Preparation is key to a smooth and efficient crafting process. The following list is for one twin-size headboard, but note that some materials (like the wood board) might be enough for two, offering even greater savings!
Essential Materials:
- Wood Board: A 1/2 inch thick, 4×8 foot piece of OSB (Oriented Strand Board). You can also use MDF (Medium-Density Fiberboard) or plywood if you have some on hand or prefer a different material. OSB is often the most budget-friendly option.
Pro Tip: A 4×8 foot board is typically enough for two twin headboards. If you’re only making one, consider having the store cut the board in half for easier transport and potential cost savings on a smaller piece, or save the other half for a future project! - Fabric of Your Choice: The amount needed will depend on your headboard’s dimensions and the fabric’s width. For a twin headboard, typically 2-3 yards of standard width fabric (48-54 inches) will suffice. Choose a fabric that complements your room’s aesthetic and is durable enough for a headboard.
- Twin Egg Crate Mattress Topper: One twin-size egg crate. This is a fantastic budget-friendly alternative to expensive upholstery foam. I found mine for $14.99 at Target, which was an excellent price.
- Batting: Typically 2 yards of 48-inch wide batting for each headboard. Batting adds a smooth layer, provides extra padding, and helps protect your fabric.
Tools You’ll Need:
- Scissors: For cutting fabric and batting.
- Sharpie or Other Marker: For marking your wood and foam.
- Staple Gun and Staples: An essential tool for securing the egg crate, batting, and fabric. An electric staple gun can make this process even easier.
- Circular Saw: For making straight cuts on your wood board.
- Jig Saw: Crucial for cutting out any curved or intricate shapes.
Step-by-Step Guide: How to Make an Upholstered Headboard
1. Determine Your Headboard’s Size and Shape
This is where your creativity comes into play! The shape of your padded headboard can drastically alter the feel of your room. From classic rectangles to elegant curves, the possibilities are endless. To spark inspiration, take a look at this handy visual guide from Headboard Direct, showcasing a variety of popular headboard styles.
After much consideration, my husband and I decided on the “York” shape for our DIY upholstered headboards. We were drawn to its clean lines and gentle curves, which felt perfectly “soft” and “sweet” for a 3-year-old girls’ room. When choosing your shape, consider the overall aesthetic of your bedroom and how the headboard will complement existing furniture and decor.
2. Decide on the Exact Dimensions
Once you have a shape in mind, it’s time to finalize your dimensions. For our twin headboards, we opted for a width of 39 inches (to match the width of a standard twin mattress) and a height of 44 inches at its tallest point. The height can vary significantly based on your preference and how you plan to mount the headboard. We intended to wall-mount ours and wanted the bottom portion to be neatly hidden behind the mattress, so these factors guided our height decision. Measure your bed frame and the space on your wall to ensure your chosen dimensions work perfectly.
3. Cut Your Wood Base to Size
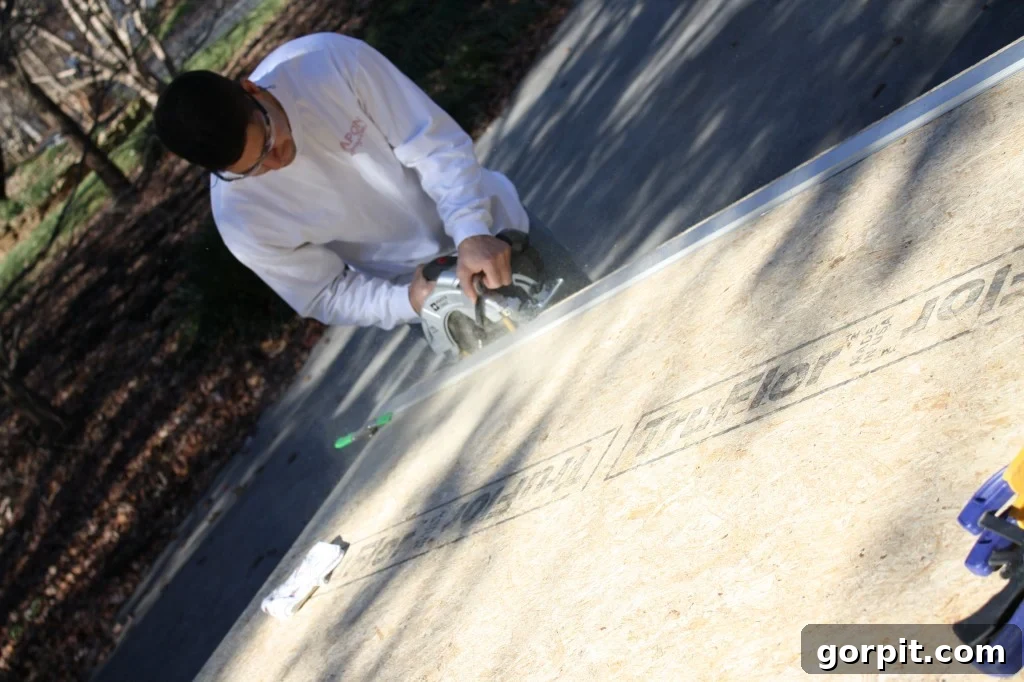
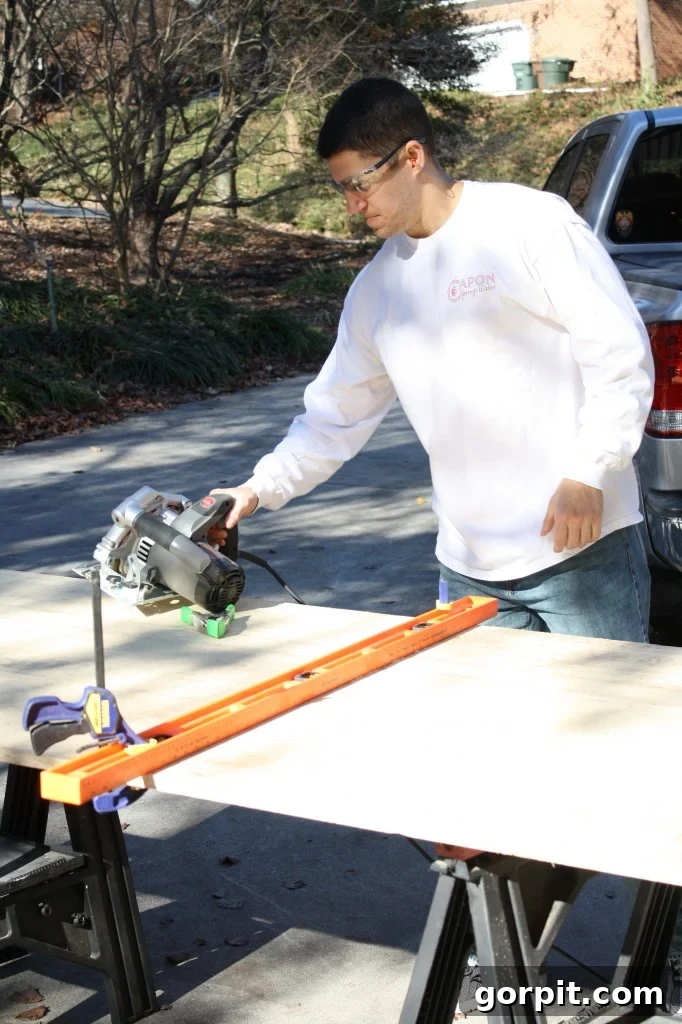
With your dimensions set, the next step is to cut your OSB or plywood to the determined size. For us, this meant cutting the 4×8 foot board down to 39 x 44 inches. We used a circular saw with a straight edge guide for precise, clean cuts. If you don’t own a circular saw or aren’t comfortable using one, many home improvement stores like Lowe’s or Home Depot offer wood cutting services, often for a minimal fee. Don’t hesitate to ask for their assistance!
4. Mark Your Desired Shape onto the Wood
Believe it or not, this step proved to be the trickiest for us! Achieving perfectly symmetrical, smooth curves can be a bit of an art. After some trial and error, we discovered that using common household items, like a large mixing bowl and even pool noodles (yes, you read that correctly!), worked wonders for outlining our desired soft curves. Start by marking the exact top center of your wood board. Then, mark two equidistant points on each side of the board where your curves will begin and end. This helps ensure symmetry. Carefully trace your chosen shape with a sharpie or other marker, connecting your marked points with smooth, flowing lines.
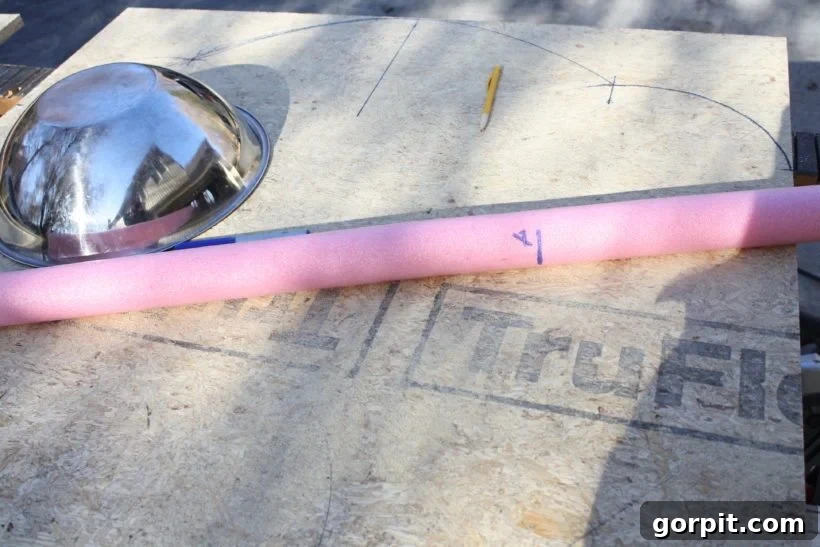
5. Cut Out Your Shape with a Jigsaw
Now for the fun part, if you enjoy working with power tools! Using a jigsaw, carefully follow the lines you’ve just drawn. Take your time, maintain a steady hand, and let the saw do the work. The jigsaw allows for precise cuts around curves, bringing your headboard’s unique shape to life. And just like that, you’ll have the foundational base of your DIY upholstered headboard ready! If you’re creating multiple headboards, a smart shortcut is to lay your first cut headboard directly onto your second piece of wood. Trace its shape, and then cut the second one, saving you the effort of marking the curves all over again.
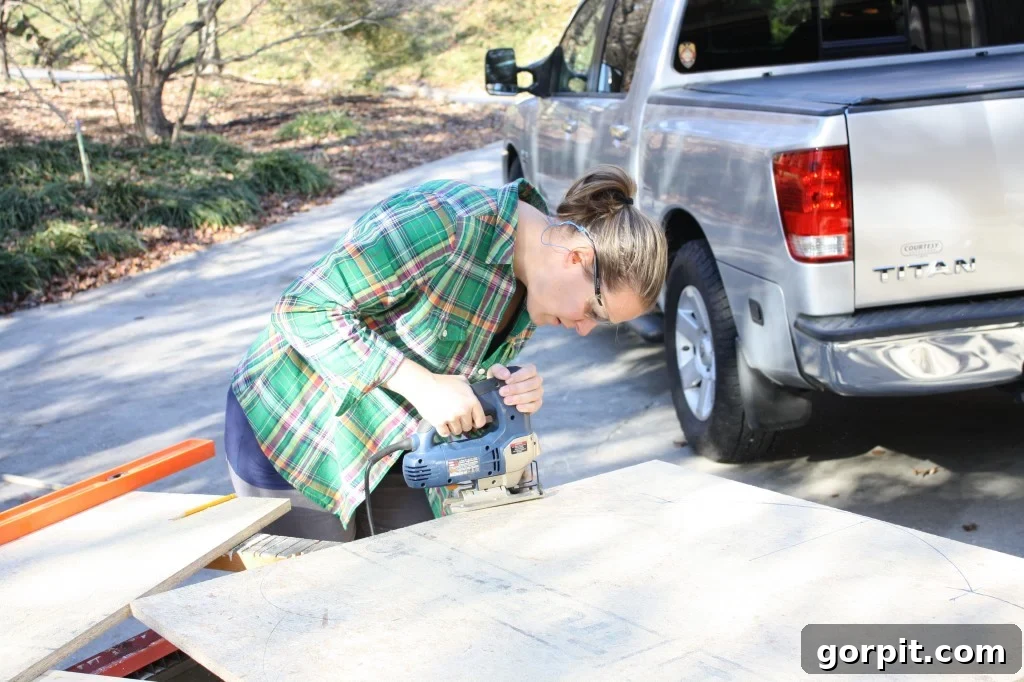
6. Cover Your Headboard with the Egg Crate
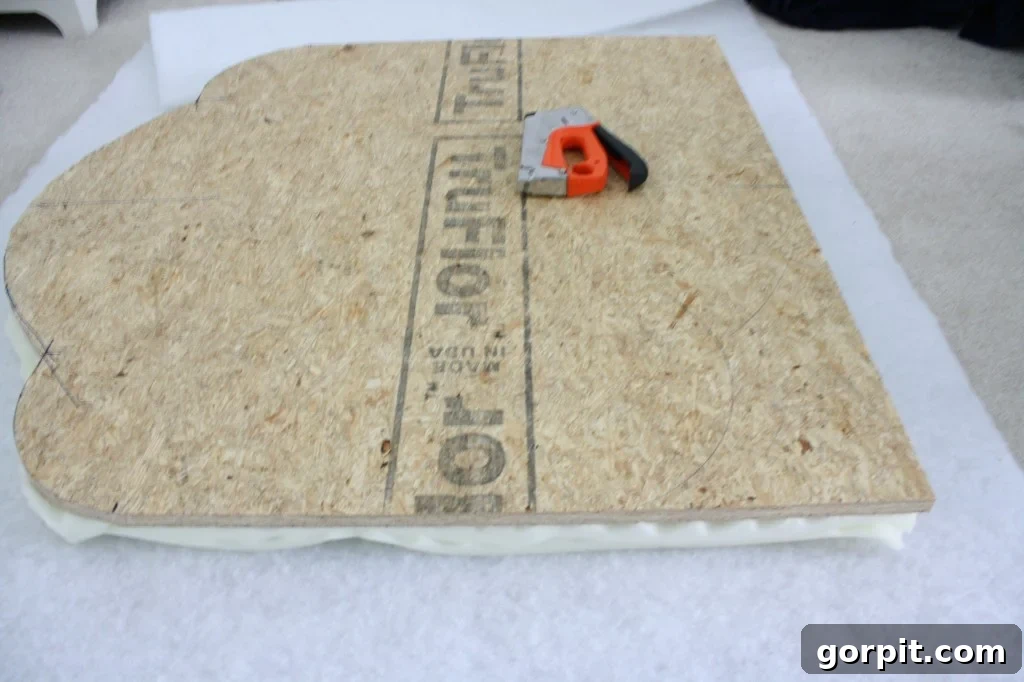
This is where your headboard starts to get its plush, inviting feel. First, cut your twin egg crate in half lengthwise. This allows you to double up the thickness, making your headboard extra soft and comfortable. Lay both pieces of egg crate on top of each other, ensuring the “egg” textured sides face inward (against each other). Then, carefully place this doubled egg crate onto your cut-out wood headboard base. Secure it in place by stapling the egg crate to the back edge of the wood using your staple gun. Ensure staples are close enough to hold it firmly but not so many that they cause bulging.
Budget-Friendly Tip: While traditional upholstery foam is an option, it’s significantly more expensive. Using egg crates is a brilliant, cost-effective hack that provides excellent padding. This clever idea was inspired by Sarah from Thrifty Decor Chick – we love her innovative solutions!
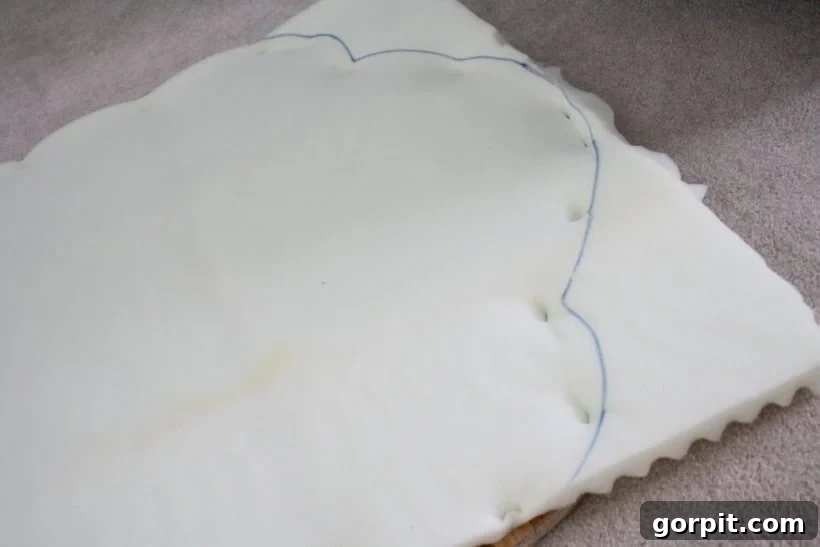
7. Trim the Excess Foam
Once the egg crate is stapled, you’ll have some excess hanging over the edges. Use a marker to trace a line around the foam, about an inch or two wider than the wood board’s edge. Then, using sharp scissors, carefully trim away the excess foam, following your traced line. This step creates a clean, uniform edge that will ensure a smooth finish once the fabric is applied.
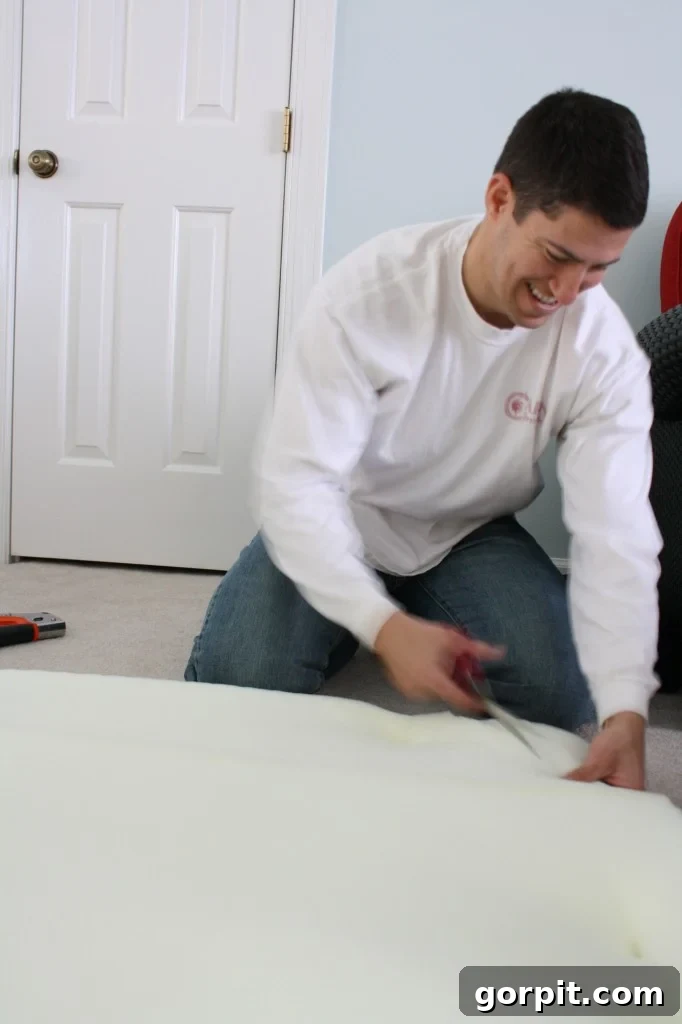
8. Cover the Headboard with Batting
With the foam neatly trimmed, it’s time to add a layer of batting. Batting serves a crucial role: it smooths out any imperfections in the foam, provides an additional soft layer, and acts as a barrier between the foam and your outer fabric, helping the fabric glide smoothly without snagging. Lay your headboard (foam side up) onto the batting, leaving enough excess around the edges to wrap around to the back of the wood board. Gently pull the batting taut, wrap it around the edges, and staple it securely to the back of the wood. Ensure you pull evenly to avoid lumps or wrinkles on the front surface. For our twin headboards, 2 yards of 48-inch wide batting provided ample coverage.
9. Upholster the Headboard with Your Chosen Fabric
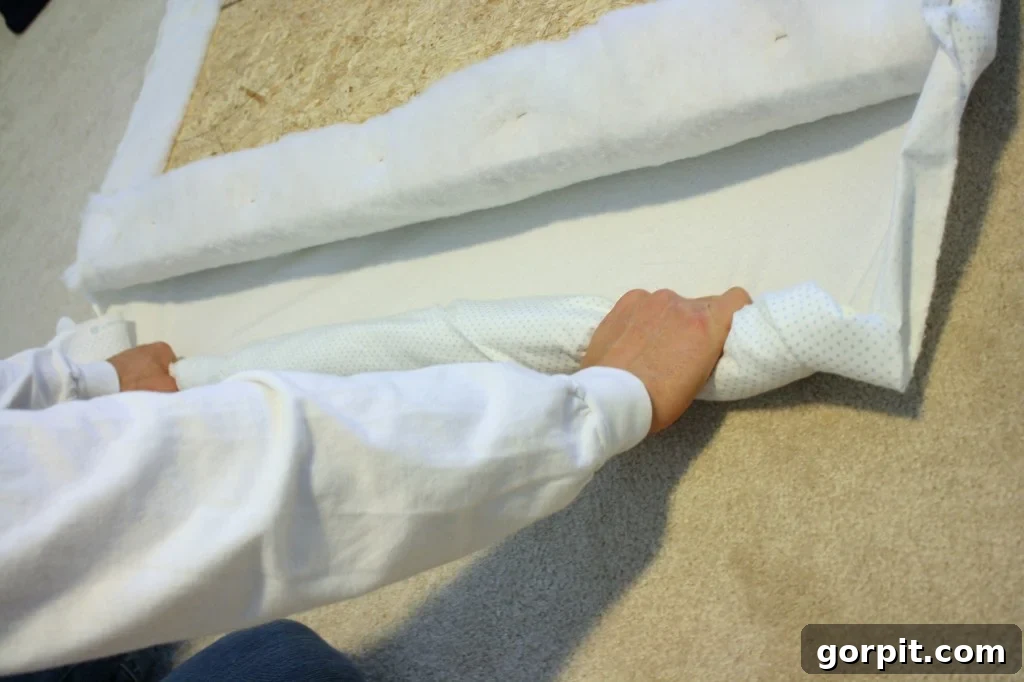
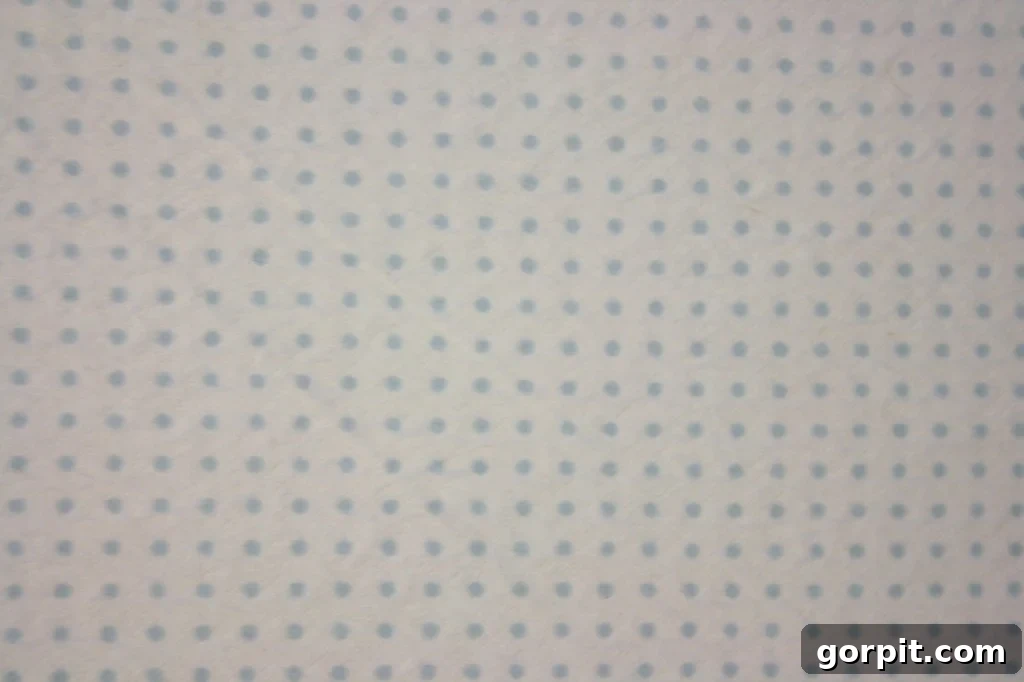
This is the transformative moment! Up until now, your headboard might have looked a bit “rustic,” but the fabric will bring it to life. Lay your chosen fabric face down on a clean, flat surface, then center your batting-covered headboard (batting side down) on top. Ensure you have enough fabric overhang on all sides to wrap around to the back of the wood. We used 2 yards of our white flannel with tiny blue polka dots for each padded headboard, which was more than enough, even with the fabric being only 41 inches wide. Gently pull the fabric taut, wrap it around the back of the headboard, and staple it in place, working your way around the entire perimeter.
A Couple of Crucial Tips for This Step:
- The Tighter, The Better: You want the fabric to be pulled very TIGHT. This prevents wrinkles and gives your headboard a professional, crisp finish.
- Extra Hands are a Lifesaver: Especially when navigating curves, having an extra set of hands makes a huge difference. One person can hold the fabric firmly and tautly while the other staples, ensuring a smooth, wrinkle-free result.
- Corner Technique: For clean corners, treat them like wrapping a present. Fold the fabric neatly at each corner, creating crisp pleats, and then staple them down securely.
10. Hang Your Beautiful DIY Upholstered Headboard
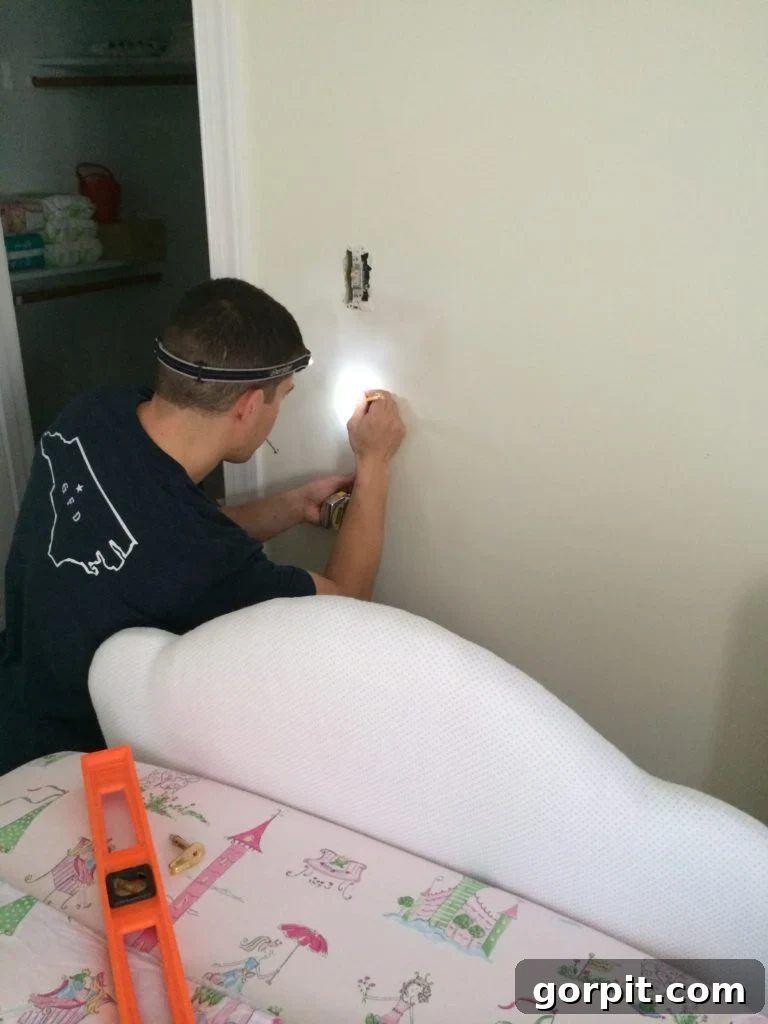
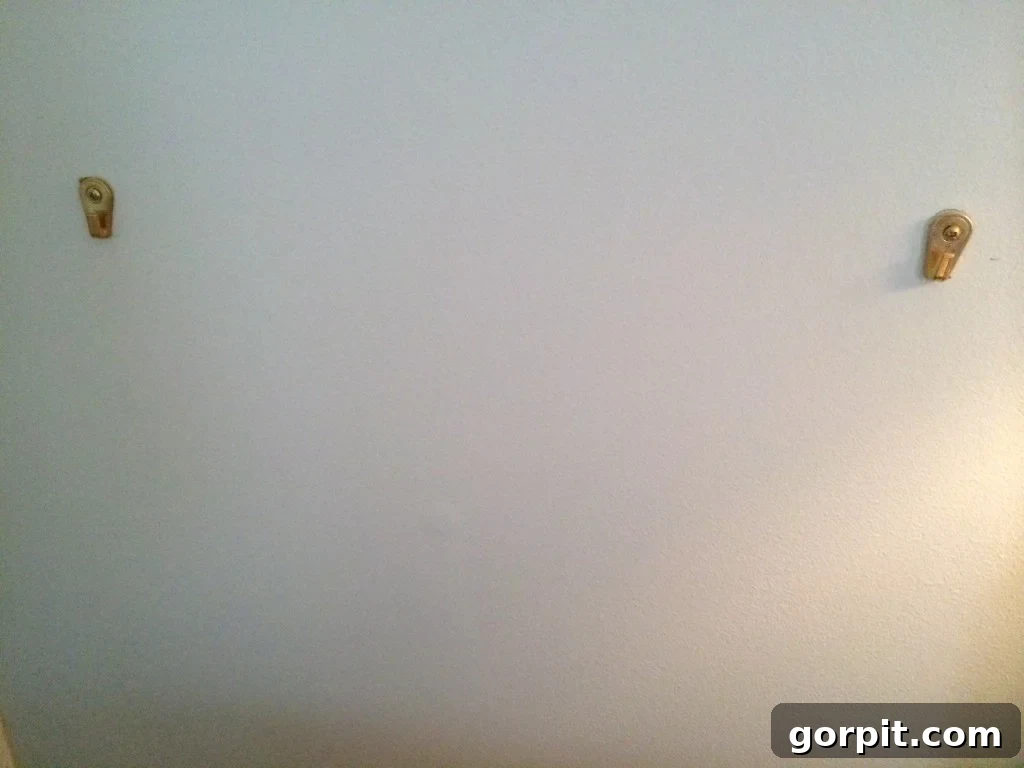
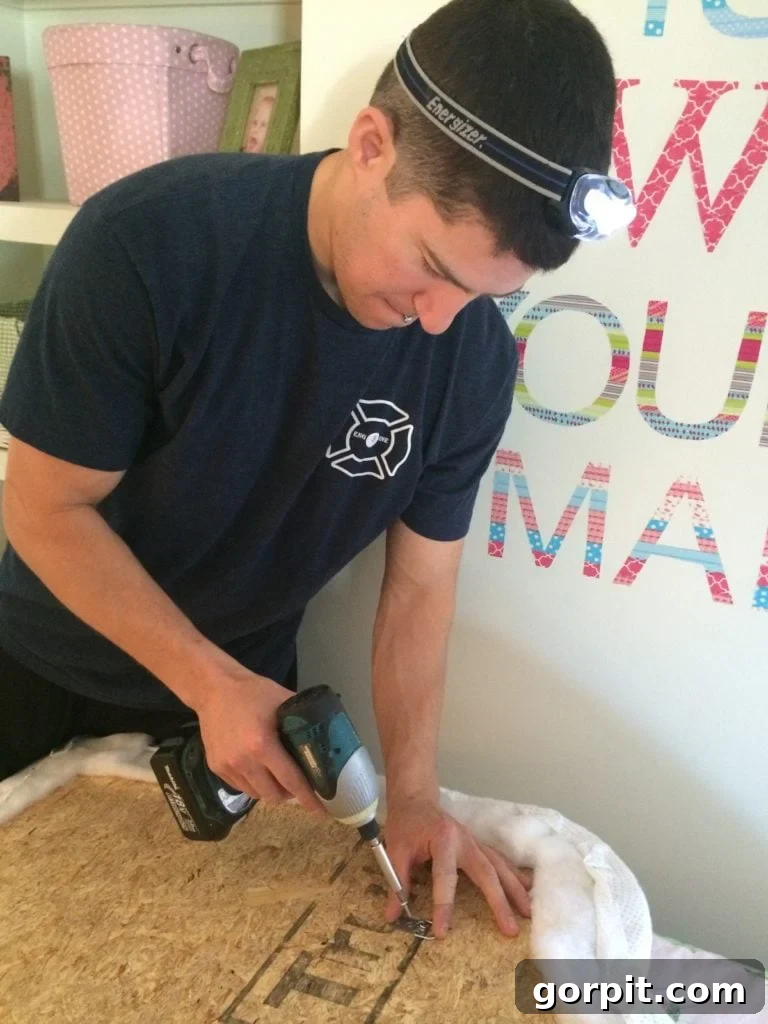
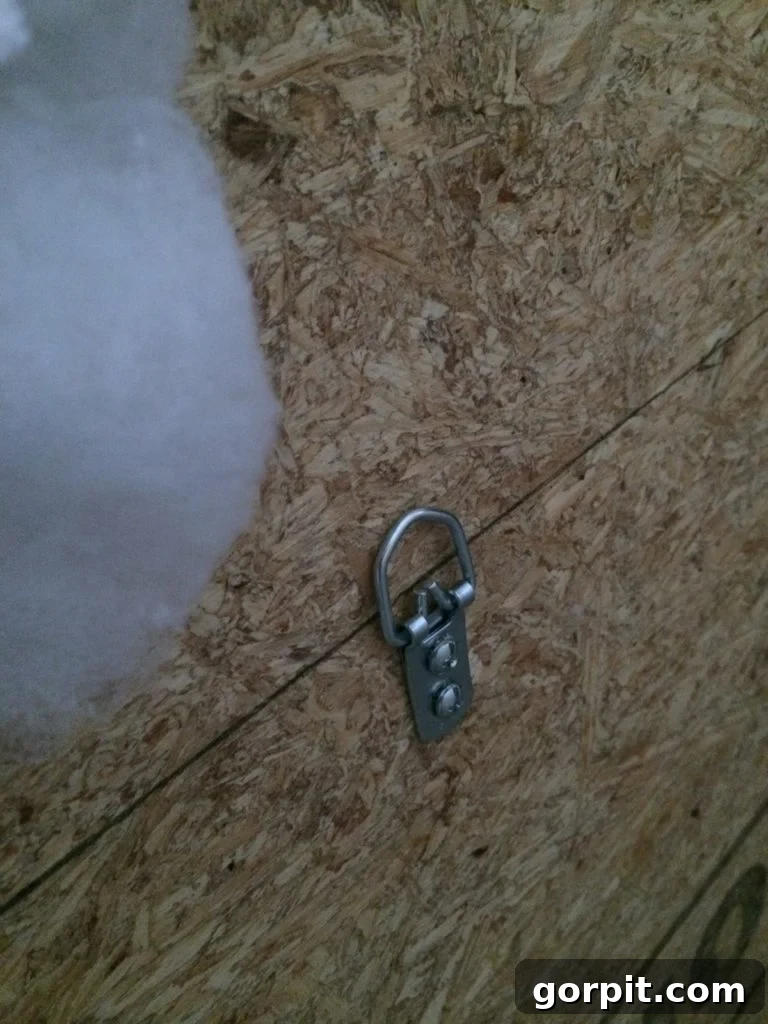
The final practical step! We chose to hang our headboards directly on the wall using D-rings. When hanging, it’s essential to use appropriate hardware. Since we didn’t have studs exactly where we needed them, we opted for heavy-duty drywall anchors to ensure a secure and stable mount. Always prioritize safety and ensure your headboard is firmly attached to prevent accidents. Other options include French cleats for a flush mount or attaching it directly to your bed frame with brackets, depending on your bed type.
11. Stand Back and Admire Your Beautiful Custom Creation!
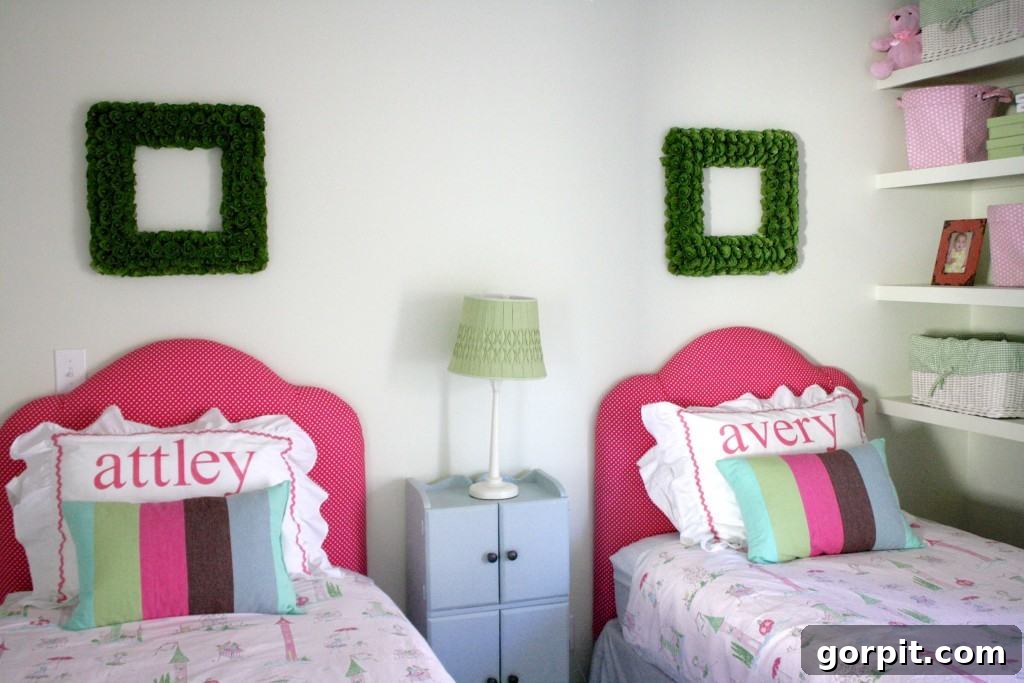
The moment of truth has arrived! Step back and take in your gorgeous, custom-made DIY upholstered headboard. The satisfaction of seeing your vision come to life is truly unparalleled. I absolutely adore our girls’ new headboards! One of the greatest benefits of this DIY approach is its adaptability. If you ever tire of the current fabric, or if it gets stained or damaged (as happened to one of ours with hair dye – the perils of multitasking!), you can simply re-cover it with new fabric without having to start the entire project from scratch. All the hard work on the base is already done! In fact, we updated the fabric on one of our headboards about a year later for a brighter color that popped more off the wall. You can see the refreshed look below!
Detailed Cost Breakdown for One DIY Upholstered Headboard
Let’s talk numbers! The affordability of this project is truly remarkable. Here’s a breakdown of the typical costs for one twin-size DIY upholstered headboard:
- OSB Wood Board: ~$10 (Based on a $20 cost for a 4×8 foot board, which yields two headboards).
- Egg Crate Mattress Topper: ~$15 (A fantastic, budget-friendly foam alternative).
- Fabric: ~$7 (Based on 2 yards at $3.49/yard, often found on sale).
- Batting: ~$5 (Based on 2 yards at $2.49/yard, also commonly found on sale).
- Hardware for Hanging: ~$6 (For D-rings and drywall anchors).
- Estimated Total: $43
This is an incredible value for a completely custom and beautiful piece of furniture! To put it in perspective, a comparable upholstered headboard from a high-end retailer like Pottery Barn Kids can easily sell for over $400 (just for the headboard!). That’s nearly ten times the cost of building your own! By investing a little time and effort, you save hundreds of dollars without sacrificing style or quality.
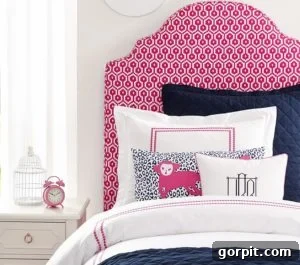
Source: Pottery Barn Kids
Making this yourself is a smart way to achieve a high-end look on a budget!
Project Timing: How Long Does It Really Take?
I always aim for transparency regarding the time commitment for our DIY projects. When my laundry room reveal was featured on Apartment Therapy, I received a comment questioning the reported timeframe. I promise you, I will always be honest about the difficulty and duration of our projects. While individual experiences may vary, my goal is to provide realistic guidance for your planning.
My husband, Joe, and I genuinely found this upholstered headboard project to be both quick and easy. With all materials purchased and our design choices made in advance, we tackled this during our girls’ nap time one afternoon. We completed Steps 3 through 9 for two DIY upholstered headboards within approximately three hours! This means a single headboard was completed in less than two hours. So, yes, you absolutely can do this!
Frequently Asked Questions About DIY Upholstered Headboards
Q: Can I make a larger headboard, like for a Queen or King size bed?
A: Absolutely! The principles remain the same. You’ll just need a larger wood board (potentially joining two boards for King size), more fabric, batting, and egg crate. Always ensure your wood is thick enough to prevent warping for larger sizes (e.g., 3/4 inch plywood for King).
Q: What if I don’t have power tools?
A: Don’t let that stop you! Many home improvement stores will cut your wood board to your specified dimensions and even cut out simple shapes for you, often for a small fee. For curved shapes, you might need to find a friend with a jigsaw or rent one for a few hours. A hand saw can also work for straight cuts, but it requires more effort.
Q: What kind of fabric should I use?
A: Consider durability, ease of cleaning, and aesthetics. Upholstery fabric is ideal but can be pricey. Durable cottons, linen blends, or even denim work well. Look for sale fabrics to keep costs down. Remember to consider patterns – large patterns might require more fabric for matching.
Q: How do I clean my upholstered headboard?
A: Regular vacuuming with an upholstery attachment will keep dust at bay. For spills or stains, spot clean immediately with a mild fabric cleaner and a damp cloth, always testing on an inconspicuous area first. Some fabrics are more forgiving than others, which is another reason to consider your fabric choice carefully.
Ready to Start Your Custom Headboard Project?
What do you think? Is this an exciting project you’re ready to tackle? Have you already made a DIY upholstered headboard? If so, what was your experience like, and what shape did you choose? Share your thoughts in the comments!
Now that you’re well on your way to creating a headboard you’ll love, perhaps you’re thinking about designing the rest of your dream room! Click below for my free guide on designing a room you’ll adore.
