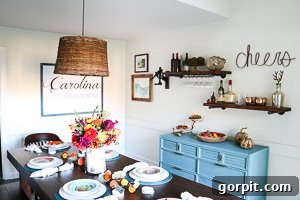
DIY Pipe Shelves: An Easy Guide to Stylish Industrial Shelving for Your Home
Transform your space with budget-friendly and incredibly chic industrial pipe shelves. This detailed tutorial makes creating your own custom storage solutions simpler than ever.
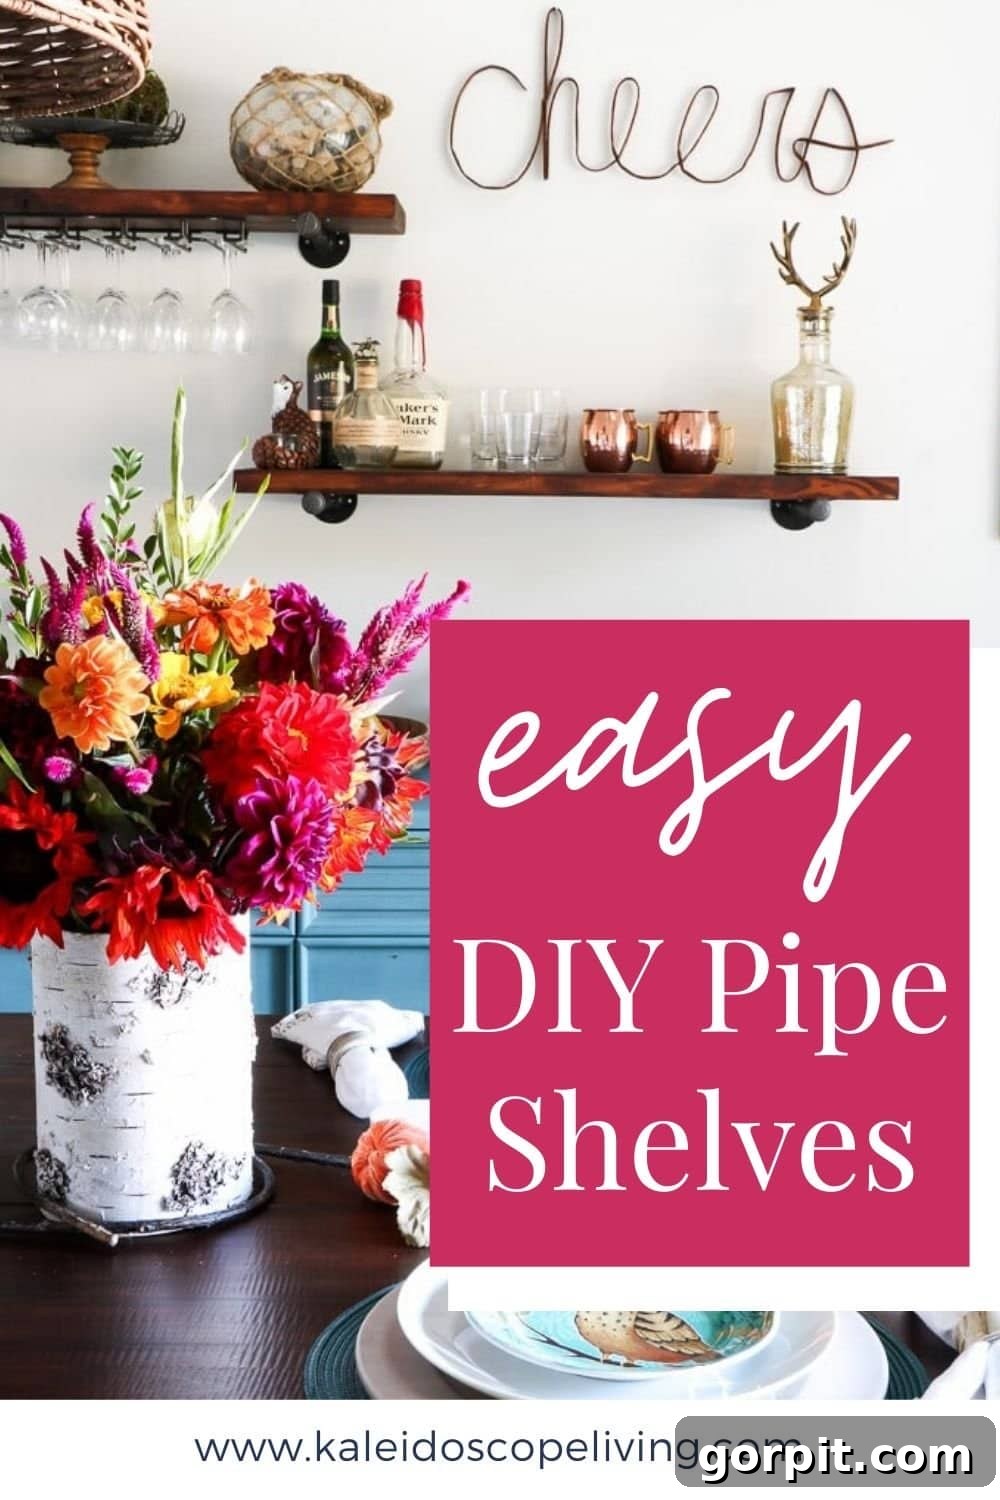
It’s exciting to finally share the comprehensive tutorial for our beloved DIY pipe shelves! These industrial-style shelves have been a cornerstone of our dining room decor for nearly two years, and the enthusiasm and frequent requests for a guide have been overwhelming. We’re thrilled to report that they are not only incredibly stylish but also remarkably durable and holding up perfectly, proving that a little DIY effort can lead to lasting beauty and functionality.
If you’ve been dreaming of adding an industrial, rustic, or modern farmhouse touch to your home, pipe shelves are an ideal project. They offer immense versatility, fitting seamlessly into kitchens, living rooms, home offices, bathrooms, or even entryways. Beyond their aesthetic appeal, they provide practical open storage, allowing you to display decor, books, dinnerware, or anything that benefits from easy access and visual presentation. While this guide focuses on our pipe shelf design, feel free to explore our extensive collection of DIY shelves for a wide variety of other creative shelving solutions.
This particular project stands out as one of the most straightforward industrial shelving builds you can undertake. The most challenging aspect often involves cutting your wood to the precise length, but rest assured, many home improvement stores offer convenient wood-cutting services, simplifying the process significantly. Beyond that, the assembly and installation are surprisingly simple, making it an excellent project for DIY enthusiasts of all skill levels.
This post contains some affiliate links for your convenience. Click here to read my full disclosure policy.
Why Choose DIY Pipe Shelves for Your Home?
Industrial pipe shelving has surged in popularity for several compelling reasons, making it a favorite among homeowners and decorators alike. When you opt for a DIY approach, you unlock even more benefits:
- Unmatched Style: The raw, exposed metal pipes and natural wood create a distinct industrial-chic aesthetic that adds character and a contemporary edge to any room. It’s a timeless look that complements various interior design themes, from modern to rustic farmhouse.
- Exceptional Durability: Constructed from sturdy metal pipes and robust wood, these shelves are built to last. They can easily support heavy loads, making them perfect for books, dishes, or even small appliances without worrying about sagging or instability.
- Cost-Effective Solution: Building your own shelves is often significantly cheaper than purchasing pre-made industrial shelving units. Sourcing materials from hardware stores allows you to control costs and achieve a high-end look without the hefty price tag.
- Complete Customization: One of the greatest advantages of DIY is the ability to tailor everything to your exact specifications. You can choose the precise length, depth, and number of shelves, select your preferred wood type and finish, and even decide on the pipe color. This ensures your shelves perfectly fit your space and match your personal style.
- Versatile Application: From adding storage in a small apartment kitchen to creating a statement wall in a spacious living room, pipe shelves are incredibly adaptable. They can function as bookshelves, display shelves, pantry storage, bar areas, or even unique bathroom shelving.
Planning Your Industrial Pipe Shelf Project
Careful planning is key to a successful and beautiful outcome. Before you start assembling, take some time to conceptualize your project.
Design and Placement Considerations
Think about where your shelves will go and what they will hold. Will they be a focal point in your living room, or a functional addition to your kitchen? Consider:
- Location: Determine the best wall for your shelves. Measure the width and height available.
- Shelf Length and Depth: How long and deep do you need each shelf to be? Standard pipe nipples (the horizontal pieces) are often 10-12 inches, dictating the depth. The length is entirely up to you and your space.
- Number of Shelves: How many tiers do you envision?
- Weight Distribution: Plan for what you’ll be placing on the shelves. This will influence the strength of your wall anchors and the number of brackets needed, especially for longer shelves (over 4 feet, consider adding a middle support).
Material Selection & Sourcing
The materials you choose will define the look and longevity of your shelves.
- Pipe Type: We opted for 3/4 inch gas pipe because of its inherent black finish, which immediately gives that industrial look. You can also use standard black iron pipe or even galvanized pipe for a different aesthetic. Important Note: Whatever diameter pipe you choose (e.g., 1/2 inch, 3/4 inch, 1 inch), ensure all your fittings (flanges, nipples, caps) match that exact diameter.
- Wood Type: Pine boards are an excellent, affordable choice, easy to work with and stain beautifully. Other options include oak for a more premium look, plywood with a finished edge, or even reclaimed wood for a truly unique, rustic feel.
- Finishing: Decide on your wood stain color and the type of protective top coat. For the pipes, consider spray painting if you can’t find black fittings or if you prefer a different color.
Weight Considerations and Wall Anchors
Safety is paramount. Your shelves will only be as strong as their attachment to the wall.
- Studs are Best: Whenever possible, anchor your pipe flanges directly into wall studs. Use a reliable stud finder to locate them.
- Heavy-Duty Anchors: If studs aren’t available where you need them, invest in appropriate heavy-duty wall anchors. Toggle bolts are excellent for drywall, providing robust support. For plaster or concrete walls, specific masonry anchors are required. Always match the anchor type and weight rating to your wall material and the anticipated weight of your shelves and their contents.
Essential Materials for Your DIY Pipe Shelves
Gathering all your supplies before you begin will make the process much smoother. Here’s what you’ll need:
Materials needed:
- 2 x 12 pine boards: Cut to your desired shelf length. (Alternatively, use oak, reclaimed wood, or other suitable timber).
- 3/4 inch gas pipe: The amount needed varies based on the number and depth of your shelves. We preferred gas pipe for its pre-finished black appearance. (Remember to match all fittings to this diameter).
- Floor flanges: Two per shelf. These attach the pipe brackets to the wall. (We spray-painted ours black for a cohesive look).
- 12 inch Steel nipples: Two per shelf. These form the horizontal support for your shelves. (Choose a length that provides your desired shelf depth).
- 3/4 inch caps: Two per shelf. These provide a finished end to your pipe brackets.
- 3/4 inch steel two-hole pipe straps: Used to secure the wood shelves to the pipe brackets. (We spray-painted these black to match).
- Wall anchors: Essential for secure installation, chosen based on your wall material and the weight your shelves will bear.
- Screws: Appropriate for your wall construction, compatible with your chosen anchors, and with heads large enough to securely fasten the floor flanges.
- Wood stain: (We highly recommend Brown Mahogany gel stain for rich, even coverage!).
- Protective top coat: (This water-based High Performance Top Coat in Satin finish offers excellent durability.).
- Wine glass rack: (Optional, but a fantastic addition for a bar area).
- Spray paint (matte black): For flanges, caps, and pipe straps if they don’t come in your desired color.
Tools You’ll Need
Having the right tools on hand will make this DIY project much more enjoyable and efficient:
- Tape Measure
- Pencil
- Level (a long one is very helpful for shelves)
- Stud Finder
- Power Drill/Driver
- Drill Bits (for pilot holes and anchor installation)
- Screwdriver bits (appropriate for your screws)
- Safety Glasses
- Sanding Block or Orbital Sander (for wood preparation)
- Clean Rags or Brushes (for staining and top coat)
- Gloves (for staining and painting)
And because we know you’ll ask, our striking scrap iron Cheers sign was sourced here. You’ll find a complete source list for other items in our dining room, including additional DIY projects, at the end of this post.
Step-by-Step DIY Pipe Shelves Tutorial
Step 1: Prepare Your Wooden Shelves
Begin by preparing your wood boards. If you haven’t had them cut at the store, measure and cut your 2×12 pine boards to the precise length you want your shelves to be. Once cut, sand all surfaces and edges thoroughly to ensure a smooth finish, removing any splinters or rough spots. Clean off any dust.
Now, it’s time to stain. Apply your chosen wood stain (we highly recommend Brown Mahogany gel stain for a rich, even color) according to the product instructions. Gel stains are particularly good for pine as they minimize blotchiness. Apply in thin, even coats, wiping off any excess after a few minutes. Allow the stain to dry completely between coats and before moving to the next step. Once the stain is dry, apply a protective top coat (like this water-based High Performance Top Coat in Satin finish) to seal and protect the wood, enhancing its durability and longevity. Apply 2-3 coats for optimal protection, sanding lightly with fine-grit sandpaper between coats if recommended by the product.
Step 2: Assemble Your Pipe Brackets
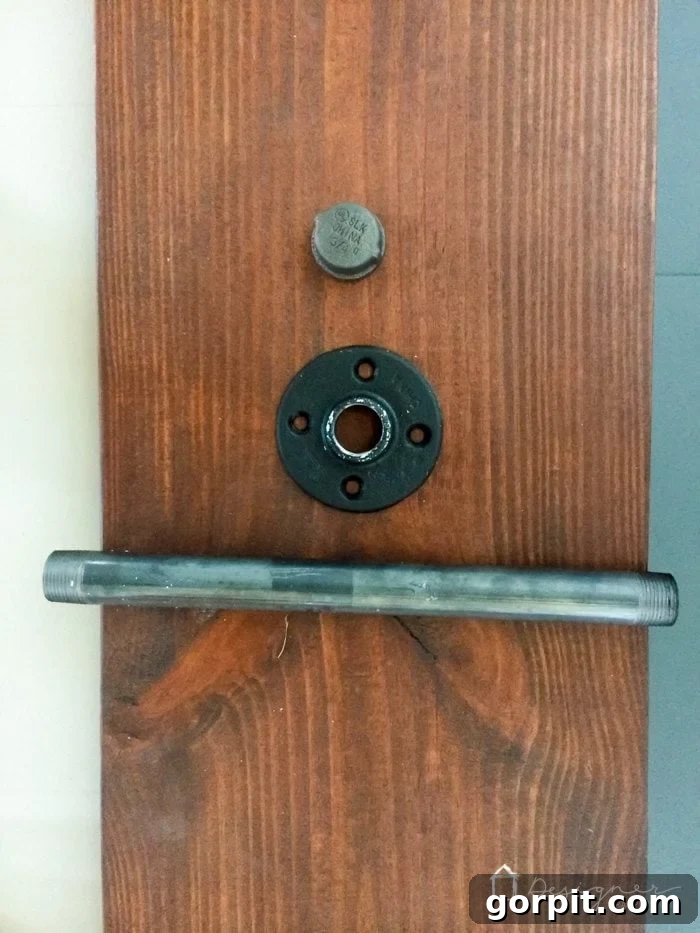
This is where your industrial-style brackets come to life. Take your steel nipples and screw one end firmly into a floor flange. On the opposite end of the nipple, screw on an end cap. Ensure all connections are tightened securely to prevent any wobbling and to create a sturdy bracket. You will need at least two fully assembled brackets per shelf. For longer shelves (exceeding 4 feet), consider assembling a third bracket for the center to provide additional support and prevent any potential sagging over time.
If your floor flanges or caps aren’t already black, now is the perfect time to spray paint them using a matte black spray paint. This will ensure all your pipe components have a consistent, sleek industrial finish. Allow them to dry completely before installation.
Step 3: Secure Brackets to the Wall
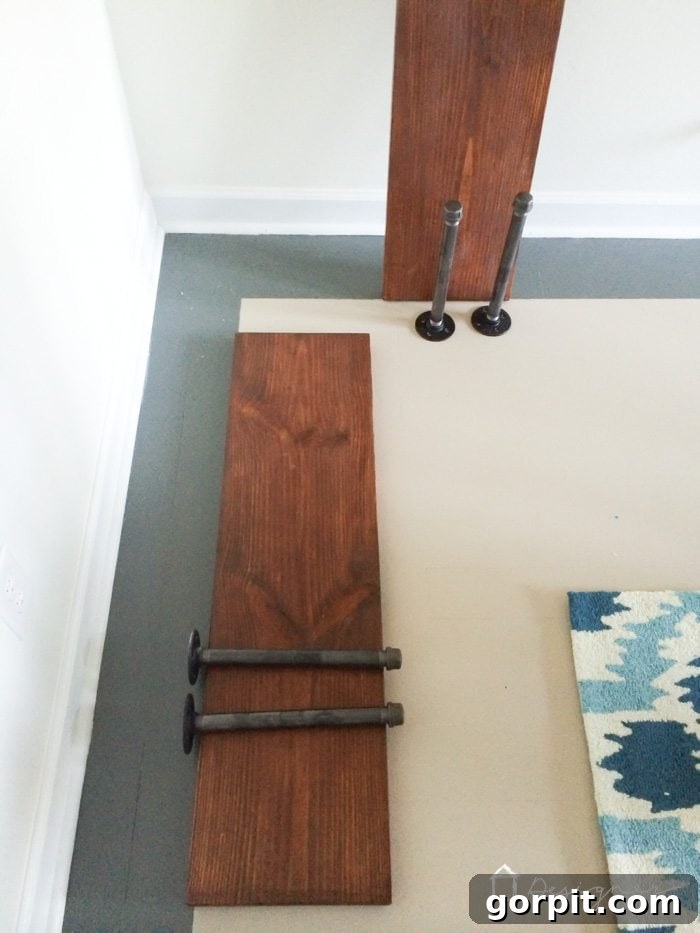
Precision is important for a level and strong installation. First, use a stud finder to locate any wall studs where you plan to install your shelves. Mark these spots. Hold an assembled bracket up to the wall at your desired height and use a level to ensure it’s perfectly horizontal. Mark the drilling points through the holes in the floor flange.
If you’re attaching to a stud, pre-drill pilot holes. If no stud is available, drill holes for your chosen wall anchors and install the anchors according to their instructions. Once the holes are ready, position the floor flange over the holes and secure it to the wall using appropriate screws/fasteners. Choose screws with a head large enough to firmly hold the floor flange in place without slipping through the holes. Repeat this process for all brackets, ensuring they are perfectly level with each other across the entire length of your shelf for a professional finish. Take your time to measure accurately between brackets, ensuring they will align perfectly with your wood shelves.
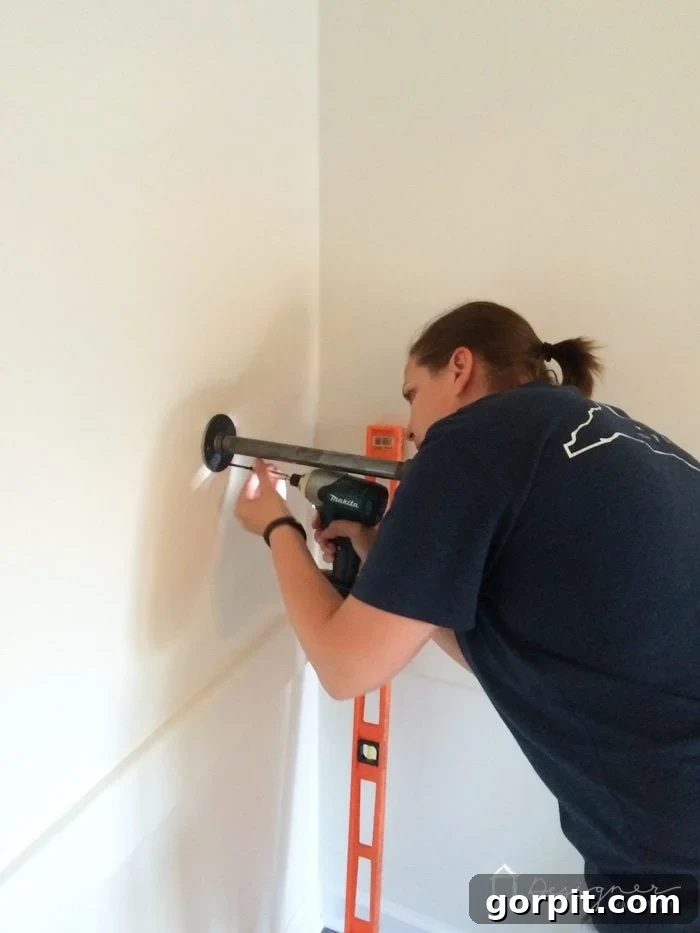
Step 4: Install and Secure Your Shelving Boards
With your pipe brackets firmly in place, it’s time to add the wooden shelves. Carefully place your stained and sealed wooden boards on top of the assembled pipe brackets. Ensure the boards are centered and aligned as desired. Once positioned, you will use the 3/4 inch steel two-hole pipe straps to secure the wood to the brackets.
We recommend using two straps per bracket: one positioned towards the front edge of the board and one towards the back edge. This means a total of four straps per two-bracket shelf. This dual strapping serves two crucial purposes:
- Enhanced Safety: Especially important in homes with children, securing the shelves in this manner prevents them from being accidentally knocked or pulled down, offering peace of mind.
- Structural Stability and Warp Correction: Pine boards, while affordable, can sometimes have slight imperfections or a tendency to warp over time. The pipe straps firmly hold the boards in place, helping to correct any minor warping and ensure the shelves remain straight and stable.
Use short screws that won’t protrude through the top of your shelf to attach the straps to the underside of the wood and around the pipe nipple. Double-check that all shelves are level and secure before moving on to styling.
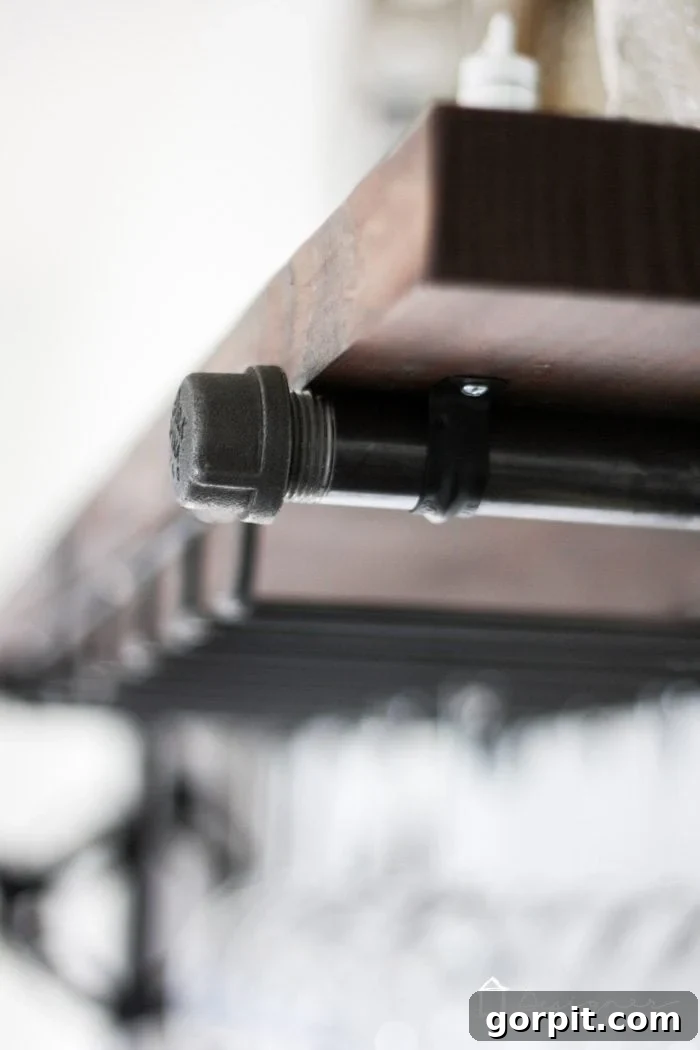
That’s it! The process is truly straightforward, and the impact these shelves make in a room is incredibly significant. For our dining room, which doubles as a bar area, we enhanced functionality by adding one of these simple wine glass holders (spray-painted black to match the pipework) beneath one of the shelves. This small addition perfectly complements the industrial aesthetic and adds practical storage for stemware.
Personalizing Your Pipe Shelves
Once your pipe shelves are installed, the fun truly begins: personalization! These shelves are not just for storage; they are an opportunity to showcase your style and enhance your home’s aesthetic.
Adding Functionality
Consider how your shelves can serve more than one purpose:
- Wine Glass Racks: As demonstrated, adding a simple wine glass rack beneath a shelf is perfect for creating a mini-bar or coffee station.
- Hooks: Attach S-hooks or screw-in hooks to the underside of shelves or the pipes themselves for hanging mugs, kitchen utensils, or decorative items.
- Lighting: Integrate LED strip lights along the bottom of shelves to create ambient lighting or highlight items.
Styling Your Industrial Shelves
Decorating open shelves requires a balance of aesthetics and practicality. Think about:
- Balance and Grouping: Arrange items in odd numbers (groups of 3 or 5) for visual appeal. Mix heights and textures.
- Color Palette: Stick to a cohesive color scheme that complements your room.
- Variety of Items: Combine functional items (books, dishes) with decorative pieces (vases, plants, art). Introduce elements like potted plants, small sculptures, or framed photos to add personality.
- Negative Space: Don’t overcrowd your shelves. Allow for some empty space around objects to give them room to breathe and stand out.
- Themed Displays: Consider styling your shelves with a specific theme in mind, perhaps seasonal decor or a collection of travel souvenirs.
Our Dining Room Transformation with DIY Pipe Shelves
We are absolutely thrilled with the finished DIY pipe shelves in our dining room. They’ve not only added significant storage but have also become a defining feature of the space, injecting character and a touch of modern industrial charm. We truly LOVE them!
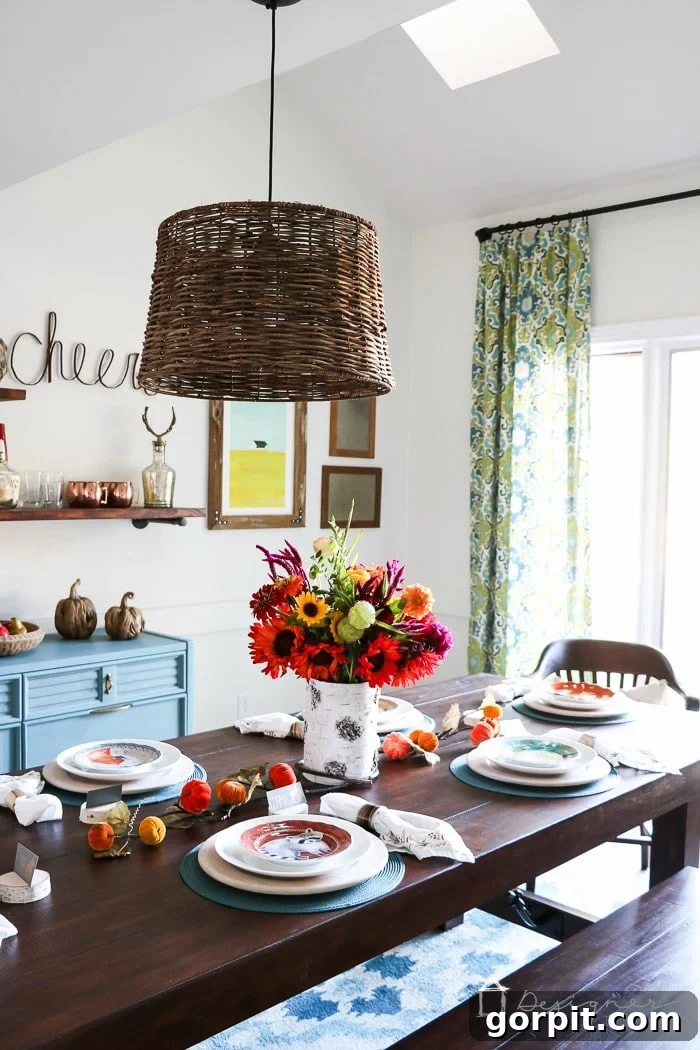
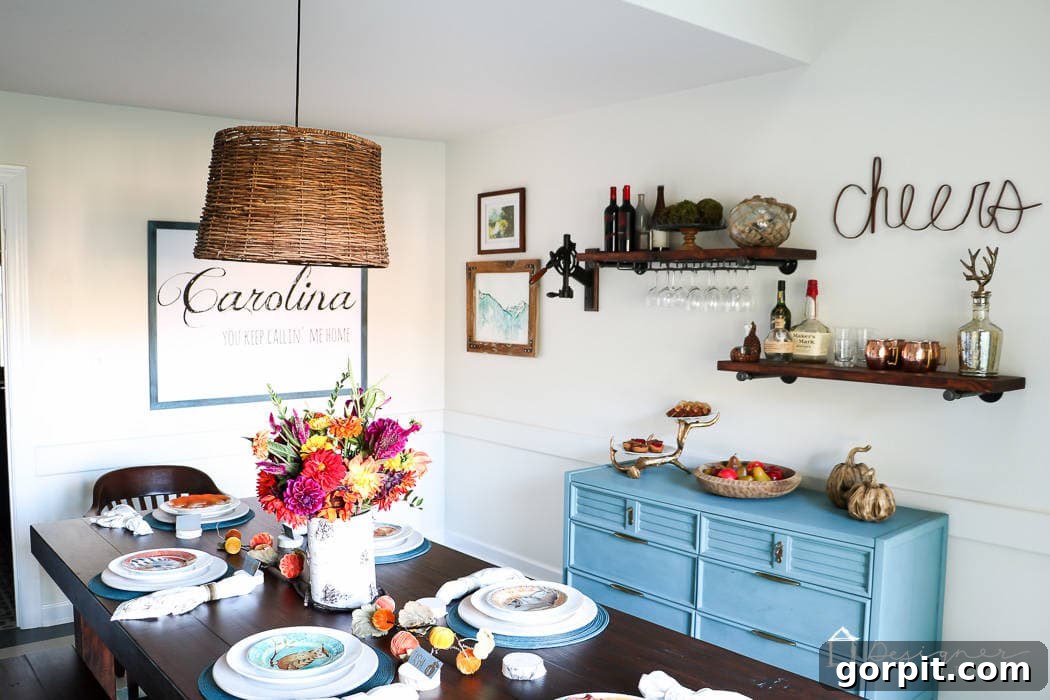
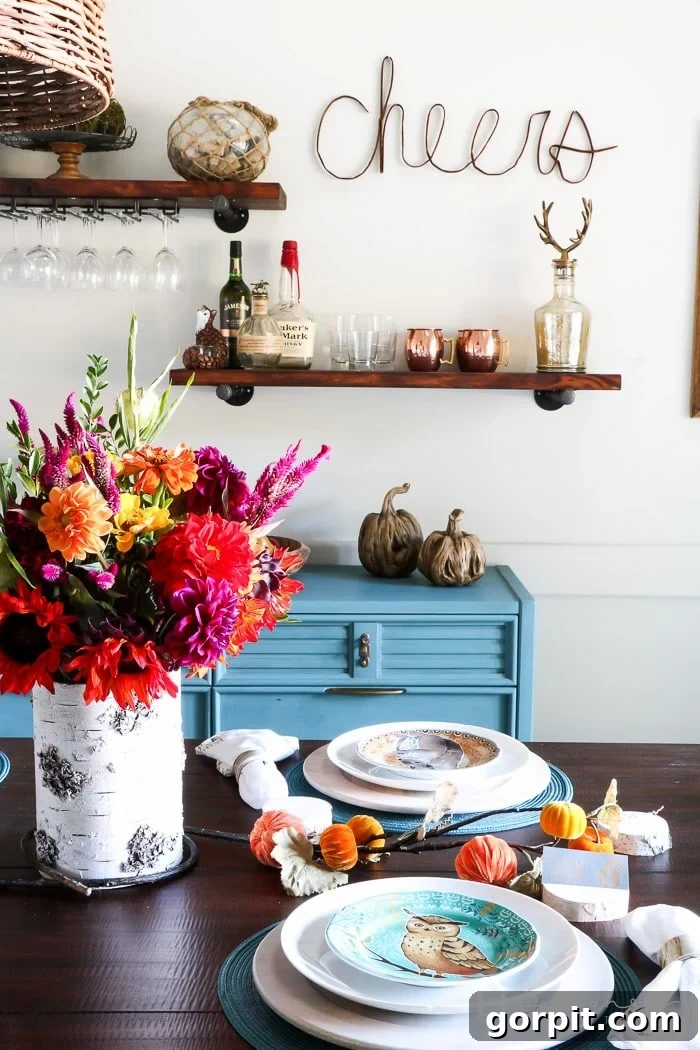
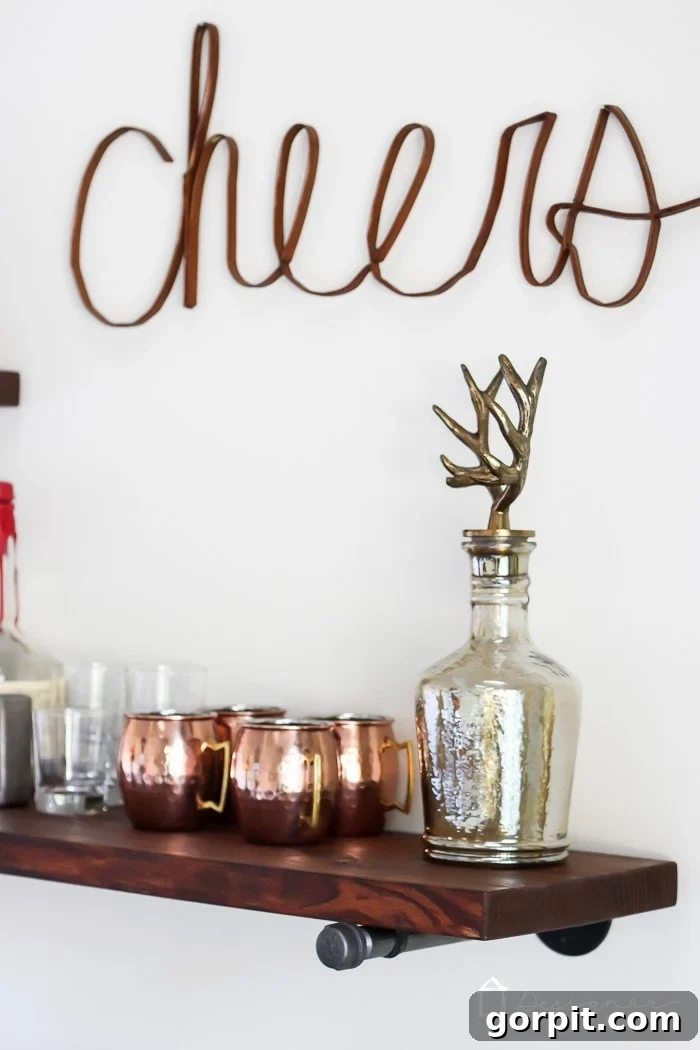
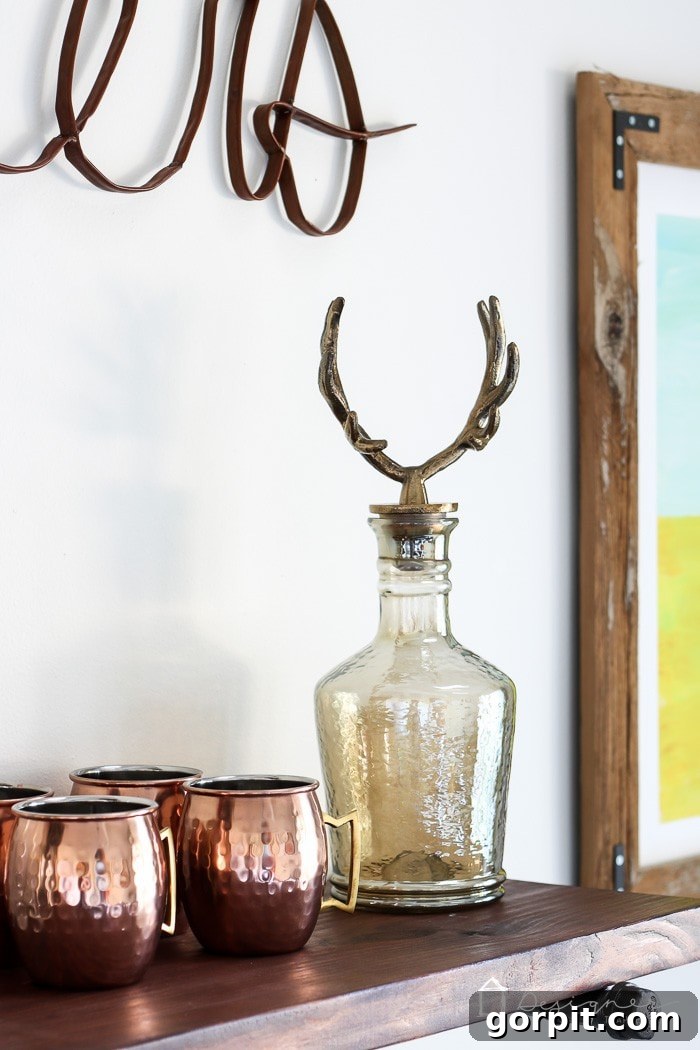
Full Source List for Our Dining Room Decor
Many of you often inquire about other elements in our dining room, so here’s a complete breakdown of where to find everything that brings this space together:
Wall Paint:
Opal White by Clark+Kensington, eggshell finish.
DIY Projects Featured in This Room:
- DIY pendant light
- DIY Birch Place Card Holders
- DIY blue painted dresser
- DIY reclaimed wood art frames
- DIY large scale “Carolina” art
- DIY curtains
- DIY curtain rod
Purchased Items:
- scrap iron Cheers sign
- Eastwood table and benches
- Confetti art print
- Rural midwest art print
- Mountain escape art print
- Curtain fabric from Joann Fabric
- Wall mounted wine bottle opener
- Ikat Rug
Explore More Home Improvement & Design Ideas
If you’re looking for more dining room design inspiration, be sure to check out our updated dining room reveal. This space underwent a complete makeover when we renovated our kitchen last year, showcasing how thoughtful design can transform adjacent areas. We are constantly sharing new DIY projects, design tips, and home renovation journeys to inspire your next project.
Ready to tackle more DIYs and elevate your home’s style? Join our community of VIPs! As a subscriber, you’ll gain exclusive access to all our design guides, printable instructions, project checklists, and much more, all conveniently located in one easy-to-access resource library. Don’t miss out on invaluable resources to make your home improvement dreams a reality.