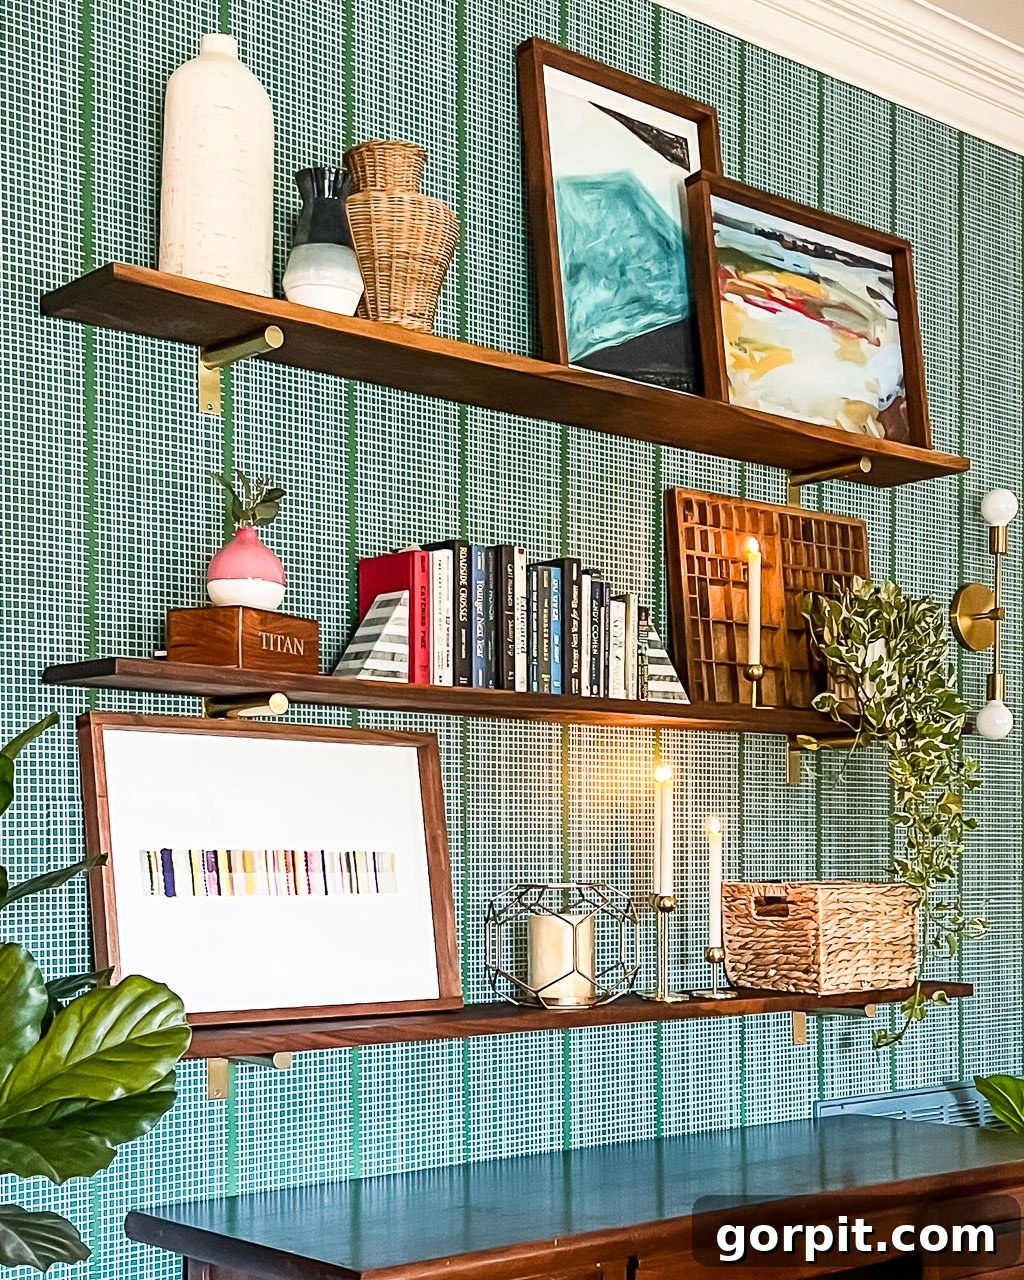
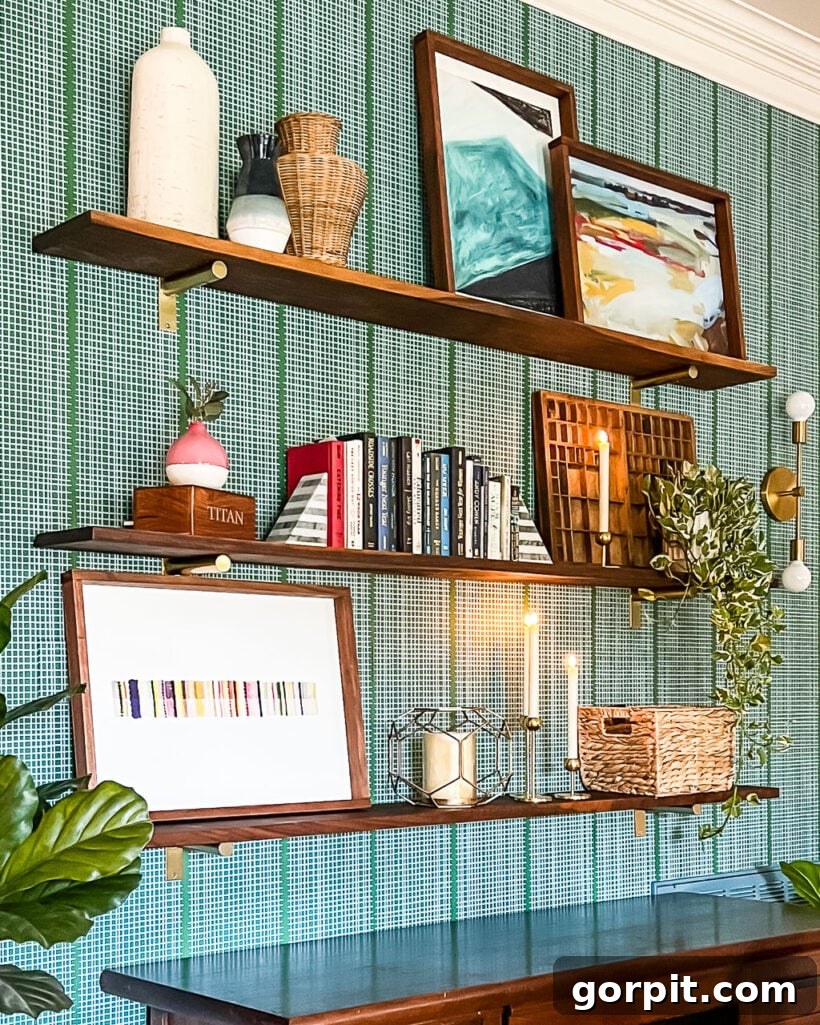
Are you searching for an easy yet impactful way to elevate your home’s aesthetic and boost storage? Look no further! While countless DIY shelf tutorials exist, we’re here to unveil the absolute simplest method for creating stunning wall shelves. This project is so straightforward, even a complete beginner can achieve professional-looking results. Wall shelves are a fantastic solution for transforming a blank wall into a functional and stylish storage hub. Read on to discover how to craft these beautiful and practical wall shelves yourself, adding character and organization to any room.
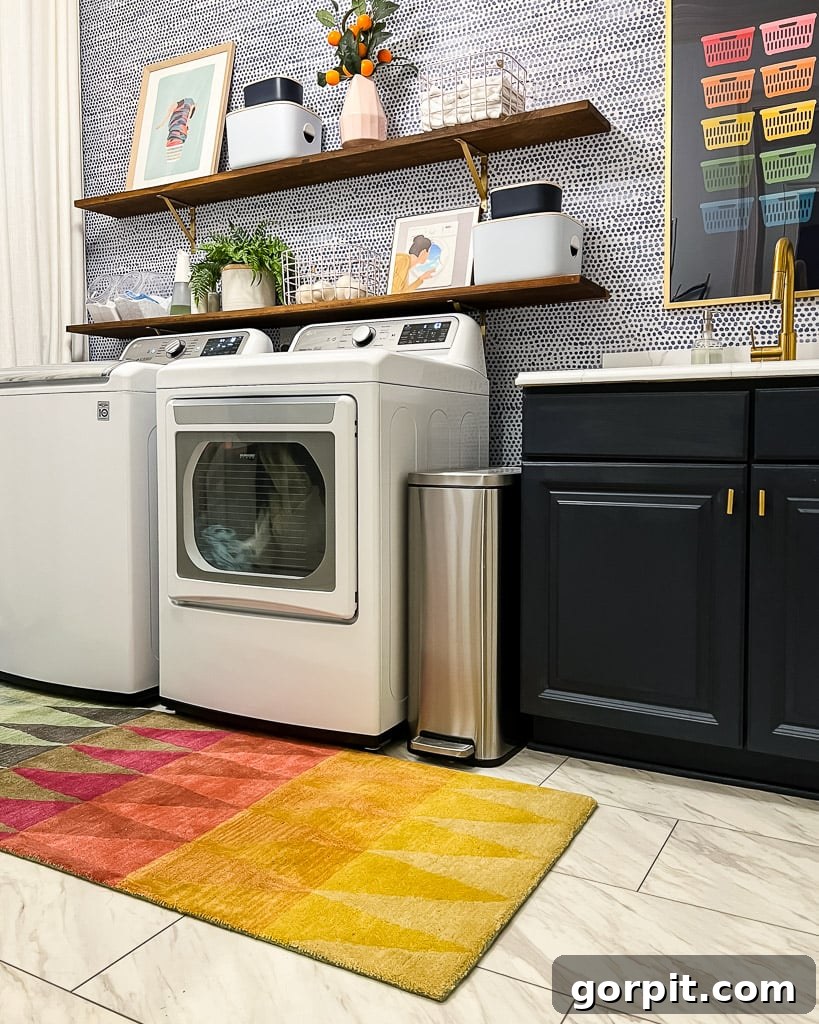
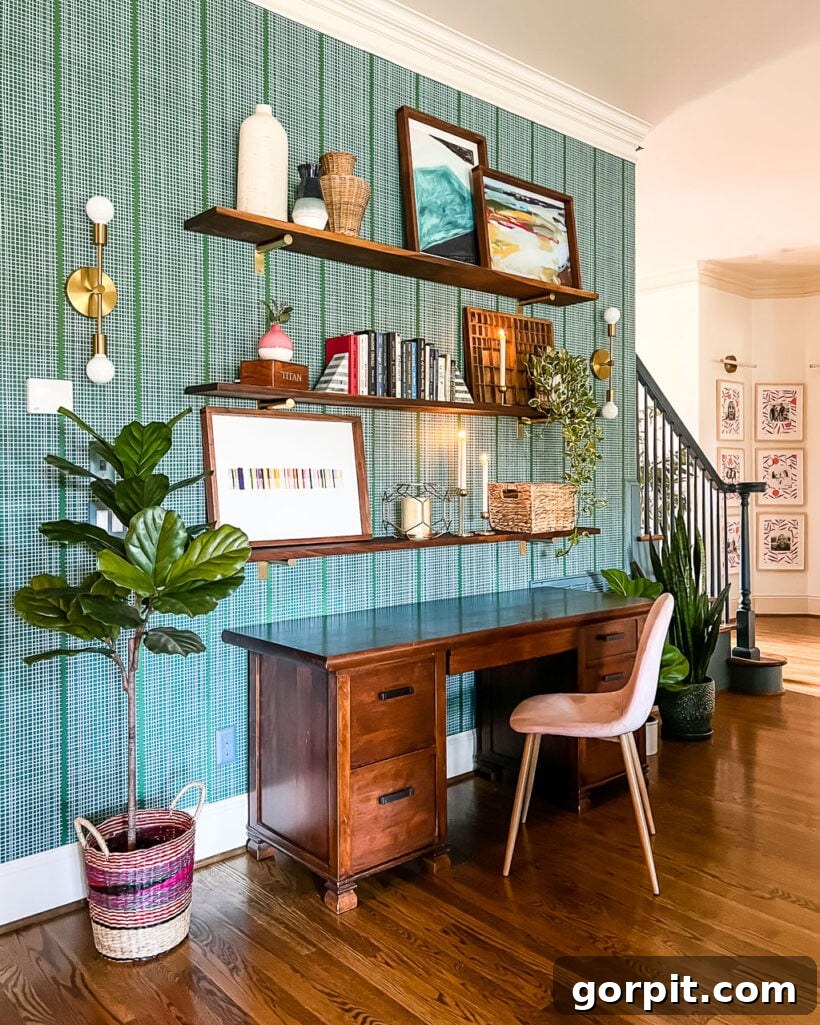
With over two decades of experience in DIY and home renovation projects, we’ve tackled a wide array of shelving solutions. Our portfolio includes everything from DIY floating shelves to robust DIY pipe shelves, and even a magnificent DIY art ledge for our family room, alongside numerous other wall shelf variations. Through all these projects, one particular style has emerged as our undisputed favorite, not just for its ease of installation but also for its undeniable charm and versatility. We adore these shelves so much that we’ve incorporated them into multiple spaces within our home: above a desk in our living room (as seen in the image above) and in our highly functional laundry room (pictured below). The only real difference between these installations lies in the unique aesthetic of the brackets we selected for each space, proving just how adaptable this simple shelving concept can be.
This post contains affiliate links for your convenience. Click here for my full disclosure policy.
How to Create Elegant and Easy DIY Wall Shelves
Embarking on a DIY project can be incredibly rewarding, especially when the end result is both beautiful and practical. These easy DIY wall shelves are perfect for adding character, organization, and a touch of personal style to any room. Whether you’re looking to display cherished items, organize books, or simply add visual interest, this guide will walk you through every step. First and foremost, you’ll need to envision the ideal length and depth for each of your shelves to perfectly suit your space and storage needs. For instance, our popular shelves are designed to be approximately 6 feet long and 8 inches deep, offering ample space without overwhelming the wall.
Planning Your Perfect Shelves: Design and Placement Considerations
Before you even gather your tools, take some time to plan. Consider the function of your shelves: are they for heavy books, light decorative items, or a mix? This will influence your material and bracket choices. Think about the overall aesthetic of the room. Do you want the shelves to blend in or stand out as a feature? Measure your wall space carefully, taking into account windows, doors, and existing furniture. Use painter’s tape to mock up the shelf placement on the wall – this visual aid can be incredibly helpful in determining the ideal height and spacing between multiple shelves. This planning stage is crucial for ensuring your finished shelves not only look fantastic but also serve their intended purpose flawlessly.
Essential Materials & Tools for Your Wall Shelf Project
Gathering the right materials and tools beforehand ensures a smooth and efficient DIY experience. For this project, you’ll find that most items are readily available at your local hardware store or can be ordered online. Investing in quality materials, especially the wood, can significantly enhance the final look and durability of your shelves.
Wood Boards: The Foundation of Your Shelves
- Quality Wood Boards: Select boards that are long enough to span your desired shelf length. The type of wood you choose will impact both the appearance and the cost.
- Our Experience: We opted for solid walnut wooden planks from a local supplier. To our surprise, they were only slightly more expensive than mediocre poplar planks from a big-box store. Don’t be afraid to explore local lumberyards for unique and high-quality wood options.
- For Deeper Shelves: If you desire shelves deeper than standard wood boards, you can effectively join two or more boards. This can be achieved using strong wood glue, reinforced with pocket holes and screws for a seamless and robust connection.
Pre-made Shelf Brackets: Combining Functionality with Style
The right brackets are key to both the structural integrity and the aesthetic appeal of your shelves. They come in a vast array of styles, from minimalist to industrial, allowing you to customize the look. Consider the weight your shelves will hold when selecting your brackets.
- Bracket Selection:
- These are the brackets we used in our laundry room – a perfect blend of strength and clean design.
- For our family room, we used these brackets (though they appear to no longer be sold separately, similar styles are widely available).
Tools for the Job: Ensuring Precision and Safety
- Cutting Tools: A circular saw or miter saw is ideal if you need to cut your wood to length. Many lumber suppliers and hardware stores offer cutting services, which can save you time and effort.
- Stud Finder: Crucial for safely mounting your shelves. This magnetic stud finder is highly recommended for its accuracy and affordability.
- Painter’s Tape: Excellent for marking stud locations and visualizing shelf placement without damaging your walls.
- Drill and Electric Screwdriver: Essential for pre-drilling pilot holes and driving screws with ease.
- Measuring Tape: For accurate measurements of your shelves, wall, and bracket placement.
- Level: A must-have tool to ensure your shelves are perfectly straight.
- Safety Gear: Always prioritize safety. Wear safety glasses to protect your eyes and a dust mask when cutting or sanding wood.
- Sandpaper: Various grits for smoothing your wood boards, from coarse to fine.
- Wood Finish (Optional but Recommended): Wood stain (to alter color) or a finishing oil (to enhance natural beauty and protect). We highly recommend Danish Oil for a rich, matte, protective finish.
Explore more beautiful bracket options below to find the perfect match for your design vision. Simply scroll through the selections and click on any image for complete product details.
For a quick visual overview of the installation process, we’ve included a short video summary (text only, as actual video embed scripts are removed). This is followed by detailed, written instructions to guide you through each step.
Step-by-Step Tutorial: Installing Your DIY Wall Shelves
Time needed: 4 hours
Transform your space in an afternoon! Learn how to install these stylish and sturdy DIY wall shelves with ease.
-
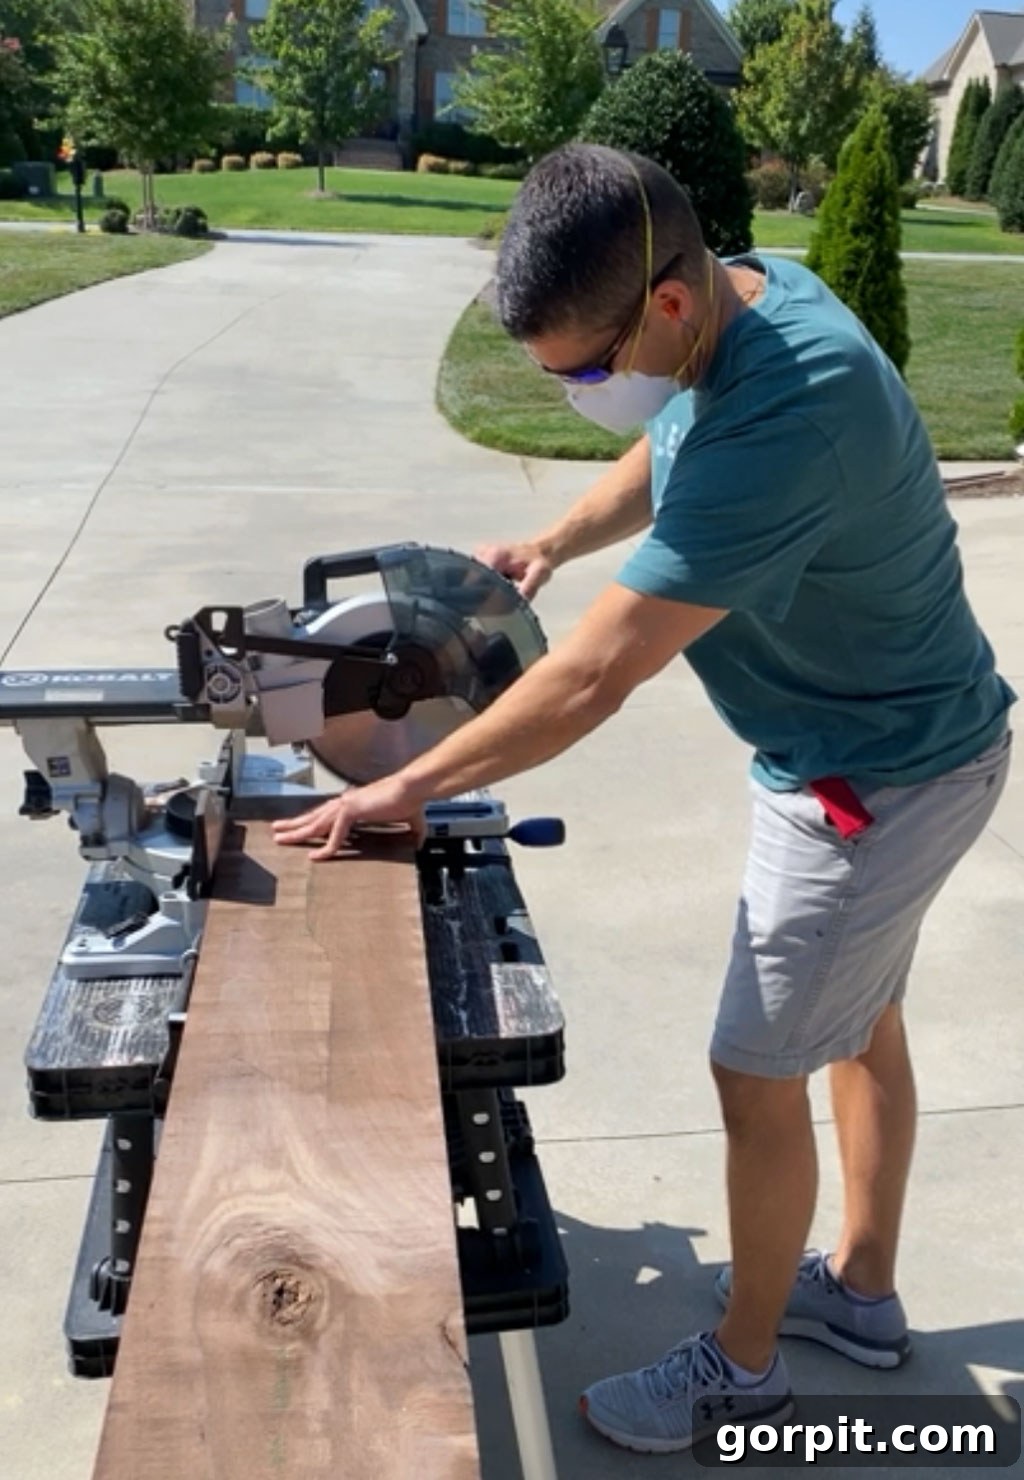
Step 1: Precisely Cut Your Wood to Length
If your chosen wood boards aren’t already the correct length for your desired shelves, this is your first task. Don your safety glasses and use a circular saw or miter saw for clean, straight cuts. If you don’t have access to power tools, a sturdy hand saw can also get the job done, though it might take a bit more effort. Always measure twice and cut once to ensure accuracy. If your supplier offers cutting services, take advantage of them to save time and ensure professional edges. Precision at this stage is key to a polished final look for your DIY wall shelves.

-
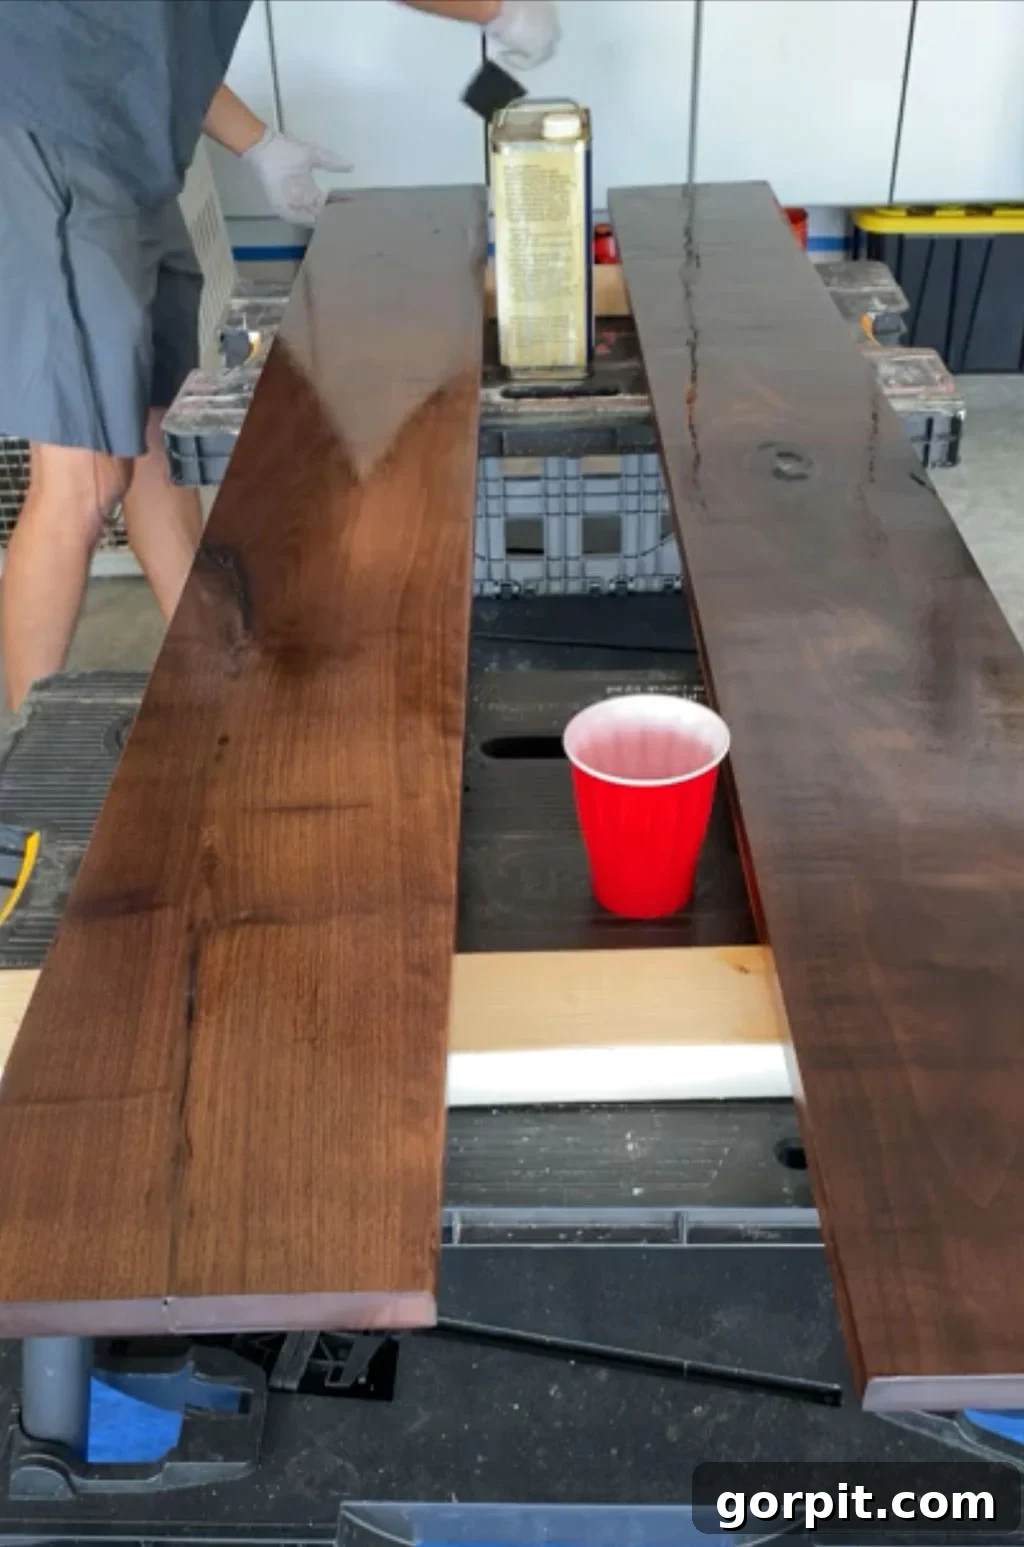
Step 2: Sand and Finish Each Shelf for Durability and Beauty
Once your boards are cut, it’s time to prepare them for their finish. Begin by sanding each wooden shelf thoroughly until it is completely smooth to the touch. Start with a coarser grit sandpaper (e.g., 80-100 grit) to remove any imperfections or rough edges, then move to a medium grit (e.g., 120-150 grit), and finally finish with a fine grit (e.g., 180-220 grit) for a silky smooth surface. After sanding, wipe away all dust with a tack cloth or a slightly damp rag.
Now, if you wish to alter the natural color of your wood, apply your chosen wood stain according to the manufacturer’s instructions. Allow it to dry completely. For those who, like us, prefer to enhance the wood’s natural beauty without changing its color, a finishing oil is an excellent choice. We love using Danish Oil. It goes on wet, is absorbed by the wood, and then you wipe off the excess after about 30 minutes. The result is a rich, warm, matte finish that not only looks beautiful but also provides excellent protection for your shelves. Always allow ample drying time for any finish before proceeding to the next step, ensuring optimal durability and preventing unwanted stickiness.
-
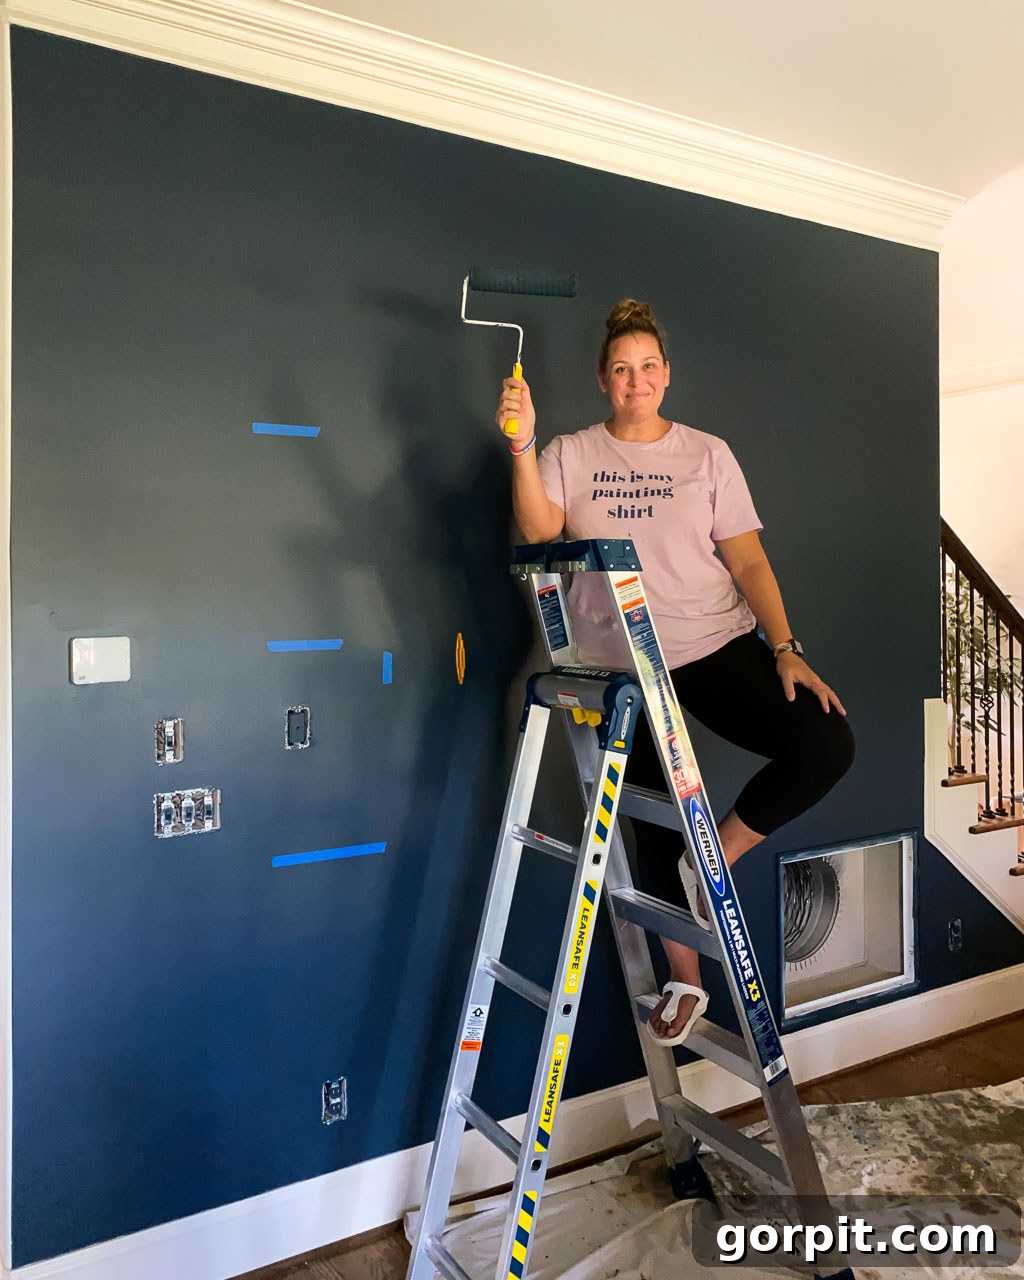
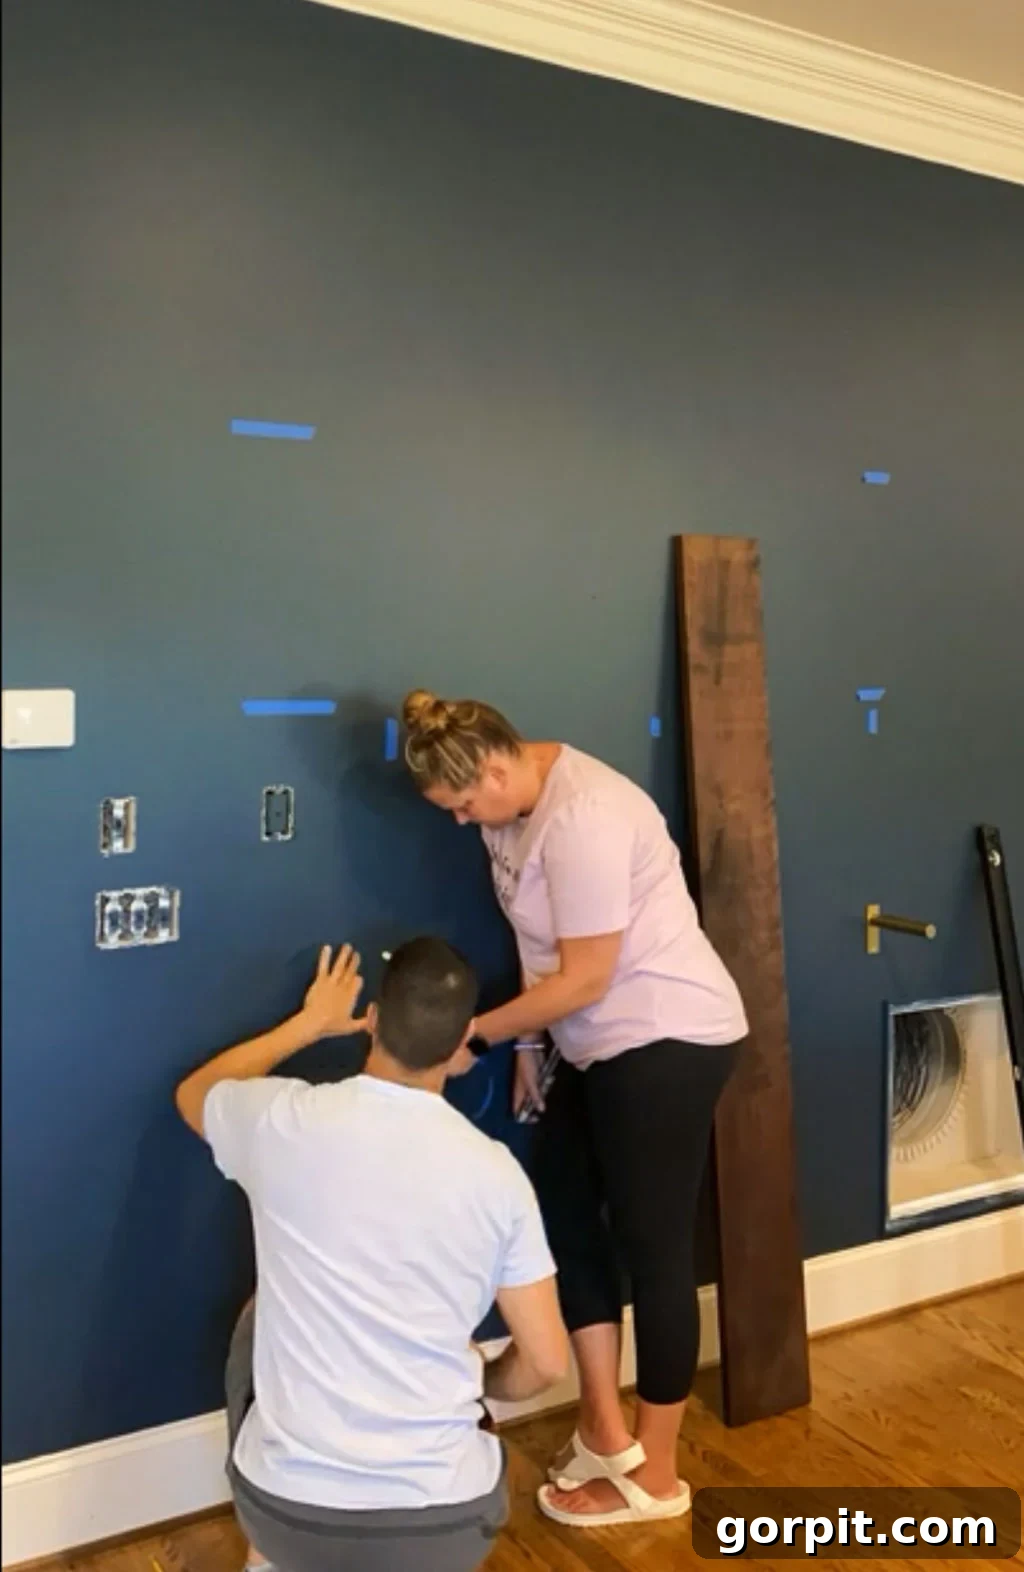
Step 3: Accurately Mark Your Wall Studs & Shelf Placement
Safety and stability are paramount for wall shelves. Start by using your stud finder to locate and mark the studs within the wall where your shelves will be installed. Studs provide the strongest anchor points for your brackets. We recommend using painter’s tape to clearly mark each stud location – it’s easy to see and removes cleanly without damaging paint. Next, determine the precise height and spacing for all your shelves. Use your measuring tape and a level to mark the desired bottom line for each shelf’s placement. Again, painter’s tape can be incredibly helpful here to visualize the layout before drilling. Ensure your marks are perfectly level, as even a slight slant will be noticeable once items are placed on the shelves. This meticulous marking process guarantees a professional and secure installation for your easy DIY wall shelves.
-
Step 4: Securely Install Your Shelf Brackets
With your stud and shelf placement marks ready, it’s time to install the brackets. For maximum stability and weight capacity, my strong recommendation is to secure at least one bracket arm (preferably two for longer shelves) into a wall stud for each shelf. Use your drill to create pilot holes for the bracket screws – this prevents wood from splitting and makes driving screws easier. Align each bracket with your marked lines and use an electric screwdriver to firmly attach them to the wall. If hitting a stud isn’t possible for every bracket point, you can use high-quality wall anchors. However, it is absolutely crucial to purchase anchors that are rated to support significantly more than the anticipated weight of your shelves plus everything you plan to store or display on them. Always follow the anchor manufacturer’s instructions for proper installation. Ensure each bracket is perfectly level before moving on to the next one.
-
Step 5: Mount Your Prepared Shelves onto the Brackets
The final step brings your vision to life! Carefully place your finished wooden shelves on top of the installed brackets. Take a moment to adjust them, ensuring they are centered and that the brackets are evenly spaced on both sides beneath the shelf. Once positioned correctly, it’s time to secure the shelves to the brackets. Most pre-made shelf brackets, including both types we’ve used, come with set screws or pre-drilled holes designed for this purpose. Use your electric screwdriver to drive these setting screws through the pre-drilled holes in the brackets and into the underside of your wooden shelf. These screws are vital as they prevent your shelves from shifting, sliding, or accidentally tipping off, providing a secure and stable surface for all your items. Double-check that all screws are tightened snugly. With this final touch, your easy DIY wall shelves are complete and ready for styling!
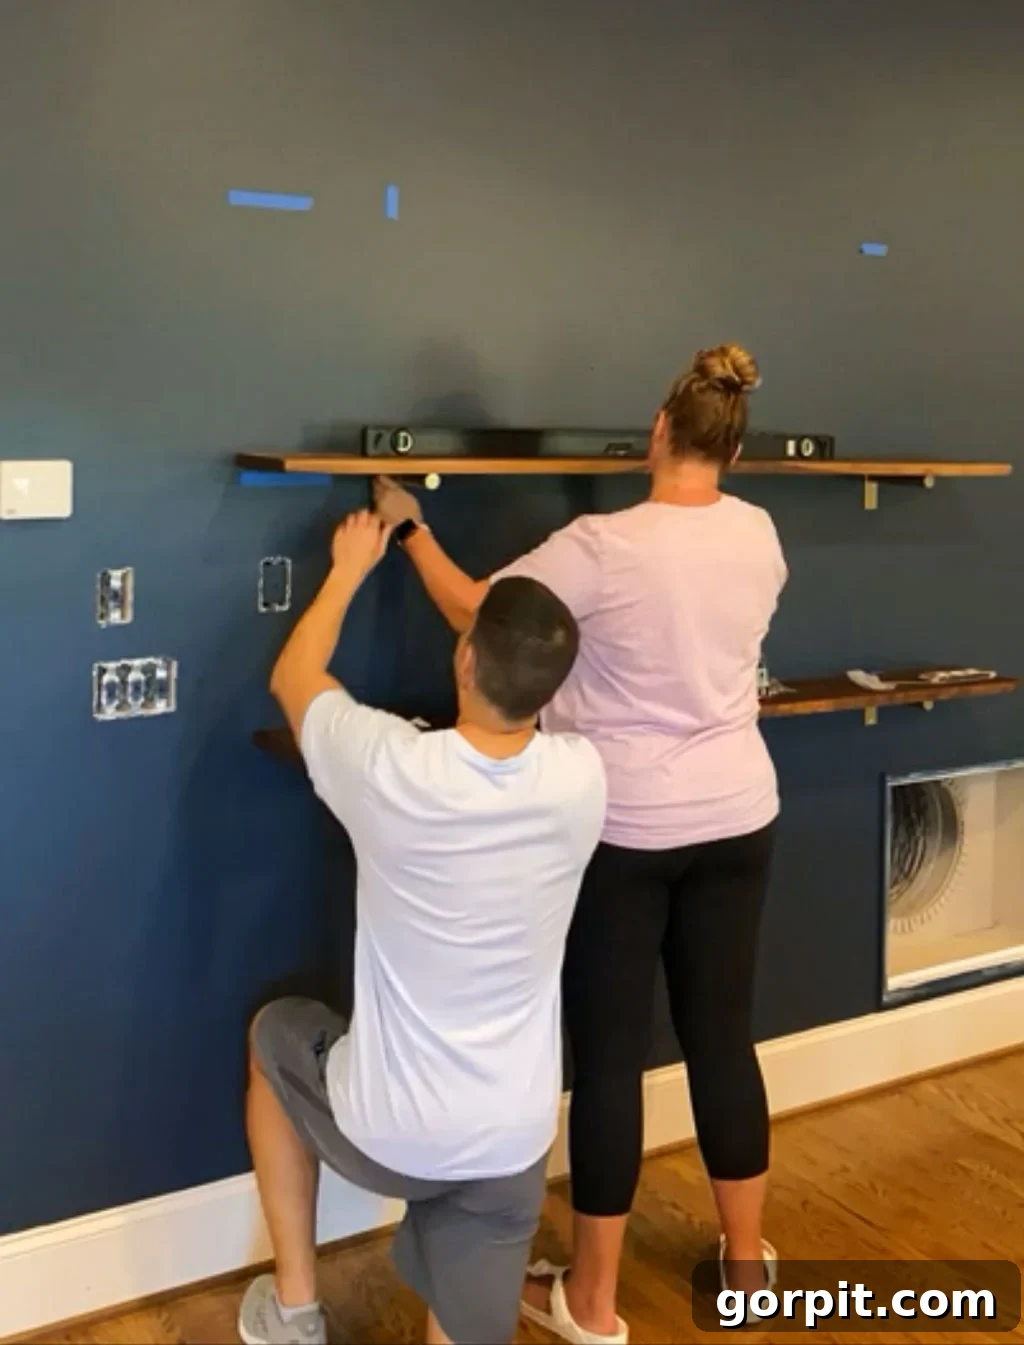
There you have it! I told you this was an incredibly easy wall shelf DIY project, yet the final look is undeniably high-end and sophisticated. We frequently receive compliments and inquiries about both sets of shelves in our home, which is precisely why I decided to put together this detailed tutorial. I sincerely hope you found it helpful and inspiring!
Elevate Your Space with Custom Shelves
Once your easy DIY wall shelves are installed, the real fun begins: styling them! Think about what you want to display and how to create visually appealing arrangements. Mix textures, heights, and materials. Add plants, books, framed photos, and unique decorative objects to reflect your personality. These shelves are not just storage; they are an extension of your home’s character.
Beyond Basic: Customization Ideas for Your Shelves
While the basic installation is simple, there’s no limit to how you can customize these shelves to perfectly match your home’s aesthetic. Consider painting your shelf brackets a bold color for a pop of contrast, or choosing an antique bronze finish for a more classic look. You could also add decorative trim to the edges of your wooden planks for a more ornate feel. For a truly unique touch, explore adding integrated LED strip lighting beneath the shelves to highlight your displayed items and create ambient mood lighting. Don’t be afraid to experiment with different wood types or even reclaimed wood for a rustic, reclaimed vibe. The possibilities for personalization are endless, ensuring your DIY wall shelves are truly one-of-a-kind.
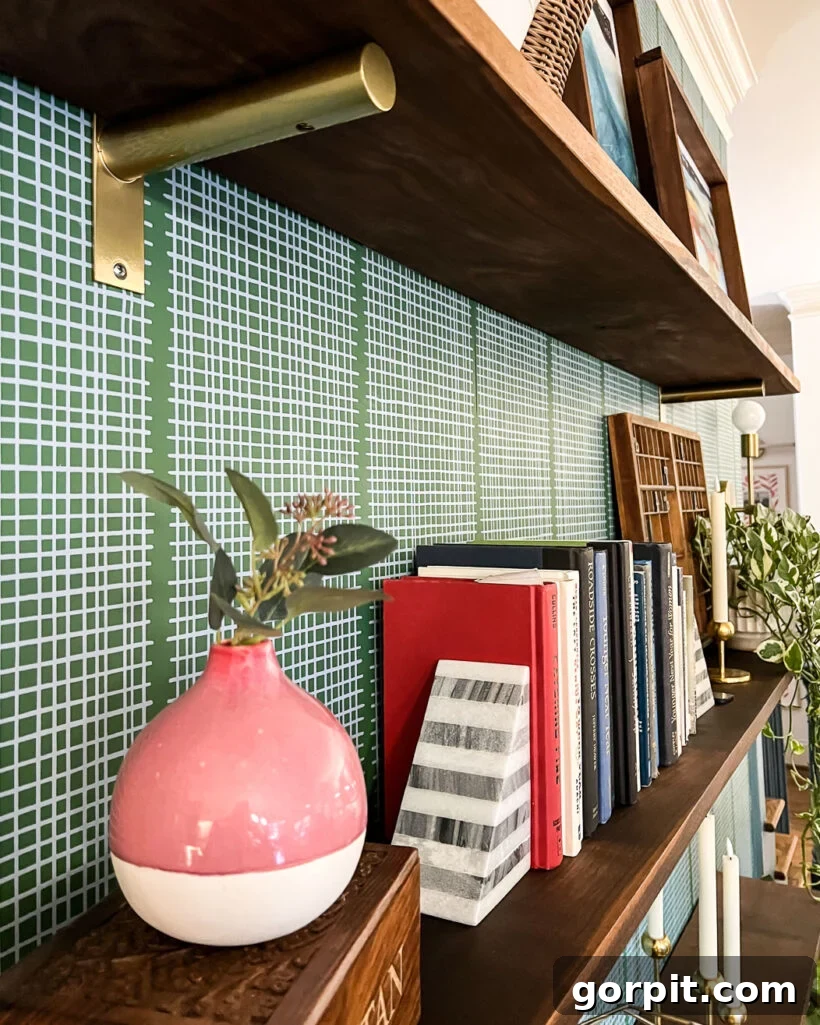
You may have noticed that we’ve recently updated the wall behind the shelves in our family room. It’s no longer painted navy blue because we embraced a beautiful wallpaper. Concerned about future removal, I discovered and mastered how to make any wallpaper removable and renter-friendly! This means you can confidently change your wall decor without fear of damage, adding another layer of flexibility to your home styling.
More DIY Inspiration for Your Home
If you’re energized by the success of these easy DIY wall shelves, you’ll love exploring other projects that can transform your home. Dive into these related articles for more creative ideas and detailed tutorials:
- Easy DIY Floating Shelves & Desk for an Awkward Nook: Maximize small or unconventional spaces with smart design.
- 19 Creative DIY Floating Wall Shelves: A comprehensive collection of ideas for every style and skill level.
- DIY Shelving using Wood and Leather: For a unique, modern, and textured approach to wall storage.
- DIY Pipe Shelves: Embrace an industrial-chic look with these simple-to-build shelves.
- Creative Hacks for IKEA Built-In Cabinets and IKEA Bookshelves: Ingenious ways to customize affordable furniture for a high-end feel.
Transform Your Home with Confidence and Style
Understanding how to approach and execute room transformations can make all the difference in creating a cohesive and beautiful home. If you’re wondering about my methodology for designing and updating spaces, be sure to check out Designer in a Binder®. It’s an invaluable resource that distills years of design experience into an easy-to-follow system, helping you decorate your home with clarity and confidence.
Thank you for joining me on this DIY journey. These easy wall shelves are just the beginning of what you can achieve in your home. With a little planning and these straightforward steps, you can create functional storage and stunning decor that truly reflects your personal style. Happy building!
And for exclusive content, behind-the-scenes sneak peeks, and direct tips from my ongoing projects, don’t forget to subscribe before you head out! Your next inspiration is just a click away.