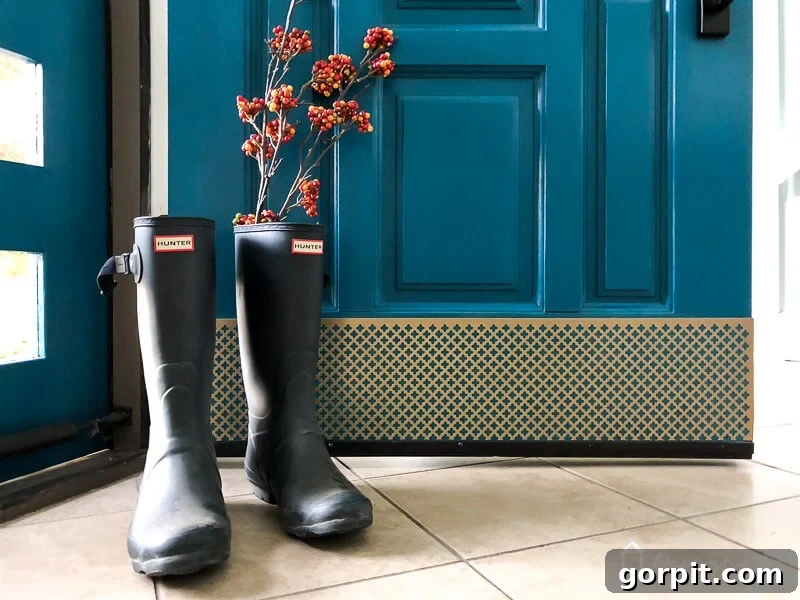
Your front door is more than just an entry point; it’s a statement piece, the welcoming embrace of your home, and a crucial line of defense against the elements and daily wear. While we invest in paint, hardware, and decorative accents to enhance its curb appeal, one essential component often gets overlooked or relegated to a purely functional, somewhat uninspired role: the door kick plate. Traditionally, these protective shields are seen as bland necessities, designed simply to prevent scuffs and damage from feet, groceries, or playful pets. But what if your kick plate could be both exceptionally functional and a stunning design element? This comprehensive guide reveals how to transform a mundane door accessory into a beautiful, durable, and incredibly affordable DIY feature, all without a single visible screw.
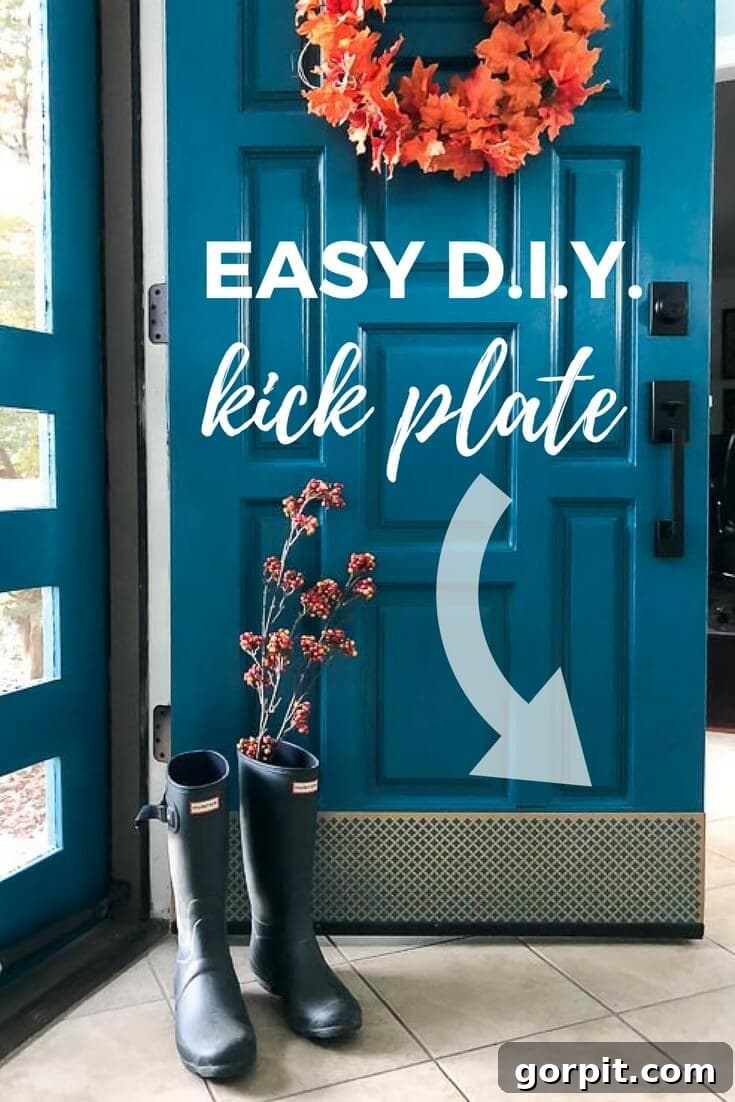
Special thanks to DAP Products for their generous sponsorship of this insightful home improvement project!
Not long ago, we embarked on a complete front door makeover, a project that left us absolutely smitten with the striking new paint color and elegant hardware. We carefully selected a rich, inviting hue – Velvet Curtains by Valspar – and meticulously installed brand-new, polished door hardware, instantly elevating our home’s exterior. Yet, amidst this transformation, a crucial detail remained unresolved: the kick plate. We recognized the absolute necessity of protecting the lower portion of our newly revamped door from the inevitable knocks, scrapes, and scuffs that come with daily use. A kick plate isn’t just an aesthetic choice; it’s a practical shield that preserves your door’s finish and longevity, especially for high-traffic entryways.
Our initial attempt at addressing this missing piece involved a trip to the local hardware store, where we purchased a conventional, off-the-shelf door kick plate. We began the installation process alongside the new hardware, only to hit an immediate snag. The pre-drilled holes in the new kick plate simply did not align with the existing holes from the old one. Installing it would have meant creating a multitude of unsightly, superfluous screw holes across our freshly painted door. Beyond the functional misalignment, we also found ourselves less than thrilled with the aesthetics of visible screw heads marring the sleek design of our updated door. This realization led to an immediate return of the standard kick plate, leaving our stunning front door without its much-needed protection, sans kick plate, for a while longer.
This minor setback, however, sparked a creative revelation. Instead of settling for the conventional, I envisioned a custom kick plate solution that would not only offer superior protection but also boast a far cooler, completely screw-free appearance. Initially, my husband, Joe, might have harbored some skepticism, and to be honest, I too felt a slight tremor of uncertainty as I approached the cutting phase. Yet, as with many DIY endeavors born from necessity and innovation, the outcome was nothing short of perfection! This unique approach bypasses the limitations of store-bought options, allowing you to craft a personalized door kick plate that seamlessly integrates with your home’s style. Dive into the following steps to learn how to create your own bespoke, screw-free door kick plate, elevating your entryway from ordinary to extraordinary.
This post contains carefully selected affiliate links for your convenience. Click here for my full disclosure policy and privacy information.
Crafting the Perfect Shield: How to Make & Secure a DIY Door Kick Plate Without Screws
Achieving a truly custom look for your door kick plate is simpler than you might imagine, especially when you ditch the traditional screw-in methods for a seamless, professional finish. This DIY project is designed for homeowners who crave both durability and distinctive style. Below, you’ll find a comprehensive list of materials and step-by-step instructions to guide you through creating and attaching your own elegant, screw-free door kick plate.
Essential Materials Needed for Your Custom Kick Plate
Selecting the right materials is the first crucial step in any successful DIY project. For this screw-free door kick plate, we prioritize both aesthetics and functionality, ensuring a lasting and beautiful result. Here’s what you’ll need to gather:
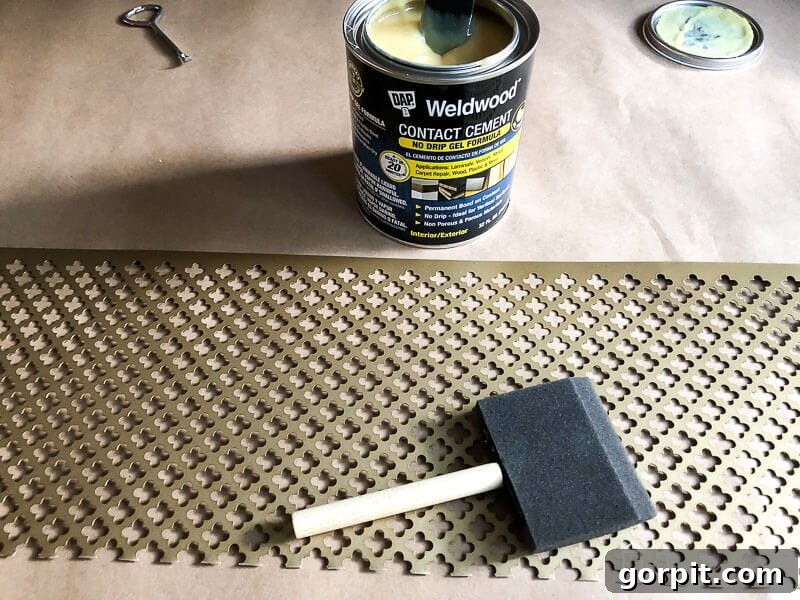
- Decorative Aluminum Sheet: Opt for a sheet that is at least as wide as your door. Aluminum is an excellent choice due to its lightweight nature, resistance to corrosion, and ease of cutting. The decorative patterns available can add significant visual interest, turning a utilitarian item into a design feature.
- Pro Tip: We utilized this exact aluminum sheet, which fortuitously, we had leftover from a previous home project. Always check your stash for usable remnants!
- DAP Gel Contact Cement: This is the star of our screw-free installation. Contact cement provides an incredibly strong, permanent bond between surfaces, making it ideal for attaching rigid materials like metal to wood or composite doors. The “gel” formulation often means less drip and easier application control.
- Tin Snips (Metal Shears): Essential for precisely cutting the aluminum sheet to your desired dimensions. Don’t be intimidated; modern tin snips make cutting aluminum surprisingly manageable and clean.
- Foam Paint Brush: Ideal for applying the contact cement smoothly and evenly to both the back of the aluminum sheet and the door surface. Its disposable nature makes cleanup a breeze.
- Rigid Brayer: This tool is critical for ensuring maximum adhesion. After applying the kick plate, a brayer allows you to apply firm, even pressure across the entire surface, eliminating air pockets and creating a robust bond. A J-roller or a similar firm rubber roller can also work.
Before diving into the detailed steps, remember that a little patience and careful execution will yield professional-grade results. You’re about to create a durable, beautiful upgrade that will protect your door for years to come.
Step-by-Step Guide to a Flawless DIY Kick Plate Installation
Follow these detailed steps to transform your door with a custom, screw-free kick plate. Each stage is crucial for ensuring durability, aesthetics, and a smooth application process.
Estimated Time Needed: Approximately 1 hour (excluding cement drying time).
Learn how to make and install your own door kick plate, achieving a look that’s both elegant and highly functional.
- Step 1: Meticulously Measure and Prepare Your Door Surface.
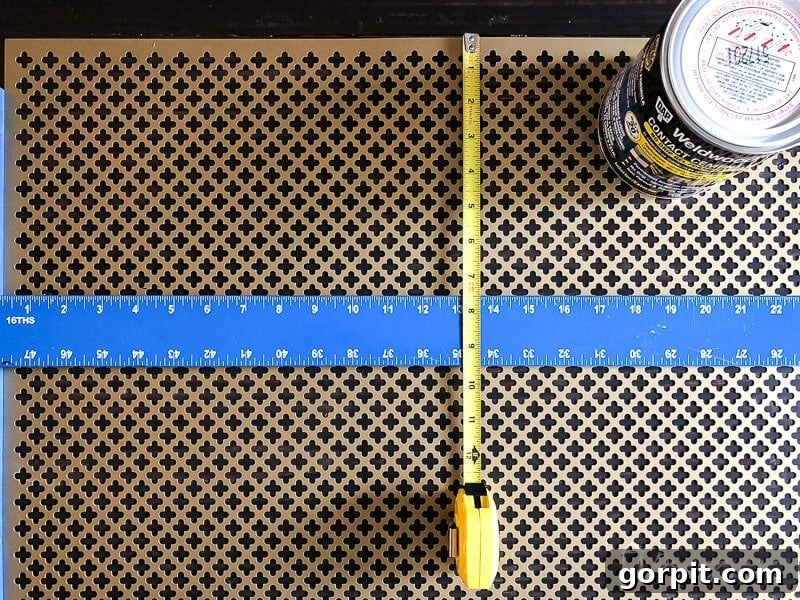
Begin by precisely measuring the area of your door where the kick plate will be applied. Accuracy here is paramount for a professional finish. Once measured, thoroughly clean this area of the door. Any dust, grime, or residue can compromise the adhesive’s bond, so use a degreaser or mild soap and water, then allow the surface to dry completely before proceeding. Standard recommendations for kick plate dimensions typically match the full width of the door or are slightly narrower, allowing for a 1-inch inset on each side. For instance, a 36-inch wide door might feature a kick plate between 34 and 36 inches wide. The height of exterior door kick plates commonly ranges from 6 to 8 inches, balancing protection with aesthetic proportion. For our 36-inch wide door, we opted to maintain the existing door banding, cutting our kick plate to a height of 7.5 inches. Crucially, perform a dry fit with your cut material to verify your measurements and ensure a perfect fit before applying any adhesive.

- Step 2: Mark and Precisely Cut Your Decorative Aluminum Sheet.
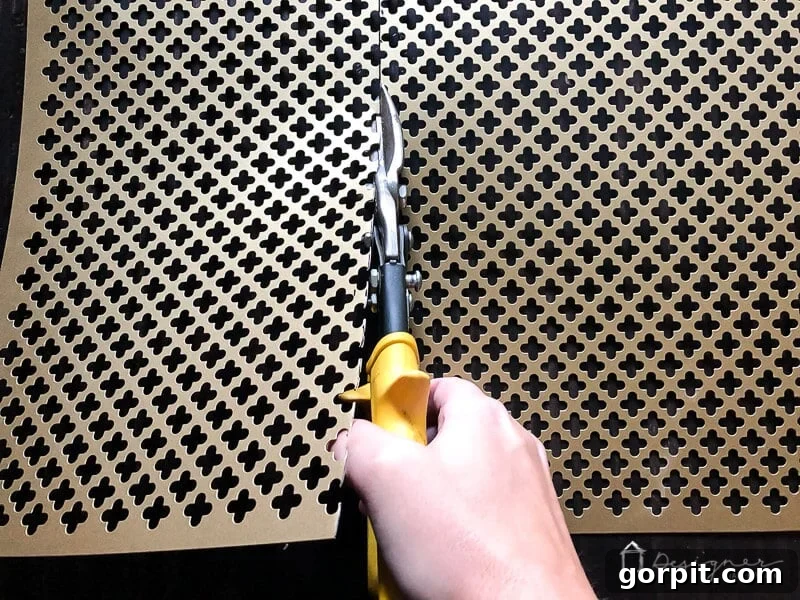
With your measurements confirmed from the dry fit, carefully mark the dimensions onto your decorative aluminum sheet. Using tin snips or metal shears, cut the sheet to your desired size. This step is often perceived as daunting, but with the right tools, cutting aluminum is surprisingly straightforward and less strenuous than it appears. Ensure you wear appropriate safety gloves and eye protection when working with metal to prevent any accidental cuts or abrasions from sharp edges.
- Step 3: Apply DAP Gel Contact Cement to Both Surfaces.
This is where the magic of the screw-free installation happens. Using a foam paint brush, apply a thin, even coat of DAP Gel Contact Cement to the entire back surface of your aluminum sheet AND to the corresponding, previously cleaned area on your door. Contact cement works by bonding to itself, so it’s critical that both surfaces are coated. Carefully follow the specific instructions provided on the contact cement can, paying close attention to the recommended drying time (often referred to as “tack time”) before bringing the surfaces together. Ventilation is also important, so ensure adequate airflow in your workspace. Additionally, be mindful of any temperature requirements specified by the manufacturer, as extreme temperatures can affect cure time and bond strength.
- Step 4: Carefully Attach Your Door Kick Plate to the Door.
Once the contact cement has dried for the precise amount of time indicated by the manufacturer (it should feel tacky, but not wet, to the touch), it’s time for the crucial attachment. This step requires precision, as contact cement forms an instant and strong bond upon contact. I highly recommend enlisting a helper for this stage to ensure perfect alignment. Hold the aluminum piece perpendicular to the door, carefully aligning the bottom edge of the kick plate with your desired starting point on both corners. Once you are absolutely certain it is level and perfectly positioned, slowly pivot the kick plate upwards, allowing the entire sheet to make firm, even contact with the door surface. We couldn’t capture photos of this specific moment because both of our hands were fully engaged in ensuring flawless placement. Remember, with contact cement, you essentially get one shot to get it right, so take your time and aim for perfection.
- Step 5: Firmly Press Your Door Kick Plate into Place for Optimal Adhesion.
After the kick plate has made initial contact, immediately use a rigid brayer to apply firm, consistent pressure across the entire surface of the kick plate. Roll the brayer back and forth, from the center outwards, ensuring that every square inch of the metal makes solid contact with the door. I had Joe stand firmly behind the door, bracing it, which allowed me to exert maximum force with the brayer. This step is vital for expelling any trapped air bubbles and creating the strongest possible bond, securing your kick plate permanently and seamlessly to the door. The more thoroughly you press, the better and more durable the adhesion will be.
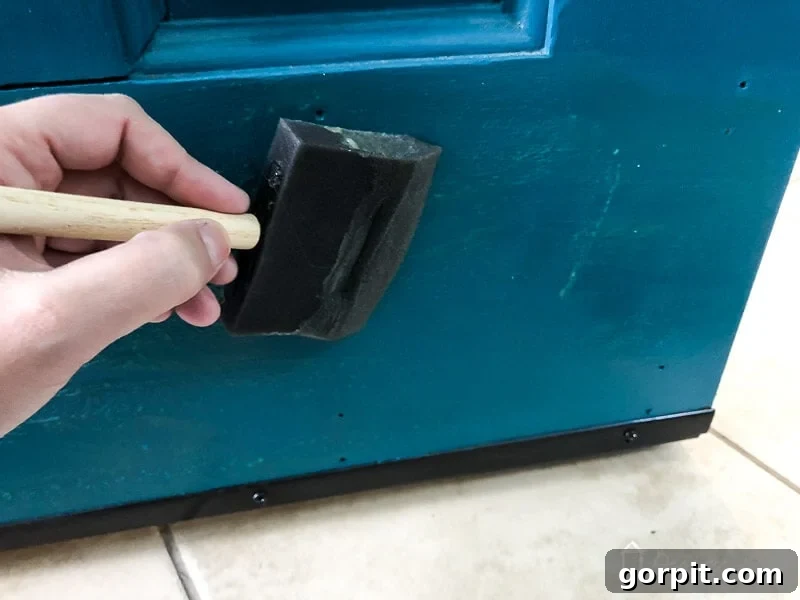
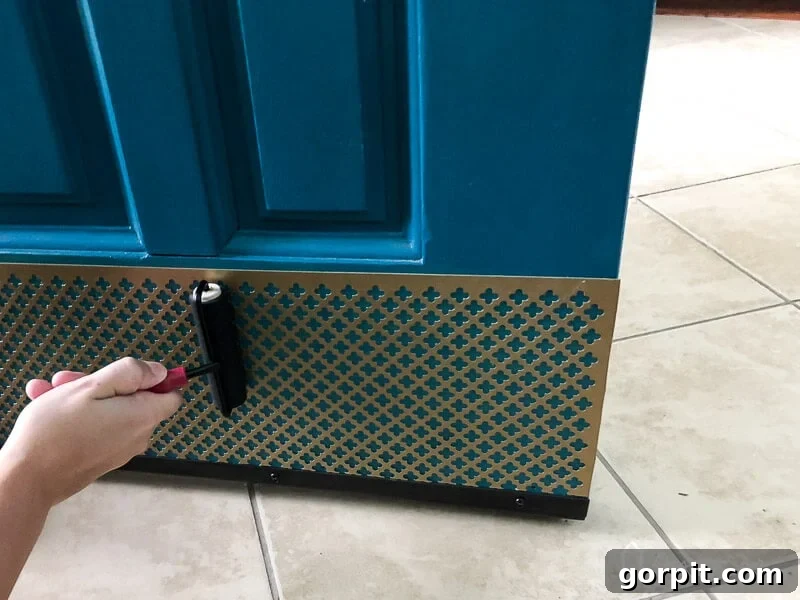
And there you have it! The transformation is complete, and I couldn’t be more thrilled with the final result. The elegant pop of gold from the decorative aluminum against our front door’s beautiful blue hue creates a truly stunning visual contrast. This DIY kick plate isn’t just a protective barrier; it’s a genuine design accent that enhances our entire entryway. The screw-free installation delivers a clean, modern aesthetic that perfectly complements our door makeover, proving that functional elements can indeed be beautiful.
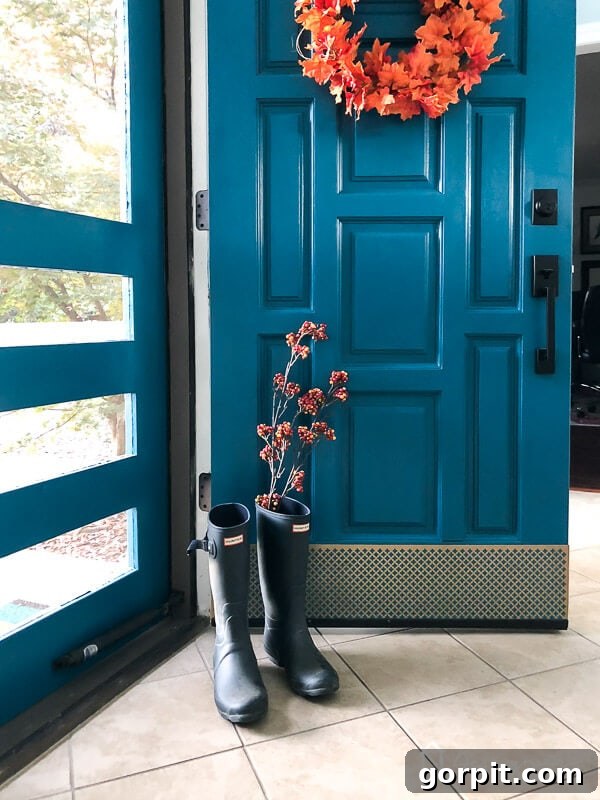
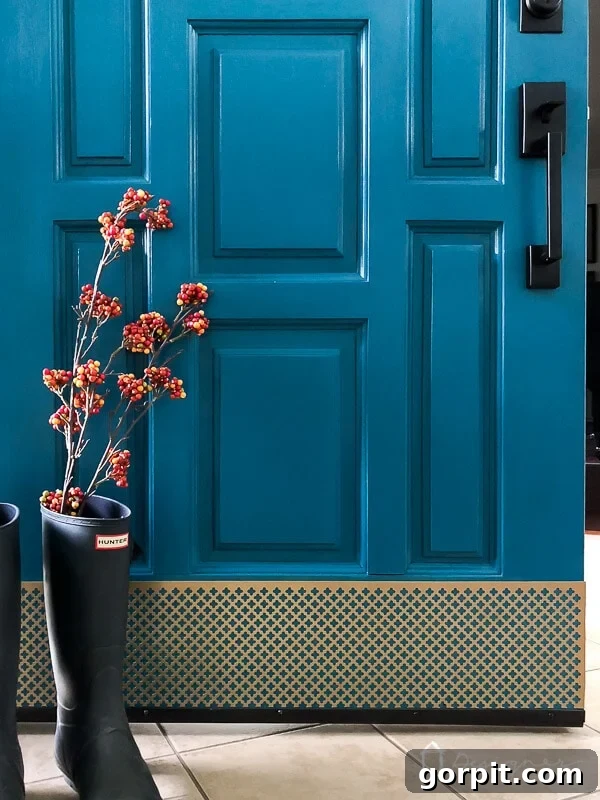
This project demonstrates that thoughtful DIY can yield results far superior to mass-produced alternatives, especially when it comes to custom aesthetics and a flawless finish. Beyond the initial installation, maintaining your new aluminum kick plate is incredibly simple. A quick wipe-down with a damp cloth and mild soap is usually all that’s needed to keep it gleaming and free from dirt or scuffs. For any stubborn marks, a non-abrasive metal polish designed for aluminum can restore its luster without damaging the surface or affecting the adhesive bond. Enjoy the enhanced curb appeal and lasting protection your new, custom kick plate provides!
Explore More Home Improvement & Door-Related Projects:
- Seamless Door Repair: How to Fill Old Screw Holes When Replacing Hardware
- Quick & Easy DIY Door Repair for Common Wear and Tear
- An Easy (but Dramatically Impactful) Front Door Update – Discover our previous door transformation details.
- Solving Common Door Issues: How to Fix a Door That Won’t Close Properly
Curious about my unique approach to transforming rooms and spaces throughout our home? Be sure to check out Designer in a Binder® – your affordable and straightforward guide to decorating with confidence.
And for exclusive content, behind-the-scenes sneak peeks, and the latest DIY tips delivered straight to your inbox, don’t forget to subscribe before you go!