Every homeowner, at some point, faces the inevitable: a hole in the drywall. It’s a common occurrence, whether from an over-enthusiastic doorknob, a piece of furniture bumping the wall, or the playful chaos of kids and pets. While these imperfections can be frustrating, the good news is that repairing them doesn’t require calling in a professional handyman or possessing advanced DIY skills. This comprehensive guide will walk you through the absolute easiest and most efficient way to fix a hole in your wall, empowering you to tackle this common home repair yourself with confidence and achieve professional-looking results.
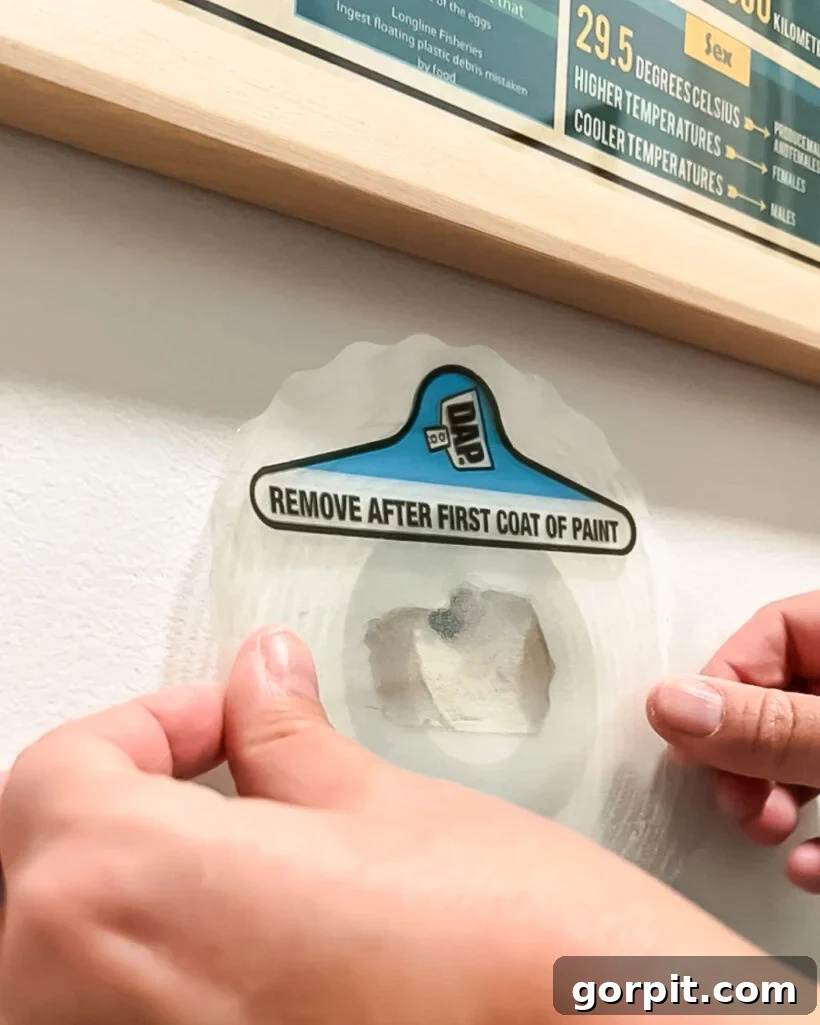
Table of Contents
Toggle
Thank you to DAP for sponsoring this post. This post contains affiliate links for your convenience. Click here for my full disclosure policy.
Dealing with damaged drywall is arguably one of the most common home repair tasks homeowners encounter. Despite its frequency, many people dread the idea of fixing wall holes, often postponing it because it seems like a complicated, messy, and time-consuming project. I’ve been there myself, guilty of putting off these repairs! However, I’ve discovered that repairing a hole in the wall can be surprisingly simple and clean, especially with the right approach and materials. You absolutely do not need to hire a professional for everyday wall repairs. By following the straightforward tips and steps outlined below, you can learn how to repair and patch drywall holes with ease, achieving a smooth, seamless finish every time.
Determine the Size of Your Drywall Hole for Effective Repair
Before you begin any drywall repair, the first crucial step is to accurately assess the size of the hole you’re dealing with. This determination will guide you in choosing the most appropriate and effective repair method. Generally, drywall holes fall into two main categories based on their size:
- Small Holes: These are typically minor imperfections, such as those left by nails, screws, picture hangers, or small dings. These holes are usually less than 1/2 inch in diameter. For these smaller blemishes, a simple application of spackle or joint compound is usually sufficient to fill and smooth the surface. If you’re looking for detailed guidance on how to tackle these smaller drywall repairs, you can find excellent tips for small drywall repairs here.
- Larger Holes: These encompass more significant damage, such as those caused by doorknobs slamming into walls, furniture impacts, or accidental punctures. These holes can range from 1/2 inch up to several inches in diameter. For these larger areas of damage, a drywall patch is essential to provide structural integrity and a smooth finish. My absolute favorite solution for these types of wall patches, offering unparalleled speed and cleanliness, are the DAP Eclipse Rapid Wall Repair Patches. These innovative patches are a game-changer for DIY drywall repair.
Understanding the distinction between small and large holes ensures you select the correct products and techniques, making your drywall repair project much more successful and less daunting.
Can You Fix a Hole in the Wall Without Spackling and Sanding? The Mess-Free Solution
For decades, the standard drywall repair process involved a tedious cycle of applying spackling or drywall mud, waiting for it to dry, and then enduring the dusty, messy chore of sanding—often repeated multiple times to achieve a smooth finish. This traditional approach is precisely why many homeowners put off wall repairs. But what if I told you there’s a revolutionary product that allows you to fix a hole in the wall without spackling or sanding?
Yes, it’s absolutely possible! My discovery of DAP Eclipse Rapid Wall Repair Patches a few years ago completely transformed my approach to drywall repair. I can confidently say I’ll never go back to the old, messy methods. These innovative wall patches eliminate the need for drywall mud and spackling paste, meaning there’s no more waiting for compound to dry and absolutely no messy sanding involved. This allows for an incredibly fast and clean repair process – you can actually paint over the patch immediately (and, in fact, you’re instructed to). This remarkable feature speeds up your project significantly, letting you complete wall repairs in minutes rather than hours or days.
Here’s a closer look at some of the standout features of DAP Eclipse patches that make them the ultimate solution for efficient and durable drywall repair:
- 4x Stronger Than Drywall Itself: These patches offer superior impact resistance, making them ideal for areas prone to recurrent damage, such as behind doors. They provide a permanent and robust repair that outlasts traditional fixes.
- Mess-Free Application: Forget about the sticky residue, dust, and cleanup associated with spackling and sanding. DAP Eclipse patches offer an incredibly clean application, preserving the tidiness of your home.
- Finish Your Project Faster: The ability to paint immediately means you can complete your drywall repair in a fraction of the time. No more waiting hours between coats or for drying times, accelerating your home improvement tasks.
- Permanent and Long-Lasting: Designed for durability, these patches won’t peel, crack, or lose adhesion over time. They integrate seamlessly into your wall for a repair that truly lasts.
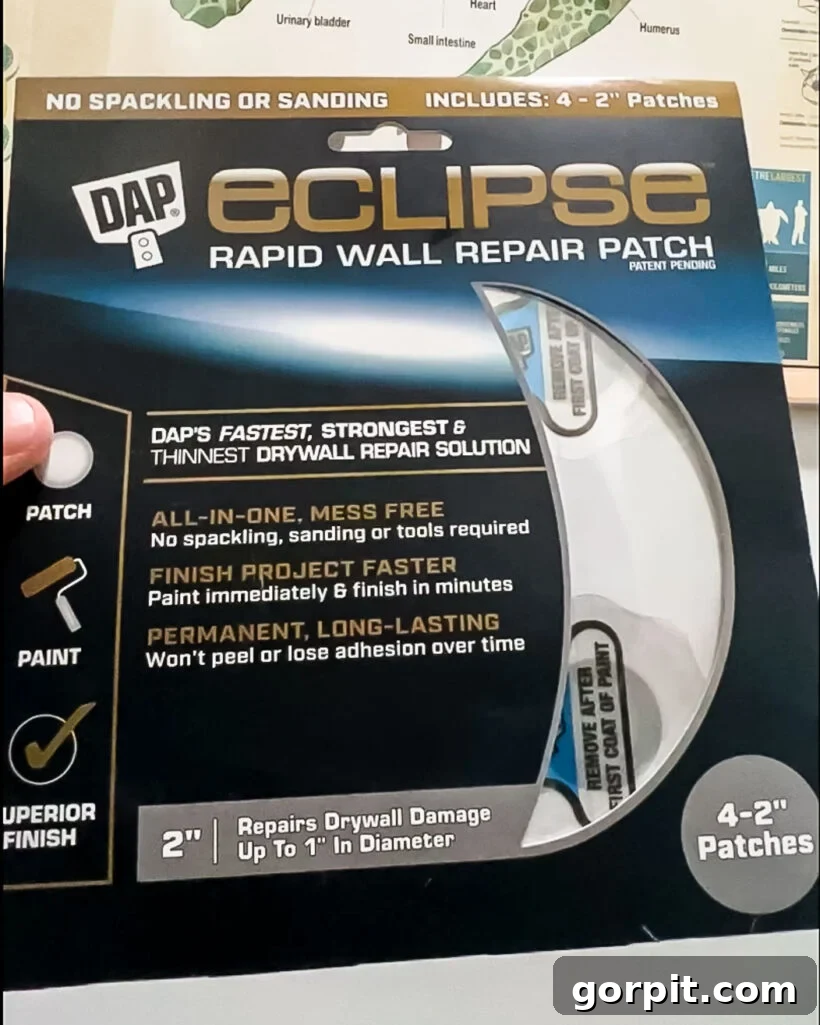
When I first saw the commercial for DAP Eclipse Wall Repair Patches, I admit I was skeptical. It seemed too good to be true—a perfect, easy fix that eliminated all the traditional hassles. But having used these patches countless times since then, I can attest: IT REALLY IS THAT EASY AND PERFECT. This product truly delivers on its promise of a quick, clean, and durable drywall repair.
How to Fix a Hole in the Wall with DAP Eclipse Patches: A Step-by-Step Guide
Repairing drywall has never been simpler, thanks to DAP Eclipse patches. Follow this detailed guide to achieve a flawless finish quickly and easily.
Materials Needed for Easy Drywall Repair
- DAP Eclipse Rapid Wall Repair Patches: These come in various sizes (2″, 4″, and 6″). Ensure you select a patch size where the damaged area does not extend beyond the gray center circle of the patch. Having a variety on hand can be useful for different repair needs.
- Paint roller: Always use a paint roller for the smoothest and most consistent finish. A paint brush is not recommended as it can leave noticeable brush strokes and won’t provide optimal coverage over the patch, potentially making the repair visible.
- Touch-up paint: It’s best to use leftover paint from your wall. If you don’t have any, don’t worry! You can use these practical tips to match a paint color that is already on your walls perfectly. Consider taking a small chip of paint or a photo to a paint store for an accurate match.
- Sandpaper or sanding sponge: A fine-grit sandpaper (around 120-150 grit) or a sanding sponge will be needed for light preparation around the hole, ensuring a flat, smooth surface for optimal patch adhesion.
- Damp cloth: Essential for wiping away dust and debris after sanding, ensuring a clean surface for the patch and paint to adhere to.
- Putty knife: A flexible putty knife is useful for scraping away loose paint or debris and ensuring the edges of the hole are flush with the wall surface.
Short Video Overview
For a visual demonstration of the entire process, I highly recommend watching the short video overview below. It will provide a clear understanding of each step before you dive into the detailed tutorial. The video will begin playing after a brief advertisement.
Step-by-Step Instructions: Fixing Drywall with DAP Eclipse
Time needed: 30 minutes
Fixing a hole in the wall using DAP Eclipse patches is incredibly quick and simple. The entire process, excluding paint drying time, typically takes less than 30 minutes of actual work. Follow these steps for a seamless repair.
- Prepare the Damaged Area.
Start by thoroughly preparing the area around the hole. Use a putty knife to gently scrape away any loose paint, wallpaper, or debris that might be clinging to the edges of the hole or surrounding wall. Following this, lightly sand the area with your sandpaper or sanding sponge. The goal here is to ensure that the edges of the hole are perfectly flat and flush with the wall surface, with no raised imperfections. Finally, take a damp cloth and meticulously wipe away all dust and residue from the wall. A clean surface is crucial for proper adhesion of the patch and a smooth paint finish.
- Apply the Wall Patch.
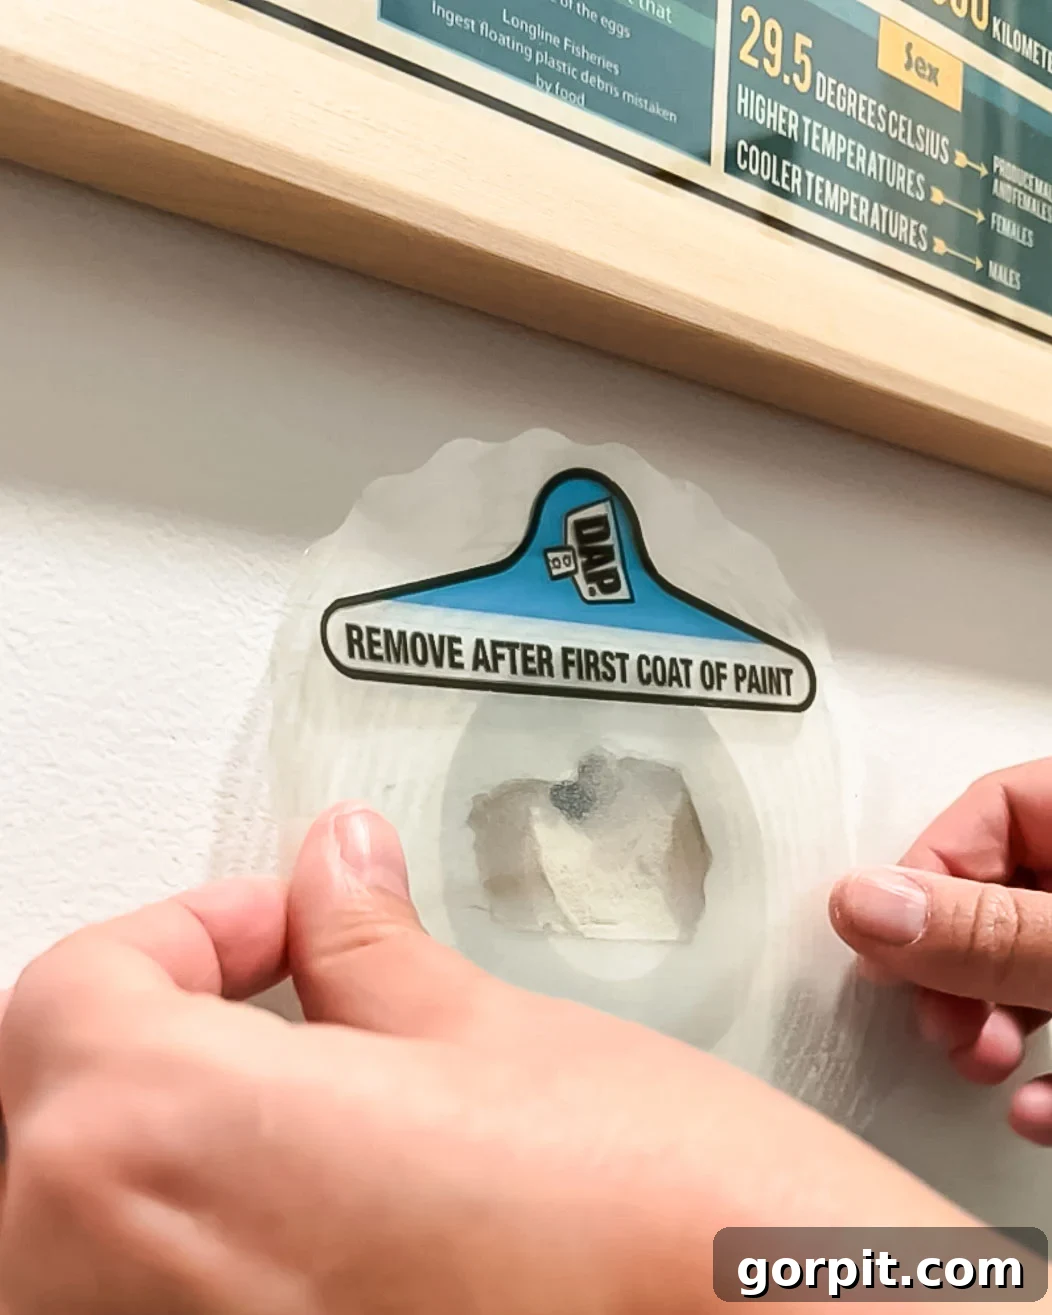
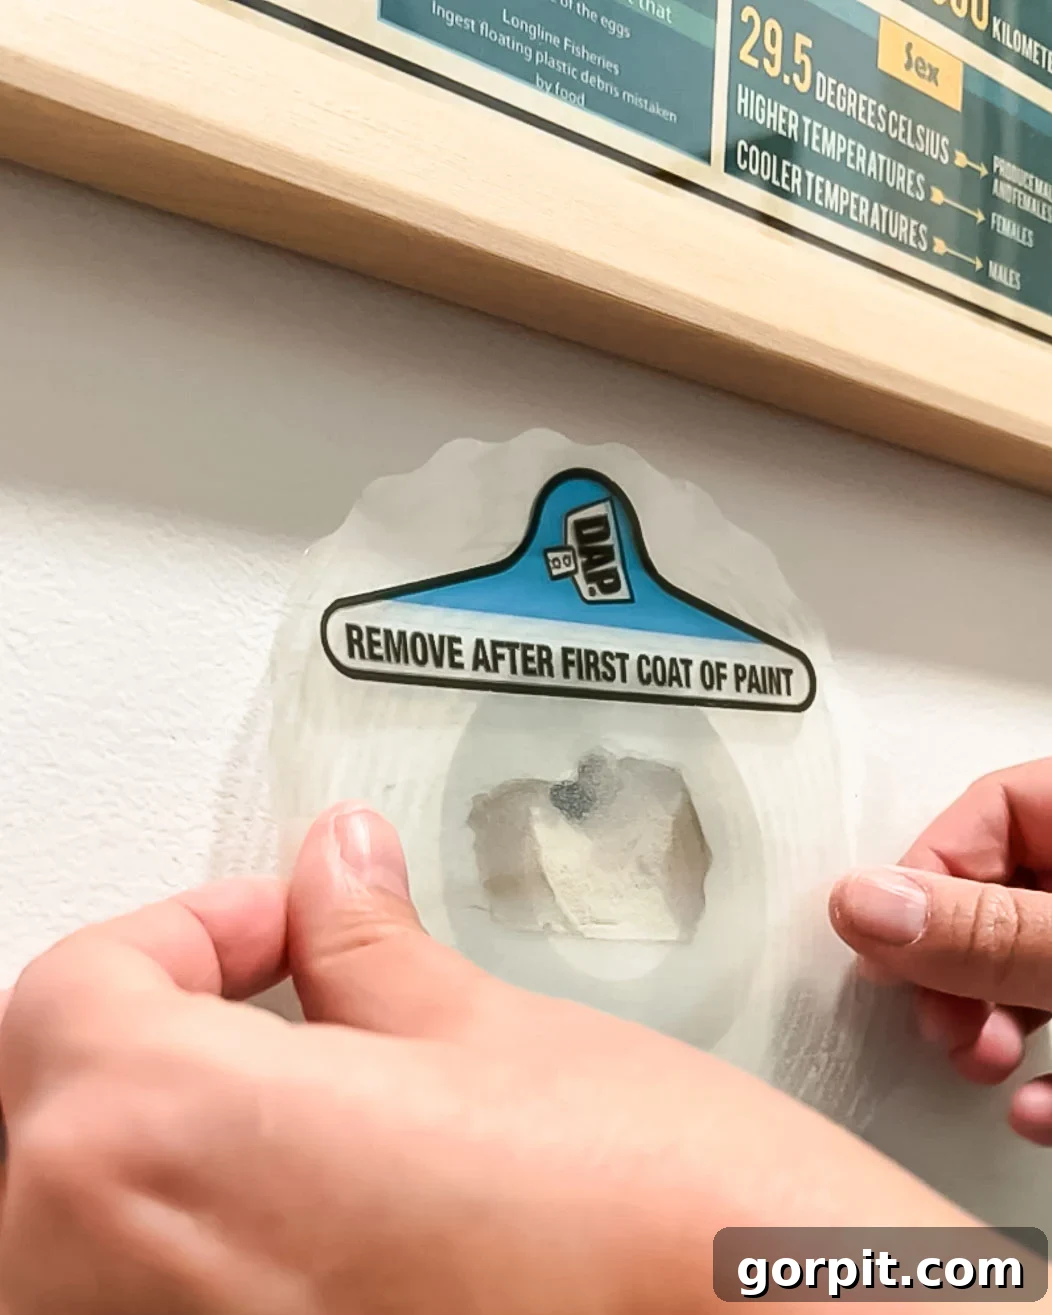
Carefully select a DAP Eclipse patch that is appropriately sized for your repair; remember, the damaged area should not be larger than the gray center circle of the patch itself. Once you’ve chosen the correct size, peel off the protective backing from the patch. Align the gray center circle of the patch directly over the center of the wall damage. Press the patch firmly onto the wall, paying special attention to smooth out the outer edges. This ensures maximum adhesion to the surrounding drywall, creating a strong and secure bond.

- Apply the First Coat of Paint.
Immediately after applying the patch, grab your chosen touch-up paint and a paint roller. Apply a generous, even coat of paint over the entire patch area. It is absolutely critical to use a paint roller for this step; a paint brush can leave unsightly strokes and will not provide the smooth, uniform coverage necessary to blend the patch seamlessly into the wall. Ensure full coverage with this first layer of paint.
- Remove the Protective Tab.
Once the first coat of paint on the drywall surrounding the patch has completely dried (typically 15-30 minutes, but refer to paint manufacturer instructions for exact drying times), it’s time to reveal the magic. Locate the small pop-up tab on the patch. Gently pull this tab *up and away from the drywall*, towards yourself, to release the protective layer from the patch. If, for any reason, the protective layer doesn’t come off in one single piece, use your fingernail or the edge of your putty knife to carefully remove any remaining fragments before proceeding to the next painting step.
- Apply Additional Coats of Paint.
With the protective layer removed, apply two additional coats of paint over the entire area of your wall patch using your paint roller. Ensure you allow adequate drying time in between each coat, according to your paint’s specifications. It’s normal for the patch to be somewhat noticeable or visible immediately after painting. However, as the paint fully dries and cures, you will observe the patch continuing to blend seamlessly with the surrounding drywall, becoming virtually undetectable. The end result is a smooth, durable, and perfectly repaired wall.
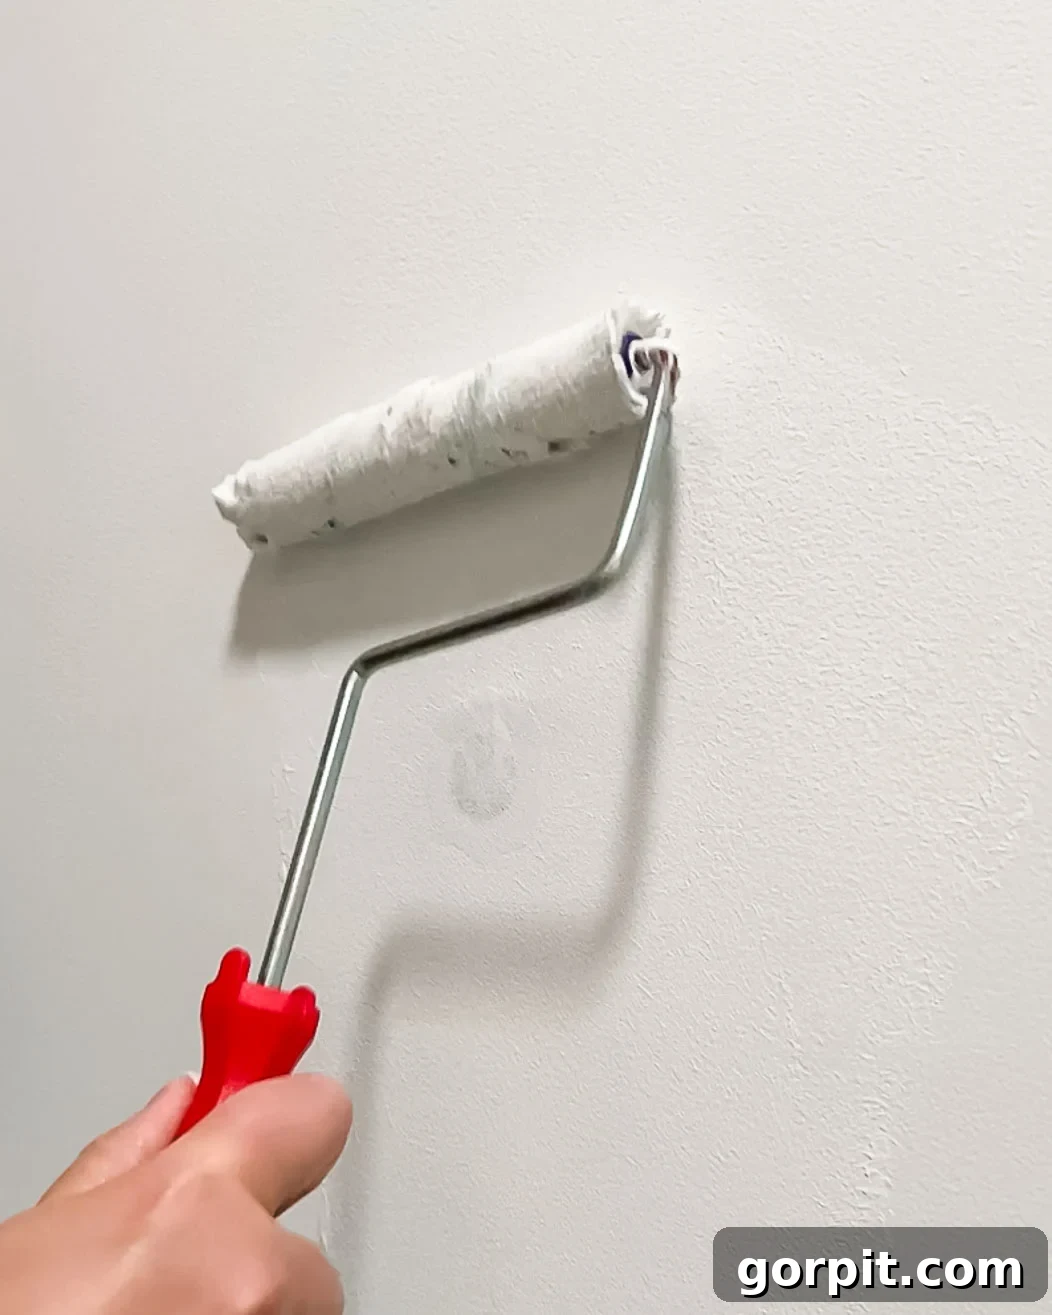
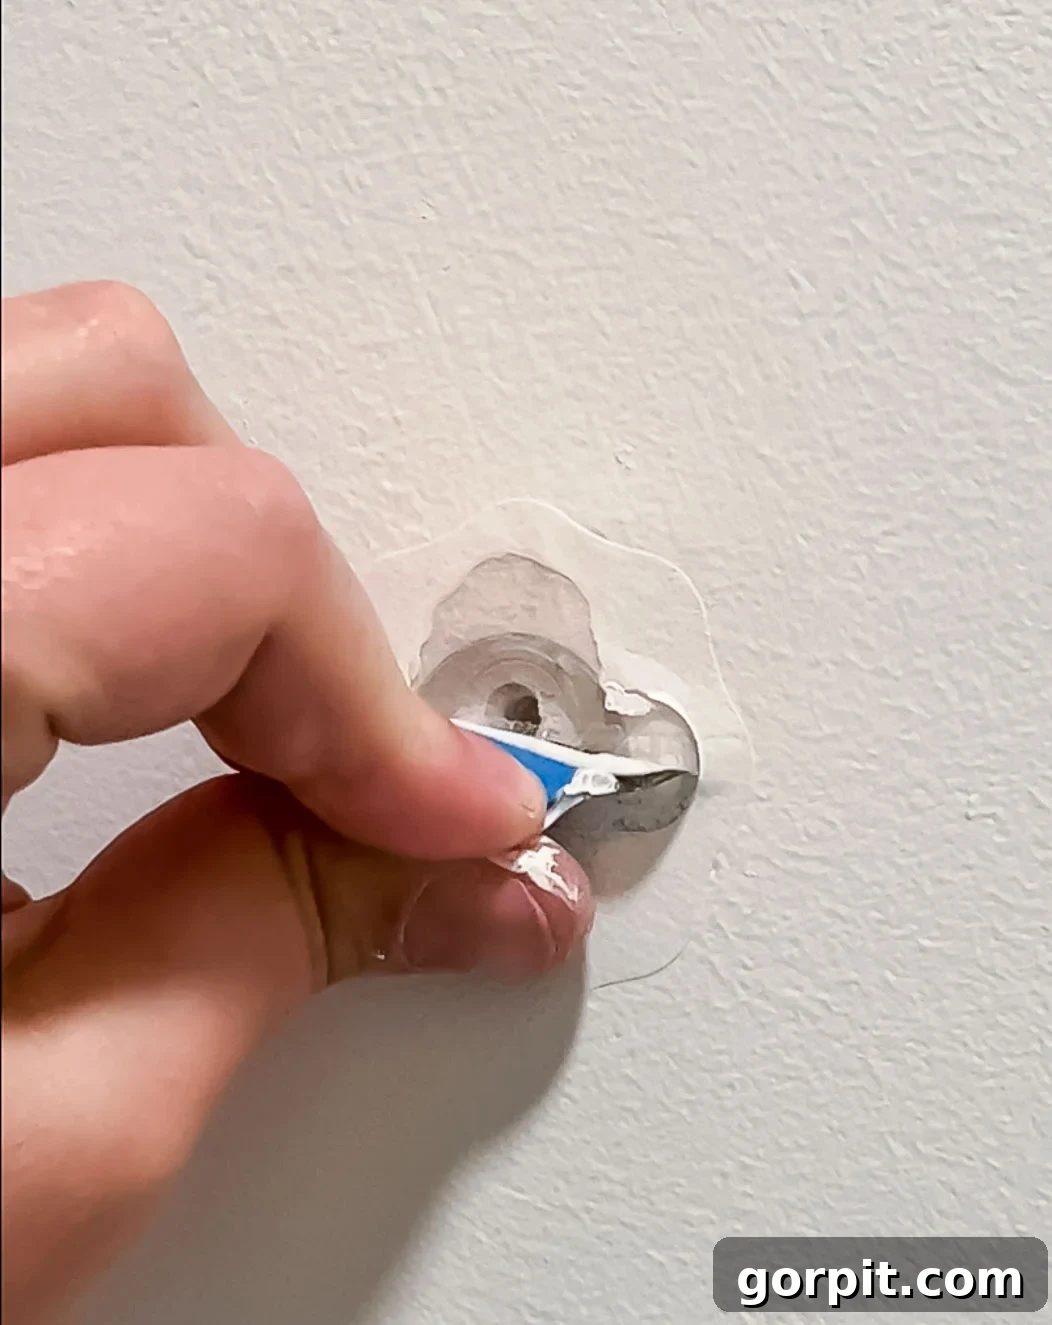
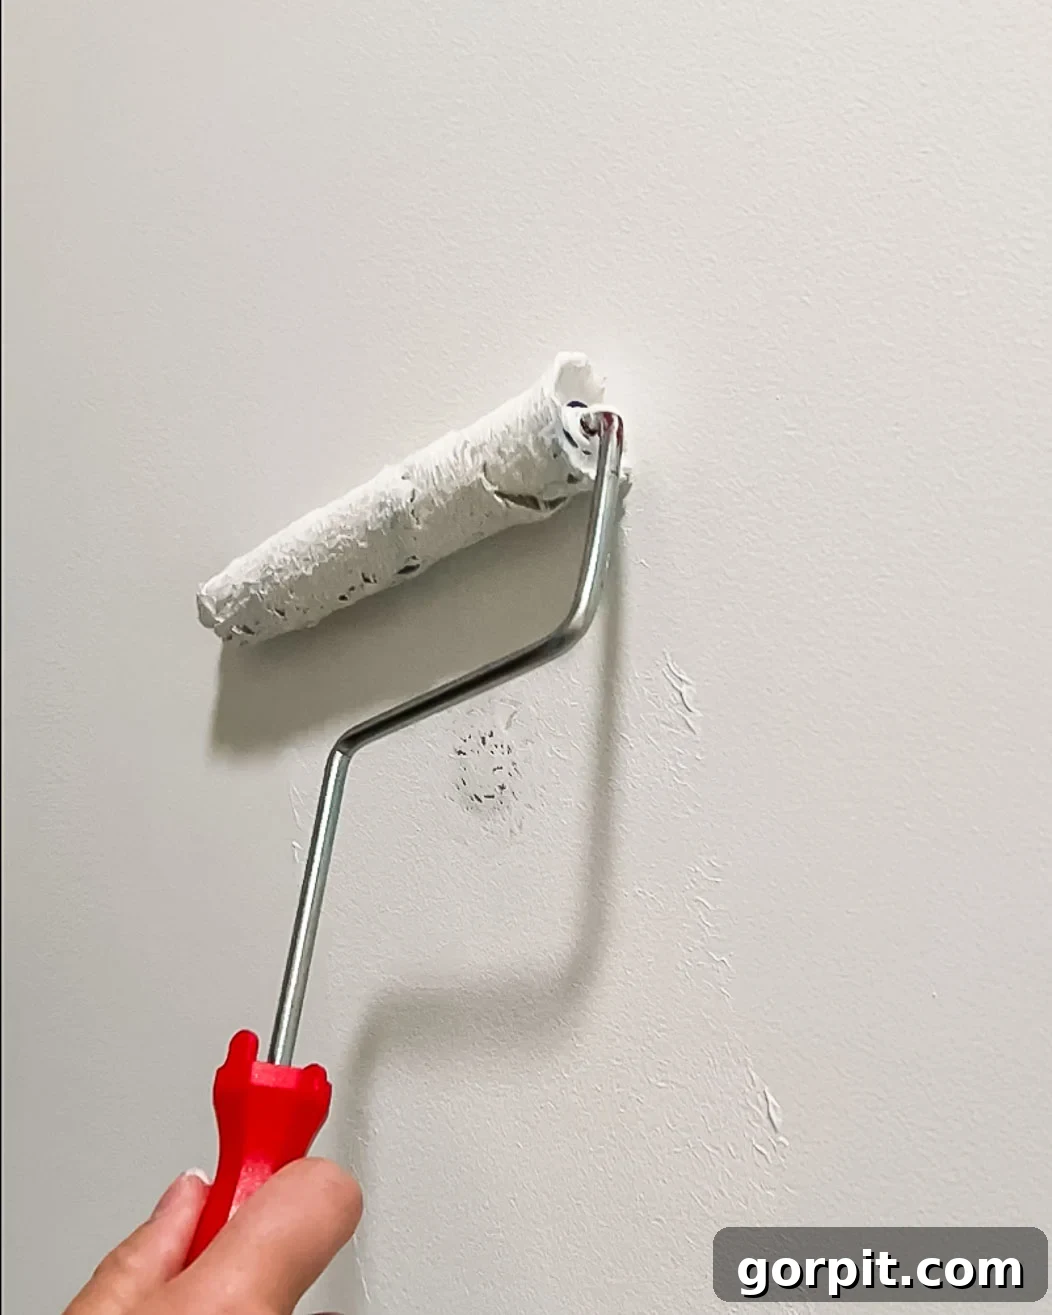
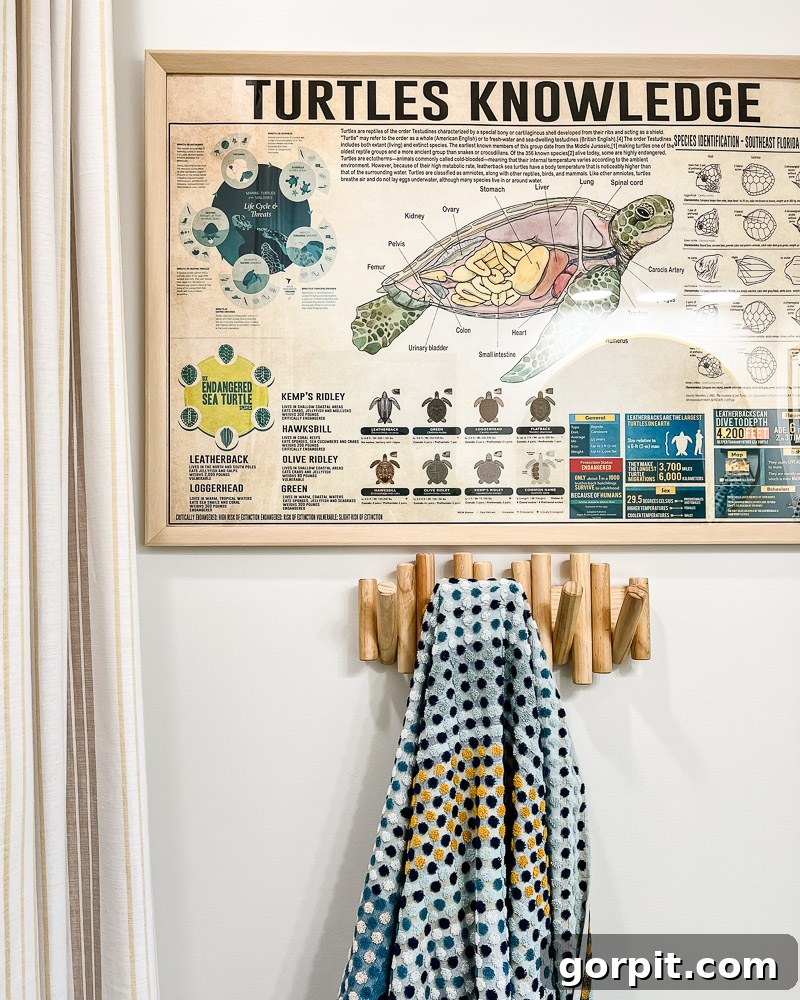
That’s all there is to it! Using this method, I recently repaired four holes—two small, two larger—in Avery’s bathroom drywall. The entire process took less than two hours, with most of that time simply waiting for the paint coats to dry. The repairs are now completely undetectable, blending perfectly with the existing wall. This easy drywall repair method truly simplifies what was once a dreaded chore.
Frequently Asked Questions About Wall Repair
Yes, absolutely! DAP Eclipse Rapid Wall Repair Patches are versatile and can be used to repair textured walls. This is a common question, and I’ve confirmed that these patches are compatible with both aerosol spray textures and textured rollers. If you’re tackling a repair on a textured wall or ceiling, the process is slightly modified: immediately after applying the patch to your drywall, remove the protective layer by pulling the pop-up tab. There’s no need to apply the first coat of paint at this stage. Once the protective layer is off, you can then apply your wall texture and allow it to dry completely. After the texture has dried, proceed with applying your paint as usual. This method ensures a seamless blend even on textured surfaces.
The difference is night and day! My traditional method for patching a hole involved a laborious multi-step process: first, I’d clean the damaged area, then painstakingly fill the hole with spackle or joint compound. This was followed by a long waiting period for the spackle to dry, after which I would sand the area, creating a considerable amount of dust. Often, this cycle of applying, drying, and sanding would need to be repeated to achieve a smooth finish. After all that, I would then have to spot prime the repaired area to prevent paint flashing and wait for the primer to dry. Only after all these steps were complete could I finally apply the wall paint. Despite all this effort, my patch jobs rarely looked perfectly seamless. In contrast, DAP Eclipse patches make fixing holes faster, significantly easier, entirely mess-free, and they consistently result in a much cleaner, more professional-looking repair than my old spackle repairs ever did. It truly streamlines the entire drywall repair process.
This is a fantastic and valid question, and the answer is surprisingly robust. According to DAP’s official information and my own experience, these patches are designed to be incredibly strong – even stronger than the drywall itself! DAP specifically states that this all-in-one, mess-free solution provides a permanent, long-lasting repair that is “stronger than drywall itself, making it perfect for areas that may see recurring impact, such as behind a door.” The innovative design of the patch creates a durable bond and a reinforced surface without needing to fill the void of the hole, offering superior impact resistance where it’s needed most. It’s a testament to modern material science!
While I’ve never personally felt the need to enhance the strength of these patches, as they are already incredibly durable, there is a method you can use if you’re particularly concerned about heavy impact areas. You can apply spackling paste or joint compound to the damaged area first, and then *immediately* apply the DAP Eclipse patch directly over the wet spackling paste. The key is to apply the patch while the compound is still wet; there’s no need to wait for it to dry. However, it’s crucial not to apply spackle beyond the perimeter of the gray center circle of the patch, as this could interfere with the patch’s adhesive properties and its ability to bond securely to the surrounding drywall. This technique essentially combines the filling properties of spackle with the reinforcing strength of the patch.
DAP recommends waiting until the paint on the drywall *surrounding the patch* is fully dry before removing the top protective layer. This typically takes approximately 15-30 minutes, but it’s always a good idea to consult your paint manufacturer’s guidelines for exact drying times, especially in varying humidity or temperature conditions. The beauty of these patches is their flexibility; you can actually wait much longer – even hours or days – to remove the pop-up tab. The most important thing is to ensure you remove the pop-up tab right before you are ready to apply your final two coats of paint. This flexibility allows you to fit the repair into your schedule seamlessly.
While DAP Eclipse patches offer an incredibly convenient and mess-free solution, there are indeed other excellent options available for repairing drywall holes, depending on the size and nature of the damage. For larger holes in drywall (up to 4 inches in standard ½-inch drywall), you might consider the PRESTO PATCH™ Drywall Plug Wall Repair Patch. I appreciate these patches because they come as a comprehensive kit, including a pre-cut drywall circle (known as a drywall plug), oversized taping paper already attached, a foam template, and clear step-by-step instructions. To use a Presto Patch, you trace the circle template over the damaged area on your drywall, then use a drywall knife or utility knife to precisely cut out the section so the drywall plug fits snugly. This method typically uses DryDex Lightweight Joint Compound, so it’s not entirely mess-free like the Eclipse patches, but it provides a very strong and solid repair.
Another good alternative is a general Wall Repair Patch Kit, which can usually repair holes up to 3 inches in diameter and often includes a metal or fiberglass mesh patch with spackle.
For very small drywall repairs, such as nail holes or minor dings, you generally won’t need a wall patch at all. A simple application of spackle or joint compound is usually sufficient. You can find comprehensive tips for small drywall repairs here.
I hope this guide has clearly demonstrated that patching a hole in your drywall doesn’t have to be a source of intimidation or frustration. With the innovative solutions available today, particularly products like DAP Eclipse patches, you can easily achieve professional-quality results on your own. So go ahead, confidently cross “call handyman” off your to-do list. You’ve absolutely got this!
More Home Repair Guides
SEE ALL HOME IMPROVEMENT POSTS
-
How to Fix a Hole in the Wall Yourself the Easy Way!
-
How to Fix a Door That Won’t Close
-
How to Match A Paint Color That’s Already On A Wall
-
How to Repair Holes in Your Doors
-
How to Repair Drywall: Tips for “Smallish” Repairs
-
How to Repair Chipped Baseboards
Other posts you may enjoy:
- How to Match A Paint Color That’s Already On A Wall
- How to Install a Toilet: A Step-by-Step Guide for Beginners
- Easy DIY Door Kick Plate
- How to Inspect and Caulk Flashing
- How to Repair Chipped Baseboards
Curious about my approach to transforming rooms and spaces in our home? Be sure to check out Designer in a Binder®, my ultimate guide to decorating your home with confidence and clarity.
And if you’d like to receive exclusive content, behind-the-scenes sneak peeks, and the latest DIY tips directly in your inbox, don’t forget to subscribe before you leave!