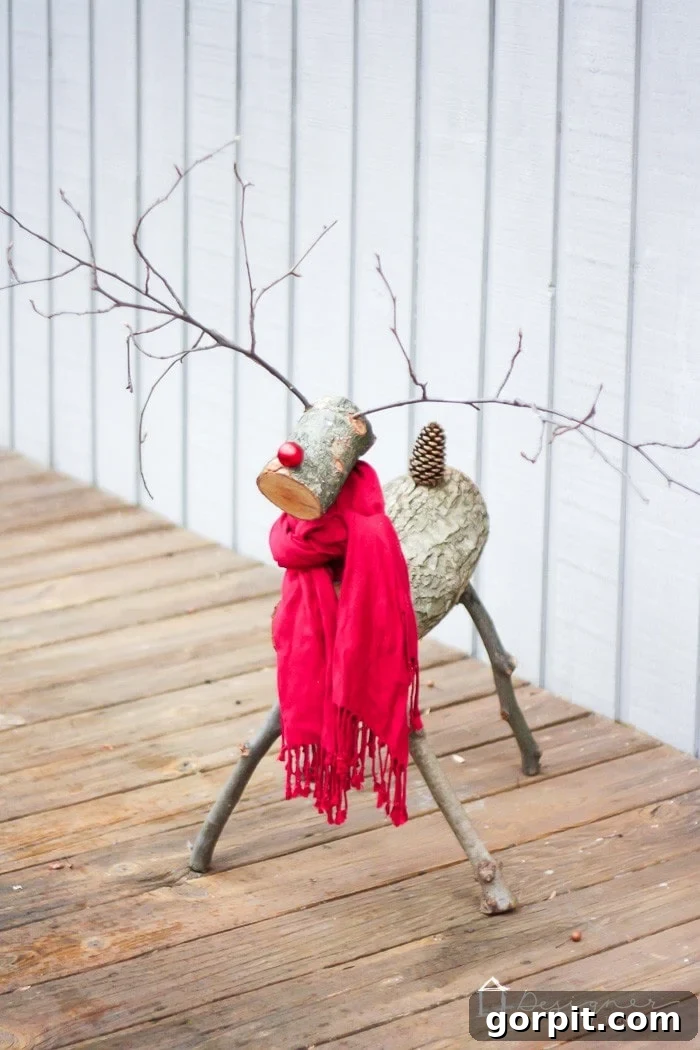
Craft Your Own Rustic Charm: An Easy DIY Log Reindeer for Outdoor Christmas Decor
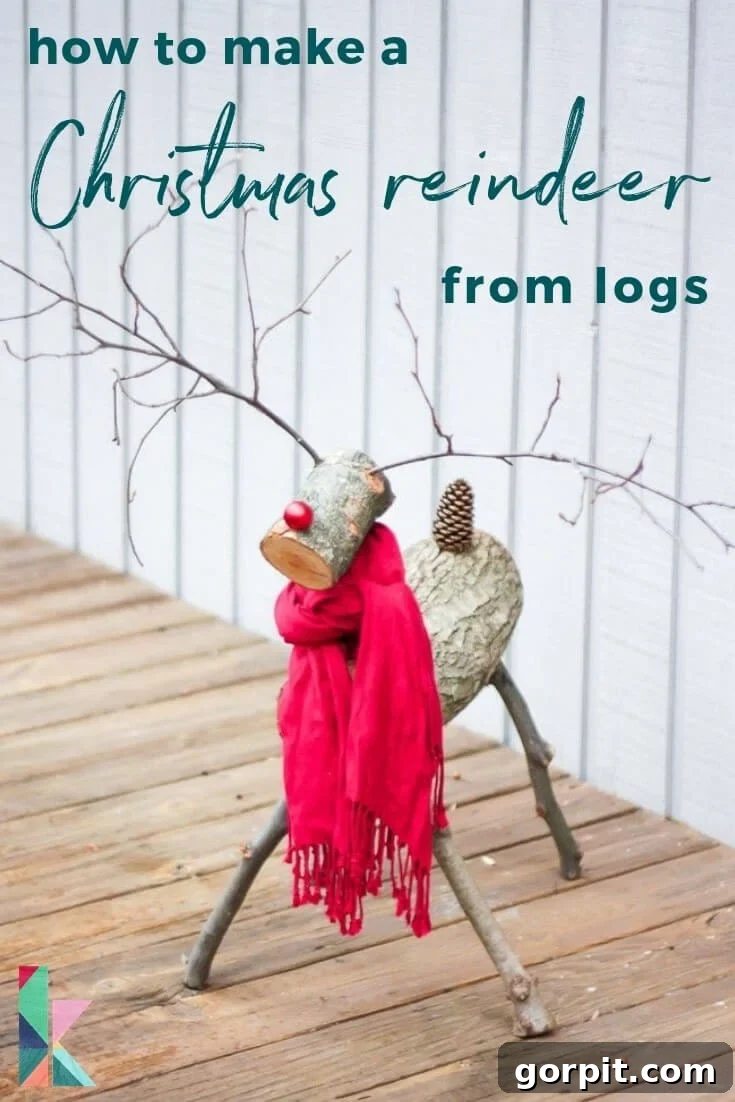
There’s a special kind of magic that comes with decking the halls for Christmas. While adorning the inside of our homes with twinkling lights and festive ornaments is a cherished tradition, extending that holiday spirit to our outdoor spaces creates an enchanting welcome for guests and passersby alike. This year, we decided to embrace the natural beauty of the season and add a touch of rustic charm to our yard. We’re thrilled to share an incredibly simple yet seriously adorable tutorial on how to craft your very own Christmas reindeer from natural logs and branches. It’s a quick, easy, and wonderfully rewarding DIY project that will elevate your outdoor Christmas decorations!
As avid DIY enthusiasts, we absolutely love bringing our creative visions to life, especially during the holiday season. Over the years, we’ve enjoyed making a variety of festive decorations, from colorful indoor displays to personalized mini wreaths and charming DIY reindeer art. This log reindeer project, however, has quickly climbed the ranks to become one of our all-time favorite holiday creations. It combines the joy of crafting with the satisfaction of creating something truly unique and memorable that perfectly complements the winter landscape.
For our first attempt, we chose to bring the most famous reindeer of all to life: Rudolph, complete with his iconic red nose. But don’t feel limited – adding a red nose is entirely optional, allowing you to customize your reindeer’s look. Our ultimate goal is to build an entire herd of Santa’s reindeer, adding one or two new members each year until we have the full crew proudly standing guard in our yard. Imagine the delight of seeing these charming, natural figures come to life as you expand your festive display!
Ready to embark on this creative adventure? Dive into our comprehensive tutorial below, and before you know it, you’ll be starting your very own enchanting herd of Santa’s woodland reindeer. This project is not only fun but also a wonderful way to incorporate sustainable and natural elements into your holiday decor, creating a warm and inviting atmosphere that captures the true essence of Christmas.
This post contains affiliate links for your convenience. Click here for my full disclosure policy.
How to Make a Beautiful DIY Christmas Reindeer from Logs: A Step-by-Step Guide
Creating your own rustic log reindeer is a delightful way to add personality and natural beauty to your outdoor Christmas decorations. This project is surprisingly straightforward and yields stunning results that you’ll cherish for years to come. Follow these detailed steps to craft your very own woodland wonder.
Essential Materials Needed for Your Log Reindeer:
Before you begin, gather all your supplies. Sourcing natural materials like logs and branches can be part of the fun! Look for fallen branches in your yard or local parks (ensure you have permission), or check with local lumberyards or firewood suppliers for suitable pieces. Prioritize quality and safety when selecting your tools.
- 1 Large Log (for the Body): Approximately 4 inches in diameter and about 18-24 inches long (adjust based on desired reindeer size). Choose a sturdy, relatively straight log that will form the main structure of your reindeer.
- 1 Medium Log (for the Head): Roughly 3 inches in diameter and about 6-8 inches long. This piece should complement the body log in scale.
- 5 Small Branches (for Legs & Neck): Approximately 1 inch in diameter. You’ll need four branches for the legs (each around 10-12 inches) and one for the neck (around 6-8 inches). Look for branches that are relatively straight and strong enough to support the head and body.
- 2 Multi-Point Branches (for Antlers): Search for branches with natural forks or interesting shapes that resemble reindeer antlers. The more natural and intricate, the better!
- 1 Pinecone (for the Tail): A medium-sized pinecone will work perfectly for a charming, rustic tail.
- 1 Small, Red Christmas Ornament (Optional, for Rudolph’s Nose): Opt for a shatterproof ornament, especially if your reindeer will be displayed outdoors where it might encounter wind or playful critters.
- Clear Caulk: Ideal for securing the nose and providing a weather-resistant seal for outdoor longevity.
- Wood Glue: Essential for strong, durable bonds between the log components, ensuring your reindeer stands tall for many seasons.
- Reciprocating Saw or Chainsaw: (e.g., Makita Cordless Reciprocating Saw) For cleanly cutting logs and branches to size. Always prioritize safety when operating power tools; wear appropriate protective gear.
- Drill: (e.g., Makita Cordless Drill Kit with Battery) For drilling precise holes for legs, neck, and antlers.
- Paddle Drill Bits: A selection of paddle bits will allow you to create holes that perfectly match the diameter of your branches, ensuring a snug fit.
- A Sharp Pocket Knife: Useful for shaving down branch ends for a tighter fit.
The Crafting Steps: Bringing Your Reindeer to Life
Patience and attention to detail will ensure a beautiful and sturdy final product. Remember, there’s no single “right” way; feel free to adjust dimensions to achieve the look you love!
Step 1. Prepare the Reindeer Body.
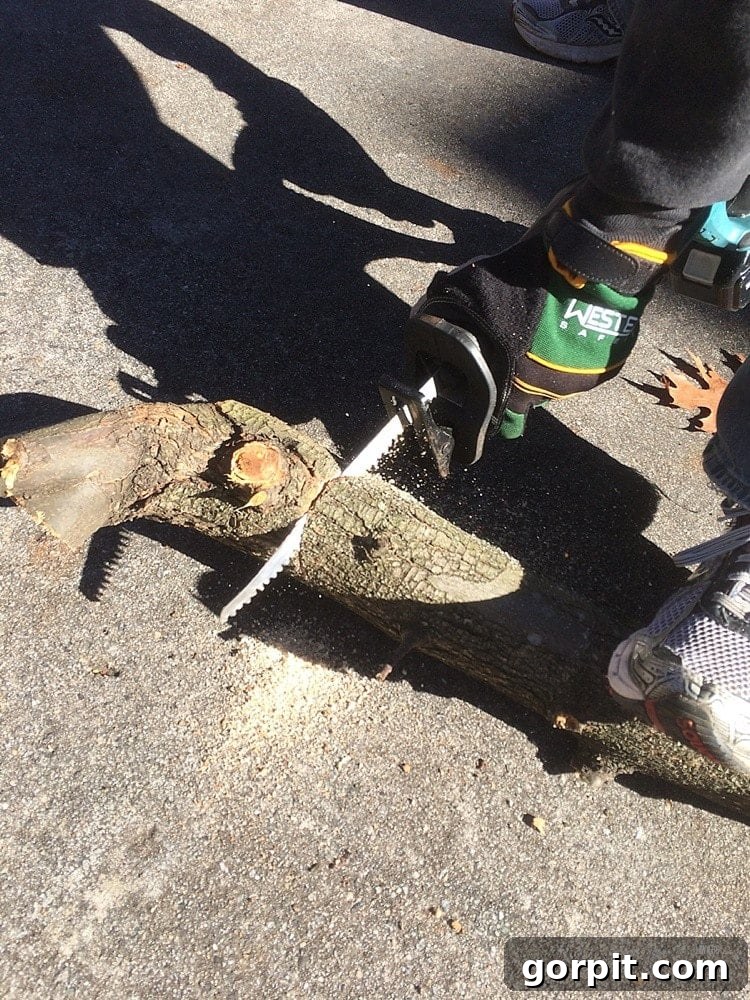
Begin by selecting your largest log for the reindeer’s body. Use your reciprocating saw or chainsaw to cut it to your desired length. While we don’t use specific dimensions, consider the overall scale you envision for your reindeer – whether it’s a small accent piece or a prominent lawn decoration. Aim for a length that looks proportionate to a reindeer’s torso. Once cut, carefully remove any smaller twigs or uneven protrusions from the body log to create a smooth, clean surface for attachment points. This ensures better stability for the legs and neck.
Step 2. Cut and Ready the Legs.
Next, take your four small branches designated for the legs. Cut them to equal lengths using your saw. The ideal length will depend on the height you want your reindeer to stand, but typically 10-12 inches works well. Just like with the body, trim off any small branches or knots from these leg pieces. Consistency in length is crucial for creating a stable, level reindeer, so take your time to ensure they are as uniform as possible.
Step 3. Drill Connection Holes.
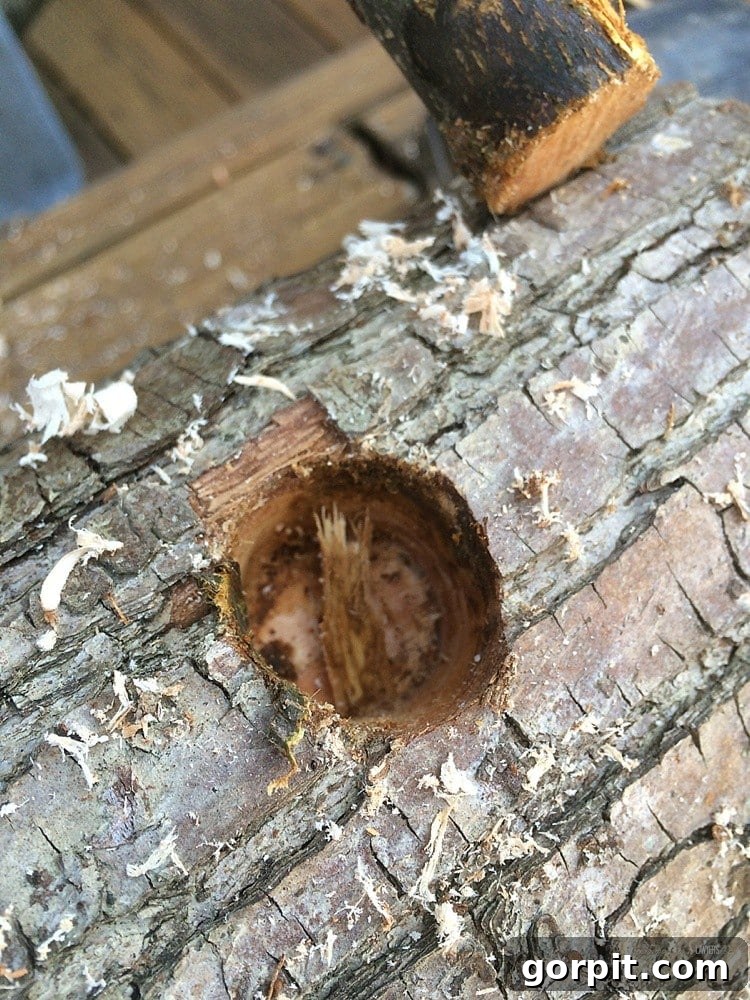
This step requires precision. Select a paddle drill bit that is as close as possible to the diameter of your leg branches. On the underside of your body log, carefully drill four holes – one for each leg. Position them thoughtfully to ensure stability; think about where a real reindeer’s legs would naturally be. Then, drill one hole on the top, central part of the deer body, specifically for the neck branch. Ensure these holes are deep enough to create a secure connection, but not so deep that they compromise the integrity of the log.
Step 4. Custom Fit the Branches.
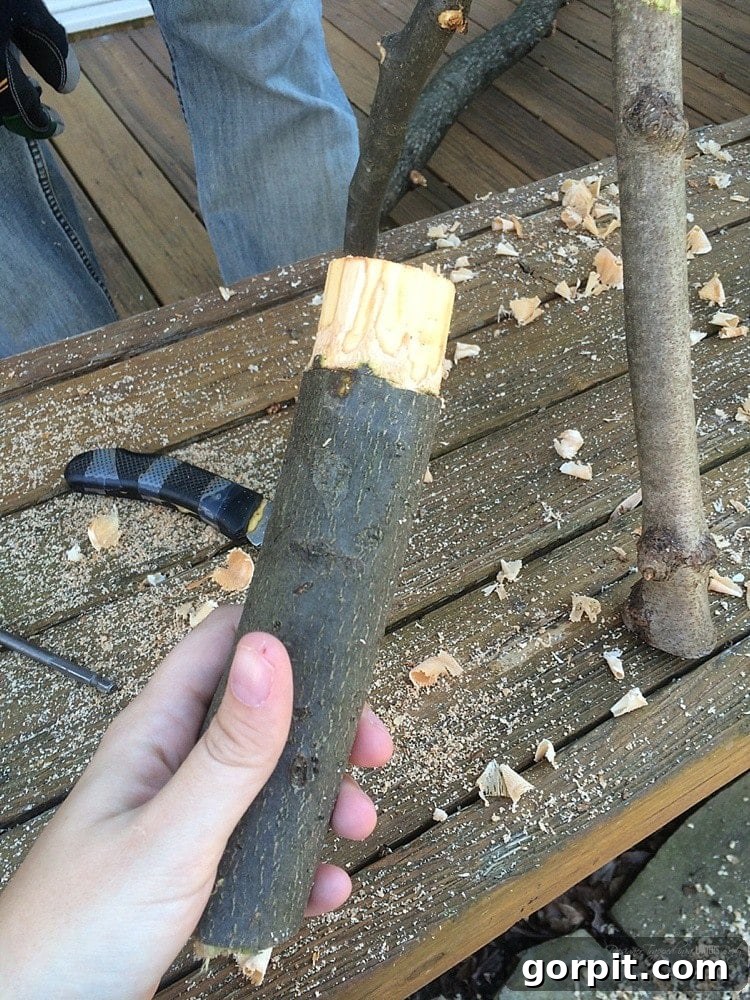
Now, test fit your leg and neck branches into the drilled holes. It’s common for natural branches to be slightly irregular. If necessary, use your sharp pocket knife to carefully shave off some of the bark or wood from the top ends of the leg and neck branches. The goal is to create a snug, tight fit that requires a little force to insert. This snugness is key to the stability of your reindeer. Be mindful and careful when using the knife, always cutting away from your body.
Step 5. Assemble the Body, Legs, and Neck for Sizing.
Before permanently gluing, assemble all your body, leg, and neck pieces. This dry run allows you to stand your reindeer up and determine the appropriate length for its head. There’s no strict rule here; simply eyeball it to ensure the proportions look pleasing to you. This step also gives you an opportunity to check the stability of the legs and make any final adjustments to their length or fit before moving on.
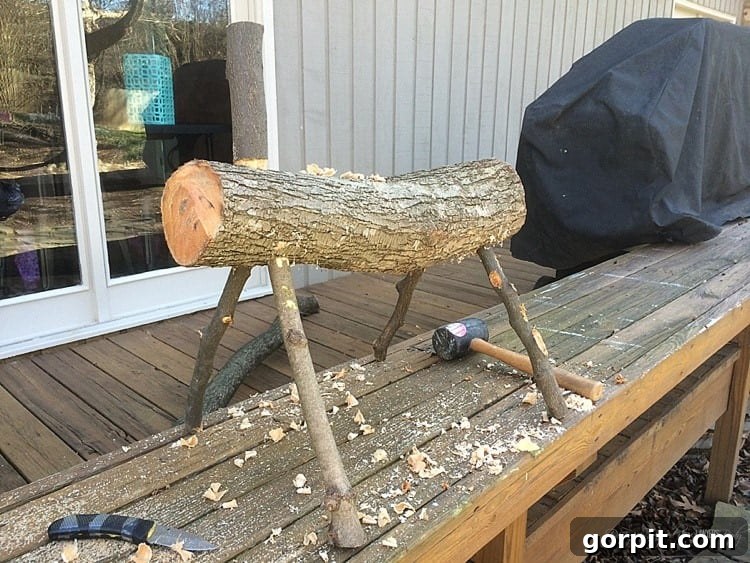
Step 6. Cut and Secure the Head.
Once you’re happy with the neck length, cut your medium-sized log to form the head. For a more natural look, cut the back end of the head flat where it meets the neck, and then angle the front end to create a gentle slope for the reindeer’s “face.” Next, drill a hole in the bottom of the head log, ensuring it aligns perfectly with the top of the neck branch. Apply a generous amount of wood glue into this hole and onto the top of the neck branch before firmly attaching the head. Hold it in place for a moment to allow the glue to set slightly.
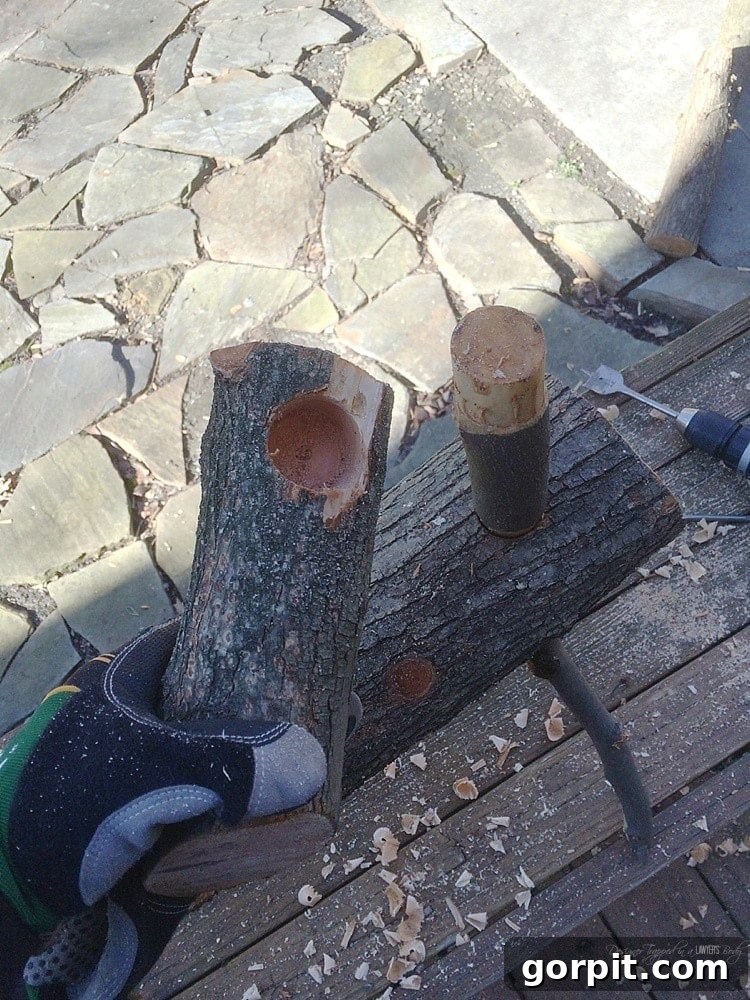
Step 7. Attach Rudolph’s Iconic Nose.
If you’re making a Rudolph, now is the time to add his distinguishing feature! First, ensure you’re using a shatterproof Christmas ornament, which is crucial for outdoor display. Carefully remove the metal hanger piece from the top of the ornament. Using a small drill bit, create a shallow indentation or small hole on the reindeer’s face where you want the nose to sit. Apply a good amount of clear caulk into this hole and onto the back of the ornament, then firmly press the ornament into place. The clear caulk will provide a strong, weather-resistant bond, keeping Rudolph’s nose shining brightly through the winter elements.
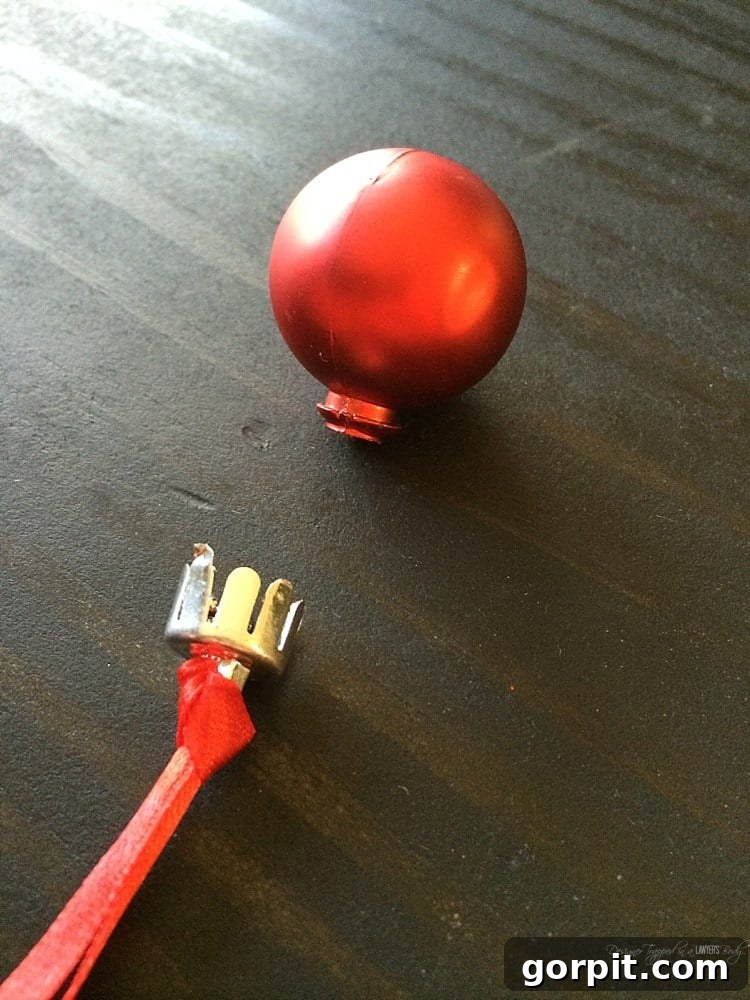
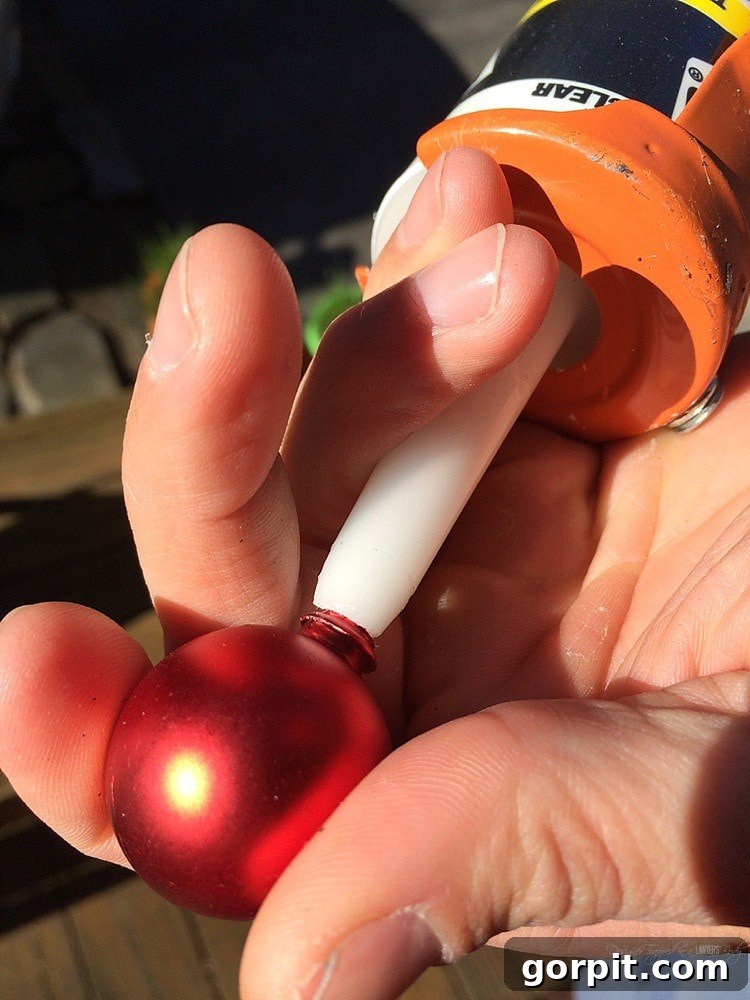
Step 8. Affix the Antlers.
With the head firmly in place, it’s time for the antlers! Select your two multi-point branches. Drill two small holes on the top of the reindeer’s head, positioning them symmetrically and realistically. These holes should be just large enough for the antler branches to fit snugly. Apply wood glue into each hole and onto the ends of the antler branches before carefully inserting them. Adjust their angle and position to create a majestic, natural look. Allow the glue ample time to dry and create a strong bond.
Step 9. Attach the Rustic Tail.
For the final touch, attach your pine cone tail. On the back end of the reindeer’s body, identify a suitable spot for the tail. Apply a generous amount of strong wood glue to the base of the pine cone and press it firmly onto the log body. Hold it in place for a minute or two to ensure it adheres well. Once the glue dries, your log reindeer will be complete!
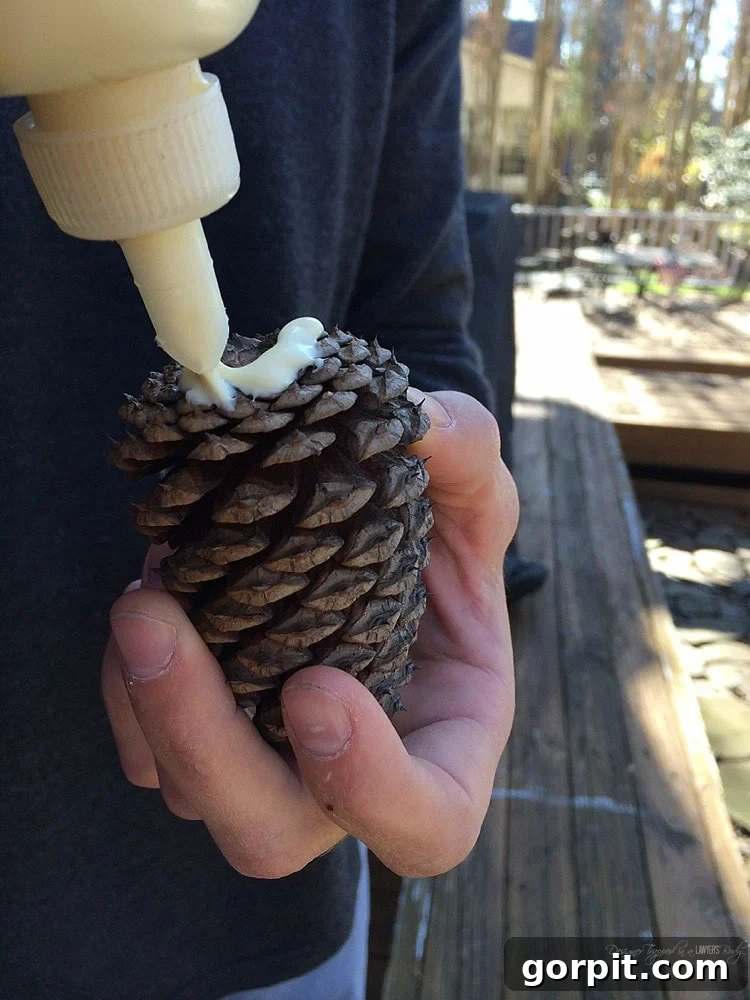
That’s all there is to it! You’ve successfully crafted an utterly charming and unique outdoor Christmas reindeer that will bring joy to your home year after year. The beauty of this DIY project lies in its simplicity and the use of natural materials, giving your holiday decor a genuine, rustic feel that store-bought items often lack.
We loved accessorizing our finished reindeer with a cozy red scarf, adding an extra touch of festive warmth. He now stands proudly by our driveway, greeting everyone with his silent, charming presence. Every time we pull up, he brings a smile to our faces, truly embodying the spirit of the season.
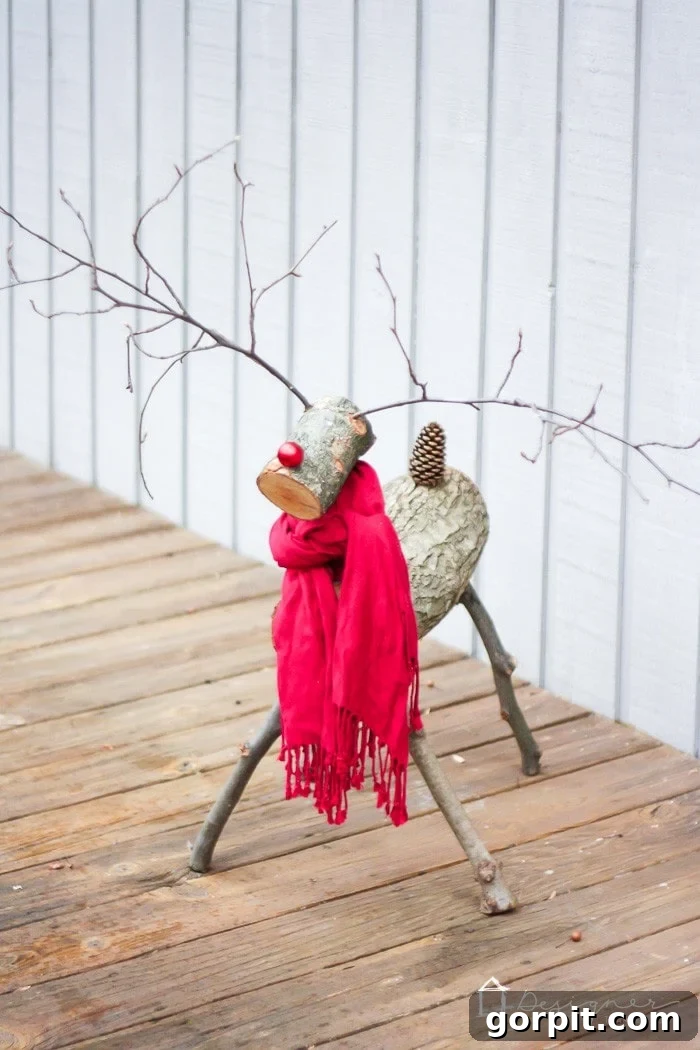
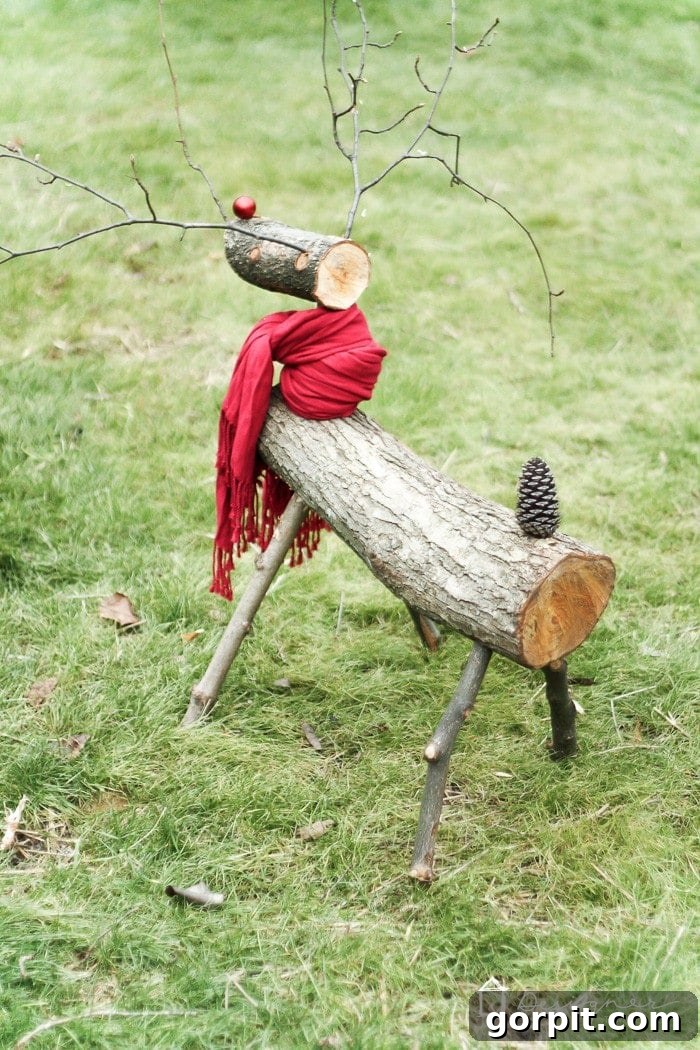
We are already buzzing with excitement to add more members to our growing reindeer family next year! Imagine a whole herd of these adorable log reindeer transforming your yard into a magical winter wonderland. This project isn’t just about creating a decoration; it’s about making memories, embracing creativity, and adding a personal touch to your holiday celebrations. So, what do you think? Are you tempted to gather some logs and branches from nature and create your own? For us, it isn’t officially Christmas until our beloved log reindeer has made his annual appearance in the yard, spreading cheer and rustic charm. Happy crafting!
Explore More Festive DIY Ideas:
If you enjoyed crafting your log reindeer, you might love these other creative holiday projects:
- Inspiring DIY Christmas Stocking Ideas
- Colorful & Easy DIY Christmas Ornaments to Brighten Your Tree
- Cheery and Bright Christmas Mantel Ideas for a Cozy Home
- Creative Ways to Make a Gift Bag Out of Wrapping Paper
- Amazing Free Christmas Printables for Instant Holiday Decor
- Fun and Engaging DIY Advent Calendars
- 6 Secrets to Elevate Your Christmas Aesthetic and Style
Curious about my unique approach to transforming rooms and spaces in our home into cohesive and beautiful designs? Be sure to check out Designer in a Binder® – it’s an affordable and simple system designed to help you decorate your home with confidence and ease.
For exclusive content, behind-the-scenes sneak peeks, and more inspiration delivered directly to your inbox, don’t forget to subscribe to our newsletter before you go!