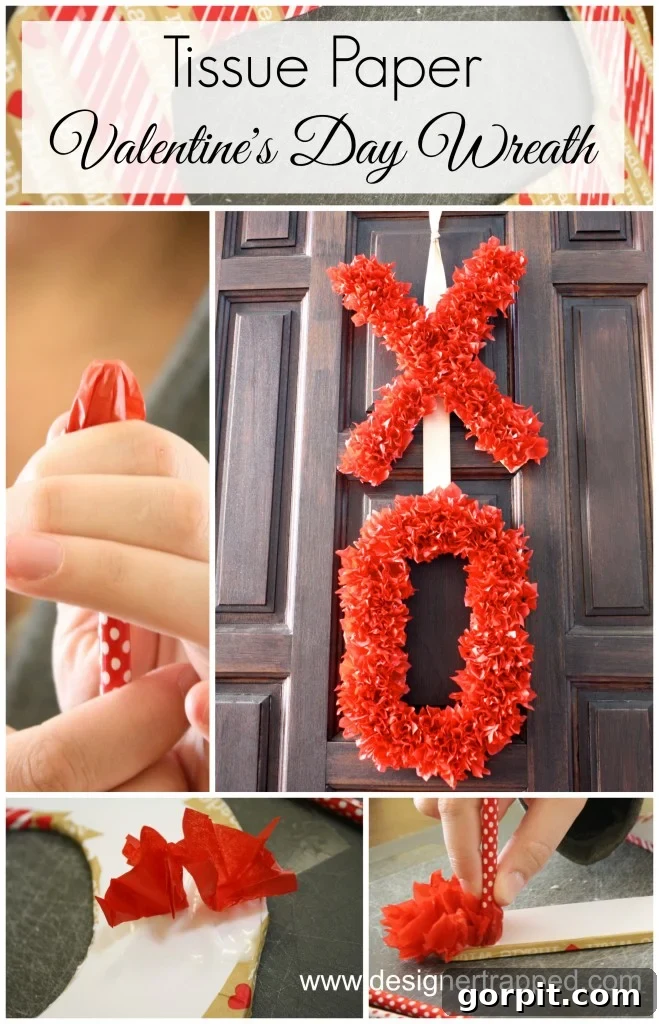
Craft a Charming DIY Valentine’s Day Wreath: Fluffy, Gorgeous & So Easy!
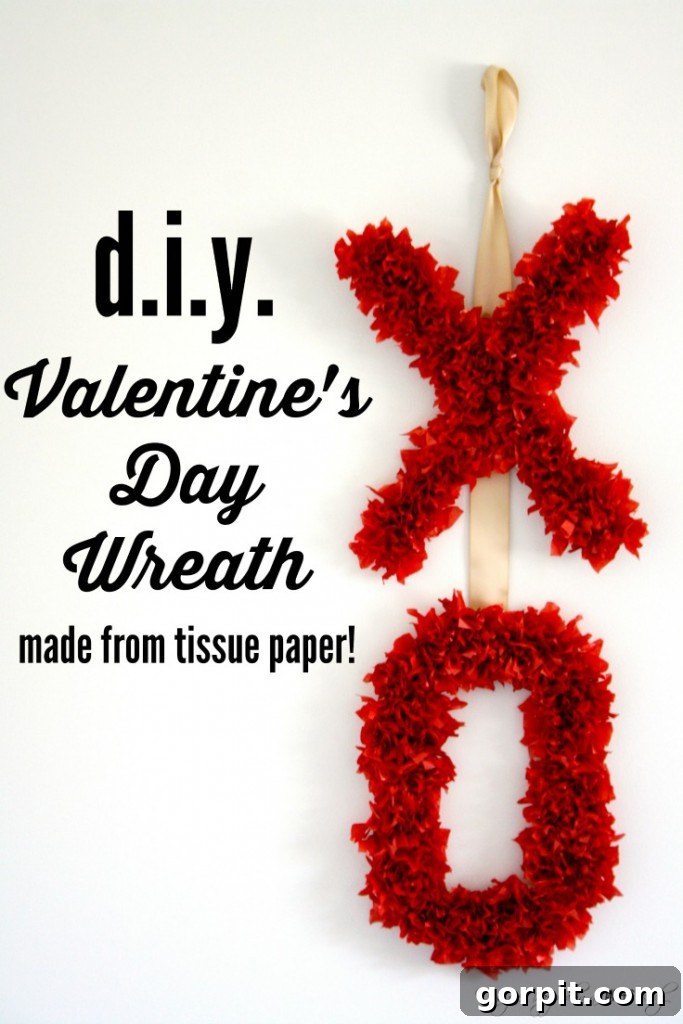
As the festive glow of Christmas fades, many of us find ourselves grappling with the familiar “post-Christmas blues.” The house feels quieter, less decorated, and sometimes a little empty after the hustle and bustle of the holidays. If you’re nodding along, you’re not alone! It’s a common feeling, but there’s a delightful way to combat it and infuse your home with renewed joy and warmth: by embracing the spirit of Valentine’s Day with beautiful, handmade decor.
While I don’t go overboard with Valentine’s Day decorations, a few carefully chosen pieces can make a significant difference. And what could be more charming than a custom-made wreath? This year, I’m thrilled to share a project that’s not only incredibly cute but also surprisingly easy and budget-friendly: a DIY Valentine’s Day wreath crafted from simple tissue paper. This project offers a fantastic opportunity to add a touch of romance and whimsy to your home without breaking the bank or requiring advanced crafting skills. Get ready to transform ordinary materials into an extraordinary piece of decor that will chase away those lingering winter blues!
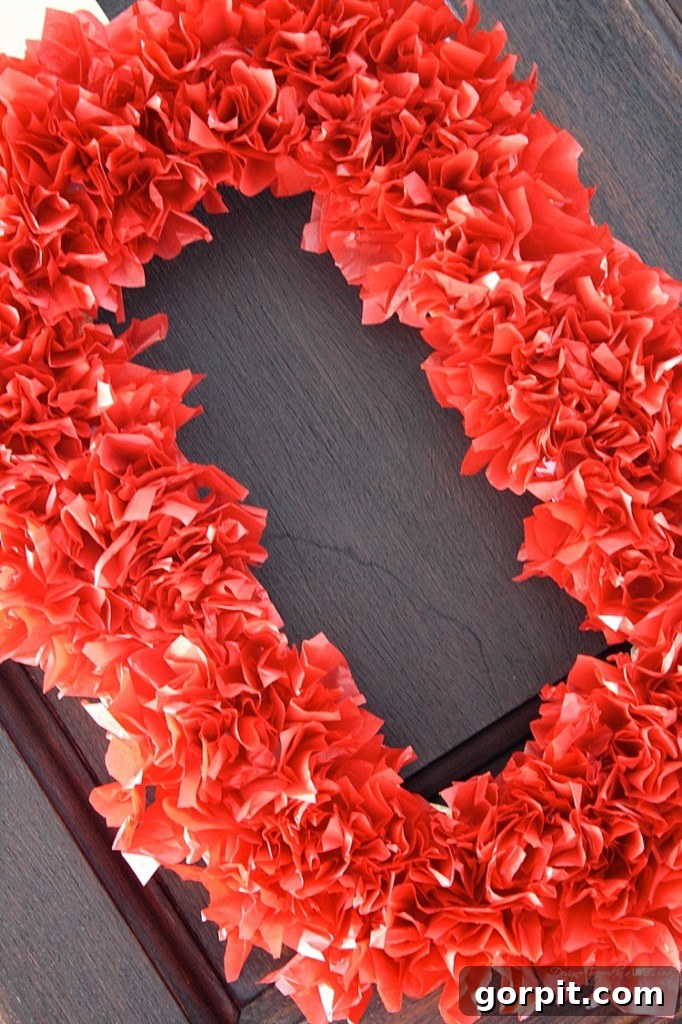
This tutorial will guide you through every step of creating a fluffy, eye-catching Valentine’s Day wreath. It’s perfect for adding a festive touch to your front door, a mantelpiece, or any wall that needs a pop of color and charm. Plus, it’s a wonderful project to do with kids or friends, making the crafting process as enjoyable as the finished product. So, gather your supplies and let’s bring some heartfelt cheer into your home!
Before we dive into the creative process, please note that this post contains some affiliate links. Click here to read my full disclosure policy. These links help support my crafting adventures at no extra cost to you.
Your Guide to Crafting a DIY Valentine’s Day Tissue Paper Wreath
Creating this fluffy masterpiece is simpler than you might imagine. The key is patience and a little bit of creative flair. This tutorial focuses on crafting an “XOXO” themed wreath, but the techniques can easily be adapted for heart shapes, individual letters, or any other festive design you envision.
Essential Materials You’ll Need:
Gathering your supplies is the first step towards a successful and enjoyable crafting experience. Most of these items are readily available at craft stores or online, making this a convenient project to undertake.
- Foam Core Board (2 pieces, 11 x 14 inches each): This provides a sturdy yet lightweight base for your wreath letters. Its rigidity is crucial for maintaining the shape of your design.
- Washi Tape: Not just for decoration, washi tape helps achieve a clean, finished edge on your foam core cutouts. Choose a color that complements your tissue paper, or a neutral tone for versatility.
- Red Tissue Paper: The star of our project! Red is classic for Valentine’s Day, but feel free to experiment with pinks, whites, or even an ombre effect. You’ll be surprised how little you need to create a full, fluffy texture.
- 1 1/4-Inch Old Gold Ribbon: For hanging your beautiful creation. A satin or grosgrain ribbon in a complementary color will add an elegant touch.
- Craft Glue: A strong liquid craft glue suitable for paper and foam will ensure your tissue paper squares adhere firmly. White school glue can also work if applied generously.
- Scissors: Sharp scissors are essential for neatly cutting tissue paper and any other materials.
- Utility Knife: For precise and clean cuts on the foam core board. Always use with caution and on a protective surface.
- Cutting Board or Self-Healing Mat: To protect your work surface when using the utility knife.
- Pencil: For drawing your shapes onto the foam core board.
Before you begin, ensure you have a clean, well-lit workspace. Having all your materials organized will make the crafting process much smoother and more enjoyable.
Step-by-Step Instructions to Create Your Fluffy Valentine’s Wreath:
If you prefer a visual overview, you can watch a short project summary. However, for detailed guidance, continue reading these steps carefully.
1. Design and Cut Your Foam Core Shapes
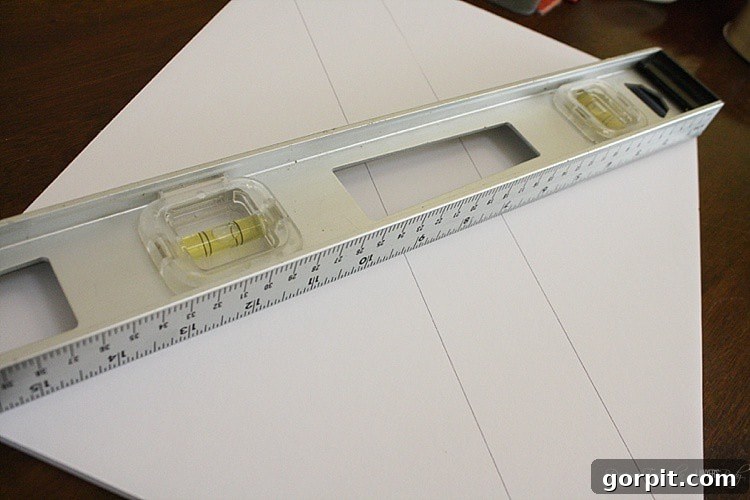
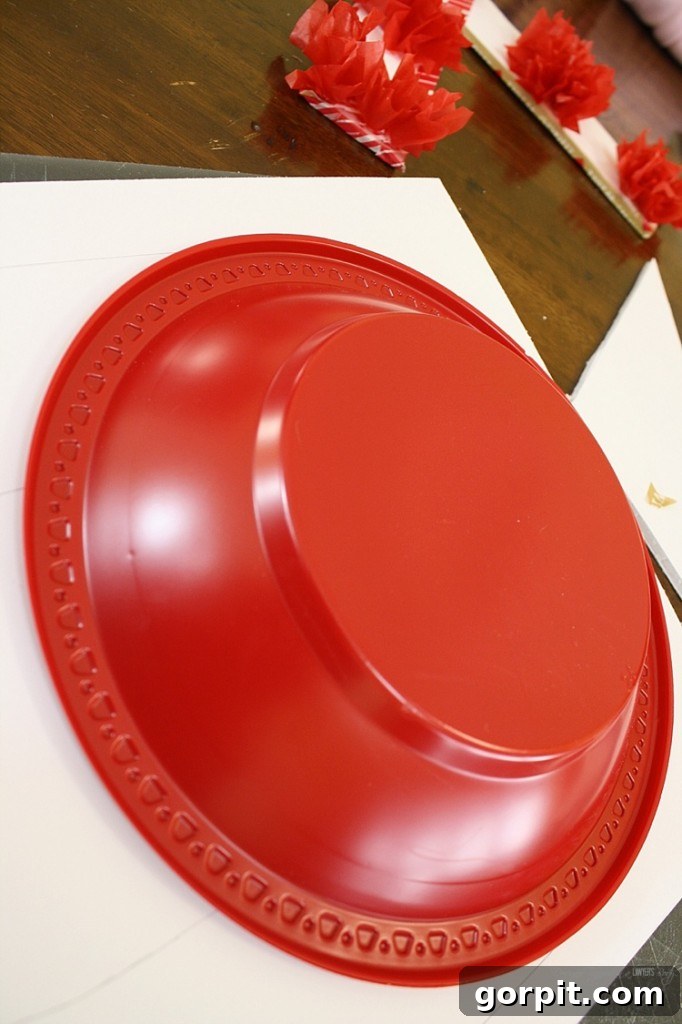
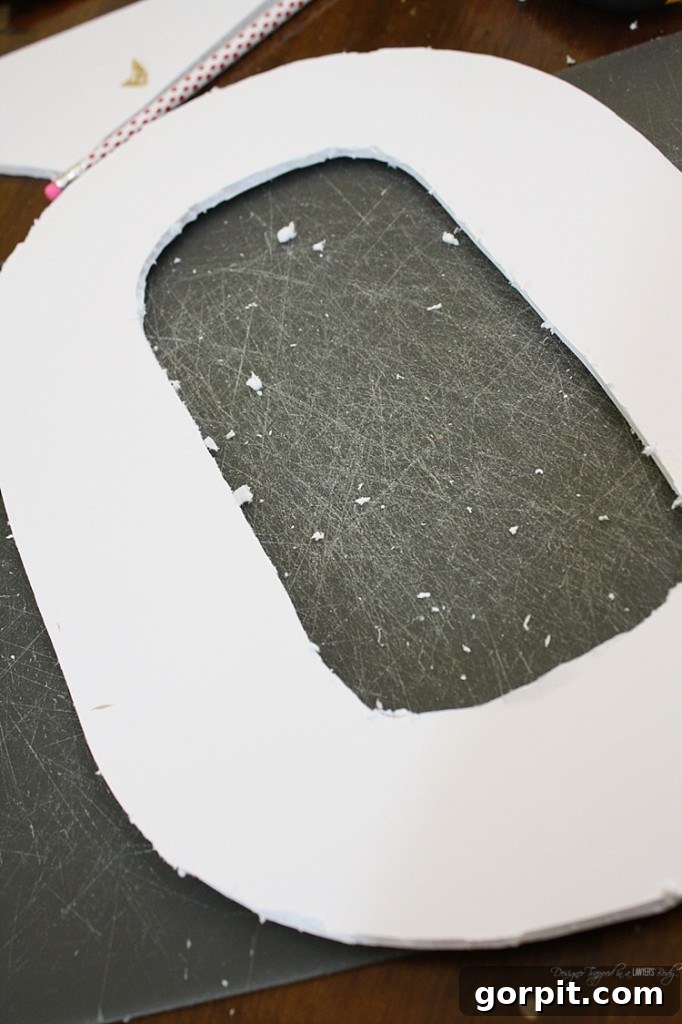
This is where your wreath truly begins to take shape. Using your pencil, draw your chosen designs onto the foam core board. For an “XOXO” theme, you’ll need two pieces of foam core. For the “X,” I found it helpful to use a small level to ensure straight lines and precise angles. If you don’t have a level, a ruler works just as well. For the “O,” achieving a perfect circle can be tricky. My trick was to use a red plastic bowl to trace the top and bottom curves, ensuring consistency. Since I wanted a slightly elongated “O” rather than a perfectly round one, I then free-handed the side and middle portions, which was much easier with the top and bottom curves already established as a guide. Take your time with this step, as well-defined shapes will make a big difference in the final look of your wreath.
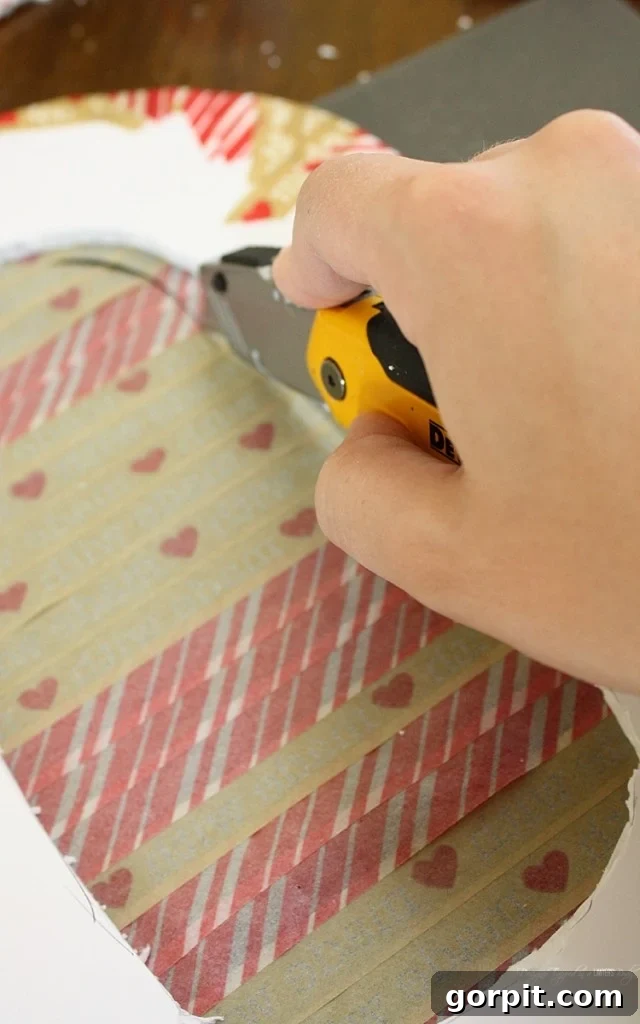
Once your shapes are drawn, it’s time to cut them out using your utility knife and cutting board. Always place your foam core on a protective surface like a self-healing mat or a thick piece of cardboard. Press firmly and make multiple passes with the utility knife if necessary, rather than trying to cut through in one go. This helps prevent jagged edges and ensures a clean cut. Remember, safety first when working with a utility knife!
2. Finish the Edges with Washi Tape
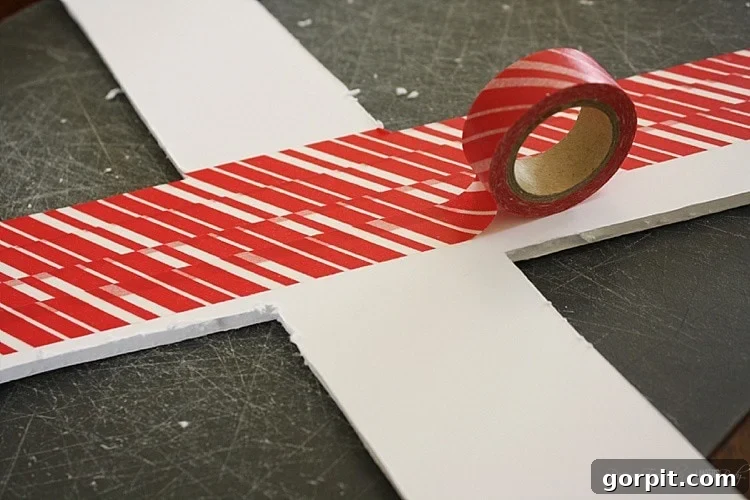
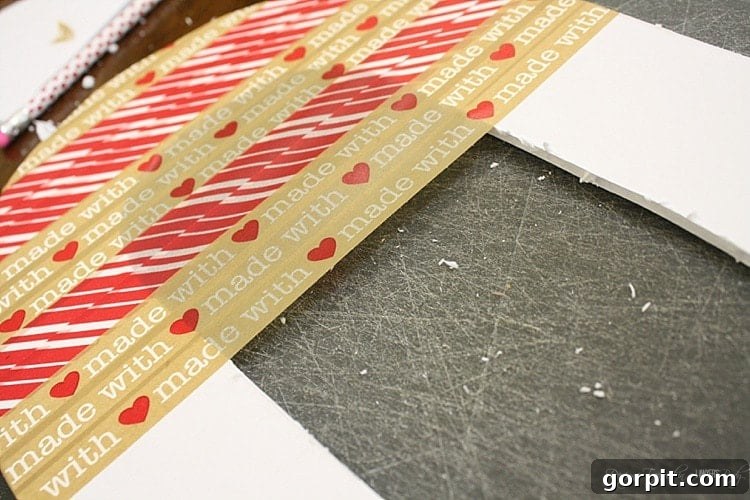
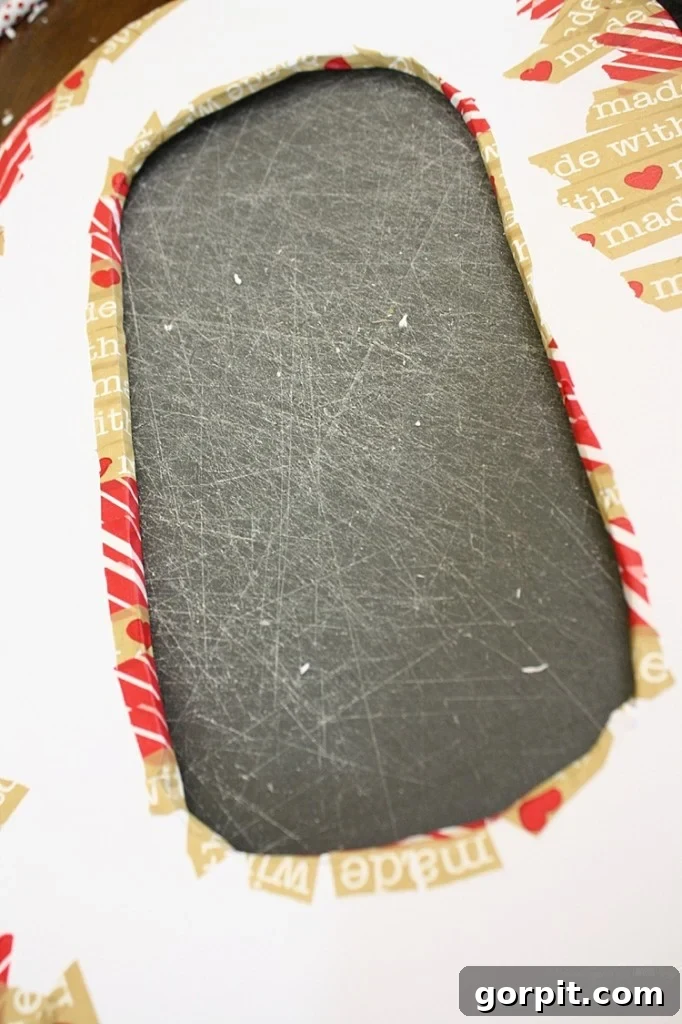
While this step might seem minor, it truly elevates the professional appearance of your finished wreath. After cutting, the edges of the foam core board can often look a bit rough, jagged, or imperfect. Washi tape is a fantastic solution for concealing these imperfections and giving your letters a polished, clean finish.
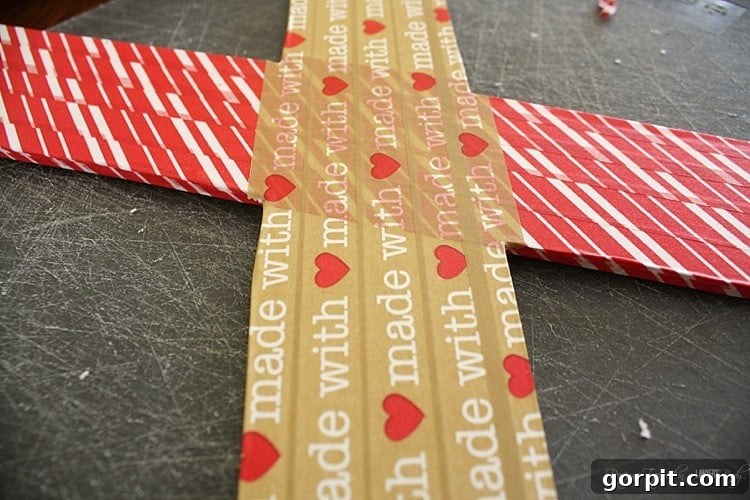
Carefully apply washi tape along the back edges of your cut-out letters. As you go, be sure to wrap the tape over the front edges as well, so that the raw, cut foam core is completely covered from both sides. This technique creates a smooth, continuous border that frames the front of your project beautifully. Not only does it hide any rough spots, but it also adds a subtle decorative element. This step may take a little precision, but the effort is well worth it for a truly finished look. Choose a washi tape color that either matches your tissue paper or provides a pleasing contrast.
3. Prepare Your Tissue Paper Squares
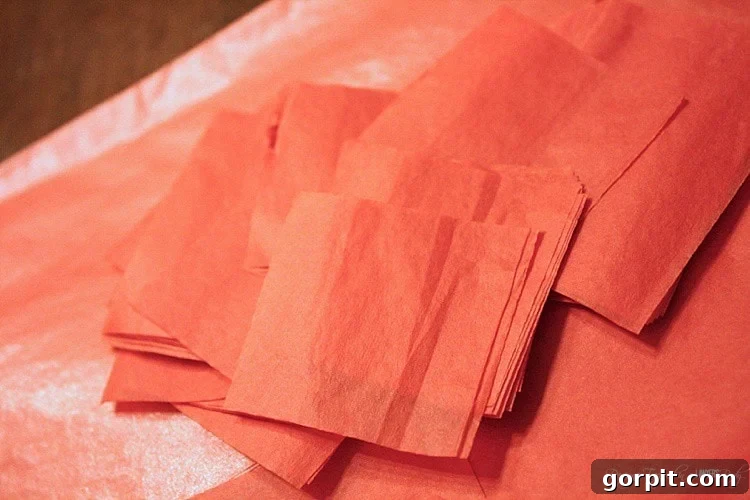
Now for the truly fun and transformative part of this project! The tissue paper is what gives this wreath its distinctive fluffy and textural appearance. Begin by cutting your chosen tissue paper into approximately 1-inch squares. Precision isn’t absolutely critical here; slight variations in size will only add to the organic, fluffy look of the finished piece. To speed up this process, you can stack several sheets of tissue paper together and cut them simultaneously. You might be surprised by how many squares even a single pack of tissue paper yields – a little goes a long way when creating this kind of volume!
For an “XOXO” wreath, I used less than one standard pack of tissue paper, and it produced more than enough 1-inch squares to fully cover both letters. This step is a great opportunity to get creative with colors. While classic red is perfect for Valentine’s Day, consider incorporating shades of pink, white, or even creating an ombre effect by gradually transitioning between different hues. The possibilities are endless, allowing you to personalize your wreath to match your specific decor style.
4. Apply Tissue Paper to Your Foam Core Base
This is where the magic happens! To create the fluffy effect, you’ll be attaching each tissue paper square individually. Start by placing a small dab of craft glue onto a section of your foam core letter. Work in small sections to prevent the glue from drying before you can apply the tissue paper.
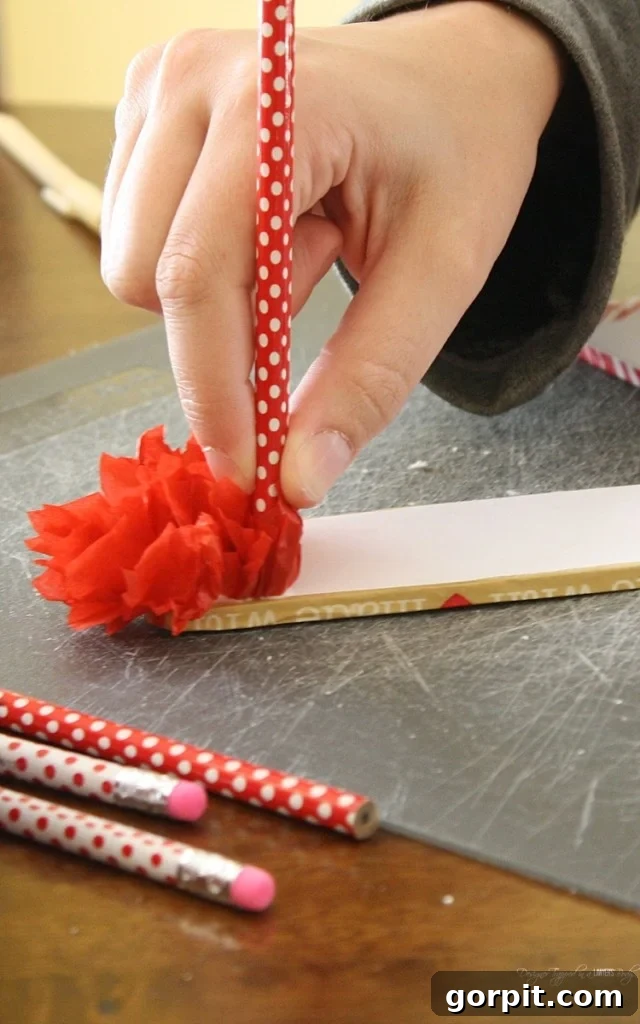
Next, take one 1-inch square of tissue paper and gently place it over the eraser end of a pencil. The pencil acts as a perfect tool to gather the tissue paper, creating a slight “puff” or crumpled effect. With the tissue paper still on the pencil, firmly press the gathered end of the tissue paper square onto the glue-covered portion of the foam board. Lift the pencil, leaving the tissue paper adhered. Repeat this process, placing the tissue paper squares close together, filling in all the gaps. The closer you place them, the denser and fluffier your wreath will appear.
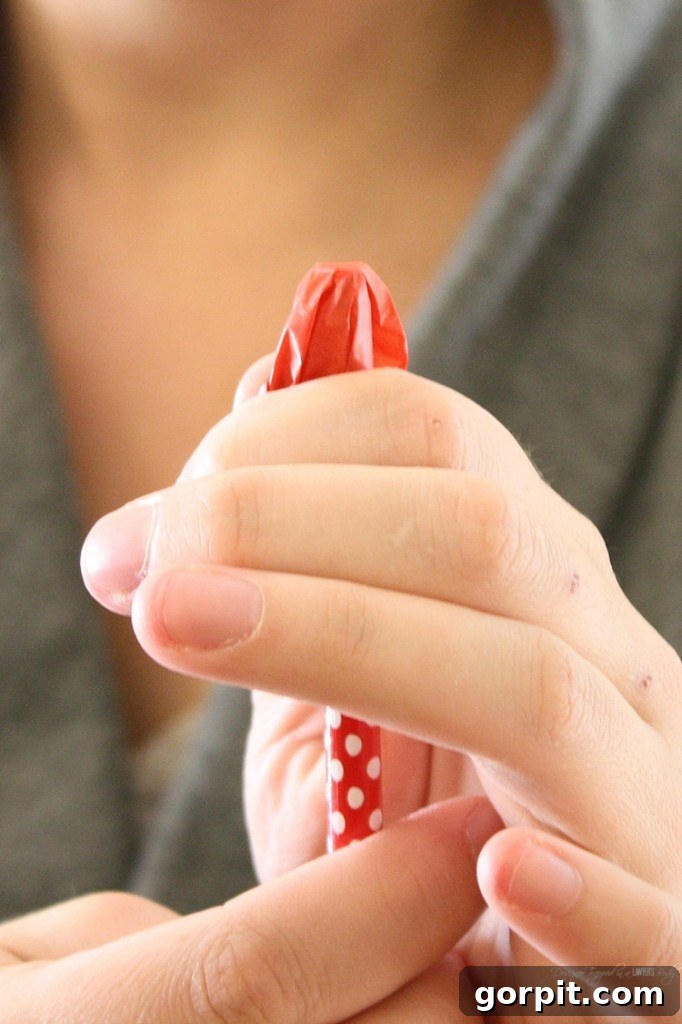
This step is undoubtedly the most time-consuming, but also the most rewarding. It took me about two hours to fully cover my “XOXO” letters, but it flew by because I had my daughters crafting alongside me, busy with their own projects. It’s a wonderful activity for a quiet afternoon or an evening spent listening to music or an audiobook. Don’t rush it; enjoy the repetitive, meditative process of watching your plain foam core transform into a vibrant, textural work of art. Once you’re finished covering your letters entirely, set them aside and allow the glue to dry completely. This might take several hours, or even overnight, depending on the type of glue and humidity.
5. Add the Hanging Ribbon
Once all the glue has thoroughly dried and your tissue paper is firmly attached, you’re ready for the final touch: adding the ribbon for hanging. This step allows you to personalize how your wreath will be displayed. I chose a beautiful old gold satin ribbon to complement the vibrant red tissue paper, creating a classic and elegant contrast. Using a hot glue gun, carefully attach the ends of your ribbon to the back of one of your letters to form a loop. Ensure the loop is sturdy enough to support the weight of your wreath.
While a simple loop is practical and allows the “XOXO” message to take center stage, you could also tie a pretty bow with your ribbon before attaching it, or even create multiple smaller loops if you envision a different hanging style. Consider where you’ll be hanging your wreath – whether it’s on a door, a wall, or a window – and choose a ribbon length and style that suits your display needs. Allow the hot glue to cool and set completely before hanging your finished creation.
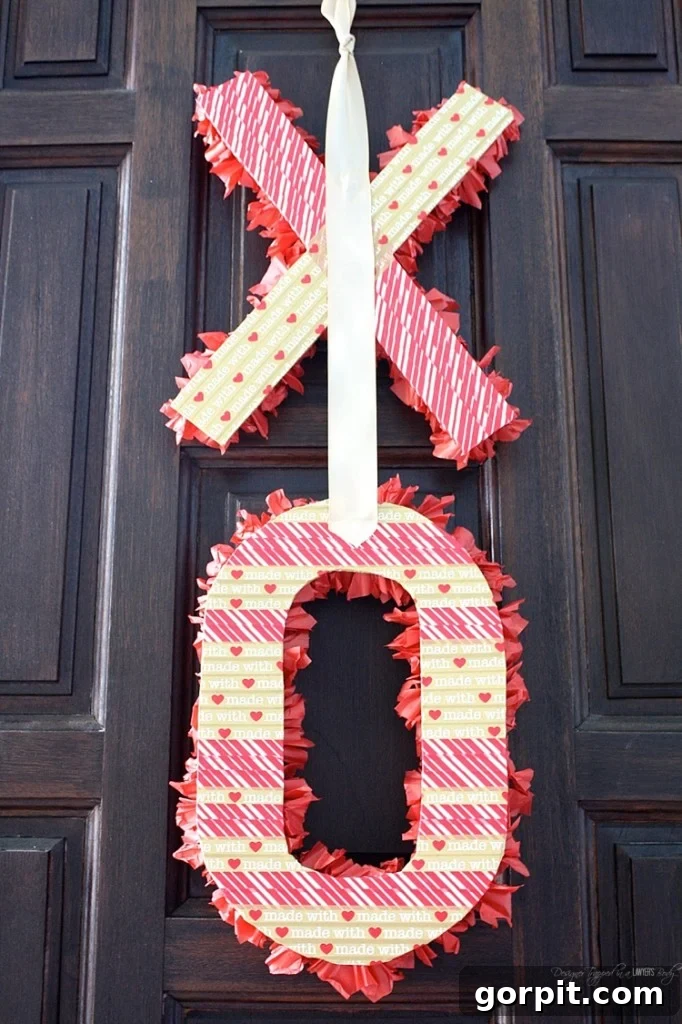
Your Fluffy Valentine’s Day Wreath is Complete!
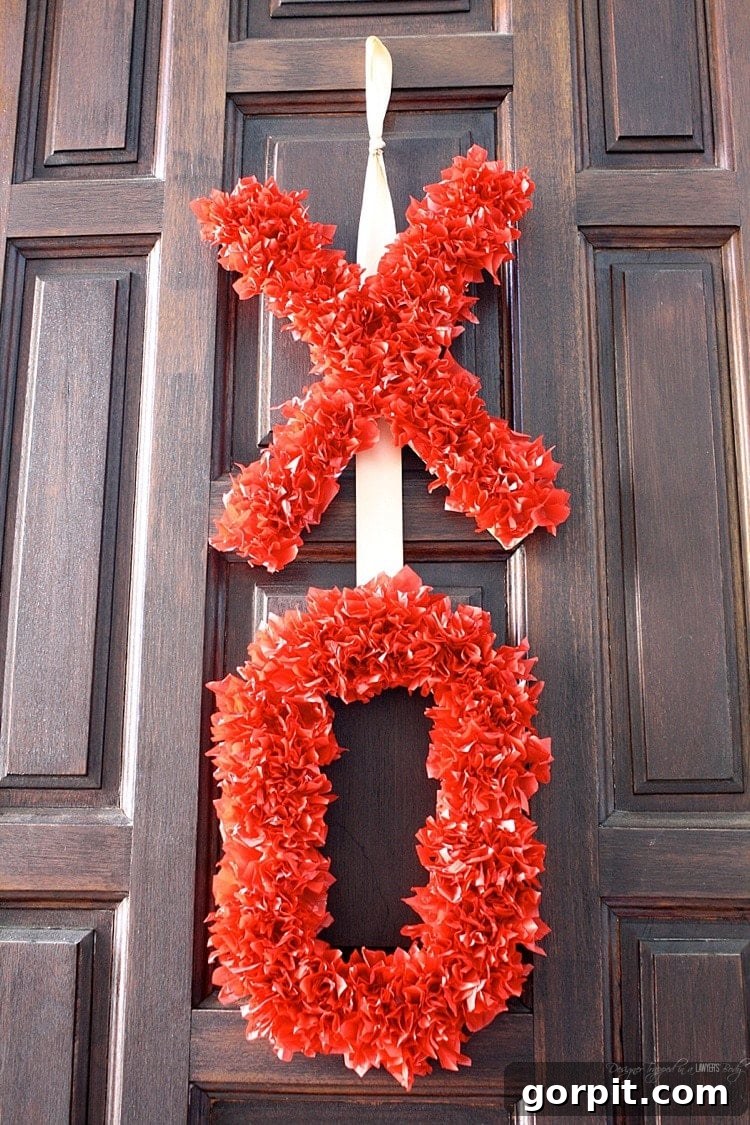
And there you have it! Your gorgeous, fluffy DIY Valentine’s Day wreath is ready to be admired. Hang it with pride and let its handmade charm bring a smile to everyone who sees it. Isn’t it just fabulous? The texture and dimension created by the tissue paper are simply captivating, making it a unique and heartfelt addition to your seasonal decor.
This project is more than just a decoration; it’s a testament to the joy of creating something beautiful with your own hands. It adds a personal touch that store-bought items simply can’t replicate, infusing your home with warmth and love.
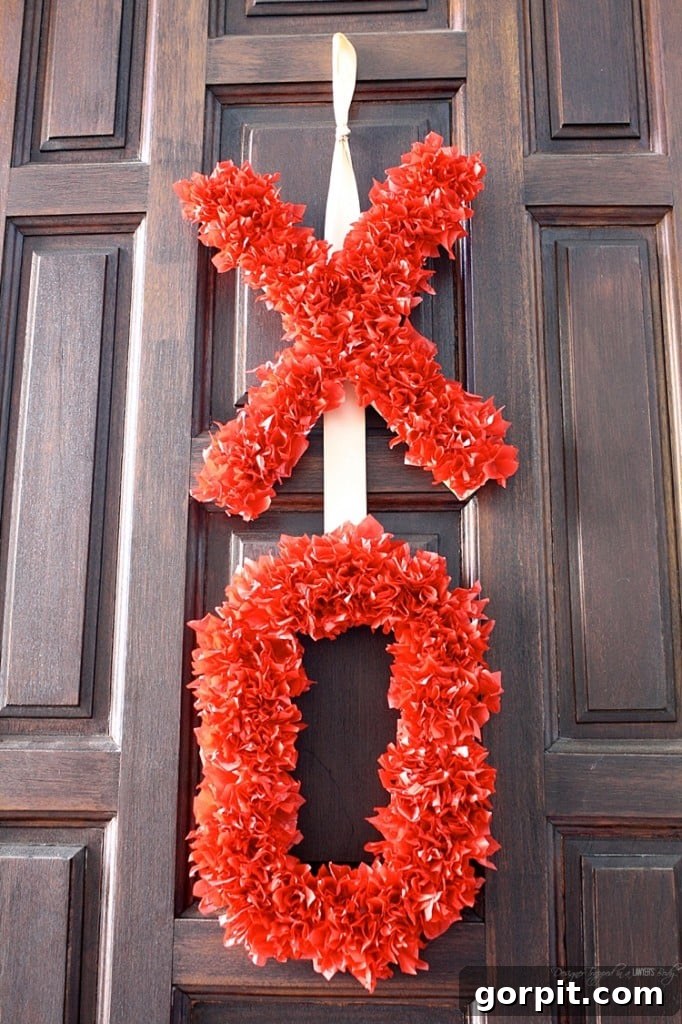

Embrace Creativity: Tips, Variations, and Personalization
I absolutely adore this Valentine’s Day wreath, and I hope you do too! Are you feeling inspired to make one for your own home? This project is incredibly versatile, offering endless possibilities for customization.
- Color Palette Power: While red and gold are a timeless combination for Valentine’s Day, don’t limit yourself! Imagine this wreath in soft pastels, vibrant fuchsias and oranges, or even a sophisticated monochrome scheme. You could create an incredibly beautiful ombre effect by transitioning from dark to light shades of pink or red across your letters. Someone absolutely *must* try that!
- Shape Shifters: Instead of “XOXO,” why not create individual hearts, the word “LOVE,” or even the initials of your loved ones? Foam core is easy to cut into almost any shape, allowing for truly personalized decor.
- Add Some Sparkle: For extra pizzazz, consider lightly misting your finished wreath with glitter spray or gluing on small rhinestones before the final drying stage.
- Beyond Valentine’s Day: The technique for creating these fluffy shapes isn’t limited to February! Think about adapting this idea for other holidays or occasions. Use green and red for Christmas, pastels for Easter, or school colors for a graduation celebration.
- A Thoughtful Gift: A handmade wreath like this makes an incredibly thoughtful and personal gift for friends, family, or even a new homeowner. It shows effort, care, and a touch of your unique style.
Crafting is a journey, and each project is an opportunity to express your creativity. Don’t be afraid to experiment with different colors, shapes, and embellishments. The most important thing is to have fun with the process and create something that brings you joy.
So, what colors or shapes will you choose for your DIY Valentine’s Day wreath? Share your ideas in the comments below, or better yet, make one and show it off! Happy crafting, and may your home be filled with handmade love!