
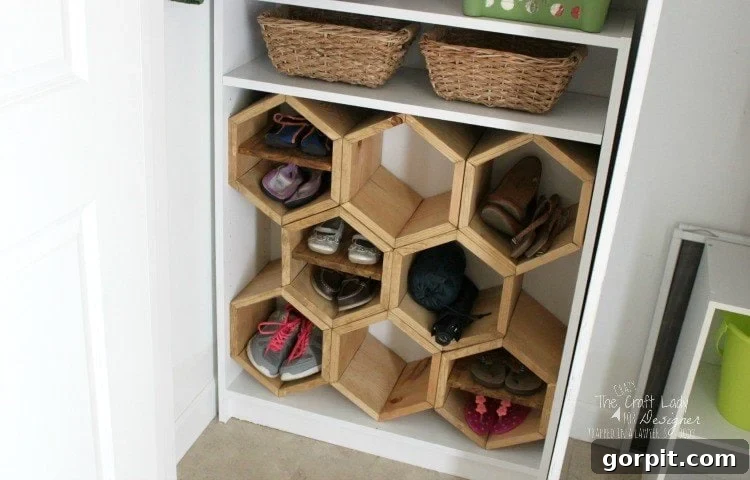
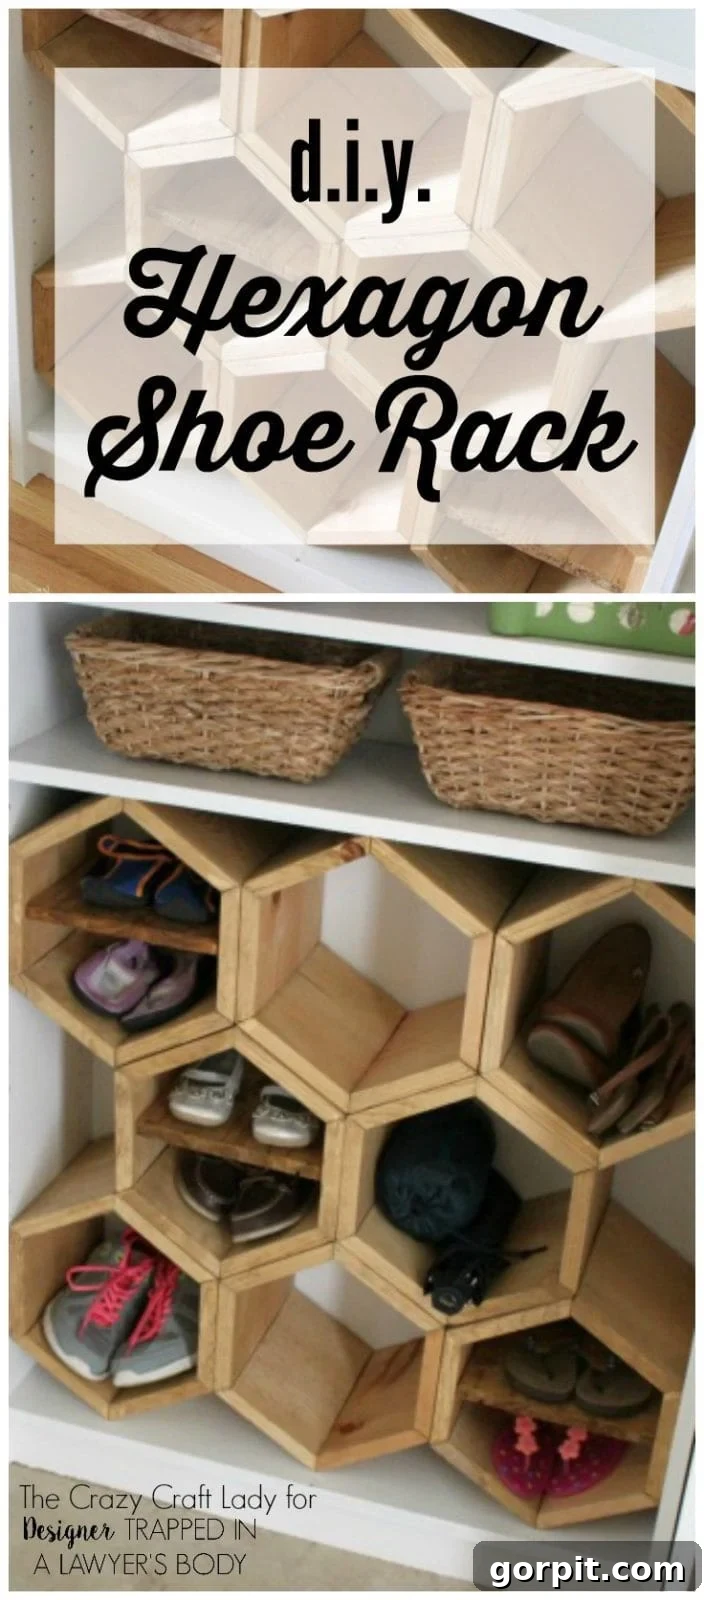
Hello, DIY enthusiasts and organization seekers! I’m Aimee, the creative mind behind The Crazy Craft Lady, where I share my passions for crafting, unique DIY home decor projects, and navigating life as a mom of twins. Today, I’m thrilled to be back to share another exciting and transformative project that tackles a common household challenge: shoe clutter!

You might remember my previous contribution, a captivating scrap wood stencil wall art project. Well, get ready for another dose of creative inspiration as we dive into transforming a simple, overlooked piece of furniture into a functional and eye-catching storage solution. This project is not just about organizing shoes; it’s about infusing personality and smart design into everyday spaces.
The Ubiquitous Problem: Entryway Shoe Clutter
Every home, especially one with active families and energetic children, faces the never-ending battle against entryway clutter. Shoes, in particular, have a notorious way of multiplying and spreading, creating tripping hazards and an unsightly mess that greets you (and your guests) at the door. My own front entry closet, while not entirely disastrous, was slowly but surely succumbing to this very issue. Take a look at Exhibit A:
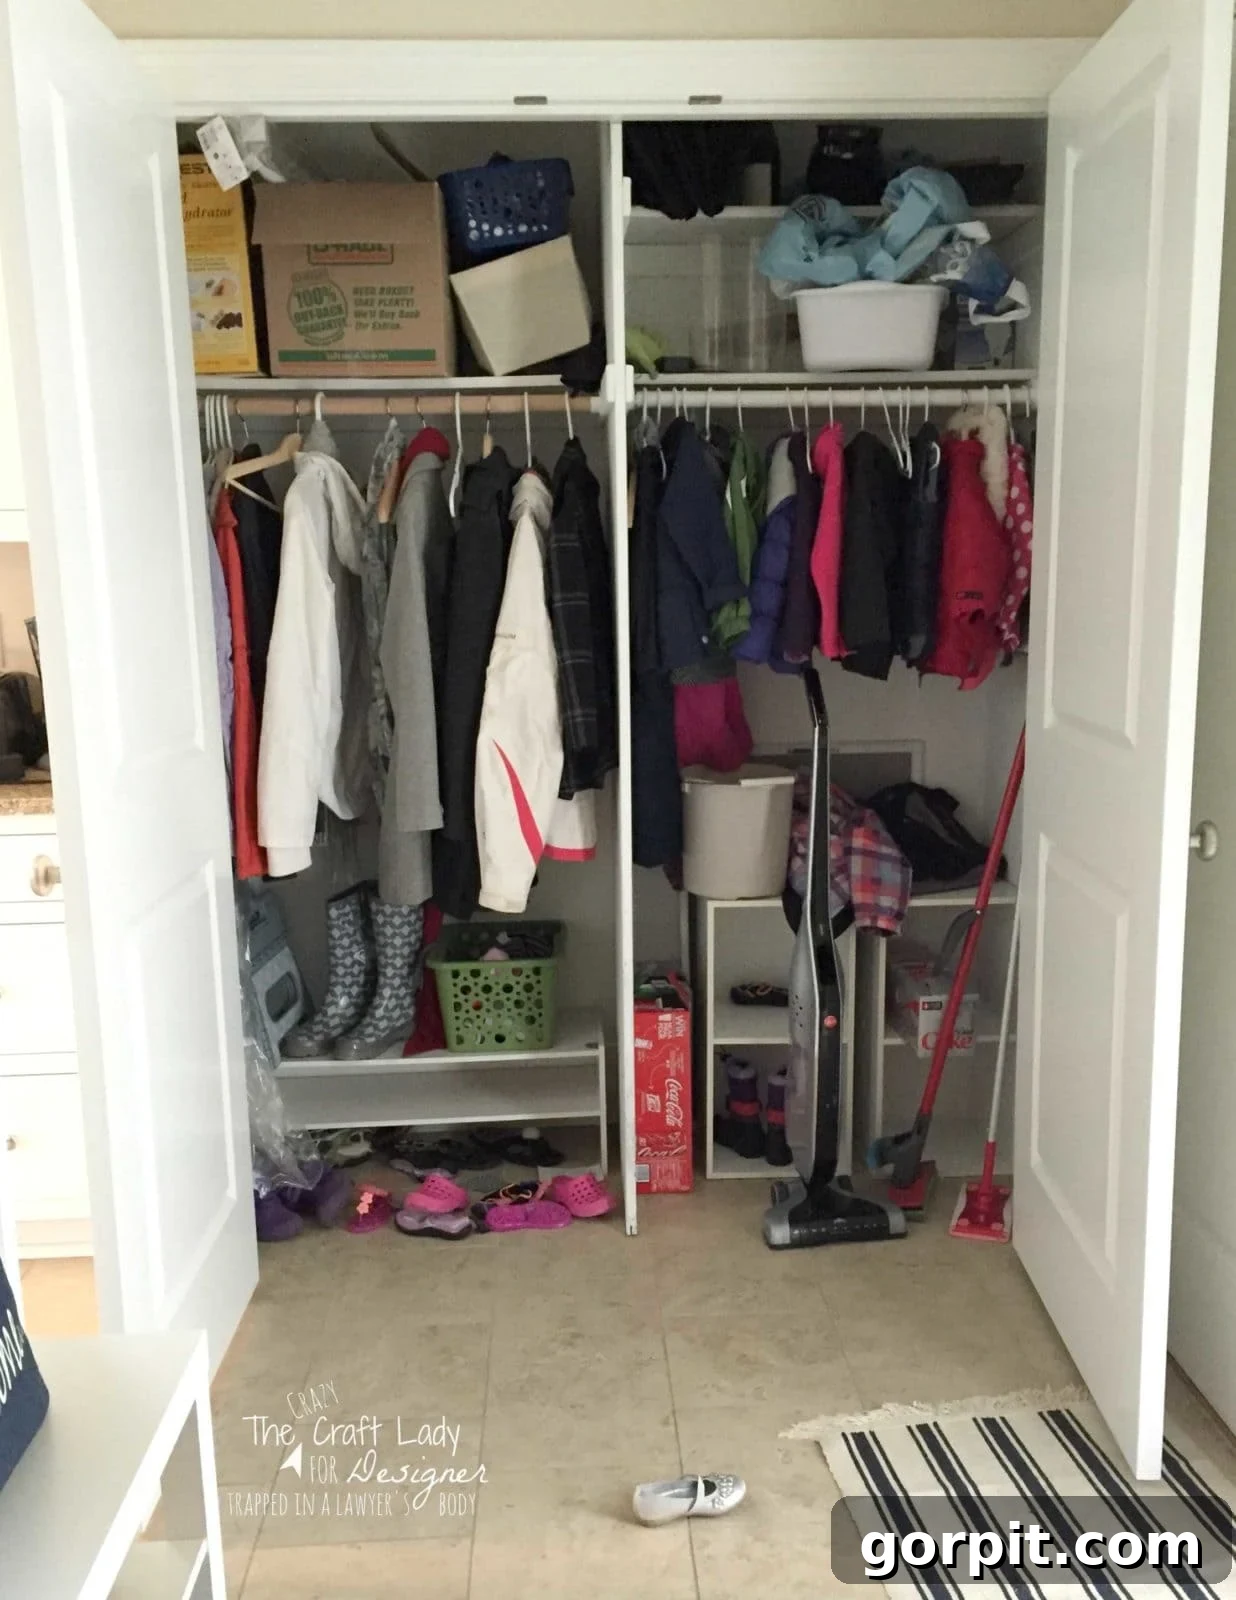
While the closet offered some basic storage, the shoe situation for the little ones was slowly but surely spiraling out of control. The haphazard pile of footwear kept creeping further into the entry, transforming from a minor inconvenience into a major eyesore and a potential tripping hazard. I knew a dedicated shoe storage solution, perhaps a cubby shelf, was the answer. But I wasn’t content with just any run-of-the-mill, assemble-it-yourself white shelf. I yearned for something with character, something that reflected my love for DIY decor. That’s when I put on my trusty DIY Thinking Cap, determined to create a custom solution.
From Bookcase to Bespoke Shoe Organizer: The Vision
The stars aligned when I realized I had a rather underutilized IKEA Billy Bookcase sitting around. This particular bookcase wasn’t finding its purpose anywhere else in the house, but its dimensions were miraculously perfect for the left half of my entry closet. It felt like fate! Serendipity struck again as I recalled admiring some truly innovative hexagon wall shelf tutorials circulating the blogosphere. If people could craft stylish hexagon shelves for walls, why couldn’t I adapt that brilliant concept to create unique hexagon shoe cubbies?
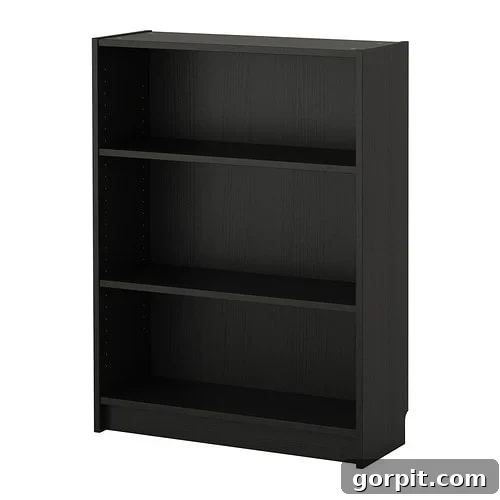
This project was born out of a desire to create a functional, stylish, and customized shoe storage solution that not only solved a practical problem but also added a unique design element to my home. The idea was simple: transform a standard bookcase into a chic, honeycomb-style DIY shoe rack using individual hexagon shoe cubbies. This IKEA Billy Bookcase hack offers unparalleled organization while being a fantastic DIY home decor statement. Ready to tackle your own entryway organization challenge? Let’s gather our supplies and get started! Please note: This post contains some affiliate links to help you find the products I used. Click here to read my full disclosure policy.
DIY Hexagon Shoe Rack – Essential Supplies and Tools
Creating this custom shoe organizer is surprisingly straightforward, and the flexibility of the design means you can tailor the number of cubbies and their arrangement to perfectly fit your space and needs. The following list of supplies and tools will allow you to construct eight hexagon cubbies, designed to fit snugly within an IKEA Billy Bookcase, transforming it into the ultimate shoe storage solution.
- Wood for Cubbies: 1 x 10s – I purchased 5, 6-foot lengths. Buying shorter lengths makes transportation much easier, especially if you don’t have a large vehicle. Remember, a “1×10” board isn’t truly 10 inches wide; it’s typically closer to 9 1/4 inches. This depth is ideal for kids’ shoes and women’s sizes (like my 7.5). If you need deeper cubbies for larger shoe sizes, consider using 1x12s or adjusting your design accordingly.
- Wood Glue: Essential for creating strong, lasting bonds between your wood pieces, providing structural integrity to your cubbies.
- Finishing Nails: These will help hold the wood pieces together securely while the wood glue dries, ensuring precise angles and stability.
- Wood Stain: I used Minwax Golden Oak, which provided a beautiful, warm finish that contrasted wonderfully with the white bookcase. Choose a stain color that complements your existing decor or creates a desired accent.
- Drop Cloth: Absolutely crucial for protecting your work surface from wood stain and sawdust. Don’t skip this step!
- Sandpaper: Various grits (e.g., 120-grit for initial smoothing, 220-grit for a finer finish) are needed to prepare your wood, ensuring a smooth surface for staining and preventing splinters.
- Brush: For applying wood stain evenly. A good quality brush will help achieve a professional-looking finish.
- Rags: For wiping off excess stain and for general cleanup. Old t-shirts or lint-free cloths work perfectly.
Tools you’ll need (or a friend who owns them!):
- Miter Saw or Table Saw: Essential for making precise 30-degree angle cuts for the hexagon shapes. Safety first with these tools!
- Hammer or Nail Gun: For securing the finishing nails.
- Measuring Tape and Pencil: For accurate marking.
DIY Hexagon Shoe Rack – Step-by-Step Tutorial
Step 1 (Optional): Prepare Your Bookcase
Before diving into the hexagon construction, you might want to give your existing bookcase a refresh. My IKEA Billy Bookcase was originally a dark black stain. To achieve the bright and airy look I envisioned for my custom shoe organizer, I quickly primed and painted it white. I simply used leftover paint from other DIY home decor projects – a great way to save money and use up supplies! If your bookcase is already white, or if you prefer the original color (be it black, wood tone, or another shade), feel free to skip this step. The beauty of transforming furniture is making it uniquely yours.
Step 2: Master the Hexagon Math (or just use mine!)
Ah, geometry! The thought of calculating hexagon dimensions can send shivers down many a DIYer’s spine. You could dust off those old high school trigonometry textbooks, spend hours Googling “how to calculate the dimensions of a hexagon,” and perhaps shed a tear or two before pouring a glass of wine.
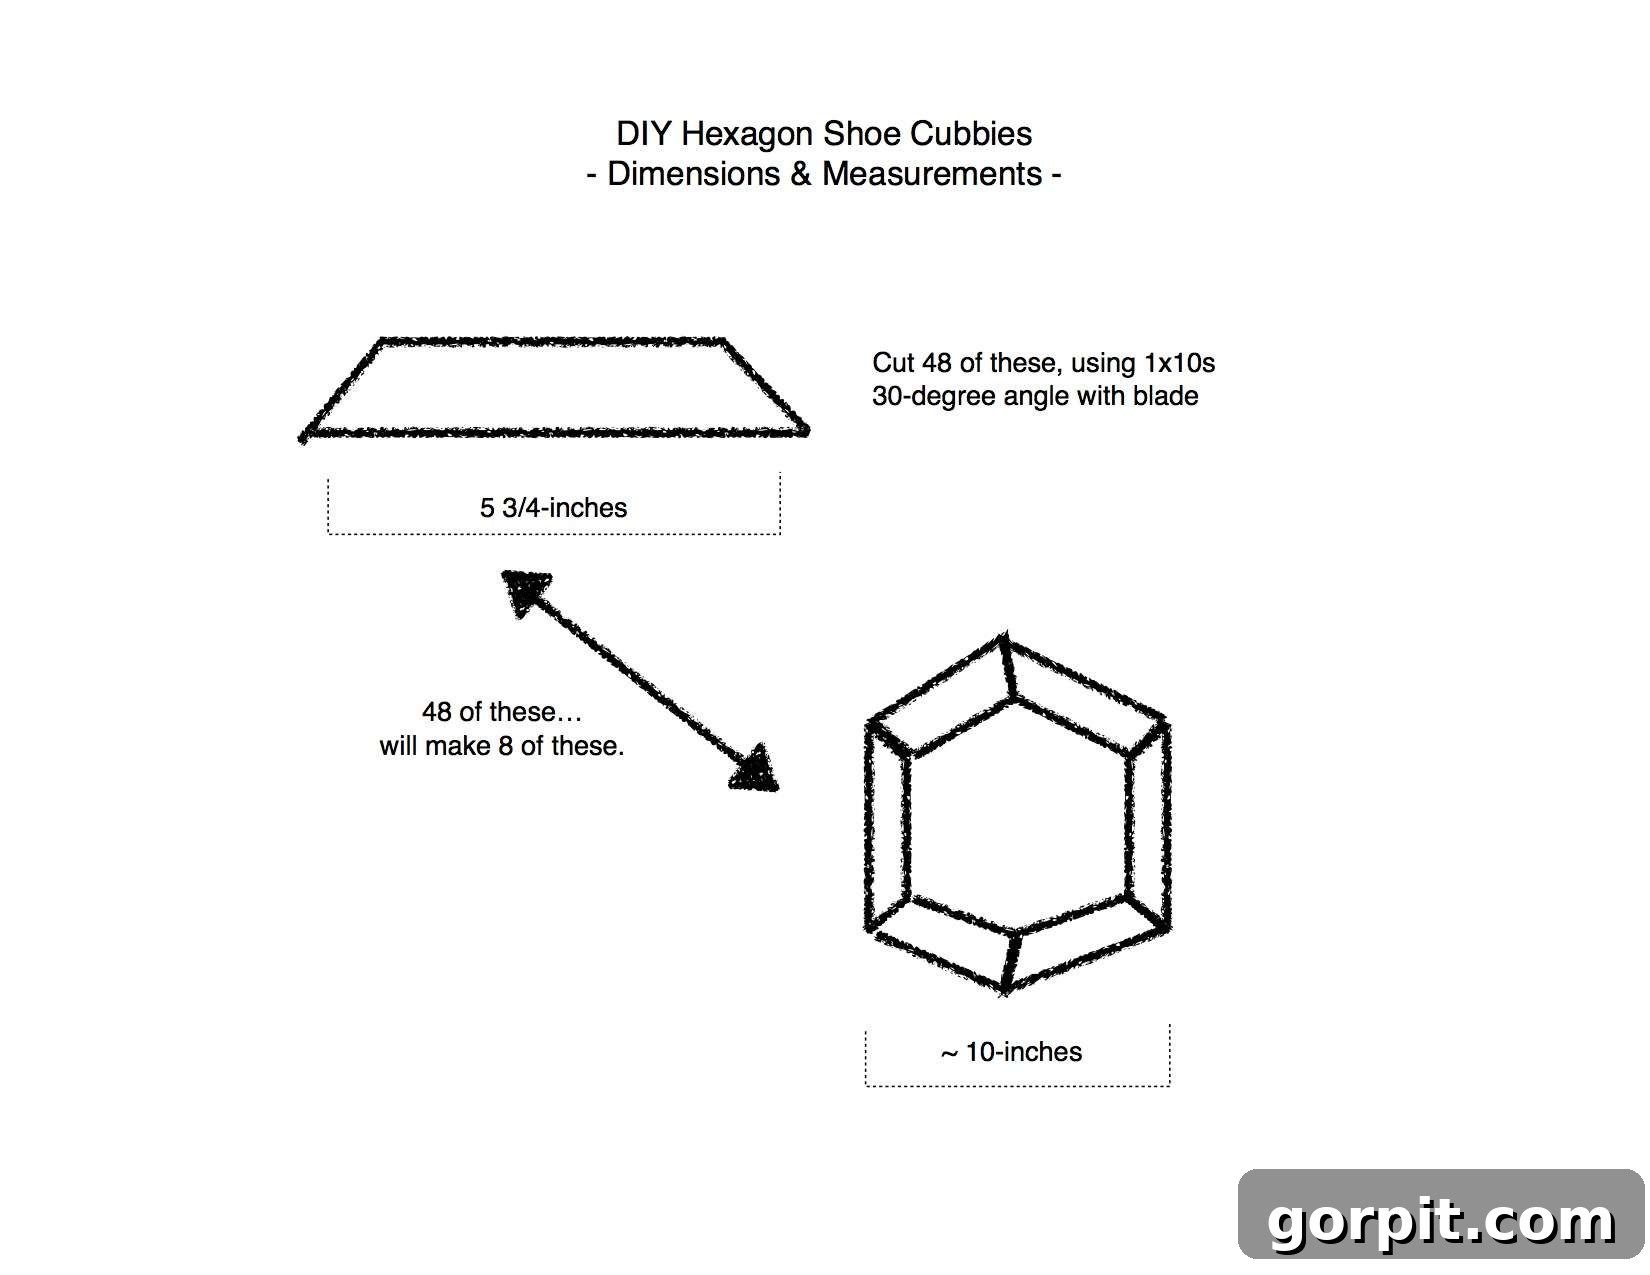
OR, you can simply use the precise calculations I’ve already done for you! For my specific IKEA Billy Bookcase, the internal opening was 30 inches wide. To create a neat row of cubbies, I determined each hexagon needed to be approximately 10 inches wide (or just shy of that measurement to allow for easy fitting). This translates to specific cut lengths and angles that ensure your hexagons fit together perfectly, forming a beautiful honeycomb pattern for your creative shoe storage. Precision here is key for a seamless fit.
Step 3: Precision Cutting (Enlist a Power Tool Pal!)
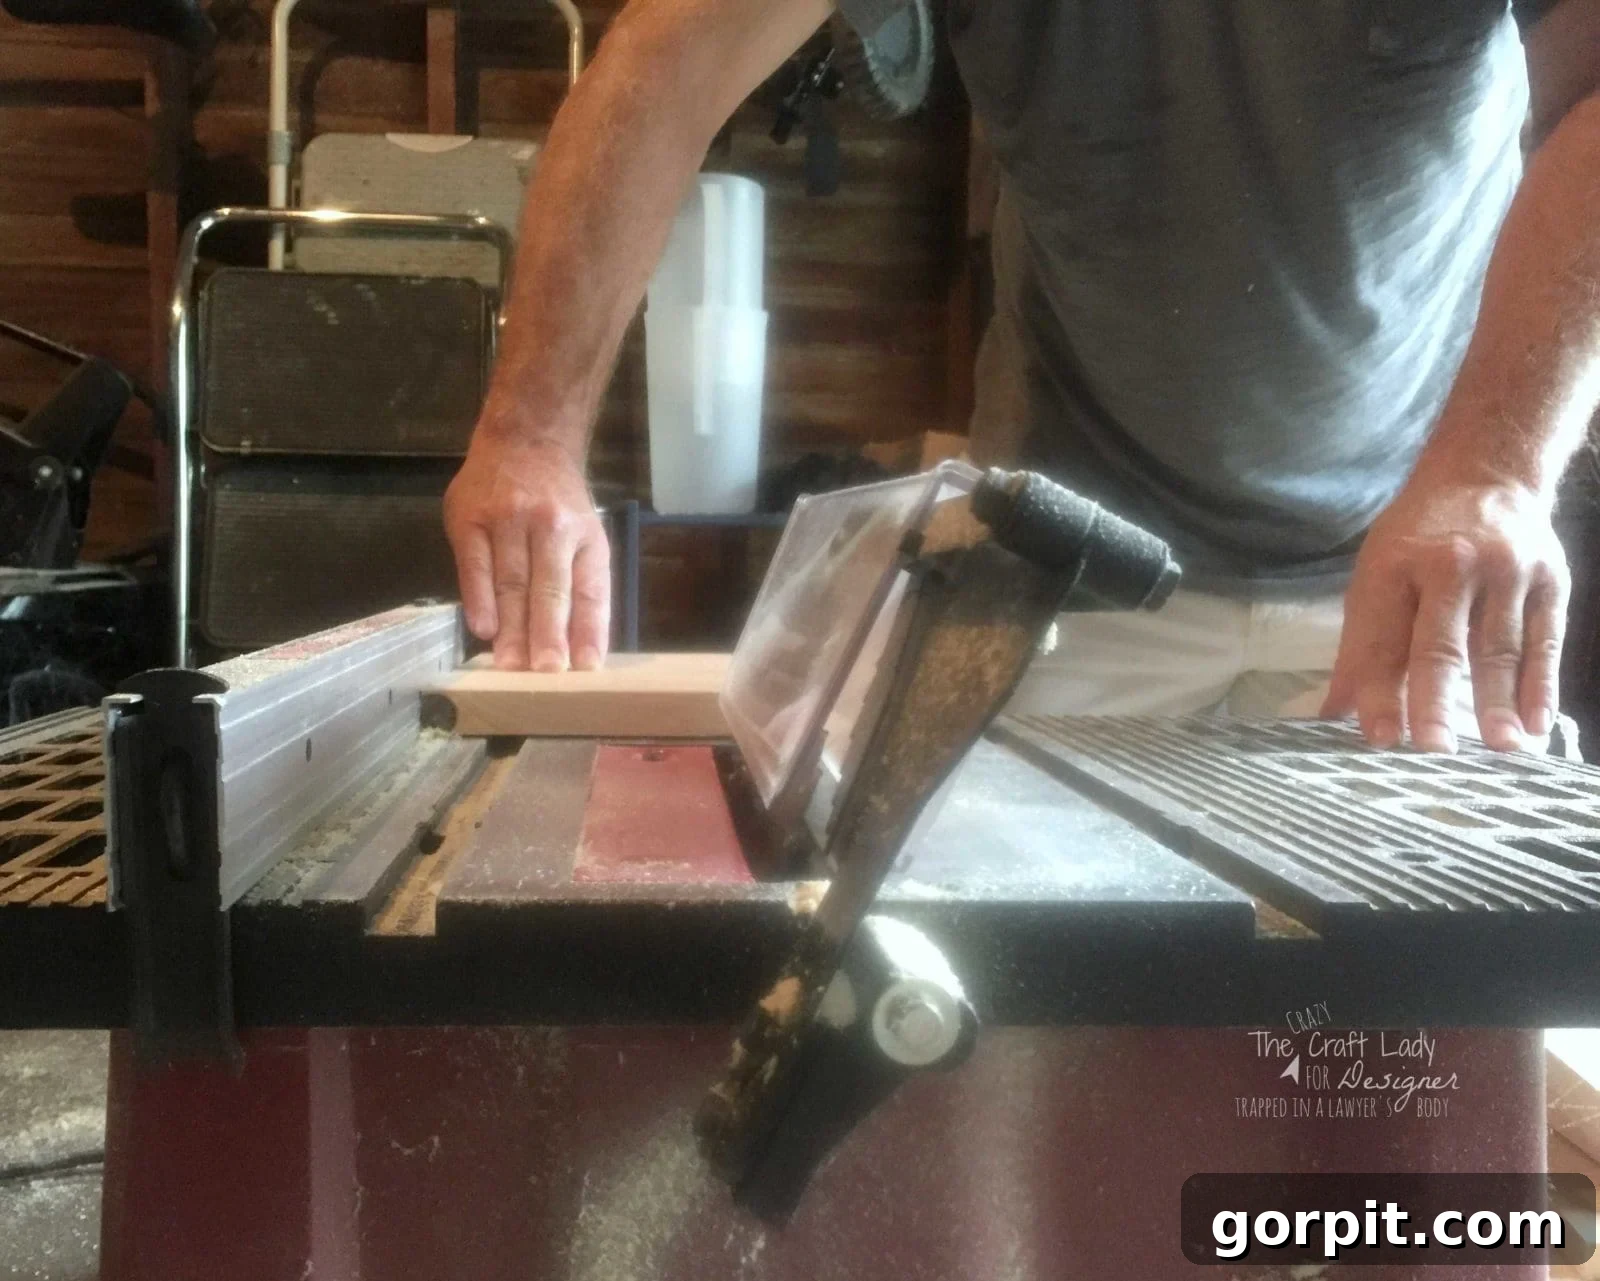
Let’s be honest: working with power tools, especially those that can permanently alter your appendages, can be intimidating. The precise cuts required for these hexagon cubbies were a bit beyond my personal comfort zone. So, I did what any smart DIYer does: I enlisted the help of my good friend Patrick, who is a pro with power tools. While he skillfully handled the miter saw, I happily played the role of photographer, documenting every step with my iPhone.
To create the eight hexagon cubbies as depicted, you will need a total of 48 individual pieces of 1×10 wood, each cut to 5 3/4 inches in length. It’s always a good idea to cut a few extra pieces, just in case of any miscuts or if you decide to expand your project later.
The cutting process involves two main steps:
- Straight Cuts: Begin by cutting all 48 (or more) pieces to a straight length of 5 3/4 inches.
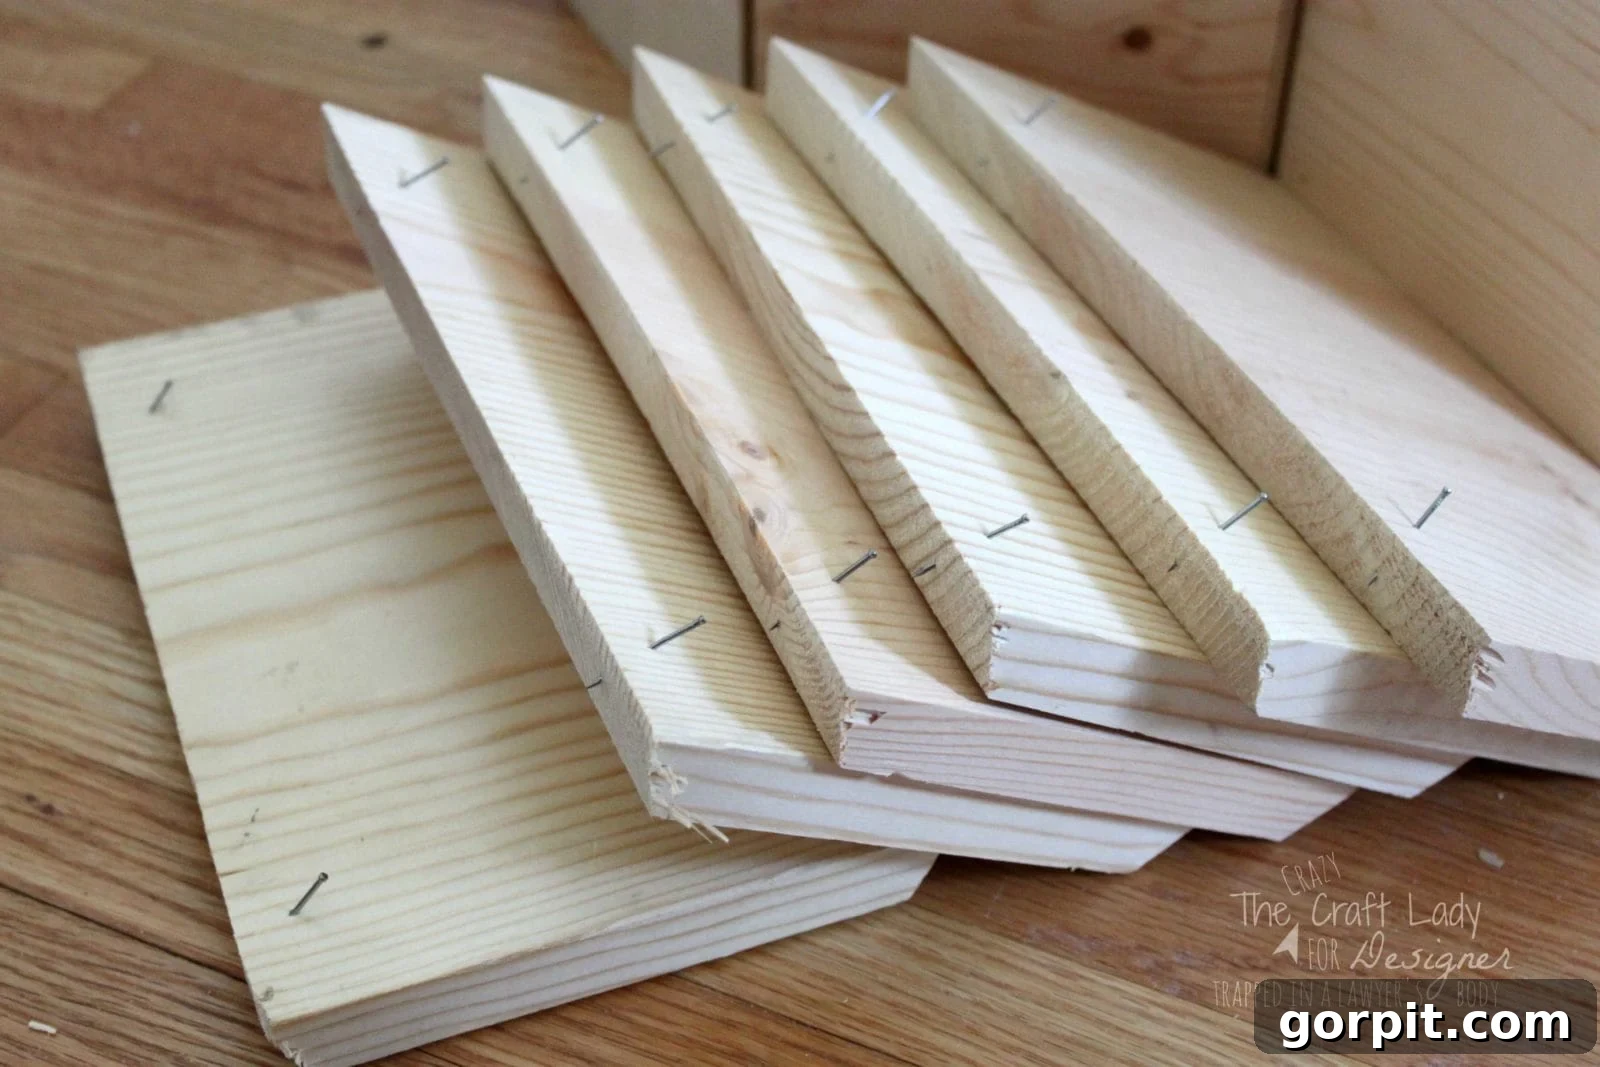
- Angle Cuts: Next, set your saw blade to a precise 30-degree angle. Carefully cut each end of your 5 3/4-inch pieces again, ensuring that the angles are consistent and clean. These 30-degree angles are what allow six pieces of wood to form a perfect 180-degree hexagon joint, bringing your woodworking project to life.
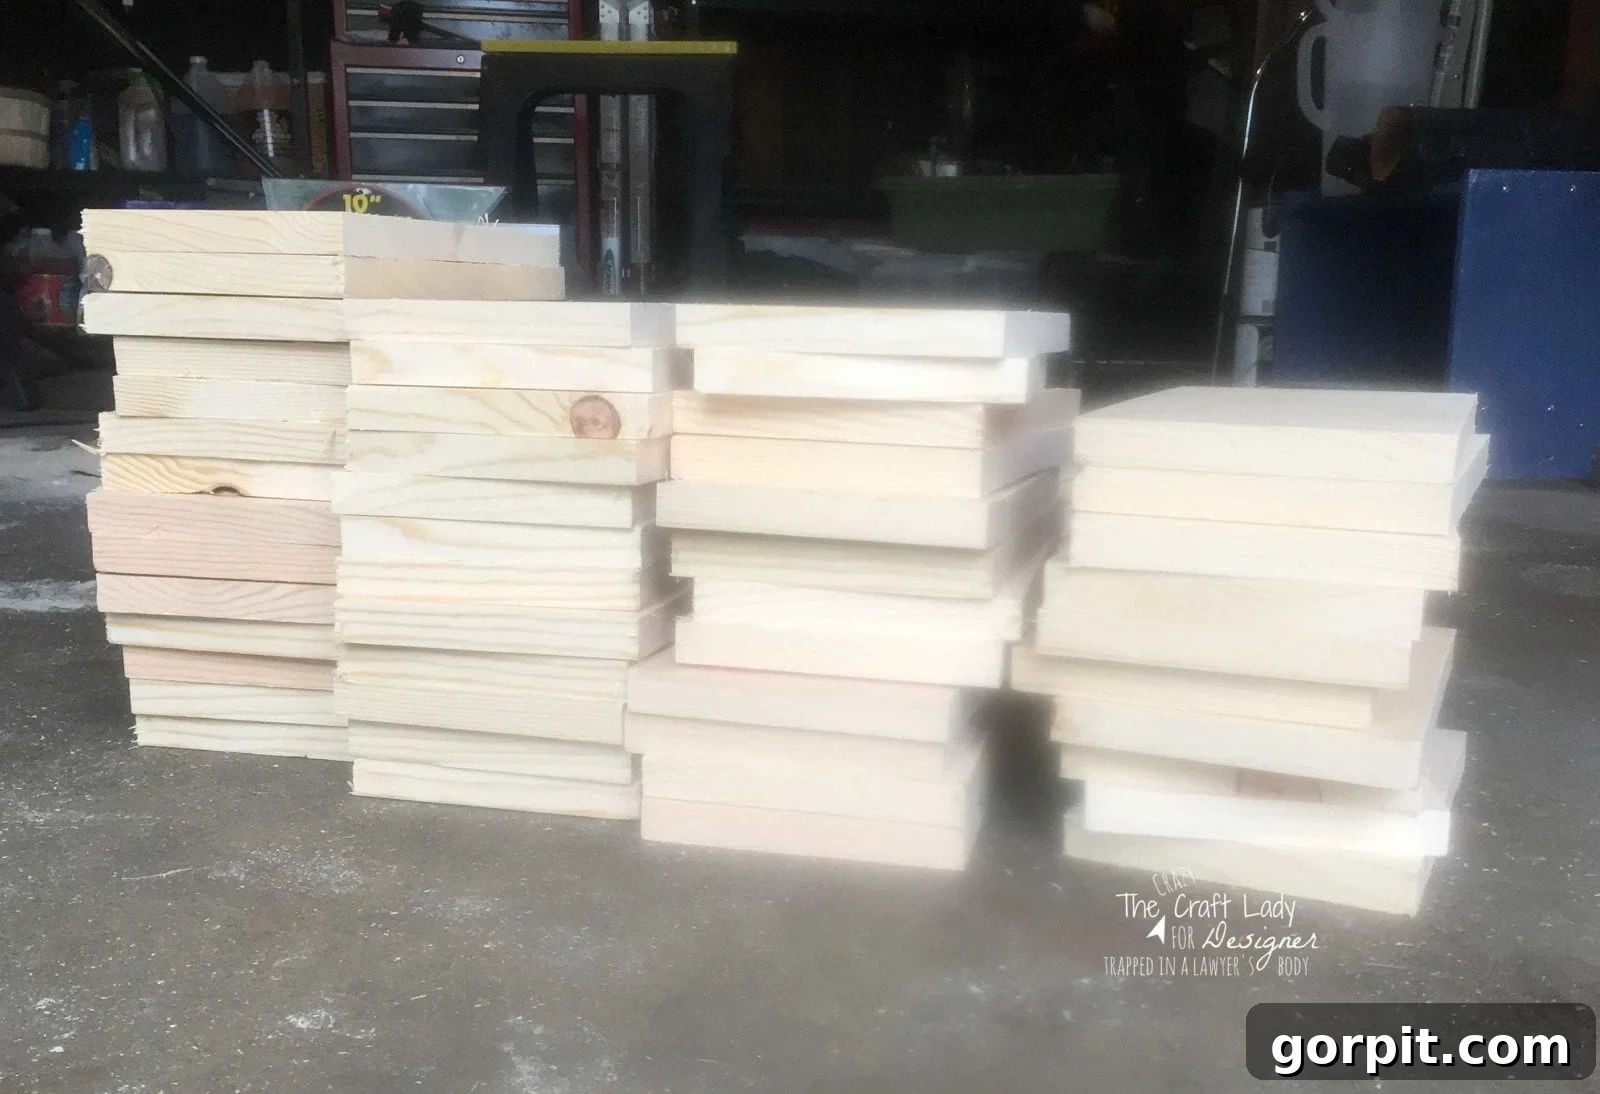
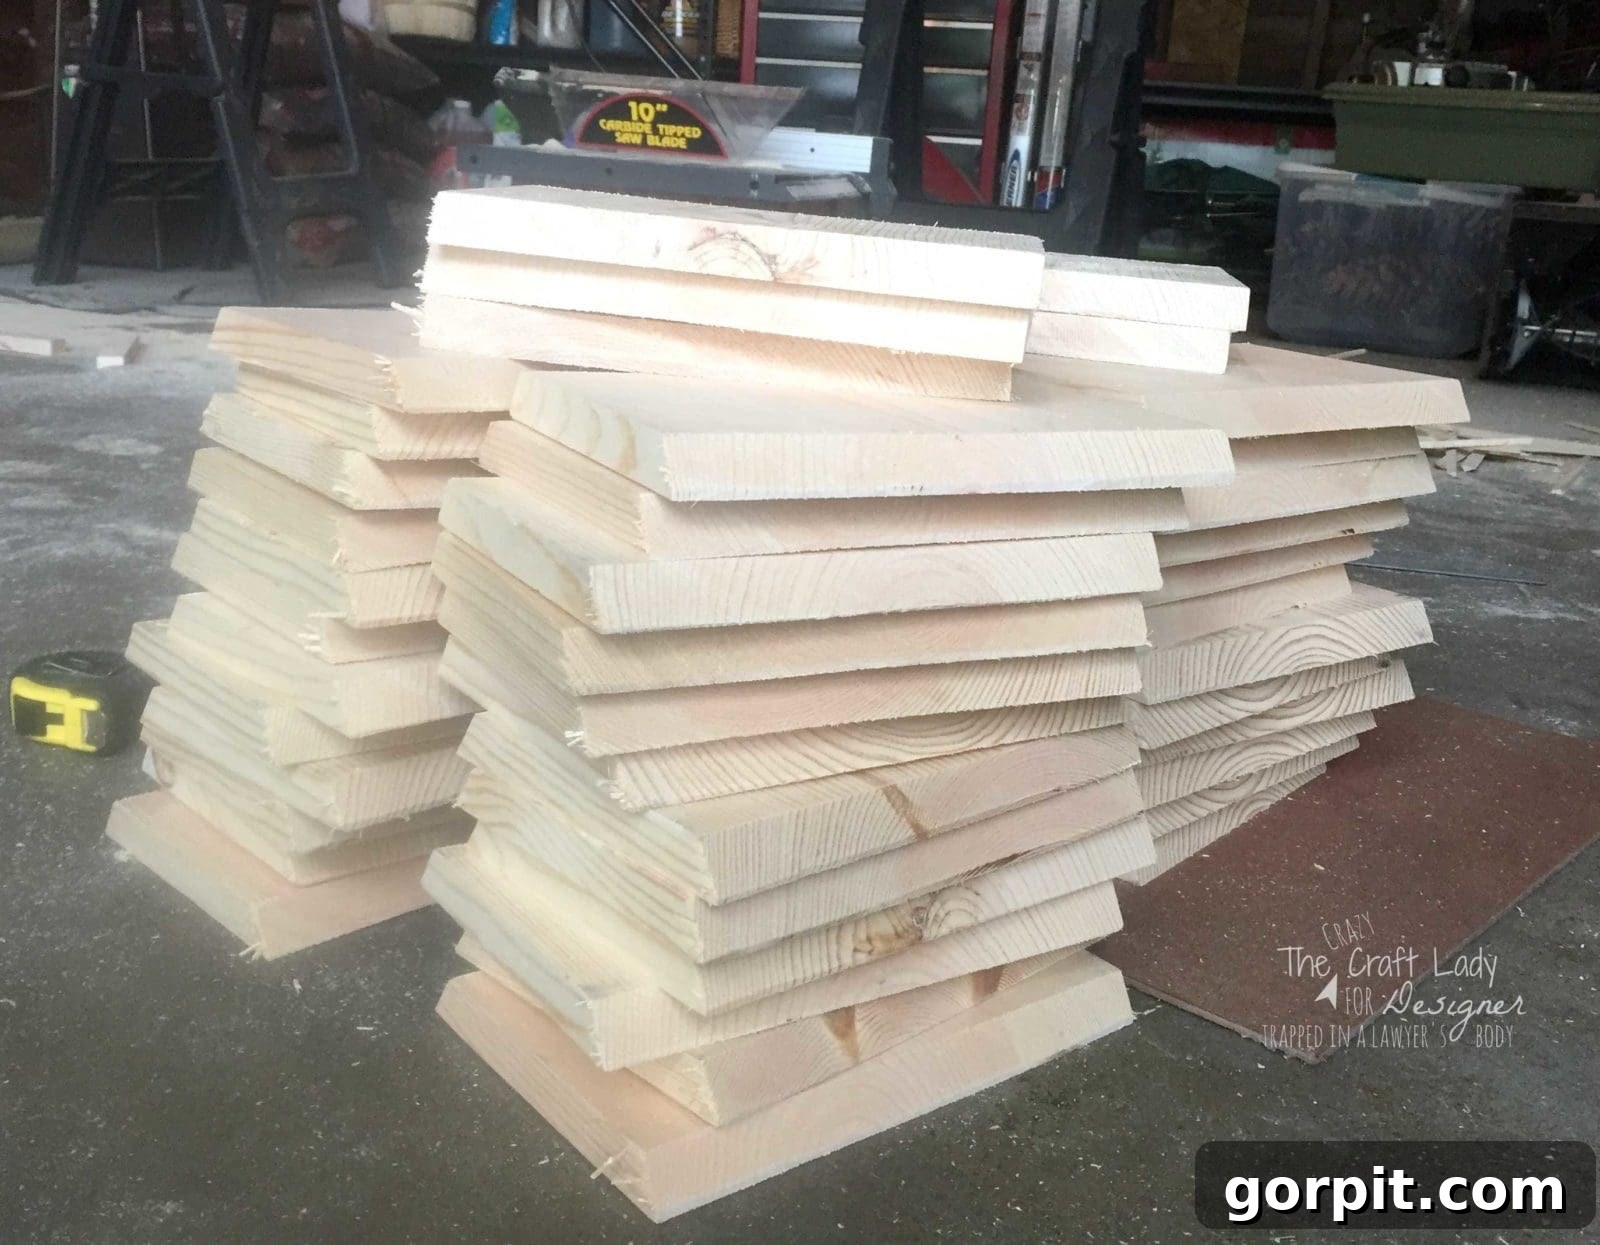
The end result of this meticulous cutting will be a neat pile of uniformly angled wood pieces, ready to be transformed into your striking hexagon shoe cubbies.
Step 4: Assemble Your Hexagon Cubbies (Get Creative or Call a Friend!)
Now comes the fun part: bringing your hexagons to life! This step can be a bit tricky if you’re working solo, but it’s entirely manageable with a little ingenuity. When I assembled my cubbies, I was home alone, which led to some rather “creative” methods – I may have used my feet to stabilize the wood pieces while hammering in the nails. Think of it as advanced DIY yoga!
Here’s how to assemble each hexagon cubby:
- Pre-nailing: For easier assembly, start by partially inserting a finishing nail into one edge of each cut wood piece. This gives you a starting point and helps hold pieces together momentarily.
- Apply Wood Glue: Before joining any two pieces, run a generous bead of wood glue along the angled seam. Wood glue is paramount for the structural integrity and longevity of your cubbies.
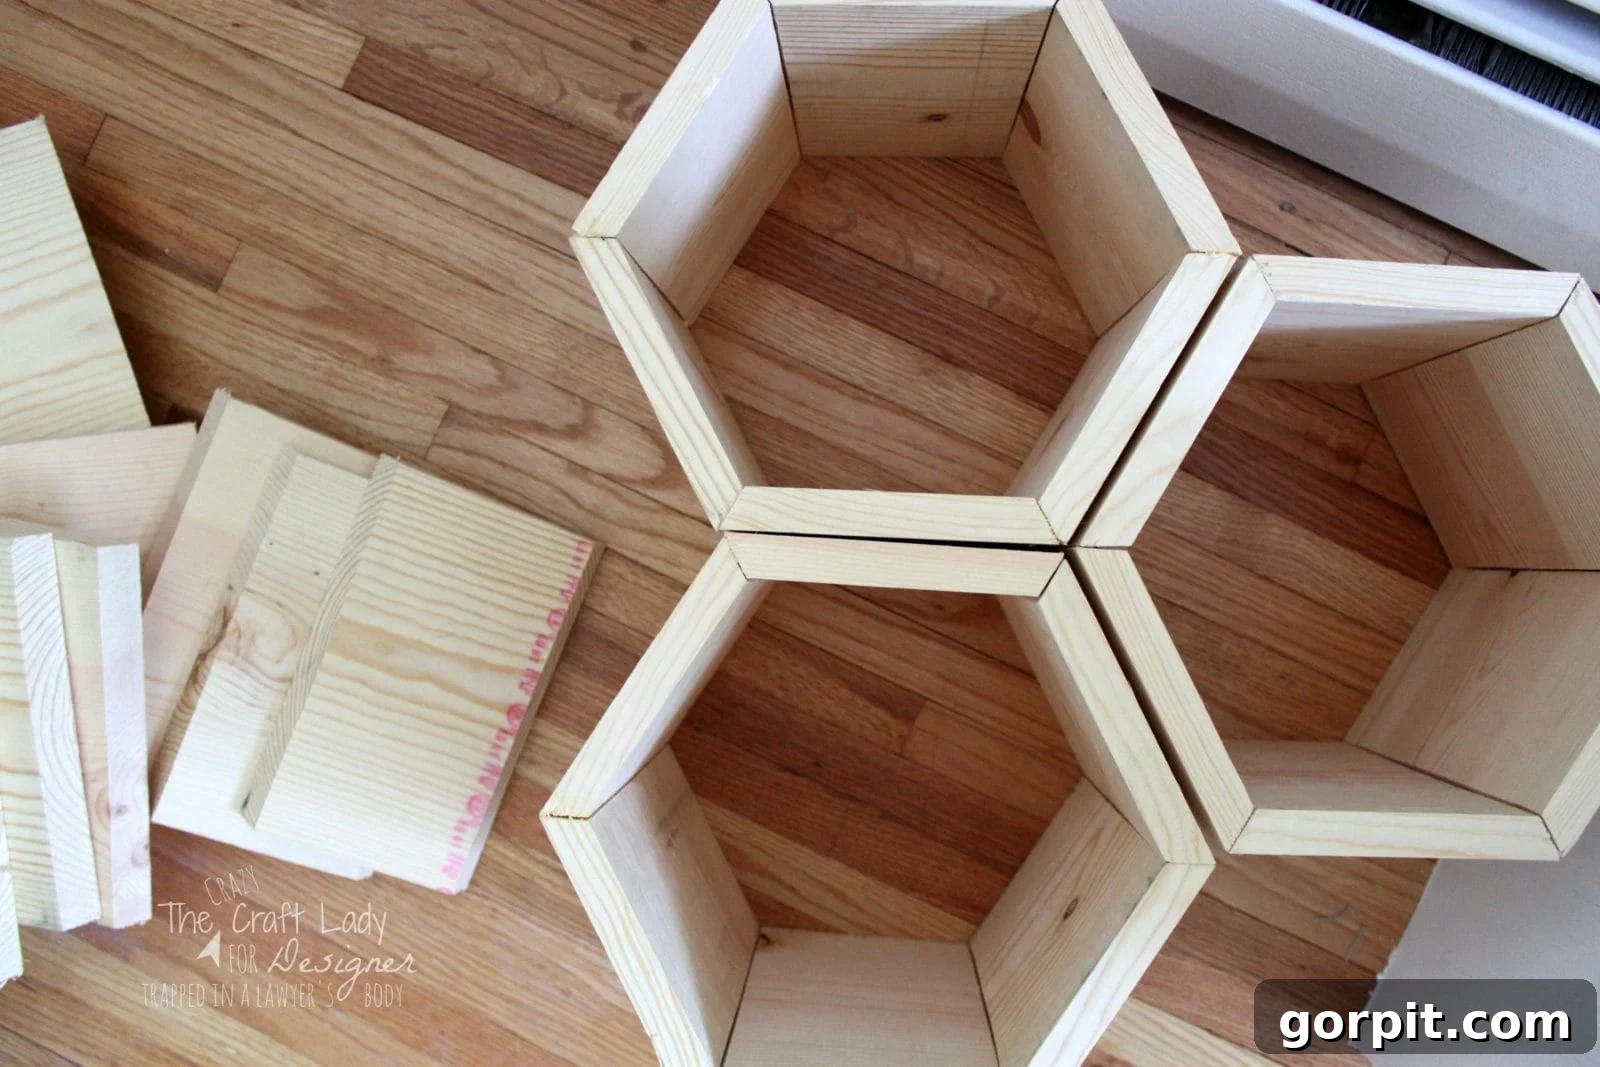
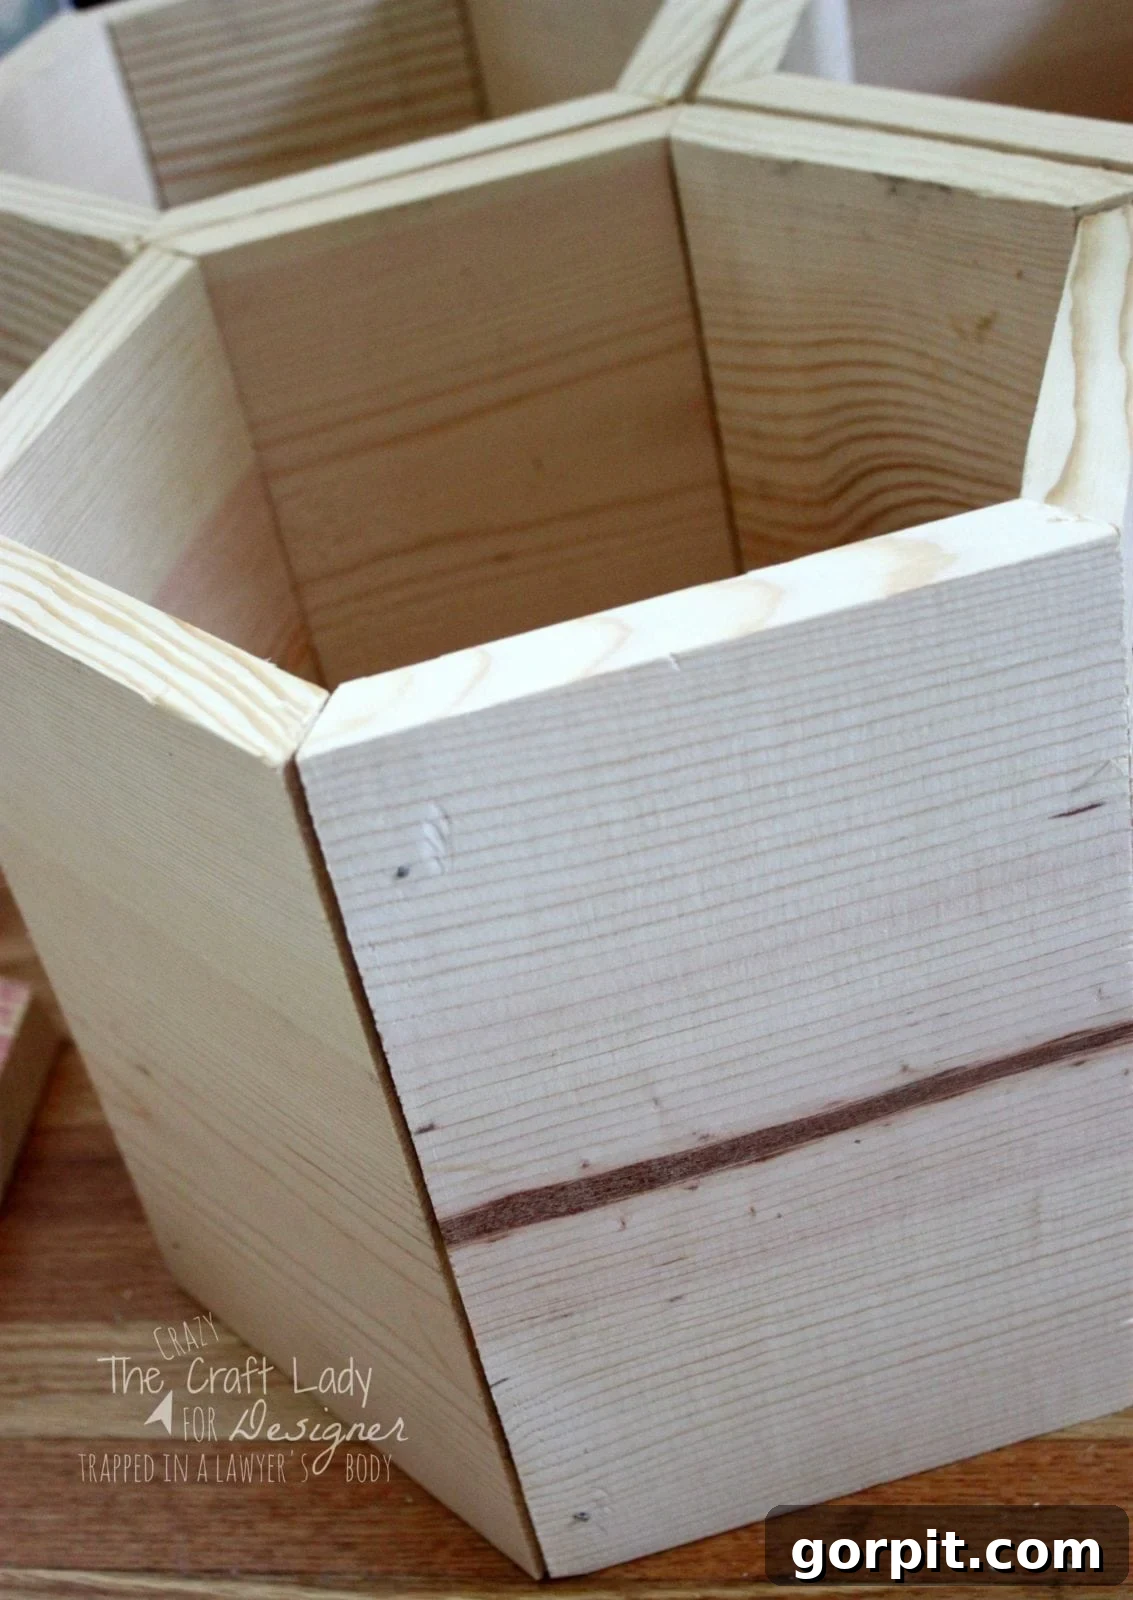
- Join and Nail: Press the two glued pieces together, ensuring the angles align perfectly to form a tight joint. Then, fully hammer in the finishing nail to secure them. Continue this process, adding one piece at a time, applying glue to each new seam, and securing with nails until you have a complete hexagon.
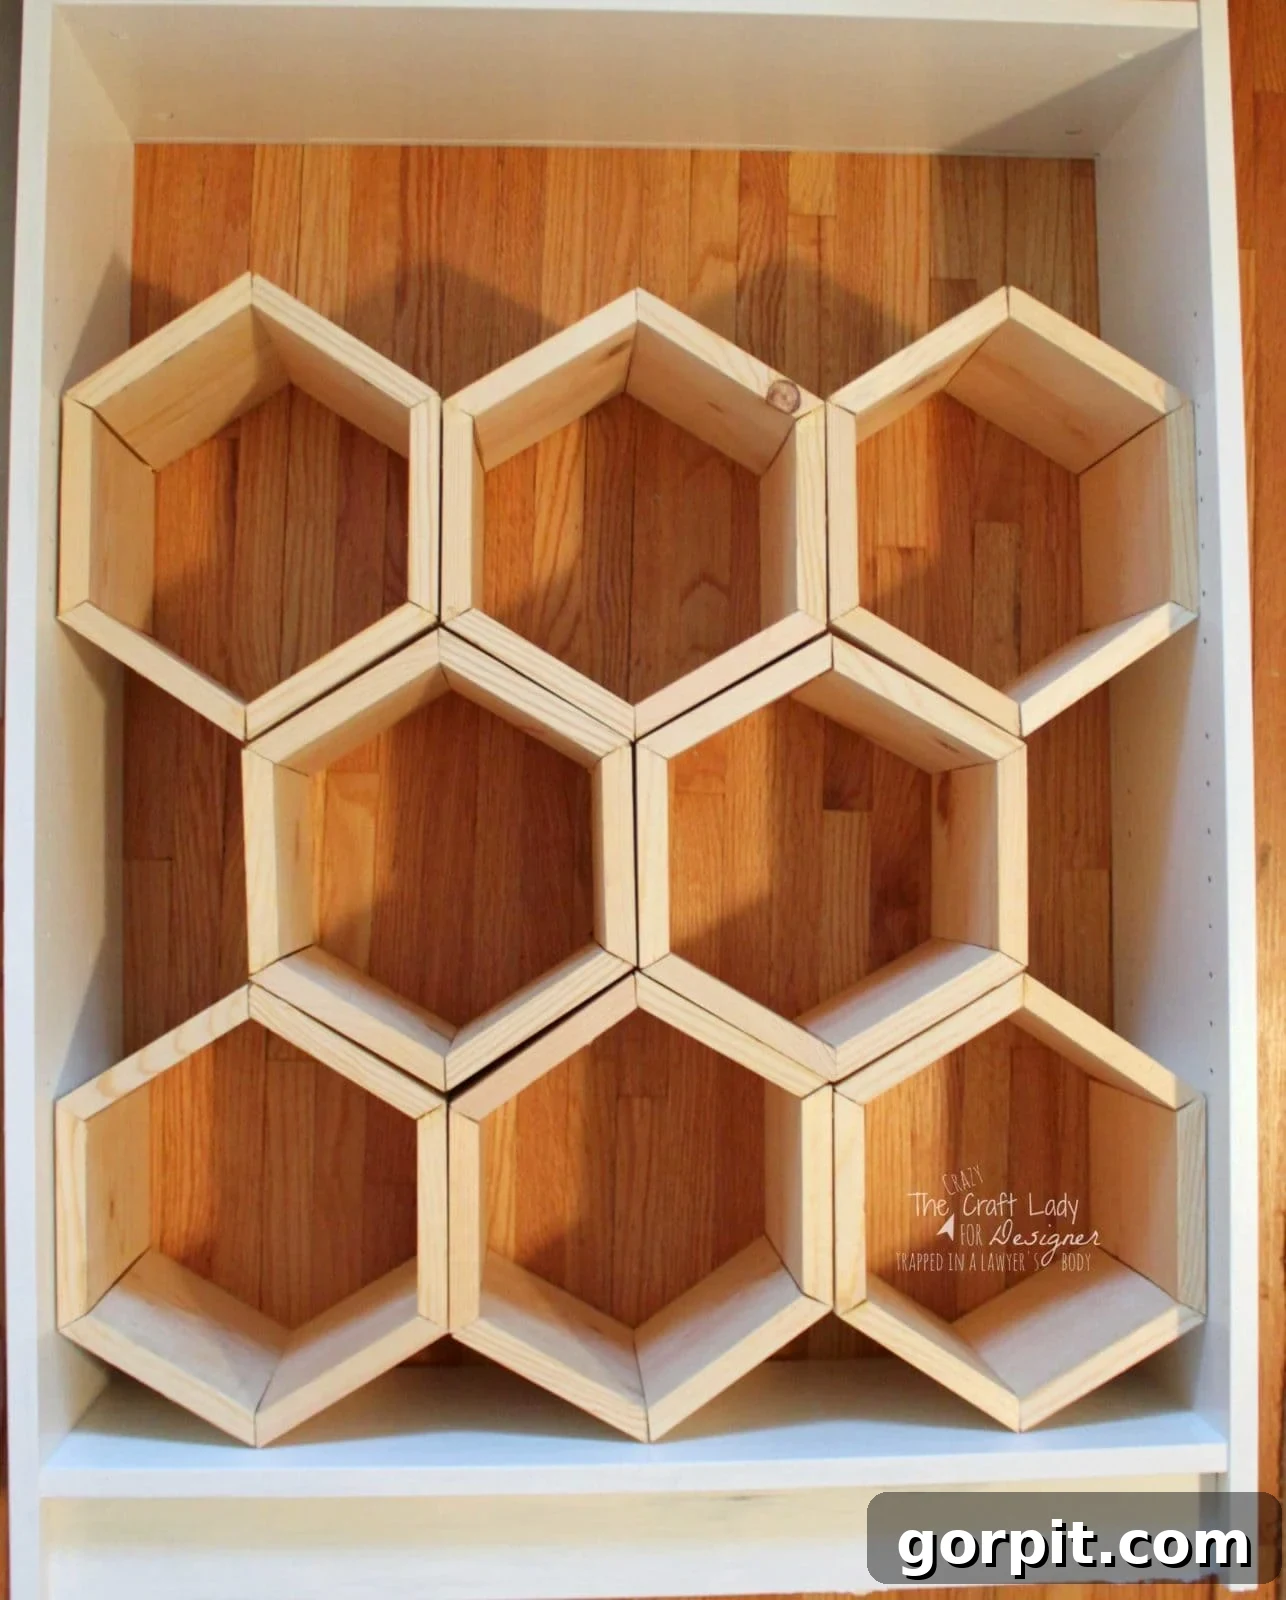
The initial result will be a somewhat flimsy hexagon until the wood glue has fully cured. To ensure all my angles were precisely aligned and the cubbies maintained their perfect shape, I actually set all the assembled hexagons into their final positions within the bookcase overnight while the glue dried completely. This allowed them to dry in a stable, interlocking configuration, guaranteeing a perfect fit for your small space storage solution.
Step 5: Staining Your Cubbies for a Finished Look
Once your hexagon cubbies are fully assembled and the glue is dry, it’s time to add that beautiful, professional finish with wood stain. Staining not only enhances the natural beauty of the wood grain but also protects it and adds a touch of warmth and sophistication to your DIY shoe rack.
Before staining, it’s always a good practice to prep the wood. A helpful tip I learned from a kind associate at The Home Depot is that you can “cheat” the wood conditioning step: simply dampen the wood with a cloth and water before applying the stain. This helps the wood absorb the stain more evenly, preventing splotchiness and ensuring a more consistent color. I’ve used this method on several crafts and DIY projects with excellent results.
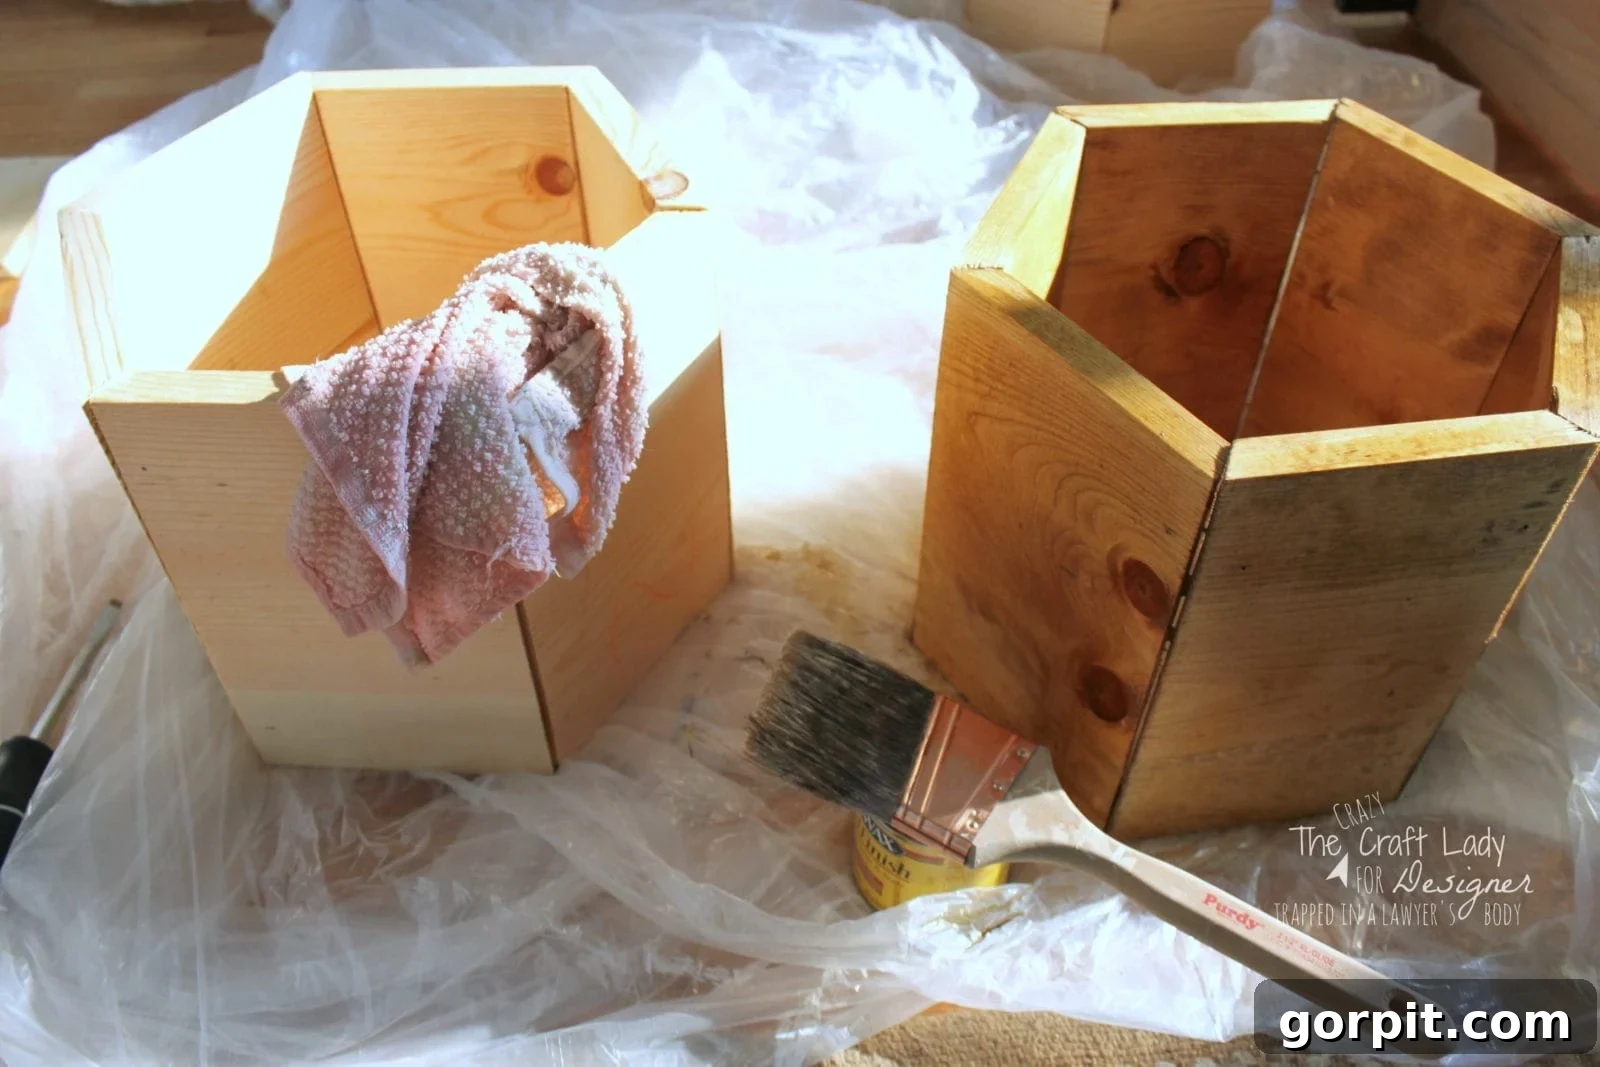
Apply your chosen wood stain (I used Minwax Golden Oak for its rich, warm tone) with a brush, working in the direction of the wood grain. Allow the stain to penetrate for about 5 minutes, or according to the product’s instructions, before wiping off any excess with a clean rag. For a deeper color, you can apply additional coats after the previous one has dried. After staining, consider adding a protective clear coat, such as polyurethane, for added durability, especially since these cubbies will see regular use. Ensure adequate ventilation during staining and drying.
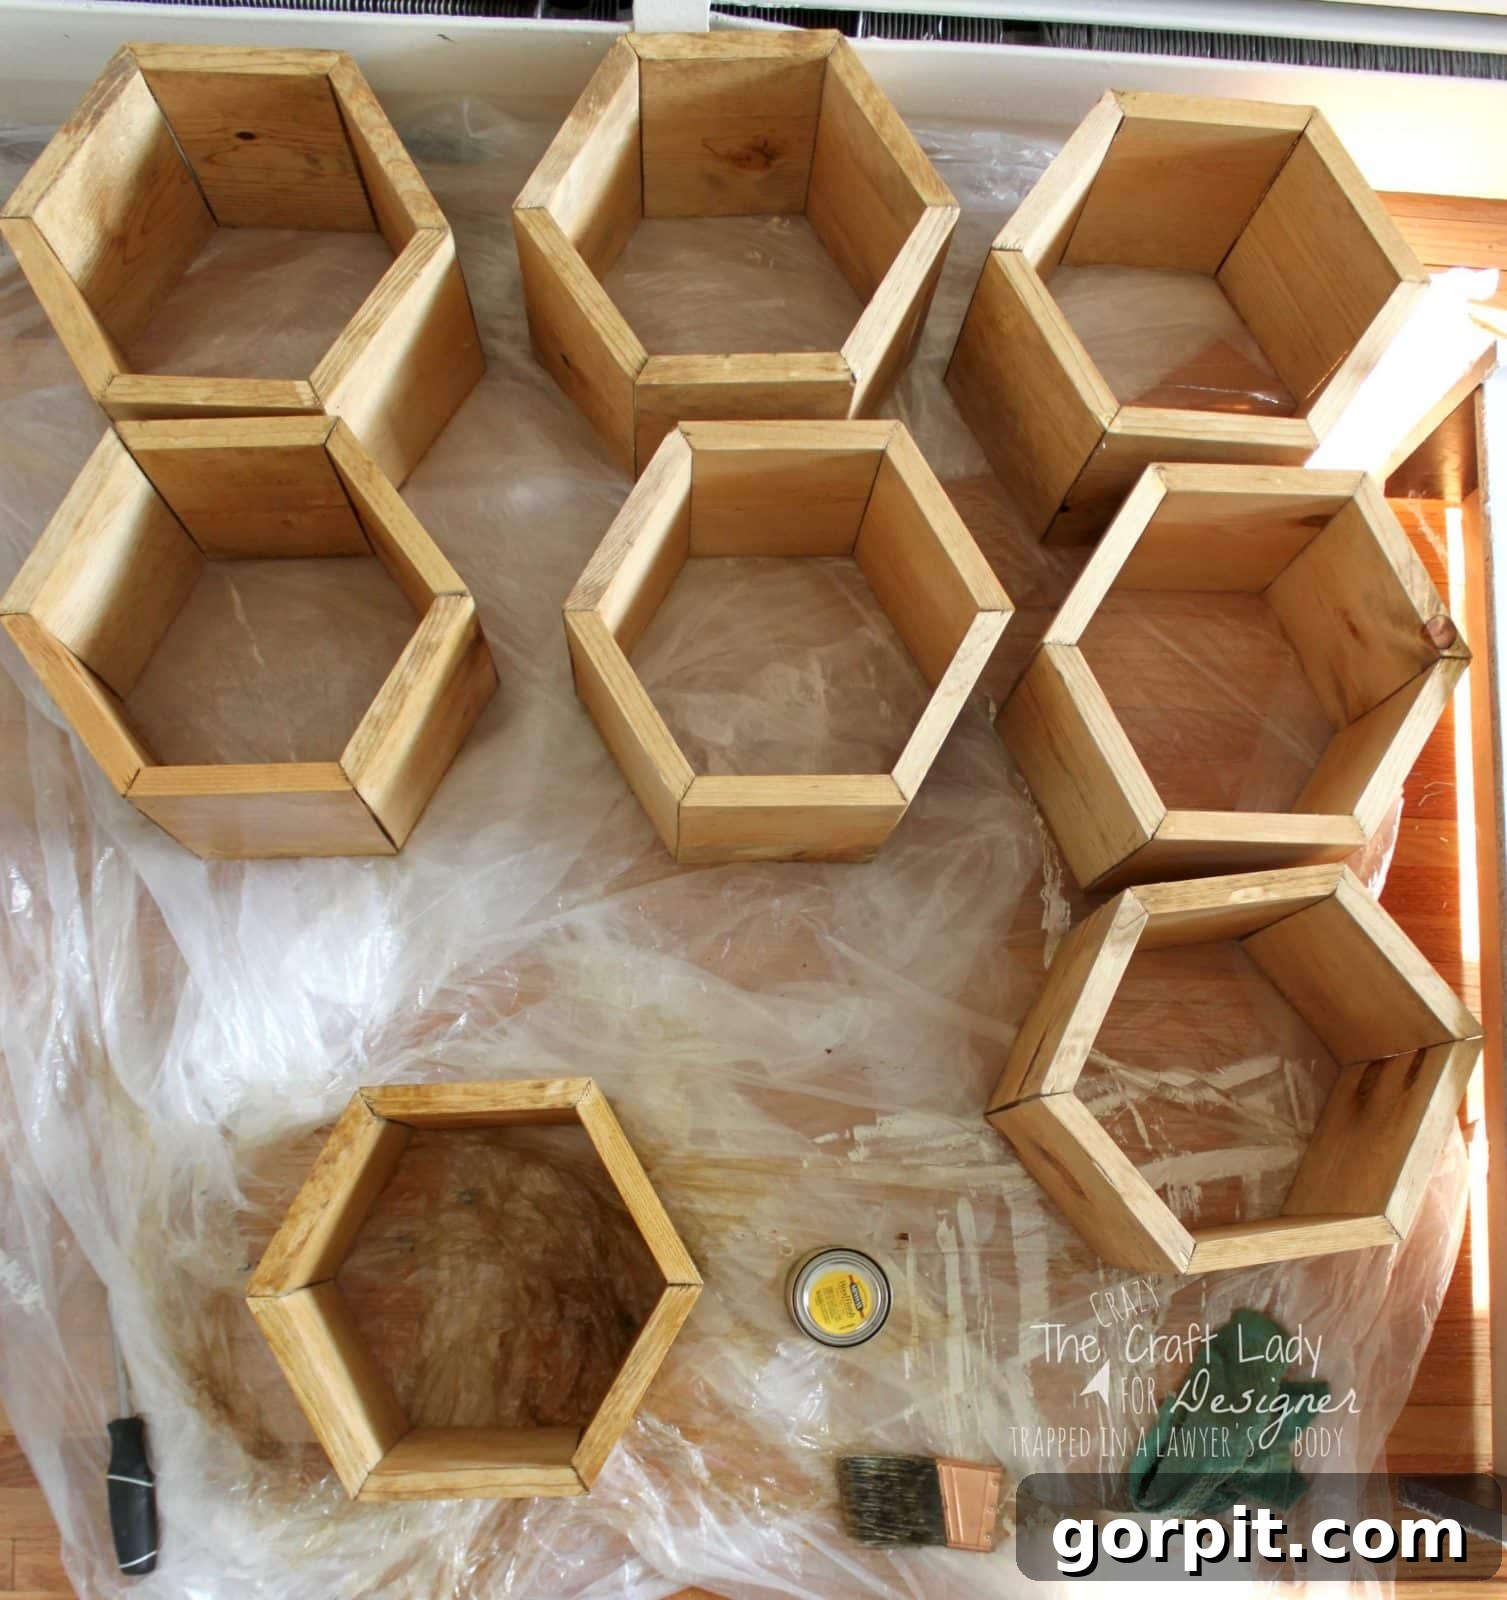
Step 6: Final Assembly and Installation into the Bookcase
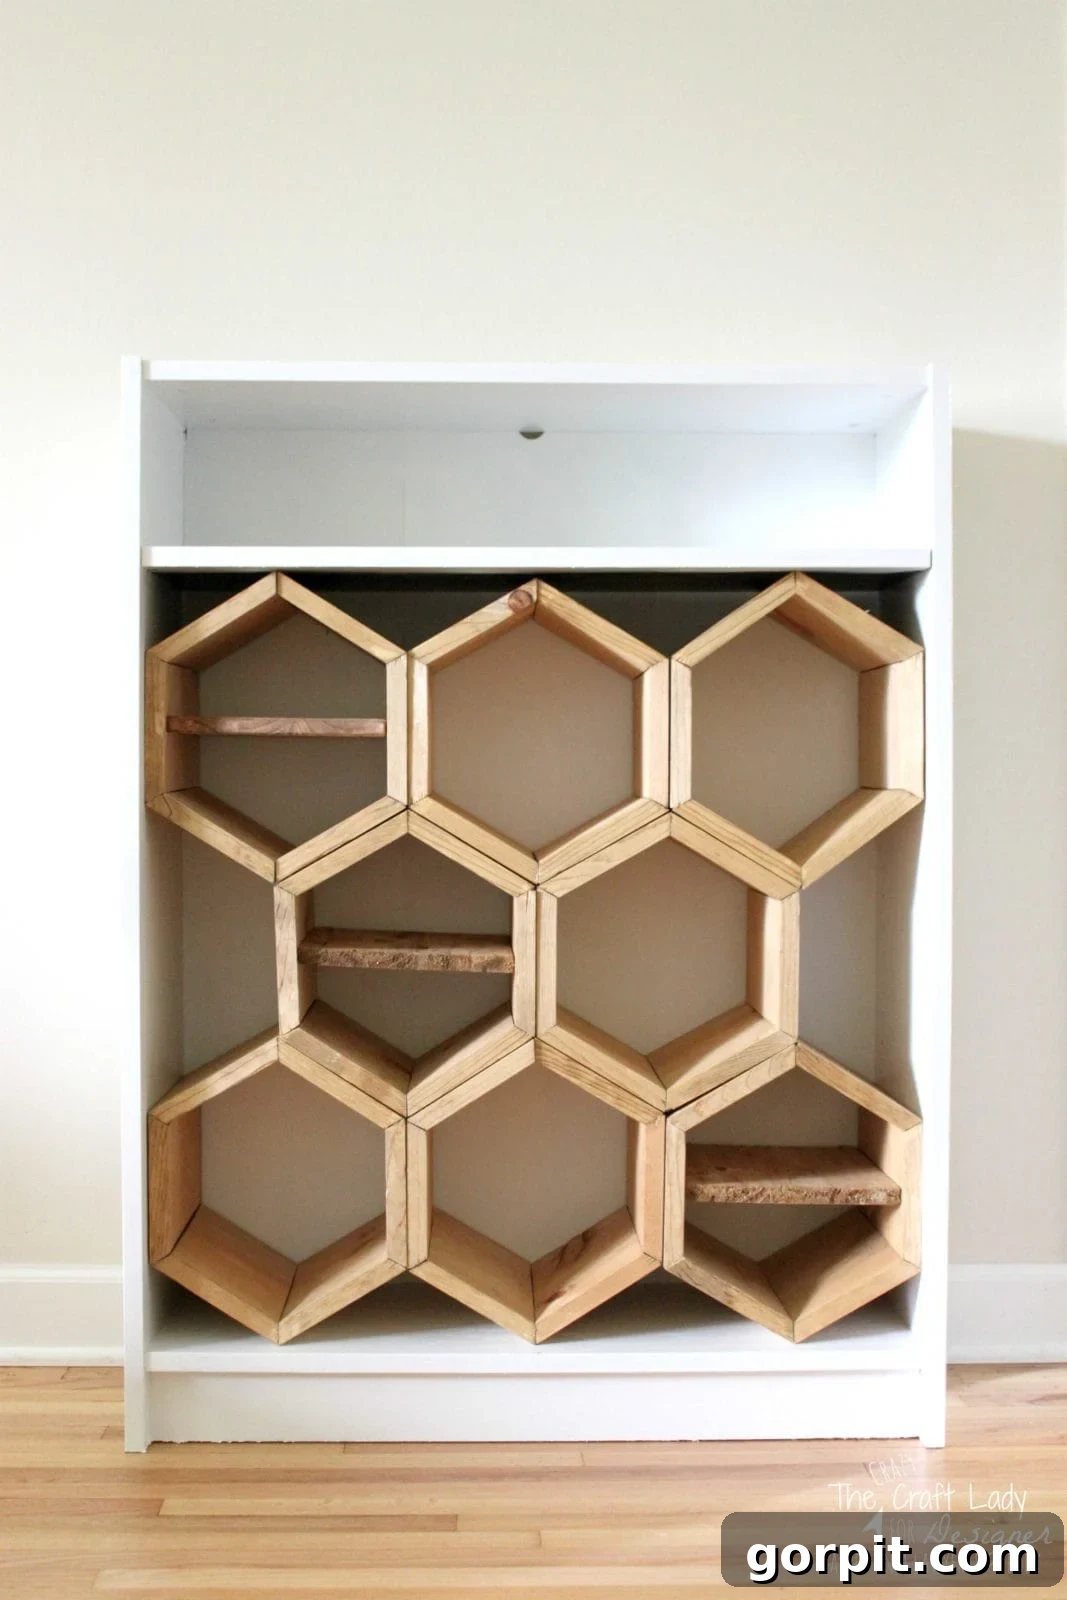
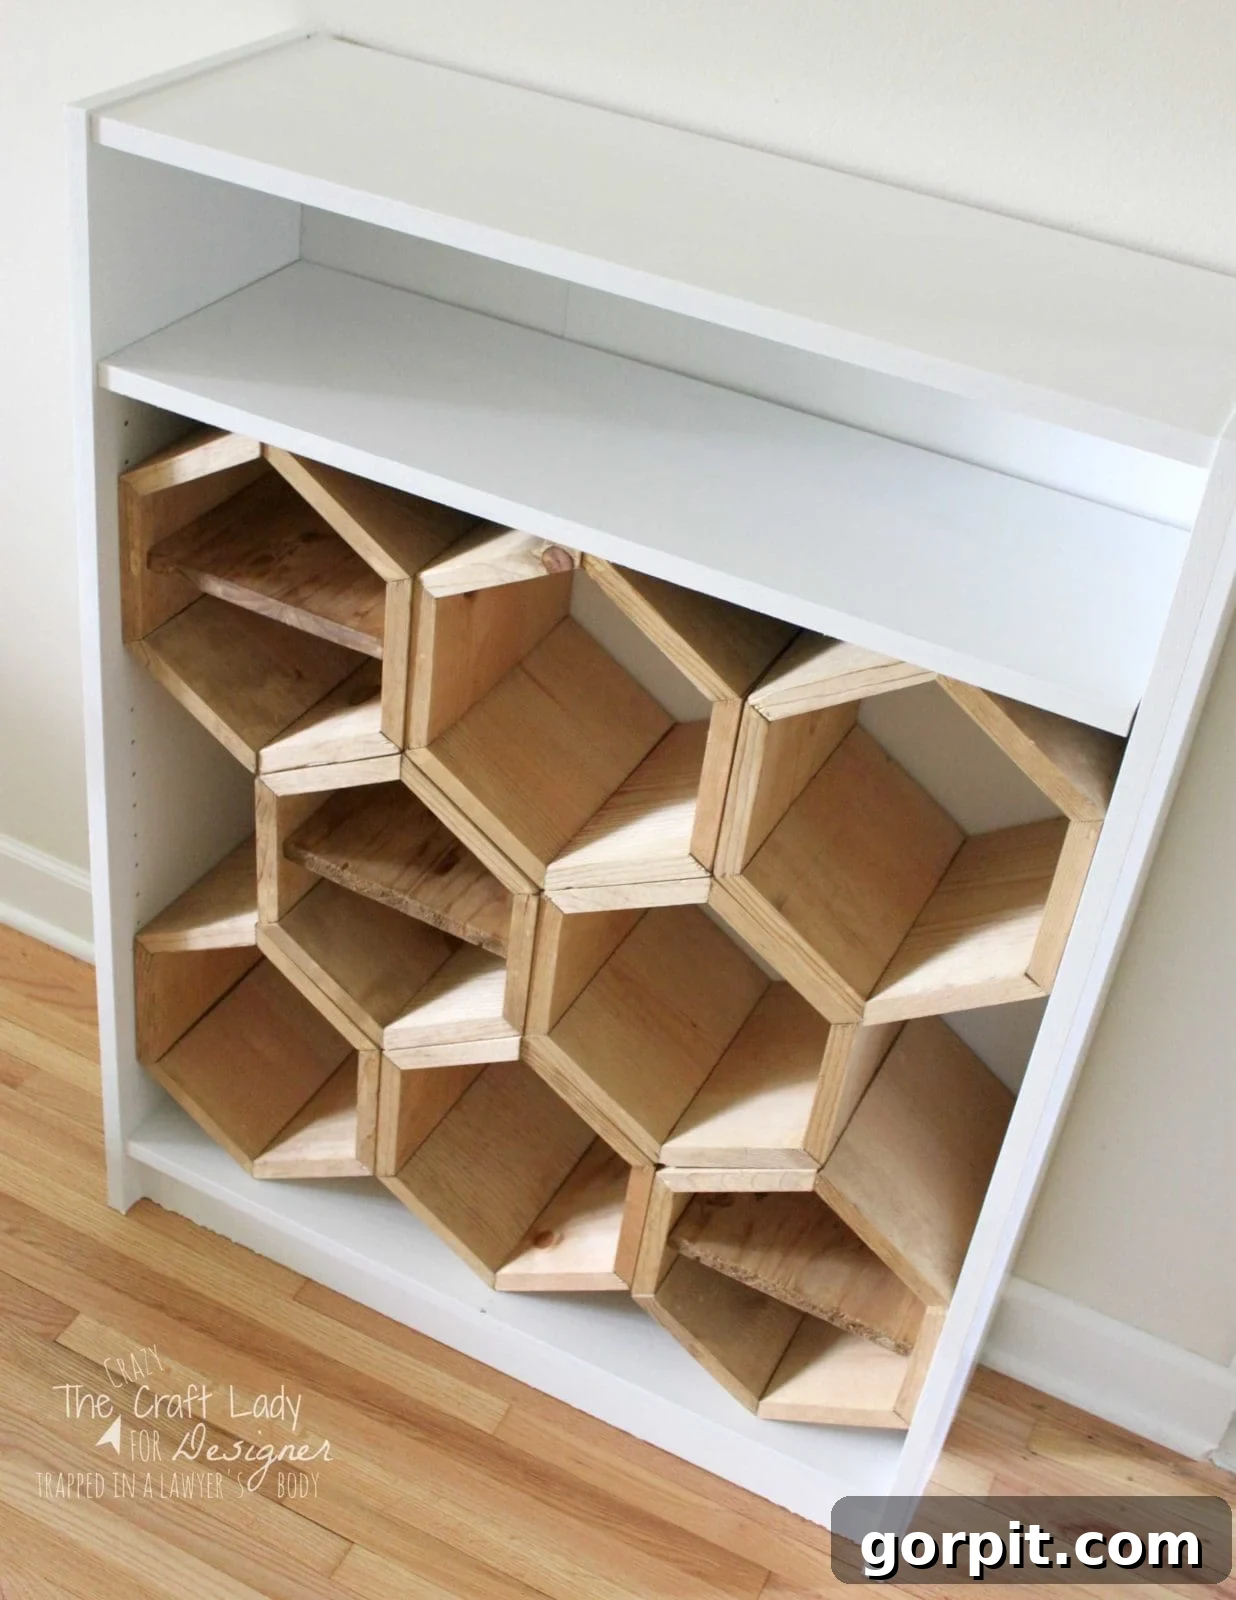
The moment of truth! This final assembly step is incredibly satisfying, especially after all your hard work on the cutting and staining. Because I had painstakingly calculated the dimensions of each hexagon and ensured they dried in place (remember my “DIY yoga” method?), fitting them into the bookcase was an absolute breeze. They literally just slid into place, forming a snug and secure honeycomb structure within the shelf. The inherent tension between each cubby holds everything firmly in position, creating a robust and stable custom shoe organizer without the need for additional fasteners.
To further enhance the functionality and versatility of my IKEA Billy Bookcase hack, I also cut and stained some scrap wood to create divider shelves within three of the cubbies. These smaller dividers are perfect for organizing flip-flops, sandals, or smaller accessories. Additionally, I utilized one of the original bookcase shelves at the very top of the unit. This creates a convenient, flat surface for storing baskets, keys, mail, or other small entryway items, maximizing the home organization ideas within the closet.
The Transformed Entryway: Organized and Stylish!
I am absolutely overjoyed with how my new hexagon shoe shelf turned out! The transformation of our entry closet from a chaotic shoe pile to a beautifully organized and aesthetically pleasing space is truly remarkable. The bespoke look of the stained hexagon cubbies against the fresh white bookcase adds a touch of modern elegance that far surpasses any off-the-shelf solution.
However, I must confess to one tiny regret: why did I create such a stunning piece of DIY home decor that will largely be hidden behind closed doors?! I think I’ll be keeping my closet door open for a good while, allowing me (and anyone who visits) to admire my handiwork until the novelty eventually wears off. It’s a true testament to the power of a well-executed DIY shoe rack and a little creative thinking in entryway organization.
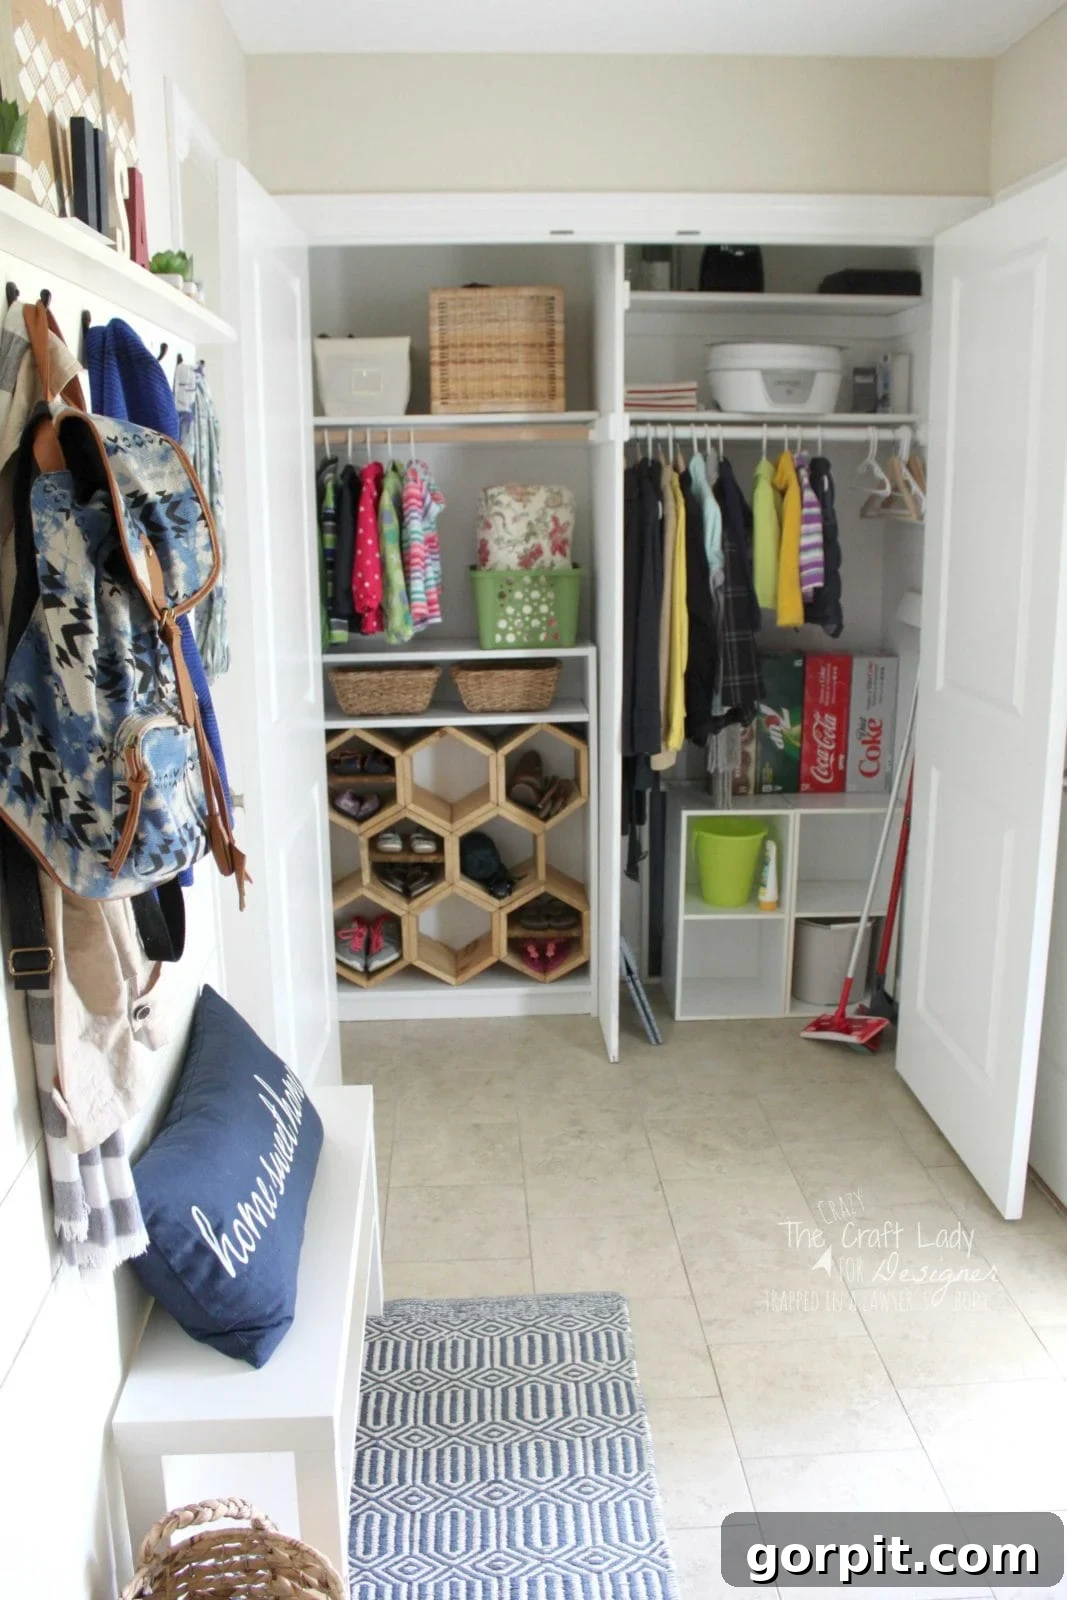
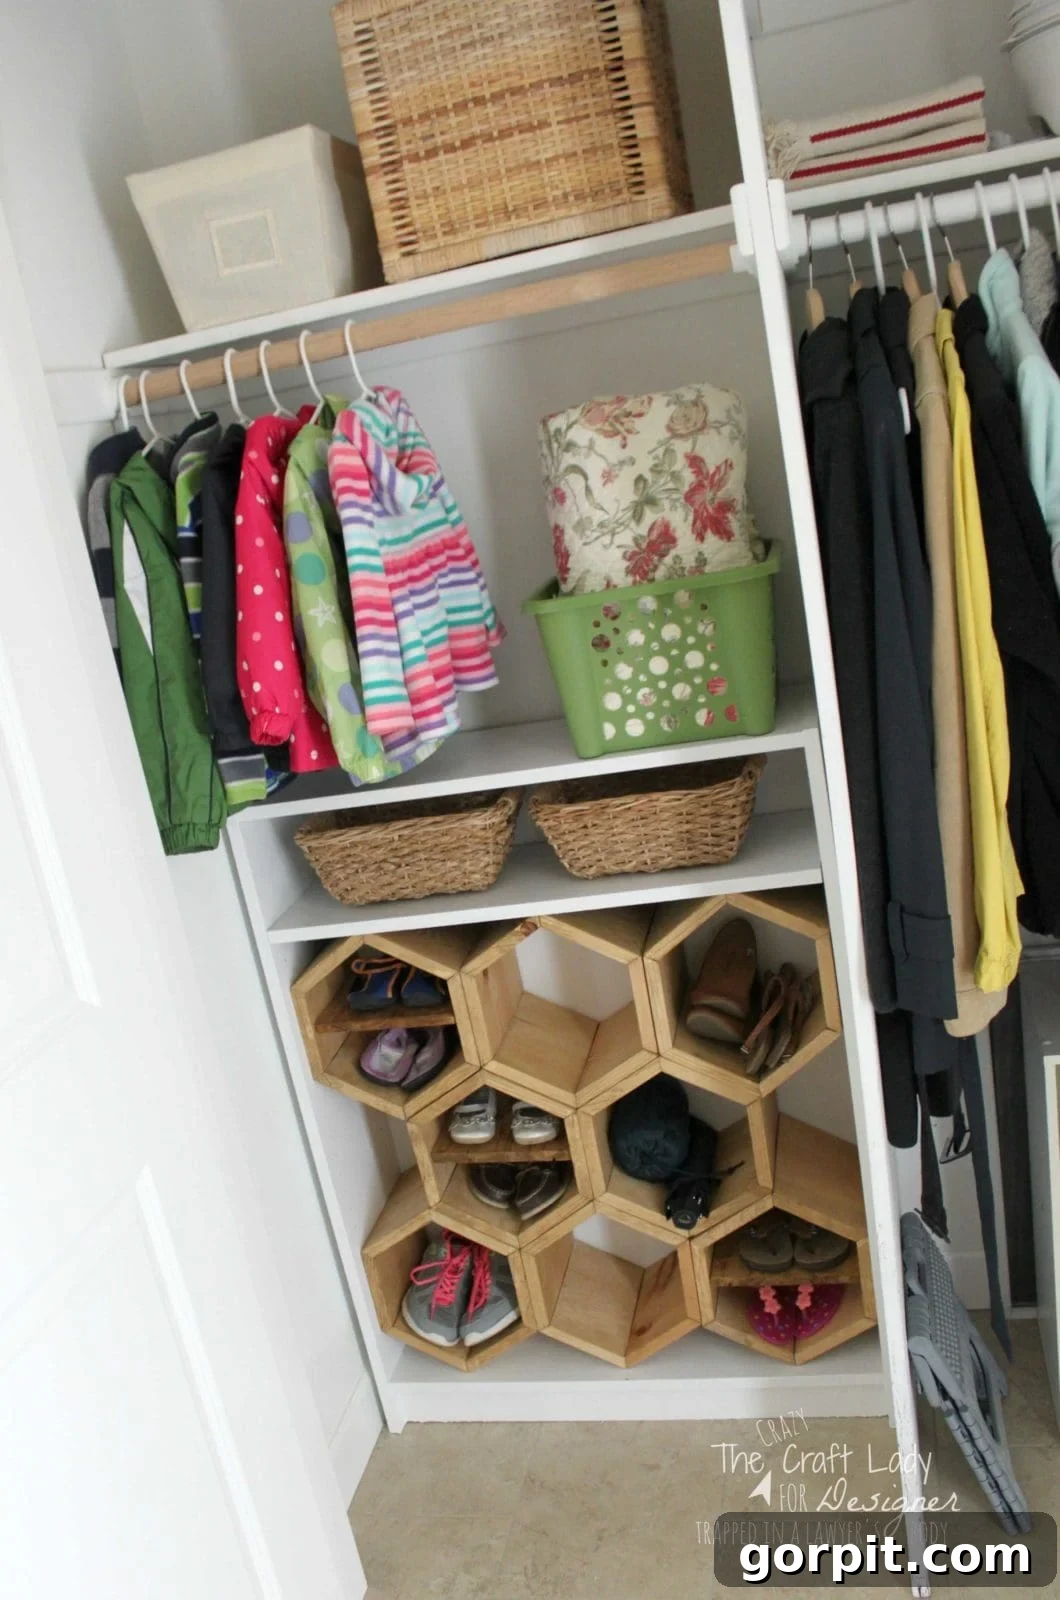
This project is a fantastic example of how an IKEA hack can elevate your home’s functionality and aesthetic. It proves that custom storage doesn’t have to be expensive or complicated; sometimes, all it takes is a clever idea and a willingness to get creative with existing pieces. This creative shoe storage solution not only keeps our shoes neatly tucked away but also adds a significant style upgrade to our entry, making daily life just a little bit more organized and beautiful. Give this DIY woodworking tutorial a try, and transform your own space!
If you’ve enjoyed this DIY shoe rack tutorial and are eager for more crazy craft and DIY inspiration, I invite you to explore these other engaging projects on my blog:
- Never again will I feel guilty about telling my twins to “go play in the closet!” Discover how I ingeniously transformed an odd-shaped storage closet into a whimsical and functional play space for the kids. It’s proof that even the most awkward spaces can become vibrant havens with a bit of imagination.
- Just because you rent your home doesn’t mean you have to miss out on popular decor trends! Learn how I created an incredibly affordable and rental-friendly plank wall solution for just $8. It’s a clever trick for adding character to your space without losing your security deposit.
A huge shout out and heartfelt thanks to Tasha for inviting me to share this project and spend some time with all of you today. It’s always a pleasure to connect with fellow DIY enthusiasts. I look forward to returning in a few months with another guest post to inspire your next home improvement adventure. In the meantime, please feel free to follow along with all my creative endeavors and daily life updates over at The Crazy Craft Lady. Happy crafting!