
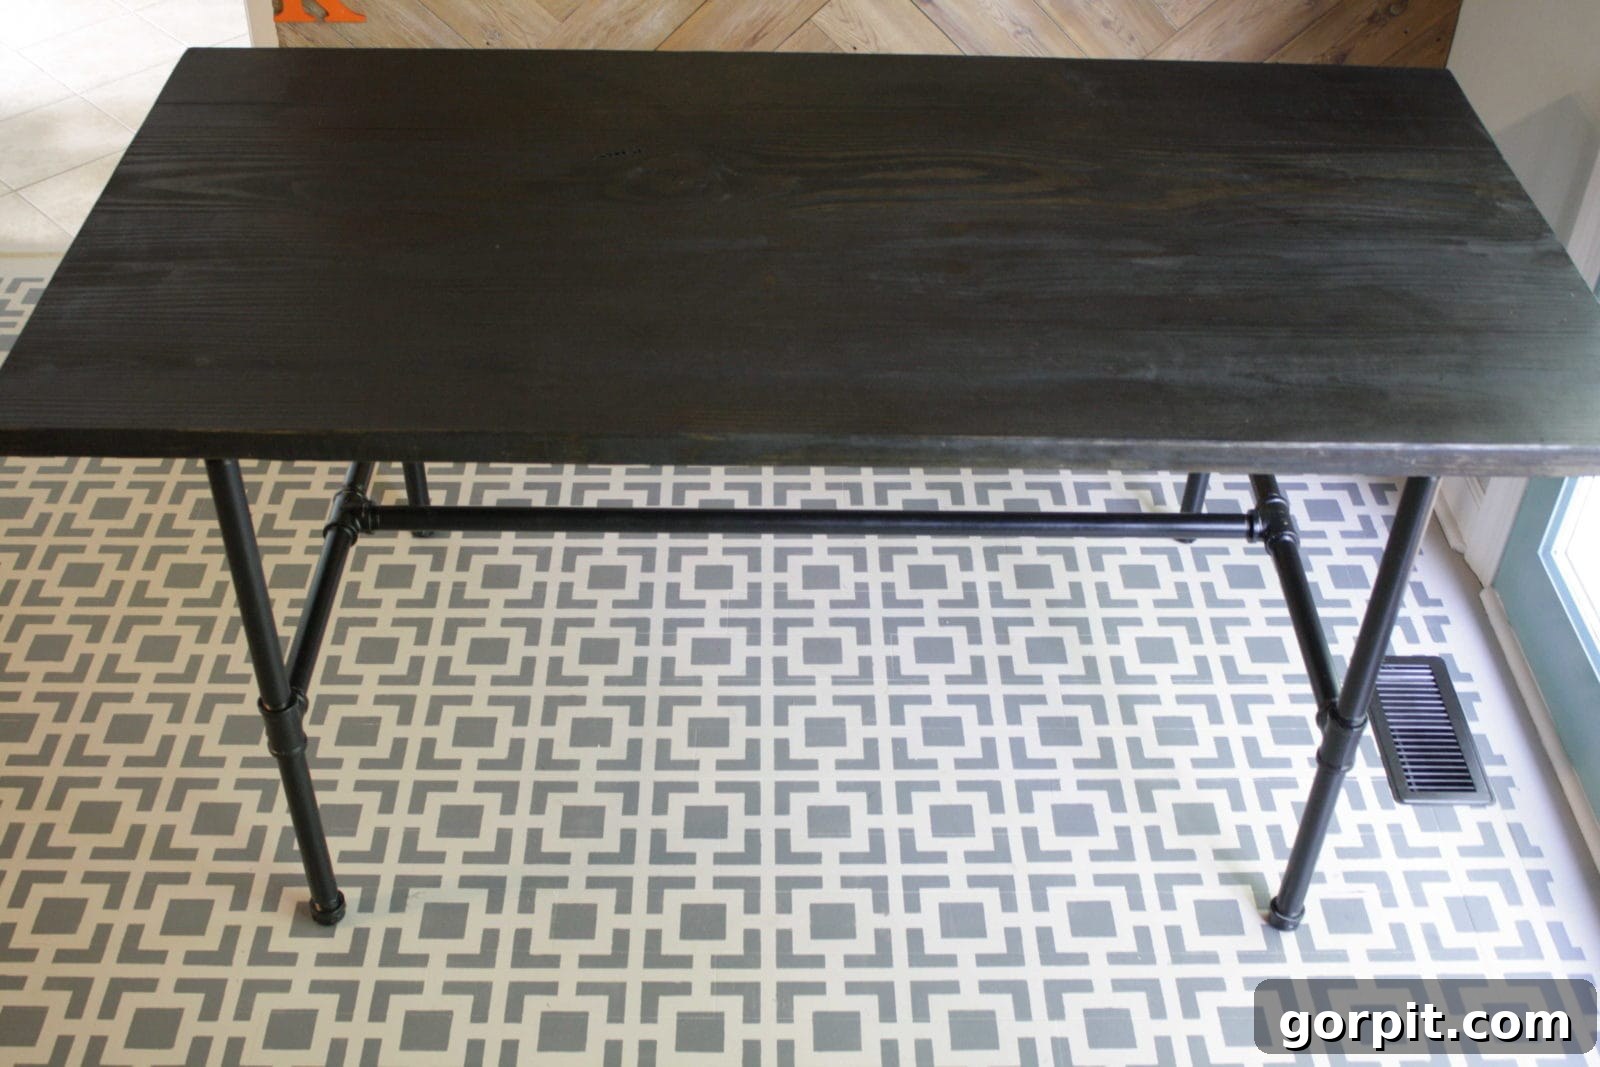
DIY Industrial Pipe Table: High-End Style for Under $200!
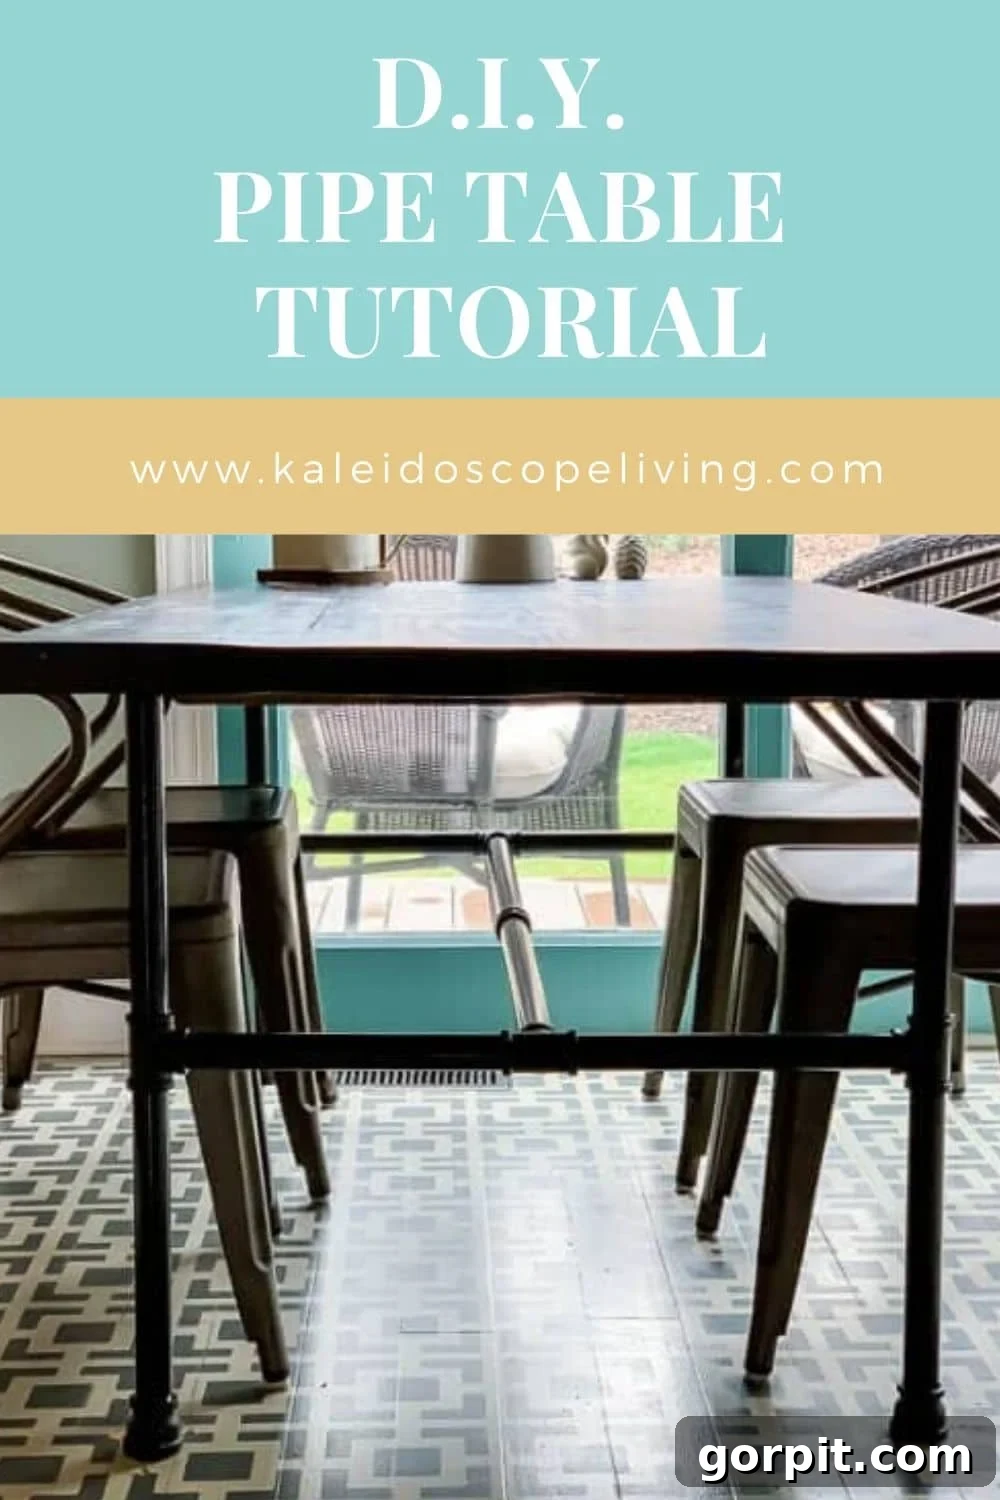
Hello, fellow DIY enthusiasts and savvy decorators! If you’ve ever admired the sleek, robust appeal of industrial-style furniture but winced at the price tag, you’re in the right place. Today, we’re diving deep into how we created our show-stopping eat-in kitchen pipe table – a piece that consistently earns compliments and looks incredibly high-end. The best part? You won’t believe how much money you can save by building it yourself.
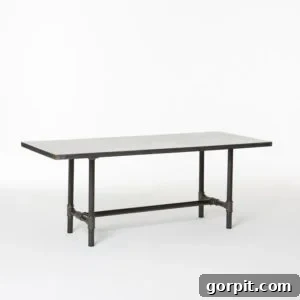
Our journey began, as many budget-friendly makeovers do, with a dose of high-end inspiration. I instantly fell in love with the West Elm Workshop Table, admiring its clean lines, sturdy construction, and modern industrial aesthetic. However, my admiration quickly turned to sticker shock when I saw the price for the large size: a staggering $1,999.00! While the design was perfect for our space, the cost was simply out of the question for our budget-conscious kitchen renovation.
That’s when we decided to roll up our sleeves and craft our own version. The result? A custom, sturdy, and equally stylish industrial pipe table for an astonishingly low price – **less than $200.00, to be precise ($180.00)**! This project not only saved us a hefty $1,800.00 but also gave us the satisfaction of creating a truly unique piece tailored perfectly to our home. While it’s an incredibly easy project conceptually, our experience taught us a few valuable lessons and workarounds, which I’ll share throughout this tutorial to help you avoid common pitfalls and make your build as smooth as possible. Prepare to transform your space with a DIY masterpiece!
Please note: This post contains some affiliate links, meaning if you make a purchase through them, I may earn a small commission at no extra cost to you. Click here for my full disclosure policy.
Comprehensive DIY Industrial Pipe Table Tutorial
Creating your own industrial pipe table is a rewarding project that combines rustic charm with modern sensibility. This tutorial breaks down every step, ensuring you have all the information needed to successfully build your dream table. From selecting the right materials to finishing touches, we’ve got you covered.
Essential Materials for Your DIY Pipe Table:
Gathering the right materials is the first crucial step. We’ve listed everything you’ll need, along with tips for selection and procurement.
- Kreg Jig: An indispensable tool for creating strong, concealed pocket-hole joints in your tabletop boards. If you plan on any woodworking projects, this is a worthwhile investment.
- Galvanized Pipe: We chose galvanized pipe for its distinct industrial look, but black iron pipe is another excellent option if you prefer a darker, more authentic “raw” industrial aesthetic from the start. Detailed cut list below. Ensure all plumbing is 1 inch in diameter for consistency.
- Black Spray Paint: If using galvanized pipe and desiring a black finish, a durable metal-specific spray paint is necessary. We learned a few things about this step, which we’ll elaborate on.
- (4) 2 x 10 x 8 Pine Boards: Pine is a cost-effective and easy-to-work-with wood. You can opt for other wood types like oak, maple, or even reclaimed wood for a different look or increased durability, depending on your budget and skill level.
- Wood Stain: We opted for a deep black stain (we used this stain in black) to complement the industrial base. Choose a color that matches your aesthetic.
- Screws: A variety of wood screws will be needed for attaching the braces to the tabletop and securing the tabletop to the pipe base flanges.
- Table Saw or Circular Saw with a Straight Edge: Essential for ripping boards to width and achieving clean, straight edges. A circular saw paired with a clamped straight edge can serve as an alternative for those without a table saw.
- Miter Saw or Circular Saw with a Straight Edge: Used for making precise crosscuts to achieve the desired board lengths for your tabletop.
DIY Pipe Table Cut List (for 1-inch diameter plumbing):
This list includes the lengths for the pipe components. Remember, these lengths INCLUDE the portion that will be threaded into fittings. You do not need to add extra length for threading.
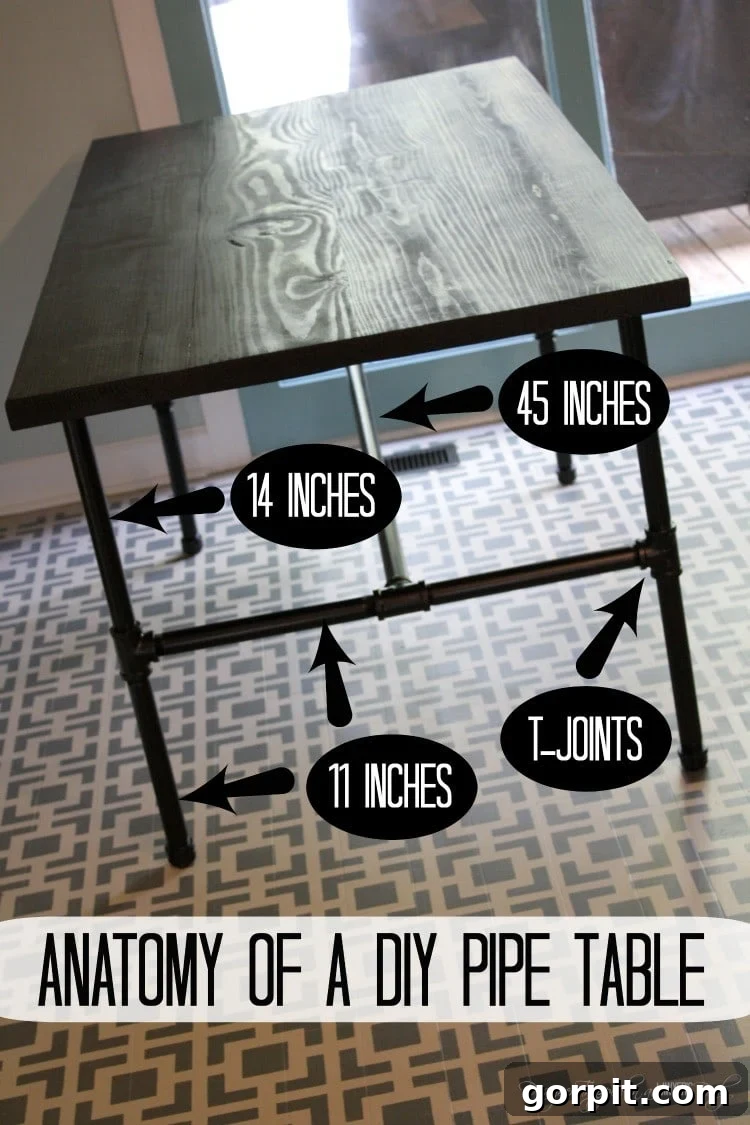
- (8) 11-inch lengths
- (4) 14-inch lengths
- (1) 45-inch length
- (6) T-joints: These connect three pipe sections.
- (4) Floor Flanges: These flat, round fittings will be used to attach the pipe base to the wooden tabletop.
- (4) Galvanized Iron Caps: These provide a finished look for the bottom of the table legs.
When it comes to pipe procurement, you might assume it’s a quick trip to the hardware store. While Home Depot or Lowe’s typically offer pipe cutting and threading services, be forewarned: this can be a significantly time-consuming process. Joe, my partner, can attest to this. He went to get our pipes cut and threaded while our daughters were napping, expecting to be back swiftly. Three hours later, he returned with tales of woe! First, the threading machine at Home Depot encountered a technical issue that required fixing. Once operational, not all the threaded pipes were correctly cut or threaded. Joe was diligently testing each piece by attempting to screw on a t-joint, only to find many wouldn’t fit properly, requiring them to be re-done. There’s a lot of cutting and threading involved, and precision is key. This long anecdote serves as a friendly heads-up: be prepared to dedicate a good chunk of time if you’re relying on the hardware store for this service. Consider calling ahead to gauge their current wait times or even seeking out a dedicated plumbing supply store, which might offer more efficient and accurate service for custom pipe cuts.
Crafting Your Industrial Pipe Table Base: Assembly Steps
Assembling the pipe base is straightforward, but attention to detail will ensure a sturdy and attractive foundation for your table.
1) Clean Your Pipes Thoroughly: Galvanized pipes, straight from the store, are often coated in a protective layer of grease and grime from the manufacturing process. This isn’t just unsightly; it can interfere with paint adhesion if you choose to paint your base. Use a strong degreaser, like mineral spirits or a dedicated pipe cleaner, and sturdy rags to meticulously wipe down every inch of your pipe pieces and fittings. This step is critical for a lasting finish.
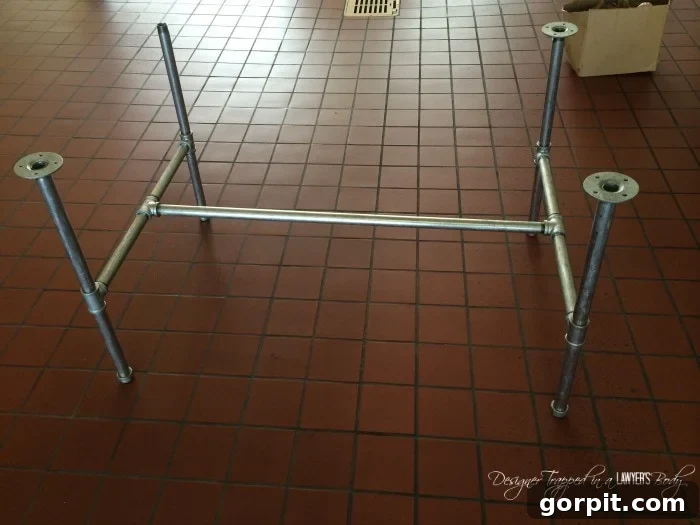
2) Assemble the Base Structure: While the assembly might seem self-explanatory, it’s helpful to visualize the structure. Refer to the “Anatomy of a DIY Pipe Table” photo below to guide you on which lengths go where. Begin by threading all your pieces together firmly. Remember to twist each connection until it’s snug, creating a robust framework. A key detail to note, which is often counter-intuitive, is that the floor flanges will actually be on the top of your table’s pipe structure. These flanges are what your wooden tabletop will eventually sit on and be screwed into. Conversely, the pipe caps will go on the bottom of the legs, providing stability and protecting your floor.
3) Optional: Spray Paint Your Base: If you’re working with galvanized pipe and desire the sleek look of a black industrial base, now is the time to spray paint your fully assembled pipe structure. We chose this route, but after three years of our metal kitchen chairs occasionally bumping into it, we’ve noticed some chipping. If absolute durability is your top priority and you want a dark base, consider starting with black iron pipe if it’s readily available at your local supplier. If you stick with galvanized and paint, ensure proper preparation (cleaning is paramount!) and consider applying multiple thin coats of a high-quality, durable metal-specific spray paint, followed by a clear coat sealant for added protection. This will significantly improve its longevity.
Creating the Rustic-Modern DIY Pipe Tabletop: Step-by-Step
The tabletop is where the beauty of the wood truly shines. Follow these steps to craft a durable and visually appealing surface for your industrial base.
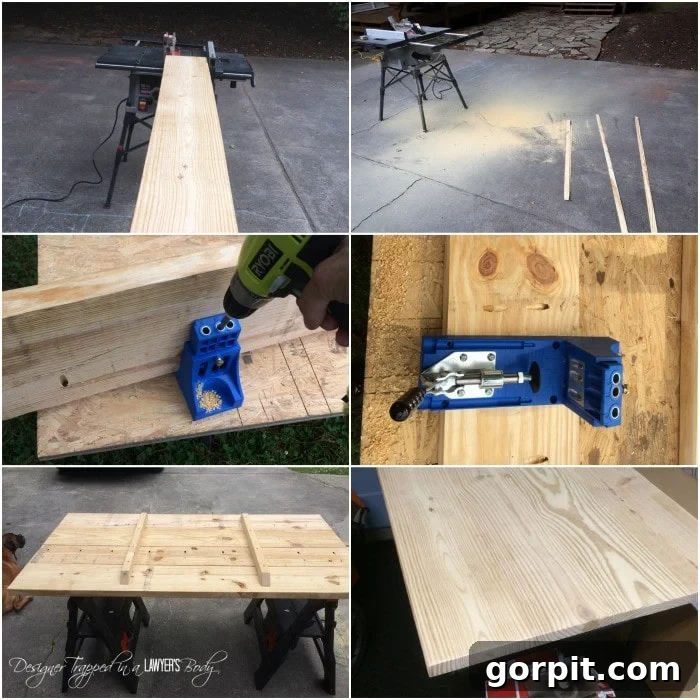
1) Prepare Your Boards by Ripping Edges: Achieving a seamless tabletop requires perfectly square edges. Start by ripping down one long side of your two outer tabletop boards. For the middle boards, rip down both long sides. This meticulous step ensures that when you join the pieces, they fit together snugly with minimal gaps, creating a high-quality finish. We encountered a few “user errors” during this phase, which extended the process, so take your time and measure twice!
2) Cut Your Boards to Desired Length: Once your edges are perfectly square, cut all your boards to the desired final length. Our boards are precisely 66 inches long, providing ample surface area for dining. Ensure all cuts are straight and consistent for a uniform tabletop.
3) Attach Your Boards and Reinforce: To create a single, solid tabletop, you’ll need to join your individual boards. We highly recommend using a Kreg Jig for this step. This tool allows you to drill pocket holes at an angle, creating strong, hidden joints when paired with pocket hole screws. This method provides superior strength compared to simple butt joints. Additionally, we reinforced the joints with two wooden braces. Joe ripped down extra pieces of wood and cut them to length, then screwed them directly to the underside of the tabletop, spanning across the board seams. This added reinforcement significantly enhances the tabletop’s stability and prevents warping over time, ensuring your table remains sturdy for years to come.
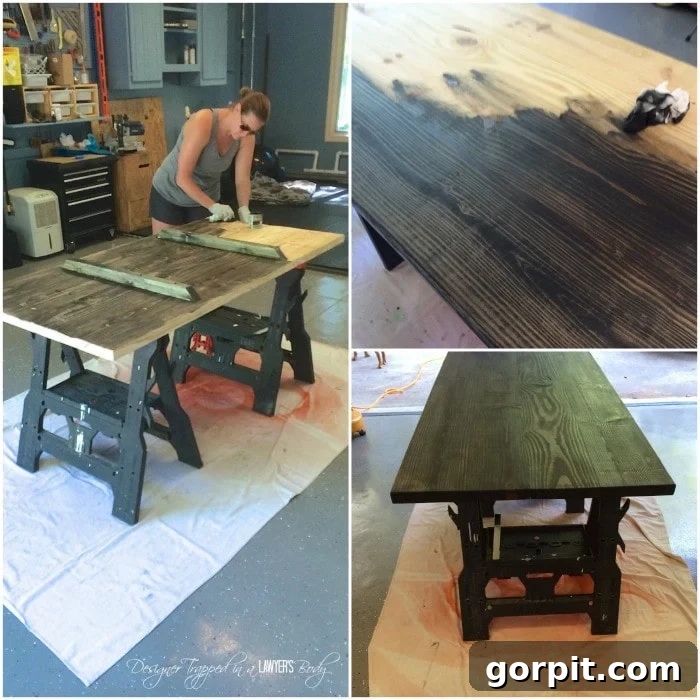
4) Sand, Stain, and Seal Your Tabletop: With the boards securely joined, it’s time to bring out the wood’s natural beauty and protect it. After a light but thorough sanding to achieve a smooth surface (starting with a medium grit and finishing with a fine grit), we applied our chosen stain. We used Minwax Polyshades Gloss Wood Stain-Classic Black. This product is a fantastic time-saver because it combines stain and polyurethane in one, meaning fewer application steps for us! We applied two even coats, allowing adequate drying time between each. Always read the manufacturer’s instructions for best results. This combined stain and poly finish provides both rich color and durable protection against daily wear and tear.
5) Attach the Tabletop to the Pipe Base: Once your stain and sealant have fully dried and cured (this can take 24-48 hours depending on humidity and product), it’s time for the final assembly. Carefully position your finished tabletop onto the pipe base, ensuring it is perfectly centered and aligned. The floor flanges on top of your pipe base should be flush against the underside of your tabletop. Using appropriate wood screws, secure the tabletop to each of the four floor flanges. Pre-drilling small pilot holes into the tabletop before screwing will prevent the wood from splitting, ensuring a clean and secure attachment.
And that’s it! Your stunning, custom-built industrial pipe table is complete. I absolutely adore our table. It’s the ideal size for our eat-in kitchen area, offering ample space without overwhelming the room. The finish on the wood top has proven amazingly durable, standing up beautifully to daily use and frequent wipe-downs – a testament to the quality of the materials and the care taken in its construction. It’s a focal point that brings warmth and industrial charm to our home.
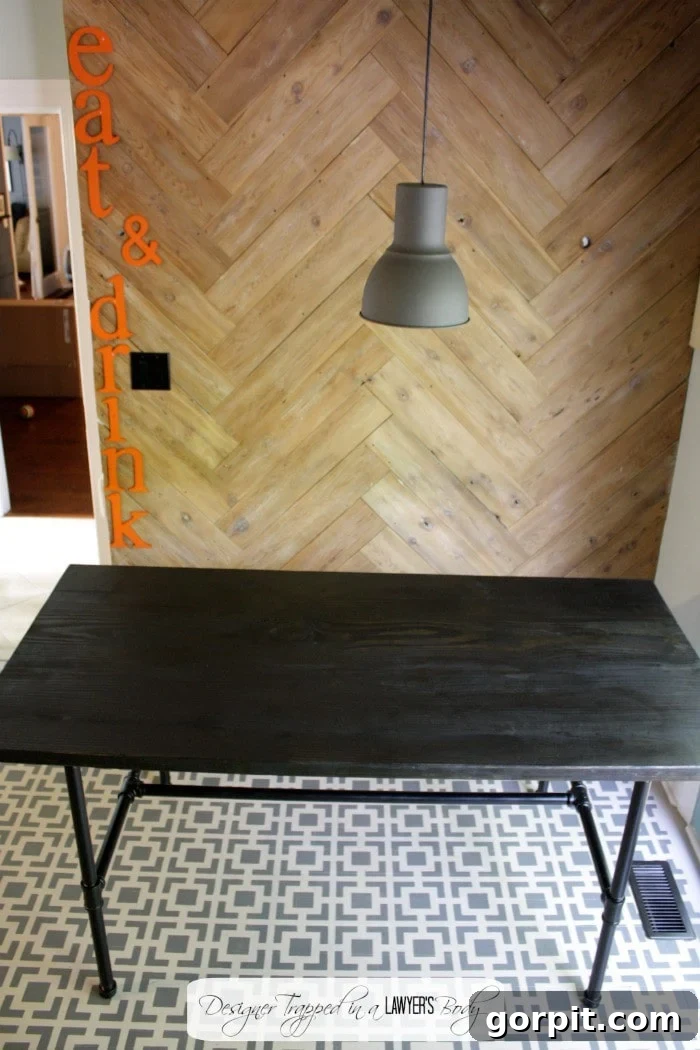
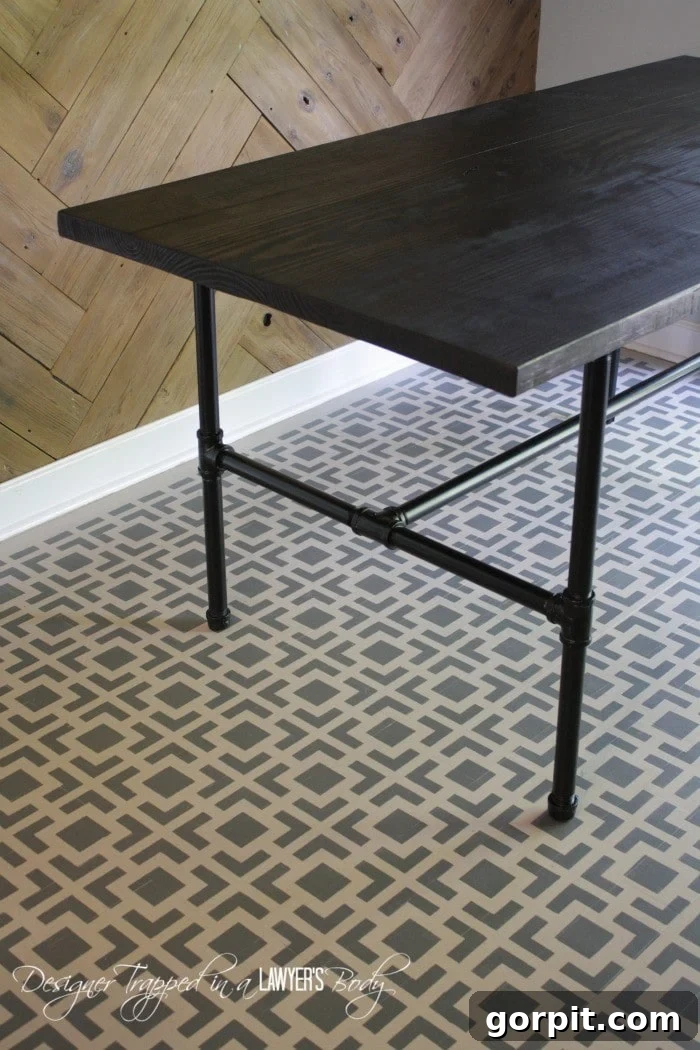
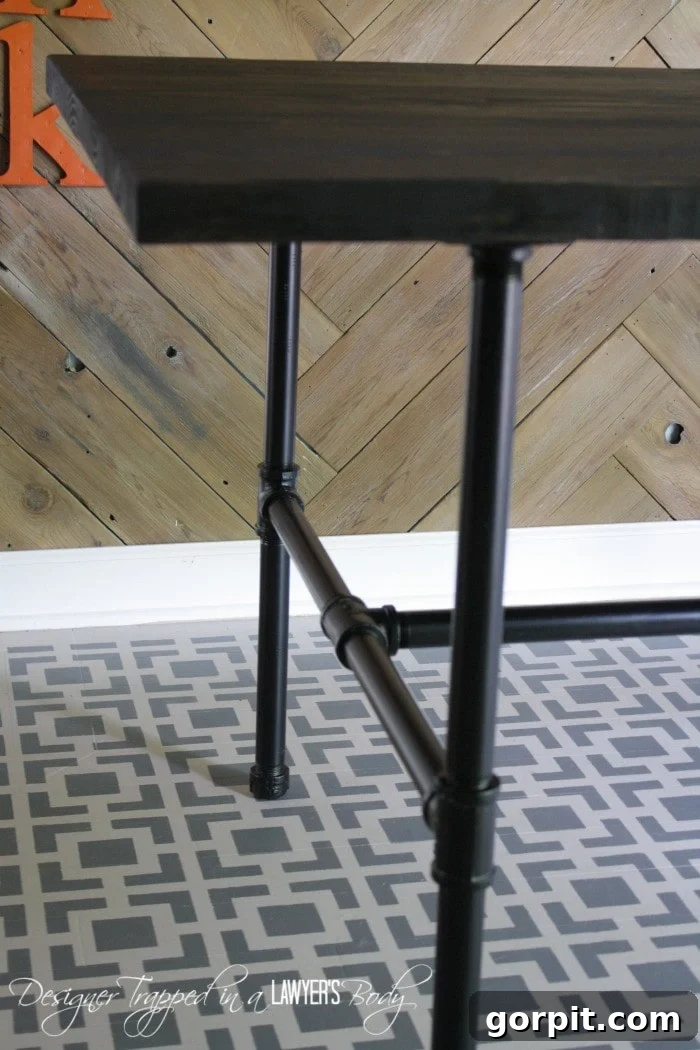
By investing our time and a modest $180.00 in materials, we saved nearly $1,800.00 compared to purchasing a similar West Elm table. This DIY approach not only made a high-end look accessible but also allowed us to customize the dimensions and finish to perfectly match our aesthetic. It was truly the ideal finishing touch for our kitchen makeover, which impressively cost us less than $700.00 in total to complete! The satisfaction of building something beautiful and functional with your own hands, while saving a significant amount of money, is truly incomparable.
Are you curious to see the full transformation of our budget-friendly kitchen? You can explore the exciting reveals: check out part 1 here and part 2 here. And if you’re tackling your own kitchen update, you’ll definitely want to learn all about how we achieved a professional cabinet paint job without the hassle of sanding or priming here! For a glimpse into our truly finished and totally renovated kitchen today, you can see it here.
What are your thoughts? Are you feeling inspired to tackle this DIY industrial pipe table project for your own home? It’s a project that promises great rewards for a small investment.
Before you gather your tools and get started, don’t miss out on becoming a VIP for FREE! You’ll gain exclusive access to my comprehensive design guides, packed with insights and tips that will empower you to design spaces you absolutely adore, alongside a wealth of other valuable resources. Subscribe today and unlock instant access to this convenient digital library, helping you create a home you love on any budget.

[mv_create key=”1″ type=”list” title=”Most Popular Projects” thumbnail=”