
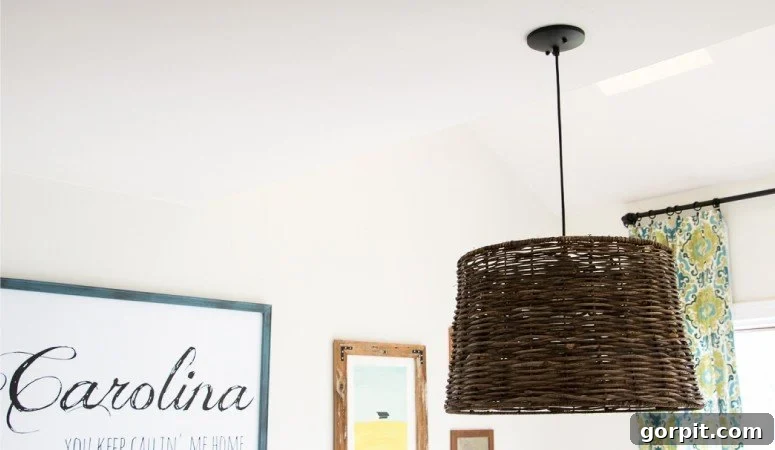
Hello fellow DIY enthusiasts! The air is buzzing with the promise of warmer days here in North Carolina, and I’m absolutely thrilled. With temperatures soaring into the low 70s, it’s the perfect time to start thinking about those exciting DIY home decor projects you’ve been longing to tackle. Imagine the satisfaction of transforming your living space with your own hands! If you’re looking for a project that’s incredibly rewarding, exceptionally easy, and delivers a stunning result, then you’ve come to the right place. This guide will walk you through creating a beautiful custom light fixture that takes mere minutes to assemble. Get ready to illuminate your home with style and a touch of personal flair! You won’t believe how simple it is to achieve such a high-end look on a budget. This post contains some affiliate links. Click here to read my full disclosure policy.
Transform Your Space: The Ultimate Easy DIY Pendant Light Tutorial
Are you ready to elevate your home’s ambiance with a custom lighting solution? This incredibly straightforward DIY pendant light project is designed for everyone, from absolute beginners to seasoned crafters. In just about 15 minutes, you can create a unique light fixture that looks professionally installed, saving you significant money compared to retail options. It’s an ideal project for updating a dining room, bedroom, or even a cozy reading nook. Let’s gather our materials and get started on this brilliant home improvement!
Essential Materials for Your DIY Pendant Light
Before diving into the fun part, ensure you have all the necessary components. Choosing the right materials is key to both the aesthetic appeal and the functionality of your new light fixture.
- Pendant Light Kit: This is the core of your new light. You’ll need a pendant light kit that includes the canopy (the part that mounts to the ceiling), the electrical cord, the socket for the bulb, and a retaining ring. Consider the finish (e.g., oil-rubbed bronze, brushed nickel, white) to match your existing decor. A high-quality kit will ensure durability and safety.
- This is the exact kit that I used, featuring an elegant oil-rubbed bronze finish, which provides a timeless and sophisticated look.
- Electrical Wire Cutters/Strippers: These are indispensable for safely and effectively cutting and stripping the insulation from your electrical wires. A good pair will have both cutting blades and stripping notches for various wire gauges.
- Screwdriver: A standard Phillips head screwdriver will likely be needed to mount the canopy to your ceiling electrical box and possibly to adjust terminal screws within the pendant kit.
- Basic Electrical Knowledge: This is arguably the most crucial “material.” While this project is simple, it involves working with household electricity. You MUST be confident with basic electrical wiring principles, including identifying hot, neutral, and ground wires, and understanding how to safely make connections. If you have any doubts or lack experience, please consult a qualified electrician or seek professional assistance. Your safety is paramount.
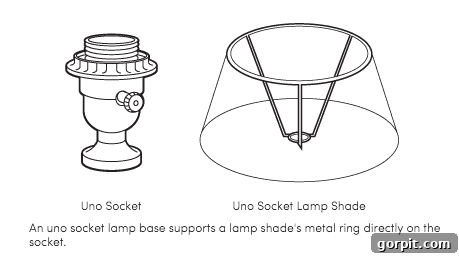
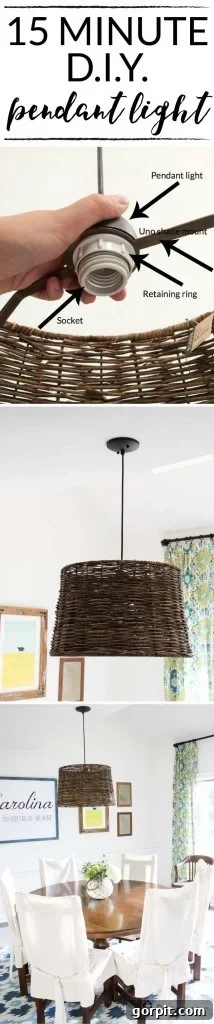
- A Large Lamp Shade with an Uno Style Fitter: This is the distinguishing feature that makes this DIY project truly unique and achievable. The Uno style fitter is designed to screw directly onto the socket of a pendant light kit, rather than sitting on a harp or spider.
- Below is an example of what an Uno style lamp shade fitter typically looks like, characterized by its threaded opening.
Selecting the Perfect Uno Style Lampshade
The success and aesthetic of this DIY pendant light hinge on finding the correct lampshade. It is absolutely critical that your lamp shade features an Uno style fitter for this tutorial to work seamlessly. This specific type of fitter has a threaded opening that screws directly onto the pendant light’s bulb socket, ensuring a secure and professional-looking attachment.
Many retailers, such as World Market and Ikea, are known for carrying a good selection of Uno style lamp shades. Additionally, Amazon boasts a vast collection, offering a wide array of styles, colors, and sizes to suit any decor. I personally found my shade on clearance at World Market, which allowed me to achieve a high-end look for a fraction of the cost. While my exact shade is no longer available, remember that the possibilities are endless once you know what to look for.
When choosing your shade, consider the overall size and desired impact. If you’re aiming for a large, statement-making light fixture like mine, focus on shades typically designed for floor lamps, as these will provide the substantial presence you’re looking for. Think about the material, color, and texture of the shade as well; these elements will significantly influence how the light is diffused and how the fixture integrates into your room’s design scheme. From drum shades to tapered designs, the right Uno shade can truly transform your DIY pendant into a custom masterpiece.
Step-by-Step Guide to Crafting Your Easy DIY Pendant Light
With your materials in hand and safety precautions understood, let’s begin the simple yet transformative process of creating your new pendant light. Follow these steps carefully for a smooth installation.
1. Safely Remove Your Old Light Fixture
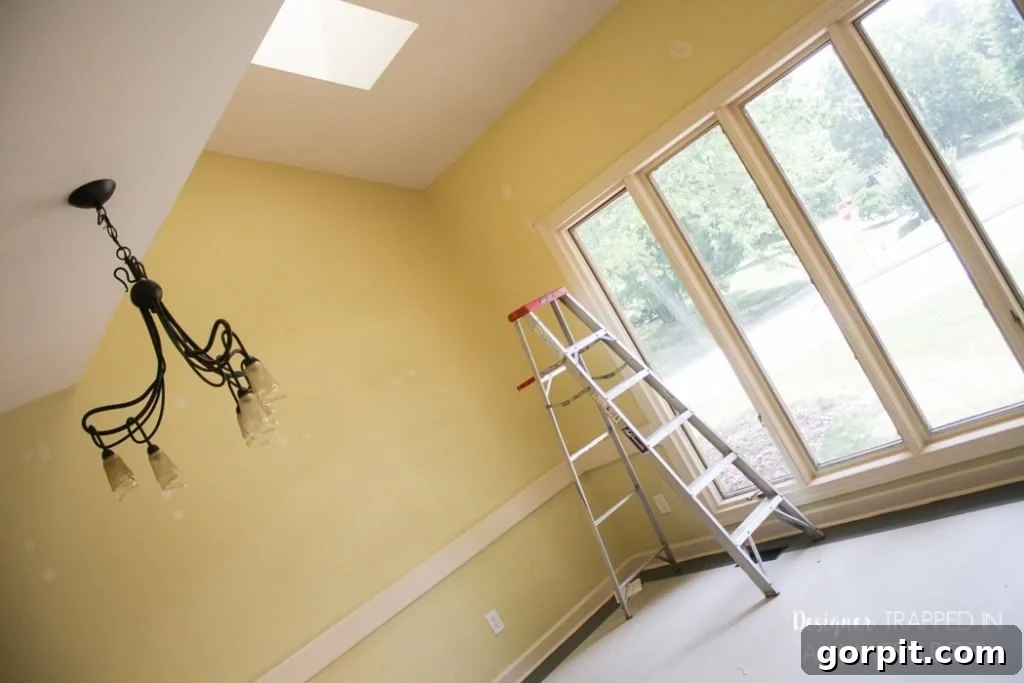
IMPORTANT: Before touching any wires, ensure the power to your light fixture is completely OFF at the circuit breaker. Use a voltage tester to confirm that no electricity is flowing to the fixture. Once safe, carefully unscrew and lower your existing light fixture from the ceiling. Disconnect the old wiring (typically black, white, and a bare copper or green ground wire) by untwisting any wire nuts. Gently remove the old mounting bracket if it’s not compatible with your new pendant kit. This initial step clears the way for your stylish upgrade. Below is a glimpse of the outdated fixture we replaced in our dining room, which underwent a complete transformation – you can find all the details of our full dining room makeover here.
2. Determine Optimal Hanging Height and Cut the Wire
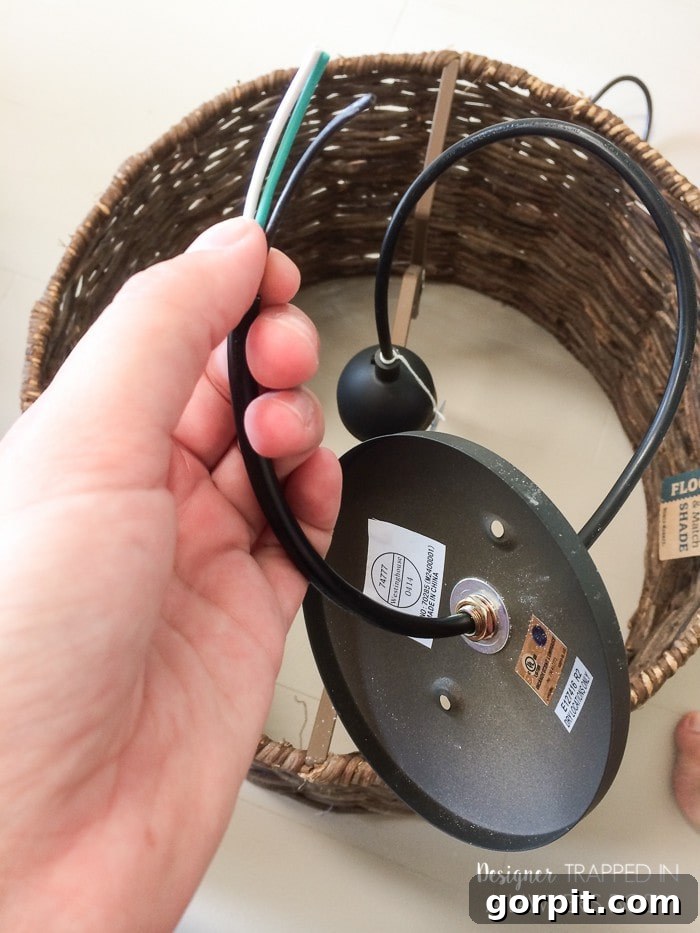
Now comes the creative part: deciding how low your new pendant light will hang. This is crucial for both aesthetics and functionality. Thread the wire of your new DIY pendant light kit through the Uno-fitter opening of your chosen lamp shade. Temporarily hold the shade up to the ceiling electrical box, allowing the pendant cord to drape. Experiment with different lengths until you achieve your desired hanging height. Consider the height of your ceiling, any furniture below (like a dining table), and the overall visual balance of the room. Once you’ve determined the perfect length, mark the wire, ensuring you leave sufficient excess wiring (typically 6-8 inches) for making secure electrical connections inside the ceiling box. Then, use your wire cutters to trim the pendant cord to this appropriate length.
3. Prepare Wires by Exposing Copper
With the pendant wire cut to length, you’ll need to prepare the ends for electrical connection. Using your electrical wire cutters, carefully strip back about ½ to ¾ inch of the outer insulation from each of the individual wires (typically black, white, and ground). Be precise to avoid nicking the copper strands themselves. This step ensures that enough bare copper is exposed to create a strong, reliable electrical connection with the house wiring. Properly stripped wires are essential for both safety and performance.
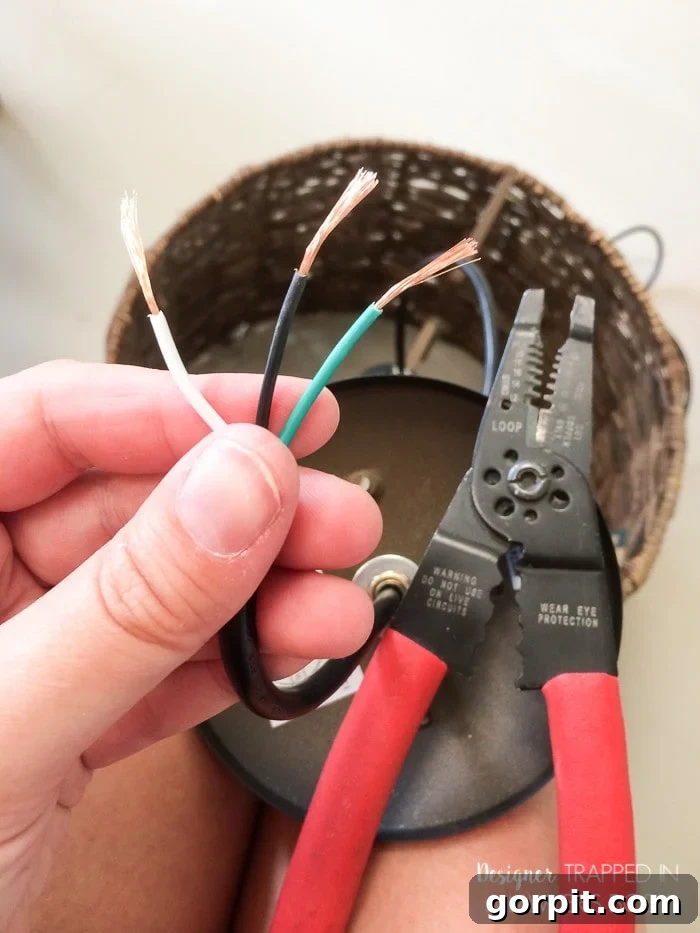
4. Make Electrical Connections and Mount the Pendant
This step requires utmost care. Reconfirm that the power to the light fixture is OFF at the circuit breaker before proceeding. Inside your ceiling electrical box, you will typically find three types of wires: the black (hot) wire, the white (neutral) wire, and a bare copper or green (ground) wire. Match these with the corresponding wires from your pendant light kit. Twist the exposed copper ends of the black wires together, then secure them with a wire nut. Do the same for the white (neutral) wires. Finally, connect the ground wire from your pendant kit to the ground wire in the ceiling box. Ensure all connections are tight and secure by gently tugging on each wire. Once connections are made, carefully tuck the wires into the electrical box and mount the pendant light canopy to the ceiling using the provided screws and mounting bracket, making sure it sits flush against the ceiling.
5. Attach Your Uno Style Shade
Now for the satisfying part – seeing your vision come to life! Once the pendant light kit is securely mounted and wired, you’re ready to attach your beautiful Uno style lampshade. Simply slide the Uno shade mount over the bulb socket. You’ll notice that the socket itself has threads. Take the retaining ring that came with your pendant light kit (or the shade, if applicable) and screw it into place over the Uno fitter, tightening it snugly. This ingenious design creates a perfect, secure fit, holding your lampshade firmly in position without any wobbling or additional hardware. It’s a truly elegant and simple solution!
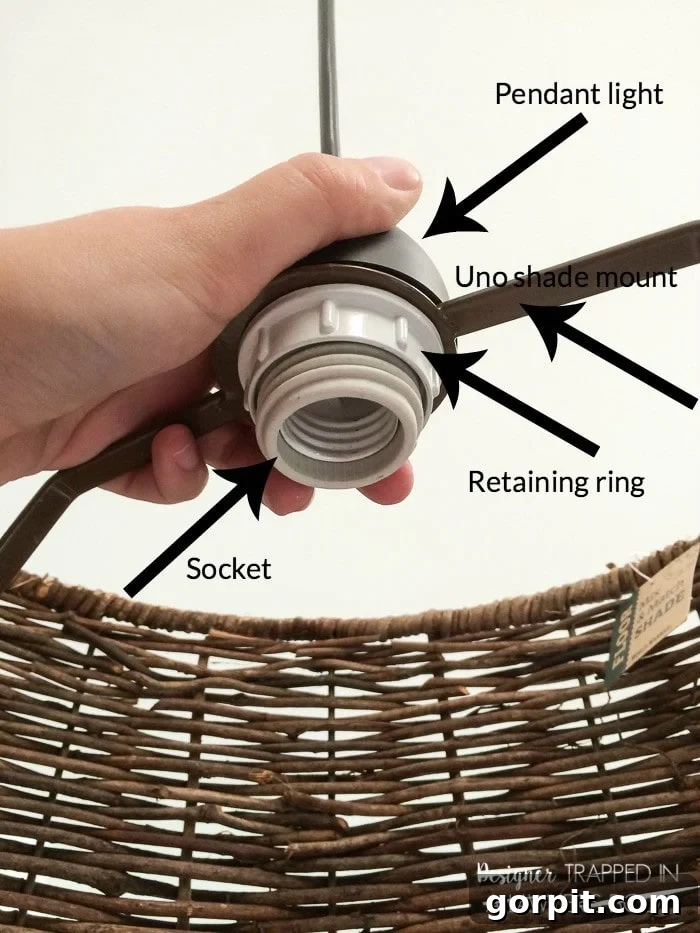
6. Install Your Light Bulb(s)
The final touch is to screw in your chosen light bulb(s). Consider the wattage and type of bulb (LED, incandescent, CFL) that best suits your needs and the fixture’s specifications. If you desire more illumination than a single bulb can provide, an excellent and inexpensive solution is to purchase a twin light socket adapter. This clever device screws into your existing single socket, allowing you to install two bulbs, effectively doubling your light output.
- This is a link to the exact adapter I purchased, which worked perfectly for adding extra brightness to my space.
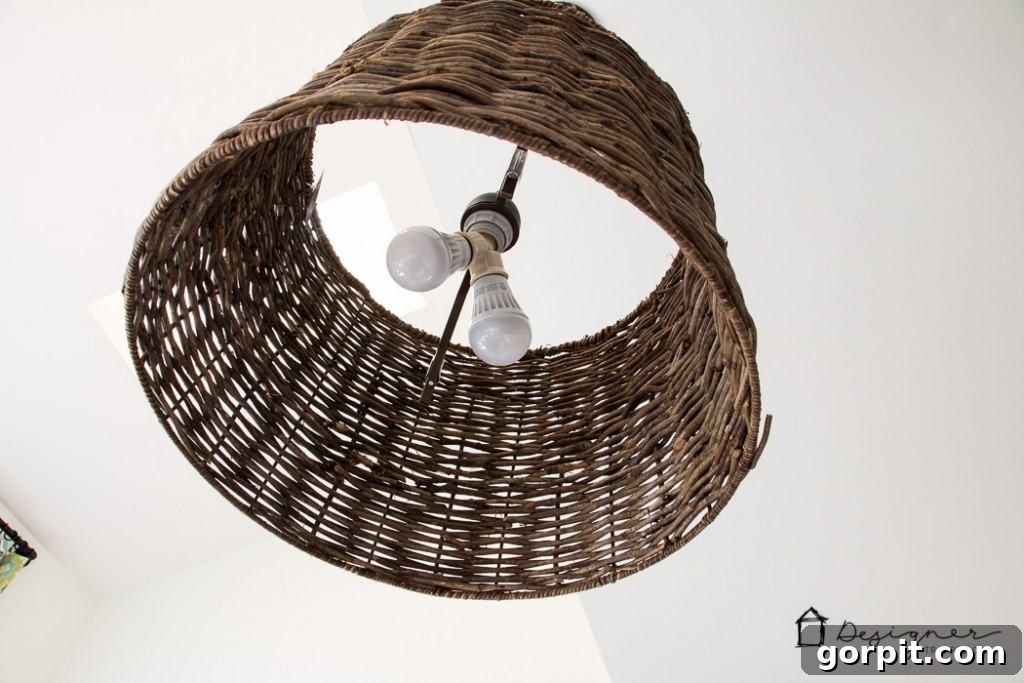
Why Choose This DIY Pendant Light Project?
This isn’t just a lighting upgrade; it’s a smart home decor choice for several compelling reasons:
- Unbeatable Affordability: By selecting a clearance shade and a basic pendant kit, I completed this entire project for around $30! Compare that to custom pendant lights that often cost hundreds.
- Personalized Style: You get to choose the exact shade that complements your decor, creating a truly custom piece that reflects your personal taste.
- Speed and Simplicity: From start to finish, this project takes approximately 15 minutes, making it one of the quickest and most impactful home improvements you can undertake.
- Instant Gratification: The dramatic transformation of your space and the pride of having created something beautiful yourself is incredibly rewarding.
That’s truly all there is to it! I am absolutely enamored with how our DIY pendant light turned out. It perfectly complements our dining room and provides just the right amount of ambient light. Check out the finished product and see for yourself the stunning impact such a simple project can make!
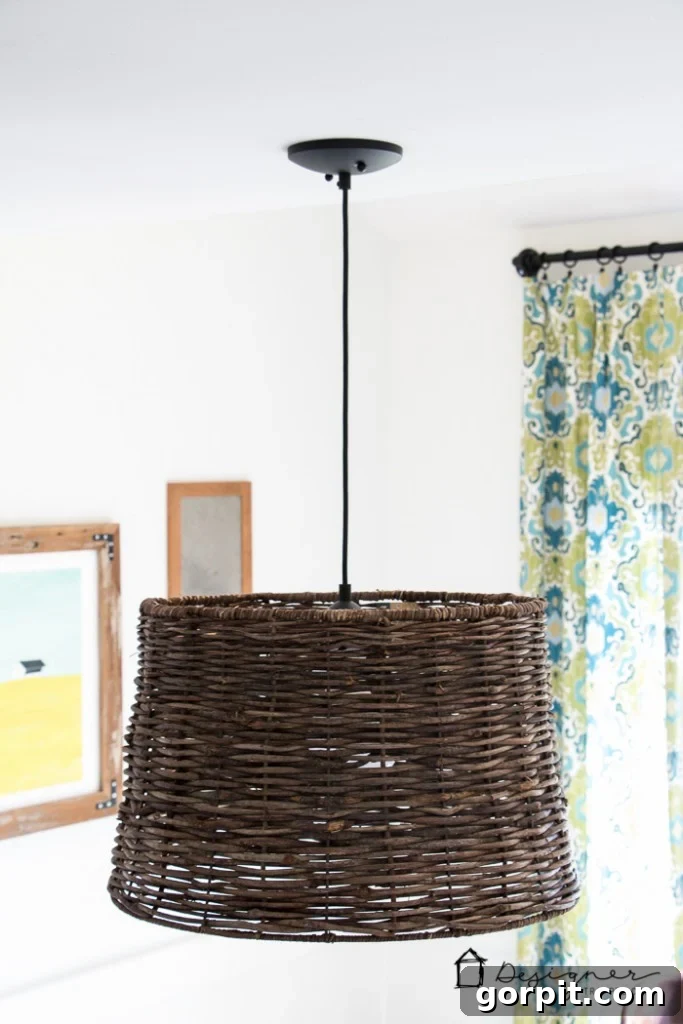
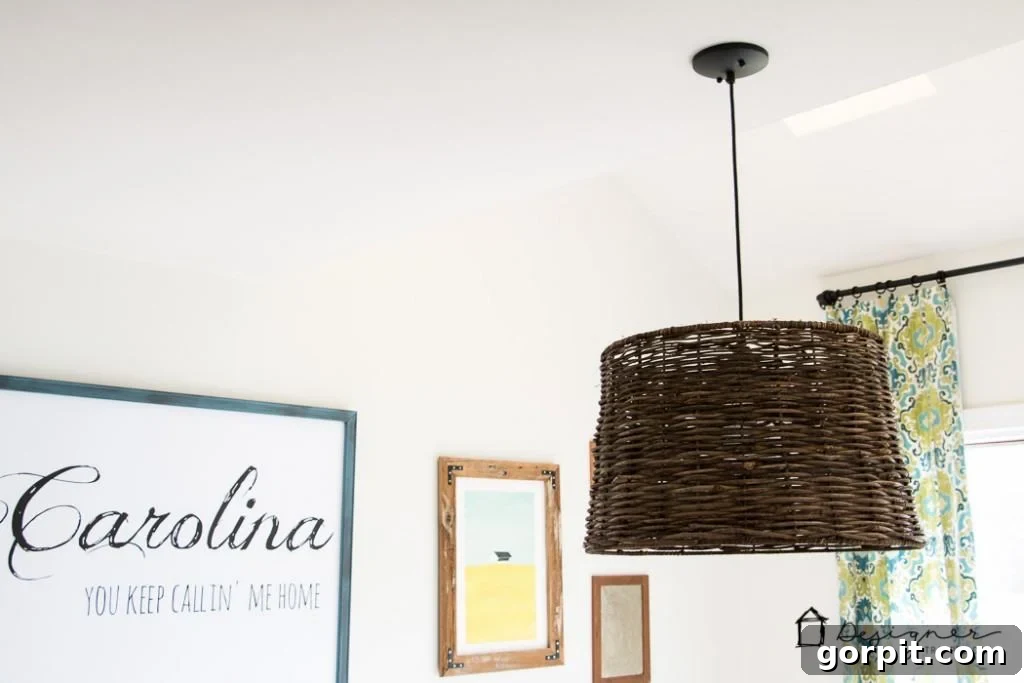
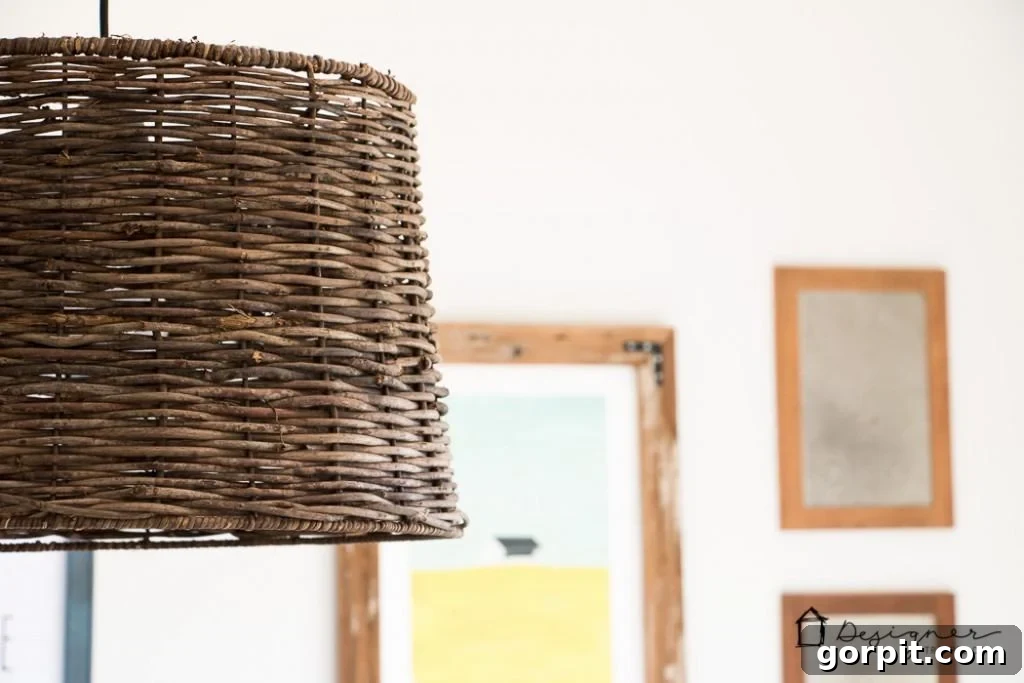
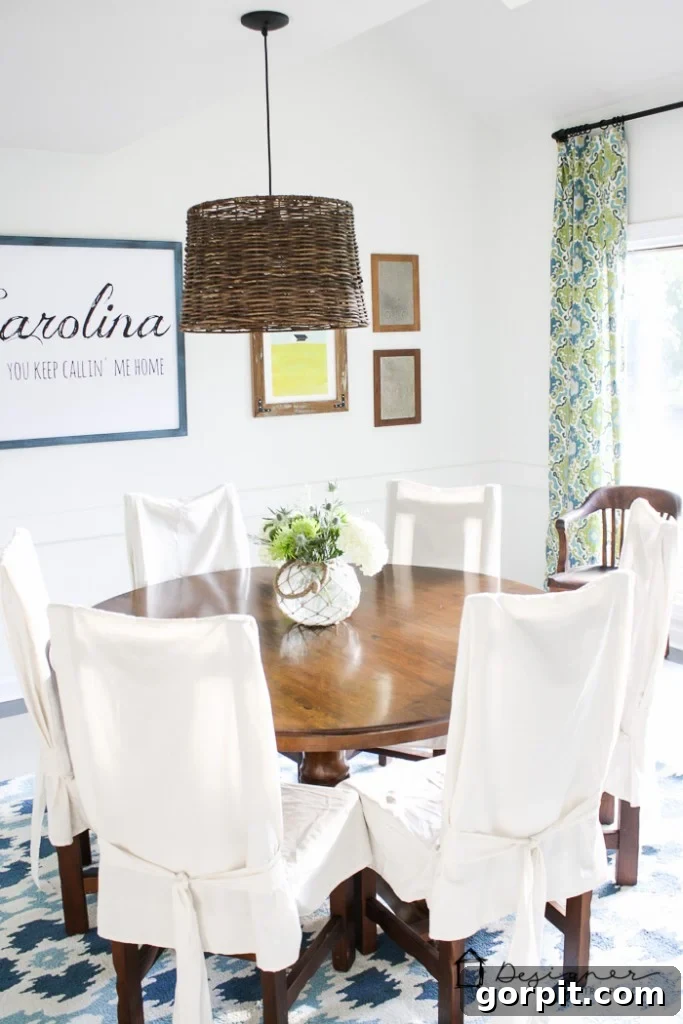
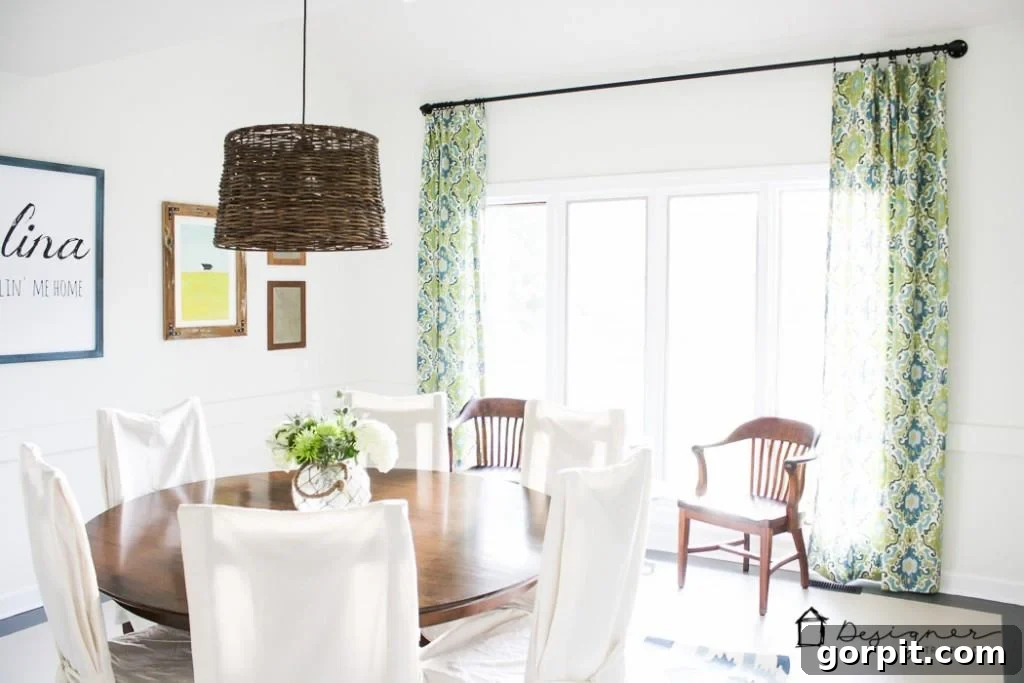
What do you think of this easy and affordable lighting transformation? If you’re inspired to create your own, be sure to pin this tutorial to your favorite Pinterest board so you can easily refer back to it when you’re ready to start your project. And don’t forget to check out all the comprehensive details of our full DIY dining room makeover here for even more home improvement inspiration!
Explore More DIY Lighting Projects
If you loved this simple pendant light tutorial, you might also enjoy my other creative DIY lighting projects. Each one is designed to be approachable and impactful, helping you brighten your home with custom solutions. Click on any of the project photos or titles below for complete step-by-step guides and detailed instructions!
- Craft Your Own Stunning Drum Pendant Light from Scratch
- Build an Industrial Farmhouse Chandelier on a Budget
- Rustic Mason Jar Sconce: Easy Wall Lighting
- Creative Bedroom Ambient Lighting Ideas
Transforming your home with DIY projects is not only economical but also incredibly fulfilling. Dive into the world of personalized home decor and light up your life!