
Thank you to Mohawk Consumer Products for sponsoring this post.
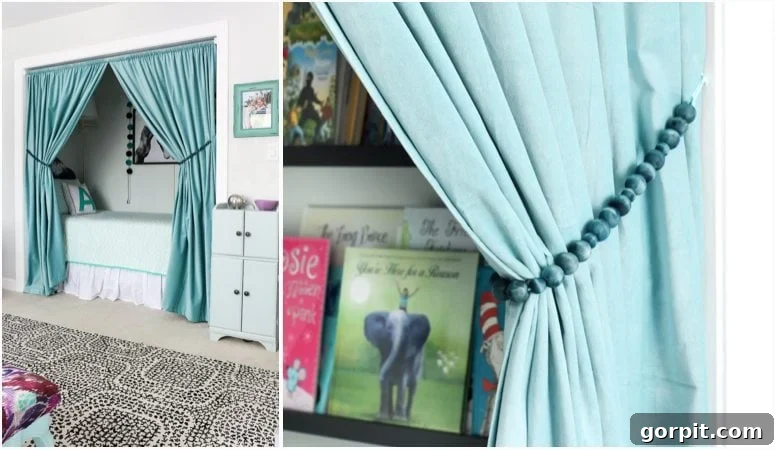
Hello, fellow DIY enthusiasts! Today, I am absolutely thrilled to unveil a project that brought a huge smile to my face: crafting these charming DIY curtain tie backs. My excitement stems from a recent quest to find the perfect curtain accessories for Avery’s cozy bed nook – a delightful space whose full reveal I promise is coming soon! Despite my extensive search, I was met with disappointment. The market offerings were either overly ornate, disappointingly bland, or simply lacked the functional design I envisioned for mounting them elegantly on her door frame. Refusing to compromise on style or practicality, I decided to take matters into my own hands, and the result is nothing short of lovely!
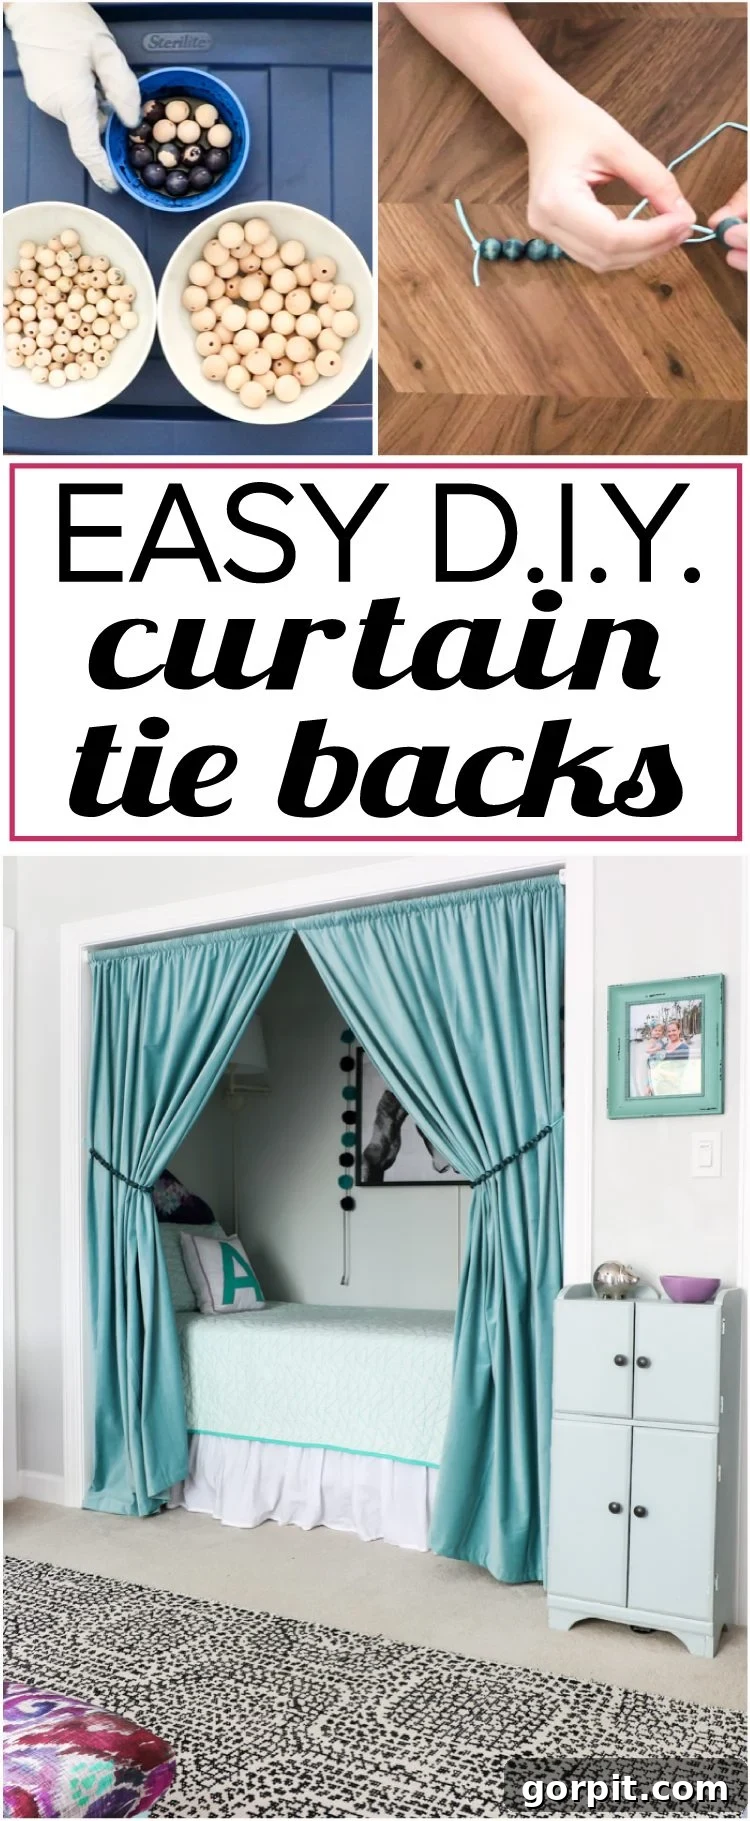
This project is a testament to the power of personalization. You’re not just making curtain tie backs; you’re creating custom pieces that perfectly complement your interior design. Imagine the possibilities: select wood beads of any size or shape, and infuse them with a stain color that perfectly matches your decor palette, whether it’s a vibrant pop or a subtle, earthy tone. The creative freedom is truly limitless! Best of all, this isn’t a daunting weekend commitment. It’s a quick, gratifying 15-minute DIY that’s so straightforward, even your kids can joyfully participate, making it a fantastic family craft activity. Get ready to transform your curtains with these unique and stylish accents by following my detailed guide below!
Crafting Your Own Stylish DIY Wood Bead Curtain Tie Backs
This post contains some affiliate links for your convenience (which means if you make a purchase after clicking a link I will earn a small commission which helps keep my blog up and running but it won’t cost you a penny more)! Click here to read my full disclosure policy.
Before we dive into the creative process, let’s gather all the essential items you’ll need for this quick and rewarding project. Sourcing your materials is often half the fun of any DIY, and for these wood bead curtain holdbacks, the choices you make for bead size and stain color will truly define the final aesthetic. This curated list ensures you have everything on hand to make your DIY curtain tie backs a stunning success, transforming ordinary curtains into stylish focal points with minimal effort.
MATERIALS NEEDED FOR YOUR CUSTOM CURTAIN TIE BACKS
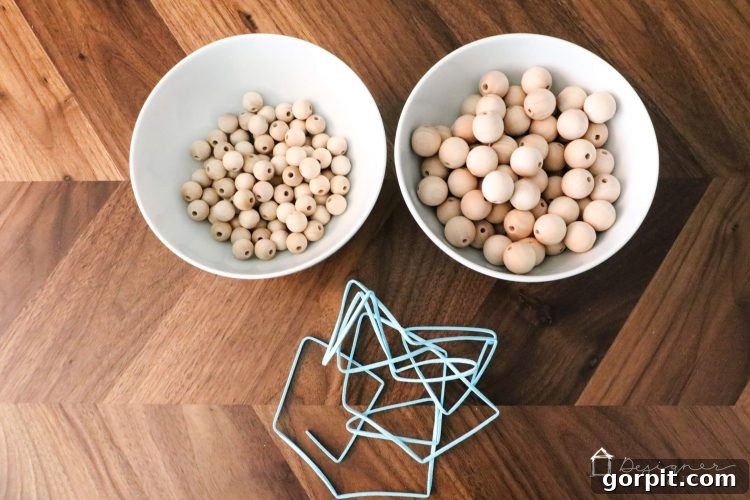
- Wood beads: I opted for two different sizes, mixing larger and smaller beads to create a subtle yet engaging pattern. This contrast adds depth and visual interest, but feel free to experiment with a single size or even various shapes to match your personal style.
- Behlen Solar Lux Stain: For Avery’s room, I chose the enchanting Sea Blue, which perfectly complements her decor. However, Behlen offers a stunning array of colors. You can explore their full selection here to find the shade that best suits your vision and home’s palette.
- Suede cord: This material offers a lovely tactile quality and durability. This is the exact cord I ordered, providing the perfect balance of flexibility and strength to hold your beads securely and withstand daily use.
- Scissors: Essential for precise cutting of the suede cord.
- Small bowl: Choose one that you reserve specifically for crafting, as it will be used for the stain.
- Paper towels: Crucial for wiping off excess stain and cleaning up any spills, ensuring a neat finish.
- Gloves: Always protect your hands when working with wood stains to prevent skin irritation and unwanted discoloration.
Having all your supplies ready before you begin will streamline the process and allow you to fully enjoy the creation of your custom curtain tie backs. Each material plays a vital role in achieving that polished, professional look we’re aiming for.
DETAILED STEP-BY-STEP GUIDE: CRAFTING YOUR CUSTOM TIE BACKS
While this project is incredibly straightforward, each step contributes to the beautiful finished product. Follow these instructions carefully, and you’ll have your unique curtain tie backs ready in no time. For a visual overview, you can imagine a quick video demonstrating these steps, though the written guide provides all the necessary details.
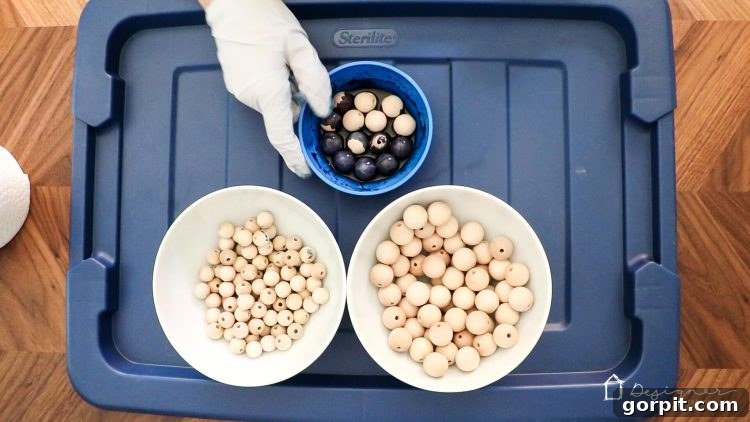
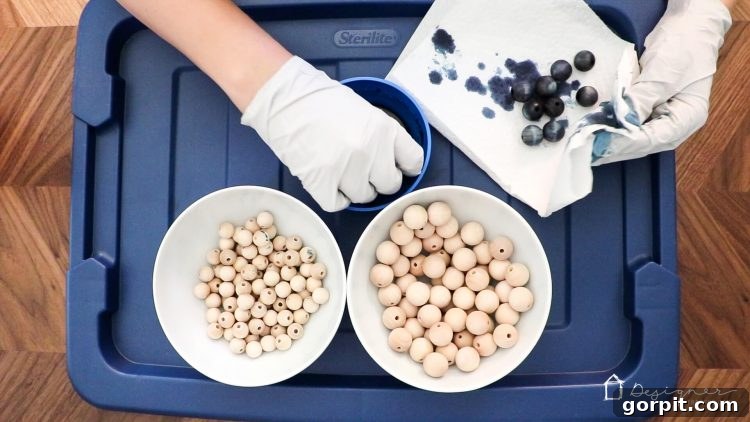
1) Dye your beads for a splash of custom color. Begin by pouring a modest amount of your chosen Behlen Solar Lux Stain into your designated crafting bowl. Don your gloves! Gently drop your wood beads into the stain. Swirl the bowl or stir the beads carefully to ensure each one is thoroughly coated. The goal is an even application, allowing the vibrant color to penetrate the wood. The beauty of wood beads is how they absorb stain, creating a rich, natural finish. Depending on the desired intensity, you can let them soak for a few moments, or simply swirl and move to the next step for a lighter tint.
2) Wipe off the excess stain for a clean finish. Once your beads are coated to your satisfaction, carefully remove them from the bowl using gloved hands or a small tool. Place them on several layers of paper towels. Gently wipe off any excess stain. This step is crucial not only to prevent a sticky residue but also to allow the wood grain to subtly show through, adding to the charm. Set your freshly stained beads aside in a well-ventilated area until they are completely dry to the touch. Drying time can vary based on humidity and stain thickness, so patience is key for a flawless result.
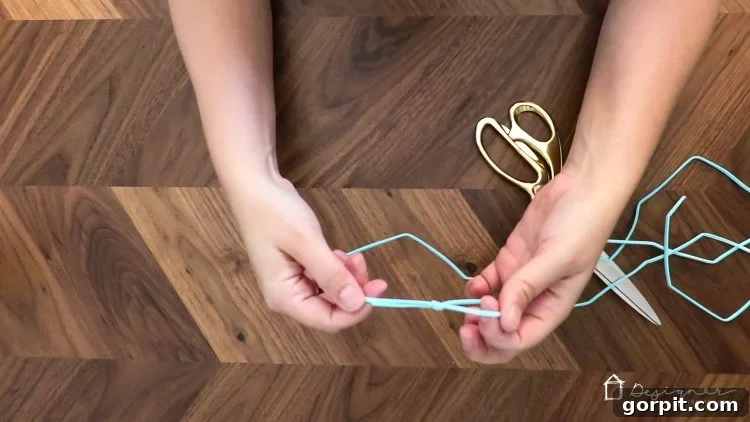
3) Prepare your suede cord with a secure loop knot. Take your suede cord and at one end, tie a sturdy loop knot. This loop will serve as the attachment point for securing your tie back to a wall hook or nail. Ensure the knot is tight and secure. Next, measure and cut your cord to the desired length. For most standard curtains, a length of approximately 24 inches (60 cm) per tie back provides ample room for threading beads and wrapping around the fabric. However, adjust this length based on the thickness of your curtains and how much drape you prefer. Always err on the side of a little longer, as you can trim excess later.
4) Thread your beads to create your unique pattern. Now for the fun part – arranging your beads! Carefully thread your dry, stained beads onto the suede cord, starting from the end opposite your initial loop knot. This is where your creativity shines! For Avery’s tie backs, I used a delightful pattern of three larger beads followed by one smaller bead. You can replicate this, or design your own sequence. Consider alternating colors if you used more than one stain, or mixing different bead shapes for an eclectic look. Play around with the arrangement until you achieve a pattern that you adore and that flows beautifully.
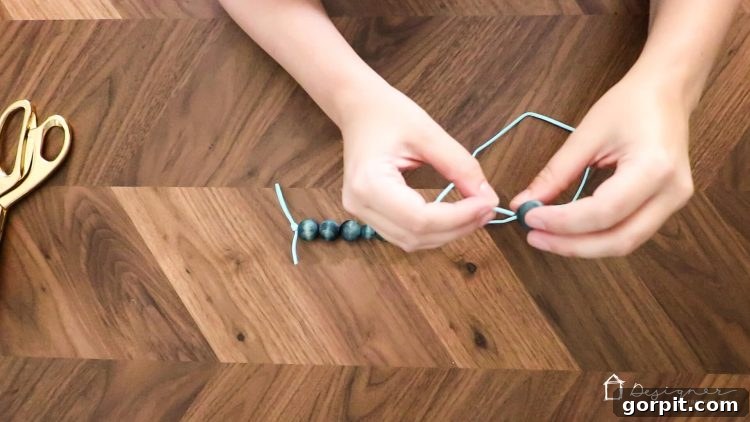
5) Secure your bead arrangement with a final loop knot. Once you have threaded all your beads and are happy with their arrangement along the cord, it’s time to secure them in place. Push the beads snugly towards the first loop knot you tied. Then, at the opposite end of the beaded section, create another sturdy loop knot. This second knot will hold all your beads firmly, preventing them from sliding off the cord. Make sure both loops are roughly the same size and that the beads are centered or positioned as desired between them. Trim any excess cord, leaving a neat, consistent length beyond the knots.
6) Hang your new DIY curtain tie backs with ease. The final step is to put your beautiful creations to use! These custom wood bead tie backs can be easily secured around your curtains using a simple nail or a decorative hook. Choose a strategic spot on your window or door frame where the tie back can comfortably gather your curtain, allowing light to stream in while adding a decorative touch. You can experiment with height and tension to find the perfect drape for your curtains. For a temporary solution or if you prefer no holes, adhesive hooks can also work wonderfully. These tie backs are designed for both beauty and practicality, making your daily routine a little more stylish.
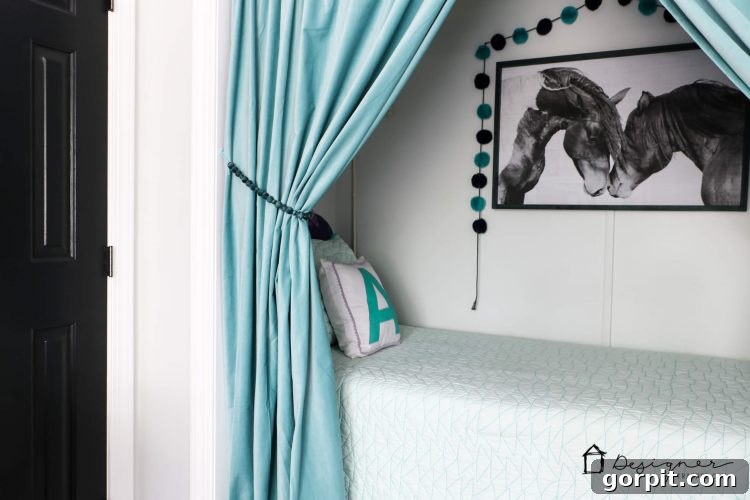
Wasn’t that incredibly easy? And the transformation they bring is truly delightful! I am absolutely enamored with how these DIY curtain tie backs turned out. They’ve added such a charming, bespoke touch to Avery’s room, making her bed nook even more inviting and special. Honestly, I’m a little jealous of her cozy retreat – it’s truly the epitome of comfort and style, perfectly accented by these handmade details!
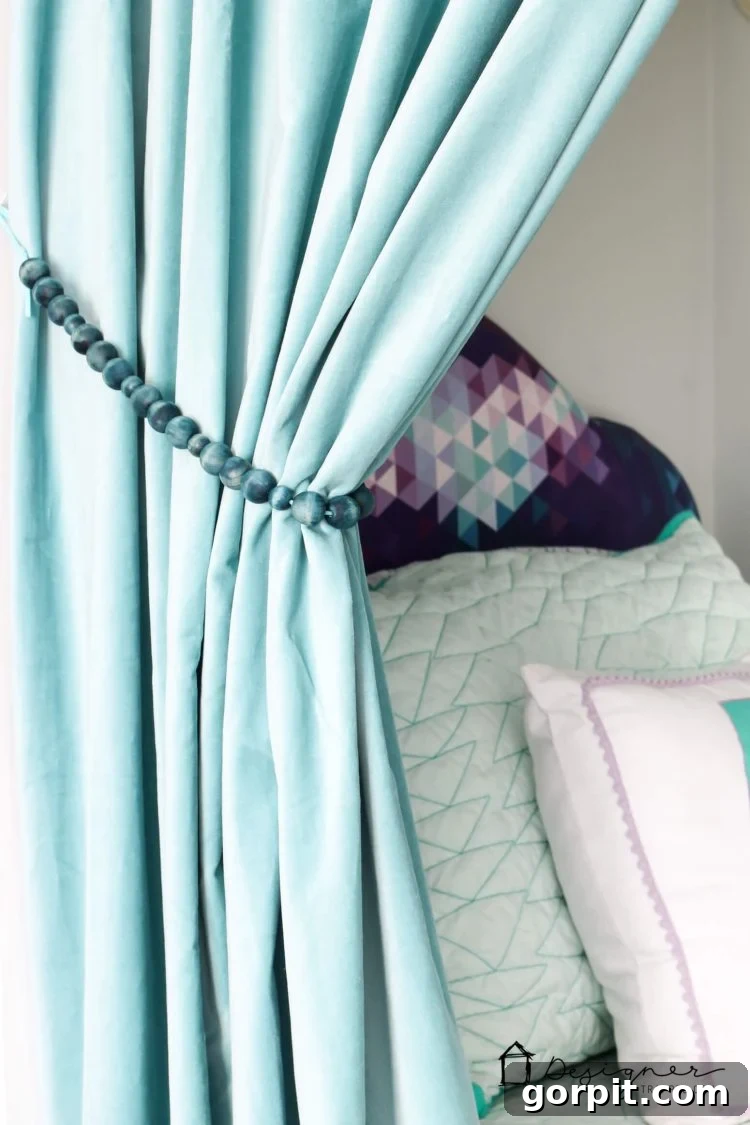
Let’s take a closer look at these stunning wood bead curtain holdbacks in their natural habitat. Observe how the Sea Blue stain of the beads beautifully complements the existing color scheme, adding a subtle pop of color without overwhelming the soft textures of the curtains. The varying sizes of the beads create a gentle, organic rhythm, drawing the eye and adding a layer of sophisticated detail that store-bought options simply can’t replicate. This level of customization allows for truly harmonious integration into any decor, ensuring your curtains are not just functional but also a statement piece.
The texture of the suede cord also plays a significant role, providing a soft contrast to the smooth, stained wood. This choice of material not only offers durability but also enhances the overall aesthetic with its natural, tactile feel. Imagine the warmth and charm these handmade pieces bring to a child’s room, fostering a sense of comfort and personalized style. Each angle reveals the thought and care put into their creation, transforming a simple necessity into an artwork.
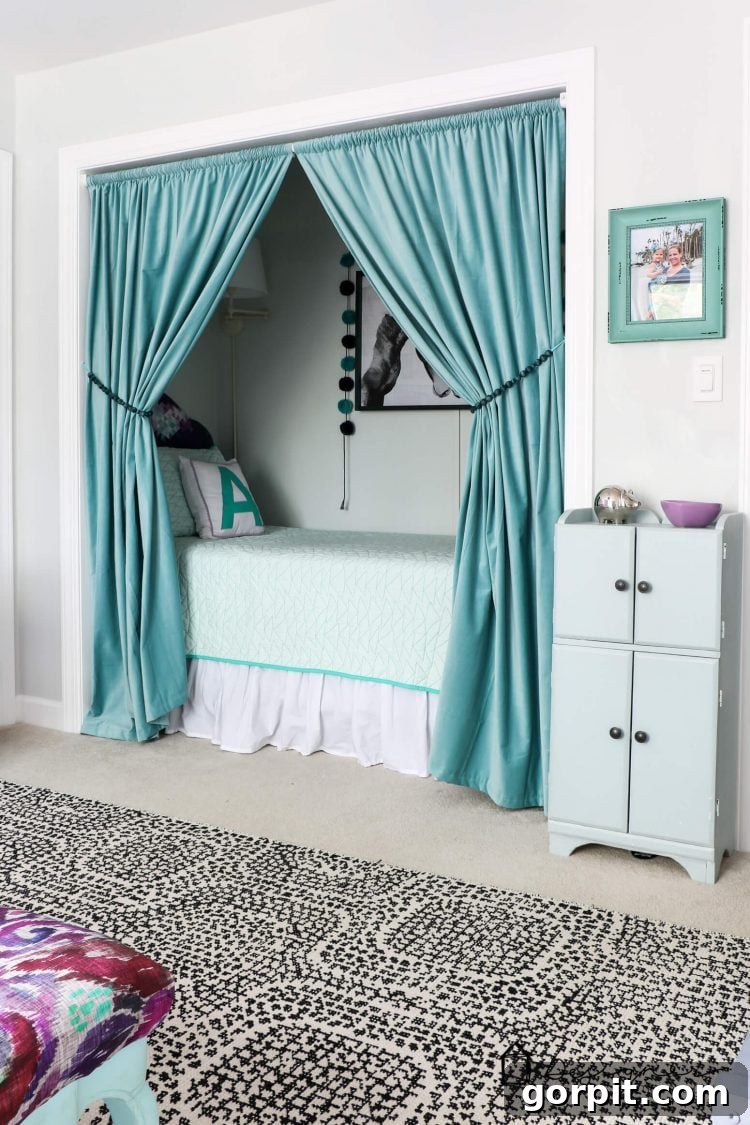
The beauty of these custom tie backs lies in their adaptability. Whether your aesthetic is bohemian, rustic, modern, or whimsical, adjusting the bead style, size, and stain color allows for endless possibilities. They are far more than mere curtain accessories; they are conversation starters, little pieces of art that reflect your unique taste and commitment to a beautifully curated home. And because they’re so easy to make, you can even switch them out seasonally or as your decor evolves!
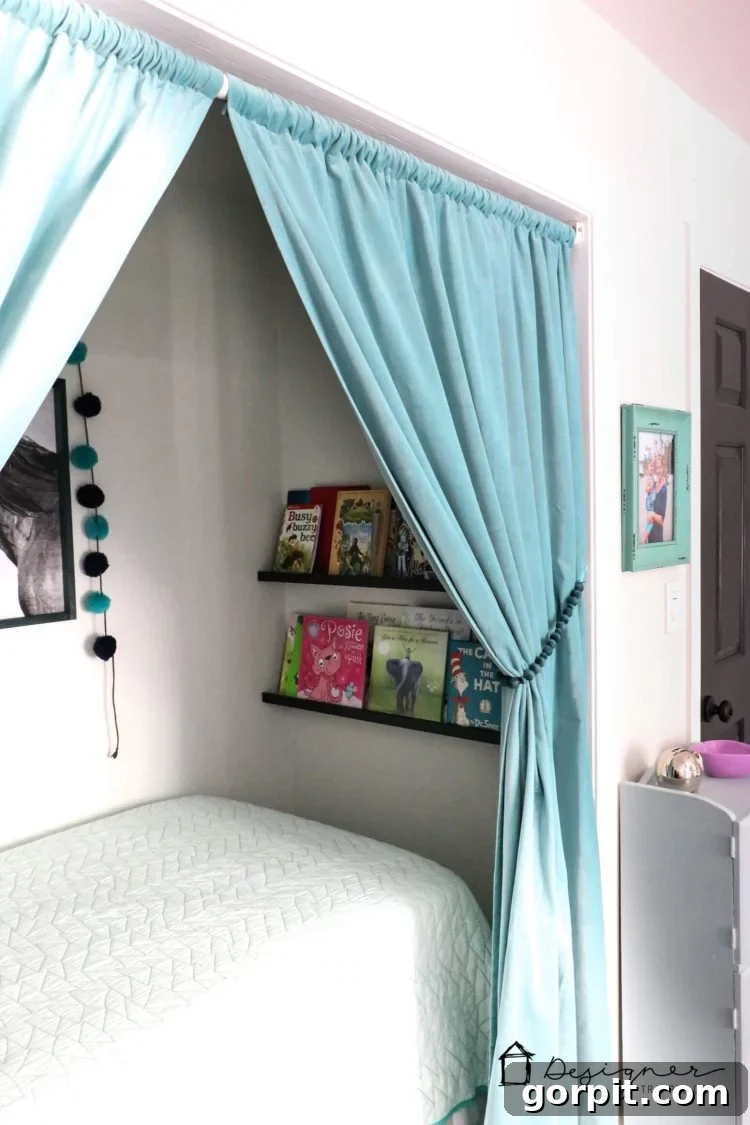
The transformation in Avery’s bed nook is truly remarkable. The curtains, once just functional, now have a personalized flair, perfectly complementing the cozy and inviting atmosphere. The natural elements of the wood beads tie in beautifully with other textures and finishes in the room, creating a cohesive and harmonious design. It’s these small, thoughtful DIY touches that truly elevate a space, making it feel uniquely yours.
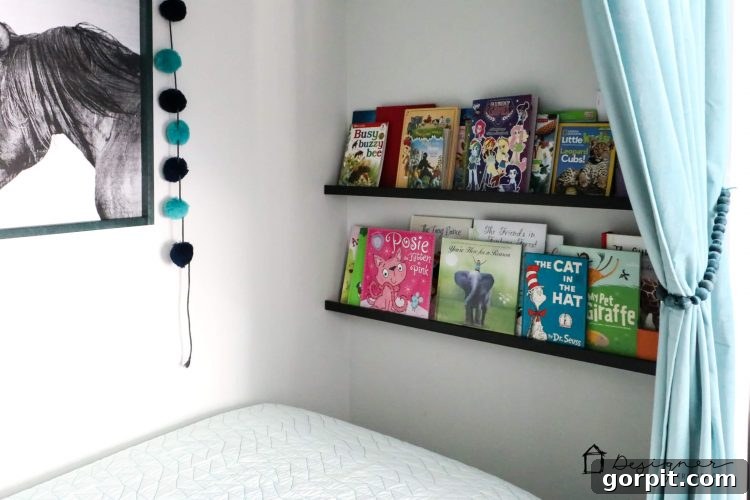
Don’t hesitate to experiment with different patterns of beads, or even mix stained beads with natural, unstained ones for a more rustic look. This project serves as a fantastic foundation for boundless creativity. The simplicity of the technique means you can create multiple sets for different rooms in your home, ensuring every window benefits from this touch of handmade elegance.
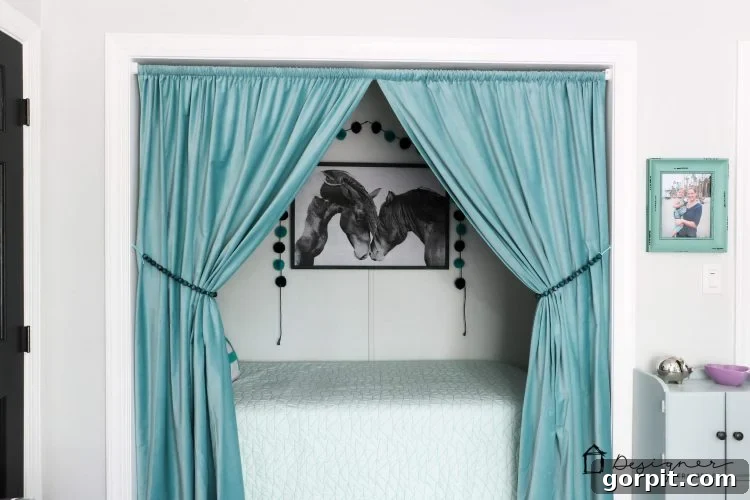
The play of light on the stained beads adds another dimension to their appeal. As the sun streams through the window, the beads can cast subtle, colorful reflections, enhancing the ambiance of the room. It’s a delightful detail that adds life and vibrancy, a testament to the fact that even the smallest DIY project can have a significant impact on your living space.
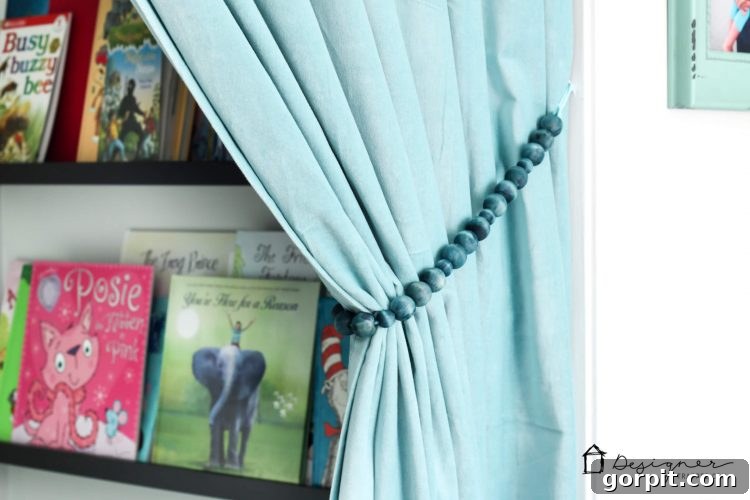
This project is not just about making curtain tie backs; it’s about infusing your home with personality and charm through thoughtful, handmade decor. It’s about creating an environment that truly reflects who you are and what you love. I hope this tutorial inspires you to pick up some beads and stain and embark on your own creative journey!
So, why settle for generic when you can craft something truly magnificent and perfectly tailored to your space? Dive into the world of DIY, and you’ll discover that making your own home decor is not only incredibly satisfying but also an opportunity to create something truly unique and beautiful, just like these wood bead curtain tie backs.
Looking for more inspiring projects to spruce up your home? Be sure to explore our collection of most popular DIY home decor projects for even more creative ideas that are easy, fun, and impactful.
