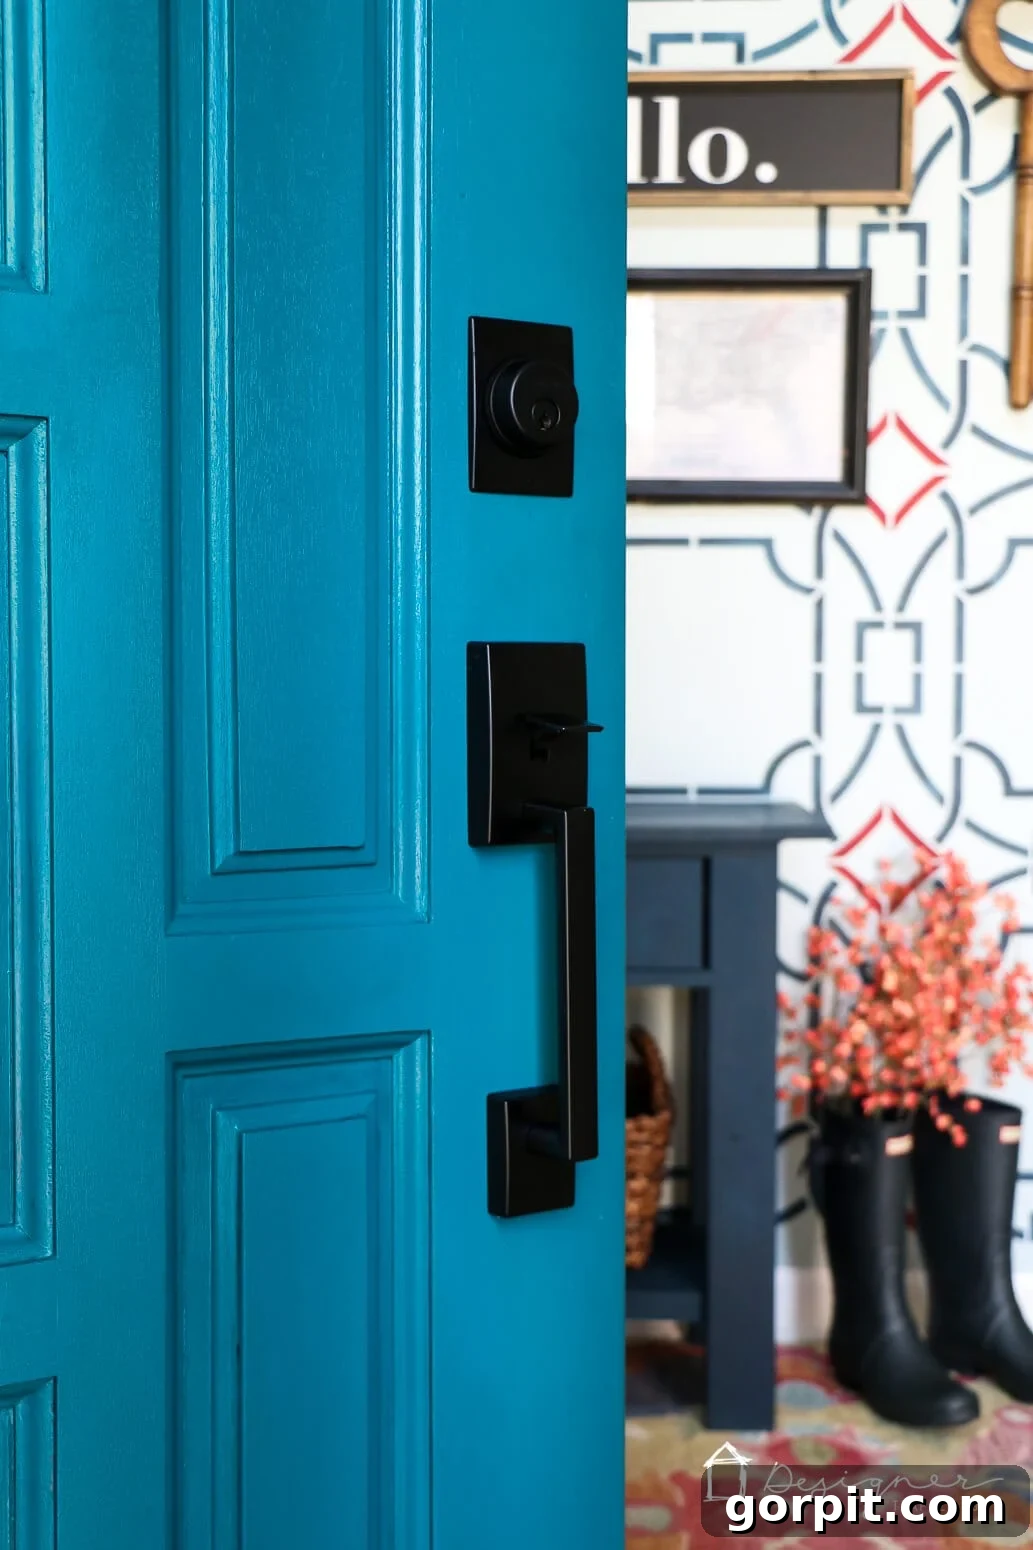
There’s nothing quite as satisfying as a perfectly maintained home, and that includes your doors. However, over time, doors can accumulate various forms of damage, from unsightly holes left by old hardware to more severe issues like rot. Whether you’ve just upgraded your door handles and found misaligned screw holes, or your exterior door has suffered from moisture damage, the good news is that repairing these imperfections is a straightforward DIY project. With the remarkable versatility of epoxy putty, you can restore your doors to their pristine condition, eliminating holes and strengthening damaged areas with surprising ease. This comprehensive, step-by-step guide will walk you through the entire process, empowering you to tackle door repairs with confidence and achieve professional-looking results.
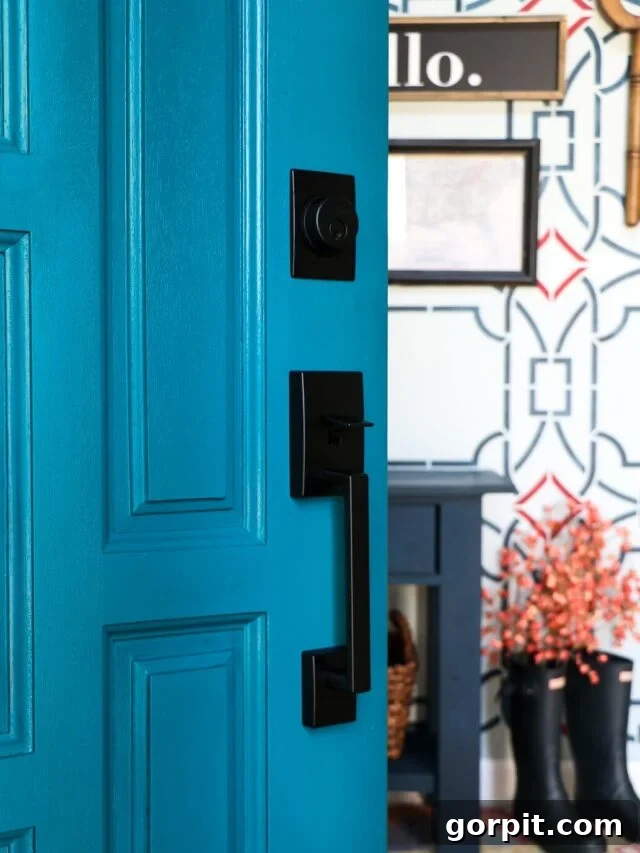
Many homeowners encounter the challenge of replacing door hardware only to discover that the new fixtures don’t perfectly align with existing screw holes. This common predicament often leaves you with two choices: either embark on a tedious search for hardware that miraculously matches your door’s pre-drilled holes (which can be particularly difficult with older, non-standard doors) or, more practically, learn how to effectively fill and repair those unwanted openings. Beyond hardware changes, doors are also susceptible to environmental factors. Exterior doors, in particular, can suffer from rot caused by prolonged exposure to moisture, leading to structural damage and unsightly holes. Interior doors might sustain accidental damage, such as dings, dents, or even larger punctures from moving furniture or enthusiastic children.
Fortunately, we’ve discovered that epoxy putty is an incredibly effective and user-friendly solution for filling a wide array of door damage. This versatile material has been a game-changer in many of our home improvement projects, including a recent front door update where it was crucial for achieving a seamless finish. Not only did it help us expertly conceal the holes from our previous door hardware, but its robust properties make it equally suitable for addressing rot, deep scratches, or any other kind of structural damage that compromises your door’s integrity. Epoxy putty stands out because it can be easily shaped and molded to perfectly match the contours of your door, offering a durable and lasting repair that often proves stronger than the original wood itself.
This post contains affiliate links for your convenience. Click here for my full disclosure policy.
How to Fill Holes in Doors With Epoxy Putty: A DIY Guide
Repairing holes in your doors doesn’t require professional expertise or costly replacements. This DIY method using epoxy putty is accessible to everyone, regardless of your handyman experience. The process is quick, effective, and delivers durable results that will blend seamlessly with your door’s surface. Below is a video to walk you through the project step-by-step, offering a visual demonstration that complements these written instructions. For those who prefer to see every detail from start to finish, the video provides an invaluable resource.
Before diving into the repair process, it’s essential to understand the unique benefits of epoxy putty. Unlike traditional wood fillers or spackle, epoxy putty offers superior strength, resilience, and moldability. It’s a two-part adhesive consisting of a resin and a hardener that, when mixed, creates an incredibly strong, waterproof, and sandable material. This makes it ideal for not only filling small screw holes but also for reconstructing larger areas of damaged wood, including sections affected by rot. Once cured, epoxy putty becomes harder than most wood, ensuring a long-lasting repair that can withstand the daily wear and tear your doors endure.
Materials Needed for Your Door Hole Repair
Gathering all your materials before you begin will ensure a smooth and efficient repair process. Most of these items are readily available at hardware stores or online, making this a highly accessible DIY project:
- Mohawk Epoxy Putty Stick: This is the star of our repair. While I used white, these sticks come in a variety of colors. If you’re working on stained wood, choose a color that closely matches your wood tone for easier blending. Having a putty stick ensures you have enough material for multiple repairs or larger holes.
- A leveler card or old credit card: Essential for smoothing the applied putty and ensuring a flush surface. An old credit card or a plastic scraper will work perfectly.
- A small dish of soapy water: This simple solution is crucial for preventing the epoxy from sticking to your fingers or tools during the kneading and application process. Use a mild liquid soap.
- A sharp knife: Necessary for cutting the precise amount of epoxy putty you need from the stick. A utility knife or a sharp craft knife is ideal.
- Sandpaper: You’ll need various grits of sandpaper. Start with a medium-grit (around 120-150) for initial shaping and leveling, and finish with a fine-grit (220 or higher) for a smooth, ready-to-paint or stain surface.
- Optional but Recommended:
- Protective gloves: Epoxy can be sticky and may cause mild skin irritation. Gloves protect your hands and make cleanup easier.
- Painter’s tape: To protect surrounding areas of the door if you’re concerned about mess, especially during sanding or painting.
- Drop cloth: To protect your flooring underneath the door during the repair process.
- Cleaning supplies: A damp cloth and mild cleaner to prepare the door surface.
Step-by-Step Door Repair Process
Follow these detailed steps to successfully repair holes in your door and restore its flawless appearance:
1) Prepare Your Soapy Water Solution:
Mix a small amount of liquid soap (a few drops) into about 2 ounces of water in a small dish. This mixture will act as a lubricant, preventing the epoxy putty from adhering excessively to your fingers and tools during the application phase. It’s a simple but vital step that greatly improves workability and reduces frustration.
2) Cut and Knead the Epoxy Putty:
Using your sharp knife, cut off a small piece of your Mohawk Epoxy Putty Stick. The amount you cut should be slightly more than what you anticipate needing for the hole you’re repairing, as you can always remove excess. Begin kneading the putty with your fingers. The key here is to mix the inner and outer layers until the color is completely uniform, indicating that the resin and hardener are thoroughly combined. As you knead, you will feel the putty begin to warm up – this is a normal chemical reaction signaling that the curing process has begun. If the putty starts to stick to your fingers, simply dip them into the soapy water mixture and continue kneading. Be mindful that the working life of epoxy putty is relatively short, typically around 6 minutes after mixing, so work quickly and efficiently once it’s thoroughly combined.
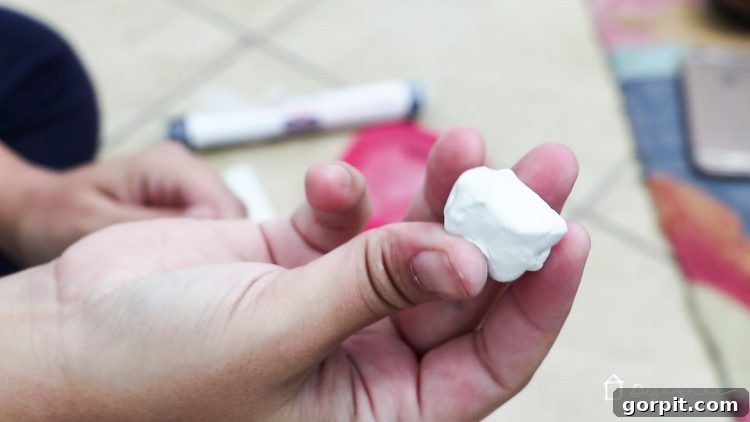
3) Apply the Epoxy Putty to the Hole:
Once your epoxy putty is a uniform color and ready to use, firmly push it into the area you are repairing with your fingers. Ensure that you press the putty deep into the hole, filling all voids and gaps completely. For larger holes or areas of rot, you may need to apply the putty in layers, pressing each layer firmly to ensure maximum adhesion and strength. After filling the hole, use your leveler card or an old credit card to scrape away any part of the epoxy putty that protrudes higher than the surface of the door. The goal is to achieve a surface that is as flush as possible with the surrounding wood. If the epoxy begins sticking to your card or fingers during this process, lightly rub the surface of the epoxy or your tool with the soapy water mixture; this will allow you to smooth and shape the putty without it clinging excessively.
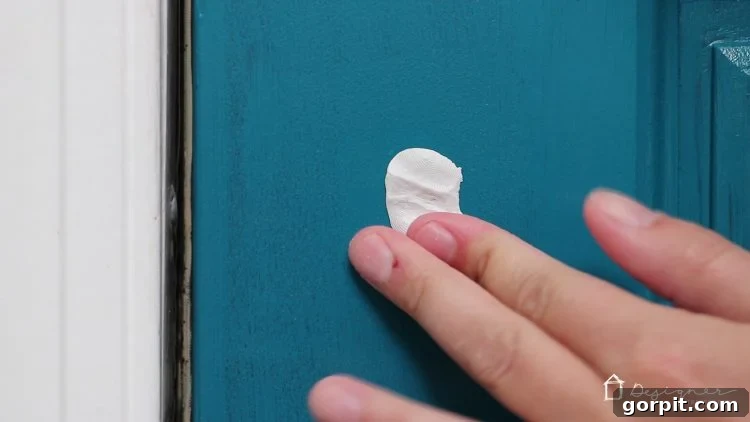
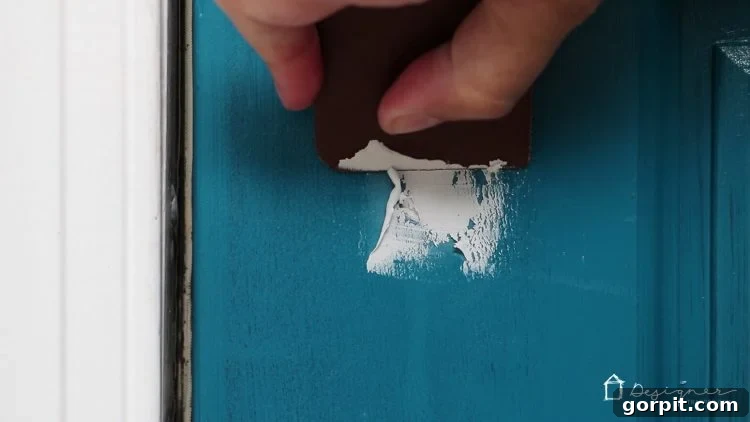
4) Allow the Epoxy Putty to Cure:
Patience is a virtue in this step. Allow the filled area to cure for at least 20 minutes, though for optimal hardness and durability, especially for larger repairs, it’s often best to wait a full hour or even longer, depending on environmental factors like temperature and humidity. The magic of epoxy putty lies in its composition: it’s a two-part system made from a resin and a hardener, which chemically react to form an incredibly strong and stable material. This unique formulation makes it the perfect moldable putty for filling large holes, repairing rotted areas, and even fixing intricate details like broken molding. Once fully cured, the epoxy putty surface will be exceptionally hard – often even harder than the original wood – and incredibly durable. This robust nature means that repaired surfaces can be confidently sanded, drilled, stained, or painted without fear of cracking or crumbling.
5) Sand the Repaired Area Smooth:
After the epoxy putty has completely cured and hardened, it’s time for the final shaping. Use sandpaper to smooth the repaired area until it is perfectly level and flush with the surface of your door. Start with a medium-grit sandpaper (around 120-150 grit) to remove any major bumps or unevenness, working in small circular motions. Once the area is mostly flush, switch to a finer-grit sandpaper (220 grit or higher) to achieve a super smooth finish that is ready for painting or staining. Run your hand over the repaired area to ensure there are no ridges or imperfections. The goal is a seamless transition between the epoxy and the original door material.
That’s it! Once you’ve completed these steps, you’ll be amazed at the transformation. The holes from your old door hardware will be completely invisible, and the repaired area will be sturdy and smooth. This method is incredibly easy, cost-effective, and delivers professional-grade results right at home!
Repairing holes in your door, whether from outdated hardware or environmental damage, is a simple and rewarding DIY task that can be easily accomplished with epoxy putty. This tutorial has provided you with a clear, actionable guide to restore your doors, saving you time and money on professional repairs or costly replacements. Embrace the satisfaction of enhancing your home with this straightforward and effective technique!
More HOME REPAIR Posts
SEE ALL home improvement POSTS
-
How to Fix a Hole in the Wall Yourself the Easy Way!
-
How to Fix a Door That Won’t Close
-
How to Match A Paint Color That’s Already On A Wall
-
How to Repair Holes in Your Doors
-
How to Repair Drywall: Tips for “Smallish” Repairs
-
How to Repair Chipped Baseboards
Curious about transforming other rooms and spaces in your home with confidence and a clear plan? Discover the affordable and simple way to decorate your home by checking out Designer in a Binder®. It’s your ultimate guide to creating beautiful, cohesive spaces that reflect your personal style.
For those who love exclusive content, behind-the-scenes sneak peeks, and direct access to more DIY tips and home improvement inspiration, be sure to subscribe before you leave! Join our community and never miss out on practical advice and creative ideas to make your home beautiful and functional.