
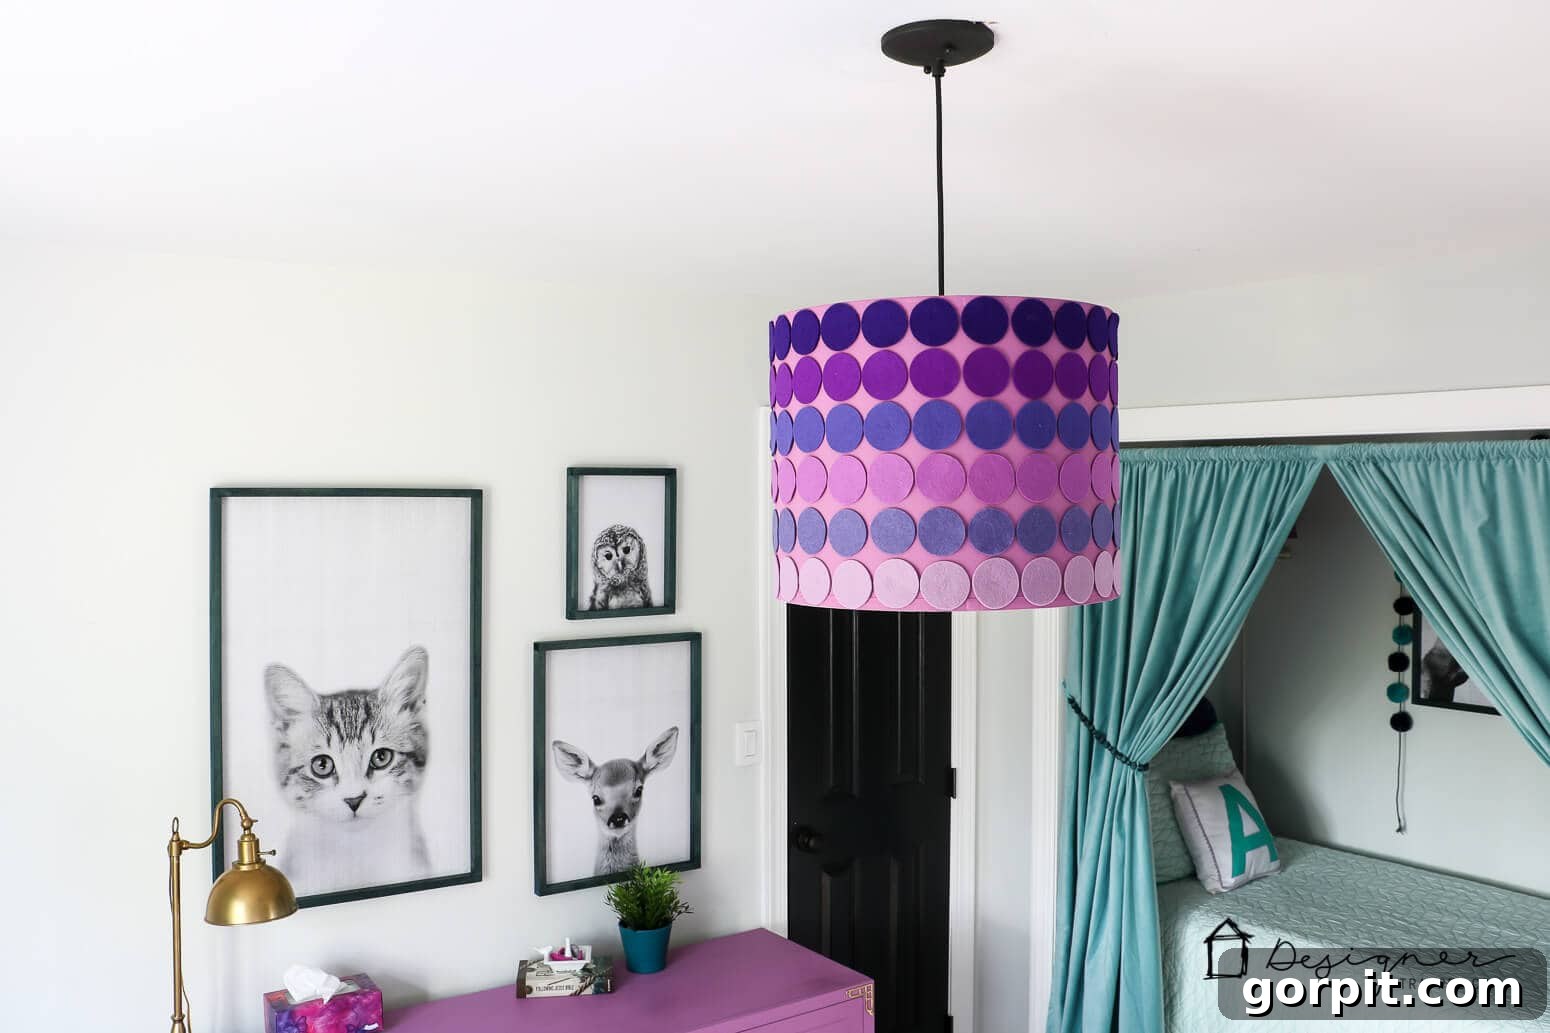
Craft a Stunning DIY Ombre Lampshade with Ease for a Statement Piece in Any Room!
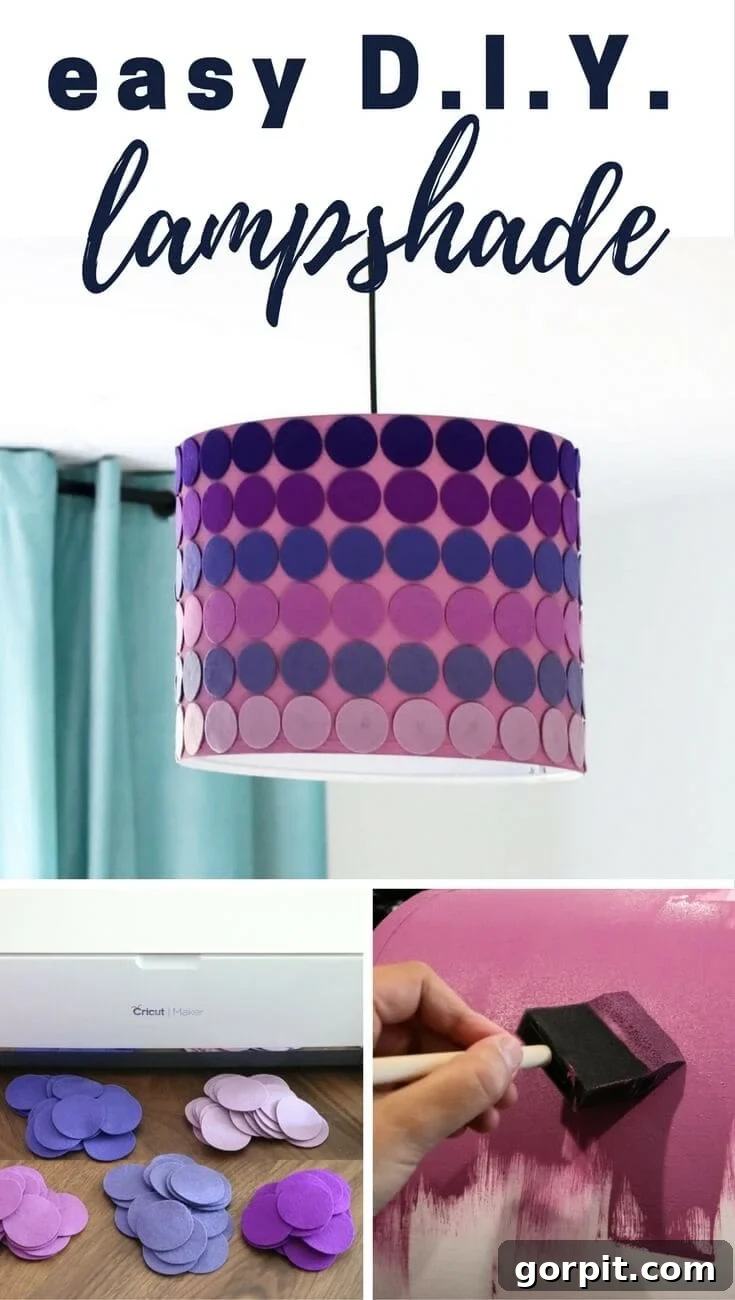
This transformative DIY project is brought to you in partnership with Cricut. As always, all opinions and design choices are 100% my own.
Hey there, fellow DIY enthusiasts and home decor lovers! If you’ve been following along, you know that our twin girls recently got their own separate bedrooms. This meant embarking on the exciting adventure of designing two distinct spaces, each perfectly reflecting the unique personality of its inhabitant. My sweet Avery has always had a deep affection for all things purple and aqua, so naturally, her new room needed to be a vibrant reflection of this cherished color palette.
You might remember seeing her incredibly cozy and cleverly designed bed nook (which I secretly envy!), and the tutorial for her high-impact, yet surprisingly inexpensive large-scale wall art. However, the existing light fixture in what was formerly my office—now Avery’s bright new sanctuary—simply didn’t align with her new, playful color scheme. A bland light fixture wouldn’t do for such a personalized space. I envisioned a beautiful, custom pendant lampshade, specifically a purple ombre design, to tie the whole room together. After an exhaustive search yielded nothing close to my vision, I decided it was time to put my DIY skills to the test and create the perfect ombre lampshade myself!
Making your own lampshade might sound intimidating, but I promise you, it’s a wonderfully straightforward project that yields stunning results. Not only will you achieve a truly unique piece that perfectly complements your decor, but you’ll also experience the immense satisfaction of creating something beautiful with your own hands. So, if you’re ready to add a touch of personalized flair to your home, read on to discover how to craft your very own bespoke felt lampshade. While I opted for an ombre effect, the beauty of this tutorial lies in its versatility – you can customize it with any colors or patterns your heart desires!
Please note that this post contains some affiliate links for your convenience. This means that if you make a purchase after clicking a link, I may earn a small commission at no extra cost to you. These commissions help keep my blog running and allow me to continue sharing creative projects. You can read my full disclosure policy here.
Your Ultimate DIY Ombre Lampshade Tutorial
Creating a custom lampshade is an incredibly rewarding project that allows you to infuse your personality into your home decor. Whether you’re aiming for a subtle accent or a bold statement, this tutorial provides all the steps you need to craft a personalized pendant lampshade that will captivate attention. Let’s dive into the materials and process!
Materials You’ll Need for Your Custom Pendant Lampshade:
- Plain Pendant Lampshade: The foundation of our project. I highly recommend using an Ikea Nymo lampshade (I used the 23-inch diameter version), as its simple, cylindrical shape is perfect for this application. However, any basic pendant shade will work.
- Paint: To give your base lampshade a fresh, cohesive look. I achieved excellent results with Amy Howard At Home’s One-Step Paint in Orchid. This paint is remarkable for its superior coverage and ability to adhere beautifully to fabric, making it an ideal choice for a smooth, brushstroke-free finish.
- Wool Felt Sheets: These soft, versatile sheets will form the decorative elements of your lampshade. I used six 8 x 12 inch sheets, carefully chosen to create my desired ombre effect. You can find high-quality felt in a vast array of colors from this fantastic Etsy store.
- CraftBond Glue: A reliable adhesive is crucial for securely attaching the felt circles. Elmer’s CraftBond Glue is my go-to; it goes on white but dries completely clear, ensuring an invisible hold.
- Masking Tape or Washi Tape: Essential for temporarily positioning your felt pieces and ensuring perfect alignment before permanent adhesion.
- Cricut Maker Cutting Machine: While you can certainly use scissors and a circle template, a Cricut Maker is an absolute game-changer for precision and speed. Its revolutionary rotary blade makes cutting felt (and a surprising array of other materials like wood and thick leather) incredibly easy and efficient.
Step-by-Step Guide to Crafting Your Ombre Felt Lampshade:
Step 1: Design and Measure for Perfect Placement
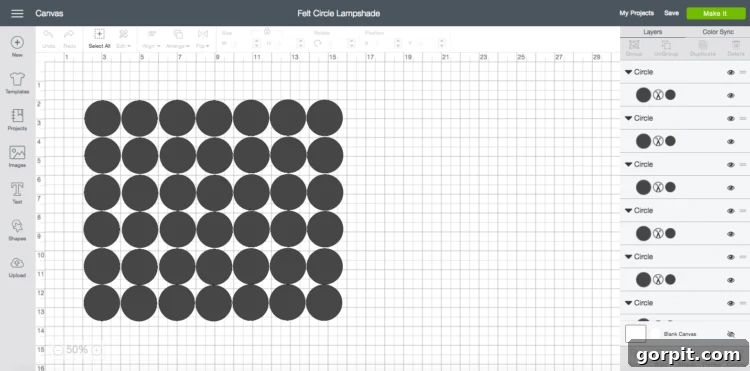
The first crucial step is to meticulously measure your plain lampshade. This will allow you to determine the optimal size for your felt circles and calculate how many you’ll need to beautifully cover the entire surface. If you’re aiming for a design identical to mine, and happen to be using the same 23-inch Ikea Nymo lampshade along with a Cricut Maker cutting machine, you’re in luck! I’ve created a custom SVG cut file specifically for this project. This file is designed to streamline your process, ensuring exact replicas of my felt circles. You can easily access and download it here. If you’re adapting the design or cutting by hand, consider using paper templates to experiment with different sizes and arrangements before committing to felt.
Step 2: Precisely Cut Your Felt Circles (or Shapes!)
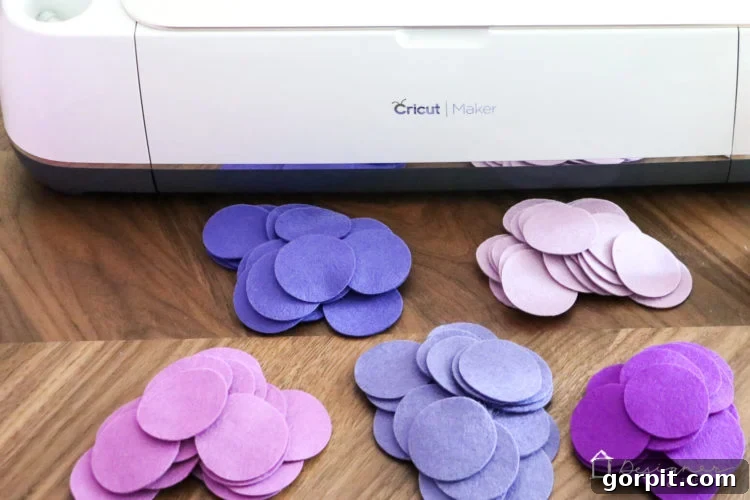
Now for the fun part: cutting your felt pieces! For my ombre design, I meticulously cut out 24 circles of each color, totaling 6 rows. This required precisely one felt sheet per color to achieve full coverage without any waste. If you’re using a Cricut Maker, remember to hide any unnecessary circle layers in Design Space before clicking “Make It” if you only want to cut a specific number at a time. The Cricut fabric cutting mat, paired with the ingenious rotary blade, is absolutely essential for achieving clean, crisp cuts on felt and various other fabrics. This combination makes the process incredibly quick and precise, saving you countless hours compared to manual cutting. For those cutting by hand, trace your circle templates onto the felt using a fabric marker or chalk, and carefully cut them out with sharp fabric scissors for the cleanest edges.
Step 3: Prepare Your Lampshade with a Flawless Paint Finish
While your felt circles are being cut – a task that literally takes minutes with a Cricut Maker – it’s the perfect time to paint your plain lampshade. Achieving excellent coverage is key here, especially since light will shine through the shade. I highly recommend applying at least two even coats of paint. This ensures a rich, solid color and helps eliminate any visible brushstrokes that might otherwise become apparent once the light is turned on. Allow ample drying time between coats and before proceeding to the next step, ensuring a smooth, durable finish that forms the perfect backdrop for your felt design.
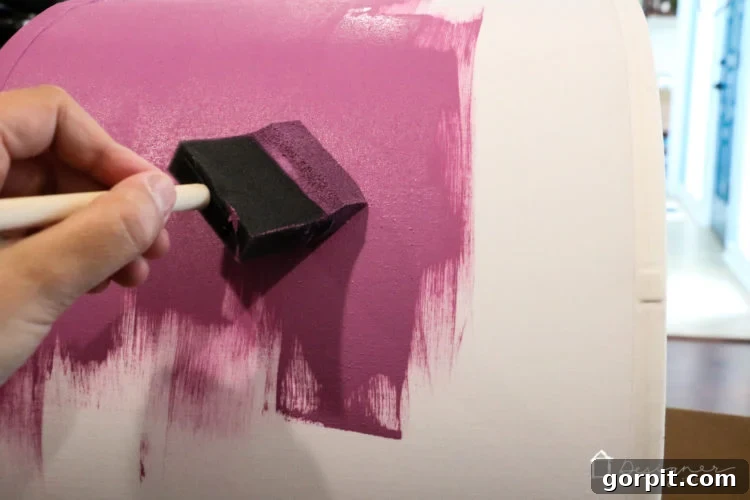
Step 4: Master the Art of Attaching Your Felt Design
Once your paint is completely dry, it’s time for the most visually impactful step: attaching the felt circles to your lampshade. Precision in spacing is important for a polished look. I found that using washi tape or masking tape to temporarily lay out the first row of felt circles was incredibly helpful. This allowed me to adjust the spacing until I was satisfied before committing to glue. Once the first row was perfectly aligned, I used Elmer’s CraftBond Glue to secure them. Don’t be alarmed that the glue goes on white; it dries completely clear, leaving no trace behind. After the first row is secured, tape one circle from the next row to determine the ideal vertical spacing. Once you’re happy with the alignment, proceed to glue the remaining felt circles onto your DIY lampshade, working your way around and down. For an ombre effect, remember to transition colors gradually, perhaps by overlapping or blending the different shades.
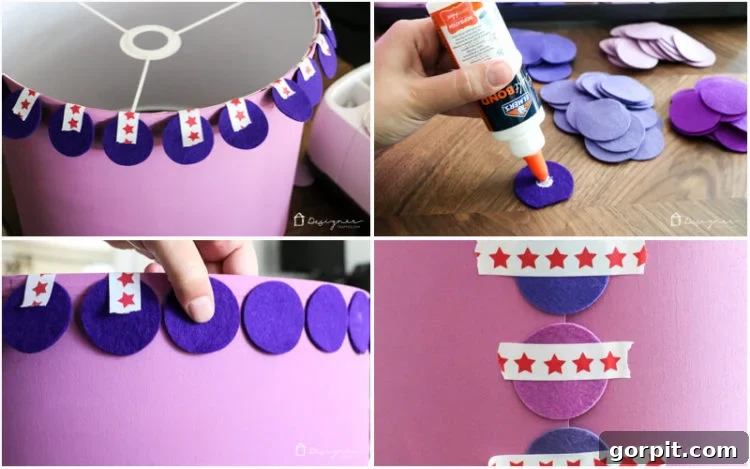
Step 5: The Grand Reveal – Install Your Custom Lampshade!
With all your felt circles securely in place and the glue fully dried, your stunning DIY ombre lampshade is complete! The final step is simply to attach it to your pendant light fixture. Step back and admire your handiwork – you’ve just created a truly unique and personalized piece of home decor!
Beyond Ombre: Unleashing Your Creativity with Lampshade Customization
While the ombre effect creates a beautiful, gradient look, this DIY lampshade technique is incredibly versatile. Don’t feel limited to circles or purple! Imagine a lampshade adorned with geometric felt shapes in bold, contrasting colors for a modern aesthetic. Or perhaps soft, pastel hearts for a nursery. You could even use different textures of felt or incorporate other fabric scraps for a truly eclectic feel. Experiment with varying sizes of circles within a single row to create depth and visual interest. The possibilities are endless, making this project perfect for matching any room’s decor, from a vibrant child’s bedroom to a sophisticated living space. Let your imagination guide you!
Why the Cricut Maker is a Game-Changer for DIY Projects
I cannot overstate how much the Cricut Maker cutting machine simplified this project. Cutting out hundreds of felt circles by hand would have been incredibly tedious and time-consuming, likely taking hours. With the Cricut Maker, the entire cutting process for all the felt circles took approximately 8 minutes! Its precision rotary blade slices through felt with remarkable ease and accuracy, ensuring every circle is perfectly uniform. This machine isn’t just for felt, though; it can cut over 300 different materials, including wood, leather, fabric, and paper, making it an invaluable tool for any serious crafter or DIY enthusiast looking to elevate their projects with professional-level precision and efficiency.
Displaying Your Handmade Masterpiece
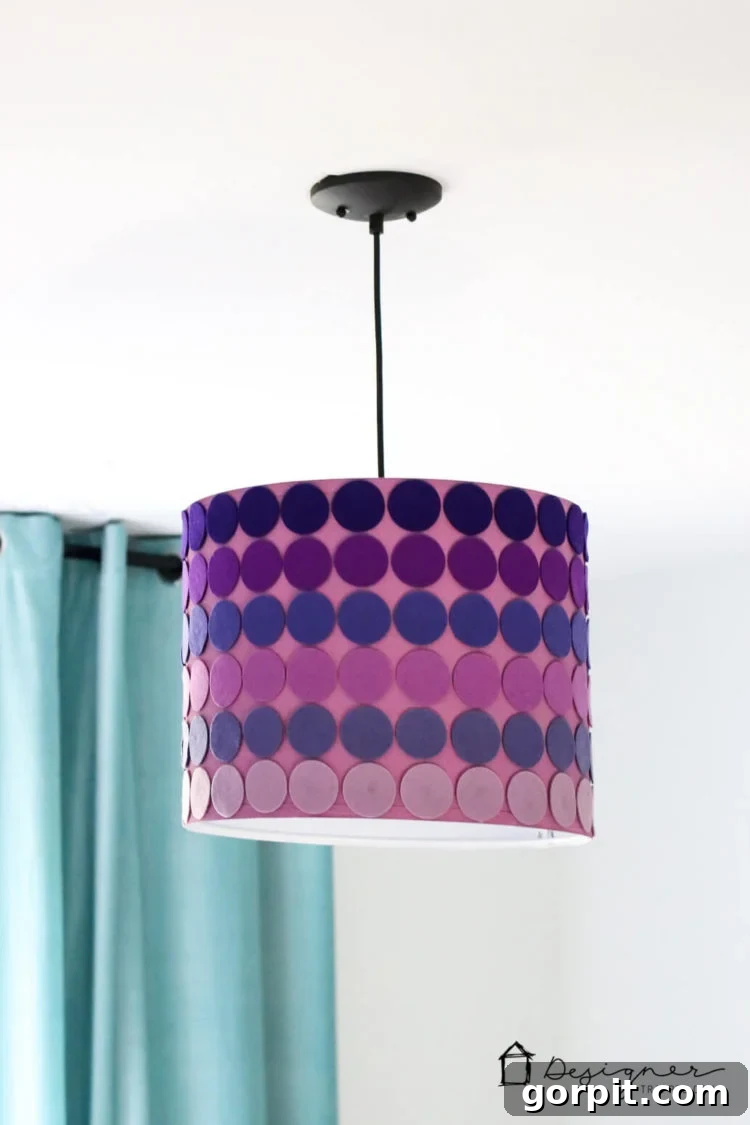
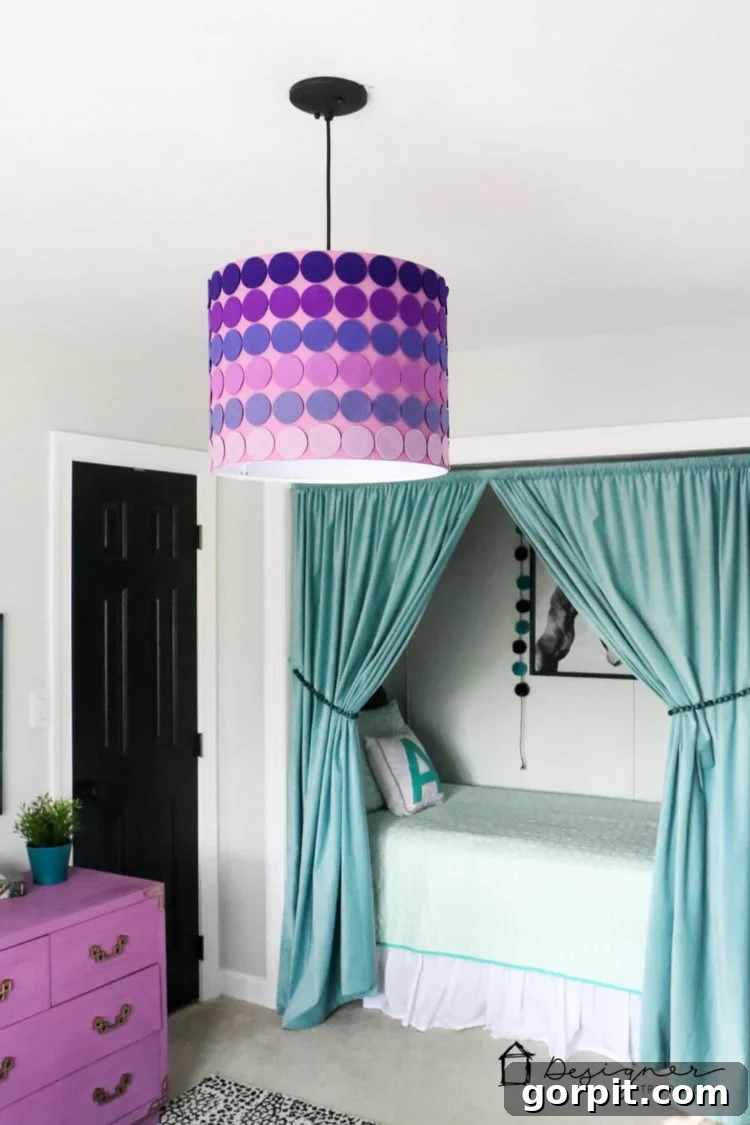
Isn’t the finished lampshade absolutely gorgeous? Avery adores it, and I’m so incredibly pleased with how perfectly this DIY lampshade integrates into her newly designed room. It truly was a fast and easy project, especially with the help of my Cricut Maker. Even if you choose to cut the felt pieces by hand, it’s still a totally achievable and rewarding endeavor that brings so much character to a space.
Creating your own home decor allows you to infuse every corner of your house with personality and style that simply can’t be replicated with store-bought items. This ombre lampshade stands as a testament to that, a vibrant focal point that was custom-made to fit Avery’s unique taste. I encourage you to try this project and experience the joy of crafting something truly special for your own home!
Here’s a few more photos of the finished project, showcasing its beauty from every angle:
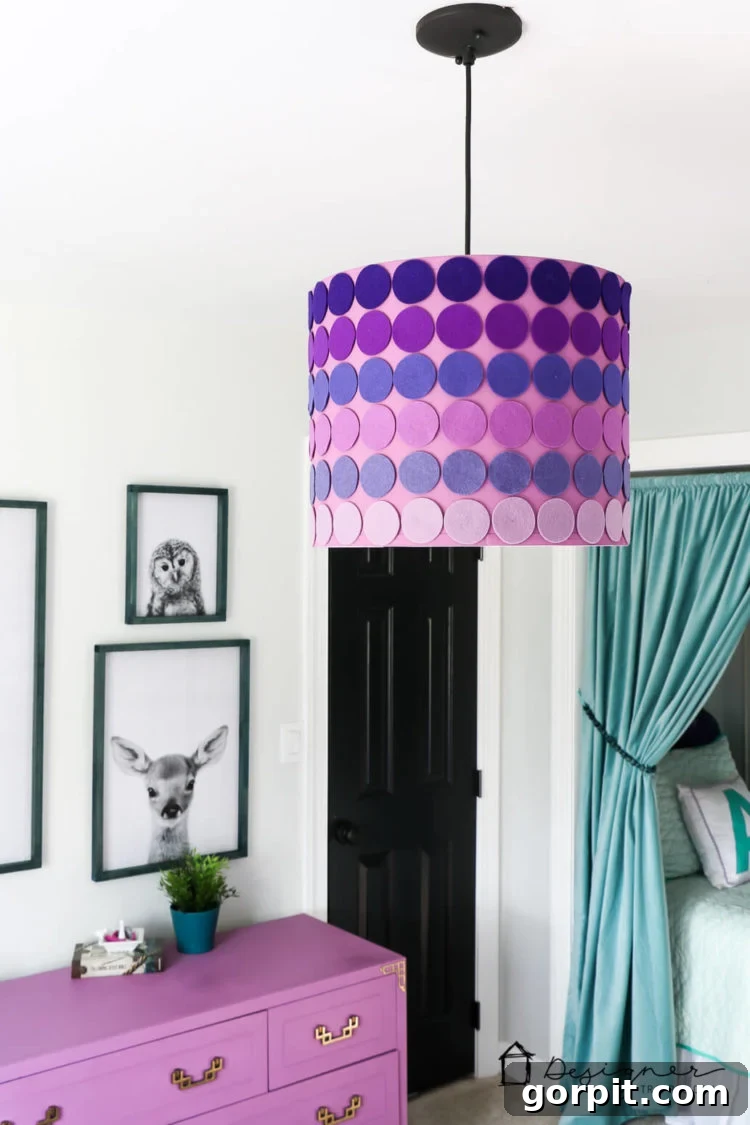
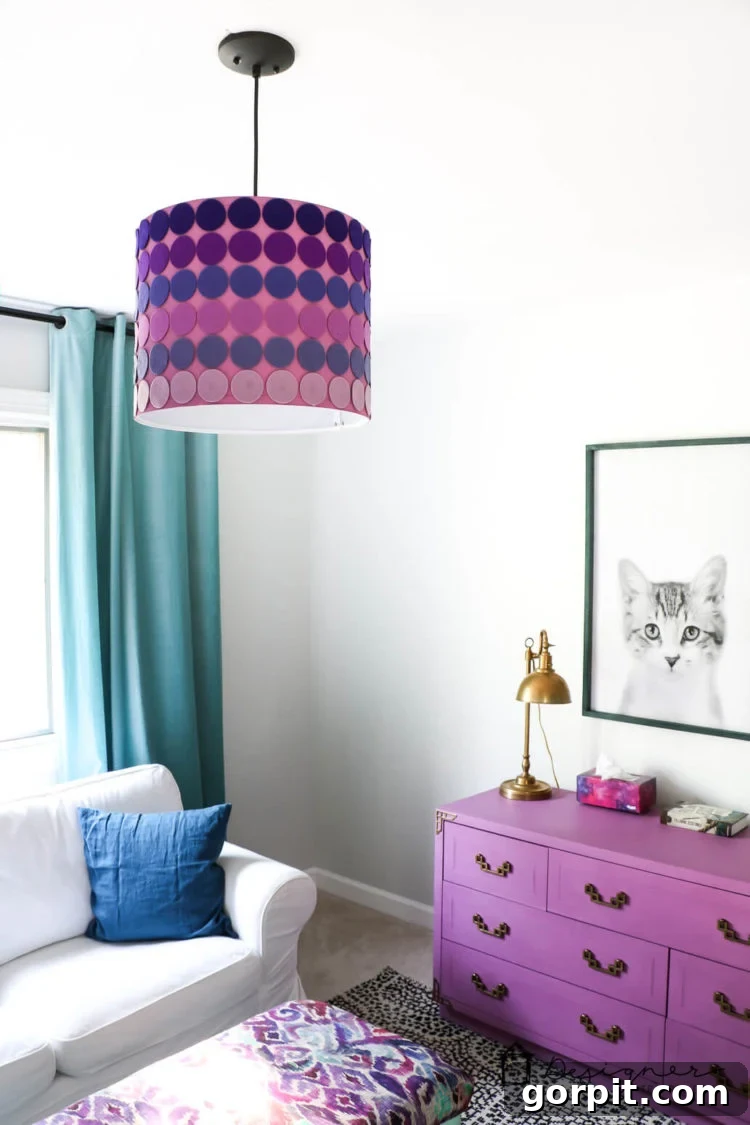
If you’re inspired by this project, don’t forget to save it to Pinterest or share it on Facebook so you can easily find this tutorial again later and inspire others!
This is a sponsored conversation written by me on behalf of Cricut. The opinions, text, and creative vision expressed here are all my own.
[mv_create 1 11 200 2016 key=”1″ type=”list” title=”Most Popular Projects” thumbnail=”