Transform Your Space with an Affordable DIY Wood Plank Wall: A Weekend Project Guide
Hello, creative DIY enthusiasts! My name is Emily, and I’m thrilled to share my passion for home decor with you from my blog, Table and Hearth. If you’ve ever found yourself scrolling through home design feeds, captivated by the rustic charm or modern elegance of wood plank walls, you’re in good company. I must confess, I have a deep-seated love for them – it’s a delightful obsession! And today, I’m going to guide you through creating your very own DIY wood plank wall, making this incredibly stylish home upgrade both easy and surprisingly affordable.

Why a DIY Wood Plank Wall? The Ultimate Home Upgrade
Wood plank walls are more than just a trend; they are a timeless design element that can dramatically transform any space. Whether your style is rustic farmhouse, chic modern, or cozy coastal, plank walls offer unparalleled versatility. They bring warmth, texture, and a unique focal point to a room, effortlessly elevating its aesthetic. Imagine turning a plain, uninspired wall into a captivating statement piece in your living room, a serene backdrop in your bedroom, or even adding character to a bathroom. The best part? This transformation is entirely within your reach, even if you’re a beginner DIYer, and can often be completed in a single weekend. My personal journey into plank wall addiction truly took off thanks to the inspiring designs of Joanna Gaines, and I haven’t looked back since!
Our Guest Room Transformation: Before the Plank Wall
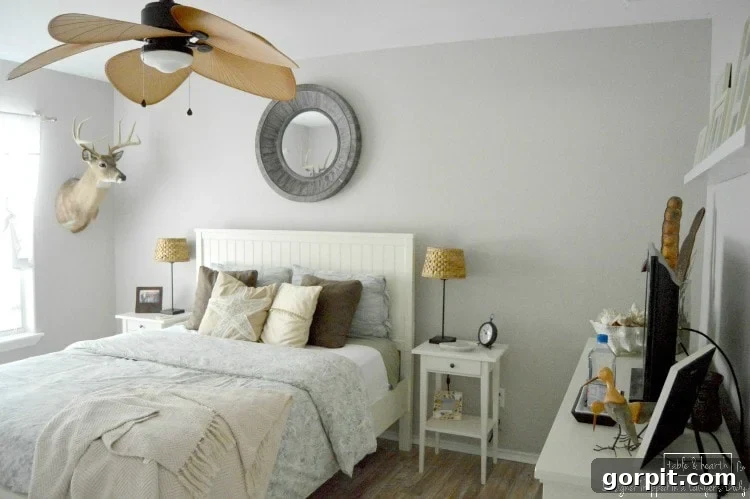
Our guest room, while functional, always felt like it was missing something. After living in our home for five years, it had evolved but still lacked that distinctive character. Our home embraces a coastal, weathered, and neutral style, inspired by the beautiful beach just a few miles away. However, the guest room needed an extra layer of depth and contrast to truly make it pop. It was craving that special “oomph” – something that wasn’t a deer mount (as much as I appreciate them, they weren’t right for this space!). A plank wall emerged as the perfect solution to infuse the room with the charm and visual interest it deserved.
Choosing the Right Materials for Your DIY Wood Plank Wall
When creating a plank wall, you have several material options, each with its own benefits. These include actual wood planks, ripped-down panels of various woods, hardboard, or plywood. For our project, I was set on achieving that classic, wide-plank wood look. Pre-cut wood planks can be quite costly, which was a factor for us. More importantly, I really wanted to avoid the hassle of removing and then painstakingly reinstalling our baseboards. This meant I needed a material that was 1/4 inch thick or less.
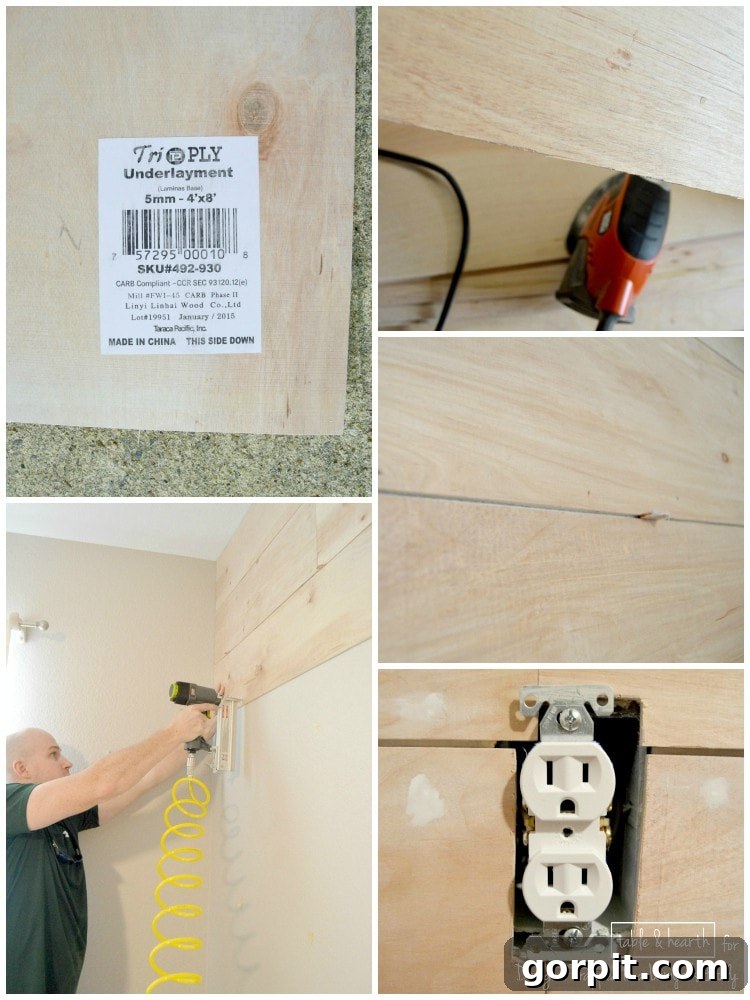
Our solution? 1/4-inch plywood underlayment. It was the absolute perfect choice for several reasons: it’s incredibly budget-friendly, with large panels costing around $13 each, and its thin profile meant our baseboards could stay put! I had the home improvement store conveniently rip the full 4×8 panels down into 8-inch wide planks for a minimal cutting fee. While I prefer the aesthetic of nice, wide planks, you can, of course, customize the width to match your own design vision. This flexibility makes plywood underlayment an excellent choice for any DIY plank wall project.
This post contains some affiliate links. Click here to read my full disclosure policy.
Essential Supplies for Your DIY Wood Plank Wall
Gathering all your tools and materials before you begin will ensure a smooth and efficient installation process. Here’s everything you’ll need to create your stunning accent wall:
- Plywood Underlayment: (5) 4’x8’x1/4″ panels, ripped down to your desired plank width (we used 8″ planks). Ensure you get a few extra pieces for any miscuts or if you need narrower planks for the bottom row.
- Sander with Medium-Grit Paper: Essential for smoothing out any rough edges from cutting and preparing the wood for paint.
- Stud Finder: Crucial for locating wall studs, ensuring your planks are securely fastened.
- Nail Gun with Brad Nails: While you *could* hammer these, a nail gun will save you immense time and effort, making the process much faster and more enjoyable.
- Paintable Spackle/Wood Filler: For concealing nail holes and small imperfections, creating a seamless finish.
- Cutting Saw: A Table Saw is ideal for precise, straight cuts, especially for ripping planks. If you don’t have one, a Jigsaw (like our small handheld version) can work for shorter cuts, though it requires more careful handling for accuracy.
- Primer: A good quality primer is vital for preparing the plywood surface for paint, ensuring even coverage and long-lasting results.
- Paint: Choose a color that complements your space. I opted for Sherwin-Williams “Peppercorn” for its rich, sophisticated tone.
- Coins as Spacers: Pennies or other coins work perfectly to create consistent gaps between your planks, adding to the authentic plank wall look.
- Standard Painting Supplies: This includes a tarp or drop cloth to protect your floors, pencils for marking, a square for accurate measurements, and various brushes.
DIY Wood Plank Wall Tutorial: A Step-by-Step Guide
Now that you have all your materials, let’s get down to transforming your wall!
Step 1: Preparation and Initial Sanding
The plywood underlayment we used is typically quite smooth, but the edges where the panels were cut down into planks will likely be a bit rough. A quick pass with your sander and medium-grit sandpaper along all the cut edges will ensure a smooth, professional finish. Once the planks are ready, it’s time to prepare your wall. Clean the wall surface of any dust or debris, and consider removing outlet covers for easier installation.
Step 2: Finding Studs and Starting Installation
The key to a secure plank wall is nailing your planks directly into the wall studs. Use your stud finder to locate and mark the vertical lines of your studs across the entire wall. These marks will guide your nail gun. For consistent spacing between planks, I recommend taping a few pennies together – two pennies thick works perfectly – to use as spacers. Starting at the ceiling, carefully level your first plank. My husband, whom I’ve affectionately nicknamed “Shooter McGavin” when he wields the nail gun, then began securing the planks. A friendly reminder: always wear safety glasses to protect your eyes!
Step 3: Staggering Planks and Making Cuts
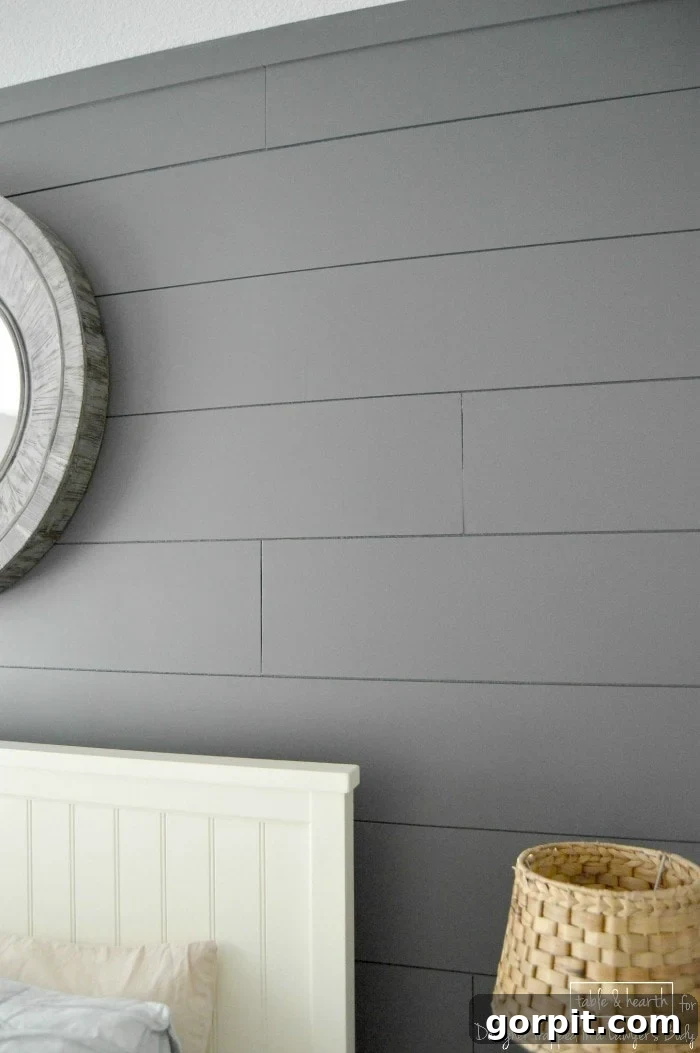
To achieve a natural, authentic wood wall look, stagger your planks randomly, avoiding perfectly aligned seams. We tried to utilize as many full-length boards as possible to minimize cuts and waste. When you reach the end of a row and need a shorter piece, measure carefully, mark your cut line, and head outside to make the cut. After cutting, quickly sand the fresh edge before nailing it into place. This method ensures a seamless and visually appealing flow across your wall.
A Quick Tip for Cutting Planks: When having large panels ripped down, be aware that the saw’s kerf (the width of the blade) will slightly reduce the width of each subsequent plank. This means your very last plank might be slightly less than your intended 8 inches. These narrower pieces are perfectly fine for the bottom row where they are less conspicuous. However, avoid using them elsewhere on the wall, as we almost did! If you have access to a table saw, you can easily adjust these planks to the exact width needed for your bottom row. Since we only had a handheld jigsaw, which would make such precise cuts daunting, I purchased an additional panel and had the store rip a couple of planks specifically to the 5.75 inches I needed for the final row.
Step 4: Addressing Imperfections (Like Wonky Baseboards)
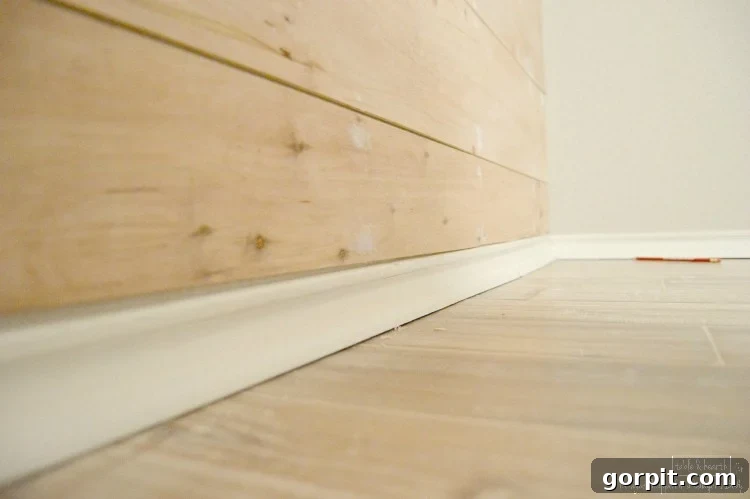
Old homes, or even new ones, often come with their quirks. Our guest room, for instance, had notoriously wonky baseboards. While the planks were flush with the wall ends, the middle section ended up about half an inch short of the baseboard. Initially, this was annoying, but I decided not to fill the gap. It’s truly not noticeable from a standing position, and conveniently, this is where the bed is placed, effectively hiding any imperfection. Don’t let minor structural imperfections deter you; there are often creative ways to work around them!
Step 5: Finishing the Wood Plank Wall – Spackle, Sand, Prime, and Paint
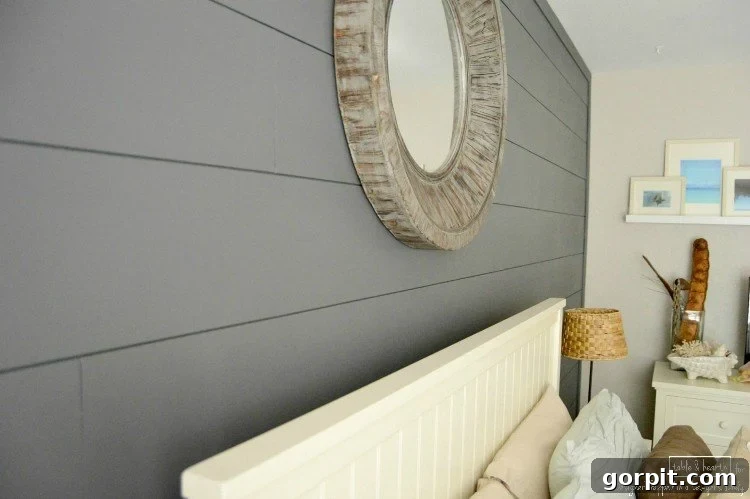
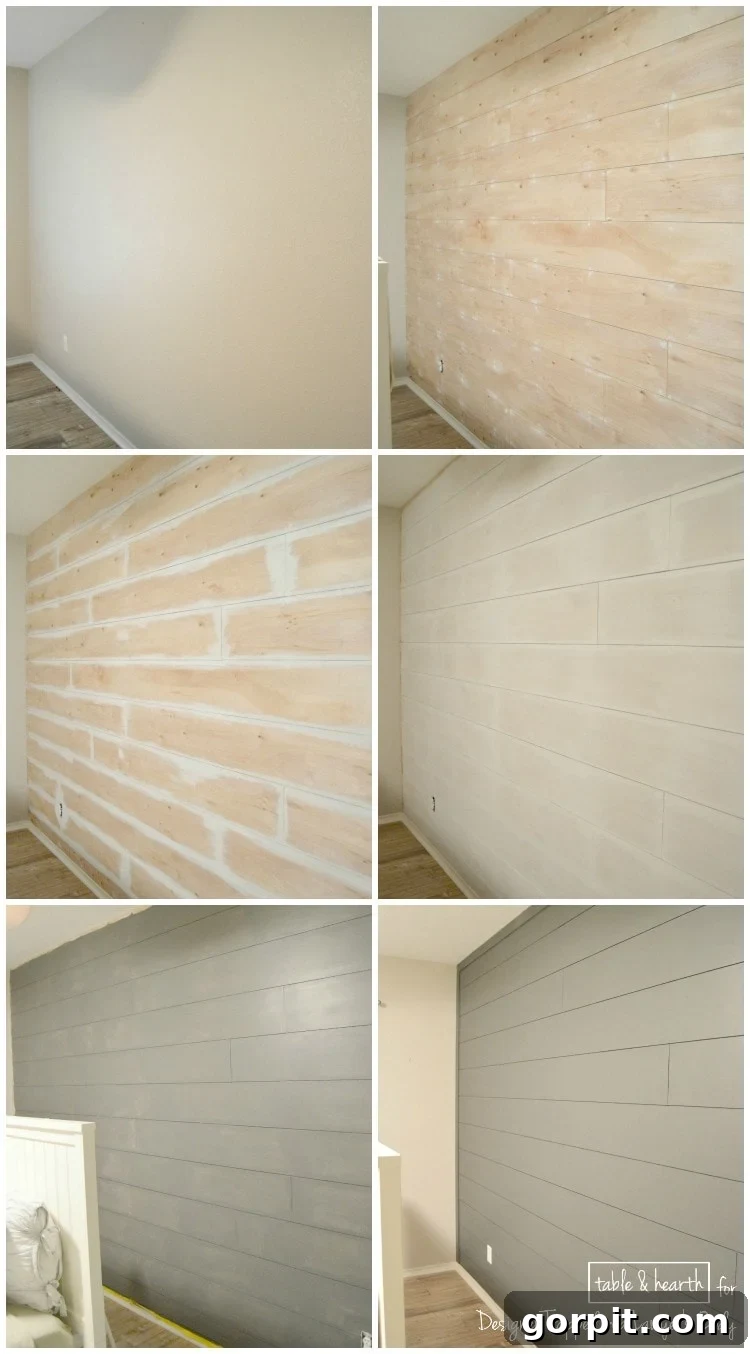
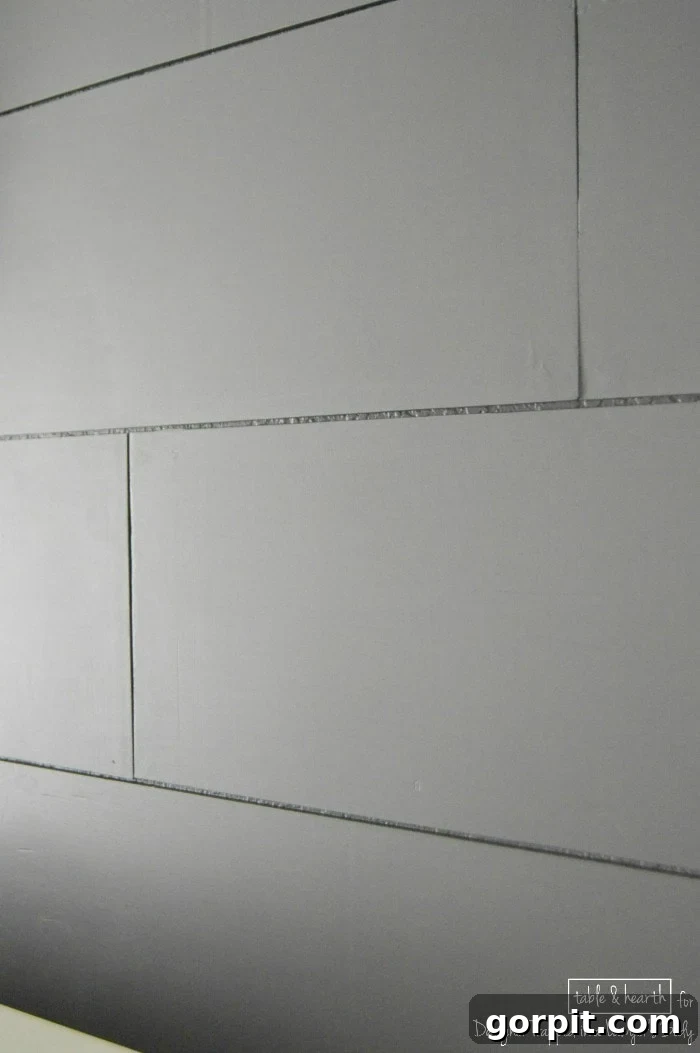
Once all the boards were securely in place, which only took us a few hours, it was time for the finishing work. I started by spackling the nail holes, then sanded these areas smooth. A key design choice for me was to *not* fill in the knots or the subtle seams between the planks. I wanted the wall to retain some of its rough, organic, wood-like features, adding to its rustic charm. Following the spackling and sanding, I applied one coat of primer to ensure optimal paint adhesion and an even finish, then followed up with two coats of our chosen paint, Sherwin-Williams “Peppercorn.”
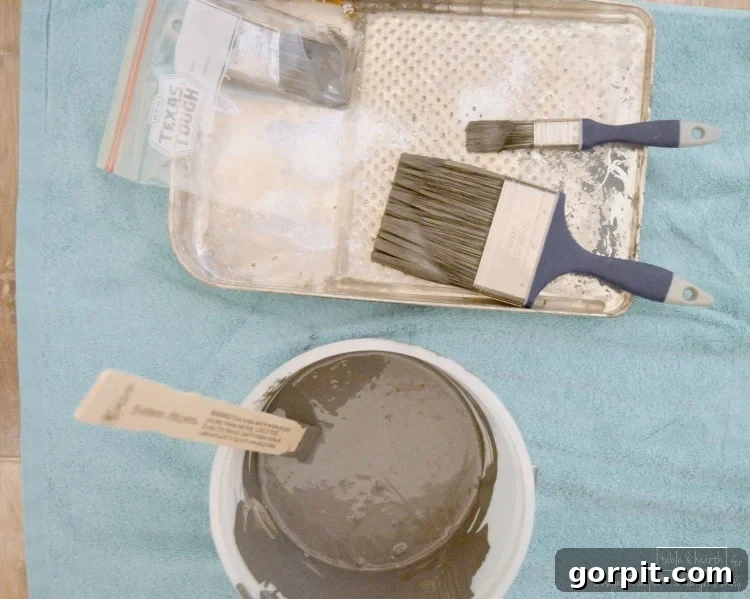
For painting, I used a trio of brushes: a stubby 2-inch brush (my absolute favorite for edges), a longer 1-inch brush perfect for getting into the gaps between planks, and a wider 4-inch brush for covering the main surfaces of the planks. I intentionally chose brushes over a roller to achieve a classic, traditional finish, and given the many gaps, a brush was necessary for most of the work anyway. And here’s a painting trick I swear by: after each coat or at the end of the day, slip your paintbrushes into a plastic baggie. This prevents them from drying out, saving you from constant washing and keeping them ready for the next day’s painting session!
Step 6: Adding Trim for a Polished Finish
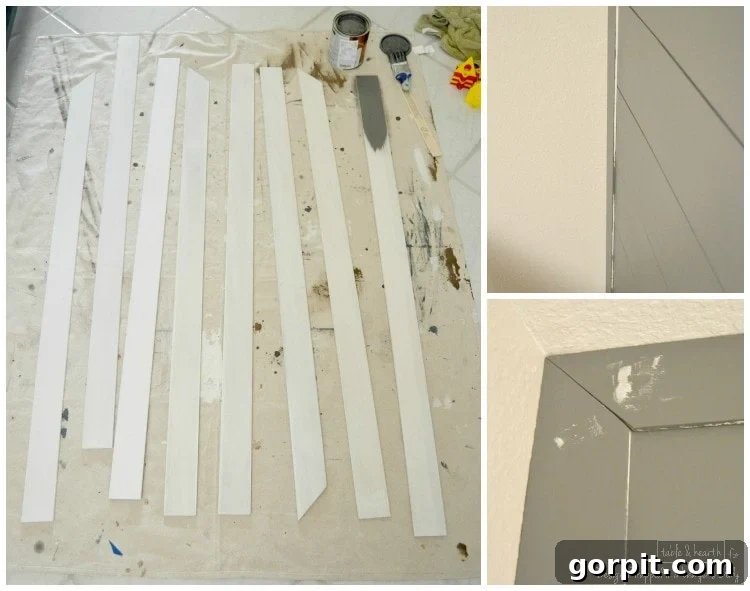
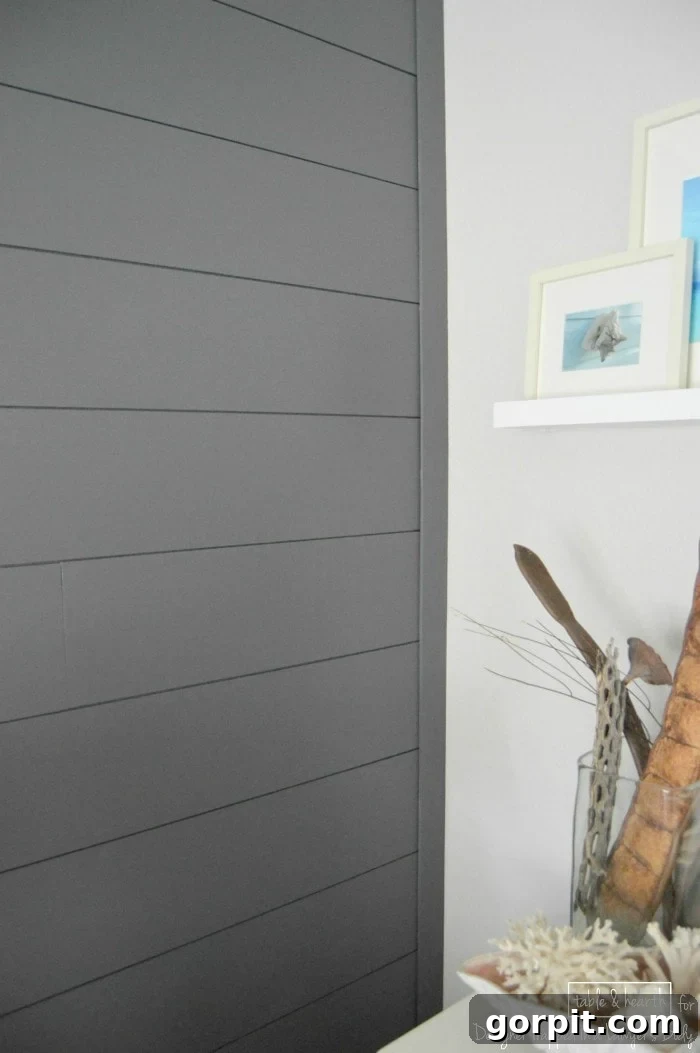
You might have noticed that I didn’t meticulously paint the very edges of the new plank wall. This was a deliberate choice because I planned to trim it out with battens, repurposing some leftover pieces from my previous wainscoting project. Pre-painting these trim pieces before installation was a huge time-saver; it meant I only had to do minor touch-ups to cover the spackled nail holes and any exposed inner edges. I installed these battens along the top and sides of the plank wall (but not the bottom, as they would protrude over the existing baseboards). The addition of this trim instantly elevated the wall, giving it a beautifully polished and complete appearance.
A Note on Textured Walls
Initially, I had a slight concern that our existing textured walls might show through the small gaps between the planks. However, I’m happy to report that unless you get extremely close and scrutinize the wall, you really can’t tell. Rest assured, if you’re a guest in this room, you won’t be examining the walls that closely! The subtle texture that might peek through only adds to the wall’s character, blending seamlessly with the rustic aesthetic.
The Stunning Reveal and Final Thoughts
I am absolutely enamored with the transformation this simple DIY project has brought to our guest room. The added drama and visual interest are undeniable, and it perfectly enhances the beach cottage feel we adore. I love every aspect: the subtle seams that hint at the individual planks, the rich depth of the chosen color, the retained wood-like finish, and, of course, how incredibly easy it was to achieve such a striking result.
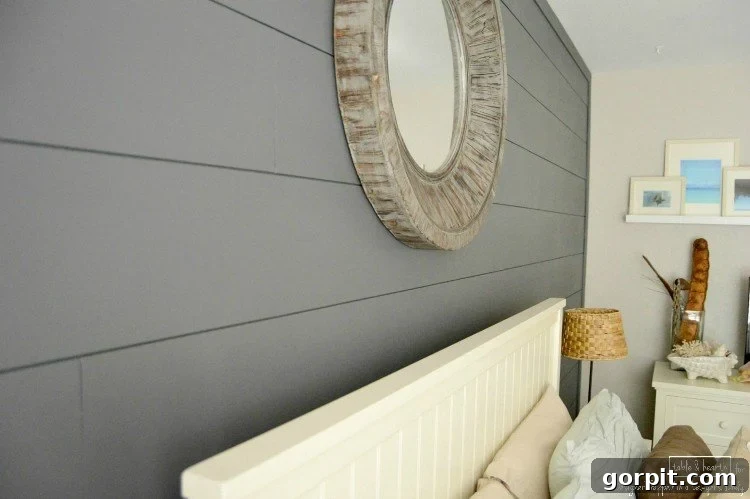
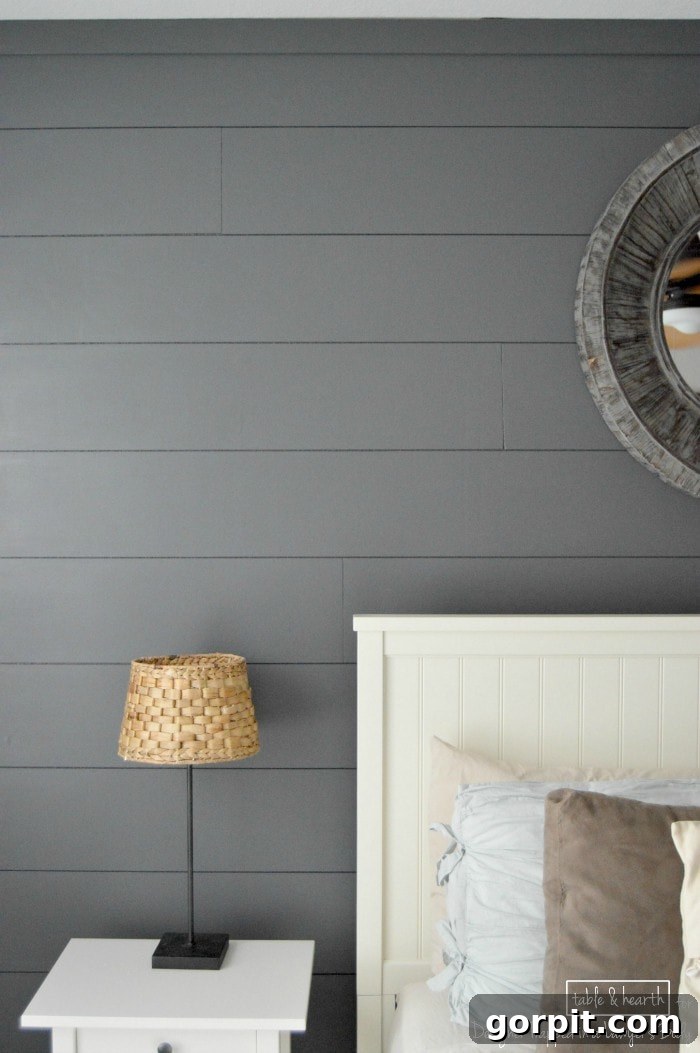
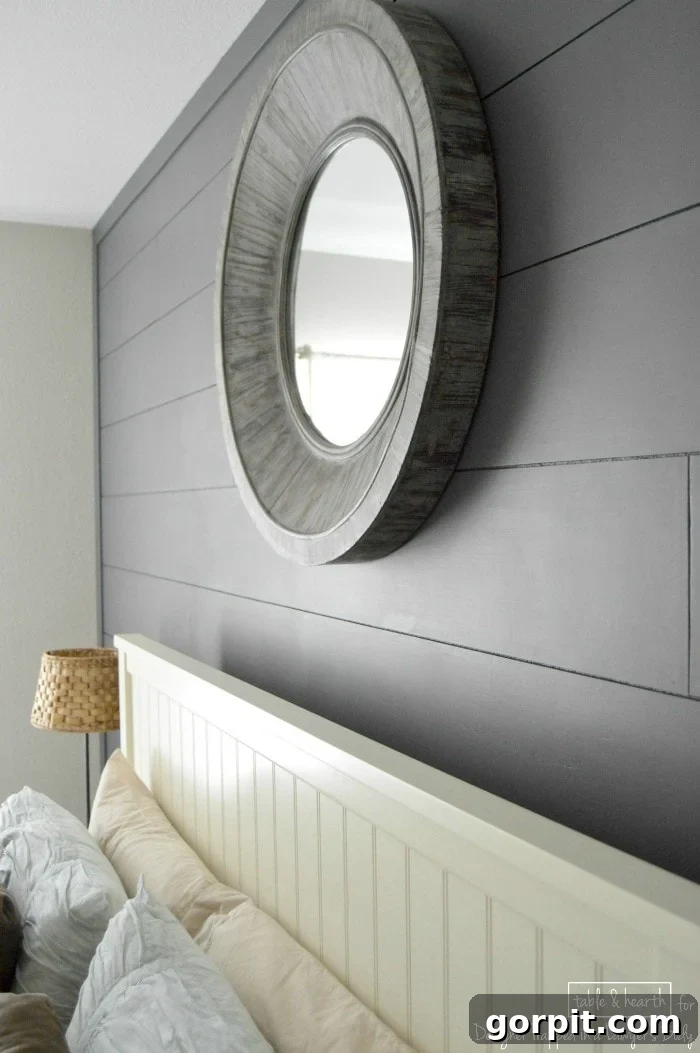
I genuinely hope this tutorial has sparked your creativity and perhaps even ignited a new obsession with planking every single wall in your home! For well under $100 and just one weekend of effort, this DIY wood plank wall offers an incredible update that brings immense character and style to any room. Honestly, I’m now seriously contemplating moving into this guest room myself – apologies to any future visitors!
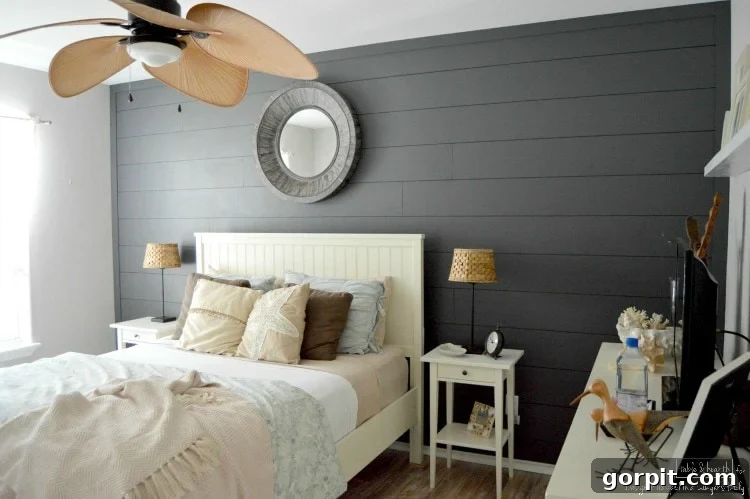
More DIY Home Inspiration
If you loved this project, be sure to check out some of my other popular posts for more home decor ideas and DIY tutorials:
- The Easiest DIY Board and Batten Accent Wall
- DIY Herringbone Plank Wall (from an old fence)
- Modern Plank Wall Tutorial
- 8 Interior Design Mistakes You Don’t Even Know You are Making (and How to Fix Them)
- How to Choose Paint Colors for Your Home: 6 Simple Tips to Follow
- Sherwin-Williams Pure White Color Review with Pictures
Curious about my unique approach to transforming rooms and spaces in our home? Explore Designer in a Binder® to unlock your own design potential.
For exclusive content and behind-the-scenes sneak peeks into my latest projects, be sure to subscribe to my newsletter before you go!