
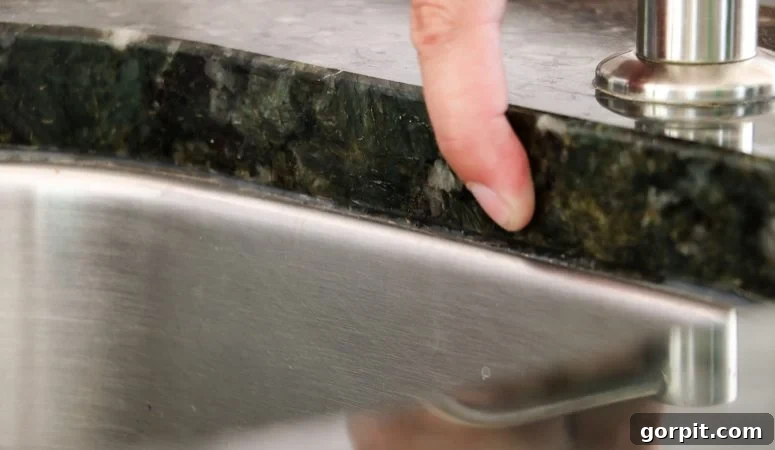
Thank you to DAP Products for sponsoring this post. As always, the opinions and text are all mine.
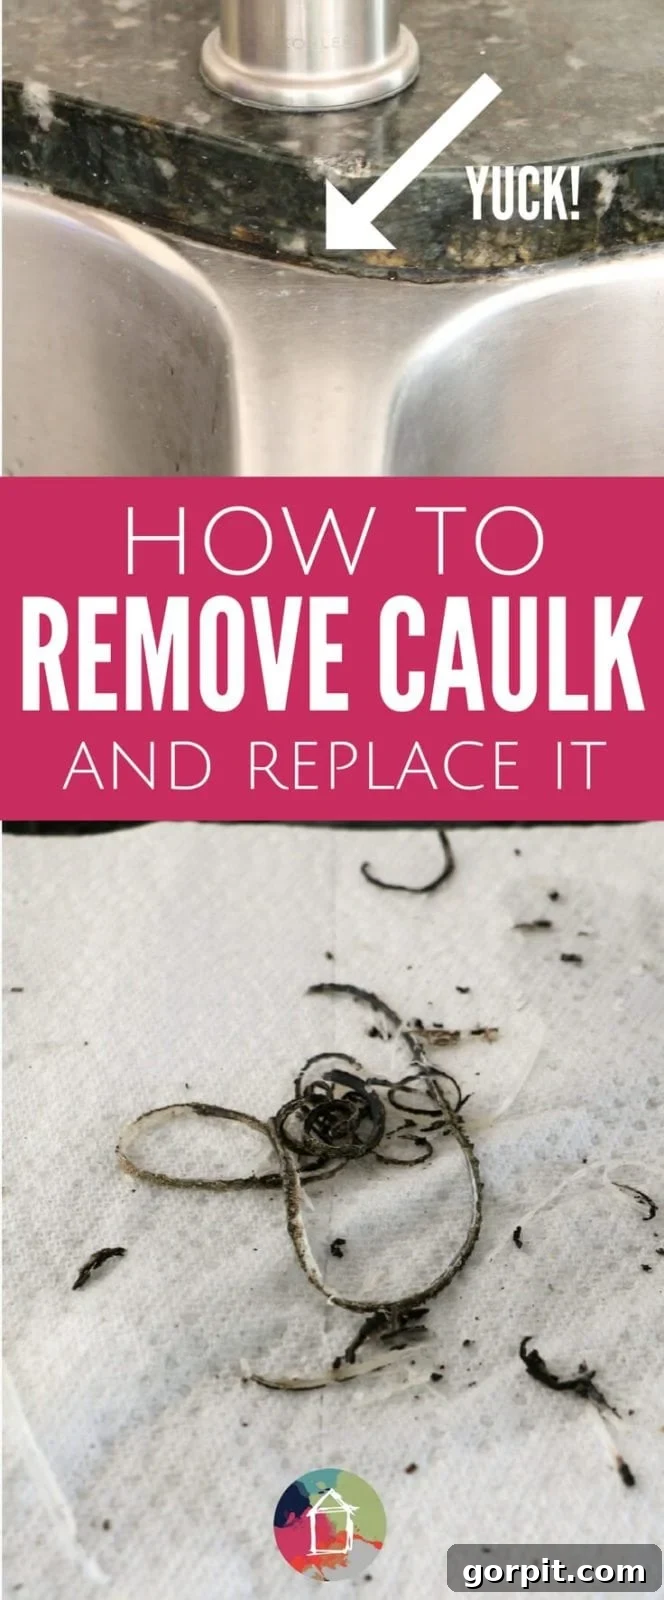
Have you ever noticed those unsightly, moldy lines around your kitchen sink, bathtub, or shower and thought, “That needs to go!”? You’re certainly not alone. Many homeowners grapple with deteriorating caulk, often deeming it a difficult and messy task to tackle. But what if I told you that replacing old caulk is not only achievable for any DIY enthusiast, but it’s also much easier and more satisfying than you might imagine? With the right tools and a clear, step-by-step guide, you can dramatically transform the look and hygiene of your kitchen and bathroom surfaces, bringing a fresh, clean finish back to your home. Today, we’re diving into a comprehensive, easy-to-follow tutorial on how to effectively remove old, grimy caulk and apply a new, durable, and beautiful seal. Get ready to banish that gross, moldy mess for good and enhance your home’s appeal!
Why Refreshing Your Caulk Is Essential: Beyond Just a Clean Look
Before we jump into the practical “how-to,” let’s take a moment to understand *why* replacing your caulk is so crucial. While the aesthetic improvement of clean, crisp caulk is undeniable – instantly brightening up any kitchen or bathroom – its primary role is far more critical: functionality and protection. Caulk acts as a vital sealant, forming a waterproof barrier that prevents water from seeping into gaps between surfaces, such as between your countertop and sink, along the backsplash, or where your bathtub meets the tile. Without a robust seal, moisture can penetrate these vulnerable areas, leading to a host of problems.
Over time, even the best caulk can degrade, crack, peel, or become a breeding ground for mold and mildew, especially in humid environments like bathrooms. This isn’t just an unsightly nuisance; it can lead to more serious issues. Water infiltration can cause costly structural damage to subflooring, drywall, and cabinetry, fostering wood rot and creating perfect conditions for harmful mold growth. Mold and mildew not only look disgusting but can also release spores that affect indoor air quality and contribute to respiratory issues. Replacing old, failing caulk is a proactive home improvement task that safeguards your investment, maintains a hygienic environment, and boosts your home’s overall appearance.
In our own home, despite considering ourselves clean and tidy, a closer look at the caulk around our under-mount sinks revealed a truly embarrassing, moldy disaster. Both our main kitchen sink and the smaller prep sink on the island suffered from this pervasive issue. It was a stark reminder that even in seemingly well-maintained homes, hidden areas like caulk lines can harbor surprising amounts of grime. Witnessing the dramatic transformation after this project was incredibly satisfying, and it inspired us to share this detailed process so you can achieve the same refresh with confidence and ease.
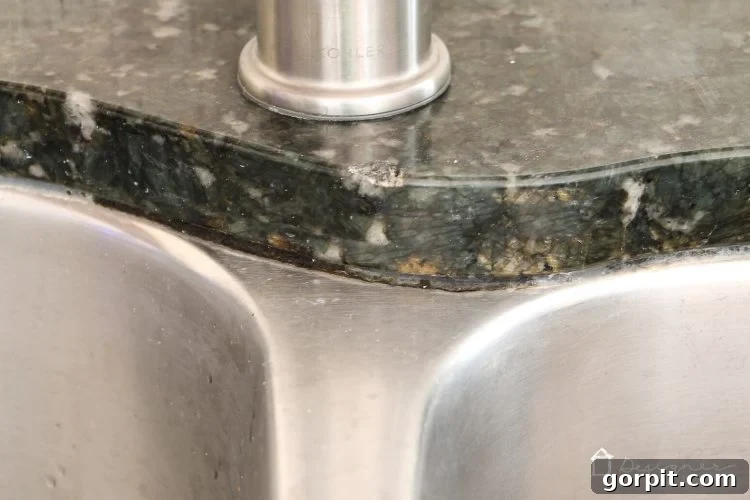
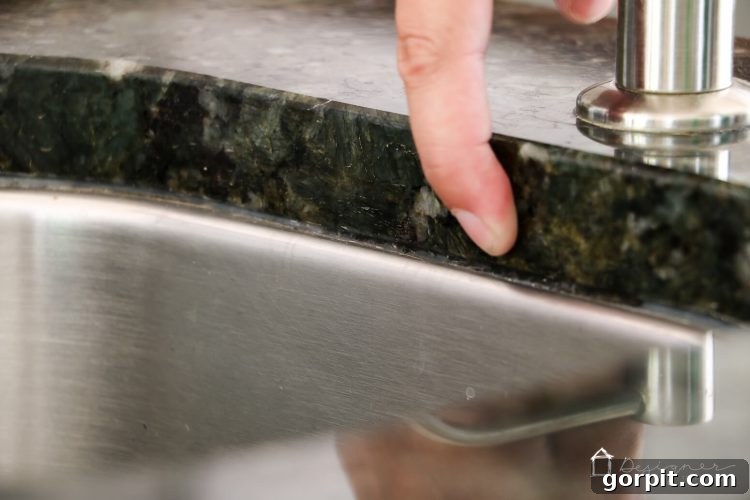
Those “before” photos might be hard to look at, but they serve as powerful, honest evidence of a common household problem that many are too shy to admit. Rest assured, you’re not alone in this battle, and the solution is well within your reach. No need to call a professional for this straightforward DIY task! Read on to discover just how simple it is to remove caulk and refresh your home yourself, bringing back that sparkle and ensuring a healthier, more protected environment for years to come.
This post contains some affiliate links for your convenience (which means if you make a purchase after clicking a link I will earn a small commission which helps keep my blog up and running but it won’t cost you a penny more)! Click here to read my full disclosure policy.
How to Remove and Replace Caulk: Your Ultimate DIY Guide for a Pristine Finish
Essential Materials Needed for a Perfect Caulk Job:
Gathering the right tools and materials is the crucial first step to a successful caulk replacement project. Having everything on hand will ensure a smooth, efficient process and a professional-looking finish. Here’s a comprehensive list of what you’ll need:
- Caulk Removal Tool: This specialized tool is your best friend for scraping away old, hardened caulk. Many types exist, from simple plastic scrapers that won’t scratch surfaces to more robust multi-tools with various blades for different angles and thicknesses. We successfully used a reliable tool we’ve owned for about 15 years, proving their durability.
- Paper towels or clean rags: Indispensable for cleaning up debris, applying cleaning solutions, and wiping surfaces dry.
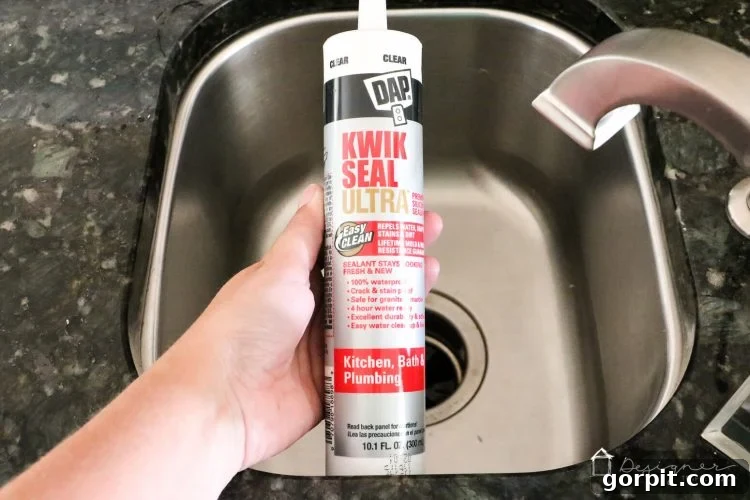
- DAP Kwik Seal Ultra Caulk: This is our top recommendation, especially for high-moisture areas like kitchens and bathrooms, due to its superior sealing properties and advanced resistance to mold and mildew. Choosing a high-quality, specialized caulk is paramount for a lasting and hygienic finish.
- Caulk Gun: An essential tool for applying your new caulk smoothly and evenly. Basic models are inexpensive and perfectly adequate for most home projects.
- Rubbing alcohol (isopropyl alcohol): Used for degreasing and thoroughly preparing the surface by removing any invisible residues like soap scum or oils.
- Bleach (diluted): Crucial for sanitizing the area and effectively killing any lingering mold or mildew spores, preventing their regrowth.
- Cleaning brush or old toothbrush: Perfect for scrubbing away stubborn caulk bits from tight corners and rough textures after initial scraping.
- Utility knife or razor blade (optional, use with extreme caution): Can be helpful for cutting through particularly tough, thick, or deeply embedded caulk lines, but be very careful not to damage the underlying surface.
- Protective gloves and safety glasses: Always prioritize safety when working with tools and chemicals. Gloves protect your hands from caulk and cleaning agents, while glasses guard against flying debris.
- Painter’s tape (optional, but highly recommended for crisp lines): Applying painter’s tape on either side of the joint creates a perfectly straight guide, ensuring a clean, professional-looking caulk bead, especially if you’re new to caulking.
Phase 1: Expert Caulk Removal Steps for a Clean Slate
Removing old caulk is often considered the most tedious part of the process, but with the right technique and tools, it can be surprisingly quick, effective, and even satisfying. The key to success in this phase is thoroughness – any old caulk, residue, or lingering mold left behind can severely compromise the adhesion and longevity of your new seal.
1) Thoroughly Scrape Away the Old Caulk:
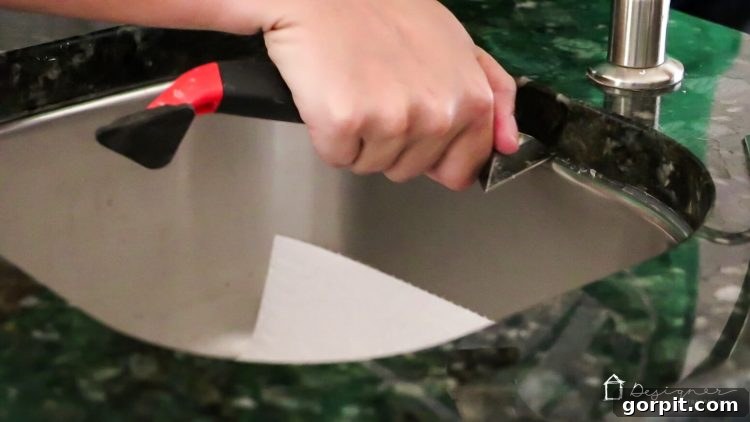
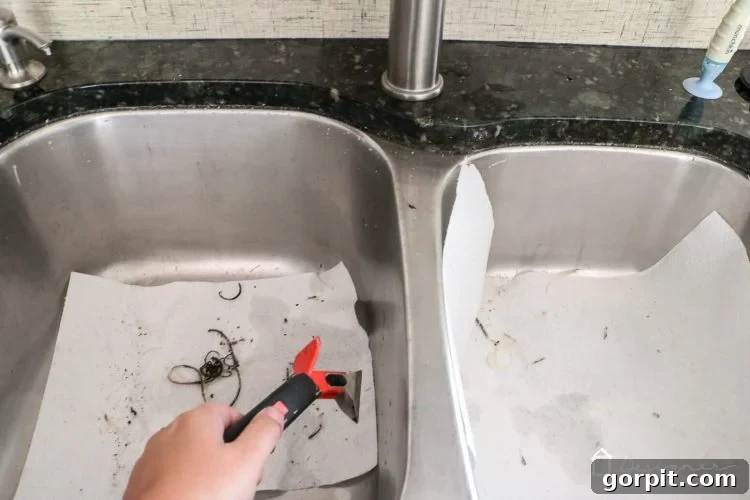
Armed with your chosen caulk removal tool, begin by scraping along the existing caulk line. Apply firm, steady pressure, working at a slight angle to get underneath the caulk. Many caulk removal tools are designed with various tips or blades specifically for different caulk profiles and to help lift the old material. Start by trying to get under an edge of the caulk and push or pull it along the entire length of the joint. You may need to go over particularly stubborn sections multiple times. For extremely thick or hardened caulk, a utility knife can be used to score the caulk along both edges before scraping, but proceed with extreme care to avoid scratching or damaging your sink, tile, or countertop surfaces. A helpful tip we employed was to place drain stoppers and a protective layer of paper towels in the bottom of our sinks. This simple precaution ensures that old caulk debris doesn’t fall down the drain, potentially causing troublesome clogs later on.
2) Meticulously Scrub Away Stubborn Residue:
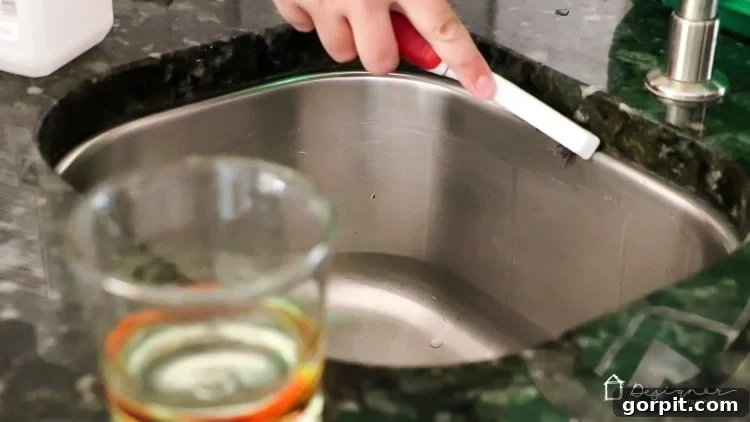
Once the bulk of the old caulk has been removed, you’ll almost certainly notice smaller bits, films, and pieces still clinging stubbornly to the joint and surrounding surfaces. This is where your cleaning brush or an old toothbrush becomes invaluable. Vigorously scrub along the entire joint to dislodge any remaining caulk fragments. Don’t underestimate the importance of this step; a completely smooth, clean, and residue-free surface is absolutely essential for the new caulk to adhere properly and create a seamless, professional, and long-lasting finish. You might also use the sharp, flat edge of your caulk tool to gently scrape any thin films of caulk that remain tightly bonded to the surface.
3) Degrease and Prepare the Surface with Rubbing Alcohol:
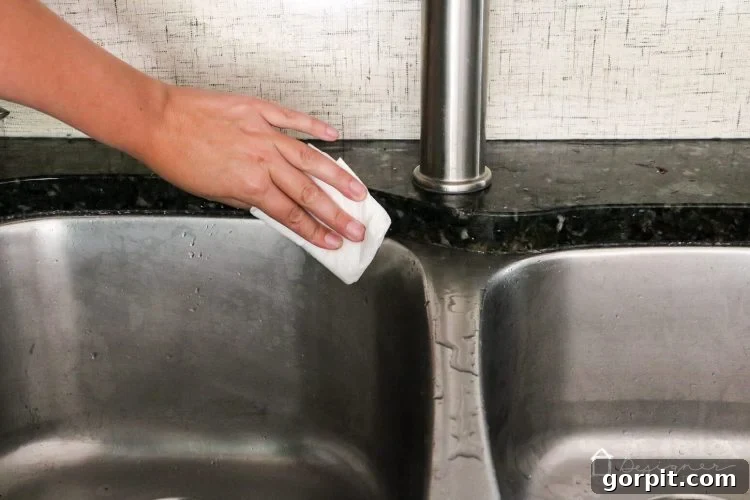
Even after thorough scrubbing, invisible residues like soap scum, grease, cleaning product build-up, or even body oils can linger on the surface. These unseen contaminants can prevent your new caulk from forming a strong, durable bond. Moisten a clean paper towel or a dedicated cleaning rag generously with rubbing alcohol (isopropyl alcohol) and thoroughly wipe down the entire joint area and any adjacent surfaces that will come into contact with the new caulk. Rubbing alcohol is an excellent degreaser and evaporates quickly, leaving behind a clean, dry, and optimally prepared surface for caulk adhesion. This step is critical for ensuring your new caulk forms a robust bond and doesn’t lift, peel, or fail prematurely.
4) Sanitize and Eradicate Mold with a Diluted Bleach Mixture:
For areas that were previously affected by mold or mildew, simply cleaning isn’t enough; you must kill the spores to prevent them from growing back rapidly under your brand-new caulk. Prepare a diluted bleach mixture (a common recommendation is 1 part bleach to 10 parts water, but always check bleach product instructions for safe dilution ratios) and apply it liberally to the entire joint area using a clean cloth or a spray bottle. Allow the bleach solution to sit for a few minutes (typically 5-10 minutes, depending on the severity of the mold) to effectively sanitize the area and kill any lingering spores, then wipe it clean with a damp cloth. Ensure proper ventilation by opening windows or using a fan when working with bleach. This crucial sanitization step prevents the rapid re-emergence of unsightly and unhealthy mold, ensuring a truly clean, hygienic, and long-lasting seal.
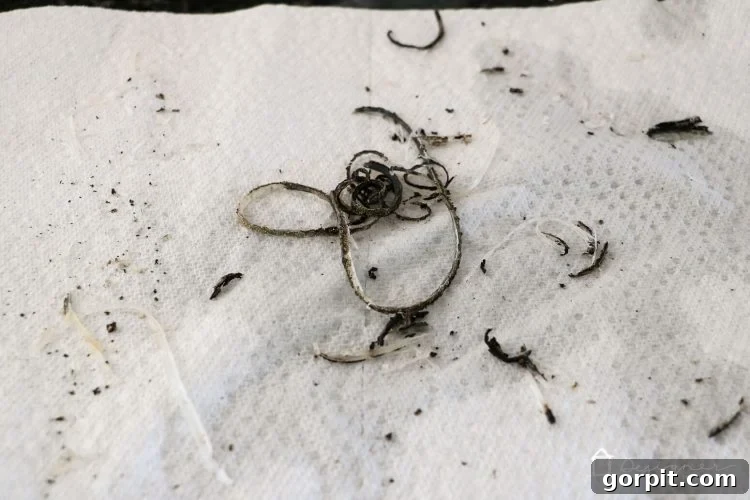
And before we proceed to the exciting caulk replacement phase, just take a moment to marvel at the sheer volume of “grossness” (yes, that’s absolutely a fitting word when it comes to the concoction of old caulk, grime, and mold!) that was removed from our sinks. It’s a vivid and satisfying reminder of why this project is so incredibly worthwhile and impactful for your home!
Phase 2: Flawless Caulk Replacement Steps for a Lasting Finish
With the old, moldy caulk completely gone and the surface meticulously prepared and sanitized, you’re now ready for the satisfying task of applying the new caulk. This is where precision and patience truly pay off, resulting in a professional, long-lasting, and beautiful finish that will revitalize your space.
5) Ensure Complete Dryness and Skillfully Apply New Caulk:
This is arguably the most critical step for the success and longevity of your new caulk: you absolutely must allow the joint area to air dry *completely* before applying your new caulk. Any residual moisture will severely prevent proper adhesion, leading to premature failure, peeling, or even new mold growth under the fresh caulk. Give it ample time, ideally several hours or even overnight, especially after using various cleaning solutions. Once the surface is bone dry to the touch, load your DAP Kwik Seal Ultra caulk cartridge into your caulk gun. Before applying, prepare the caulk tube by cutting the tip at a 45-degree angle. Start with a small opening – you can always cut it larger if a wider bead is needed. Then, puncture the inner seal of the caulk tube using the long wire often found on your caulk gun. For achieving perfectly straight and professional-looking lines, we highly recommend applying painter’s tape now. Place parallel lines of tape on either side of the joint, defining the exact width of your desired caulk bead. Now, apply the caulk in a continuous, even bead along the entire joint you are working on. Maintain a consistent speed and steady pressure on the caulk gun trigger for a smooth application. One of the standout features of DAP Kwik Seal Ultra is its innovative “goes on white, dries clear” formula. This brilliant feature allows you to easily see where you’re applying the caulk, ensuring full, consistent coverage, yet it will cure to a clear, virtually invisible, and seamless finish. After applying the bead, gently smooth it out immediately with a moistened finger (wear a glove!), a specialized caulk smoothing tool, or even an ice cube (a surprising pro tip for a super smooth finish!). If you used painter’s tape, carefully remove it immediately after smoothing the caulk, before it starts to “skin over” and dry, to achieve those crisp, clean lines.
6) Respect Drying Times for Maximum Durability and Longevity:
Once your new caulk has been flawlessly applied, resist the urge to expose your newly sealed joint to moisture too soon. It is absolutely vital to adhere strictly to the manufacturer’s recommended drying and curing times. Ignoring this step can compromise the caulk’s effectiveness and lead to a significantly shorter lifespan. DAP Kwik Seal Ultra is a fantastic choice for busy households because it boasts an impressive “water ready” time of only 4 hours, which is incredibly convenient. However, while it might be water-resistant after 4 hours, the caulk’s full cure time can be longer (often 24-48 hours or more, depending on humidity and bead thickness), so it’s wise to avoid harsh scrubbing or heavy, continuous water exposure for at least this longer period. This patience will be richly rewarded with a durable, resilient, and long-lasting seal. Beyond its quick-dry feature, this premium caulk also actively repels dirt and soap scum, resists stains, and notably comes with a lifetime mold and mildew resistance guarantee. These advanced features are absolutely essential for maintaining the pristine look and exceptional hygiene of your kitchen and bathroom surfaces for many years to come, minimizing future maintenance.
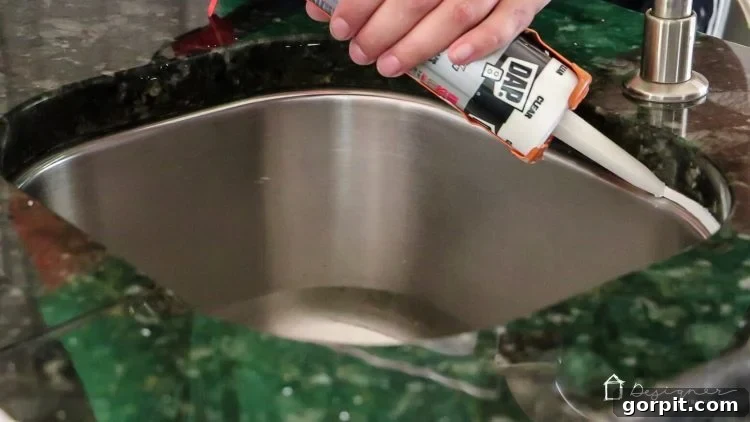
It typically takes a few days for the “goes on white” caulk to turn completely clear, gradually revealing the beautiful, seamless, and almost invisible finish you’ve meticulously worked for. The transformation is truly remarkable – our sinks now look impeccably clean and fresh. Not only does it look incredibly better and brighter, but we also feel confidently assured that we now have a superior, watertight, and hygienic seal protecting our surfaces. Remember, old caulk that is cracking, peeling, showing gaps, or feeling brittle is a clear sign it needs replacing, even if it’s not visibly moldy yet. These imperfections compromise its protective function and can lead to far more costly and extensive water damage or mold remediation down the line. Don’t wait until it’s too late!
Maintain Your Fresh Caulk for Lasting Beauty and Protection
Now that you’ve successfully navigated the process of removing and replacing your caulk, a little ongoing maintenance will ensure its longevity and keep it looking pristine. Regularly wipe down your caulk lines with a mild, non-abrasive household cleaner after use. Promptly addressing any small spills or splashes around the caulk can prevent grime buildup. Avoid using harsh chemical cleaners or abrasive scrubbing pads directly on the caulk, as these can degrade the material over time, reducing its lifespan and effectiveness. Regularly inspect your caulk for any early signs of wear, such as minor discoloration or tiny cracks. Addressing these small issues promptly can prevent them from escalating into bigger problems that require another full replacement. With proper care and attention, your newly caulked surfaces will provide a clean, hygienic, and aesthetically pleasing finish, along with superior protection, for many years.
So there you have it! A comprehensive, easy-to-follow guide on how to remove old, unsightly caulk and how to replace it with a fresh, durable, and protective seal. You now possess the knowledge, confidence, and practical steps to tackle this essential home improvement task yourself, transforming those grungy, moldy seams into sparkling, fresh lines. Enjoy your beautifully refreshed kitchen and bathroom – a testament to your DIY prowess!
