Even the most meticulously maintained homes eventually encounter minor imperfections on their walls. Whether it’s a small chip from moving furniture, an unexpected scuff mark left by playful children, or the subtle wear and tear of daily life, our walls occasionally require a little extra attention to retain their pristine appearance. The good news is that you don’t need to embark on a complete repainting project, complete with drop cloths and multiple paint trays, just to keep your interior surfaces looking their best. A strategic and timely touch-up can work wonders, revitalizing your walls and making your home feel fresh and inviting once more. This comprehensive guide will equip you with expert tips and essential tools to achieve quick, seamless, and professional-looking paint touch-ups every time.
DIY Paint Touch-Up Tips for Flawless Walls
Achieving a truly invisible paint touch-up is less about brute force and more about finesse and attention to detail. It’s an art form that, when mastered, can dramatically improve the aesthetic appeal of your home without the need for extensive repainting. Rushing the process or neglecting crucial steps can leave noticeable patches, making your efforts counterproductive. By following these expert tips, you’ll achieve professional-grade results that seamlessly blend into your existing wall finish.
Precision Matters: Matching the Paint Color AND Sheen
This is arguably the most critical step in any successful paint touch-up. Even a slight discrepancy in color or, more commonly, sheen, can make your repair stand out like a sore thumb. Paint colors can subtly change over time due to UV exposure and environmental factors, making an exact match challenging if you’re working with paint that’s been on the walls for years. Likewise, paint sheens—such as flat, eggshell, satin, semi-gloss, and high-gloss—each reflect light differently, creating varying visual textures. Using a satin touch-up on an eggshell wall, for instance, will result in an obvious shiny patch.
If you don’t have leftover paint or detailed information about the original paint, don’t despair. Start by checking common storage spots like the garage, basement, or utility closets for old paint cans. Look for labels indicating the brand, color name, and sheen. If you come up empty, you might be able to carefully chip off a dime-sized piece of paint from an inconspicuous area (like behind a picture frame or an outlet cover) and take it to a paint store. Many retailers offer color-matching services that can accurately recreate your existing wall color and help identify the sheen. For a comprehensive understanding of paint sheens and how to differentiate them, refer to a detailed paint sheen guide.
Always test your matched paint in an inconspicuous area first. Apply a small dab, let it dry completely, and then observe it under different lighting conditions. This crucial step allows you to verify the match before committing to the repair, preventing potential rework and frustration.
The Crucial First Step: Clean Before You Paint
Before you even think about applying fresh paint, cleaning the affected area is non-negotiable. Painting over dirt, grime, dust, or even scuff marks is a recipe for disaster. Not only will the new paint fail to adhere properly, but the underlying debris will remain visible, creating an uneven, unprofessional finish. Often, what appears to be a paint chip or stubborn mark might simply be surface-level grime that can be easily removed with a bit of effort.
Begin by gently wiping the area with a soft sponge or cloth dampened with a mild soap solution (like dish soap and warm water). Avoid harsh chemicals that could damage the existing paint finish. For more stubborn scuffs or crayon marks, a small amount of an all-purpose cleaner formulated for painted surfaces can be effective. Always test any cleaner in an unseen spot first to ensure it doesn’t strip or discolor the paint. Apply light, circular motions and use just enough pressure to lift the dirt. Rinse the area with a clean, damp cloth to remove any soap residue, then allow the wall to dry completely before proceeding. Painting over a damp surface can lead to bubbling or peeling. A word of caution regarding “magic erasers”: while effective at removing stubborn marks, they can sometimes alter the sheen of your existing paint, leaving a dull spot. Use them sparingly and only if you are certain you will be painting over the area afterward.
Mastering the Art of Feather and Blend for Invisible Repairs
The secret to an undetectable touch-up lies in the “feather and blend” technique. Simply slapping a blob of paint onto the damaged spot will create a noticeable patch with hard edges, especially on walls with any discernible texture or sheen. Instead, approach the task with a light touch and precision.
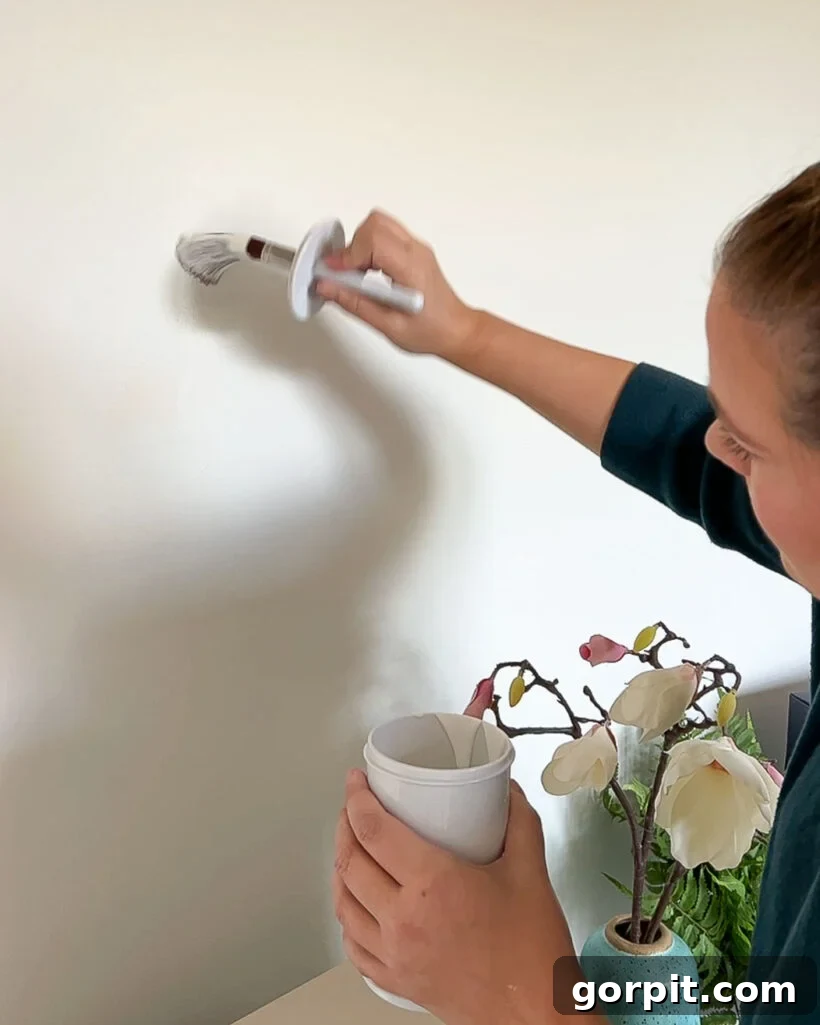
For most wall paint touch-ups, a high-quality bristle brush is generally recommended over a foam brush. Bristle brushes offer better control and allow for finer feathering. Load your paintbrush with only a minimal amount of paint—just enough to cover the damaged area. Excess paint on the brush can lead to thick, uneven application and visible brush strokes. Start by applying paint directly to the center of the chip or scuff. Then, using feather-light strokes, work your way outwards from the center. The “feathering” aspect means that as you move towards the edges of the repair, you apply less and less pressure, effectively thinning out the paint and extending the brush strokes slightly beyond the touch-up area. This gentle extension ensures that the new paint gradually fades into the existing wall color, creating a seamless transition.
It’s crucial not to reload your brush with more paint as you feather the edges. The goal is to use the diminishing amount of paint already on the brush to create that subtle blend. If you apply too much paint or neglect to feather the edges properly, your touch-up will have a noticeable border, defeating the purpose of a seamless repair. Remember, multiple thin coats are always better than one thick coat. Allow each thin layer to dry completely before applying another, building up the coverage gradually until the imperfection is completely hidden.
This post contains affiliate links for your convenience. Click here for my full disclosure policy.
Essential Tools for Every Paint Touch-Up Kit
Being prepared with the right tools is half the battle when it comes to maintaining beautiful, blemish-free walls. A well-stocked paint touch-up kit ensures that you can address any minor chip or scuff the moment it appears, preventing small problems from escalating into larger, more noticeable issues. Proactive maintenance is a homeowner’s best secret to keeping spaces looking their best without constant major overhauls. These essential tools are my secret weapons for ensuring my walls always look fresh and flawless.
Convenient Paint Pens for Minor Blemishes
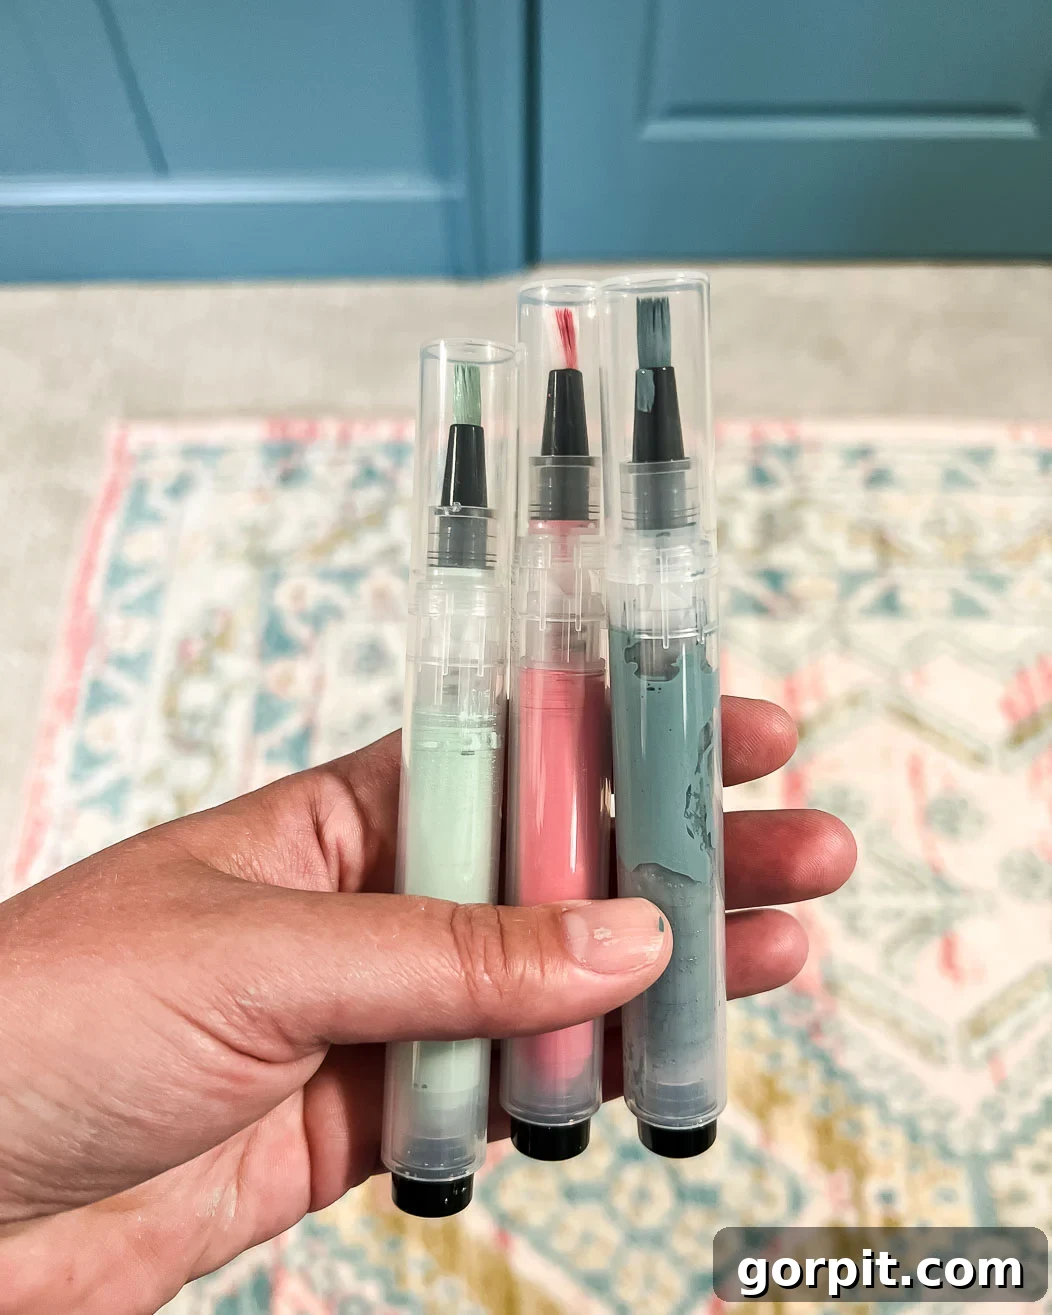
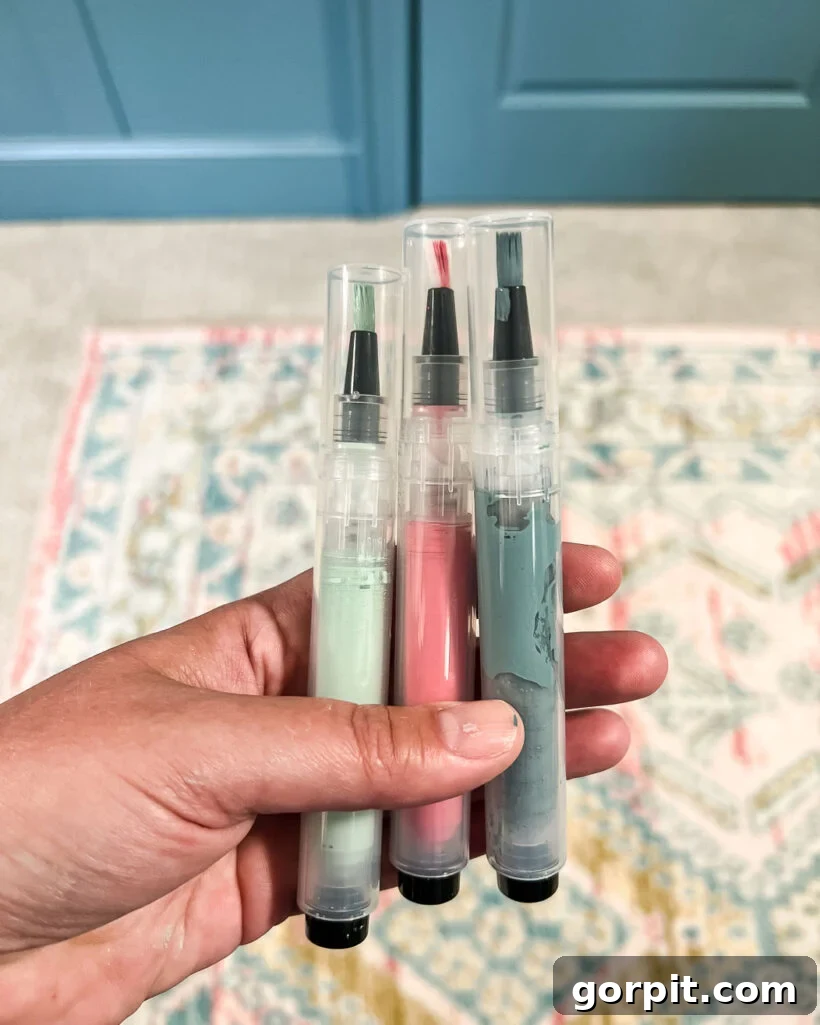
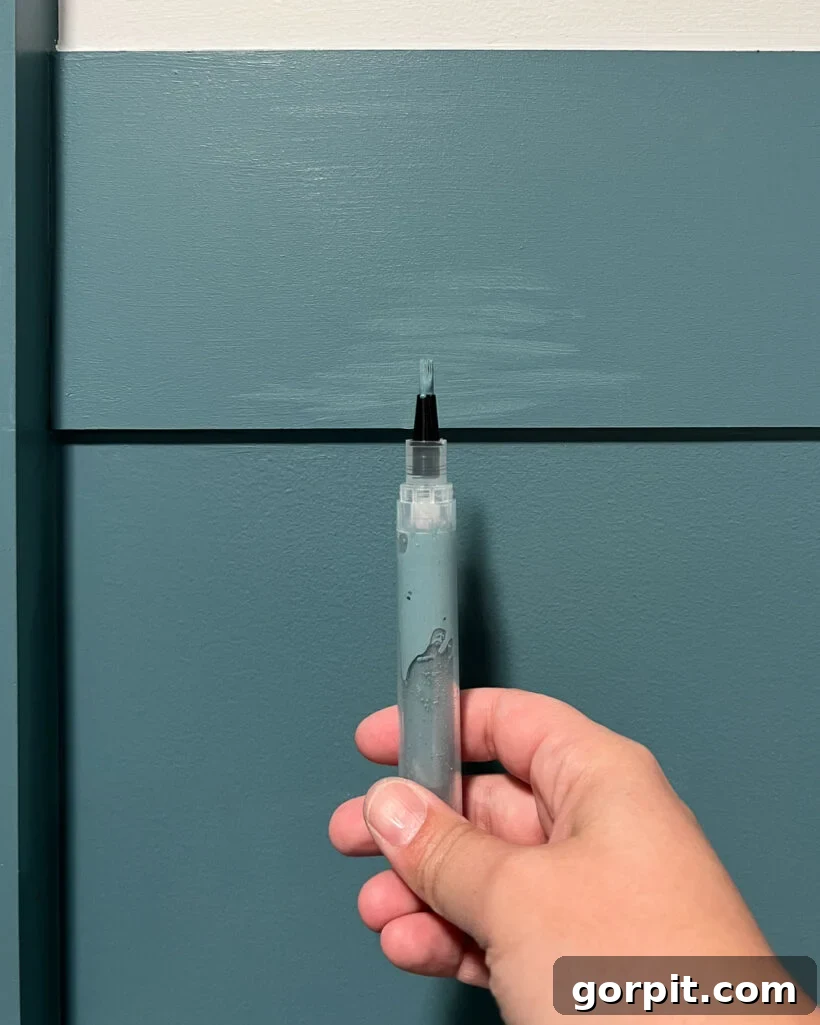
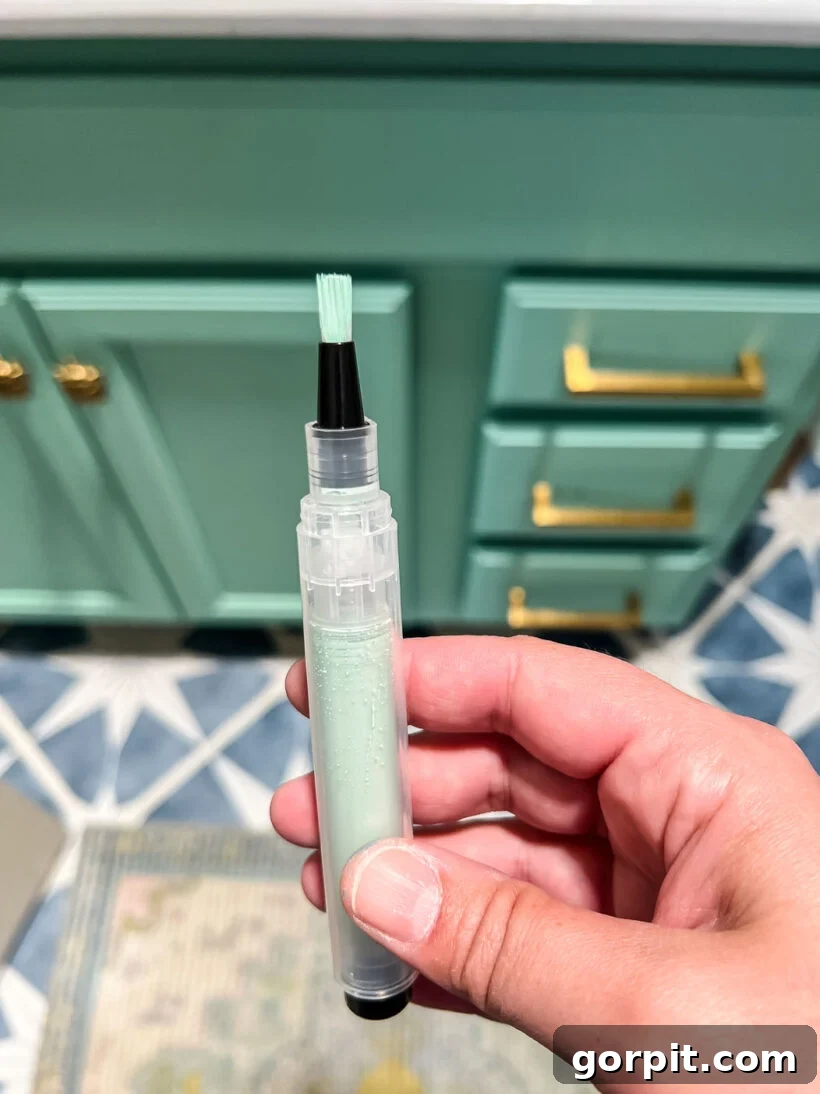
Refillable touch-up paint pens are an absolute game-changer for tackling the smallest of imperfections. They are ideal for tiny chips, hairline scratches, or small nail holes that don’t require extensive repair work. The beauty of these pens lies in their affordability, ease of use, and incredible precision. Simply fill the pen’s barrel with your exact wall paint color, and it transforms into a precise applicator, much like a marker or a very fine paintbrush. This design makes them perfect for pinpoint accuracy, allowing you to cover the blemish without applying excess paint to the surrounding wall. Furthermore, their slender design makes them invaluable for reaching tight spots and intricate areas where a traditional brush might be too cumbersome. Keeping a few of these pre-filled with your home’s common paint colors (like trim white or a frequently used wall color) means you’re always ready for a quick, hassle-free repair.
Dedicated Touch-Up Paint Brushes for Seamless Results
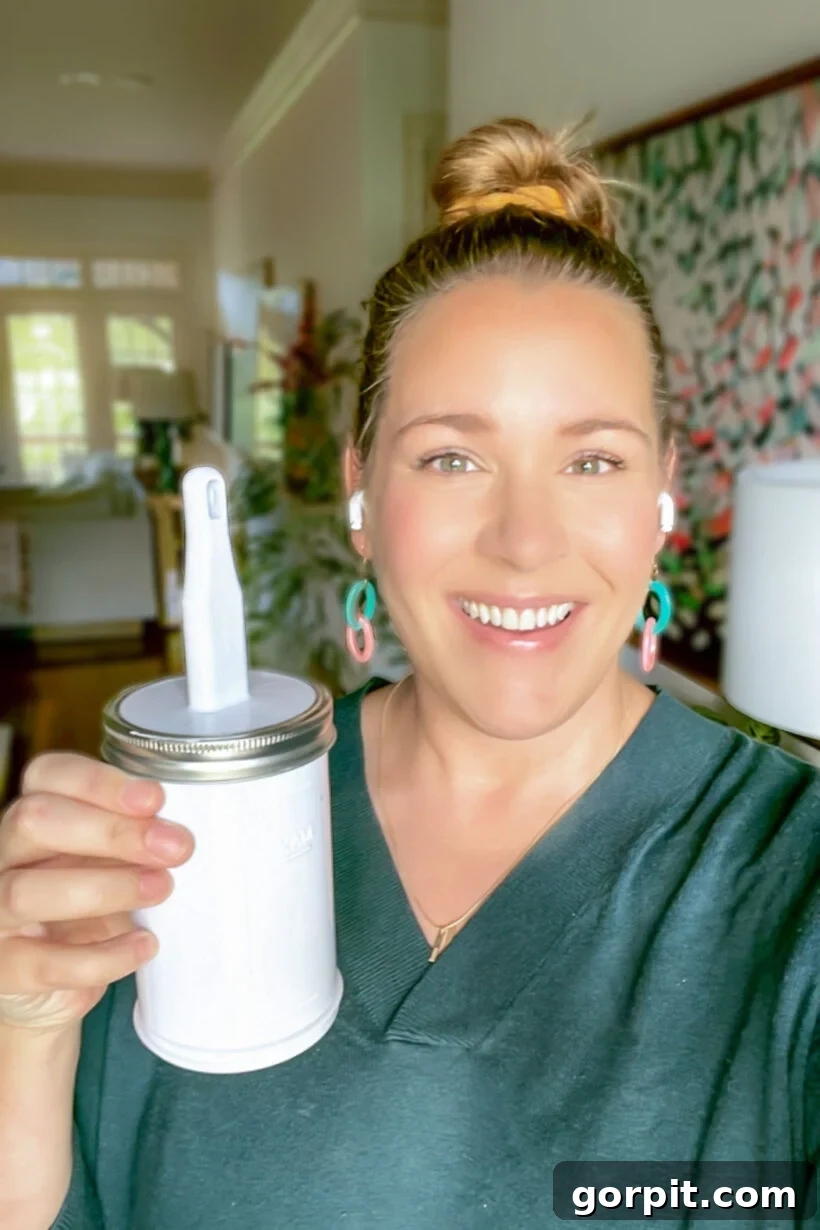
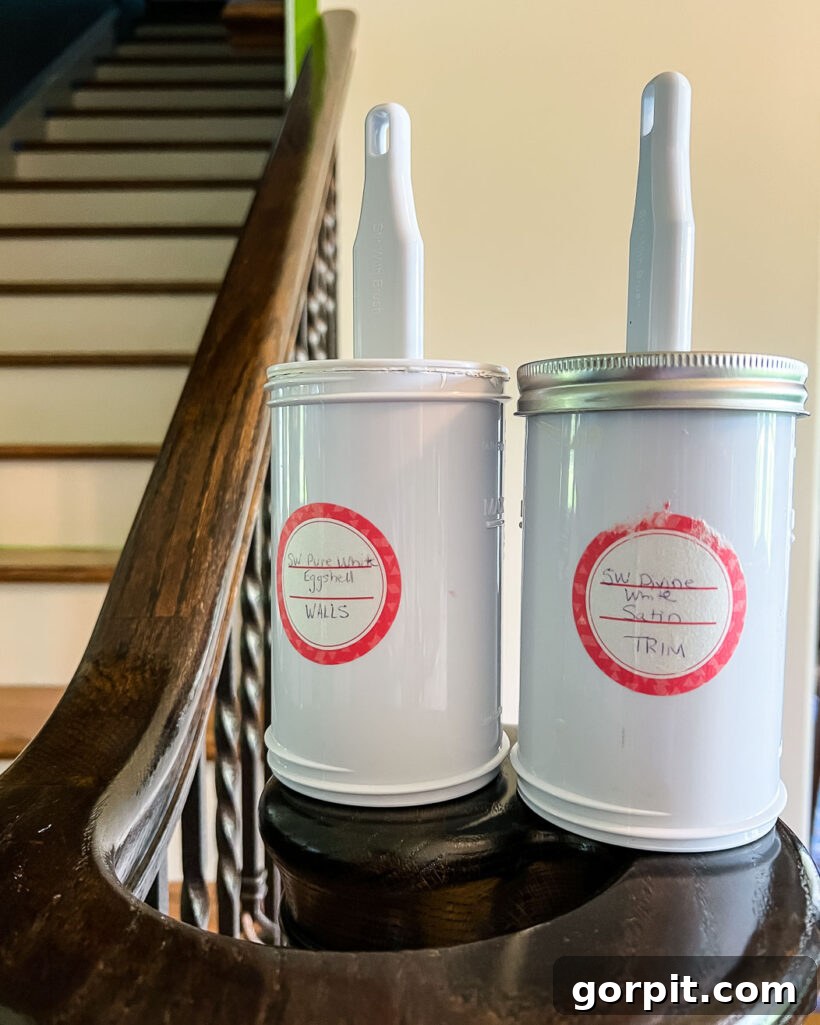
While paint pens handle the smallest tasks, a dedicated touch-up paint brush system is unparalleled for slightly larger scuffs, dings, or areas requiring more significant blending. My absolute favorite tool in this category is the No Mess Touch-Up Paint Storage + Brush. This ingenious all-in-one design integrates a quality brush directly into the lid of a small, airtight paint container. This means you can store your paint and its brush together, ready for immediate use, without the need for messy cleanup after each small job. I’ve personally relied on these for over three years, and their convenience is unmatched.
I keep several of these containers pre-filled with essential paints, such as Sherwin-Williams Pure White (my primary wall color), ceiling paint, and our trim color (Divine White by Sherwin-Williams). This allows me to perform quick “patrols” around the house, effortlessly addressing any scuffs or marks I encounter. These small, high-quality brushes are specifically designed to target touch-up areas that are too small for rollers and too large for paint pens. They come in various sizes and bristle types, allowing you to choose the perfect tool for your specific needs, whether it’s a fine detail brush for edges or a slightly wider one for blending larger patches. Their ergonomic design and integrated storage make them a truly invaluable asset for maintaining a picture-perfect home.
Repairing Wall Damage with Spackle
Before any paint can be applied, it’s absolutely crucial to address and repair any underlying wall damage. Simply painting over holes, cracks, or dents will not make them disappear; in fact, it often highlights them. Spackle is your go-to product for filling in small holes (like those left by nails or screws), minor cracks, and shallow dents. There are various types of spackle available, including lightweight spackle for quick, easy fixes and all-purpose spackle for slightly larger or deeper repairs. The process is straightforward: apply a small amount of spackle with a putty knife, ensuring it slightly overfills the hole or crack. Smooth it flush with the wall surface, then allow it to dry completely according to the manufacturer’s instructions. Once dry, gently sand the area with fine-grit sandpaper until it is perfectly smooth and level with the surrounding wall. Remove any sanding dust with a damp cloth.
A critical step after spackling is spot-priming the repaired area. Some spackles can be highly porous and absorb paint differently than the rest of the wall, leading to a phenomenon known as “flashing,” where the touched-up spot appears dull or more absorbent than the surrounding paint. A quick coat of a high-quality primer over the spackled area will seal it, creating a uniform surface for your touch-up paint and ensuring a truly seamless finish. Neglecting this step often means your repair will remain visible despite your best efforts at color matching and blending.
The Unsung Hero: Painter’s Tape for Protection and Precision
While taping might seem like an extra step that slows you down, painter’s tape is often an indispensable tool for achieving clean lines and protecting adjacent surfaces, whether you’re working on a large painting project or a small touch-up. For instance, if you’re touching up a wall color right next to a contrasting trim, or perhaps repairing a scuff on a spindle close to a handrail, painter’s tape acts as a barrier, preventing accidental paint transfer. This precision is invaluable, especially if your hand isn’t perfectly steady or if you’re working in a confined space.
There are different types of painter’s tape available, including delicate surface tape for freshly painted or easily damaged surfaces, and multi-surface tape for general use. Choose the right tape for your specific application. When applying, press the tape firmly along its edges to create a tight seal, which prevents paint from bleeding underneath. Remove the tape carefully when the paint is still slightly tacky (but not wet), pulling it at a 45-degree angle. This technique helps achieve crisp, clean lines and prevents the paint from peeling along with the tape. Taking a few moments to tape off critical areas will save you significant time and effort on cleanup, ensuring your touch-up looks neat and professional.
Essential Preparation & Post-Touch-Up Care
Beyond the core techniques and tools, certain preparatory and post-touch-up steps are vital for ensuring your repairs are not just invisible but also long-lasting. Neglecting these details can undermine even the most careful application, leading to unsatisfactory results or future issues.
Surface Preparation Beyond Simple Cleaning
While cleaning is paramount, some damaged areas may require additional surface preparation. For chips with raised edges or areas where old paint has flaked, a very light sanding can create a smoother, more uniform base for your new paint. Use fine-grit sandpaper (around 220-grit) and apply minimal pressure, gently feathering the edges of the chip to blend it with the surrounding wall. This helps prevent a noticeable texture difference once the new paint is applied. After sanding, always wipe the area thoroughly with a clean, damp cloth to remove any dust particles. Any remaining dust can compromise paint adhesion and create a gritty texture. Ensure the wall is completely dry before proceeding with spackling or painting.
Proper Paint Storage for Future Repairs
The key to successful future touch-ups is proper paint storage. Don’t just toss your leftover paint cans into a dusty corner. Air exposure can cause paint to skin over, dry out, or separate, rendering it unusable for touch-ups. Transfer any remaining paint into smaller, airtight containers (like glass jars with tight-fitting lids) to minimize air exposure. Fill the container as much as possible, leaving minimal air space at the top. Store these containers in a cool, dark place, away from direct sunlight or extreme temperatures, which can degrade paint quality. Always label your containers clearly with the paint color name, manufacturer, sheen, the room it was used in, and the date of purchase. This meticulous labeling will save you immense frustration when you need to match paint down the line, ensuring you always have the right color and sheen readily available for any future imperfections.
Common Touch-Up Mistakes to Avoid
Even with the best intentions, it’s easy to fall into common pitfalls when performing paint touch-ups. Being aware of these mistakes can help you sidestep them, saving you time and ensuring a truly flawless finish that you’ll be proud of.
Painting Over Dirt or Unrepaired Damage
One of the most frequent mistakes is attempting to paint over a dirty or damaged surface without proper preparation. As discussed, dirt, grease, and scuff marks will prevent new paint from adhering correctly and will remain visible through even multiple coats. Similarly, painting over an unrepaired hole, crack, or dent will simply highlight the imperfection rather than concealing it. Always prioritize cleaning and repairing the wall with spackle (and primer) before picking up your paintbrush. Skipping these foundational steps will inevitably lead to a disappointing and visibly imperfect touch-up.
Using the Wrong Sheen or Color
This mistake is a primary culprit behind visible touch-ups. Even if the color appears to be a perfect match, a different sheen will create a distinct patch that reflects light differently from the surrounding wall. For instance, a semi-gloss touch-up on a satin wall will create an unsightly glossy spot. Likewise, using a paint that is subtly off-color, perhaps due to fading of the original paint or an inaccurate match, will be glaringly obvious, especially in natural light. Always confirm both the color and the sheen of your touch-up paint, and if in doubt, perform a small test in an inconspicuous area to verify the match once dry.
Applying Too Much Paint
It can be tempting to glob on a thick layer of paint to quickly cover an imperfection, but this is counterproductive for touch-ups. Over-applying paint creates a raised, uneven texture that will be visible, even if the color and sheen are perfectly matched. Thick coats also take longer to dry and are more prone to cracking or flashing. The “feather and blend” technique emphasizes using minimal paint and applying thin, even coats. If full coverage isn’t achieved with one thin coat, apply a second (or even third) thin coat after the previous one has fully dried. Patience and moderation are key to an invisible repair.
Ignoring Drying Times
Rushing the drying process between coats or before assessing the final result is another common error. Paint needs adequate time to cure and achieve its true color and sheen. Applying a second coat too soon can lead to dragging the underlying wet paint, creating streaks and unevenness. Similarly, judging the success of a touch-up before it’s completely dry can be misleading. What might look slightly off when wet could blend perfectly once cured. Always adhere to the drying times recommended by the paint manufacturer, and allow the final coat to fully dry and cure before making a definitive judgment on the repair.
Using Old, Unstirred Paint
Paint that has been sitting for a long time can separate, with pigments settling at the bottom and the binding agents rising to the top. Using this paint without thoroughly stirring it will result in an inconsistent color and sheen. Always stir leftover paint vigorously, preferably with a paint stir stick, until it’s uniformly mixed. If the paint has formed a thick skin on top or has a foul odor, it might be past its prime and should be replaced. Using compromised paint will almost certainly lead to a touch-up that doesn’t match and won’t adhere properly.
When to Consider a Full Repaint
While paint touch-ups are incredibly effective for minor blemishes, there comes a point where a full repaint is the more practical and aesthetically superior solution. Recognizing when to transition from spot repair to a larger project can save you time, effort, and ensure a more cohesive look for your home.
Widespread Damage or Significant Fading
If your walls suffer from numerous chips, extensive scuff marks, or widespread surface damage that affects a significant portion of a room, attempting to touch up every single imperfection can become tedious, time-consuming, and ultimately result in a patchwork appearance. Similarly, if the original paint has significantly faded or discolored over time (often due to prolonged exposure to sunlight), individual touch-ups will likely stand out against the aged background. In these scenarios, the cumulative effect of many small repairs will be more noticeable than a fresh, uniform coat of paint across the entire wall or room. A full repaint offers a consistent color and sheen, restoring the wall to a truly refreshed state.
Major Color Change or Extensive Updates
If you’re planning a significant interior design overhaul, such as introducing a completely new color scheme, changing the function of a room, or undertaking extensive renovations, touch-ups simply won’t suffice. A major color change or a desire for a dramatically different aesthetic necessitates a full repaint to achieve the desired transformation. Trying to blend new colors or significant style changes with old, touched-up areas will create a disjointed and unfinished look. A full repaint provides a clean slate, allowing your new design elements to shine and ensuring the entire space feels cohesive and intentionally designed. It’s an investment in the overall appeal and value of your home.
Once you have these items on hand and a good understanding of the techniques, you will be prepared anytime you spot a blemish or imperfection on your walls! With these tips and the right tools, maintaining the paint around your home doesn’t have to be an intimidating chore anymore. Investing in quality supplies and learning these simple methods will guarantee that no matter what kind of touch-ups come along, you’ll always be prepared for a seamless repair. So, gather your supplies and get started. You’ll be amazed at how fresh and polished your walls look—everyone will wonder if a professional painter just paid a visit!
Explore More Paint Projects & Guides
SEE ALL PAINT POSTS
-
9 Life-Changing Painting Hacks Everyone Should Know
-
How Durable are DIY Painted Kitchen Cabinets?
-
How to Paint Kitchen Cabinets (From a DIYer Who Has Done it 3 Times)
-
How Have Our Painted Countertops Held Up?
-
How to Paint IKEA Furniture and Mistakes to Avoid
-
How Much Paint Do I Need for My Room?
Wondering how I approach transforming rooms and spaces in our home? Check out Designer in a Binder®.
And if you want exclusive content and behind-the-scenes sneak peeks, be sure to subscribe before you head out!