Easy Dotted Sharpie Easter Eggs: A No-Mess Guide to Stunning Decorations
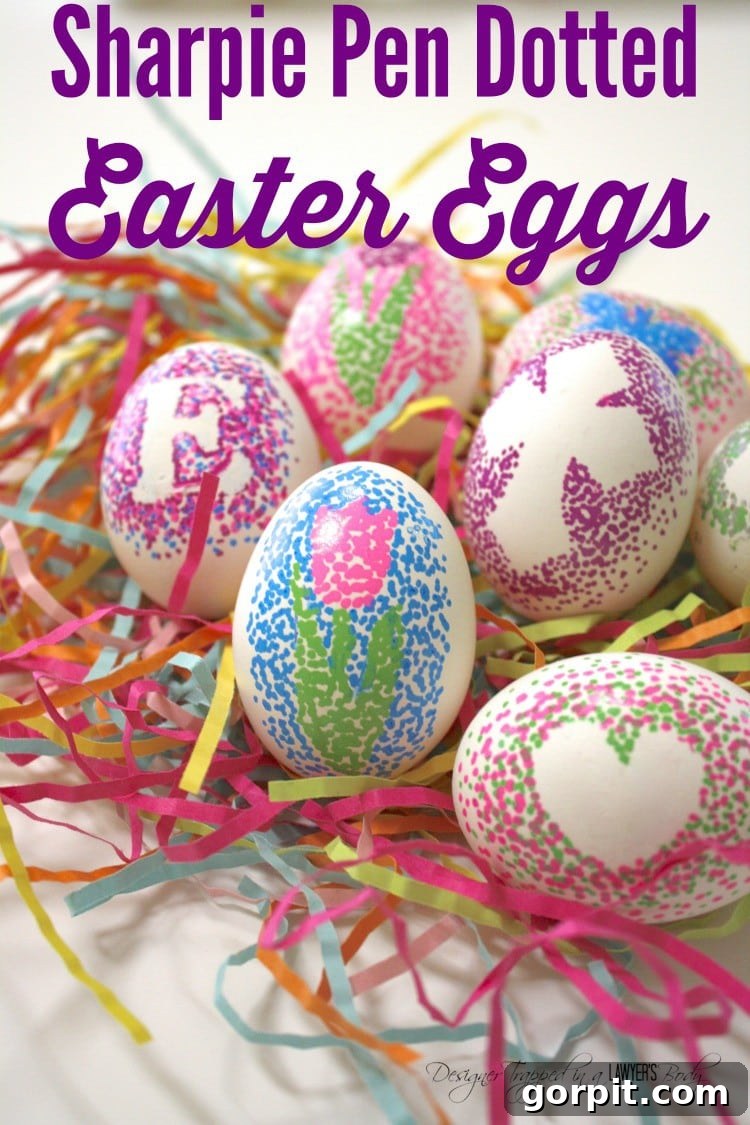
As Easter approaches, many of us look forward to the joy of decorating eggs, a timeless tradition that signals spring and new beginnings. However, the thought of messy dyes, stained fingers, and elaborate setups can sometimes dampen the excitement. What if we told you there’s a way to create absolutely stunning Easter eggs without any of the fuss? Prepare to be amazed by the simplicity and beauty of Easy Dotted Sharpie Easter Eggs! This brilliant method offers a clean, quick, and incredibly creative alternative to traditional egg dyeing, perfect for families and crafters of all skill levels.
Last year, I discovered this fantastic technique, and I couldn’t wait to share it with you. These dotted Sharpie Easter eggs are not only gorgeous but also remarkably easy to make, transforming plain hard-boiled eggs into vibrant, artistic masterpieces. Whether you’re a seasoned crafter or just looking for a fun holiday activity, this tutorial will guide you through every step to achieve impressive results. Say goodbye to the chaos of dye baths and hello to the elegance of Sharpie art!
This post contains some affiliate links, meaning if you make a purchase through my links, I may earn a small commission at no extra cost to you. Click here to read my full disclosure policy.
Materials Needed to Create Your Easy Dotted Sharpie Easter Eggs
Gathering your supplies for this project is as simple as the decorating process itself. You likely have most of these items around your home already. The beauty of this craft lies in its minimal material requirements and the high impact of the finished product.
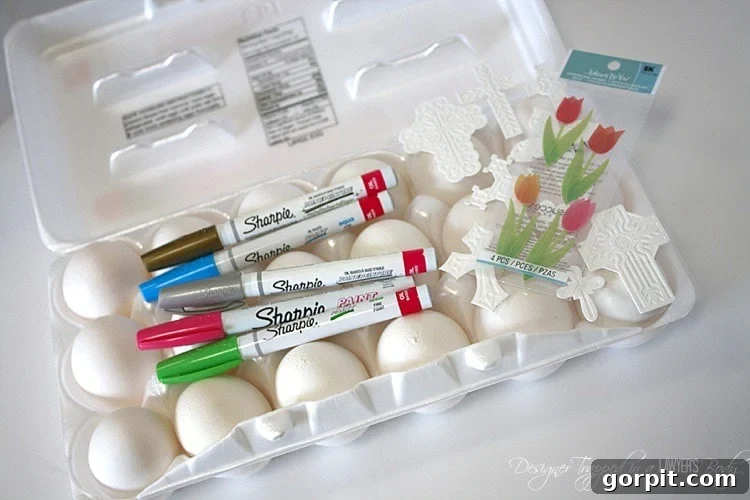
- Hard-Boiled Eggs: These are your blank canvases! Ensure your eggs are completely cooled and dry before you begin. Hard-boiled eggs are ideal because they are sturdy and easy to handle. If you prefer to preserve your eggs for longer, you can also use blown-out eggshells, but they will be more fragile to work with.
- Sharpie Paint Pens: These are the stars of our show! Unlike regular Sharpies, paint pens offer opaque, vibrant color that truly pops on the eggshell. They dry quickly and provide a crisp finish, which is essential for detailed dot work. You can choose a variety of colors to create a spectrum of designs, from bold and bright to subtle and elegant. These are the exact pens I use and highly recommend for their quality and performance.
- Craft Stickers: These will serve as your stencils, creating beautiful negative space designs. Opt for stickers with clean edges and good adhesion. You can use any shape or size you desire – think geometric shapes, whimsical animals, elegant florals, or even letters. Experiment with different stickers to unlock endless design possibilities.
Steps to Make Easy Dotted Sharpie Easter Eggs
Get ready to unleash your inner artist! This method is incredibly forgiving and allows for a wide range of creative expression. Follow these simple steps to transform your eggs into miniature works of art.
Step 1: Apply Your Sticker Template
Carefully select your chosen craft sticker and place it firmly onto your hard-boiled egg. Take your time to position it exactly where you want your design to be. Once placed, gently but firmly press down on the edges of the sticker to ensure it adheres well to the egg surface. This step is crucial for creating a crisp, clean outline when you remove the sticker later. You can use one large sticker for a bold centerpiece or smaller stickers to create an intricate pattern around the egg.
Step 2: Master the Dotting Technique with Paint Pens
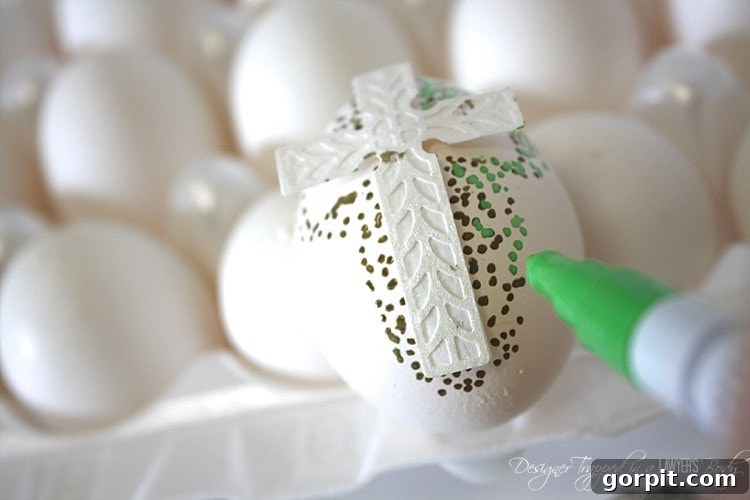
Now for the fun part! Grab your Sharpie paint pen in your desired color. Begin making small, concentrated dots directly around the edge of your sticker. The key here is to make these dots very dense and close together, almost forming a solid line of dots, as this will define the shape of your design. As you move away from the sticker’s edge, gradually reduce the density of your dots. This creates a beautiful gradient or “halo” effect, making your central design stand out elegantly.
You can stick to a single color for a minimalist look or experiment with multiple colors. For a multi-color effect, you might create a ring of one color close to the sticker, then a ring of another color slightly further out, blending them as you go. Varying the pressure on your pen can also create different dot sizes, adding another layer of texture and interest to your design. Don’t be afraid to experiment; there’s no wrong way to dot!
Step 3: Allow Sufficient Drying Time
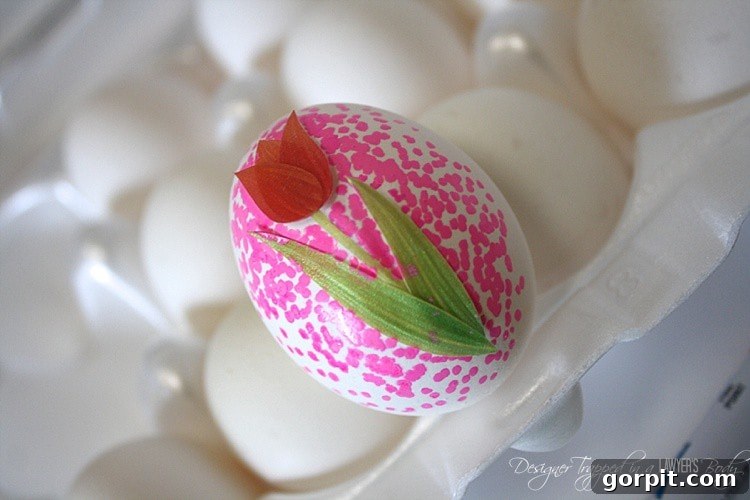
Patience is a virtue, especially in crafting! Before you even think about peeling off your sticker, it’s absolutely crucial to allow ample time for the paint to dry completely. Depending on the thickness of your paint application and the humidity, this could take anywhere from 10 minutes to an hour. To avoid smudging your beautiful dot work, place your egg on a stable surface and resist the urge to touch it until you are certain the paint is dry to the touch. Rushing this step could lead to smeared paint and a less-than-perfect finish, so give your eggs the time they need.
Step 4: The Grand Reveal – Removing the Sticker and Adding Finishing Touches
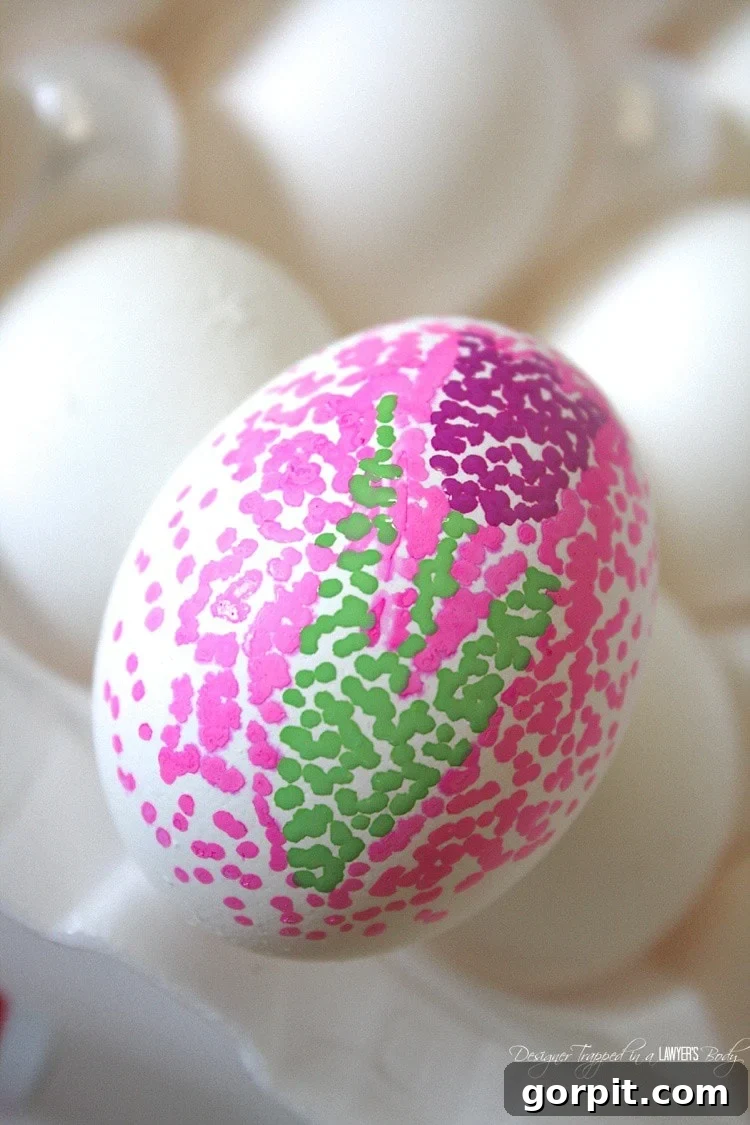
Once the paint is completely dry, it’s time for the moment of truth! Carefully and slowly peel your sticker off the egg. You’ll be left with a crisp, clean outline of the sticker’s shape, surrounded by your lovely dotted pattern. This negative space is a stunning design element in itself. You have a couple of options here:
- Embrace the Void: You can choose to leave the void left by your sticker white for a striking contrast and a minimalist aesthetic. This highlights the intricate dot work surrounding the shape.
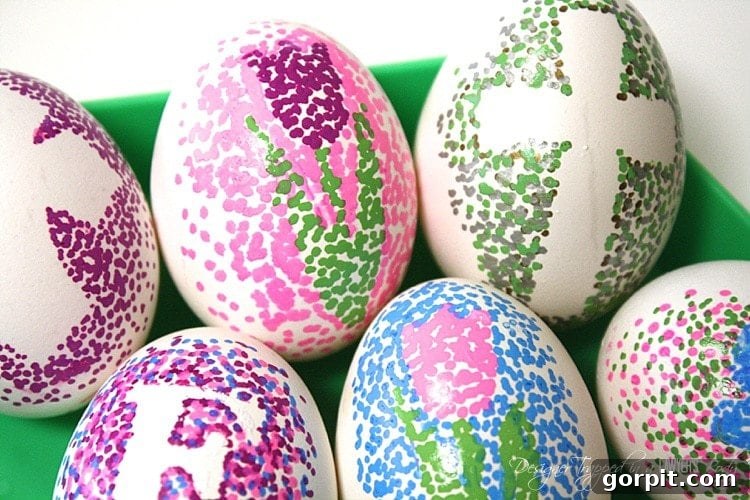
- Fill and Enhance: Alternatively, you can fill the white space with more dots! For example, with my tulip eggs, I decided to fill the tulip shape with a different color of dots, adding another layer of depth and visual interest. This allows for even more personalization and creativity. You could use smaller dots, a contrasting color, or even a different dotting pattern within the shape.
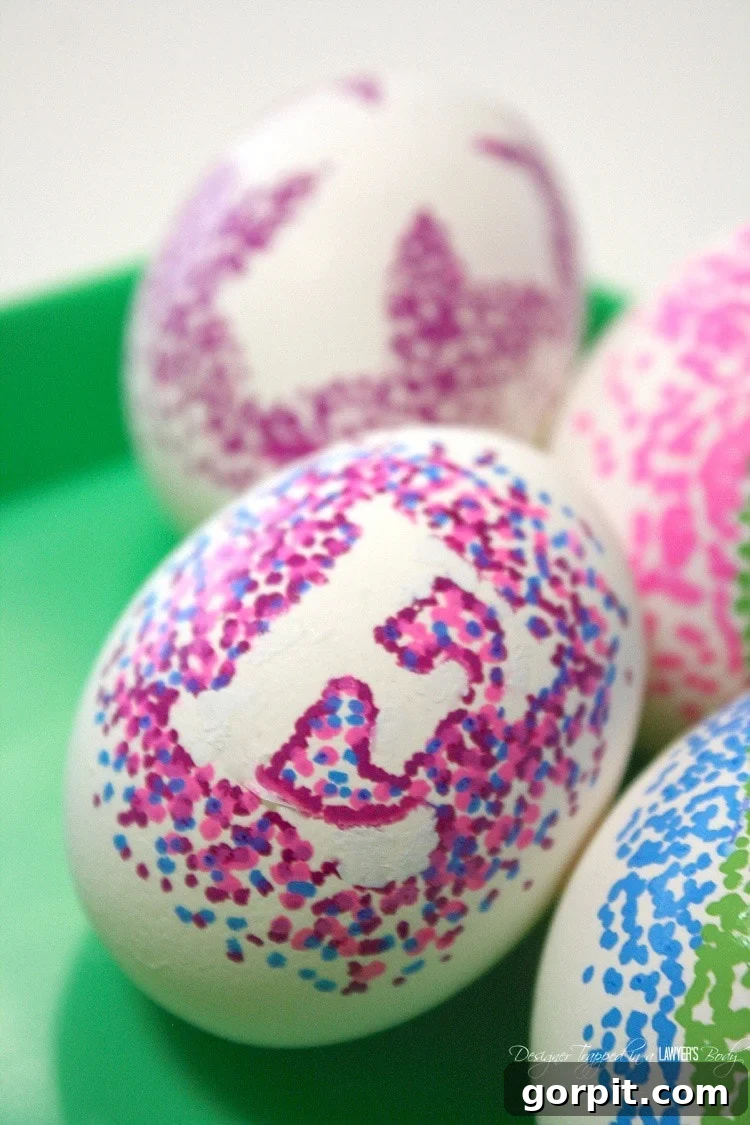
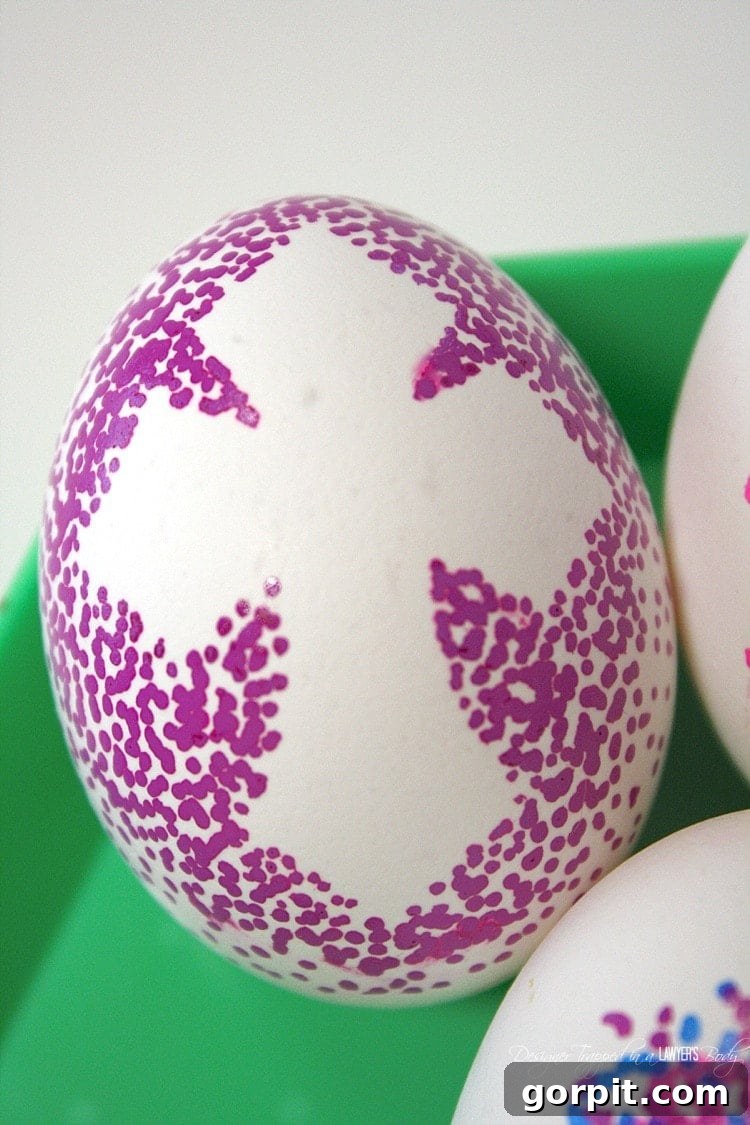
THAT’S IT! Can you believe how incredibly easy and satisfying this process is? The finished dotted Easter eggs are truly beyond fabulous – each one a unique miniature artwork. Best of all, this activity is not only fun but also quick, incredibly easy, and wonderfully inexpensive. It eliminates the mess and fuss often associated with traditional egg dyeing, making it a perfect project for crafters of all ages. Your kids will undoubtedly enjoy this creative, hands-on method, producing beautiful eggs they’ll be proud to display!
Why Choose Dotted Sharpie Easter Eggs?
- No Mess: Forget about vinegar smells, stained hands, and messy spills. Sharpie paint pens are clean and easy to control.
- Vibrant Colors: Sharpie paint pens offer rich, opaque colors that pop beautifully against the eggshell, often more vibrantly than traditional dyes.
- Customizable Designs: The possibilities are truly endless! From simple dots to complex patterns, and using various sticker shapes, you can create unique designs that reflect your personal style.
- Kid-Friendly: With minimal supervision, even younger children can participate in this craft, fostering their creativity and fine motor skills in a safe way.
- Long-Lasting: If you use blown-out eggs, these decorative pieces can last for years as cherished keepsakes.
Tips for Perfect Dotted Eggs Every Time:
- Clean Eggs: Ensure your hard-boiled eggs are completely clean and dry before you start. Any moisture or residue can affect sticker adhesion and paint application.
- Test Your Pens: Before dotting your egg, do a quick test on a piece of scrap paper to ensure the paint pen is flowing smoothly and the color is consistent.
- Steady Hand: For crisp dots, try to keep a steady hand. If you’re struggling, place the egg in an egg cup or a small bowl to stabilize it.
- Experiment with Dot Sizes: Use varying pressure or even different sized paint pens to create a dynamic look with a mix of large and small dots.
- Layer Colors: For a truly unique effect, try dotting with one color, letting it dry, and then adding another layer of dots in a contrasting color on top.
If you enjoyed this innovative decorating technique, you will absolutely love how I use the same easy method on mugs! It’s a fantastic way to personalize everyday items and makes for thoughtful, handmade gifts.
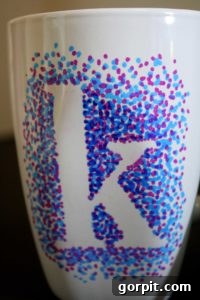
Beyond Easter eggs, the world of DIY decorations and home styling offers endless possibilities. Here are some other inspiring posts you may enjoy:
- My Favorite DIY Easter Decorations + More: Dive into a treasure trove of creative projects to adorn your home for the spring season.
- Decorating Easter Eggs With Dots and Glitter: If you love dots, why not add some sparkle? This post explores combining dots with glitter for extra festive flair.
- Easy Dotted Sharpie Mugs: Extend your dotting creativity beyond eggs to create personalized mugs, perfect for gifts or brightening your own kitchen.
- Personalized Easter Mason Jars: Discover another simple yet impactful way to craft unique Easter decor using everyday mason jars.
Are you wondering how I manage to transform rooms and spaces in our home with such cohesive and stylish results? The secret lies in a structured, actionable approach that simplifies the decorating process. Check out my acclaimed system, Designer in a Binder®. It’s designed to help you style your home affordably and efficiently, making your design dreams a reality.
I hope this tutorial inspires you to try your hand at creating these beautiful dotted Sharpie Easter eggs. It’s a fantastic way to add a personal and artistic touch to your holiday celebrations without the usual mess. Don’t forget to share your amazing creations with me!
And if you’re eager for exclusive content, behind-the-scenes sneak peeks, and fresh decorating ideas delivered straight to your inbox, be sure to subscribe to my newsletter before you head out! Join our creative community and never miss a new project or design tip.