Few things are as frustrating as a door that refuses to close or latch properly. Whether you’ve just updated your door hardware and the new strike plate isn’t cooperating, or your doors have simply started acting up over time, these common issues can compromise your home’s privacy, security, and even energy efficiency. The good news? You don’t always need a professional to solve this problem. Today, we’re diving into a simple, effective guide on how to fix a door that won’t close or latch, making it an easy DIY project for any homeowner!
Table of Contents
Identify the Root Cause of Your Door Problem
Before you grab your tools, it’s crucial to correctly identify why your door isn’t closing or latching. A proper diagnosis will save you time and effort, ensuring you apply the right fix. Most issues stem from either the door latch alignment or loose hinges.
Checking Door Latch and Strike Plate Alignment
The most common culprit for a door that won’t latch is a misalignment between the door’s latch bolt and the hole in the strike plate on the door frame. Over time, houses settle, wood expands or contracts with humidity, or new hardware might not be perfectly identical to the old. Any of these factors can shift the alignment. To confirm if this is your issue, try this simple trick:
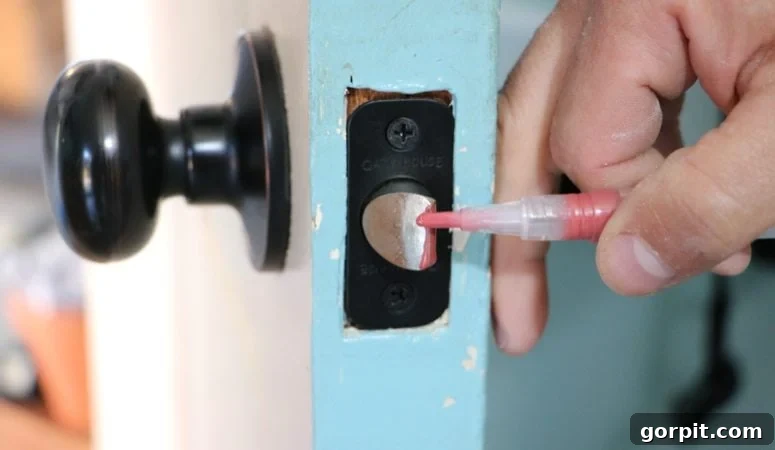
- The Lipstick Test: Take a tube of lipstick (or even a crayon or marker) and apply a small amount to the very tip of your door latch bolt.
- Close the Door Gently: Carefully close the door as far as it will go without forcing it to latch.
- Observe the Mark: Open the door and inspect the strike plate. The lipstick will have transferred onto the strike plate, indicating the exact point where the latch bolt is hitting.
If the lipstick mark doesn’t perfectly center within the strike plate’s hole – perhaps it’s too high, too low, or too far to one side – you’ve pinpointed an alignment problem. This visual cue is invaluable for understanding precisely how much and in which direction the strike plate needs to be adjusted.
Inspecting Your Door Hinges
Sometimes, the problem isn’t the latch itself, but the way the door hangs within the frame. Loose or poorly installed hinges can cause the door to sag, leading to misalignment. To check your hinges:
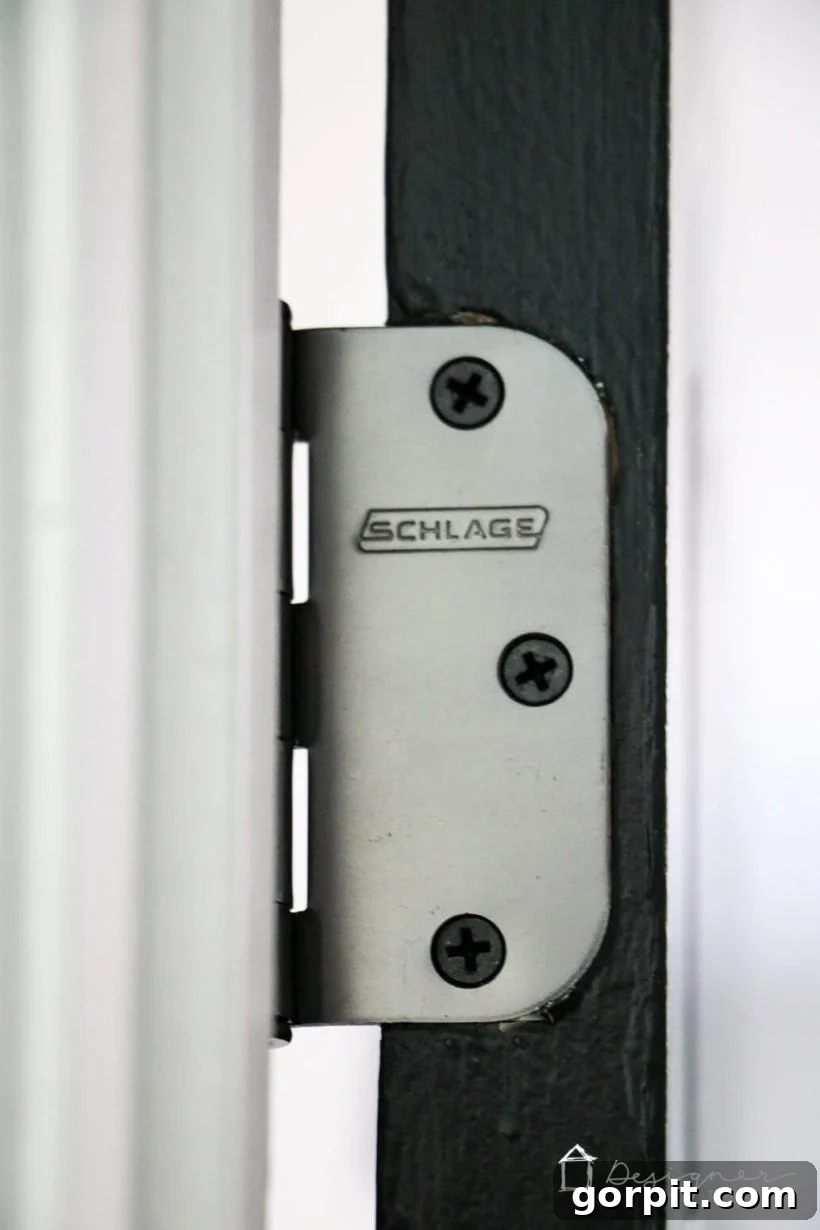
- Tighten Screws: Use a screwdriver to tighten all the screws on both the door-side and jamb-side of each hinge. Sometimes, this simple step is all it takes to lift a sagging door and bring the latch back into alignment.
- The 3-Inch Screw Trick: If tightening the existing screws doesn’t resolve the issue, you might need to try a more robust solution. Remove one of the screws on the jamb side of the hinge (the side attached to the door frame). Replace it with a longer, 3-inch screw. This extended screw will reach beyond the door jamb and into the framing stud behind it, effectively pulling the entire door jamb closer and tighter to the wall structure. This action can significantly adjust the door’s position.
- Strategic Screw Placement: To raise the door latch slightly, use the long 3-inch screw in the top hinge. To lower the latch, use the long screw in the bottom hinge. This targeted approach allows for fine-tuning the door’s vertical position to achieve perfect latch alignment.
Before proceeding with strike plate adjustments, always ensure your hinges are secure and performing optimally, as this can often be the underlying cause of closure problems.
Overcoming the Challenge of Repositioning: Why Old Screw Holes Matter
Let’s say your issue isn’t loose hinges, but rather a strike plate that’s just a tiny bit off, perhaps too far forward or backward. This was precisely our problem when installing new door hardware. We only needed to move the strike plate by a fraction of an inch, but this presented a unique challenge: drilling new screw holes too close to the existing, now-empty holes.
Attempting to drive new screws directly adjacent to old, stripped screw holes often results in one large, unusable hole. The wood fibers around the old holes are already damaged and compromised, meaning new screws won’t have anything solid to grip onto. This leads to loose hardware, a strike plate that wiggles, and a door that still doesn’t latch securely – essentially, you’re back to square one.
This is where an effective solution for filling and strengthening old screw holes becomes essential. After thorough research, we discovered that quality epoxy putty is a game-changer for such repairs. Unlike traditional wood fillers or spackle, epoxy putty is specifically designed to restore, rebuild, and permanently repair wood, providing a durable and rock-solid foundation for new screws. It’s perfect for filling old screw holes, even large gaps, or repairing broken corners, creating a surface that is even stronger than the original wood.
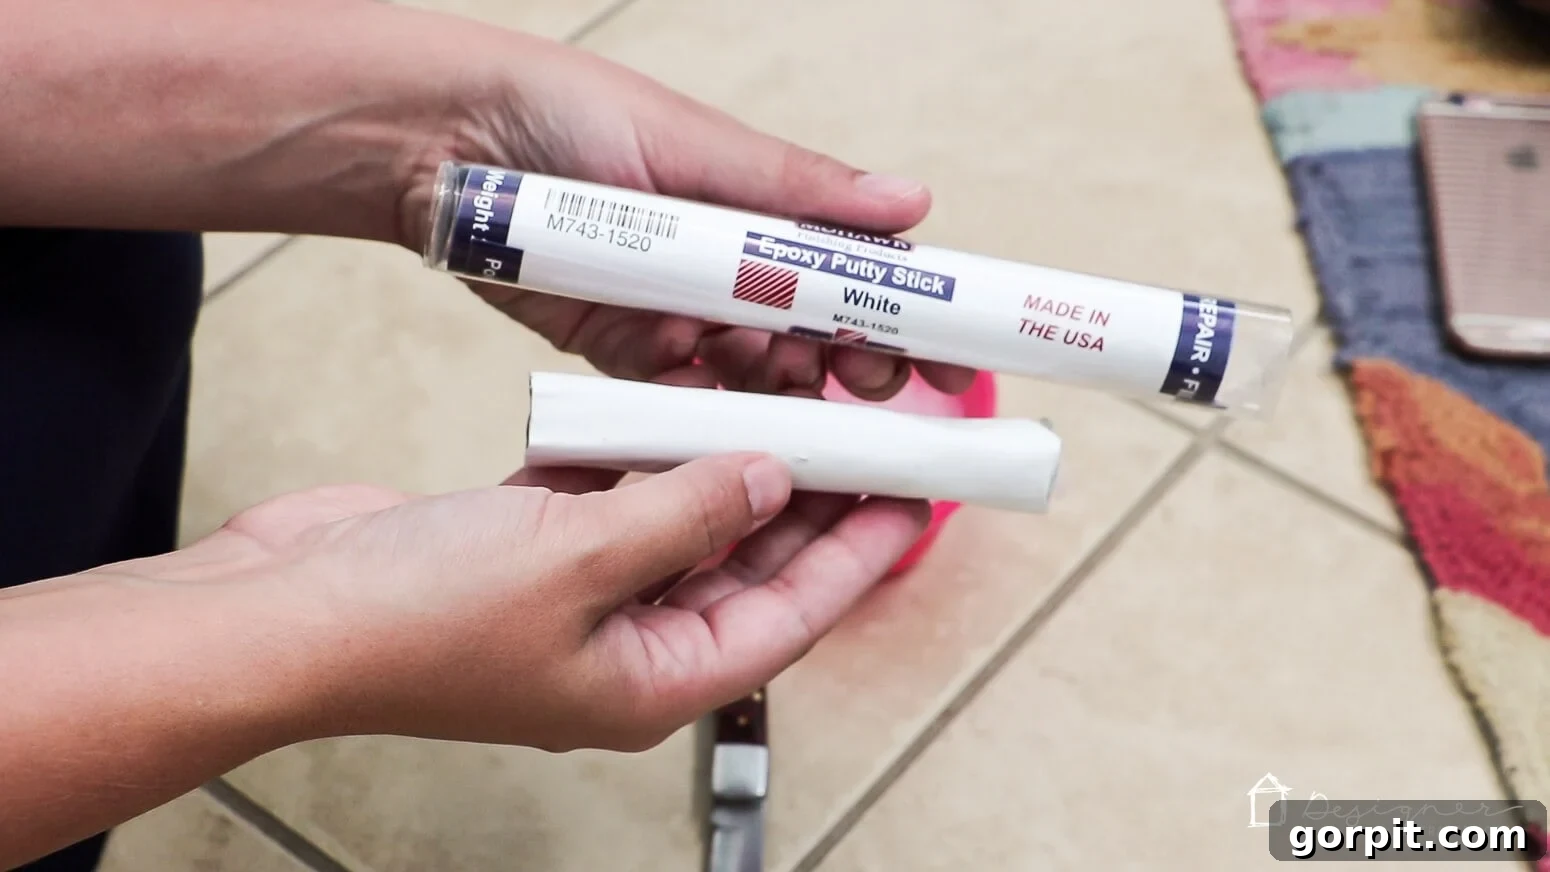
The Mohawk Epoxy Putty Stick, for example, dries significantly harder than wood itself and will not shrink over time. This makes it an ideal choice for ensuring that your newly positioned strike plate or hinges will remain firmly in place for years to come.
This post contains affiliate links for your convenience. Click here for my full disclosure policy.
How to Reposition a Strike Plate (or Hinges) for a Perfect Fit
Now that we understand the problem and the solution, let’s walk through the steps to successfully fix your door. This method is incredibly versatile and can be used not only for repositioning strike plates but also for adjusting door hinges if they require filling old screw holes.
Tools and Materials You Will Need
- Mohawk Epoxy Putty Stick (Choose a color as close to your door frame/trim as possible, though it can be painted later)
- A small dish or container for soapy water
- Liquid soap (a few drops)
- A sharp utility knife or box cutter
- A leveler card or an old credit card (for smoothing)
- Lip gloss or lipstick (for marking alignment)
- Screwdriver (manual or electric, appropriate for your hardware)
- Drill with a small pilot bit (if drilling new screw holes)
Step-by-Step Guide to Door Repair
This detailed process will guide you through filling old screw holes and repositioning your strike plate or hinges. While there might have been a video tutorial previously, these written instructions are comprehensive and easy to follow.
Time needed: Approximately 45 minutes (plus curing time)
-
1. Prepare Your Supplies.
Gather all your materials before you begin. It’s helpful to have everything within arm’s reach. Mix a small amount of liquid soap (a few drops) into about 2 ounces of water in a small dish. This soapy water will prevent the epoxy from sticking to your fingers and tools during application.

Mohawk Epoxy Putty: your secret weapon for door repairs. -
2. Cut and Knead the Epoxy Putty.
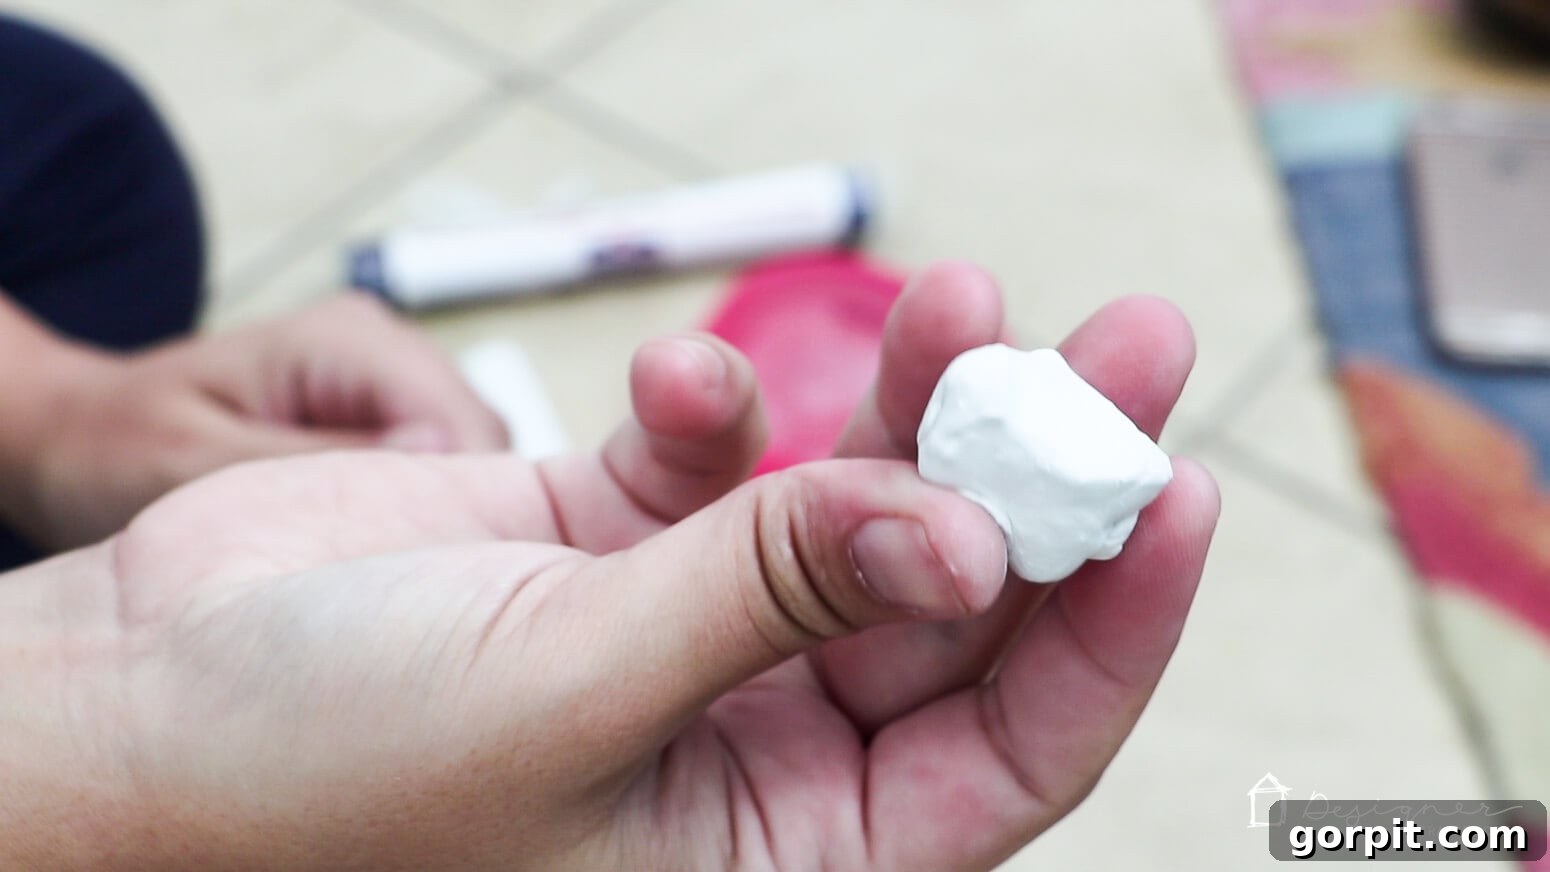
Using your sharp knife, cut off a small piece of your Epoxy Putty Stick. The amount needed will depend on the size and number of screw holes you’re filling. Knead this piece vigorously with your fingers until the color is completely uniform, meaning the inner and outer components are thoroughly mixed. You’ll notice it start to feel warm in your hands as the chemical reaction begins. If the epoxy starts sticking to your fingers, simply dip them in the soapy water and continue kneading. Be aware that epoxy putty has a short working life – typically around 6 minutes after mixing – so work quickly and efficiently.
Kneading ensures a thorough mix and strong bond. -
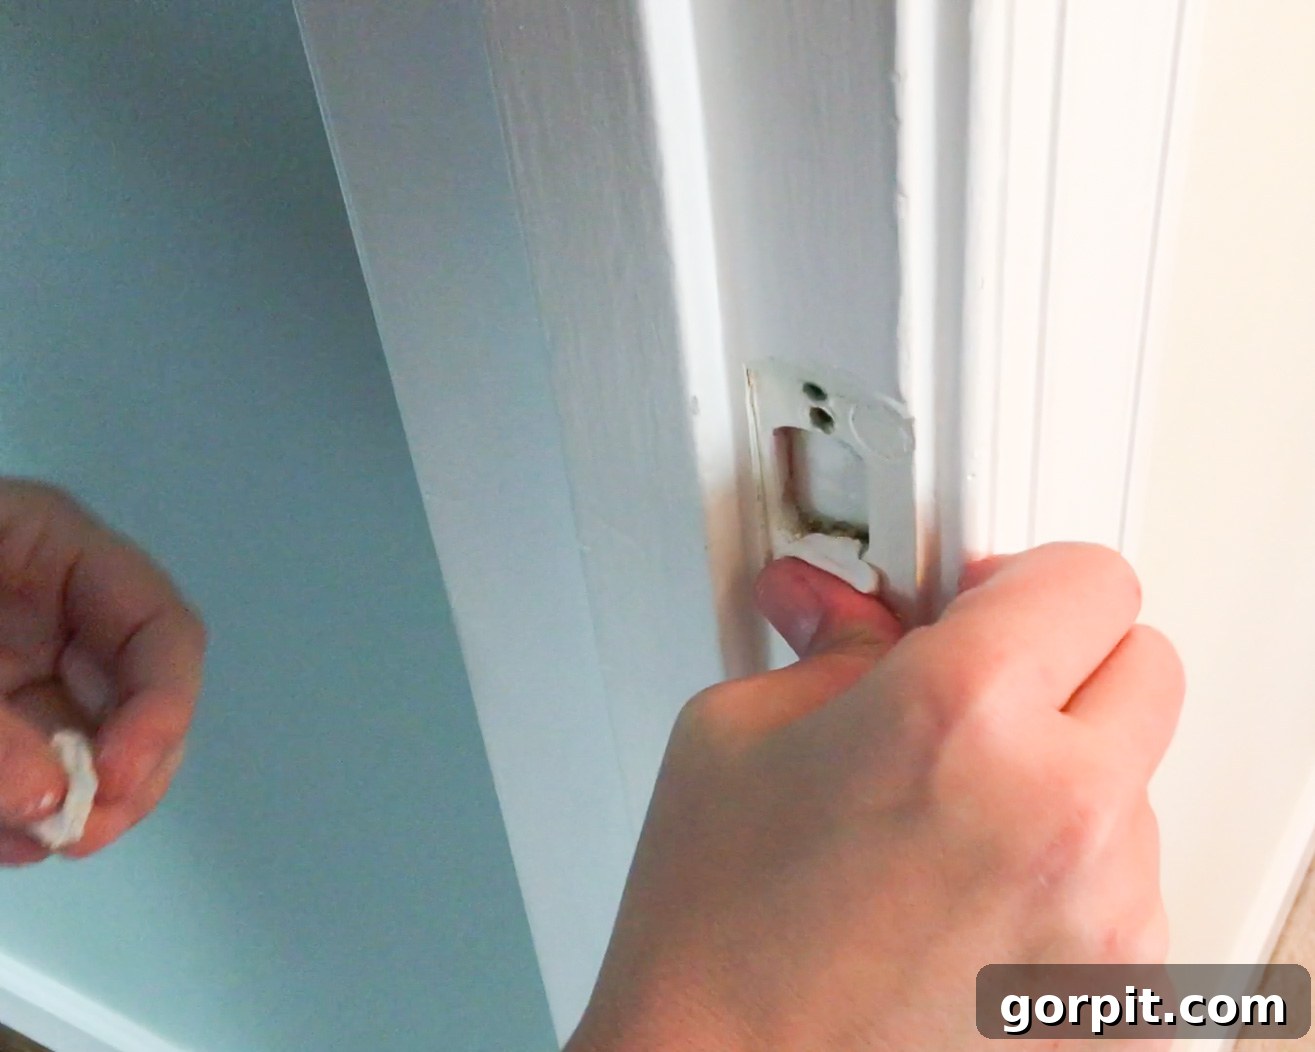
3. Push Epoxy Putty into Old Screw Holes.
Once the epoxy is uniformly mixed, firmly press and push the putty into each of the old screw holes using your fingers. Make sure to overfill the holes slightly, creating a small mound of epoxy above the surface of the wood. Then, use a leveler card or an old credit card to scrape away any excess, ensuring the filled area is flush with the surrounding wood surface. This creates a smooth, level base for your hardware. If the epoxy begins to stick to your card or fingers during this process, lightly moisten them with your soapy water mixture to prevent adhesion.
Fill the holes completely for a lasting repair. -
4. Allow the Epoxy Putty to Cure.
After filling the holes, allow the epoxy putty to cure completely. For best results, let it sit for at least 20 minutes, or longer if specified by the product instructions. The beauty of epoxy putty, made from a resin and hardener, is its incredible strength once cured. The filled surface will be even harder and more durable than the original wood! This means it can be sanded, drilled, stained, or painted just like wood. The new surface will be exceptionally robust, allowing you to drive fresh screws into it with confidence, knowing they will hold securely.
-
5. Reposition the Strike Plate (or Hinges) and Install.
Once the epoxy putty has fully cured and hardened, you’re ready to reposition your hardware. If you haven’t already, use the lipstick or lip gloss trick again to precisely mark where the door latch meets the frame. Align your strike plate or hinges according to this mark, ensuring the latch will enter the strike plate opening smoothly. With the old holes now solidly filled, you can drill new pilot holes as needed (using a drill bit slightly smaller than your screw diameter) and drive in your new screws firmly. Test the door repeatedly to confirm it closes and latches perfectly.
That’s it! Fixing a door that won’t close or latch might seem daunting at first, but with the right diagnosis and this simple epoxy putty technique, it’s an easy DIY project that yields satisfying results. Whether it’s a minor alignment tweak or a more substantial repair involving stripped screw holes, you now have the knowledge to tackle it yourself. Don’t let a faulty door compromise your home’s functionality or aesthetics any longer. With a little effort and the right materials, you can have your doors operating like new, restoring convenience, security, and peace of mind to your living space!
More HELPFUL HOME REPAIR Guides
SEE ALL HOME IMPROVEMENT POSTS
-
How to Fix a Hole in the Wall Yourself the Easy Way!
-
How to Match A Paint Color That’s Already On A Wall
-
How to Repair Holes in Your Doors
-
How to Repair Drywall: Tips for “Smallish” Repairs
-
How to Repair Chipped Baseboards
Curious about transforming rooms and spaces in your own home? Discover the strategies and insights in Designer in a Binder®.
For exclusive content and behind-the-scenes sneak peeks into home design and DIY, be sure to subscribe to our newsletter before you leave!