Transform Your Home: The Ultimate Guide to Decoupaging Napkins on Any Surface
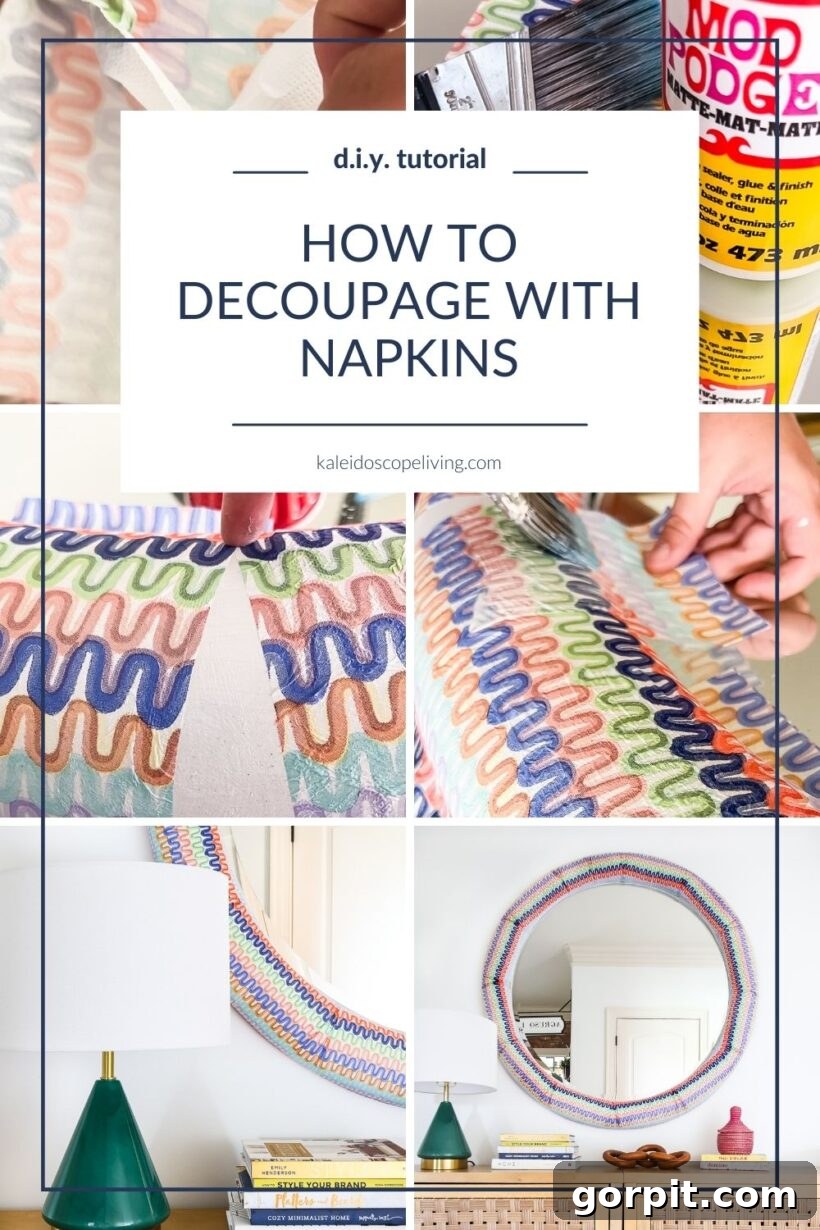
Decoupage is an incredibly versatile and rewarding craft that allows you to infuse any ordinary object with unique color and pattern. While many associate decoupage with fabric, paper, or even specialized decoupage papers, there’s an often-overlooked material that offers stunning results at a fraction of the cost: napkins! Yes, those delicate paper napkins you find in countless beautiful designs can be transformed into exquisite decorative elements for almost any smooth surface.
If you’ve followed my creative journey, you know my passion for decoupage runs deep. I’ve previously used fabric to give furniture an “upholstered” look, created one-of-a-kind wall quotes from decoupaged chipboard letters, and even revamped an Ikea kids’ table and chairs with playful patterns. Fabric is fantastic, but its cost can sometimes be a barrier. This led me to explore a more budget-friendly alternative, and the answer was a resounding “yes” to the question: “Can you decoupage napkins?”
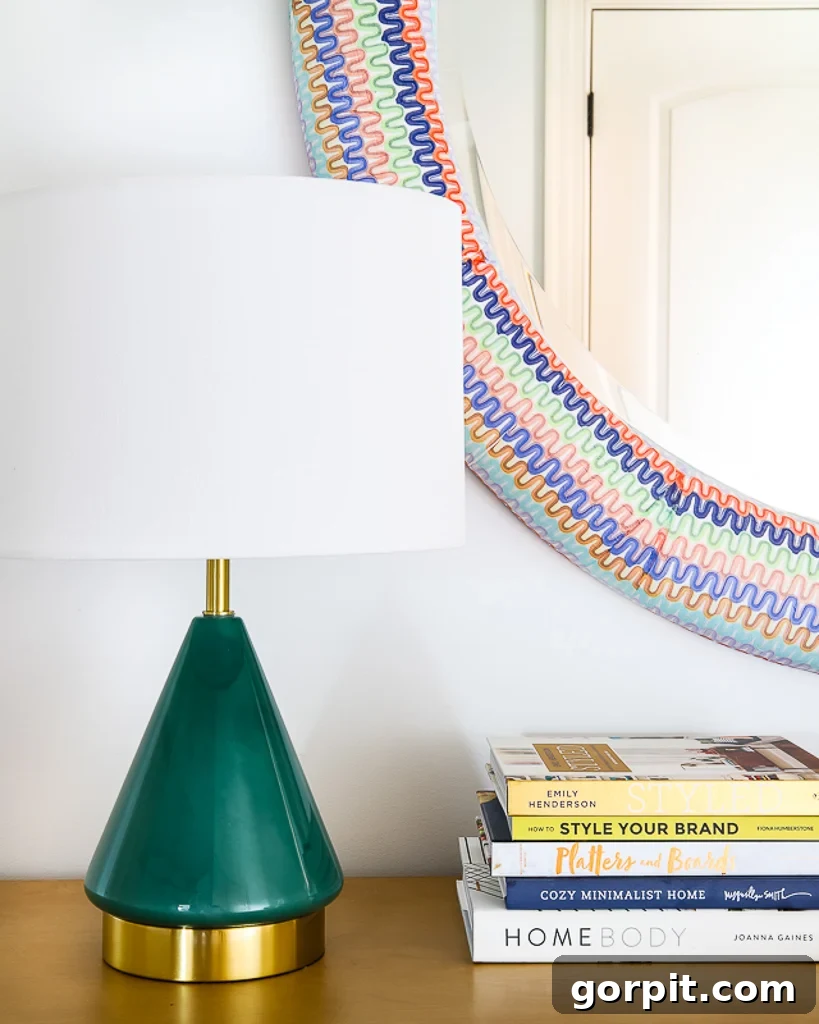
After thorough experimentation, I successfully decoupaged napkins onto an old mirror, breathing new life into a forgotten piece. The result was breathtaking, and the entire project cost me a mere $16 for two packs of napkins, with plenty left over! While working with napkins requires a bit of patience and a slight learning curve due to their delicate nature, the techniques and insights I gathered along the way will empower you to achieve professional-looking results. Let’s dive into the world of napkin decoupage and unlock its potential to customize almost anything!
Essential Insights for Napkin Decoupage Success
Decoupaging with napkins opens up a world of creative possibilities. You can apply them to an extensive array of smooth surfaces, including wood, paper, fabric, glass, metal, tin, terra cotta, MDF, and more. For beginners, or anyone looking for the smoothest application, I highly recommend selecting a relatively smooth surface. The inherent delicacy of napkins means that a heavily textured surface could make application considerably trickier, increasing the risk of tears and imperfections. Opting for a smooth base minimizes these challenges and ensures a more satisfying crafting experience.
- Pros of Napkin Decoupage:
- Cost-Effective: Napkins are incredibly inexpensive, making them an ideal choice for large projects or when you want to experiment without a significant financial commitment.
- Abundant Patterns: The variety of napkin designs available is astonishing. From intricate florals to modern geometrics, whimsical characters to elegant motifs, you can easily find patterns that perfectly match any style or theme. Many specialty paper stores, like Paper Source, offer exquisite selections.
- Delicate Aesthetic: Unlike heavier materials such as fabric, napkins create a wonderfully delicate and subtle finish. Once decoupaged, their thinness allows the underlying surface to peek through slightly, creating a soft, almost painterly effect that fabric cannot replicate.
- Cons and Challenges:
- Extreme Delicacy: This is the primary challenge. After removing the plain, non-printed layers (which is crucial), the patterned layer becomes incredibly thin. This makes it highly prone to tearing, especially when wet with decoupage medium like Mod Podge. Handle with extreme care.
- Wrinkling is Inevitable (Often): Due to their thinness and the wetting process, avoiding some degree of wrinkling, particularly on curved surfaces, is almost impossible. Instead of fighting it, learn to embrace these natural imperfections as part of the charm and character of your handmade piece.
- Valuable Tips and Tricks:
- Plastic Wrap Technique: Many crafters swear by placing a piece of plastic wrap over the wet napkin and gently smoothing it to remove wrinkles without direct contact, thus preventing tears. While I didn’t find this method highly effective for my specific project, it’s widely recommended and might work wonders for you. Give it a try!
- Hairspray Pre-Treatment: Another popular tip is to lightly spray your patterned napkin layer with hairspray before applying it. The hairspray can add a subtle stiffness, making the napkin slightly more robust and easier to handle, reducing the chances of tearing. This is something I plan to experiment with in future projects.
- Sanding and Sealing: Whether or not to sand or seal your finished project depends entirely on its intended use. For items that will see frequent handling or potential exposure to moisture, sanding edges for a smooth feel and applying a protective sealer is highly advisable. However, for decorative pieces like wall art or mirrors that won’t be regularly touched or get wet, like my mirror project, these steps might be unnecessary. Remember, Mod Podge is water-resistant, not fully waterproof, and has limited heat resistance. Choose a suitable topcoat if your project demands more durability.
This post contains affiliate links for your convenience. Your support helps keep this blog running! Click here for my full disclosure policy.
Step-by-Step Guide: Decoupaging Napkins onto a Smooth Surface
Materials Needed
Before you begin, gather all your supplies to ensure a smooth and enjoyable crafting process:
- Paper Napkins: The star of our project! Look for high-quality, multi-ply napkins with vibrant patterns. I highly recommend checking out Paper Source for a fantastic and modern selection.
- Decoupage Medium: My go-to is always Mod Podge. For this project, I used Mod Podge Matte for a non-glossy finish, but there are various formulas (gloss, outdoor, fabric) depending on your project’s needs.
- Applicator Brush: A multi-purpose bristle brush or a foam brush works well for applying Mod Podge smoothly. Choose a soft brush to minimize tearing the delicate napkin.
- Disposable Cup: Perfect for pouring a small amount of Mod Podge, making it easier to dip your brush without contaminating the entire bottle.
- Plastic Ziploc Bag: A handy tool for smoothing out napkins (if you choose to try the plastic wrap method, or just to protect your hands).
- Wet Rag or Sponge: Essential for quickly correcting mistakes or wiping away excess Mod Podge before it dries.
- Optional: Utility knife, sandpaper (fine-grit), primer (if your surface isn’t bright white), caulk (for specific finishing touches).
Step 1: Select Your Project Surface
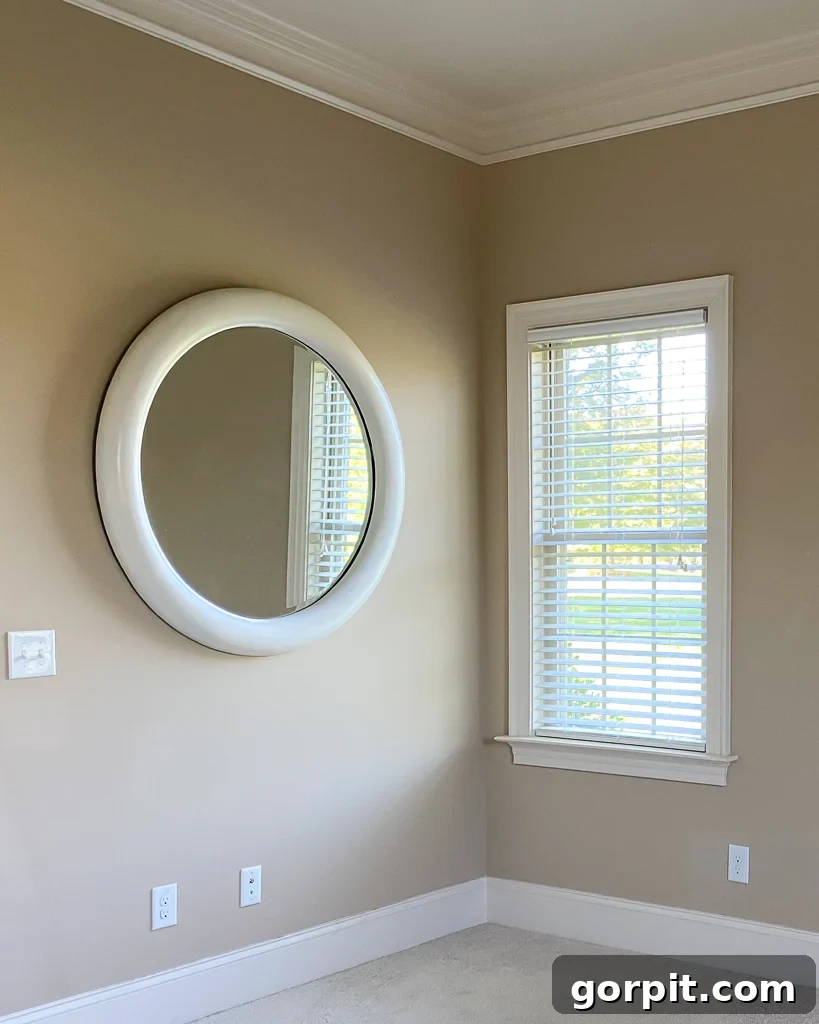
The foundation of any successful decoupage project is the right surface. For my demonstration, I selected a large, round wooden mirror that the previous owners of our current home had left behind. Its substantial size (44 inches in diameter) and elegant, thick, rounded frame made it a perfect candidate for a decorative makeover. While it was aesthetically pleasing in its original white, it lacked the vibrant personality I desired. Napkins offered an ideal solution to infuse it with color and pattern, transforming it from pretty but plain to a captivating statement piece. Consider upcycling old trays, plain wooden boxes, terracotta pots, glass vases, or even sections of furniture. The key is to pick a surface you’re excited to transform.
Step 2: Choose Your Napkins & Decoupage Medium
The selection of your napkins is where your personal style truly shines. I instantly fell in love with a particular design at Paper Source, and I heartily recommend starting your search there. Many traditional napkin designs can feel a bit dated, but Paper Source consistently offers a wide array of fresh, colorful, and modern options that cater to diverse tastes. Look for patterns that inspire you and complement your home decor. Consider the size of the napkin relative to your project; larger motifs might work better on expansive surfaces, while smaller, repeating patterns are more forgiving on intricate or curved areas.
As for the decoupage medium, Mod Podge remains my trusted companion for all decoupage endeavors. For this mirror project, I opted for Mod Podge Matte to achieve a subtle, non-reflective finish that beautifully highlights the napkin’s pattern. If you desire a shiny look, go for Mod Podge Gloss. For items that might encounter the outdoors or more frequent use, consider Mod Podge Outdoor or Hard Coat options, which offer enhanced durability.
Step 3: Clean and Prepare Your Surface Thoroughly
Proper surface preparation is paramount for ensuring optimal adhesion and a flawless finish. Since my mirror had been stored in the attic, it required a thorough cleaning to remove dust, grime, and any residual dirt. Use a mild detergent and water, then wipe it completely dry. For wood surfaces, a light sanding can help create a better “tooth” for the Mod Podge to grip, but ensure you wipe away all sanding dust afterward. If your surface is dark or colored, and you want the true, vibrant colors of your napkins to pop, consider applying a coat of multi-purpose primer. I primed my mirror’s white frame to ensure the napkin colors appeared as bright and vivid as possible. While optional for most projects, this step can significantly enhance the final aesthetic, especially with light-colored napkins on dark surfaces.
Step 4: Plan Your Napkin Layout (Crucial for Complex Projects)
This step is often underestimated but can significantly impact the success of your project, especially when working with patterned napkins or non-flat surfaces. I must admit, selecting a linear pattern to apply to a round AND curved mirror frame certainly added an extra layer of complexity to my project! However, my love for the napkins compelled me to embrace the challenge. I discovered that angling the square napkins allowed me to match patterns effectively. This approach also created small triangular gaps, which I planned to fill in later with cut-out napkin pieces, ensuring a seamless look.
The bottom line here is simple: if your surface is large, curved, or anything other than a simple flat plane, take the time to plan your layout *before* you even think about applying Mod Podge. Lay out your napkins dry, visualize the pattern flow, and consider how the edges will meet. This foresight will save you frustration and potential waste later on, ensuring your final piece looks cohesive and professionally finished.
Step 5: Carefully Separate Your Napkin Layers
This is a critical step, as most decorative paper napkins consist of multiple layers – typically two or three plain white layers with one patterned layer on top. For decoupage, you absolutely must use only the single-ply patterned layer. Failure to do so will result in a thicker application, visible white backing, and much more difficulty in achieving a smooth finish.
To separate the layers, gently rub a corner of the napkin between your thumb and forefinger. You’ll usually feel the layers start to pull apart. If they’re particularly stubborn, try sticking a small piece of Scotch tape to one corner of the top layer and carefully peeling it back. Work slowly and patiently, as the single patterned layer is incredibly fragile. Take your time to remove all white backing layers until you are left with just the thin, printed sheet. Prepare several napkins in advance so you don’t have to pause during the application process.
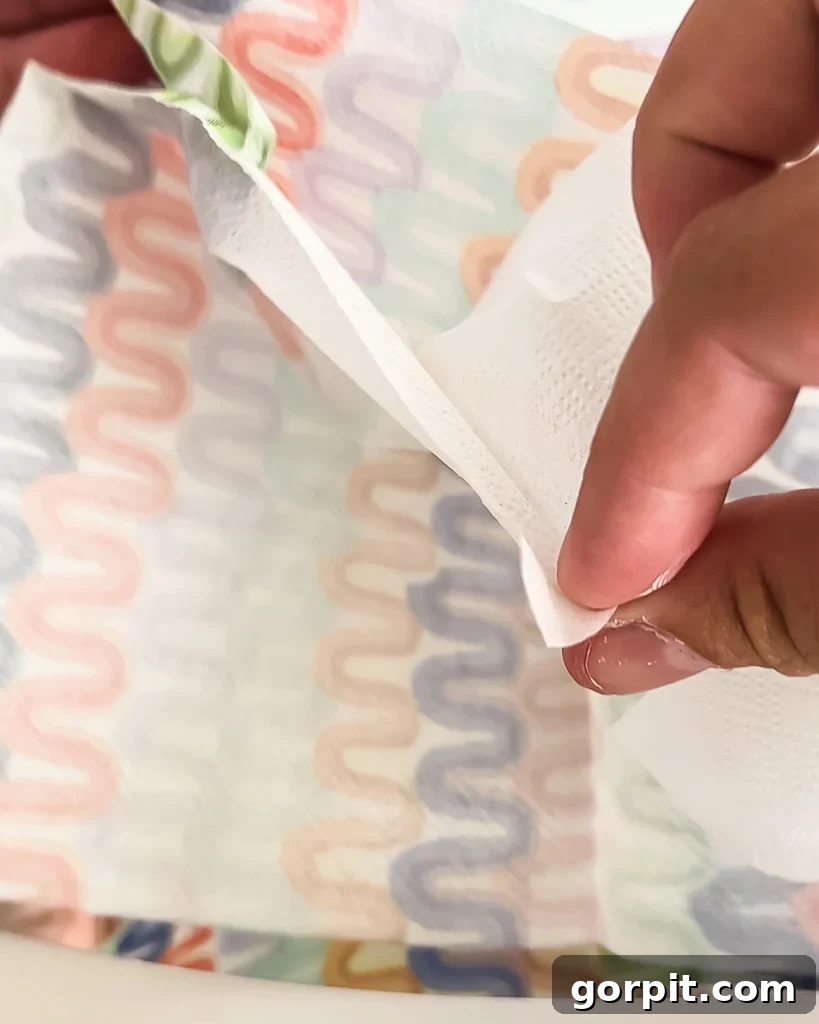
Step 6: Time to Decoupage!
Now for the main event! There are a couple of methods for applying napkins, but through trial and error, I found a superior approach for delicate napkins. I personally found it significantly easier to place my dry napkin directly onto the wood mirror frame first, then *only* apply Mod Podge on top of the napkin. The alternative—coating your surface with Mod Podge, then trying to lay the napkin on top and smooth it—proved much more challenging. When placed on wet Mod Podge, the fragile napkin immediately becomes saturated and extremely difficult to reposition even slightly without tearing. By applying Mod Podge only to the top, you can position your dry napkin precisely where you want it on a smooth, dry surface, and its extreme thinness ensures ample adhesion once the medium is applied over it.
The key to success here lies in your brush pressure. Apply the Mod Podge with firm, consistent pressure, but avoid being overly aggressive. Too light, and you’ll need multiple strokes over the same spot, weakening the napkin. Too rough, and you risk immediate tearing. Aim for a single, confident stroke to cover each section. Smooth out any bubbles or wrinkles as you go, working from the center outwards. If you make a mistake and a napkin tears or isn’t positioned correctly, do NOT panic. While the Mod Podge is still wet, simply use a damp cloth to gently scrub off the ruined section. It will come right off! I had to do this a few times, and I still didn’t use all of my two packs of napkins, so don’t be afraid to correct course.
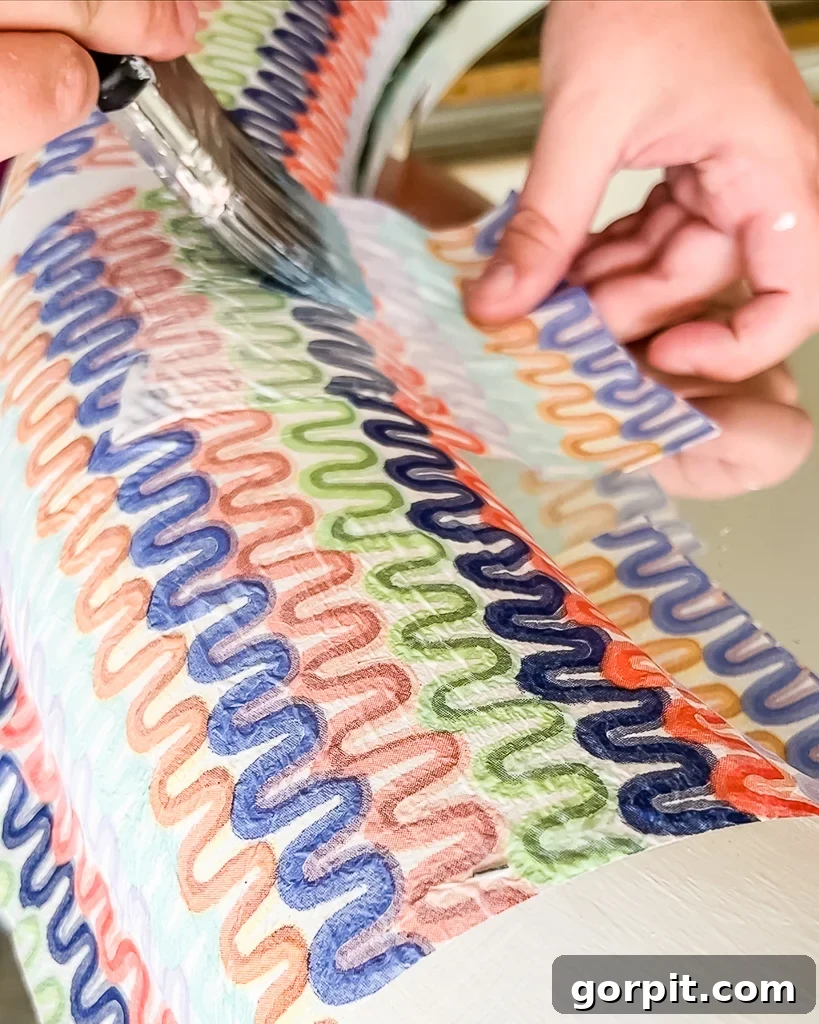
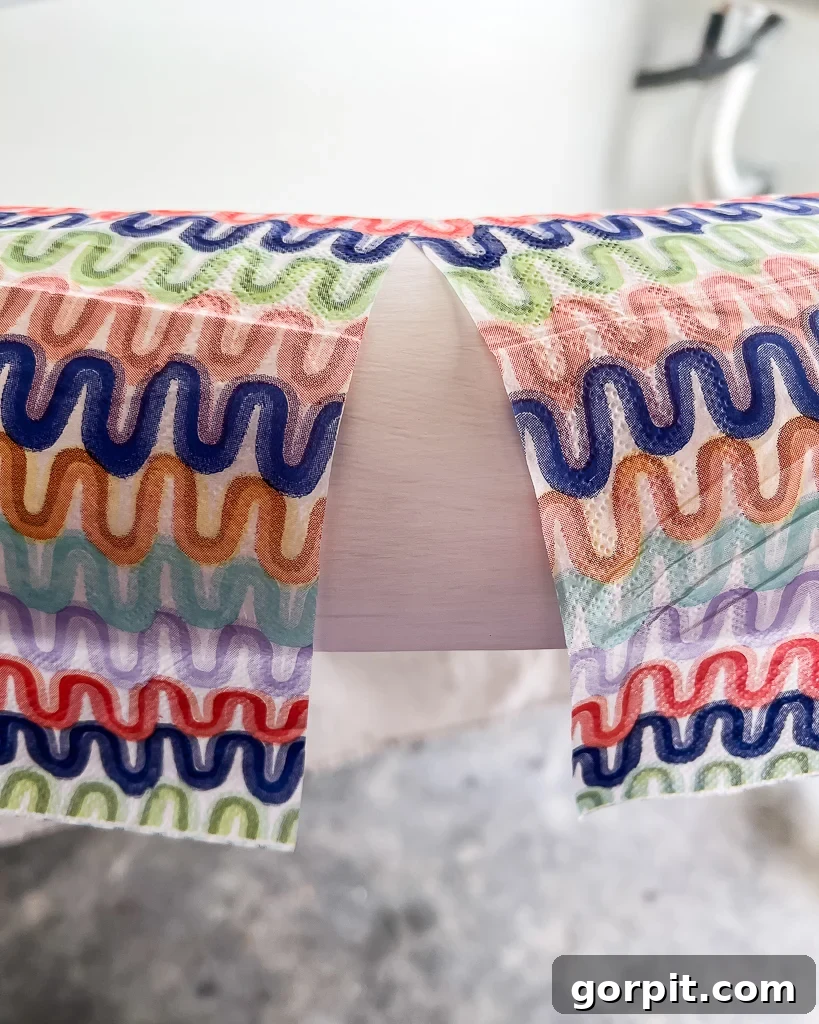
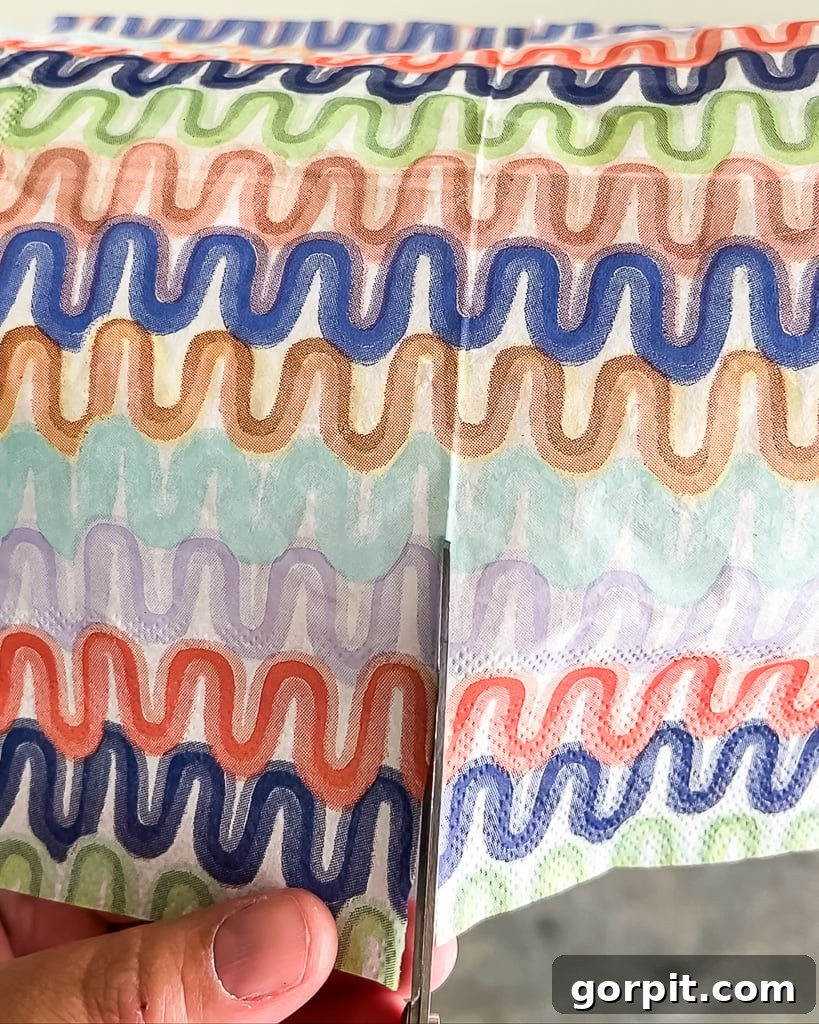
When working on curved or rounded surfaces, like my mirror frame, you’ll find that flat, square napkins don’t conform perfectly. This is where strategic relief cuts come in handy. Carefully make small snips or cuts into the edges of your napkin where it needs to bend or curve. These cuts allow the napkin to overlap slightly and lay flatter, accommodating the contours of your surface with fewer wrinkles. Experiment with how deep your cuts need to be to get the smoothest fit.
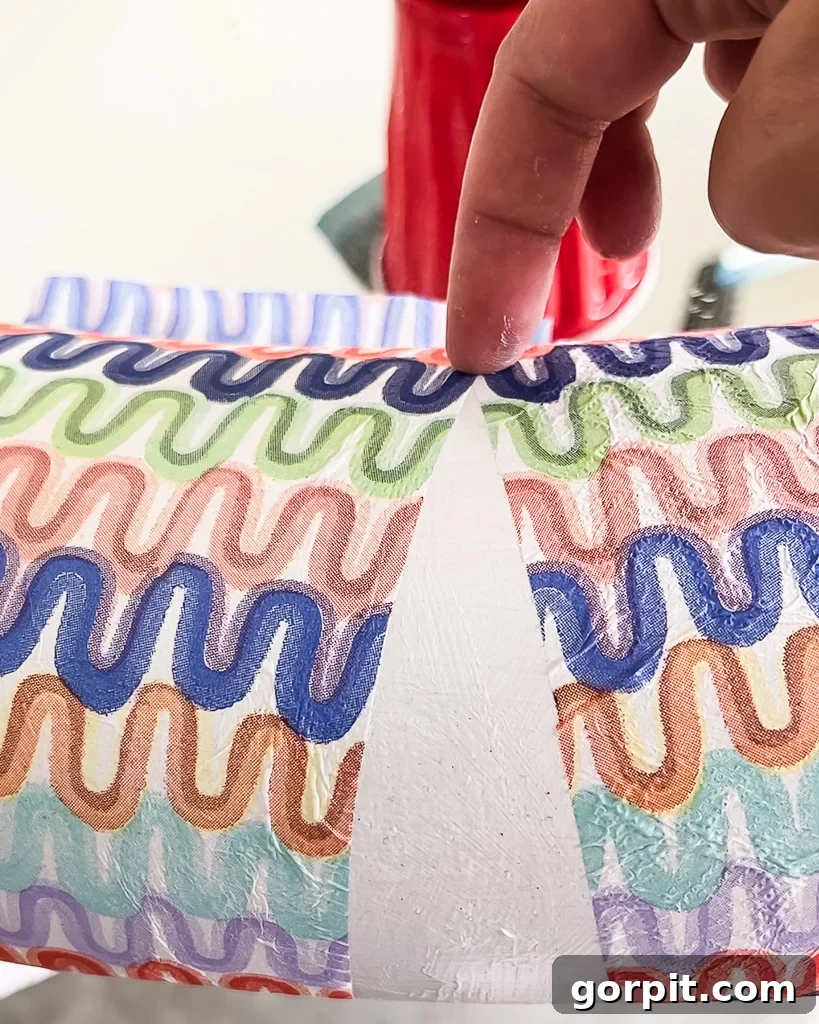
As I mentioned earlier, placing square napkins on a curved surface left some blank spots. This is a common occurrence, especially with intricate layouts. Don’t worry! Simply use leftover scraps of your napkins to cut out pieces that match the shape and size of these blank areas. Carefully apply these “patches” following the same Mod Podge application technique, blending them seamlessly with the surrounding napkin. Once dry, these additions will be virtually invisible, creating a continuous and polished design.
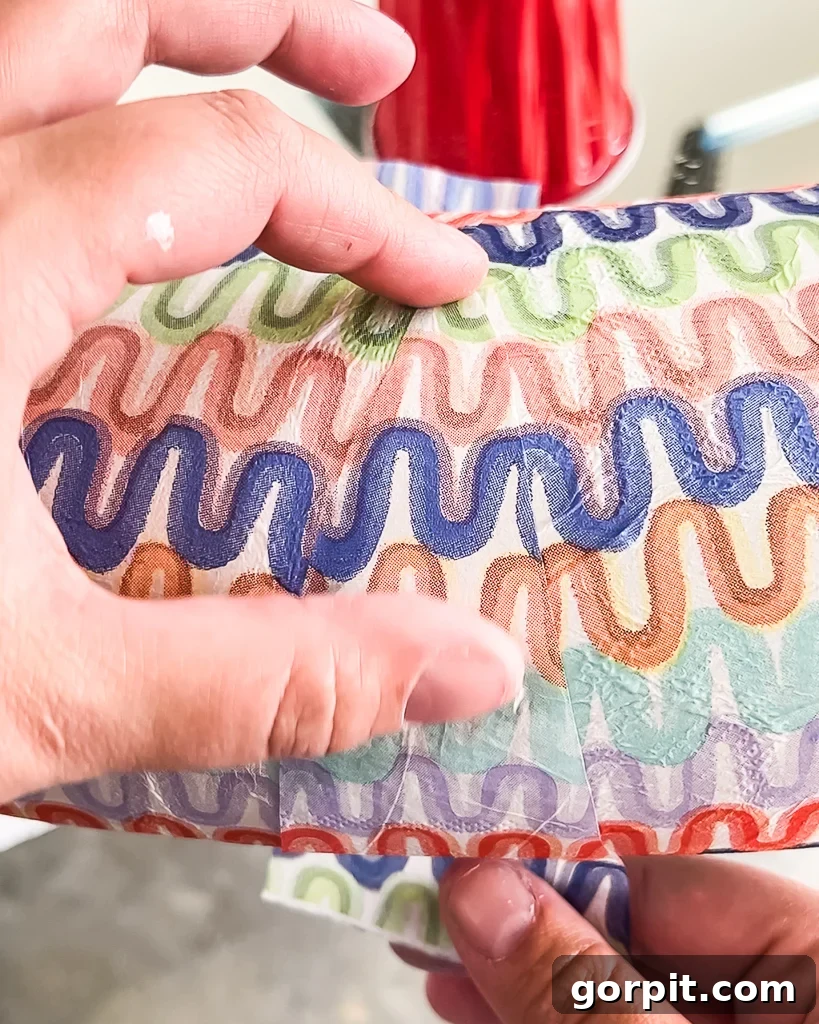
Step 7: Allow to Fully Dry, Harden, and Then Trim as Needed
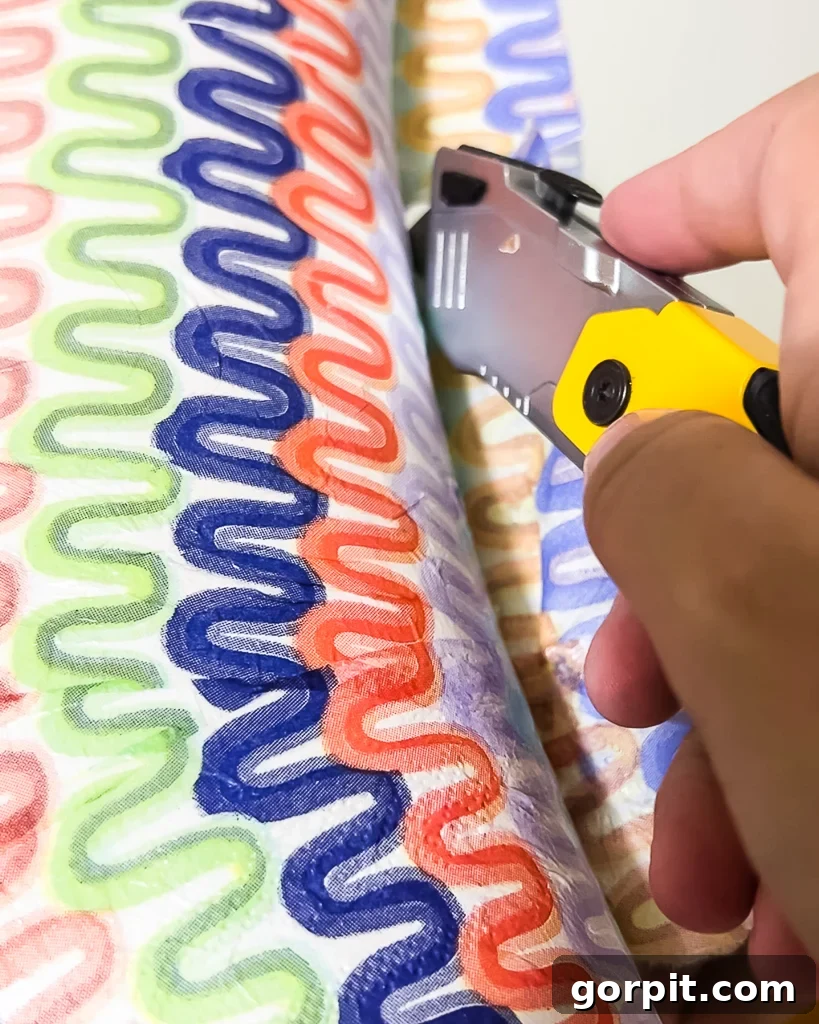
Patience is a virtue in decoupage, especially when it comes to drying time. After applying all your napkins, it’s crucial to allow the Mod Podge to fully dry and harden before attempting any trimming. Rushing this step will only lead to frustrating rips and tears in the still-damp, weakened napkins (trust me, I learned this the hard way!). I let my mirror dry overnight to ensure complete curing.
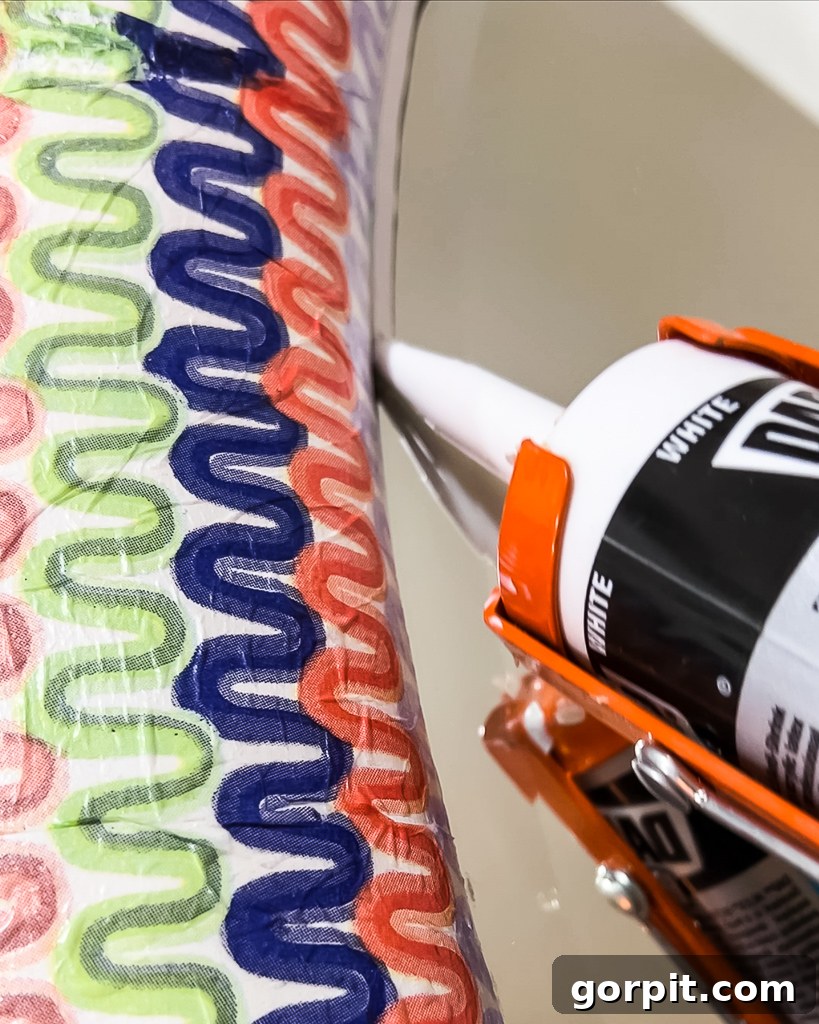
For the outer edges of my mirror frame, I carefully wrapped the decoupaged napkins around the edge, creating a seamless and beautifully finished border. However, the inner edges, where the frame met the mirror, had a significant amount of excess napkin material that needed to be removed. Once completely dry, I used a sharp utility knife to meticulously trim along the inner edges, creating a crisp, clean line. To further refine the finish and eliminate any tiny gaps between the frame and the mirror, I applied a bead of caulk. This final touch gave the mirror a truly professional, custom-made appearance.
Step 8: Optional: Sand and Seal for Durability
The decision to sand and seal your decoupaged project is entirely dependent on its intended use and the level of protection required. For some projects, especially those that will be handled frequently, placed in high-moisture areas, or exposed to varying temperatures, sanding and applying a protective topcoat are highly recommended. A light sanding with fine-grit sandpaper can smooth out any minor imperfections or rough edges, creating a more refined tactile experience. Always wipe away sanding dust thoroughly before sealing.
Remember that while Mod Podge offers good water resistance, it is not completely waterproof, nor is it highly heat resistant. If your project demands enhanced durability against water, heat, or daily wear and tear, consider applying a suitable sealer. Options include clear acrylic spray sealers, polyurethane (available in various finishes like satin or gloss), or specific decoupage sealers. Since my mirror is primarily a wall-hanging decorative piece and won’t be subjected to frequent touching or water contact, I opted not to sand or seal it further. Assess your project’s needs and choose the best protection method for lasting beauty.
And there you have it! The transformation of my once-plain mirror into a vibrant, unique statement piece is complete. I absolutely adore its colorful and one-of-a-kind design.
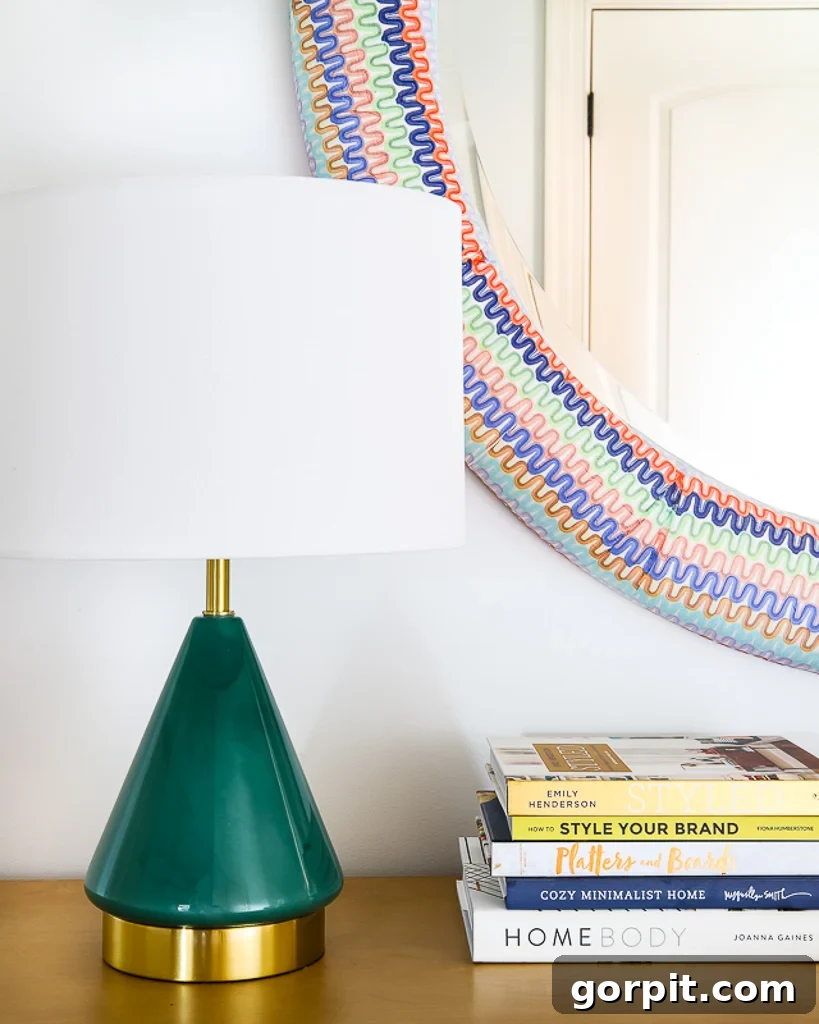
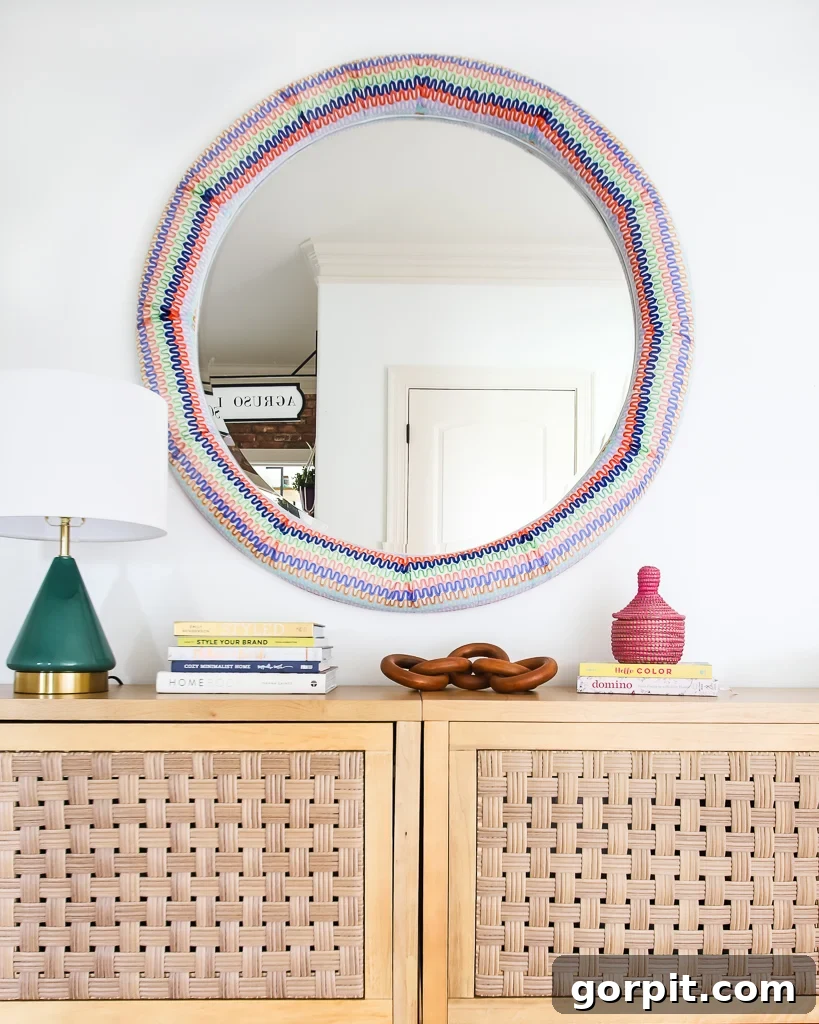
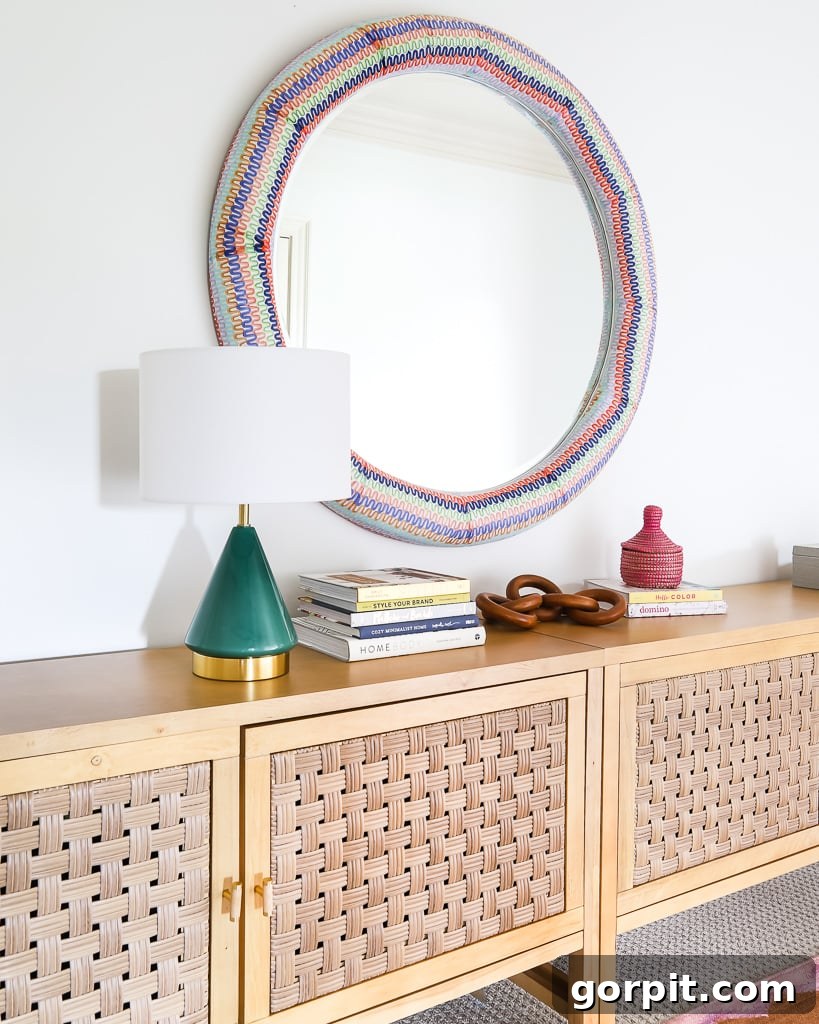
What are your thoughts on this vibrant transformation? Are you feeling inspired to try decoupaging napkins on a project of your own? This budget-friendly and creative technique is an excellent way to personalize almost any item in your home. If you found this tutorial helpful and want to remember these tips and tricks, be sure to save it to Pinterest so you can easily find it later!
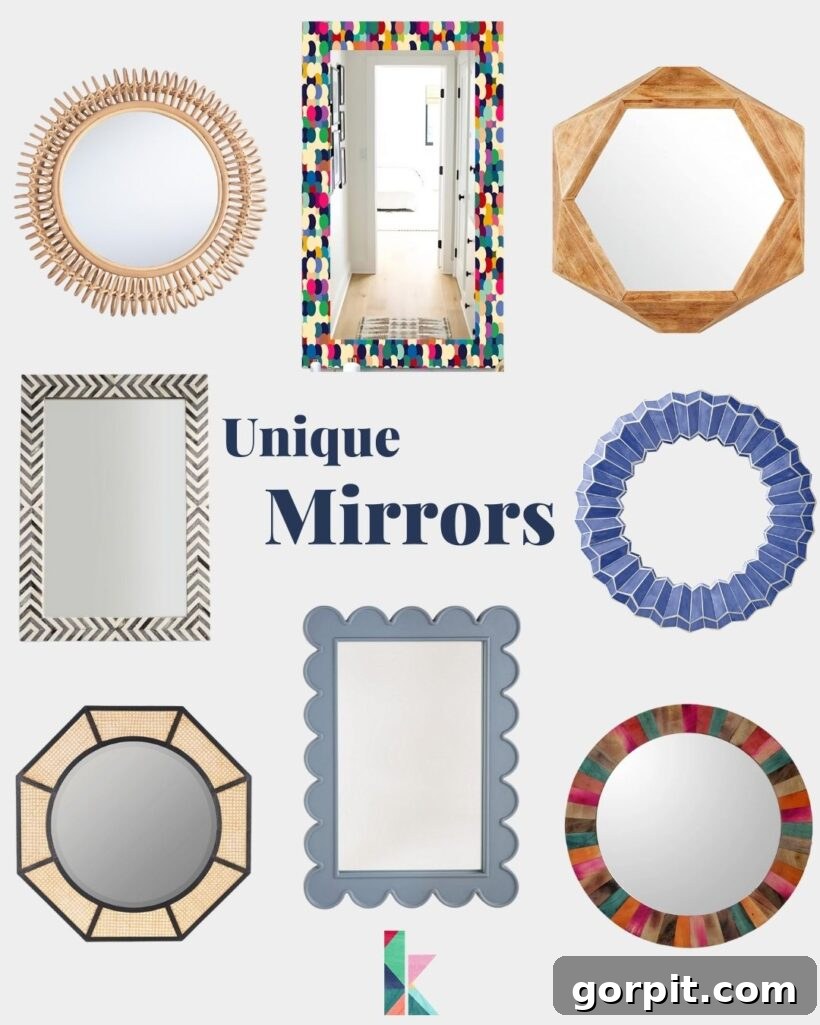
If you love the idea of a statement mirror but prefer to purchase one rather than DIY, explore some of my favorite unique mirror options. Discover a curated selection by browsing through product images below for full details.
Click on any image for full product details
Click on the image for links to everything
Explore More Creative DIY and Home Decor Ideas:
- 16 Gallery Wall Ideas (and Tips) To Inspire Your Decor
- Mastering Color: How to Decorate With Color Even When It Feels Intimidating
- Create a Unique Family Photo Gallery Wall That Tells Your Story
- 20+ Creative Decoupage Ideas Anyone Can Easily Do
- Budget-Friendly Transformations: 5 Room Updates for Under $100 (Even FREE Options!)
- DIY Photo Canvas Prints With Authentic Texture for Personalized Art
- Revolutionize Your Walls: How to Make Any Wallpaper Removable & Renter-Friendly
Curious about my approach to transforming rooms and spaces in our home? Discover my proven strategies and design philosophy with Designer in a Binder®. It’s an affordable and simple system designed to help you confidently decorate your home.
For exclusive content, behind-the-scenes glimpses, and insider tips straight to your inbox, be sure to subscribe before you go! Join our community of DIY enthusiasts and transform your living spaces with creativity and confidence.