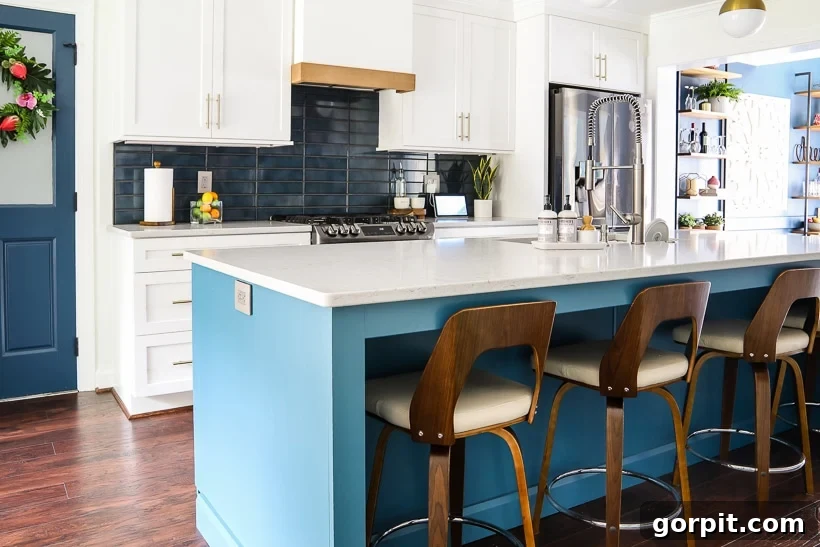
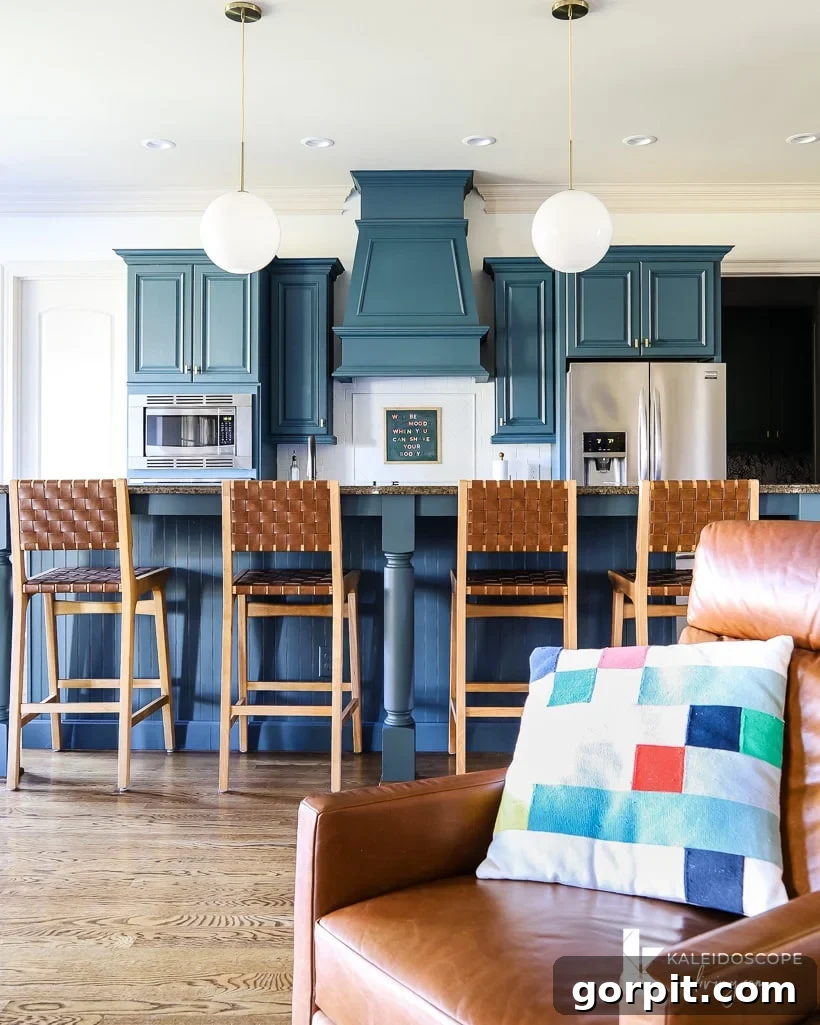
Welcome to the much-anticipated reveal of our vibrant kitchen remodel! After months of planning, anticipation, and hard work, we are absolutely thrilled to share the dramatic transformation of our home’s culinary heart. This isn’t just a kitchen update; it’s a complete reimagining of space, light, and functionality. Prepare to be amazed by the incredible before and after photos that truly capture the immense difference a strategic wall removal and the introduction of a generously sized island can make. This renovation has not only opened up our living area but also infused it with a fresh, colorful personality, headlined by a stunning teal island and crisp white cabinetry.
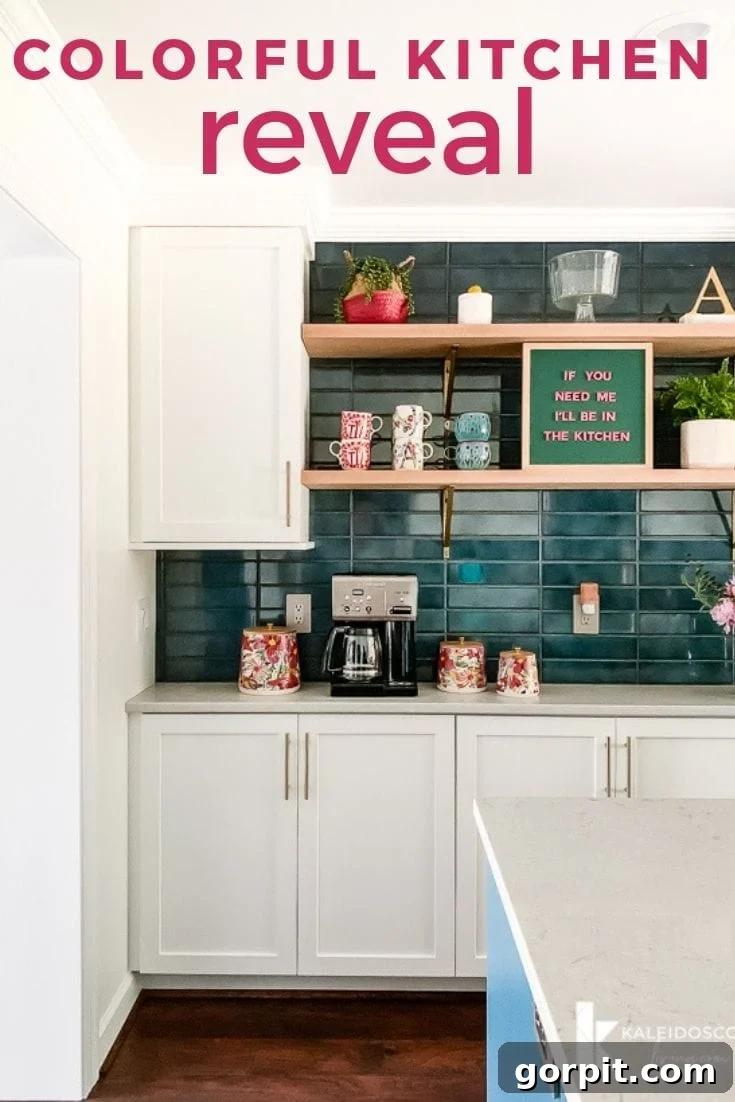
Friends, the day is finally here! We know many of you are eager to jump straight to the visuals, and we totally understand. This post is packed with inspiring before and after snapshots, showcasing every angle of our journey. While we’ll keep the narrative concise today, rest assured that this is just the beginning. We’re planning a comprehensive series of posts to delve deeper into our kitchen renovation timeline, share invaluable tips for maintaining sanity during a remodel, and offer detailed insights into our design choices. So, if you’re looking for practical advice and behind-the-scenes stories, stay tuned!
For those who missed the initial planning stages, including our strategic floor plan changes and detailed design renderings, you might want to begin by exploring that foundational post here. It offers crucial context to truly appreciate the extent of this transformation.
Today, however, is all about the dramatic reveal—the stunning shift from dated to dazzling. If our new kitchen sparks joy and inspiration in you, we would be incredibly grateful if you could take a moment to pin your favorite images to Pinterest. Your shares help spread the beauty and inspire others embarking on their own home renovation journeys!
Throughout this article, you’ll find sources for many of the products and finishes we used, seamlessly integrated into the text. For your convenience, a complete and detailed source list is also provided at the very end of this post, making it easy to find everything you love.
We extend our heartfelt gratitude to Build.com, Article, and Select Surfaces for their generous product contributions to this kitchen renovation. Their support was instrumental in bringing our vision to life, and we are truly thankful.
The Kitchen Before the Remodel: A Journey Through Time
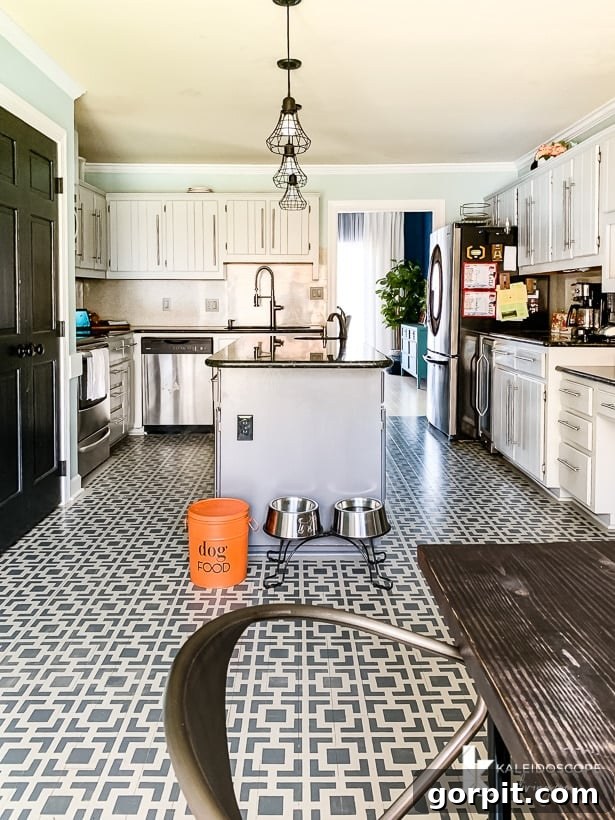
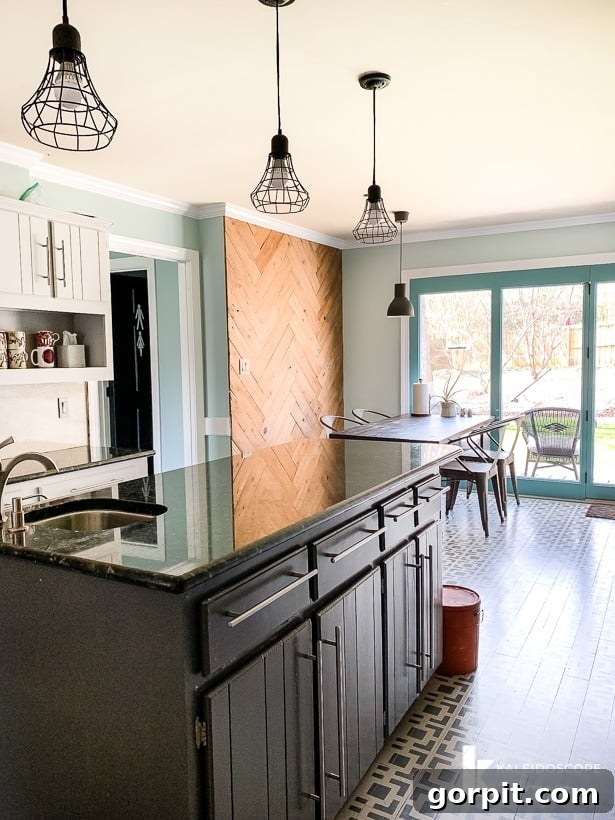
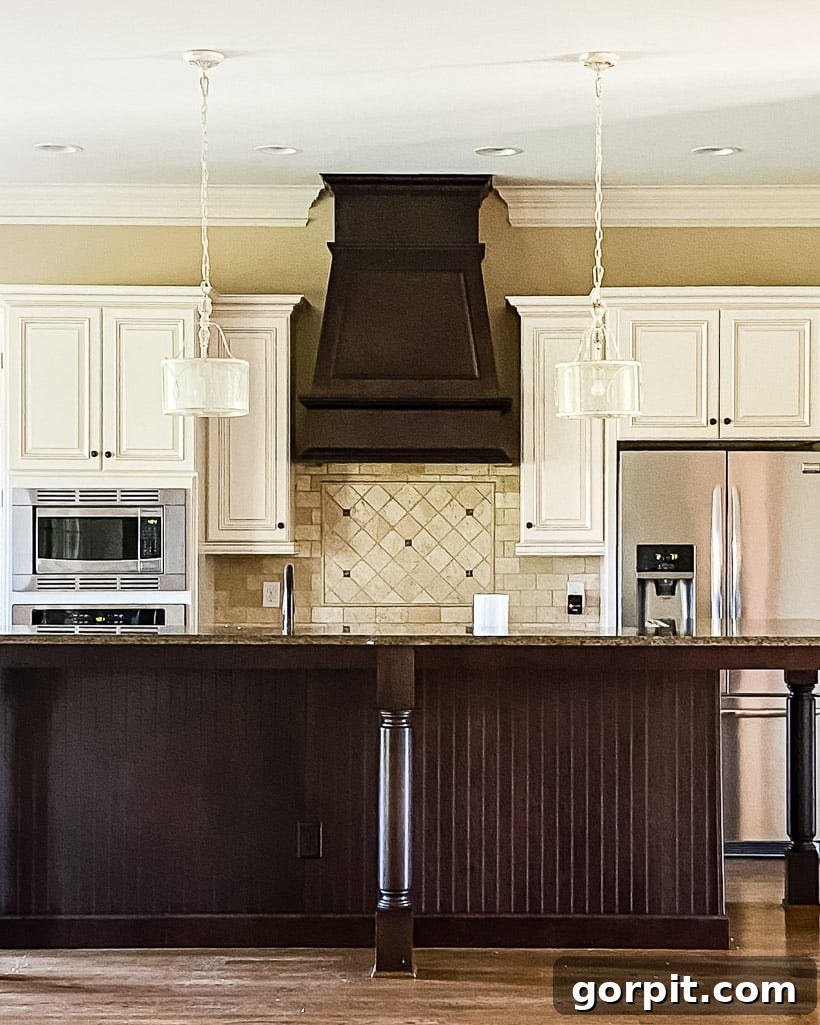
Before we immerse ourselves in the splendor of our transformed kitchen, let’s take a moment to revisit its past. This journey begins with a look back at what the kitchen presented when we first moved into our home—a space burdened by the trends of a bygone era, desperately awaiting a modern refresh. It featured classic orange oak cabinets, a layout that felt closed off and inefficient, and an overall aesthetic that lacked the brightness and openness we craved.
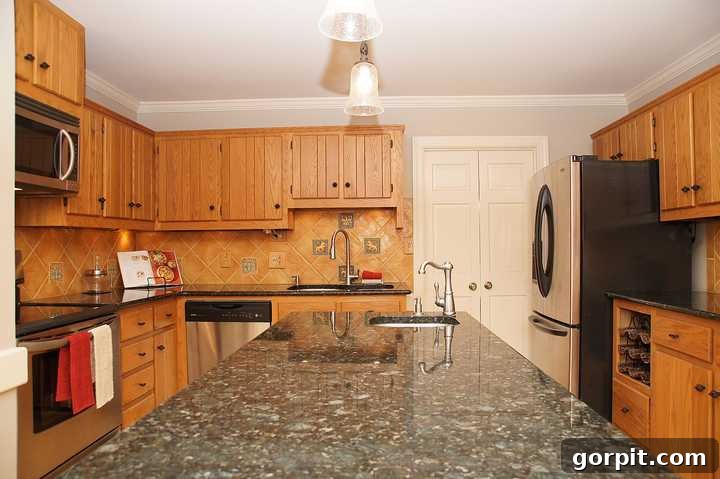
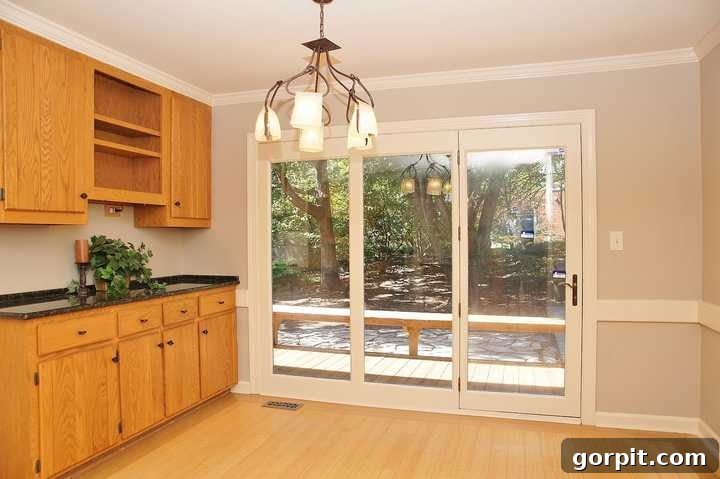
For several years, before committing to a full-scale renovation, we undertook a budget-friendly makeover, proving that significant change doesn’t always require a hefty investment. With a modest budget of around $700, we completely transformed the look and feel of the space. This interim phase involved extensively painting the kitchen cabinets, creatively stenciling the floors, strategically relocating some existing cabinets, and adding a striking DIY herringbone plank wall. These inexpensive changes dramatically brightened the space and made it much more palatable until we were ready for the major overhaul.
This post contains some affiliate links for your convenience. Click here to read my full disclosure policy.
The Kitchen After the Remodel: A Vision of Modern Functionality
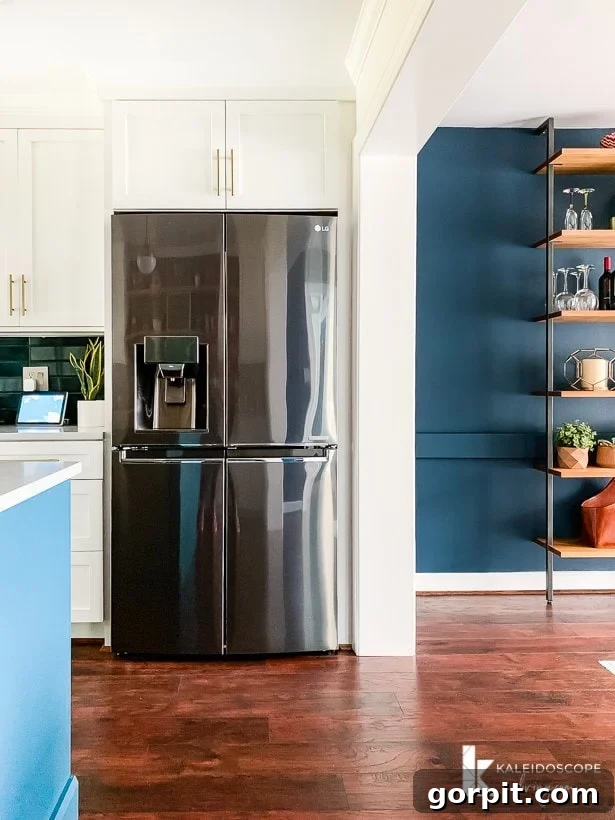
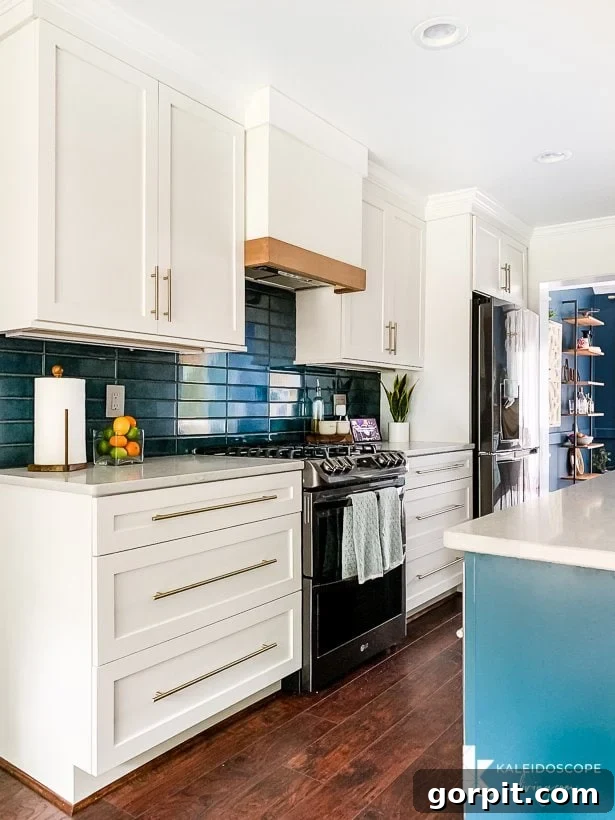
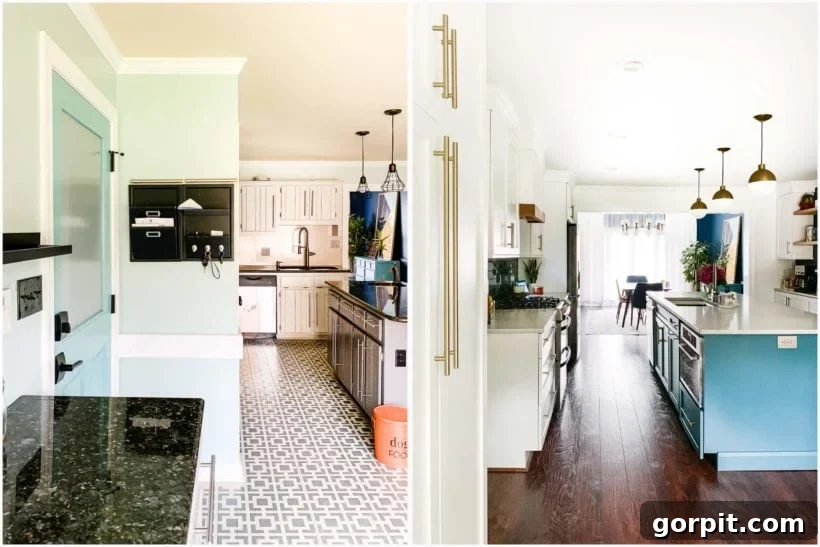
And now, behold the kitchen of our dreams! The most impactful change, undoubtedly, was the removal of the wall separating the kitchen from the dining room. This architectural decision had a monumental effect, transforming a previously confined space into an expansive, open-concept area. Not only did it flood the kitchen with an abundance of natural light, instantly making the room feel larger and more inviting, but it also created the necessary footprint for our much-desired, significantly larger kitchen island – a non-negotiable element of our design brief.
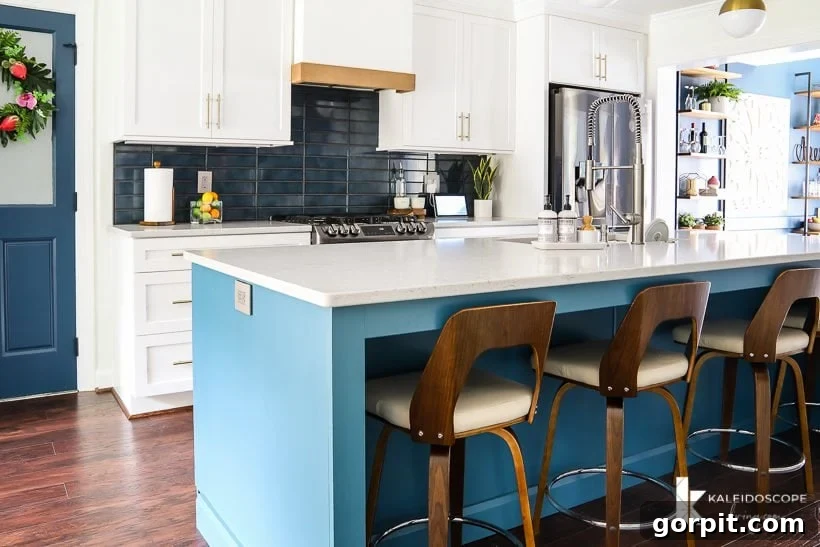
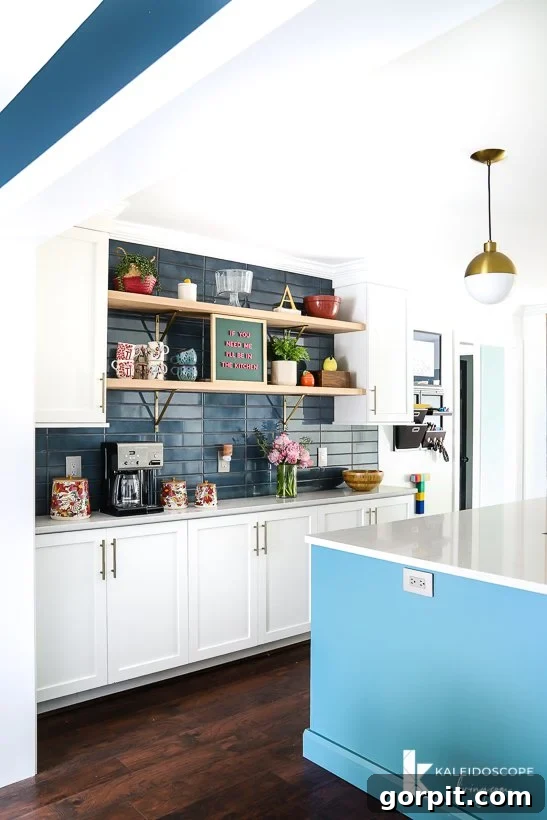
To truly appreciate the scale of this transformation, observe this compelling before and after comparison. It vividly demonstrates how the wall removal between the dining room and kitchen wasn’t merely a structural alteration, but a complete spatial liberation, fundamentally reshaping the flow and energy of our main living area.
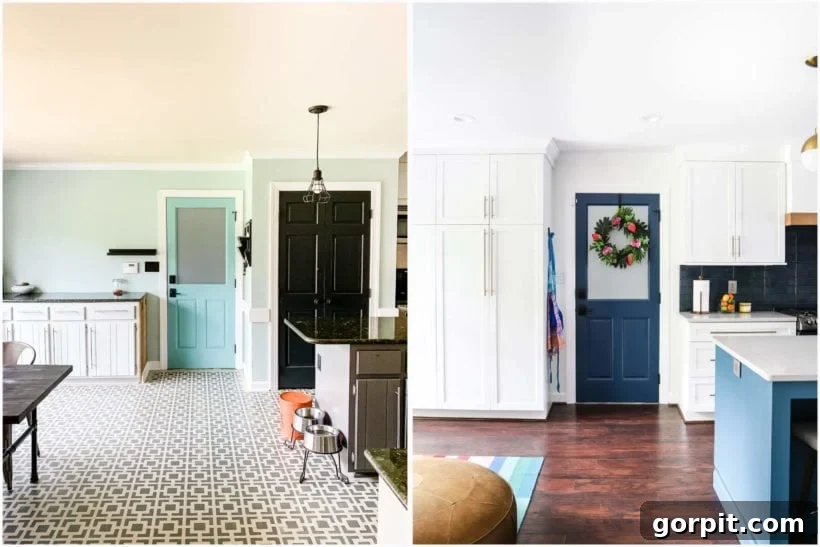
While a walk-in pantry wasn’t feasible within our layout, we significantly upgraded our pantry storage to maximize efficiency. By removing the old, less functional pantry, we gained precious counter space on both sides of the oven range. More importantly, this allowed us to integrate far more functional pull-out pantry storage in place of what were once fairly useless base cabinets. This new, intelligently designed pantry system is an absolute game-changer for organization and accessibility, streamlining our daily routines. We’ll be sharing a dedicated post with all the intricate details of this fantastic storage solution very soon!
Seamless Flow: The New Flooring
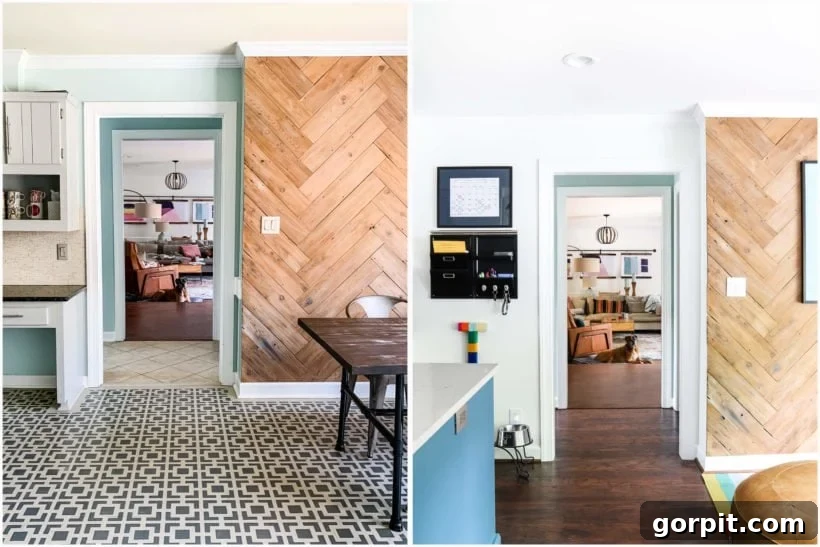
Having given you a glimpse into the “after,” let’s dive into some of the foundational details that made this transformation possible. Beyond the dramatic wall removal, we believe the new flooring had the second most profound impact on the overall feel and aesthetics of the space. Our home’s first floor previously suffered from a disjointed patchwork of three different flooring types: bamboo, tile, and carpet. This created visual clutter and disrupted the natural flow between rooms.
Years ago, even before I started blogging, we had installed Select Surfaces laminate flooring in what is now my office. It was a personal choice, not a sponsored project, but we absolutely fell in love with its durability, aesthetic appeal, and ease of maintenance. This positive experience led us to use the same product when we later replaced the flooring in our family room and master bedroom. The consistent quality and beautiful finish of Select Surfaces laminate proved its worth time and again.
So, when it came time for the kitchen remodel, the decision was natural: we wanted to unify the entire first floor with Select Surfaces. Specifically, we chose the Canyon Trail Spill Defense Laminate to replace the existing flooring in the kitchen, dining room, hallway, and foyer downstairs. The result? A perfectly uniform, cohesive flooring system throughout our entire downstairs living space. This consistency creates an illusion of greater space, improves traffic flow, and provides a clean, modern canvas for our design. The visual impact in the before and after shots below speaks for itself, showcasing the seamless transition and elevated style that uniform flooring brings.
The Heart of the Home: Our Magnificent New Island
The new island isn’t just a feature; it was the gravitational center around which our entire kitchen design revolved. Our unwavering goal was a truly massive island, and we are thrilled to report: mission accomplished! This magnificent piece stretches over 9 feet in length and boasts a depth of 4 1/2 feet, providing an unparalleled amount of workspace and gathering space. This generous scale wasn’t an arbitrary choice; it was driven by three crucial functional requirements that elevate the kitchen’s usability and enjoyment:
- Integrated Sink with a View: I was utterly tired of staring at a blank wall while performing the endless task of washing dishes after dinner. Incorporating the sink into the island now offers us an expansive view of our open living space, allowing for conversation and connection even during clean-up.
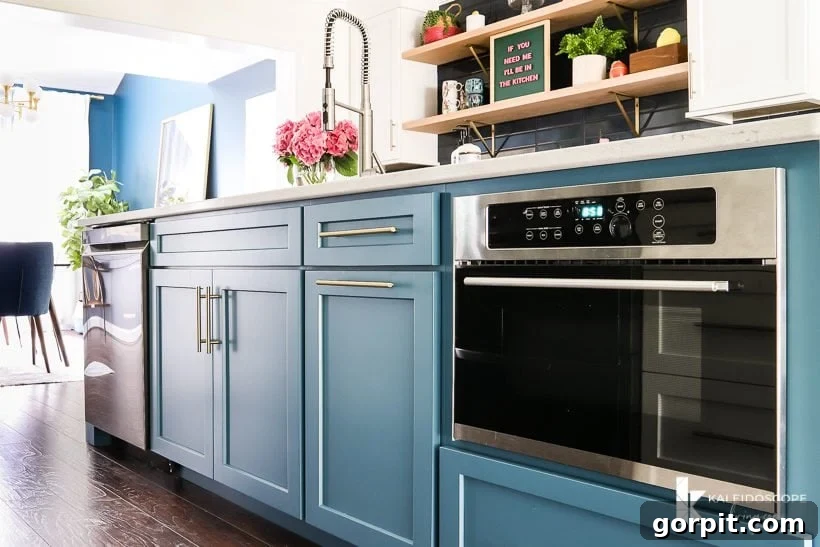
- Optimized Workflow and Appliance Integration: It was absolutely vital that the island comfortably accommodate the trash can on one side of the sink, the dishwasher on the other, and still have enough space to cleverly integrate the microwave. This meticulous planning has resulted in a seamless and incredibly efficient workflow, making daily kitchen tasks a breeze. The strategic placement of these key elements means no more awkward maneuvering or wasted steps.
- Comfortable Seating for the Whole Family: We envisioned our island as a true hub for family life, where we could enjoy casual meals and gatherings. To comfortably fit four stools, allowing each person ample space, a large footprint was essential. Now, our family can gather here for breakfast, quick lunches, and even homework sessions, fostering a sense of togetherness.
This island has genuinely become the island of our dreams! Its generous dimensions not only provide ample seating for breakfast and lunch (we still cherish our nightly dinners in the dining room) but have also revolutionized our post-meal clean-up routine. With dedicated bins for trash and recycling conveniently located to the right of the sink and the dishwasher perfectly positioned to the left, we’ve achieved a perfect, ergonomic workflow that saves time and effort. The vibrant teal color, specifically Silken Peacock by Sherwin Williams, makes the island a stunning focal point, grounding the bright white cabinets with a pop of sophisticated color.
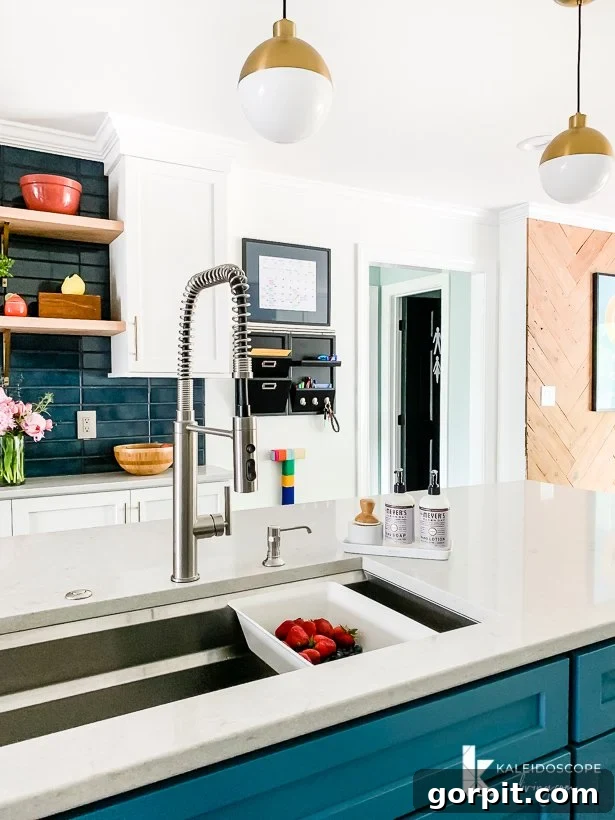
I cannot overstate how utterly obsessed I am with our Kohler Prolific sink and its versatile accessories! It is, without a doubt, the most innovative and functional sink I have ever encountered. Its ingenious modular design allows for incredible flexibility, adapting to various kitchen tasks effortlessly. We constantly utilize the integrated colander, the practical drying racks, and the washing bin, which streamline everything from prepping vegetables to air-drying delicate items. The inclusion of a custom-fit cutting board further enhances its utility, making it a true workstation. This sink truly represents a game-changer for daily kitchen efficiency.
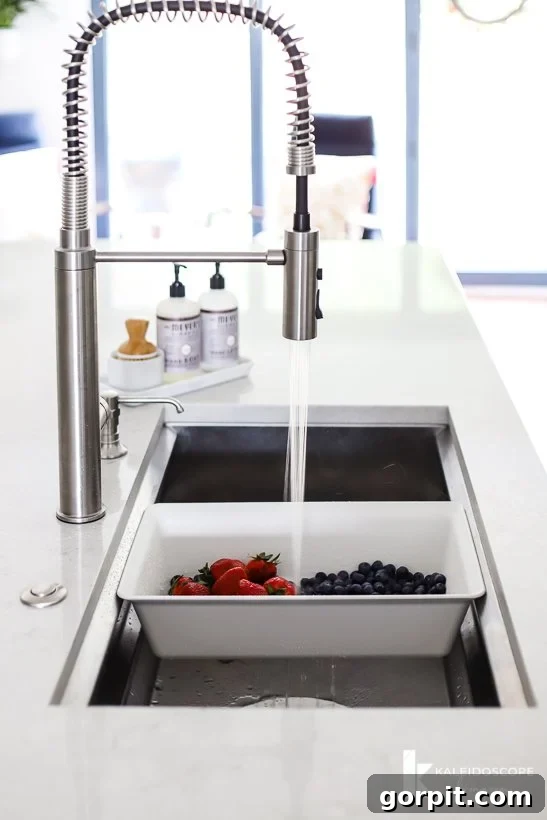
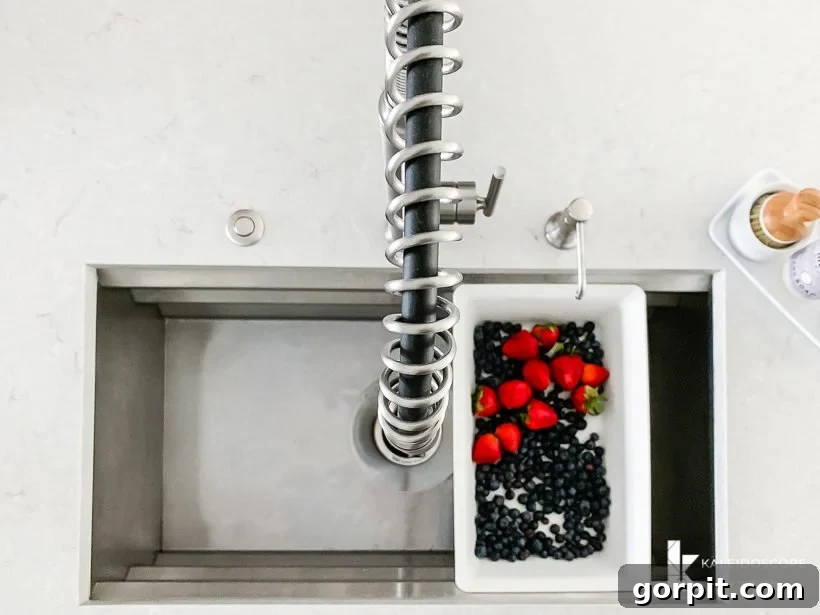
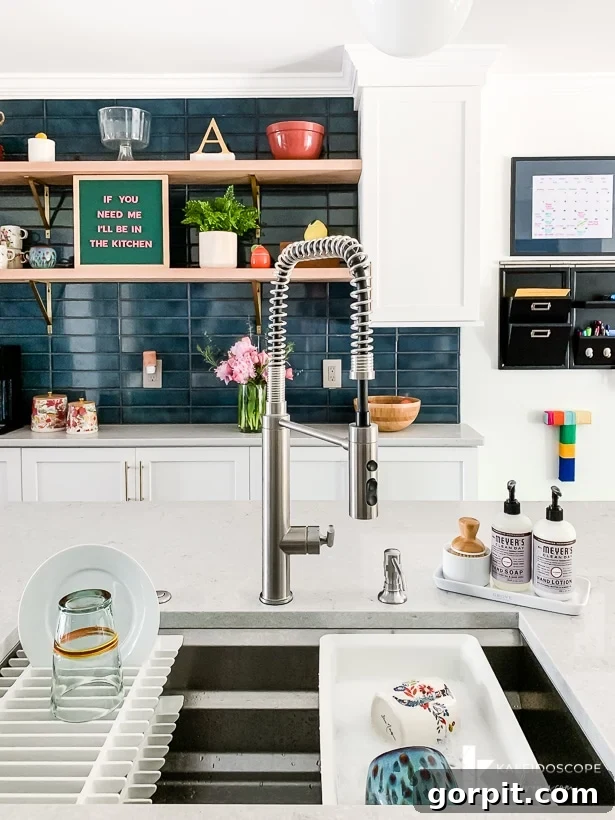
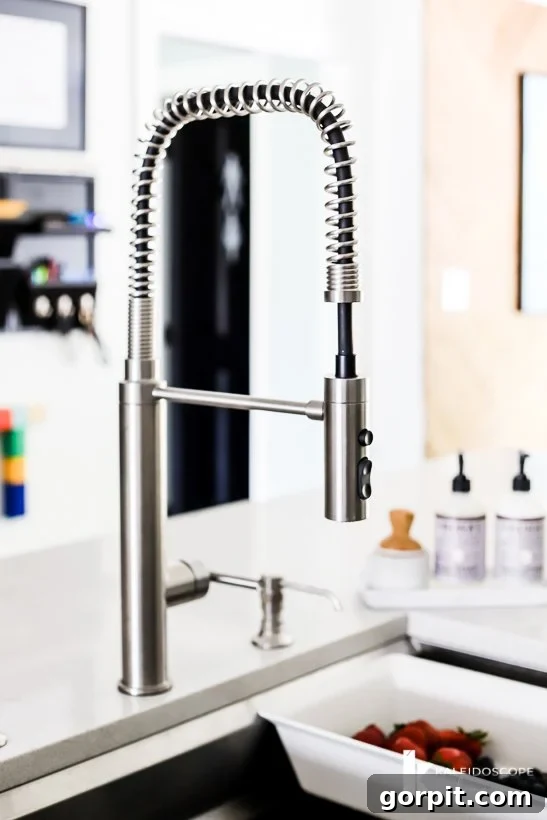
To perfectly complement the innovative sink, we selected a beautiful contemporary faucet and a sleek soap dispenser from Build.com. Their modern lines and premium finishes enhance the island’s sophisticated aesthetic, proving that even the smallest details contribute significantly to the overall design coherence.
A Cozy Nook: The New Seating Area
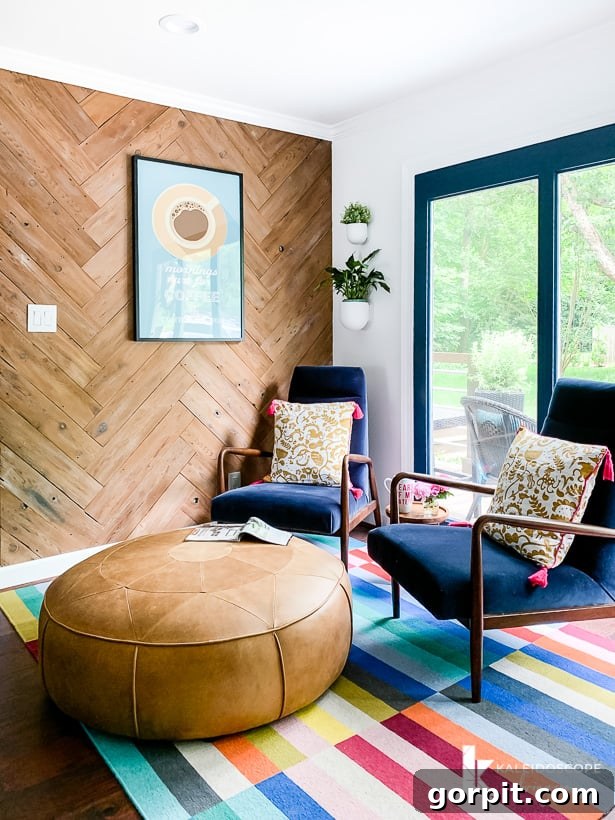
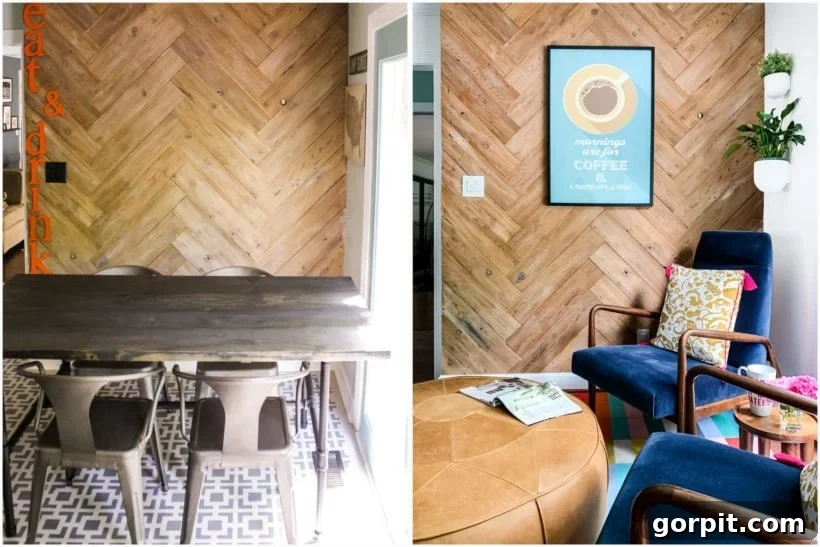
One of the primary objectives for our expansive new island was to create a comfortable spot for breakfast, accommodating our entire family. With this goal successfully achieved, we no longer had the need for a traditional table and chairs in our breakfast nook. This presented an exciting opportunity to reimagine the space, transforming it into a versatile and inviting lounge area. After much deliberation and brainstorming various ideas, we decided to craft a dedicated cozy seating zone—a perfect retreat where Joe and I can unwind with our morning coffee and enjoy our beloved Sleepytime Tea in the evenings.
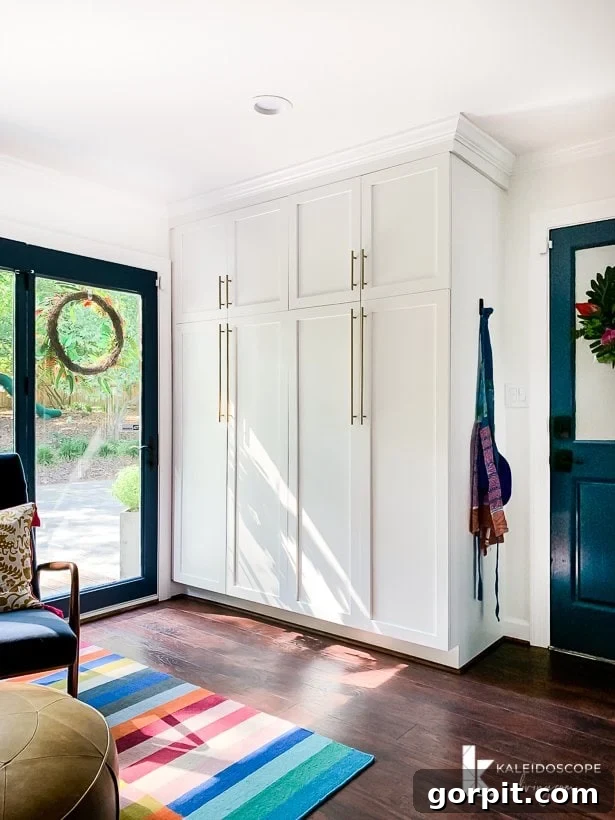
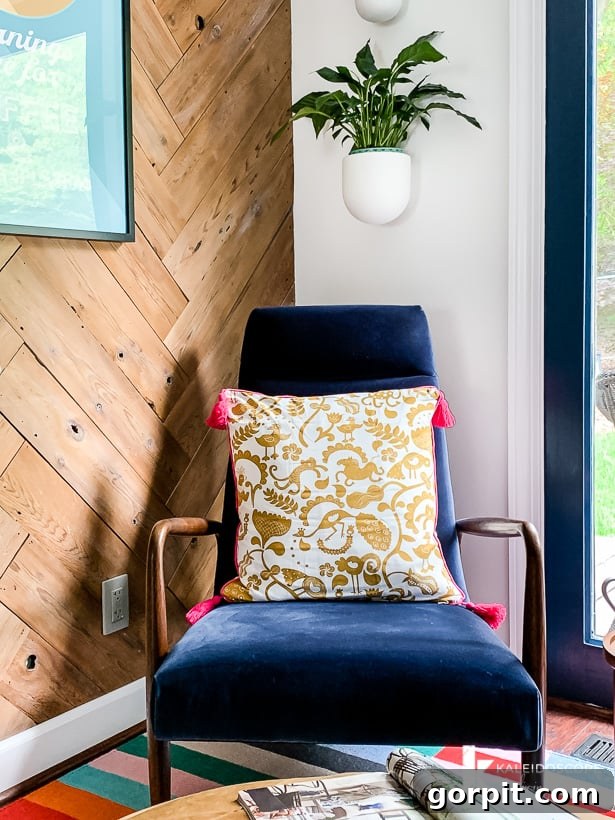
The vision for this area truly came to life with the selection of the furniture. I instantly fell in love with a pair of sumptuous blue velvet lounge chairs (no longer available, but a similar option can be found here) and a stylish leather ottoman (also no longer available, but discover a similar option here), all sourced from Article. These pieces not only provide supreme comfort but also inject a sophisticated pop of color and texture, creating a distinct and welcoming atmosphere. This new seating area turned out precisely as I had envisioned, becoming a beloved spot for relaxation and connection within our open-concept kitchen.
The transformation of this corner is truly remarkable when viewed against its former iteration. This before and after comparison highlights just how dramatically we reimagined the breakfast nook, converting it from a functional dining space into a luxurious, cozy retreat that perfectly complements the new, open kitchen layout.
The “Jewelry”: Hardware and Lighting That Define Style
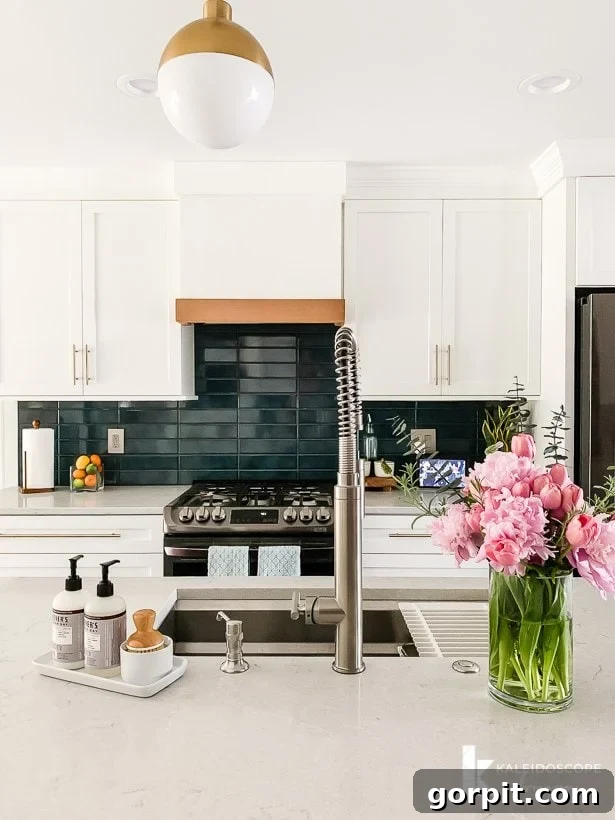
We’ve extensively covered the major structural and functional changes in our kitchen, but let’s shift our focus to those seemingly “little” details that, in reality, make all the difference, elevating a functional space into a truly designed one. Just like jewelry completes an outfit, the right hardware and lighting fixtures serve as the perfect finishing touches, imparting personality and polish to the entire kitchen. Our kitchen simply wouldn’t embody its modern, sophisticated vibe without the exquisite new pendant lights and cabinet hardware, all thoughtfully selected from Build.com.
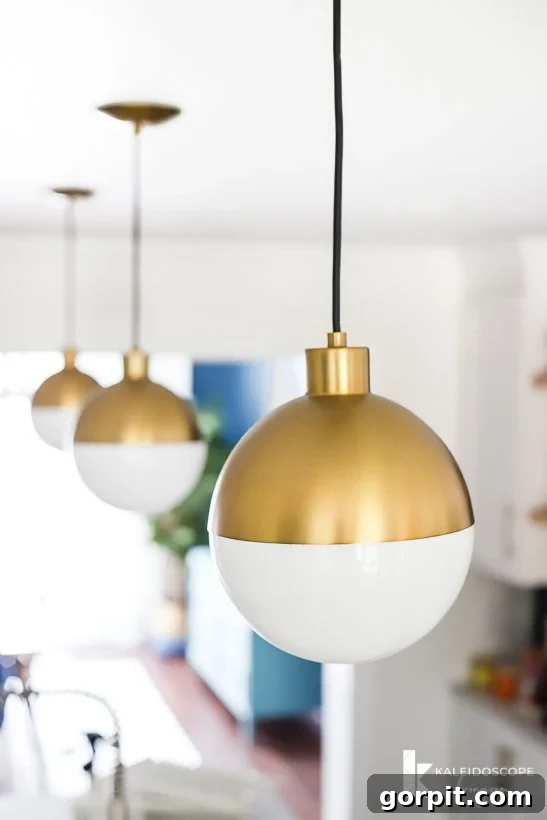
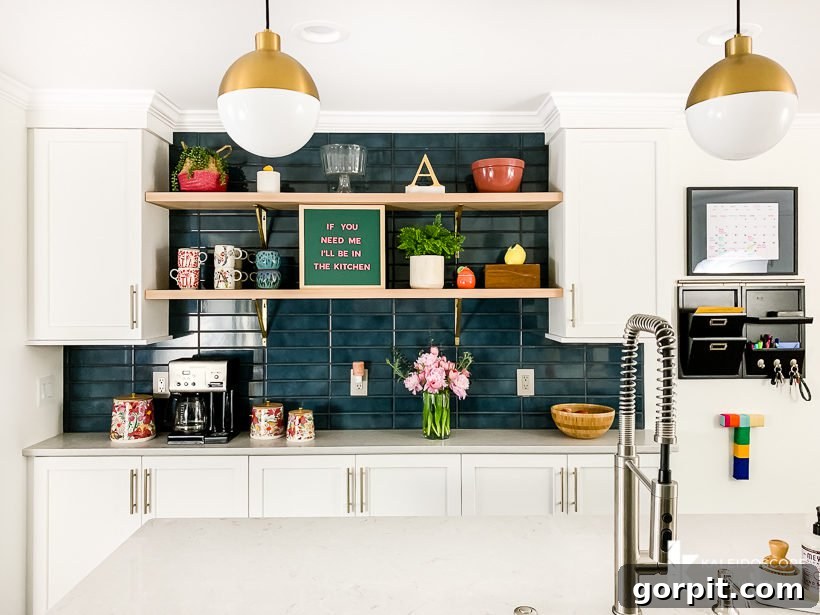
The pendant lights are, quite frankly, EVERYTHING. The search for the perfect fixtures was a prolonged quest, taking me an incredibly long time to find precisely what I envisioned. However, my persistence paid off handsomely, as I am absolutely obsessed with these specific lights! Their sleek design and elegant combination of white and gold create a striking focal point above the island, adding a layer of contemporary glamour and perfectly diffusing light across the expansive countertop.
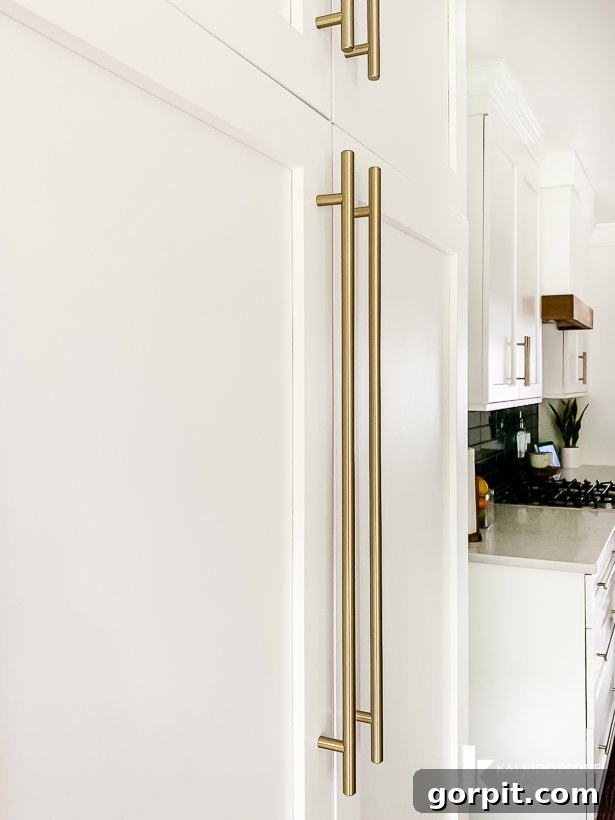
And the cabinet hardware is equally perfect in its understated elegance. We knew we wanted practical and comfortable bar pulls, celebrated for their ease of grip and clean lines. Furthermore, I was determined to find a yellow metal finish, but one that possessed a soft, subtle tone rather than an overtly bright gold. I must confess, finding hardware that perfectly struck this balance was a challenge. However, these particular bar pulls, in their exquisite golden champagne finish, are precisely what I had been searching for. They provide a warm metallic accent that beautifully complements both the teal island and the white cabinetry, tying the entire color palette together with sophisticated cohesion.
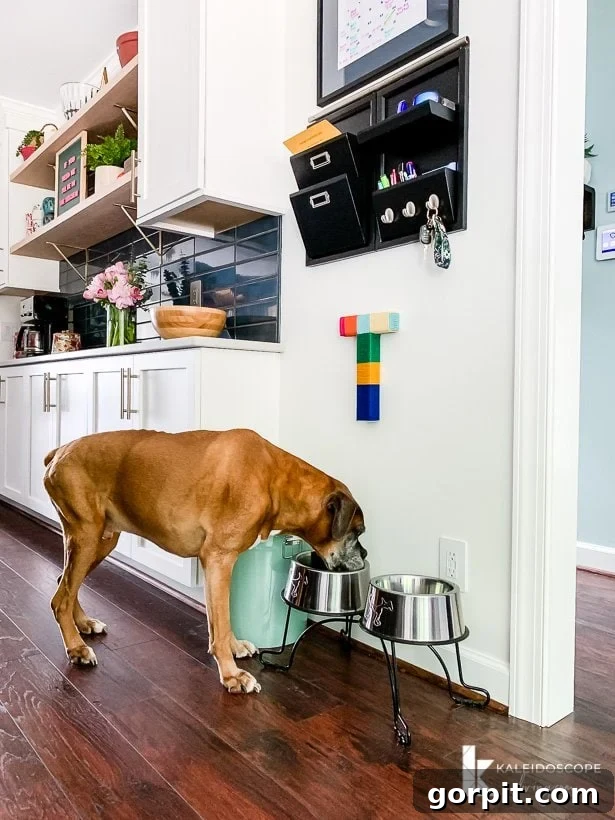
Phew! That comprehensively covers the incredible journey of our kitchen transformation. We’ve explored the dramatic changes, from structural alterations to the finest finishing touches. To conclude this reveal, please enjoy a few more stunning photos of the completed space. Following these images, you’ll find a complete source list for every element in our kitchen, making it easy to replicate any aspect of this colorful and functional design. We hope this inspires your own home projects!
Complete Kitchen Remodel Source List
For your convenience, here is a detailed list of all the products and finishes used in our stunning kitchen renovation:
Wall Color: Falling Snow by Behr
Trim Color: Midnight in the Tropics by Behr
Island Color: Silken Peacock by Sherwin Williams
Backsplash Tile: Floor and Decor La Belle Antique Blue Polished Ceramic Tile
Countertop: Caesarstone 6131 Bianco Drift
Seating Area:
- Similar Leather Ottoman
- Similar Blue Velvet Lounge Chairs
Flooring: Select Surfaces Canyon Trail Spill Defense Laminate
Island Fixtures:
- Modern Gold and White Pendant Lights
- Kohler Prolific Sink & Accessories
- Contemporary Kitchen Faucet
- Matching Soap Dispenser
Hardware: Amerock Golden Champagne Bar Pulls
Appliances:
- Gas Range
- Refrigerator
- Dishwasher
- Garbage Disposal
- Range Hood Insert
Additional Decor:
- Bar Stools (Specific link not available, but similar styles can be found at various retailers)
- IKEA Rug
Feeling Inspired, but Working with a Smaller Budget? We’ve Got You Covered!
We completely understand that a full-scale kitchen renovation like ours requires a significant investment and a substantial budget. It took us eight long years of dedicated saving to bring this vision to fruition. However, please don’t let budget constraints deter your own kitchen dreams! There is an incredible amount you can achieve to completely transform the look and feel of your kitchen, even with a modest budget.
If you’re seeking mind-blowing inspiration for a budget-friendly makeover, you absolutely must see what we helped our friend Thea achieve. Her kitchen underwent a stunning transformation for under $1,000! Prepare to be seriously impressed by the before and after, which proves that creativity and smart choices can yield incredible results. Click here to check out Thea’s $1,000 kitchen makeover.
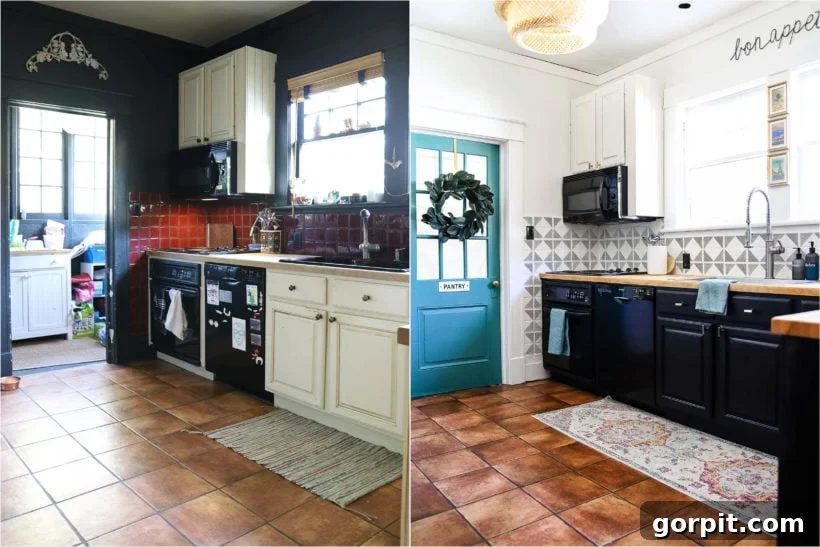
And for even more proof that beautiful design doesn’t have to break the bank, be sure to click here to see our own budget-friendly kitchen makeover from our previous home. Yes, we moved and left that beautiful kitchen behind – and honestly, I still miss it every single day! This project showcased how painting cabinets, updating hardware, and making strategic DIY changes can make a world of difference without major construction.
Other Inspiring Posts You May Enjoy for Your Kitchen Projects:
- How To Paint Kitchen Cabinets Without Sanding or Priming: A detailed guide to give your cabinets a fresh look the easy way.
- Budget-Friendly Kitchen Makeover (under $1,000) REVEAL!: The complete story of Thea’s incredible transformation.
- How to Organize Kitchen Cabinets (In a “Normal” Kitchen): Practical tips for maximizing storage and efficiency in any kitchen.
- Kitchen Pantry Organization Tips & Ideas: Smart solutions to keep your pantry tidy and functional.
- Affordable DIY Countertops That Will Blow Your Mind: Discover creative and inexpensive ways to update your countertops.
- How to Paint Countertops (and What You Need to Know First): Achieve a high-end look without the high-end price tag.
- Budget-Friendly DIY Backsplash Ideas for Kitchens: Inspiring ideas to refresh your kitchen’s focal point.
Curious about my personal approach to transforming rooms and spaces throughout our home, step-by-step? Be sure to explore Designer in a Binder® – your ultimate guide to decorating with confidence and simplicity.
And if you want to stay in the loop with exclusive content, behind-the-scenes sneak peeks of our projects, and early access to our best tips, be sure to subscribe to our newsletter before you head out! Don’t miss out on more inspiring home design and renovation ideas.