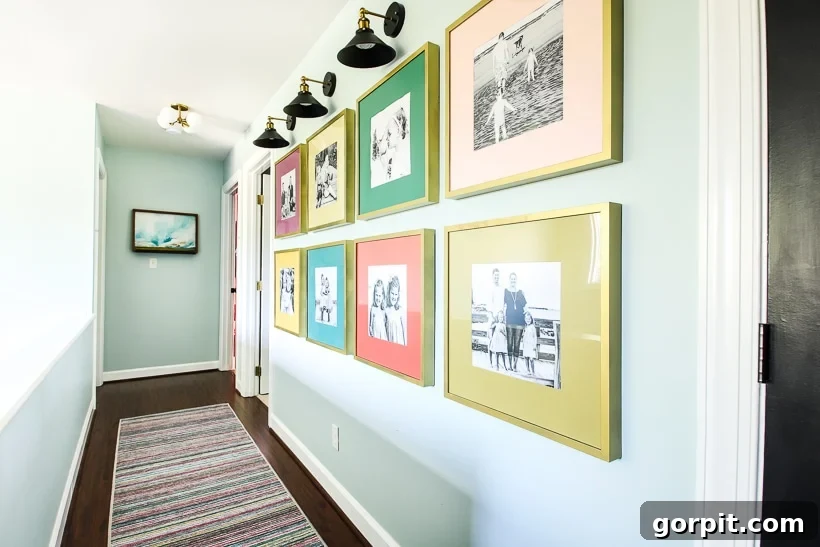
Transform Your Space: A Vibrant & Personalized Photo Gallery Wall Tutorial (DIY Guide)
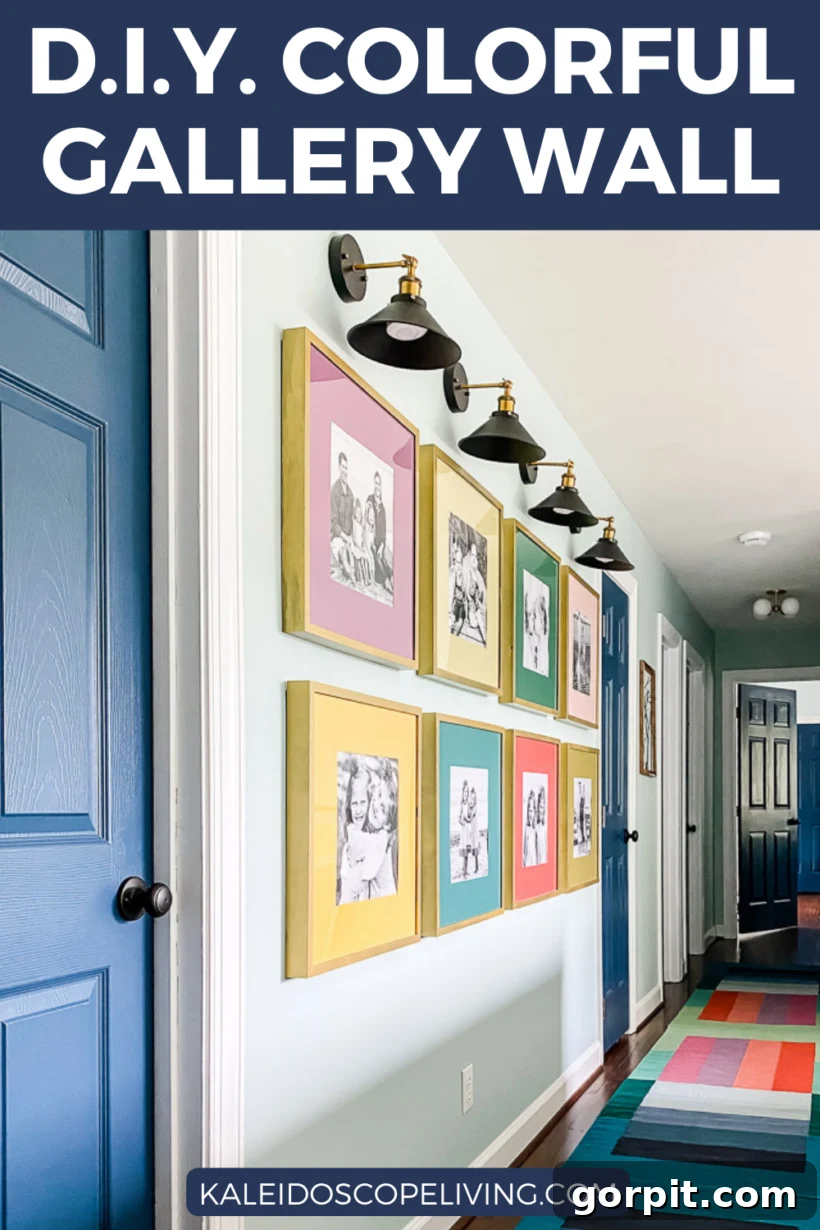
Are you looking for a fresh, inspiring way to display your cherished family photos? While photo gallery walls are a timeless choice, it’s easy for them to blend into the background. Many tend to look strikingly similar, often featuring uniform frames and monochrome mats. We decided to break that mold and elevate our own photo gallery wall, infusing it with an explosion of color and unique personality. The result? A stunning, eye-catching display that has truly transformed our upstairs hallway and captivated everyone who sees it.
If you’ve followed my journey in home decor, you know my profound love for gallery walls. They offer an incredible opportunity to showcase memories and express personal style. Our recent addition to the upstairs hallway, a vibrant and dynamic colorful photo gallery wall, has garnered an overwhelmingly positive response from all of you, particularly on Instagram. I honestly never anticipated such an enthusiastic reaction, and for that, I am incredibly grateful! Many of you have patiently awaited the detailed tutorial, eager to recreate this look in your own homes. Well, the wait is officially over, my friends! Today, I’m thrilled to share exactly how we brought this unique vision to life.
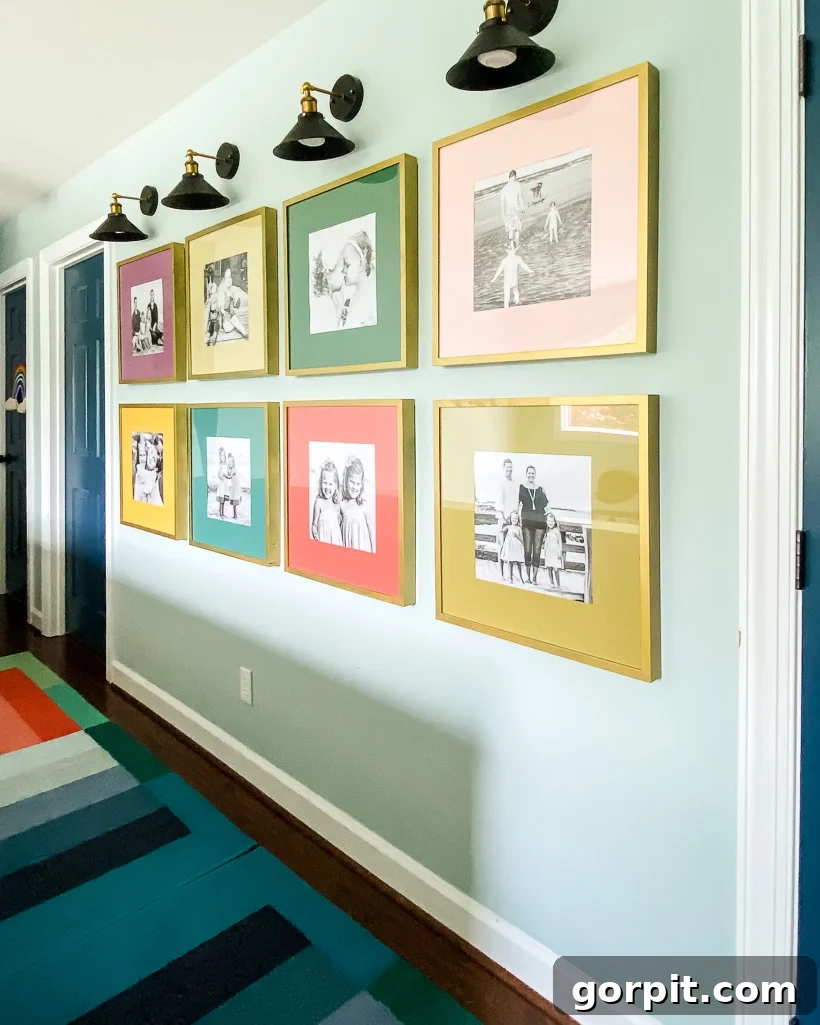
Our upstairs hallway had remained largely untouched for over six years, feeling a bit neglected and uninspired. We knew it was time for a change, and a complete hallway makeover was in order. The single most impactful addition, and arguably the star of the renovation, is this super colorful gallery wall. Enhanced by stylish sconces that add both light and drama, it’s now a focal point that breathes life and energy into what was once a forgotten space. Naturally, since sharing the reveal, my inbox has been flooded with questions: “What paint colors did you use?” “Where did you find those frames?” “How did you manage to hang everything so perfectly?”
Rest assured, all of your burning questions will be answered comprehensively in this detailed DIY tutorial. To make it even easier for you, I’ve put together an exclusive video walking you through every step of creating your own colorful DIY photo gallery wall. That’s right, friends! I’m dedicating more time to creating engaging video content and growing my YouTube channel, so be sure to check it out for a visual guide.
However, if you’re like me and prefer to read through instructions and view still photos, don’t worry! The complete, step-by-step written tutorial, accompanied by helpful images, is laid out for you below. Let’s dive in and learn how to infuse your home with personality and color!
This post contains some affiliate links for your convenience. Click here to read my full disclosure policy.
How to Create a Stunning & Colorful Photo Gallery Wall
Creating a colorful photo gallery wall is a fantastic way to personalize your home decor and showcase your most cherished memories. This DIY project is not only rewarding but also surprisingly straightforward, even for beginners. The key lies in choosing the right materials, planning your layout effectively, and adding those thoughtful touches that make all the difference. Follow these steps to transform a plain wall into a vibrant display of your family’s story.
Materials You’ll Need:
- Command Picture Hanging Strips: Essential for damage-free hanging and easy repositioning.
- IKEA 19-inch Square Frames: These provide a clean, modern base for your gallery.
- NOTE: Don’t live near an IKEA? No problem! They offer convenient shipping, delivering an entire box of these frames directly to your door for a very reasonable flat fee.
- 12″ x 12″ Photo Enlargements: The perfect size to complement the IKEA frames. (I highly recommend Shutterfly for their quality prints.)
- Latex or Acrylic Paint: Choose a palette that inspires you!
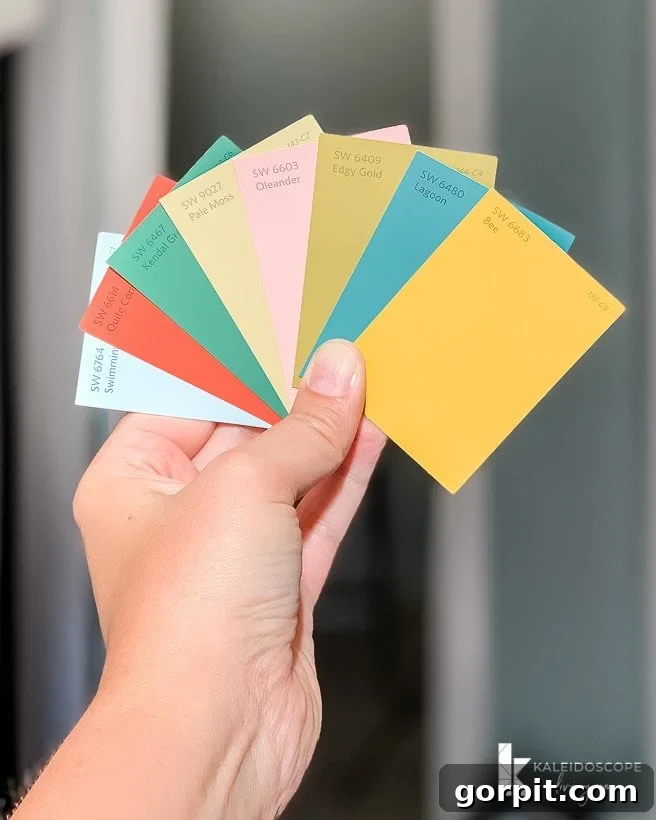
- For our project, I used 8 Sherwin-Williams sample sizes, allowing for a diverse and harmonious color scheme. Our chosen colors include: Quite Coral, Bee, Pale Moss, Lagoon, Oleander, Edgy Gold, and Kendal Green.
- The specific purple shade we used is Orchid by Amy Howard at Home.
- Paintbrush: A 1 1/2-inch angled brush is versatile, but any good quality brush will do.
- Laser Level: Your best friend for ensuring perfectly straight frames.
- Dropcloth and/or Apron: To protect your workspace and clothing from paint.
- Gold Spray Paint (optional but recommended): For adding a touch of elegance to your frames.
- Black and Gold Sconces: To add a sophisticated lighting element (no hard-wiring needed!).
- Puck Lights: The secret behind the “magic light trick” for your sconces.
- Velcro: For securing the puck lights within the sconces.
Step 1: Prepare Your Frames and Mats
Begin by carefully unwrapping all of your IKEA frames. These frames typically come with a standard white mat, which is what we’ll be transforming into our vibrant color palette. Gently remove these white mats from each frame. It’s also a good idea to remove the glass and any backing board, setting them aside in a safe place. You want to work with just the frame and the mat for now. Lay out your mats on a protected surface, such as a dropcloth or old newspapers, ensuring you have ample space to work without worrying about paint spills.
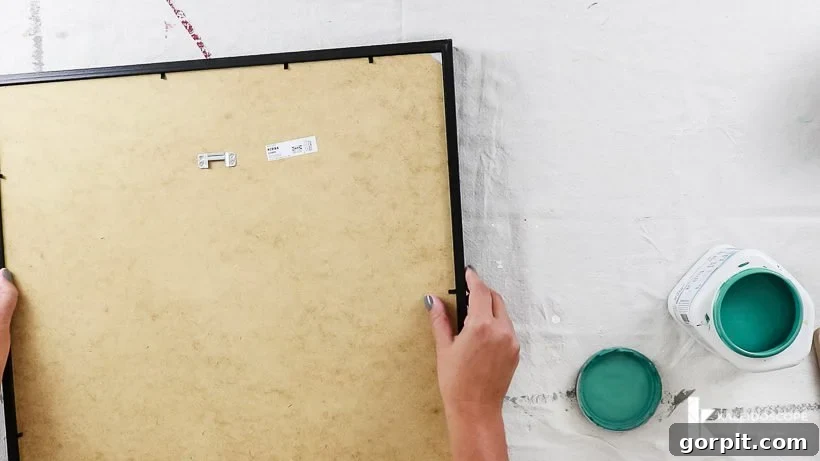
Step 2: Bring Your Mats to Life with Color
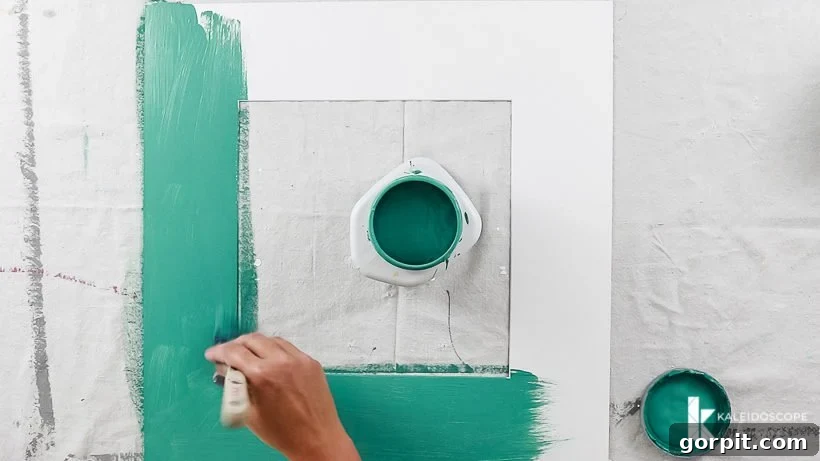
Now comes the fun part: painting your photo mats! Select your desired paint colors. I opted for a diverse range of Sherwin-Williams sample colors to create a truly eclectic and colorful look, inspired by the mural in our colorful powder room renovation. Using a paintbrush, apply your chosen colors to each mat. There’s no secret technique here; simply aim for long, even strokes to achieve a smooth and consistent finish. For best results and full color saturation, each mat will likely require two coats of paint. The good news is that latex or acrylic paint dries relatively quickly, so you’ll only need to wait about 30 minutes between coats. This allows you to work efficiently and see your vibrant color palette come to life.
Step 3: Elevate Your Frames with Gold Spray Paint
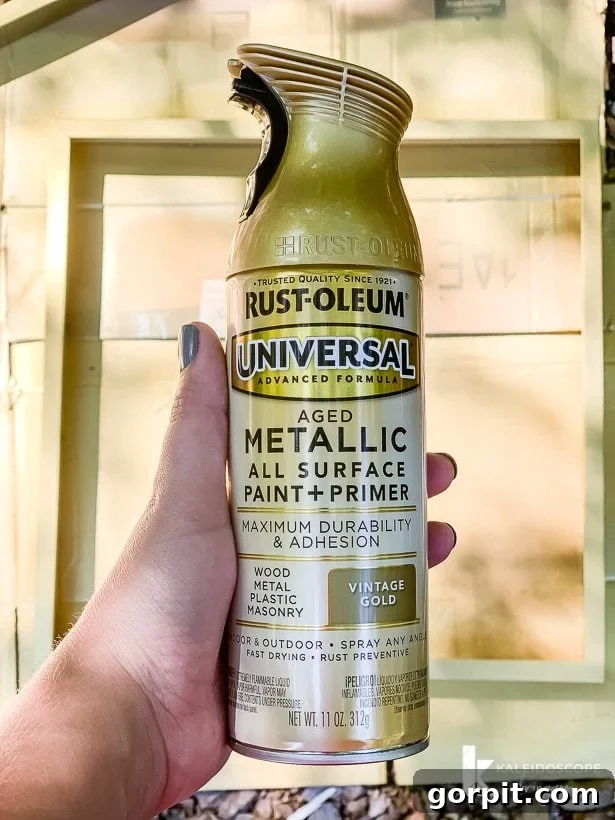
While your photo mats are drying between coats, take advantage of the time by spray painting your frames. Although our frames started black, we opted for a sophisticated gold finish to add an extra layer of elegance and contrast against the colorful mats. When working with spray paint, remember that light, even coats are always best. This approach helps prevent drips and ensures a smooth, professional-looking finish. Apply your spray paint in short, controlled bursts, moving the can steadily across the surface. I applied four light coats to each frame, allowing approximately 30 minutes of drying time between applications. Patience is key here; rushing the process or applying too much paint at once can lead to unsightly drips, which we definitely want to avoid for a polished result.
Step 4: Repeat and Assemble Your Masterpieces
Continue painting your mats and frames, alternating between the two tasks until all your chosen frames and mats are completed. For our project, we prepared a total of eight frames and corresponding mats, creating a substantial and impactful display. Once both the painted mats and spray-painted frames are thoroughly dry, it’s time to reassemble them. I specifically chose black and white photos for our 12″ x 12″ enlargements. This decision was deliberate, as I felt the monochromatic photos would create a striking and timeless contrast against the vibrant, colorful mats. It allows the personality of the mat colors to pop while keeping the focus on the subjects of the photos themselves. I had all my photo enlargements professionally printed by Shutterfly, and as always, they delivered exceptional quality that beautifully complemented our design.
Step 5: Design Your Gallery Wall Layout
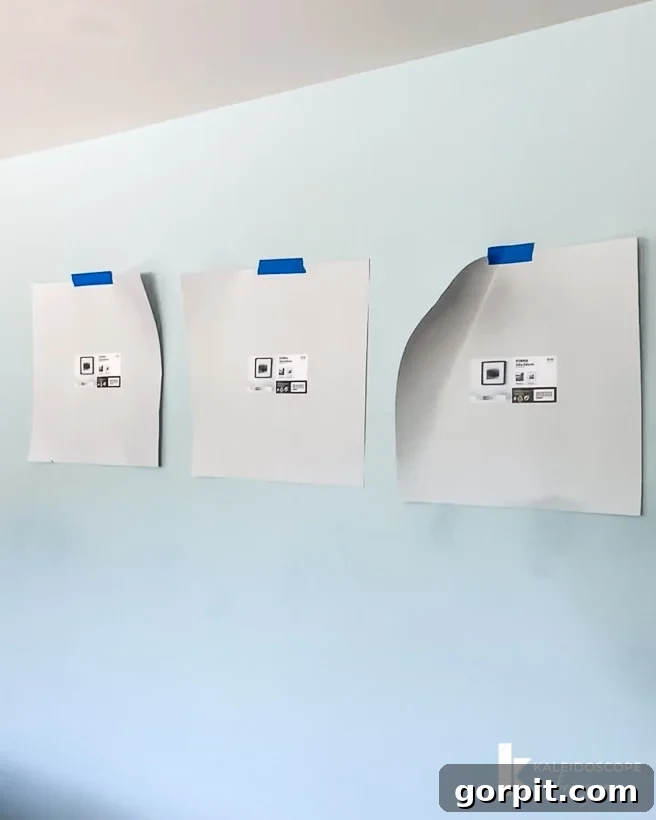
Before you commit to hanging anything on the wall, it’s crucial to plan your gallery wall layout. This step is a game-changer and prevents unnecessary holes or frustrating adjustments later. My absolute favorite trick involves using the paper inserts that came with your frames. Simply tape these paper templates to your wall using painter’s tape. This allows you to experiment with different arrangements, spacing, and overall flow until you find a configuration that you absolutely love. Consider the shape and size of your wall, the height of your furniture (if applicable), and the visual balance of your frames. Do you want a symmetrical, grid-like pattern, or a more organic, eclectic arrangement? Play around with various possibilities, stepping back frequently to view the layout from different angles in the room. This planning phase ensures your final gallery wall looks cohesive, intentional, and perfectly tailored to your space.
Step 6: Flawlessly Hang Your Framed Photos
Once you’ve finalized your layout, it’s time to hang your beautifully assembled frames. For a clean, damage-free, and easily adjustable installation, I highly recommend Command Picture Hanging Strips. These strips are incredibly versatile and user-friendly. For this project, I prefer to use one strip in each corner of the frame. This technique ensures that your frames remain perfectly level and securely affixed to the wall without any tilting or shifting. Be sure to follow the specific instructions on the Command strip packaging for proper application and maximum hold. Whether you choose the small or medium-sized strips, they are designed to be simple to use and even easier to remove without damaging your walls. This makes future adjustments or redecorating a breeze, giving you flexibility with your evolving style.
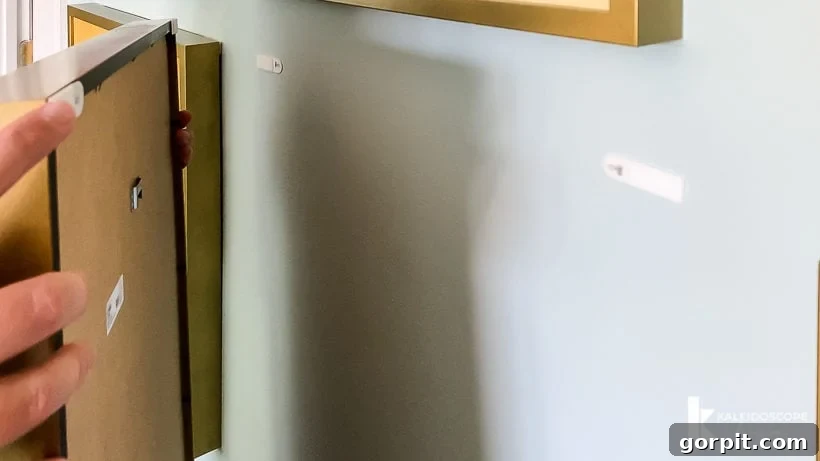
As you hang each frame, a laser level (or even a traditional spirit level) will be your most valuable tool. This ensures every frame is perfectly aligned and creates a professional, polished look for your entire gallery wall. A level is particularly helpful when working with multiple frames in a grid or along a specific line, guaranteeing visual harmony across your display. Precision in this step makes a huge difference in the overall aesthetic impact of your gallery wall.
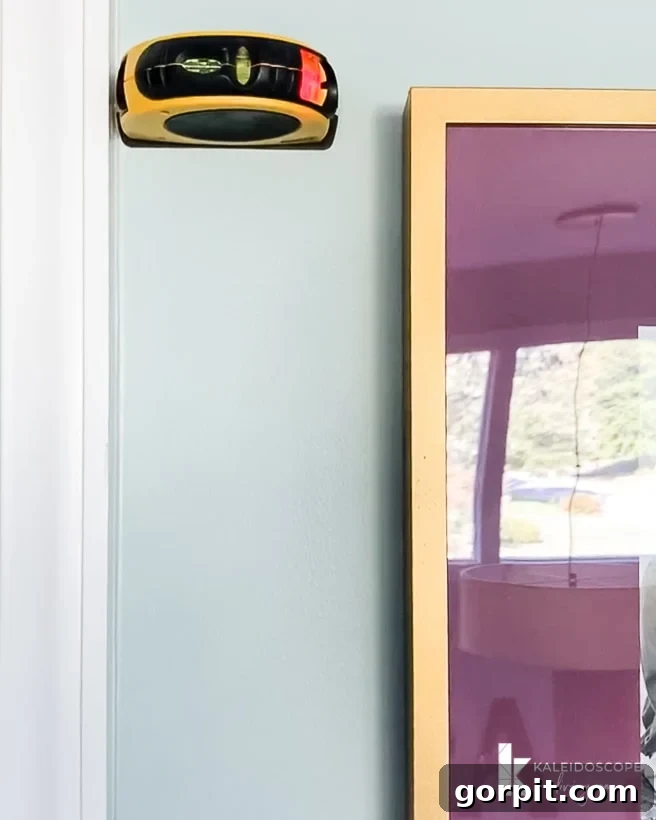
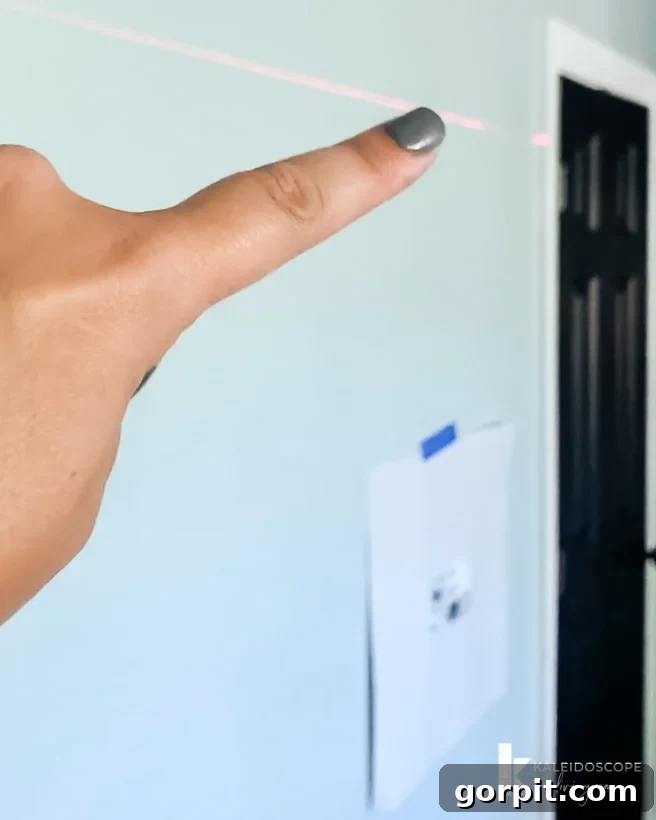
Step 7: Add Optional Lighting (No Hard-Wiring Required!)
To truly elevate your colorful gallery wall and give it a polished, high-end designer look, consider adding sconces above your frames, just like we did! You might be thinking that installing sconces means complicated electrical work or needing an available outlet. Think again! We’re going to use an ingenious, no-fuss method that requires absolutely no hard-wiring or plugging anything into an electrical socket. This is the ultimate hack for sophisticated lighting without the headache!
Here’s what you’ll need for this brilliant lighting solution:
- Black and Gold Sconces: Choose a style that complements your frames and overall decor.
- Puck Lights: These small, battery-operated lights are the key to the magic.
- Velcro: For securely attaching the puck lights inside your sconces.
So, how exactly do we achieve sconces that light up beautifully without any electrical work? The secret lies in what’s famously known as the “magic light trick,” a brilliant idea pioneered by Nesting With Grace! This clever hack involves placing battery-operated puck lights inside your sconces, secured with Velcro. This way, you get the aesthetic appeal of a hardwired fixture with the flexibility and ease of a battery-powered one. You can simply turn the puck lights on and off with a remote control or by pressing them, and replace the batteries when needed. It’s incredibly smart, incredibly easy, and makes a huge difference in how your gallery wall is presented. Click below to watch her detailed video on exactly how to implement this innovative trick:
We are absolutely thrilled with how this colorful gallery wall project turned out. The transformation it brought to our upstairs hallway is immense, yet the cost was surprisingly budget-friendly, especially when considering the huge impact it has on the space. It’s a testament to how creative DIY projects can elevate your home without breaking the bank. The vibrant colors, personalized photos, and elegant lighting combine to create a truly unique and inviting atmosphere. We hope this tutorial inspires you to add a burst of color and personality to your own home decor. Here are some more inspiring photos of our finished hallway for you to enjoy and gather ideas from!
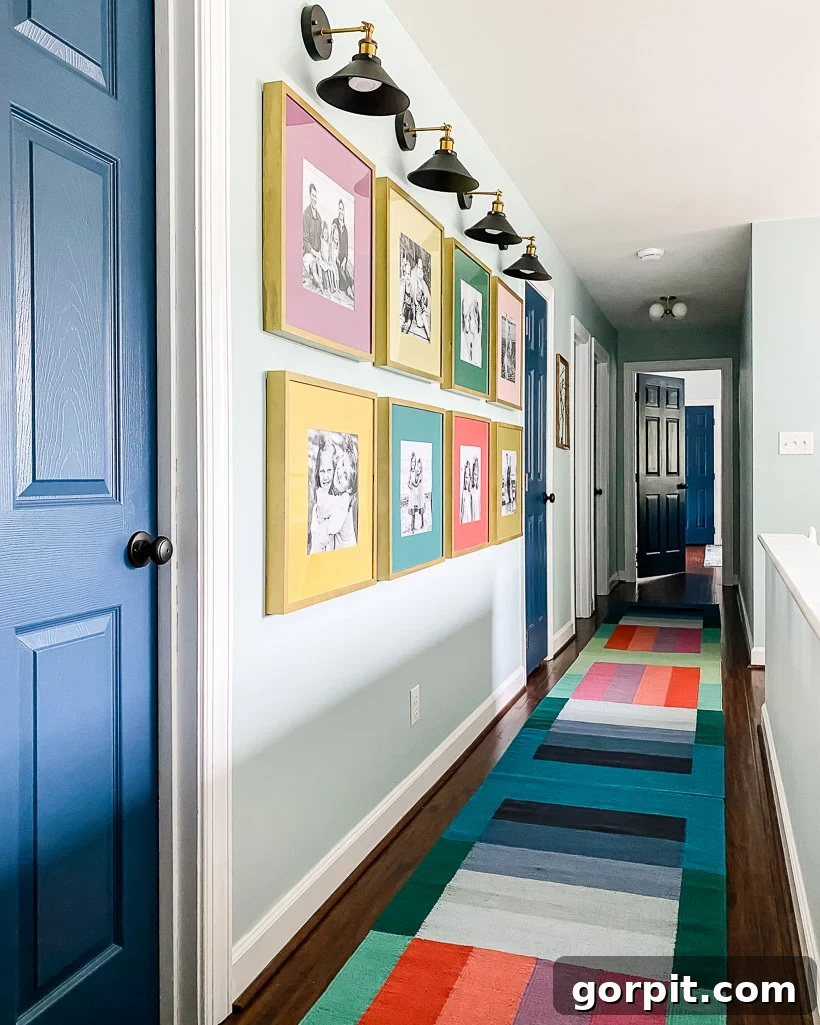
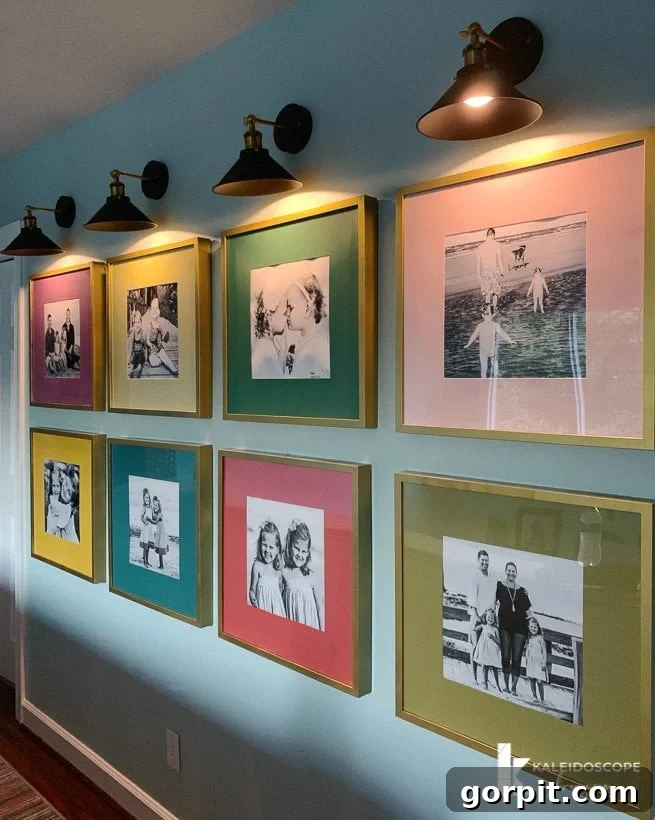
What are your thoughts on this colorful transformation? We are absolutely in love with the outcome, and we hope you are too! Creating a personal and vibrant space in your home is incredibly rewarding, and this DIY gallery wall is a perfect example of achieving just that.
Other inspirational posts you may enjoy:
- 16 Gallery Wall Ideas (and Expert Tips) To Inspire You
- Stylish Family Photo Wall Display Ideas for Every Home
- 8 Interior Design Mistakes You Might Be Making (and How to Easily Fix Them)
- 5 Essential Tips to Decorate With Color (Even if It Feels Intimidating)
- 8 Common Interior Design Mistakes You Don’t Even Know You are Making (and How to Fix Them)
Curious about how I approach transforming rooms and spaces in our home from start to finish? Discover the systematic and budget-friendly methods within Designer in a Binder®, your ultimate guide to decorating with confidence.
And for exclusive content, behind-the-scenes sneak peeks, and more decorating inspiration delivered straight to your inbox, be sure to subscribe to my newsletter before you head out!