Transform Your Bathroom: A Step-by-Step Guide to Perfect Bathtub Caulking (and How to Avoid Costly Mistakes!)
Thank you to DAP Products for sponsoring this post. As always, all opinions are 100% my own based on personal experience. This post contains some affiliate links for your convenience. Click here to read my full disclosure policy.
Mastering Bathtub Caulking: A DIYer’s Essential Guide
Embarking on a bathroom DIY project can be incredibly rewarding, offering the satisfaction of transforming your space with your own hands. However, even the most seasoned DIY enthusiasts can encounter unexpected challenges, especially when it comes to seemingly simple tasks like caulking. Today, I’m sharing a crucial lesson I learned the hard way about how to caulk a bathtub, so you don’t have to make the same mistake. This isn’t just a guide; it’s a cautionary tale designed to equip you with the knowledge to achieve a perfect, long-lasting seal in your bathroom, saving you time, money, and future headaches.
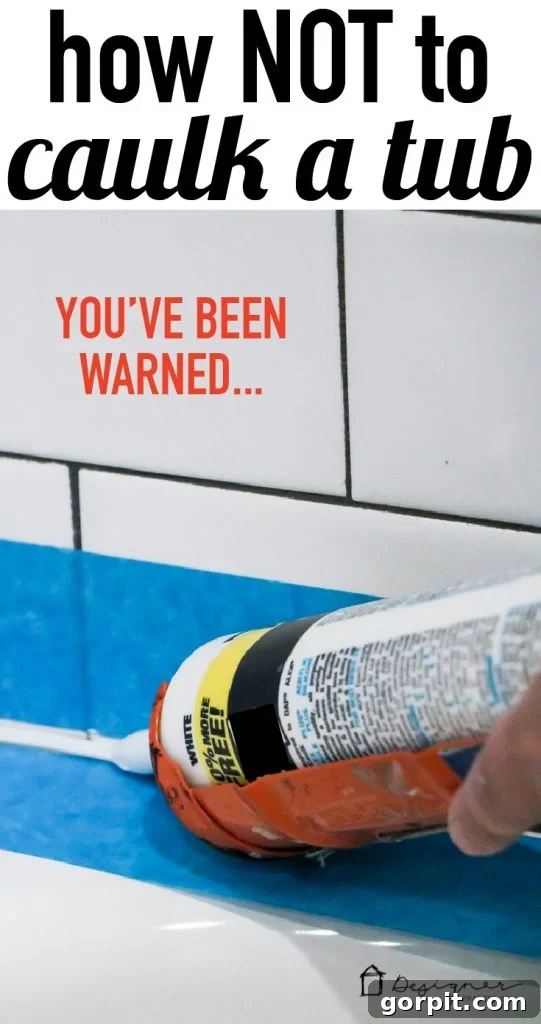
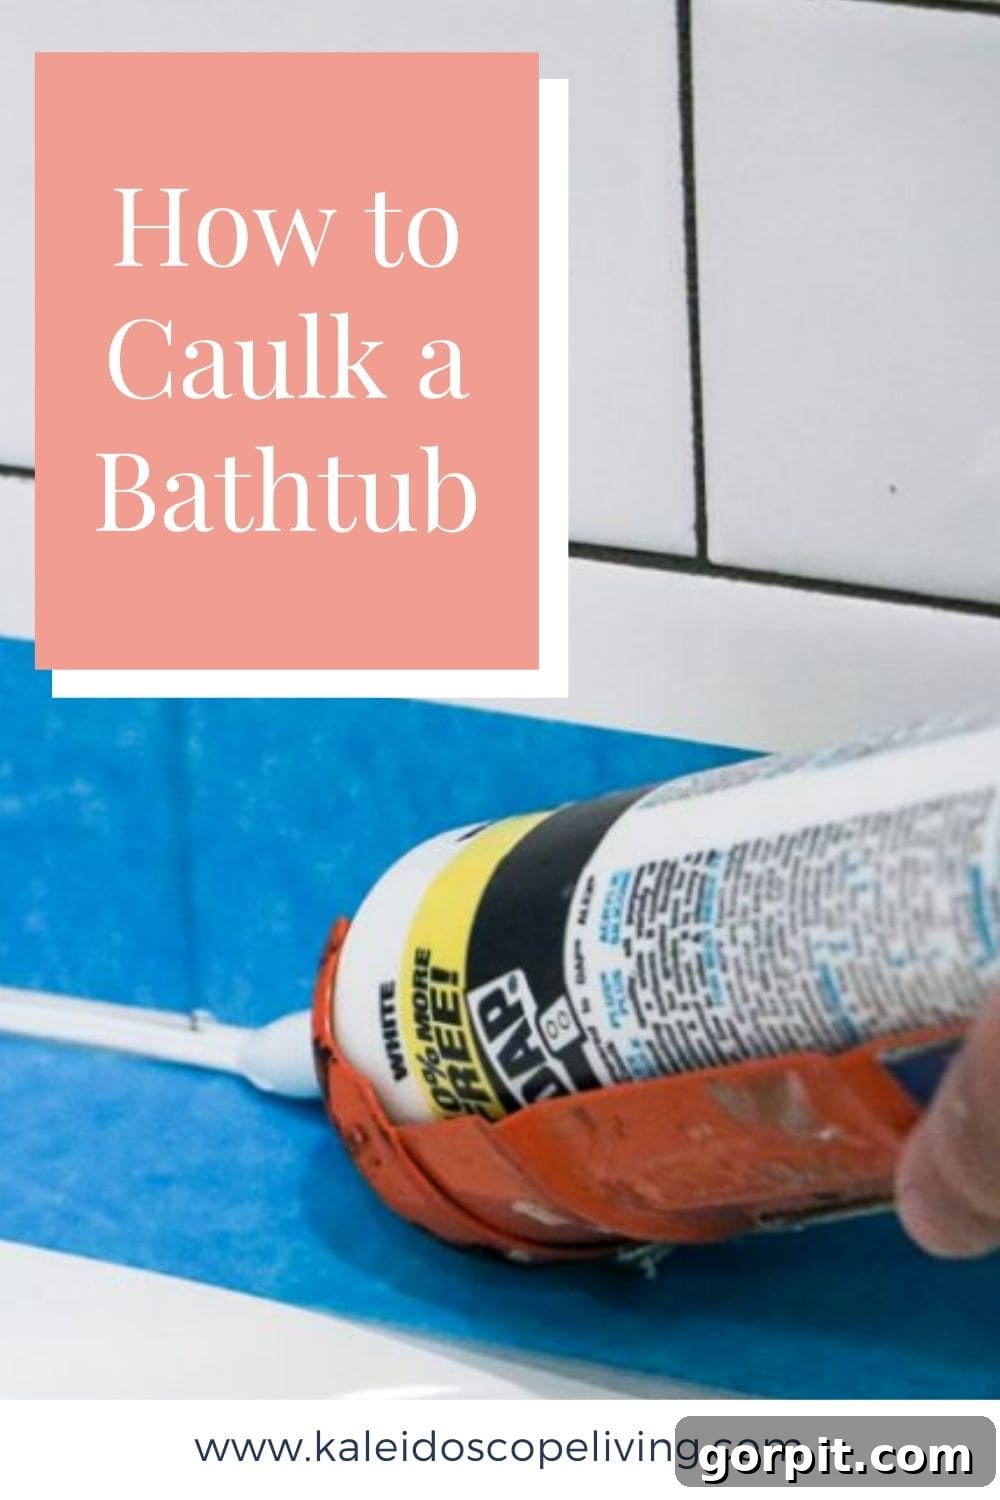
Our journey began with a beautiful tile renovation in the girl’s bathroom. Everything was going smoothly until I reached the final, critical step: caulking around the bathtub. Confident in my DIY skills, I headed to the home improvement store, determined to choose the best caulk for the job. I gravitated towards DAP products, a brand I’ve trusted for years, even before I started collaborating with them as a blogger. Standing in the caulk aisle, I scanned the myriad of options. A moment of hesitation crossed my mind: “Which caulk is truly the right one for a high-moisture area like a bathtub?” Did I consult an employee? Did I call the incredibly helpful technical support team at DAP? No. In my eagerness to finish the project, I spotted a tube labeled “waterproof seal” and made my decision, rushing home to complete what I thought would be a flawless finish. This, dear readers, was my blunder.
The Critical Choice: Why the Right Caulk Matters for Bathrooms
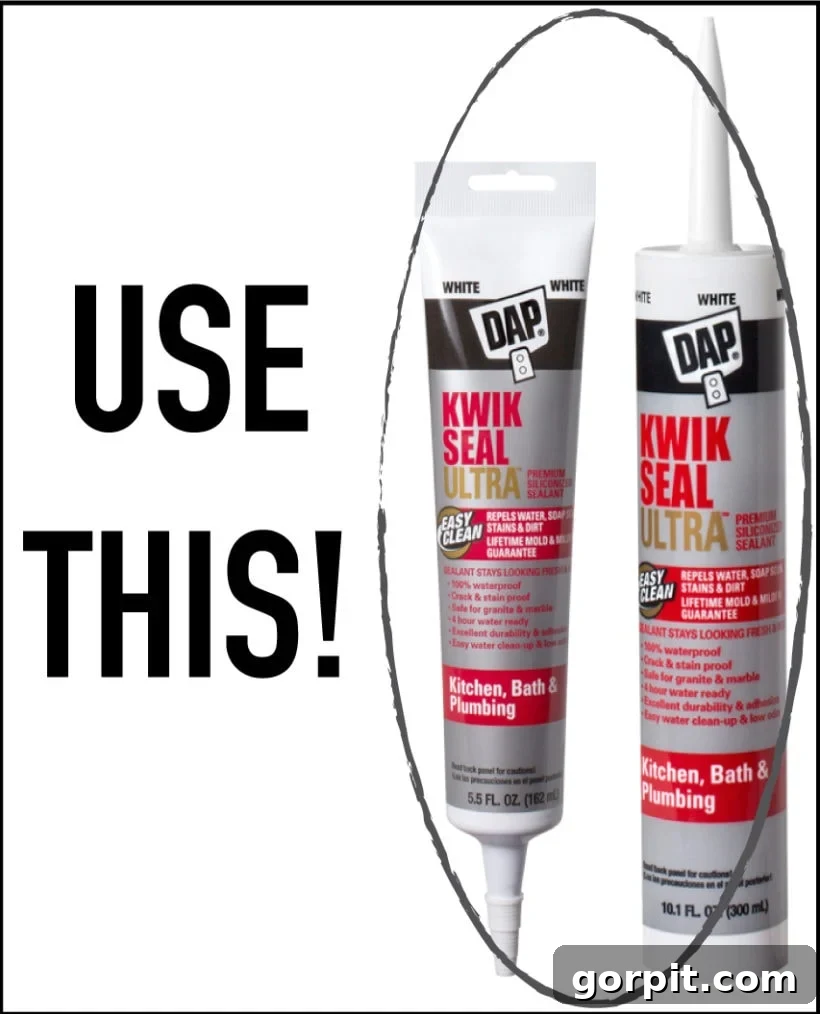
The caulk I *should* have purchased was DAP Kwik Seal ULTRA. This premium kitchen & bath sealant is specifically engineered to repel water, stains, and dirt, making it the ideal choice for environments prone to moisture and grime. Instead, I picked up DAP Alex Plus latex caulk. While Alex Plus is an excellent general-purpose caulk, perfect for many interior applications like trim or windows, it simply isn’t designed to withstand the constant exposure to water, humidity, and temperature fluctuations that a bathroom endures. The difference between a general-purpose caulk and a specialized kitchen and bath sealant is monumental, impacting everything from adhesion and flexibility to mildew resistance and long-term durability.
My oversight highlighted a common pitfall in DIY: assuming “waterproof” on a label is sufficient for all water-exposed areas. For bathrooms, you need more than just waterproof; you need a product formulated to resist mold, mildew, and cracking under dynamic conditions. Kwik Seal ULTRA offers advanced adhesion, superior flexibility, and enhanced mildew resistance, ensuring a watertight seal that stays clean and intact for years. Choosing the wrong caulk can lead to premature peeling, cracking, and unsightly mold growth, turning a beautiful renovation into a maintenance nightmare. This experience underscores a vital lesson for all DIYers: when in doubt, always consult an expert or refer to the manufacturer’s specific product recommendations. DAP’s technical customer service team, reachable at 1-888-DAP-TIPS, is a free and invaluable resource for exactly these kinds of questions.
Essential Tools and Materials for Bathtub Caulking
Before diving into the application process, gather these essential tools and materials. Having everything on hand will ensure a smooth, efficient, and high-quality caulking job:
- DAP Kwik Seal ULTRA: The absolute best choice for bathrooms and kitchens, offering superior water and mildew resistance.
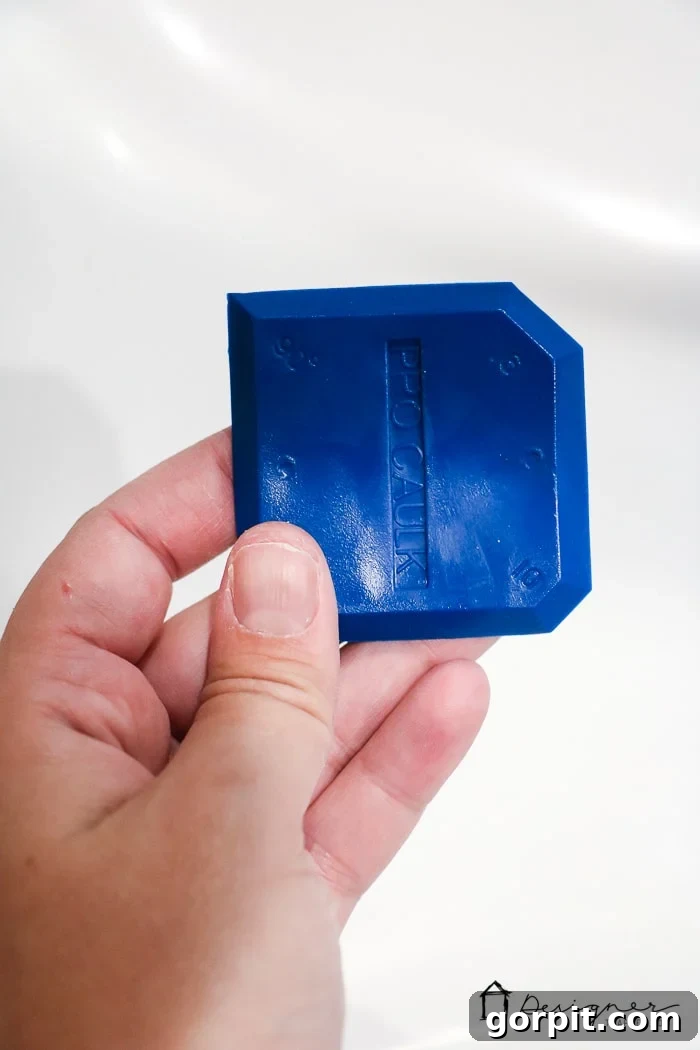
- DAP Pro Caulk Tool Kit: Essential for creating a perfectly smooth, professional-looking caulk bead and removing excess material.
- 5-in-1 Tool: Invaluable for scraping away old caulk, cleaning surfaces, and preparing the caulk tube.
- Painter’s Tape: Crucial for masking off clean lines and protecting surrounding surfaces. Choose a high-quality, low-tack tape designed for clean removal.
- Denatured Alcohol: Used for thoroughly cleaning and degreasing the surface, ensuring optimal caulk adhesion.
- Caulk Gun: A standard caulk gun for dispensing the sealant. Consider one with a smooth rod for consistent flow.
- Utility Knife or Scissors: For cutting the caulk tube tip.
- Paper Towels or Rags: For cleaning up any spills or excess caulk immediately.
- Bucket with Warm Soapy Water: For cleaning tools as you work.
Remember: If you are ever in doubt about which caulk to choose for your job, call DAP’s technical customer service team–they are amazing and it’s FREE! You can reach them at 1-888-DAP-TIPS for expert advice tailored to your specific project.
Step-by-Step Guide to Flawless Bathtub Caulking
1. Thorough Surface Preparation: The Foundation of a Lasting Seal
The first and most critical step is impeccable surface preparation. If you’re recaulking an existing tub, you must carefully remove all traces of old caulk from the joint between your bathtub and the tile wall surface. A 5-in-1 tool is incredibly effective for this, featuring a scraper and various angles to tackle stubborn remnants. Take your time with this, as any leftover caulk can compromise the adhesion of the new sealant. After removing the old caulk, thoroughly scrub away any mildew, soap scum, or dirt from the tub and tile surfaces. Use an appropriate bathroom cleaner and a stiff brush to ensure a pristine surface. Rinse thoroughly with clean water to remove all cleaning product residue. Finally, wipe down the seams with denatured alcohol. This step is crucial; it not only removes any lingering grease or oils but also helps to evaporate moisture, ensuring the caulk adheres properly to a completely dry, clean, and stable surface. Allowing the surface to air dry completely after the alcohol wipe is also important.
Now, here’s where my cautionary tale has a somewhat fortunate twist. I was working with a brand new tub and brand new tile, and my seams had never been caulked before. After my project, I spoke with a DAP expert who confirmed that DAP Kwik Seal ULTRA was indeed what I *should* have chosen. However, he explained that because I was working with a virgin surface that had never been caulked, the Alex Plus caulk I used *might* hold up fine. He stressed that if I had been applying it to an older tub that had previously had silicone caulk applied, the latex caulk would almost certainly have problems adhering due to residue. But, since I was working with a clean slate, I probably dodged a bullet. I’m vigilantly watching for any signs of failure, such as peeling, cracking, or softening. Should that occur, I’ll need to remove it and start again with Kwik Seal ULTRA, learning the full extent of my lesson.
The takeaway? While I might have been lucky with a new surface, for *any* application other than a brand new, never-before-caulked surface, you absolutely need to use DAP Kwik Seal ULTRA. And frankly, even if you are working with a new surface, choosing Kwik Seal ULTRA from the start is the smartest decision, ensuring maximum durability and mildew resistance. Learn from my experience and make the right choice!
2. Taping for Precision: Achieve Razor-Sharp Caulk Lines
To achieve perfectly straight, professional-looking caulk lines, painter’s tape is your best friend. Apply painter’s tape to both sides of the seam where you will be applying the caulk. Carefully line the edges of the tape to exactly where you want the bead of caulk to begin and end. Press the tape down firmly to create a tight seal, preventing any caulk from seeping underneath. This quick and easy step makes an enormous difference in the final aesthetic, guiding your hand and making cleanup a breeze. It’s particularly helpful for DIYers who are new to caulking or those aiming for an impeccably neat finish, eliminating the need for extensive smoothing and wiping. This simple barrier ensures that even if your hand isn’t perfectly steady, your caulk line will be.
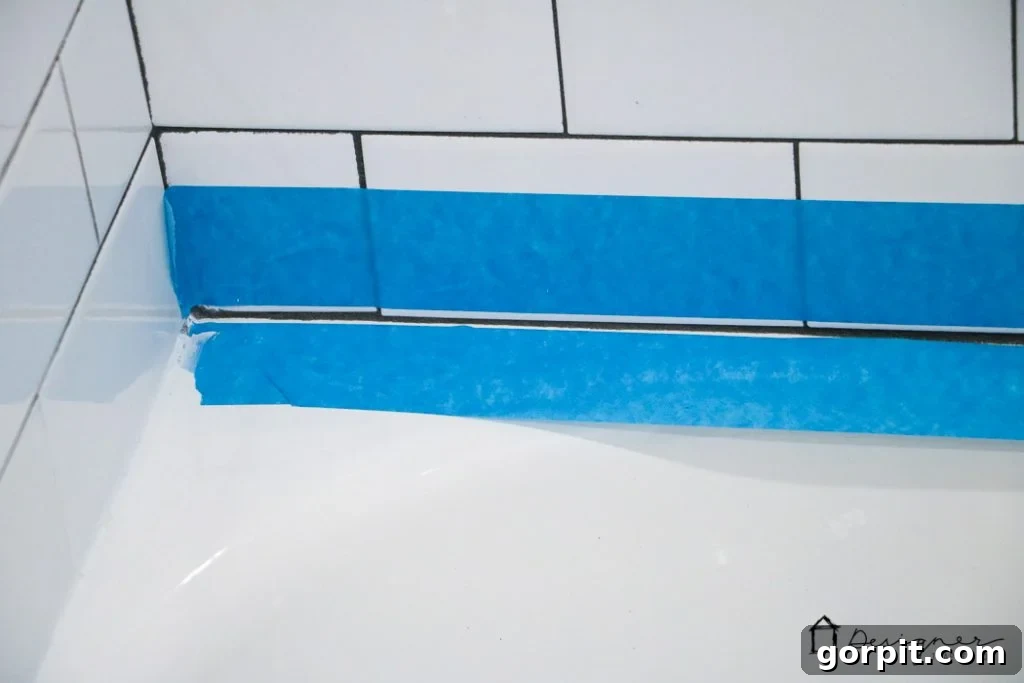
3. Preparing Your Caulk Gun: Ready for Action
Now it’s time to prepare your caulk tube and gun. First, use a utility knife or scissors to cut the tip of the caulk tube. The size of the opening will determine the width of your caulk bead. It’s always best to start with a smaller opening, as you can always make it larger if needed. A good rule of thumb is to cut it at a 45-degree angle, making an opening roughly the same size as the gap you’re filling. After cutting the tip, you’ll need to pierce the inner seal of the tube. Most caulk guns come with a built-in poker or needle specifically for this purpose. Insert it firmly to break the seal, allowing the caulk to flow freely. Load the tube into your caulk gun. Before you start applying caulk to your tub, squeeze a small amount onto a paper towel or scrap material to ensure an even flow and to get a feel for the pressure. A crucial tip: whenever you are not actively applying caulk, be sure to release the trigger lock on your caulk gun. This relieves the pressure inside the tube and prevents caulk from continuously oozing out, saving material and preventing mess.
4. Applying the Caulk: Steady Hands, Smooth Lines
With your surface prepped and your caulk gun ready, you’re set to apply the sealant. Position the tip of your caulk tube slightly above the surface, at the start of your taped section. Press the caulk gun trigger and move it in a continuous, straight line along the seam. The key here is to maintain a steady motion and even pressure. Try your best not to stop the flow of caulk until you reach a corner or the end of your taped section. This continuous motion helps to create a uniform bead without bumps or breaks. If you need to pause, quickly release the trigger pressure to stop the flow, then resume with a smooth, overlapping motion when you continue. Practice on a scrap piece of cardboard if you’re feeling nervous, as consistent pressure and speed are vital for a clean application.
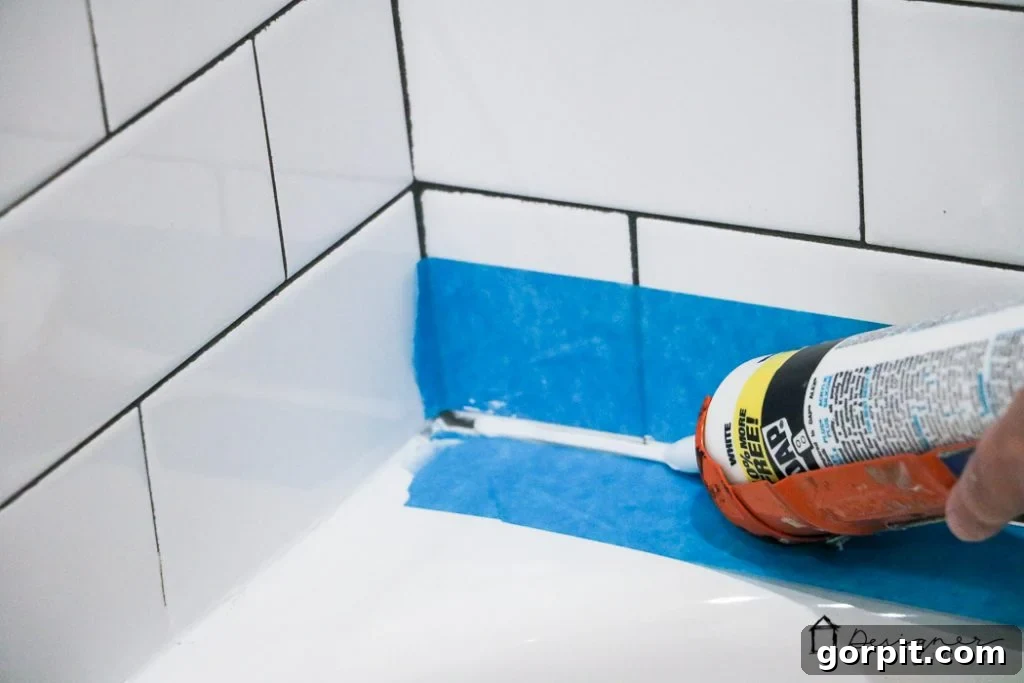
5. Smoothing the Bead: The Professional Touch
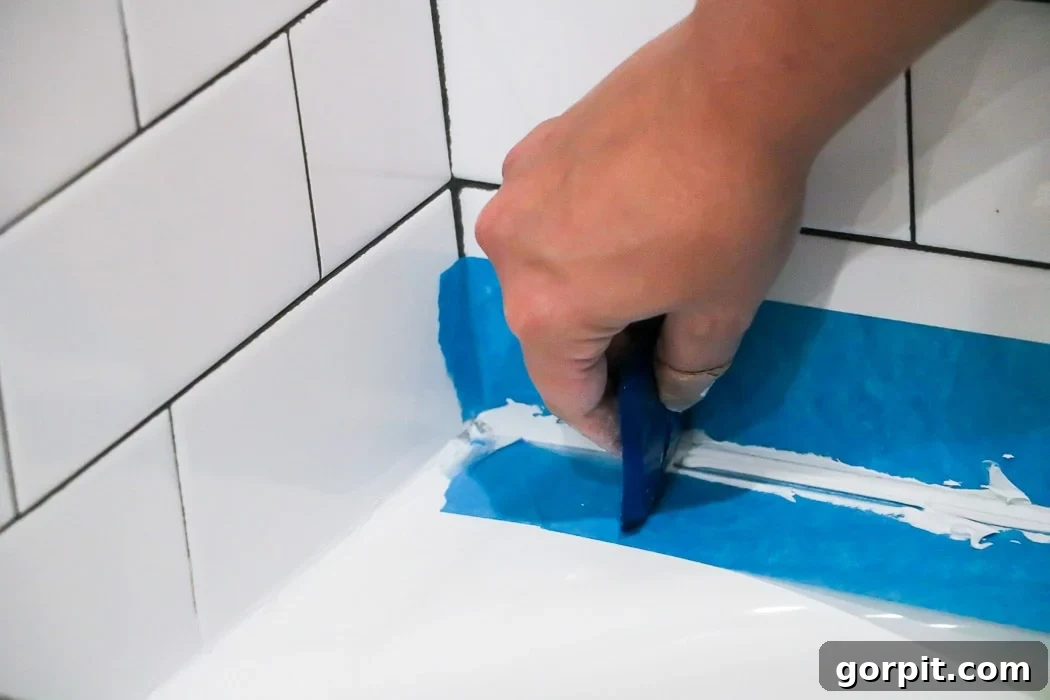
Immediately after applying the caulk, it’s time to smooth it out. This is where the DAP Pro Caulk Tool Kit truly shines. Select the appropriate profile from the kit that matches your desired bead shape (typically a concave, quarter-round profile for tubs). Hold the tool at a slight angle and smoothly run it along the caulk line, pressing the caulk firmly into the corner and between the painter’s tape. This action not only creates a perfectly uniform and smooth bead but also removes any excess caulk, pushing the sealant deep into the joint for maximum adhesion and a watertight seal. Work quickly, as caulk begins to skin over relatively fast. Clean the tool frequently on a paper towel or in your bucket of soapy water to prevent buildup that could mar your smooth finish.
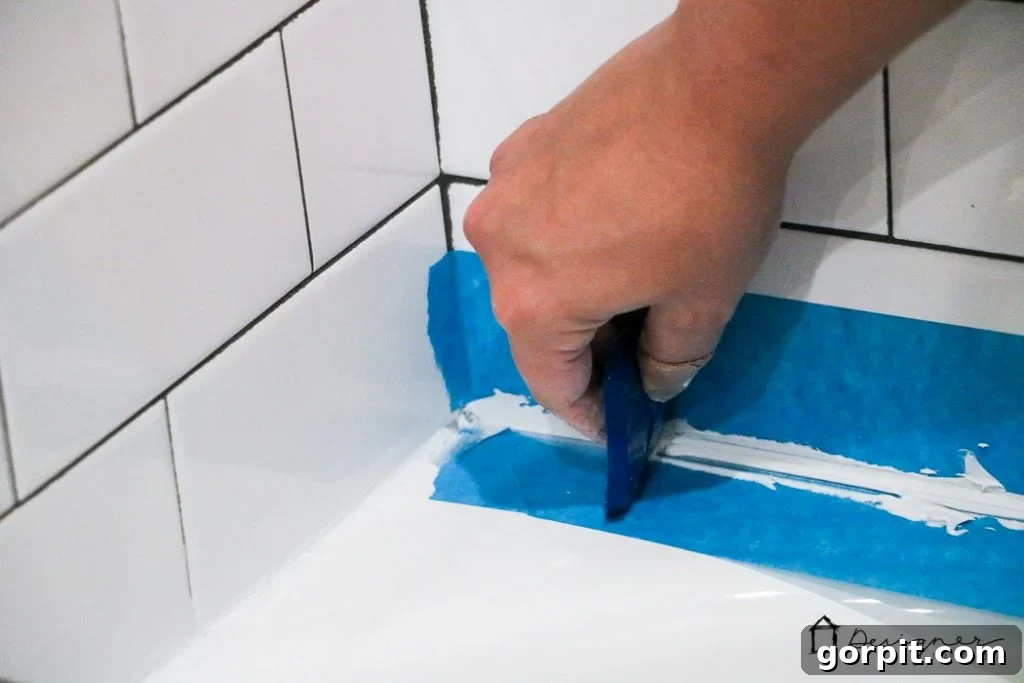
6. The Timely Tape Removal and Curing Process
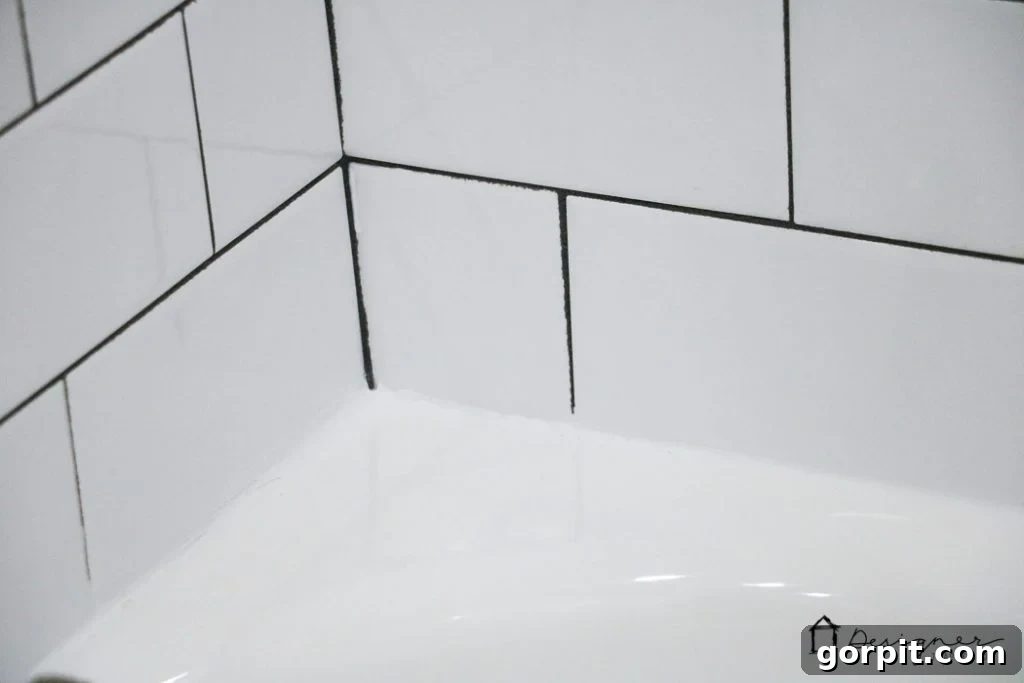
This step is crucial for preserving your pristine caulk line: remove the painter’s tape immediately after smoothing the caulk. Do *not* wait for the caulk to cure, as it will bond to the tape and potentially tear or pull up your perfect bead upon removal. Pull the tape away slowly and carefully, at a 45-degree angle, to avoid disturbing the newly applied caulk. Once the tape is removed, you’ll be left with a perfectly clean, crisp line – the hallmark of a professional job. After the tape is gone, resist the temptation to touch or expose the caulk to water. Allow the caulk to cure for the recommended amount of time, as specified on the product packaging (this can vary from a few hours to 24-48 hours, depending on humidity and product type). Premature exposure to water can compromise the seal, leading to weakening, softening, or even complete failure. Patience at this stage is key to a durable, long-lasting result.
7. Final Curing and Maintenance
Once you’ve successfully applied and smoothed your caulk, and removed the tape, the final step is simply allowing it to cure completely. Refer to the specific instructions on your DAP Kwik Seal ULTRA tube for the exact curing time, as factors like humidity and temperature can influence this. Typically, it’s best to avoid exposing the area to water for at least 24-48 hours. Proper curing ensures the caulk achieves its full strength and flexibility, forming a resilient, watertight seal that will stand the test of time against moisture and mildew. After it’s cured, maintain your beautiful new caulk by regularly cleaning your bathroom and addressing any signs of mildew promptly. With the right product and proper application, your bathtub caulk will remain a functional and aesthetic asset for years to come.
Beyond the Caulk: Completing Your Bathroom Transformation
There you have it – a comprehensive guide to mastering bathtub caulking, complete with my personal lessons learned. It’s a relatively simple process, but the critical difference lies in choosing the correct caulk for the job, especially for high-moisture areas like bathrooms and kitchens. Always, always opt for a premium, specialized kitchen and bath sealant like DAP Kwik Seal ULTRA. And remember, asking the right questions of the right people (like DAP’s customer service) ahead of time can save you from unnecessary DIY detours. Now you’re equipped not only to caulk a bathtub like a pro but also to advise others on how to avoid common pitfalls!
Curious to see the finished results of the bathroom project mentioned in my cautionary tale? We completed the entire renovation, and it truly looks amazing. You can explore all the details and transformation in our DIY Bathroom Remodel REVEAL. If you’re seeking more awesome bathroom inspiration, make sure to check out the stunning powder room renovation we tackled. And for a dose of creative ideas, don’t miss our collection of 13 DIY Bathrooms You Have to See to Believe. Happy DIYing!
Want to get VIP access to more DIY advice, design guides, organization tips, and more? Become a subscriber and you can access it all in one place – just click below to subscribe and get it all for free!