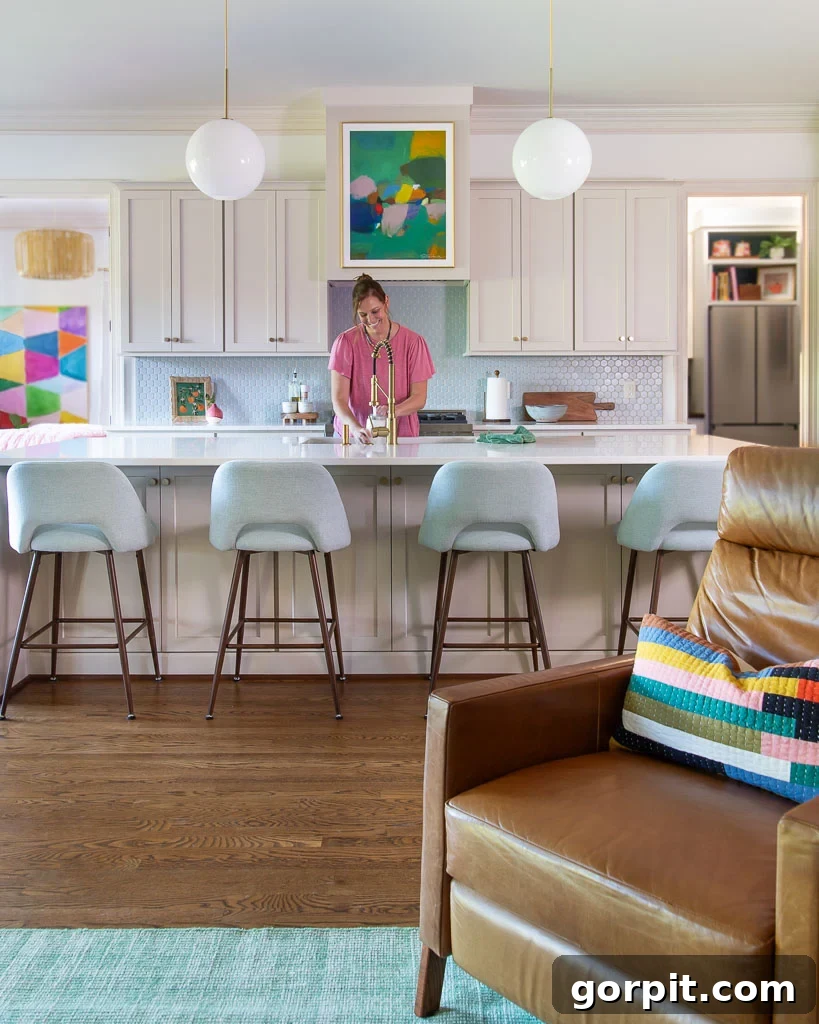
Our kitchen renovation is officially complete, and we are beyond thrilled to share every detail of this transformative project with you! We strategically reimagined the layout to dramatically expand our cabinet and countertop space, while simplifying the overall cabinetry design to perfectly align with our aesthetic. The core elements of our new kitchen maintain a sophisticated, neutral palette, but as avid lovers of color, we meticulously layered in vibrant hues and rich textures. The result is a kitchen that feels both serene and lively, and we truly couldn’t be happier with how it all came together. Whether you’re simply curious about our renovation journey or actively seeking inspiration for incorporating color into a neutral kitchen design, we hope you find this reveal both informative and inspiring.
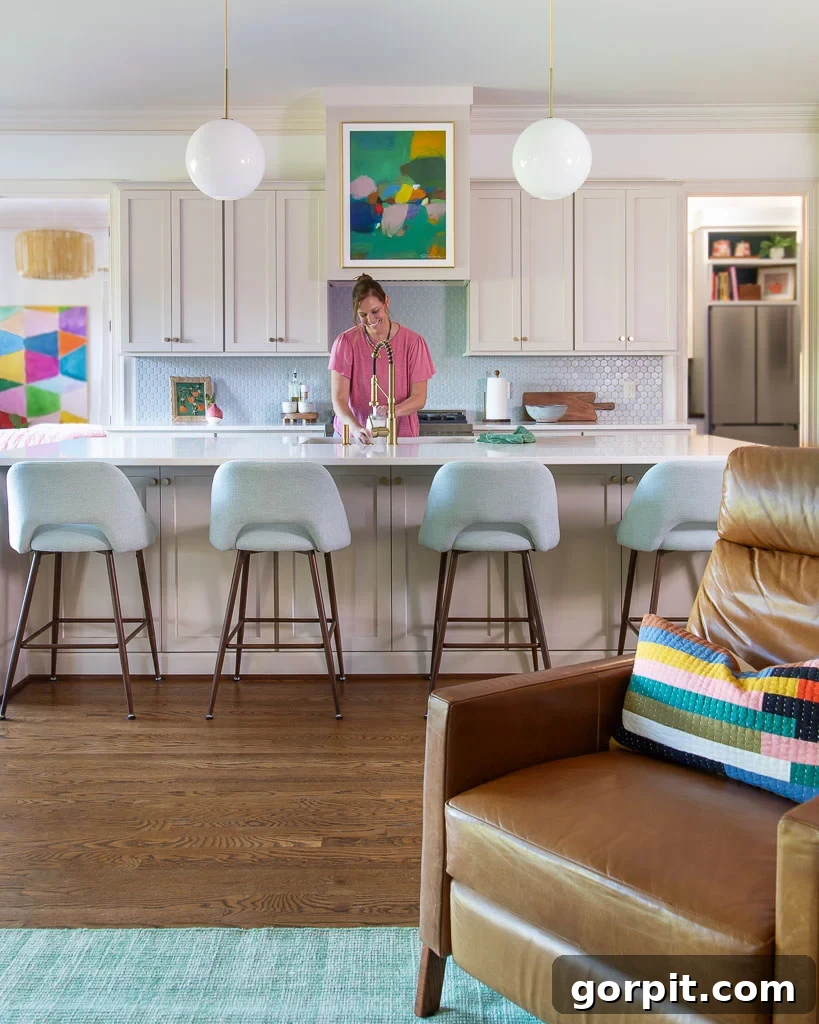
Our Kitchen Transformation: From Cosmetic Updates to a Complete Overhaul
A Look Back at Our Old Kitchen’s Evolution
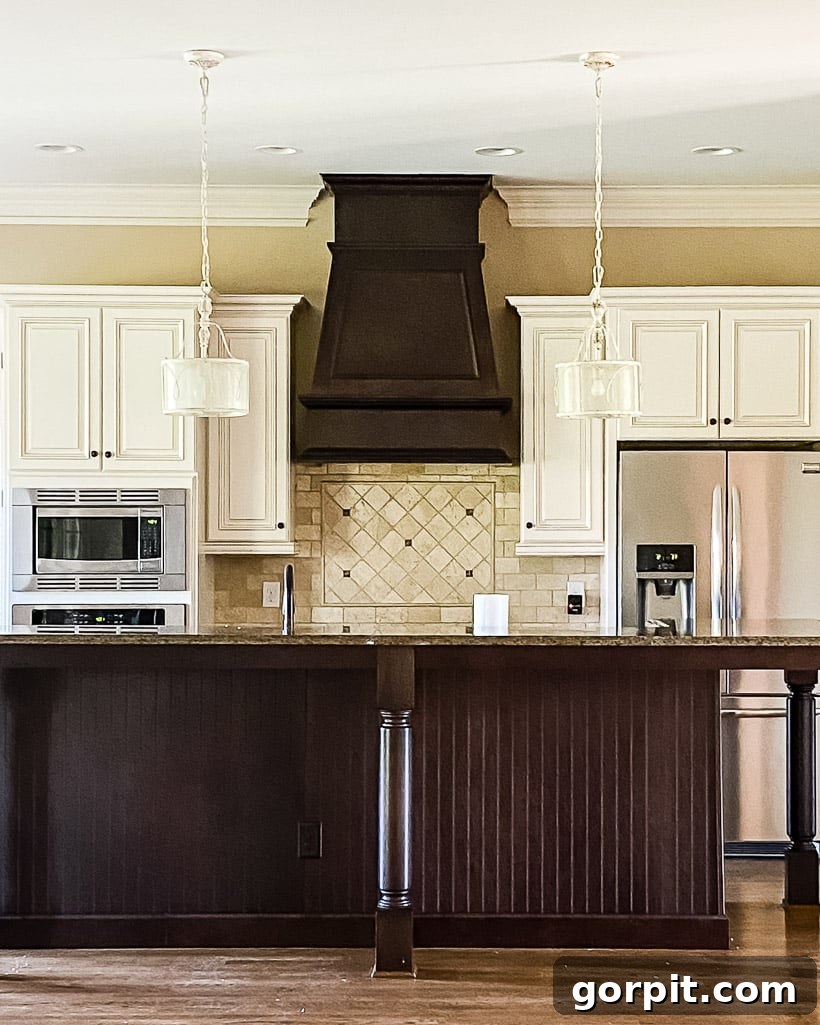
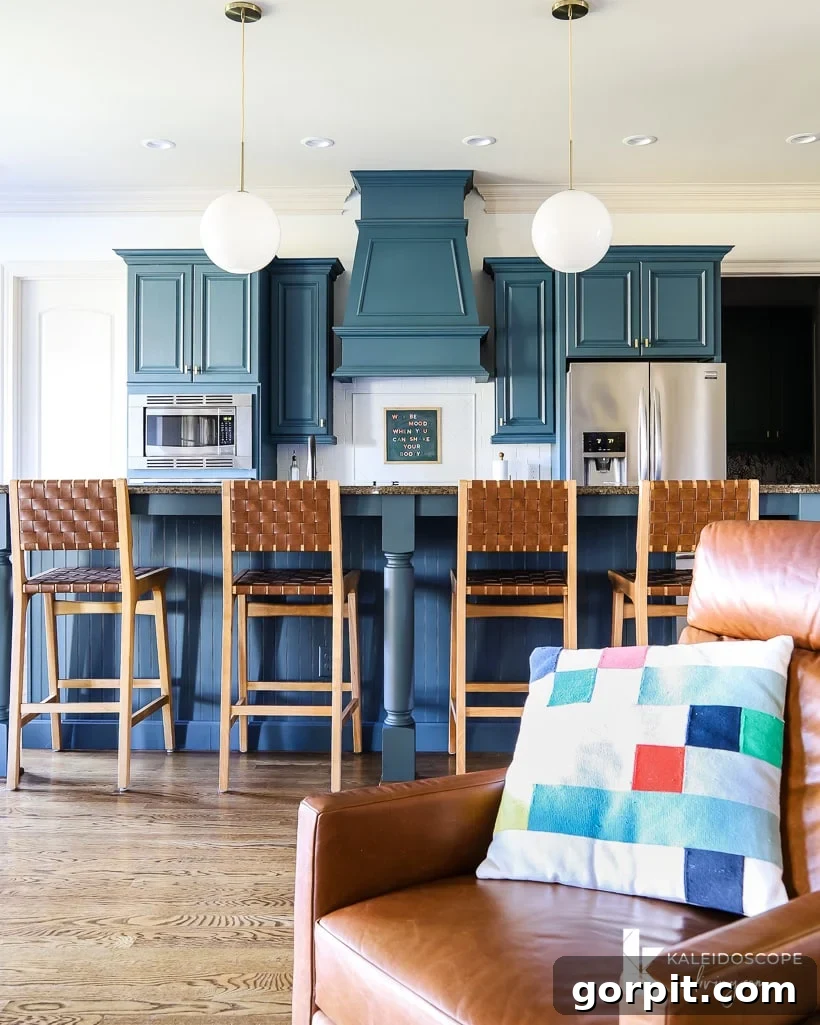
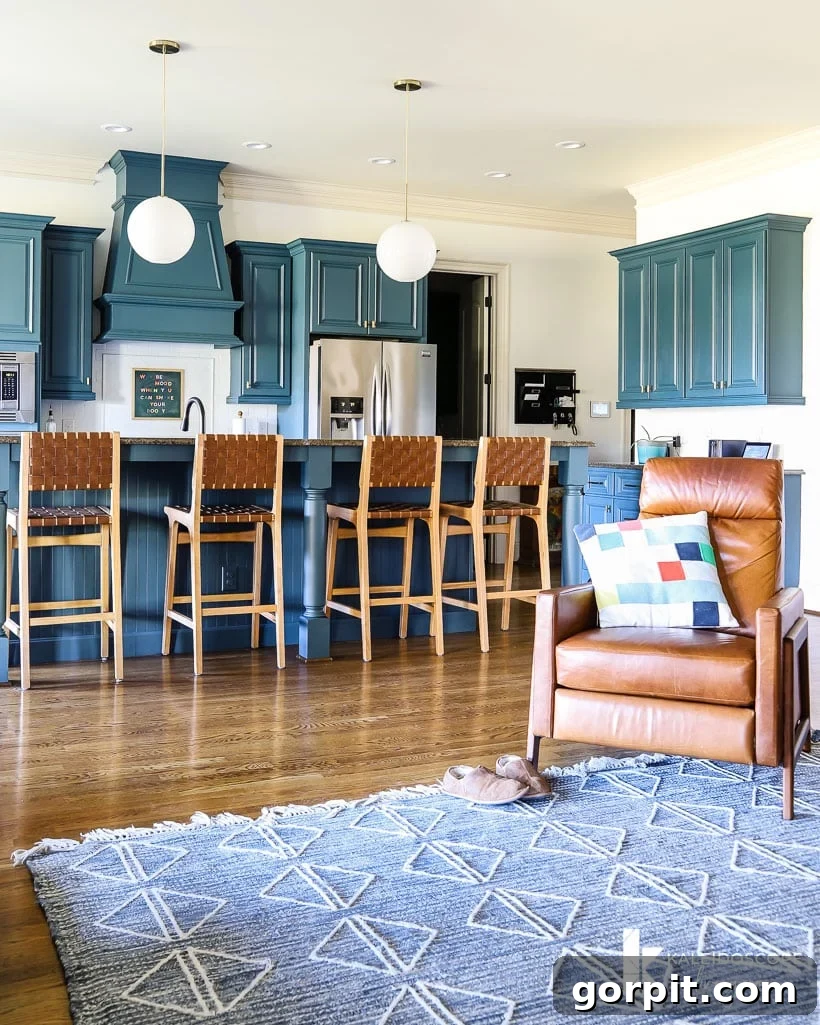
When we first purchased our home, it was a relatively new build from 2012, just eight years old. At first glance, the kitchen appeared to have good “bones” – a solid foundation that could be improved with cosmetic changes to better reflect our personal style. And that’s exactly what we did initially! I embarked on several budget-friendly DIY projects, including successfully painting the kitchen cabinets in just two days without emptying them and expertly painting the tile backsplash using a proven method. I even got creative and painted the countertops to mimic the luxurious look of marble – a project whose remarkable durability I recently shared in an update on how our painted kitchen countertops held up after three and a half years. These initial modifications made a significant aesthetic impact, and for a time, we were genuinely pleased with the refreshed look of our kitchen.
Why a Complete Gut Renovation Was Essential
Despite the success of our initial cosmetic enhancements, the decision to undertake a full-scale kitchen gut renovation became unavoidable. For those who may have missed our detailed discussions, I previously outlined all the compelling reasons we opted for a full kitchen remodel in a dedicated post. It’s important to clarify that this major undertaking was not driven by aesthetics alone. While the original cabinets and range hood possessed a more ornate and traditional style than we preferred, we would never have invested a substantial amount of money simply to change the visual appeal. Indeed, with the budget-friendly updates we implemented a few years prior, it had already become a beautiful and inviting space.
Our decision to gut the kitchen and start from scratch stemmed entirely from significant functional deficiencies that increasingly impacted our daily lives. Here’s a brief overview of the critical issues that necessitated such a comprehensive renovation:
1. Severe Lack of Counter Space for Meal Preparation and Serving: This was perhaps the most pressing issue. Our largest continuous stretch of counter space measured a mere three feet wide. Even more challenging, we had only 18 inches of counter space on either side of the cooktop, which was barely enough room to place two dinner plates side-by-side, let alone efficiently prepare meals for our family.
2. Aging and Failing Appliances: Many of our kitchen appliances were 12 years old and had begun to show their age. The hood vent fan, dishwasher, one of the ovens, and the ice maker in our refrigerator were all broken or malfunctioning. The microwave, while still operational, emitted a concerning noise that signaled its imminent demise.
3. Insufficient Cabinet Space in the Primary Work Zone: Despite having some cabinets, the storage within the critical “work zone” of our kitchen was woefully inadequate. We had only two 18-inch upper cabinets dedicated to dishware and drinkware, and very limited drawer space for cutlery and essential utensils. This forced us to store frequently used items in inconvenient locations.
4. Deteriorating Cabinetry and the Need for New Countertops: The underlying structure of the old cabinets was in poor condition; many began to fall apart almost immediately as our contractor started the removal process. Several drawer slides were broken, and the “soft-close” hinges had never functioned properly. While our painted countertops held up remarkably well for over three years, replacing them was always part of our long-term plan for the kitchen.
Strategic Layout Enhancements for a Highly Functional Kitchen
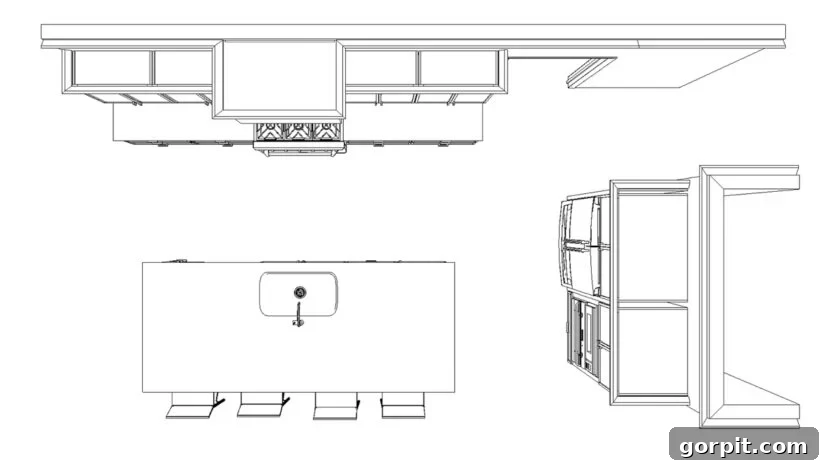
Once the decision for a full renovation was made, our primary focus shifted to optimizing the kitchen’s layout. Our goal was to significantly increase both countertop workspace and overall cabinet storage within the kitchen’s active work zones. To explore various possibilities and visualize the potential, I utilized my trusted Designer in a Binder to sketch out several layout options, a process that proved incredibly beneficial for planning and decision-making.
Reclaiming Underutilized Space & Establishing a Perfect Working Triangle
A crucial insight emerged early in the planning stage: relocating our oven/microwave stack and refrigerator would be pivotal to unlocking a substantial amount of additional counter space. We decided to move the oven/microwave combination and the refrigerator to a wall that previously housed an under-utilized bank of cabinetry. As you can see in the photo below, this area, while offering storage, was not integrated into the kitchen’s primary work zone, making it impractical for daily prep or storing frequently accessed items. By strategically moving these major appliances to this wall, what was once a functionally isolated area has now been seamlessly incorporated into the active cooking and prep zones. This thoughtful relocation has created an efficient and ergonomic “working triangle,” greatly enhancing the kitchen’s flow and usability.
Achieving Expansive Countertop Space
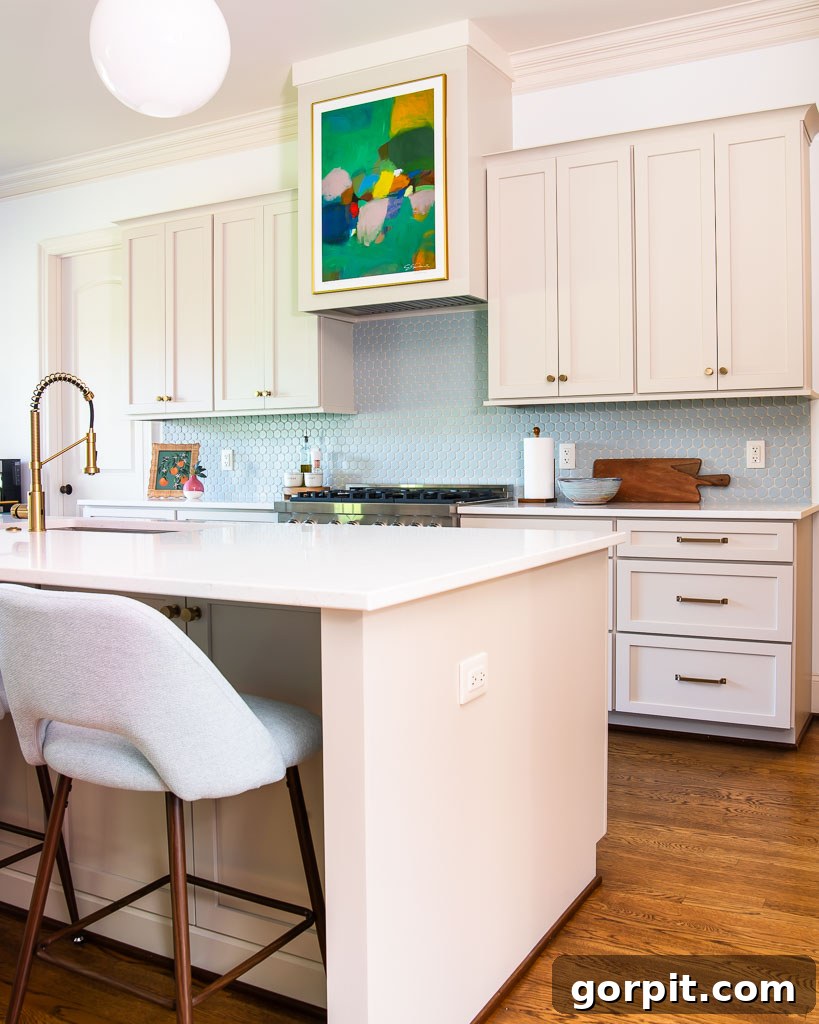
As highlighted earlier, our previous kitchen suffered from severely limited counter space. We had a mere 18 inches on each side of the cooktop and only 36 inches adjacent to the sink on the main level of the island. Our new kitchen layout has dramatically reversed this situation. We now boast a generous 54 inches of countertop on each side of the range, providing ample room for extensive meal preparation. Similarly, the area around the sink has been expanded to 42 inches on each side, making dishwashing and cleanup far more efficient. Furthermore, by leveling the entire island to a single height, we gained an impressive 120 inches of continuous counter space on the island itself – an area that was previously fragmented and largely unusable for prep due to its bar-height design. The sheer increase in countertop real estate has revolutionized the functionality and capacity of our kitchen. As a household that cooks 95% of our meals at home, the ability for multiple people to simultaneously engage in cooking, prepping, and cleaning is truly life-changing, enhancing both efficiency and enjoyment.
This post contains affiliate links for your convenience. Click here for my full disclosure policy.
Revolutionizing Kitchen Storage Solutions
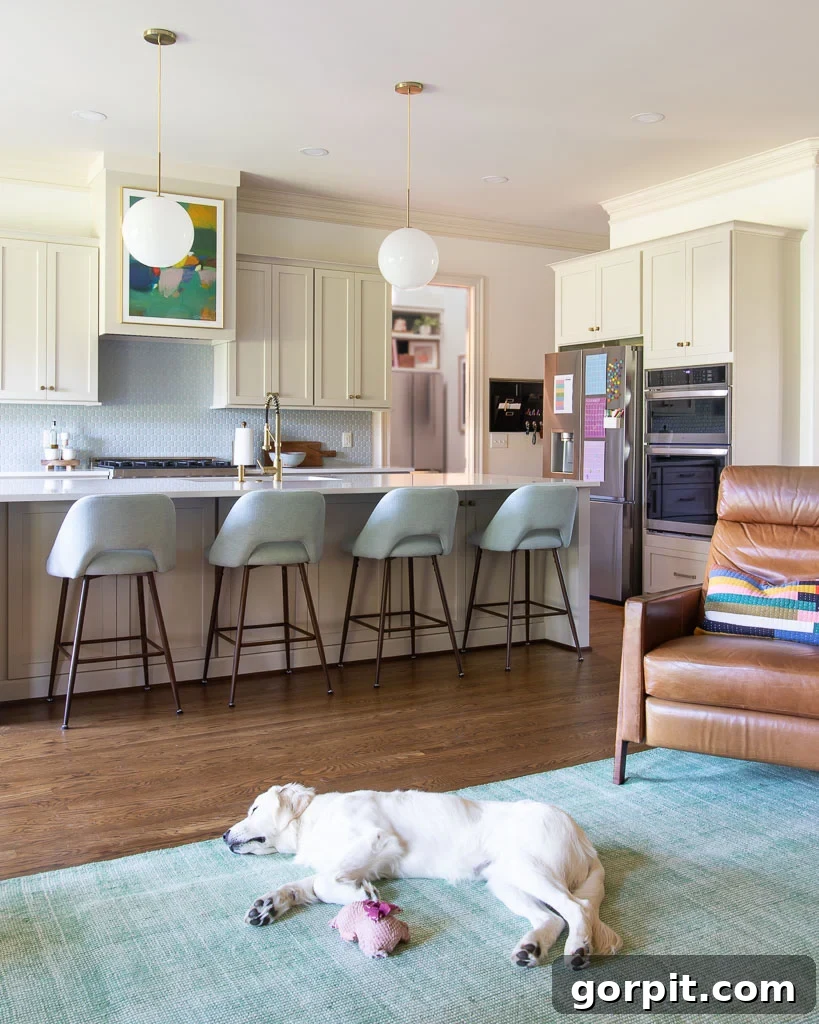
Beyond increasing our counter space, we also drastically improved the storage capacity and organization within the active zones of our kitchen. What was once two 18-inch upper cabinets for dishes has transformed into four spacious 27-inch upper cabinets – a change that genuinely feels transformative. You’ll also notice our choice of simple shaker style cabinetry, a cleaner and more contemporary aesthetic that resonates much more with our personal style compared to the ornate, traditional old cabinets.
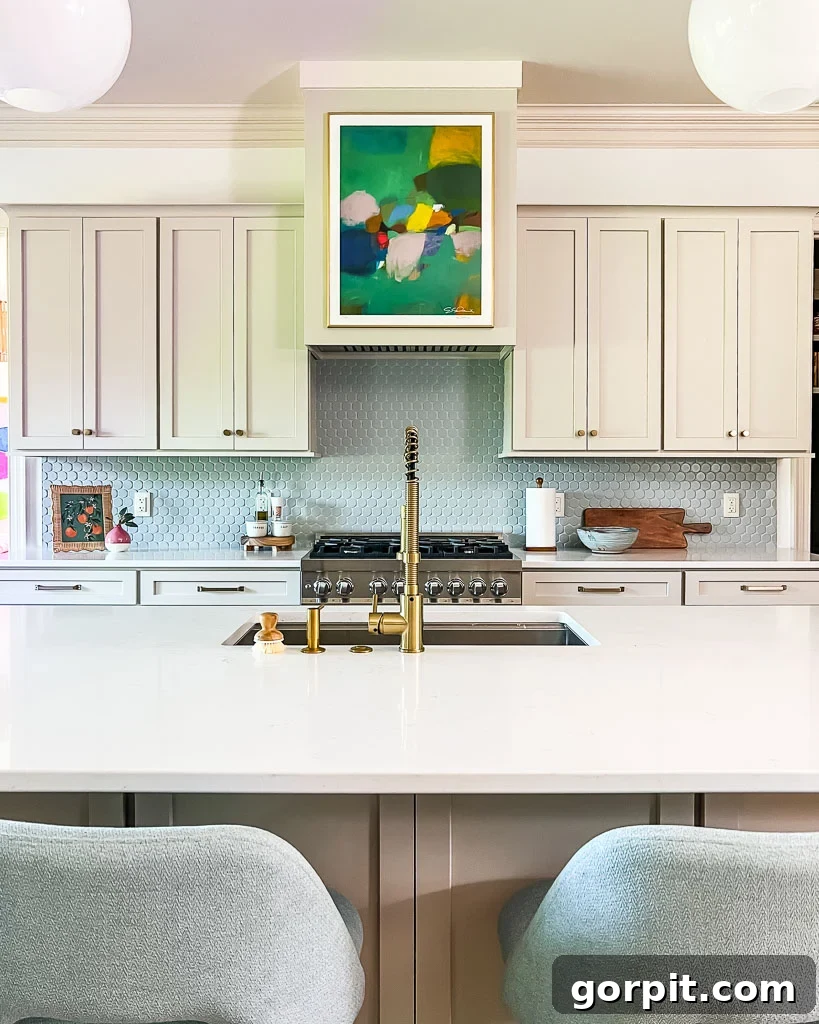
For the base perimeter cabinets, we opted for drawers in all four units, a decision we strongly endorse for superior organization. This setup makes storing everything from large pots and pans to various Tupperware containers incredibly efficient and accessible. We now also benefit from significantly more top drawer space, perfectly allocated for our cutlery and cooking utensils. A particularly satisfying outcome is the ability to move all our spices into a dedicated kitchen drawer, freeing up valuable pantry space that they previously occupied.
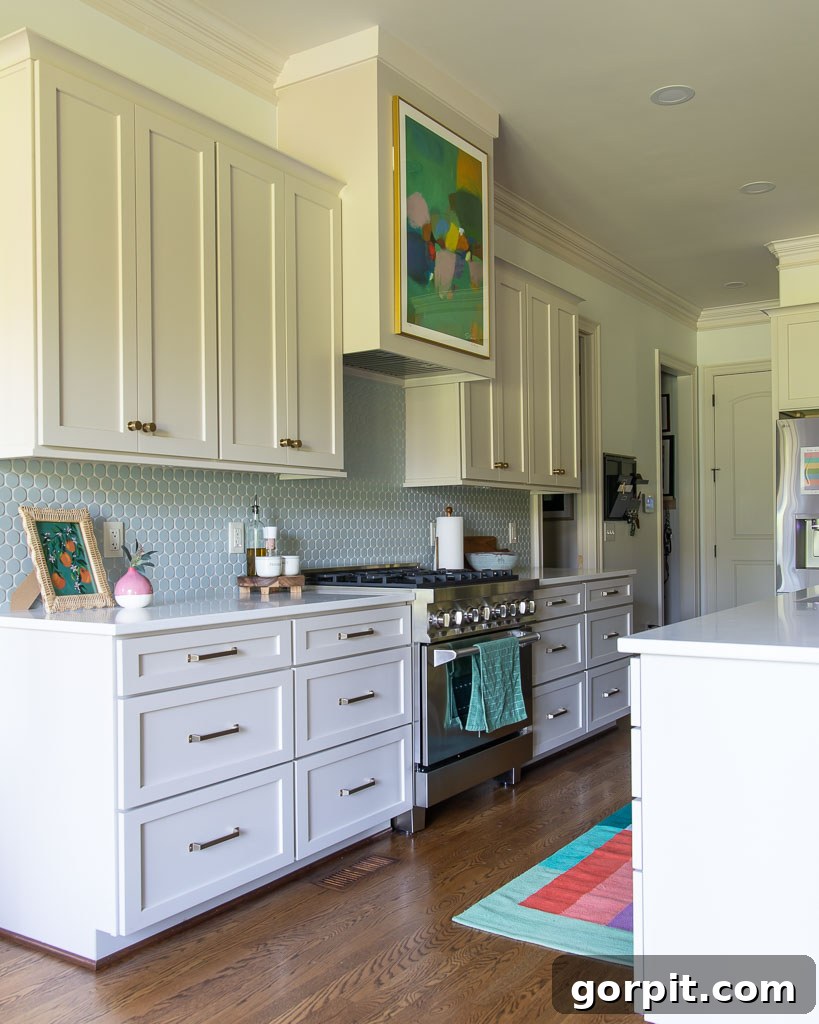
The leveling of our island also yielded substantial new cabinetry. The working side of the island now includes one additional cabinet, and two existing island cabinets are considerably larger than their predecessors. Furthermore, we made the conscious choice to incorporate cabinets along the entire non-working side of our island, providing an entirely new dimension of storage. While most of these cabinets are currently empty, they offer perfect storage for items like our dog’s supplies and our collection of vases, ensuring every inch of space is utilized effectively.
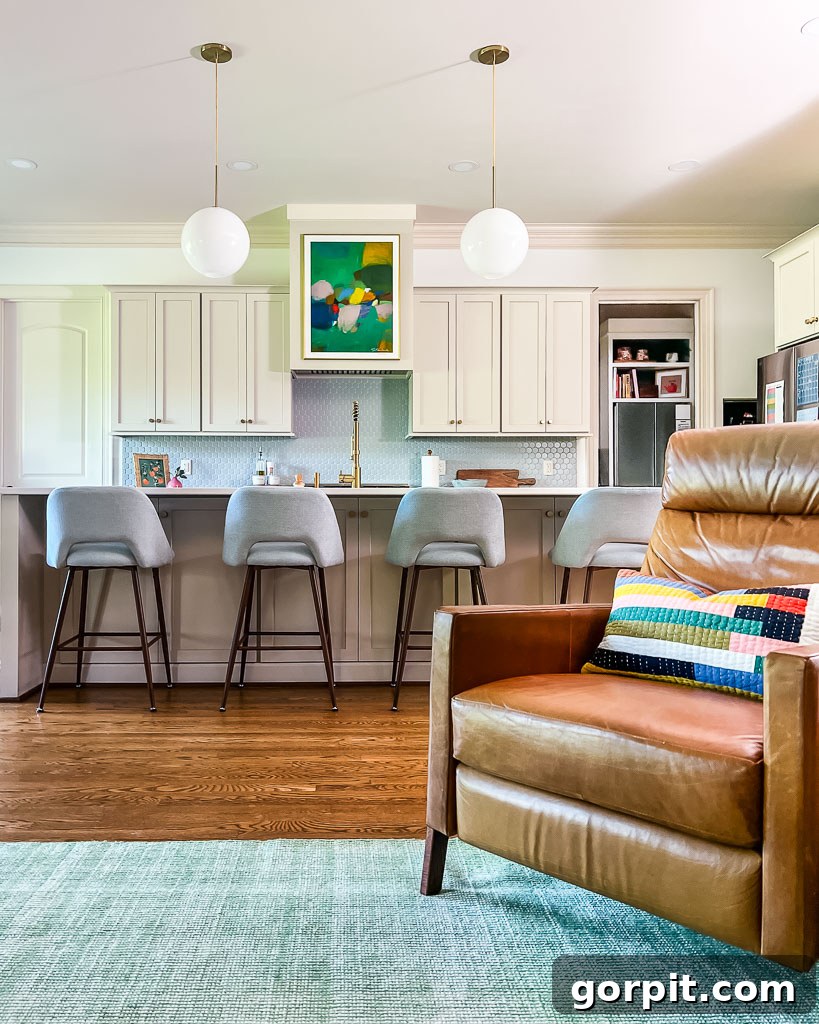
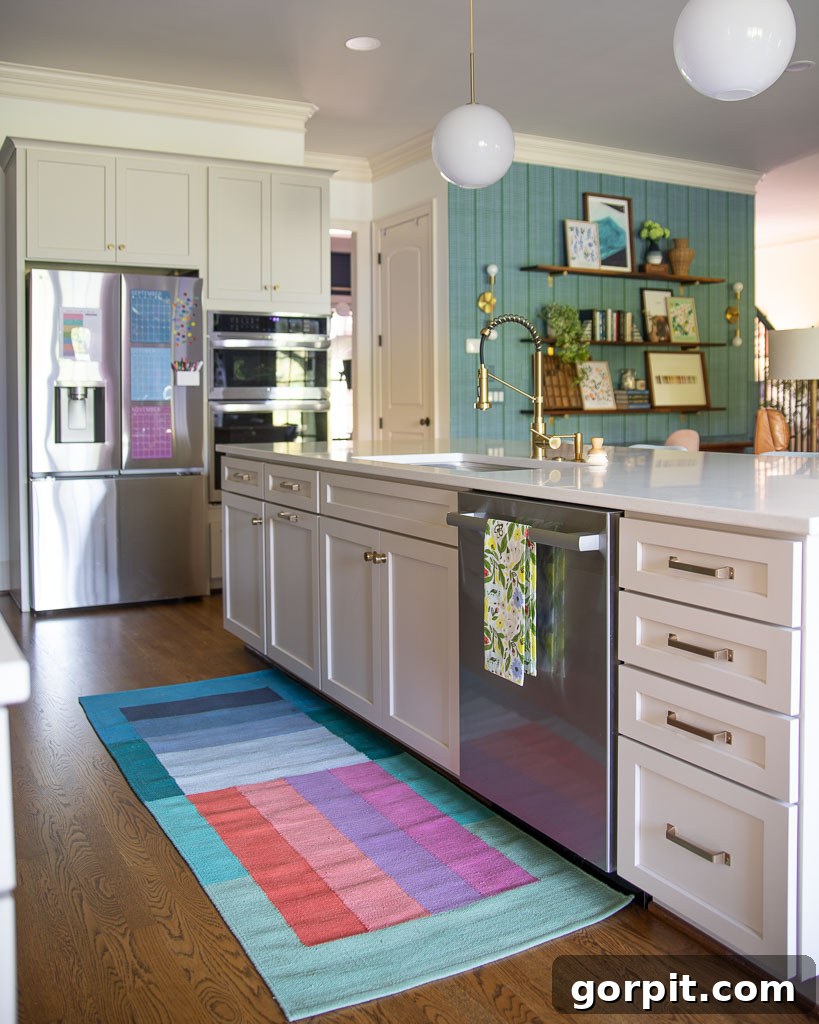
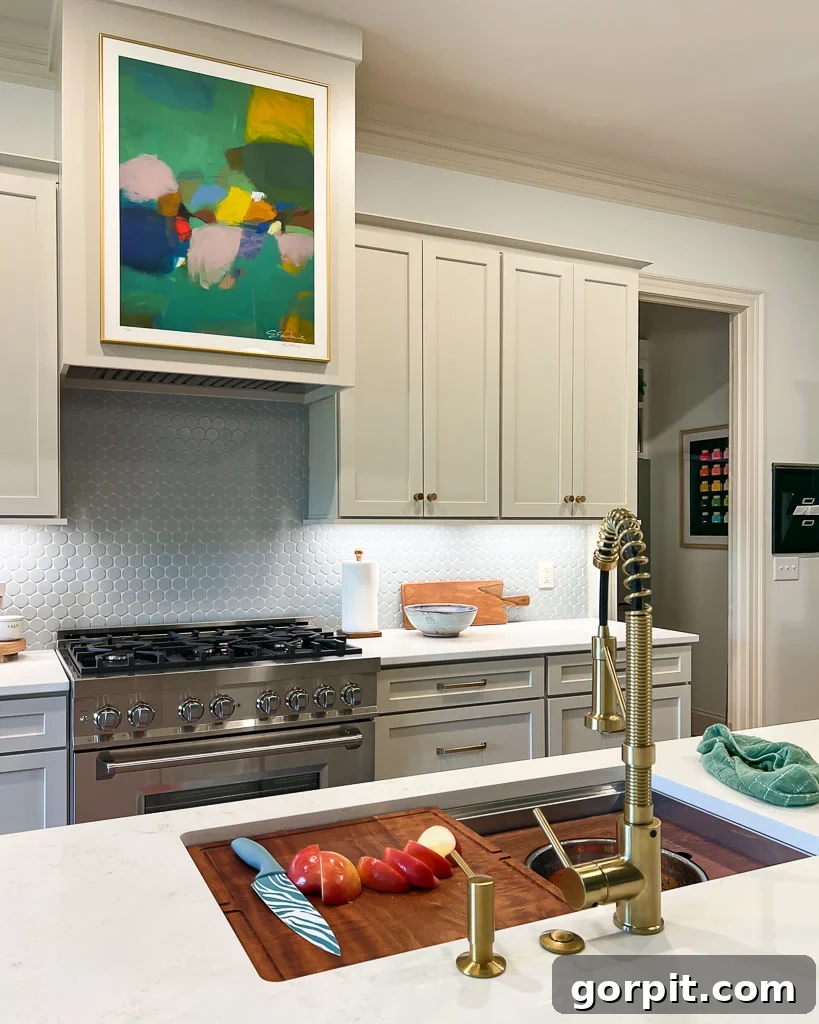
On a related note, and though no one specifically asked, I must express my profound affection for our affordable workstation sink. In our previous home’s kitchen remodel, we had the considerably more expensive Kohler Prolific workstation sink, which we adored. This time, I made it my mission to find a more budget-friendly alternative, and I am delighted to report that I like this version even more! It’s not only highly functional but also, in my opinion, aesthetically superior. We opted for the 33-inch model, though it’s available in various sizes, and it comes complete with a fantastic array of accessories, including a cutting board, colander, mixing bowl, a three-bowl serving board, and a versatile drying rack, as illustrated in the photo below.
Crafting a Neutral Foundation with Dynamic Color Accents
Our design journey for this kitchen was thoughtful and intentional. I’ve previously dedicated an entire post to our kitchen’s detailed design plan, where I delve into my design process and the rationale behind our “neutral but colorful” approach. This philosophy is also clearly explained in a short, less-than-five-minute video we shared. We deliberately chose neutral “bones” for our kitchen, a decision rooted in my love for how vibrant colors truly pop and create visual interest against a calm, understated backdrop. From a practical standpoint, selecting neutral tones for significant, expensive elements like cabinetry and fixed furniture offers invaluable flexibility. It ensures that if we ever wish to refresh or completely change the color palette of the space in the future, the foundational elements will seamlessly adapt without requiring another major overhaul.
For our simple shaker cabinetry, we selected Accessible Beige by Sherwin Williams, a shade I consider one of my absolute favorite neutral paint colors for kitchen cabinets due to its warmth and versatility. Complementing this, we chose this exquisite light-blue oversized penny tile for the backsplash, which also contributes to the kitchen’s serene, neutral foundation while adding a subtle hint of texture and visual interest.
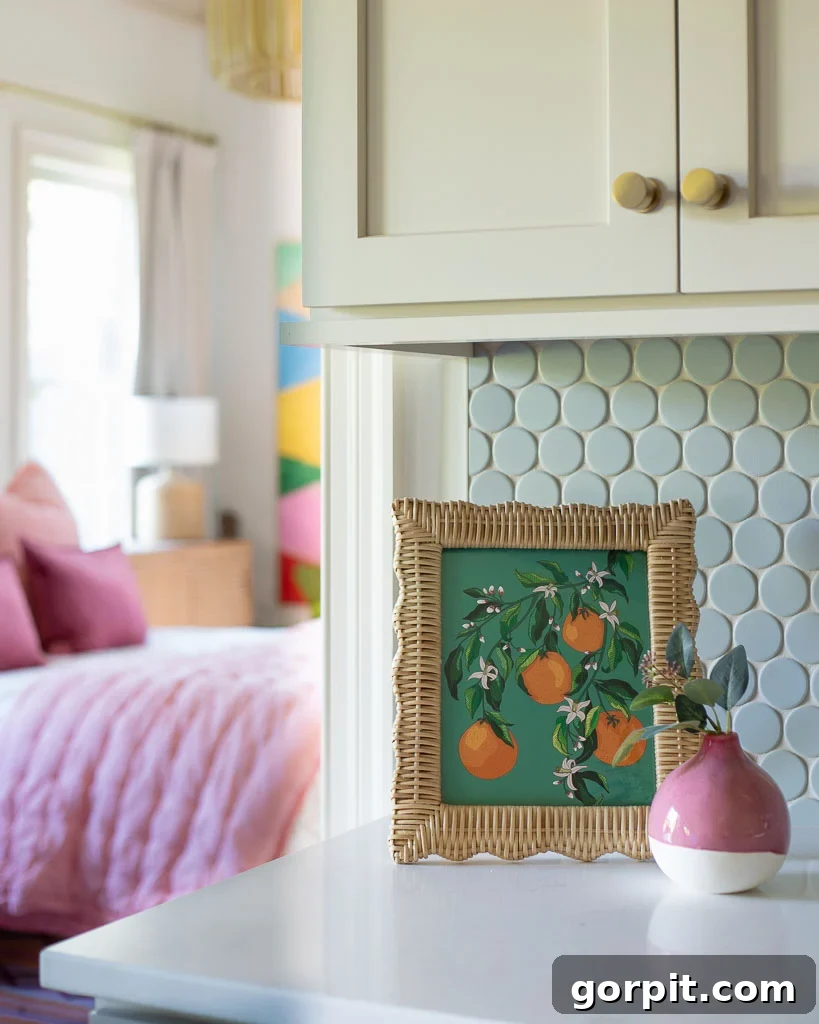
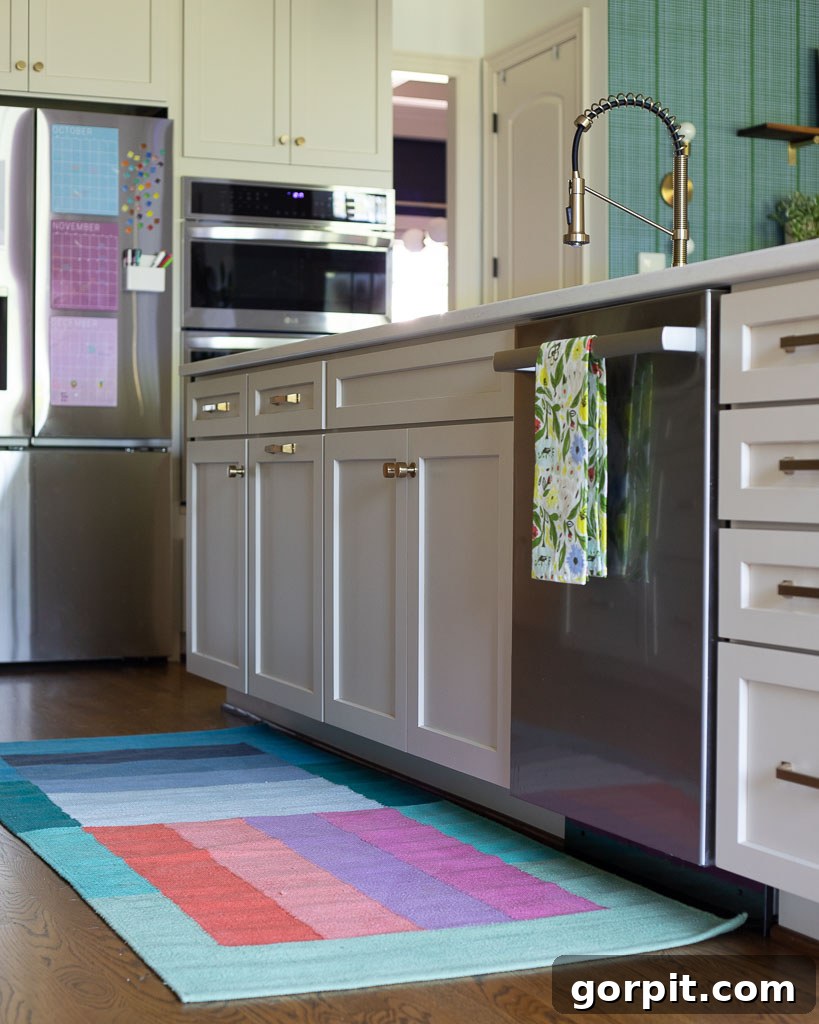
The true magic of our design, however, lies in how we layered bursts of color into this neutral canvas. We reintroduced a vibrant, colorful kitchen runner that has been a cherished item in our home for many years, and I’m delighted it found its perfect place here once again. Small, carefully chosen touches like a delicate bud vase, a beautifully framed orange blossom print, and a cheerful tea towel strategically weave subtle doses of color throughout the entire space, adding personality without overwhelming the neutral backdrop.
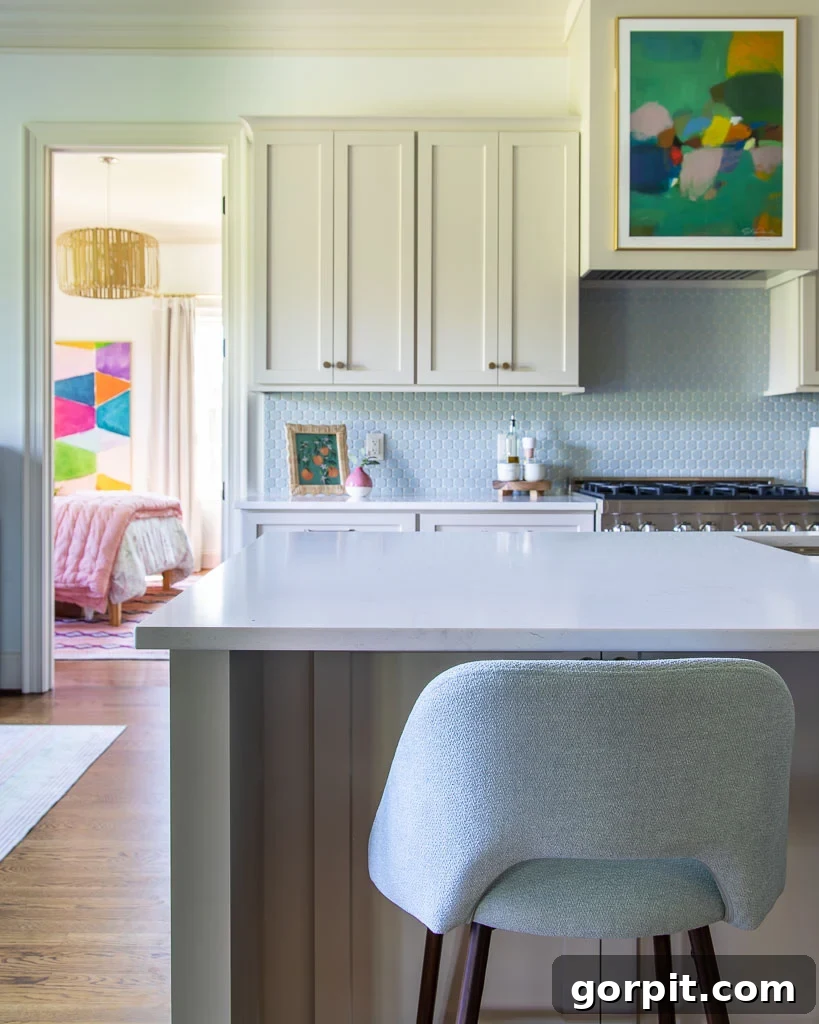
Yet, the undeniable crown jewel and the true “color hero” of our new kitchen is the stunning abstract art print by my absolute favorite artist, Eleanor Scott Davis. I had been patiently waiting for years to acquire one of her pieces, and I finally scored this particular print when she launched her most recent collection. To ensure I didn’t miss out this time, I set an alarm on my phone and made the purchase within a minute of the collection going live. As it turns out, my quick reflexes paid off, as my signed and numbered print is proudly number 1 of 50 in the edition!
Shop the Look: Our Kitchen Renovation Sources & Design Details
In designing our new kitchen, we consciously incorporated a mix of cherished old items that we’ve owned for years – like the beloved color block runner, which is unfortunately no longer available – alongside carefully selected new pieces. Below, you’ll find a comprehensive list of sources for as many items as possible. This list is informed by the mood board I meticulously created during the planning phase of our renovation. Please note that our kitchen seamlessly flows into our family room and eat-in kitchen area, so the mood board and the provided sources encompass elements from these adjoining spaces as well, ensuring a cohesive design across the open-concept layout. As a helpful aside, I have an entire blog post dedicated to how to create a professional-looking mood board for free, even if you have no prior design experience.
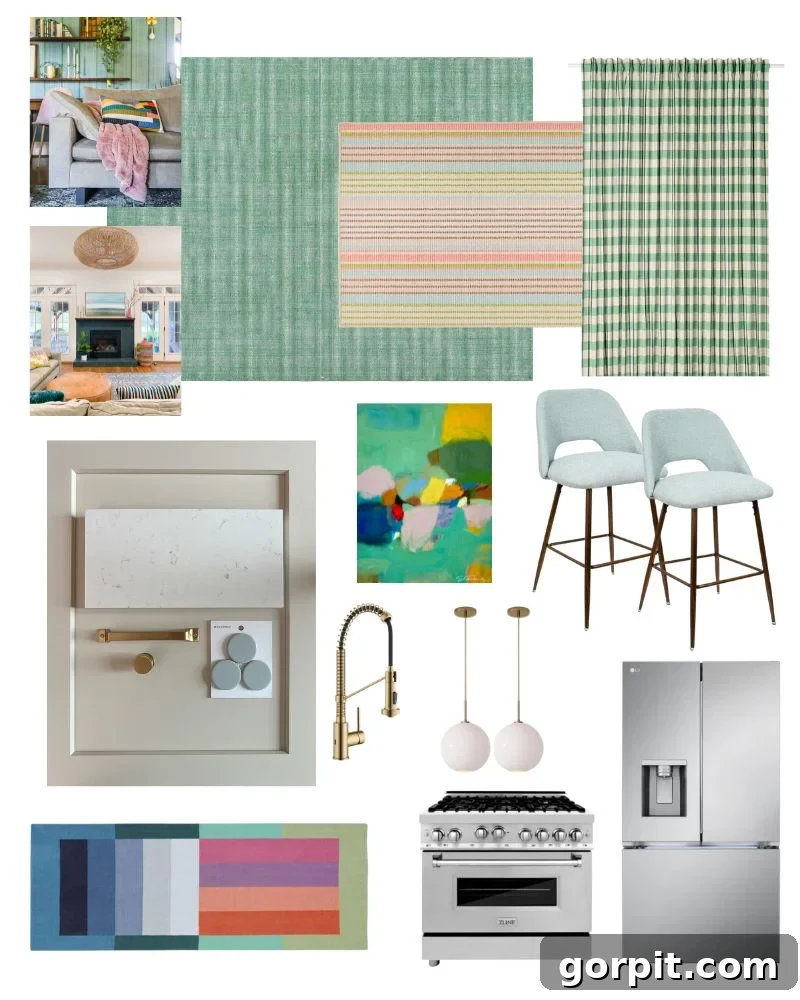
Paint Colors
- Cabinetry color: Accessible Beige by Sherwin Williams
- Wall color: Pure White by Sherwin Williams
- Trim color: Divine White by Sherwin Williams
Rugs & Curtains
- Green check curtains (also available here on Amazon)
- Green area rug in our family room
- Ticking stripe area rug
- Colorblock runner in front of kitchen sink (no longer available – purchased years ago from West Elm)
Fixtures & Hardware
- Workstation sink
- Faucet, cabinet knobs/handles, and more
- Pendant lights
Furniture & Accessories
- Counter stools
- Floral tea towel & pink bud vase are old and no longer available
- Abstract art print by Eleanor Scott Davis
- Scalloped wicker frame on countertop
- Orange blossom art
Tile, Counters & Appliances
- Light blue oversized penny tile on backsplash
- Countertop: Quartz Aspen Gold
- Counter-depth refrigerator
- 36-inch Dual Fuel Range
And there you have it – the full reveal of our new kitchen! A heartfelt thank you to everyone who followed along and offered encouragement as I shared daily updates on Instagram; your support truly made the process more enjoyable. We’re excited to soon share more insights into how we meticulously organized our kitchen cabinets and drawers, a project into which we poured considerable research and thought. Now that we finally have the cabinet and drawer space we’ve yearned for, we were determined to maximize its potential for efficient storage and accessibility. If you have any questions about our renovation, please don’t hesitate to ask in the comments section below, or feel free to send me a direct message on Instagram!
More Kitchen Ideas
SEE ALL KITCHEN POSTS
-
Budget-Friendly DIY Backsplash Ideas for Kitchens
-
How Durable are DIY Painted Kitchen Cabinets?
-
How To Refinish Butcher Block Countertops & Maintain Them
-
Designer Tips for Choosing Perfect Kitchen Rug Runners
-
How to Paint Kitchen Cabinets (From a DIYer Who Has Done it 3 Times)
-
Our Kitchen Renovation Reveal- It’s Neutral AND Colorful
Curious about my unique approach to transforming rooms and spaces throughout our home? Discover the secrets within Designer in a Binder® – your guide to creating beautiful, functional spaces.
For exclusive content, behind-the-scenes sneak peeks, and fresh design inspiration delivered straight to your inbox, be sure to subscribe before you go!