After countless hours spent on DIY projects, we’ve refined our techniques for achieving truly professional finishes. For years, we struggled with unsightly screw and nail holes marring otherwise beautiful woodworking pieces. If only we had known these crucial tips and tricks sooner, our results would have been dramatically better. Today, we’re here to share the invaluable lessons we’ve learned through trial and error, so you can learn from our mistakes and elevate your woodworking game!
Thank you to DAP for sponsoring this post.
Mastering Wood Filler: Your Ultimate Guide to Flawless Screw & Nail Hole Repair
Welcome, fellow DIY enthusiasts! Have you ever poured your heart and soul into a woodworking project, admiring its raw beauty, only to be disappointed by the final stained or painted finish? This frustrating scenario was a frequent visitor in our workshop. We’d craft a magnificent table, full of character and potential, only to see its elegance diminished by poorly filled screw or nail holes after staining. It’s a common struggle that often leads many to opt for painted furniture, simply because paint is more forgiving of imperfections. In fact, many pieces in our own home were initially stained but later painted over, precisely because the stained results fell short of our expectations. A significant part of this learning curve was realizing we weren’t properly utilizing wood filler – and admittedly, the quality of wood we used as novices didn’t always help either.
The good news is that years of hands-on experience have equipped us with a wealth of knowledge, transforming our stained wood projects from ‘good enough’ to truly outstanding. Today, we’re thrilled to share these game-changing screw and nail hole filler tips and tricks with you. They are surprisingly simple, and looking back, they seem utterly obvious – isn’t hindsight always 20/20? Get ready to achieve professional-level finishes on all your future woodworking endeavors!
Why Proper Wood Filler Application is Crucial for a Flawless Finish
The difference between an amateur-looking project and a professional-grade piece often comes down to the details, and proper wood hole filling is one of the most critical. When done correctly, wood filler seamlessly integrates with your project, making screw and nail holes virtually disappear. This not only enhances the aesthetic appeal but also contributes to the perceived quality and value of your work. Neglecting this step, or performing it incorrectly, can lead to visible flaws that distract from your craftsmanship, like mismatched stain colors, noticeable indentations, or rough patches. Achieving a flawless finish begins long before the stain or paint is applied, starting with meticulous preparation and the skillful application of wood filler.
Choosing the Right Wood Filler for Your Project
Before diving into application techniques, it’s essential to understand that not all wood fillers are created equal. The market offers a variety of products, each suited for different applications and desired outcomes. For interior projects where you plan to stain, a stainable wood filler is paramount. These are typically water-based or solvent-based and are formulated to accept stain more uniformly than general-purpose putties. Read product labels carefully; some fillers are better for small nail holes, while others can handle larger screw holes or even repair damaged wood sections. Wood putties, for instance, are often oil-based and remain flexible, making them ideal for pre-finished or painted surfaces where sanding isn’t required, but they typically do not accept stain well. For our projects, especially those that will be stained, we rely on high-quality, stainable wood fillers like those offered by DAP, ensuring a better color match and a more durable repair.
Essential Tools for Wood Hole Repair
While the process of filling holes seems straightforward, having the right tools makes a significant difference in the ease and quality of your work:
- Putty Knife: An indispensable tool for applying wood filler smoothly and removing excess. Choose a flexible blade for smaller holes and a stiffer one for larger areas.
- Fine-Grit Sandpaper: Essential for smoothing the filler once dry. Start with a medium grit (e.g., 120-150) to remove bulk, then move to finer grits (e.g., 180-220) for a truly seamless finish. Sanding blocks or an orbital sander can expedite the process.
- Painter’s Tape: Crucial for protecting surrounding areas, especially on pre-stained or delicate surfaces.
- Clean Cloth/Tack Cloth: For wiping away dust after sanding, ensuring a clean surface for staining or painting.
- Gloves: Protect your hands and keep them clean, especially when working with stainable fillers.
Screw and Nail Hole Filler Tips: Step-by-Step for Raw Wood
How to Apply Wood Filler
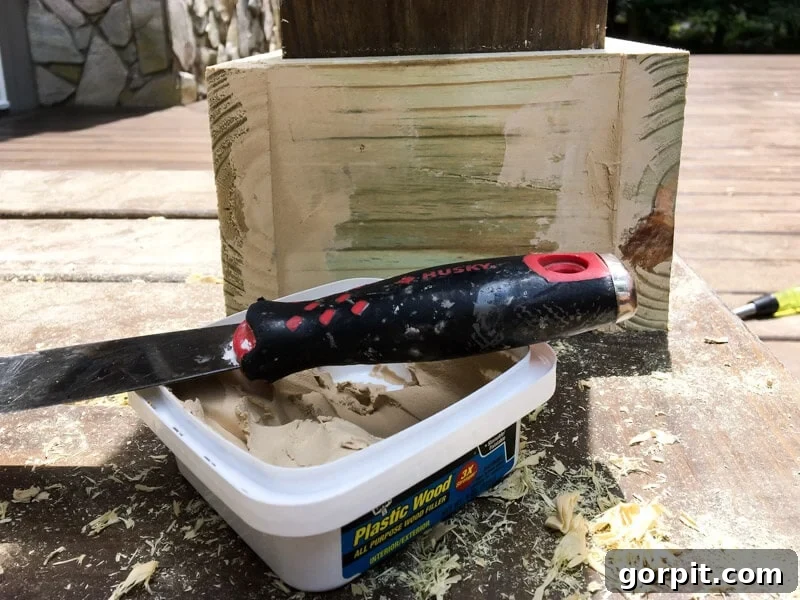
Applying wood filler is a simple yet crucial step. The key is to ensure the void is completely filled, with no air pockets, and to remove any excess before it dries. Here’s how we do it:
- Preparation: Ensure the wood surface is clean, dry, and free of loose debris. If there are any splintered edges around the hole, gently remove them with a utility knife or sandpaper.
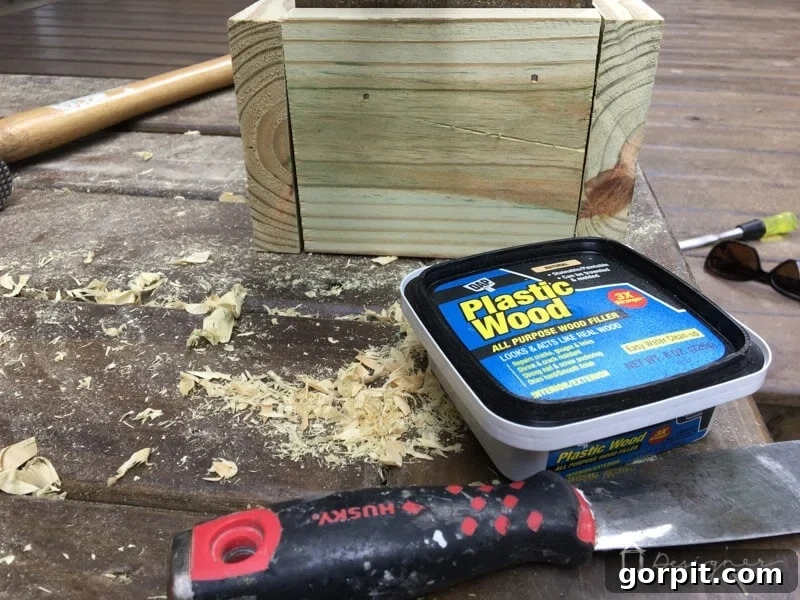
- Application: Using a putty knife, scoop a small amount of wood filler. Press it firmly into the screw or nail hole. The goal is to overfill slightly, creating a small mound above the surface. This accounts for any minor shrinkage as the filler dries. For very small holes, you might find your finger works best for precision and pressure.
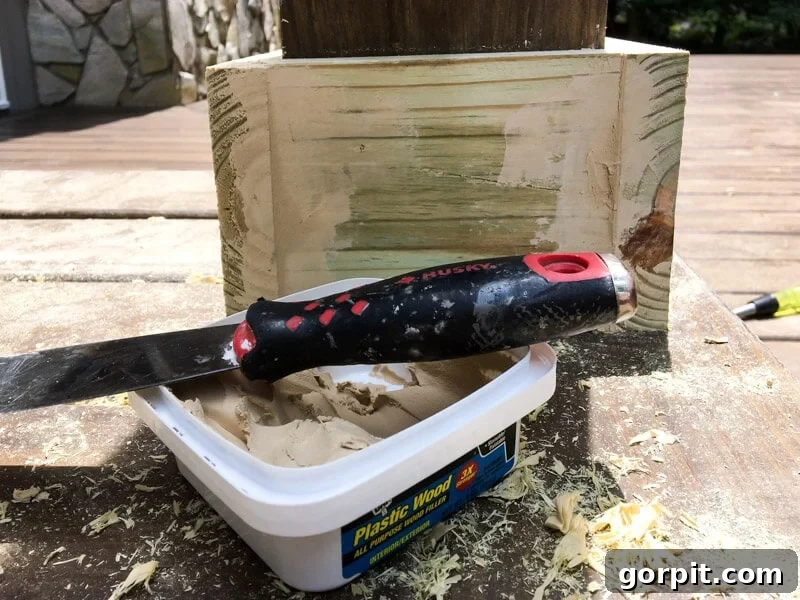
- Remove Excess Immediately: This step is critical. While the filler is still wet, use the edge of your putty knife, held at a shallow angle, to scrape off any excess, leaving the filled area as flush as possible with the surrounding wood. Don’t press too hard, as this can pull filler out of the hole. This initial scraping minimizes sanding later. You can see the significant impact of properly capping post bottoms on our DIY deck bar, where diligent filling ensured a polished look.
How Long to Let Wood Filler Dry
Patience is a virtue, especially when it comes to wood filler. One of the most common and frustrating mistakes we used to make was trying to sand or stain our wood filler before it was completely dry. This invariably leads to crumbling, uneven textures, or filler being pulled out of the hole, forcing you to restart the process. Don’t rush it!
Drying times can vary significantly based on the type of filler, the depth of the hole, and environmental factors like humidity and temperature. Always consult the manufacturer’s instructions on the product packaging for specific recommendations. As a general rule, thinner applications will dry faster, while deeper holes may require multiple applications, allowing each layer to dry thoroughly before adding the next. A reliable way to test if your wood filler is ready for the next step is to gently press the tip of your fingernail into the filled area. If your fingernail leaves any indentation, the filler is still wet and needs more time to cure. Waiting an extra hour or two can save you hours of frustration later on.
How to Sand Wood Filler for a Seamless Finish
Sanding is perhaps the most critical step in making your wood filler repairs truly disappear. An insufficient sanding job will leave a visible outline of the filled area, especially after staining, as the filler often absorbs stain differently than the surrounding wood. Trust us, putting a little extra effort into sanding here is incredibly worthwhile.
We recommend starting with a medium-grit sandpaper (around 120-150 grit) to quickly level the slightly overfilled areas. Once the filler is flush with the wood surface, switch to a finer grit (180-220 grit) to smooth everything out. If you’re working on a larger flat surface, an orbital sander is a fantastic tool that saves time and ensures a consistent, smooth finish over the repaired areas. For smaller, intricate spots, hand sanding with a sanding block will give you more control. Always sand in the direction of the wood grain to prevent scratches. After sanding, meticulously wipe away all dust with a clean cloth or tack cloth before applying any stain or finish. A perfectly sanded repair should be virtually undetectable to the touch and barely visible to the eye.
How to Fill Screw and Nail Holes on Pre-stained Wood: The Advanced Technique
One challenge that stumped us for a long time was how to effectively fill screw and nail holes on wood that had already been stained. Many projects benefit from pre-staining components before assembly and installation, meaning your nail and screw holes don’t exist until after the staining process. The traditional method of filling, then sanding, then staining, simply won’t work without ruining your existing finish. Fortunately, there’s a super easy and effective method for this specific scenario!
This technique proved invaluable when we constructed our DIY outdoor electrical box cover, where individual pieces were stained before final assembly. Here’s the game-changing process:
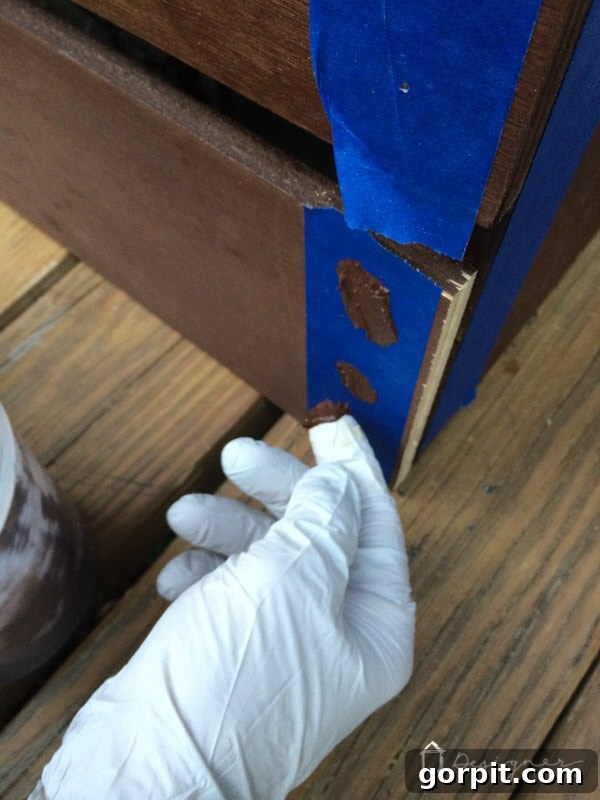
- Protect the Area: Before driving any nails or screws, carefully apply painter’s tape around the exact spot where the fastener will penetrate the wood. Ensure the tape covers a small perimeter around the intended hole. This acts as a protective barrier for your existing stain.
- Drive Fasteners: Proceed to drive your nails or screws into place, creating the holes as needed.
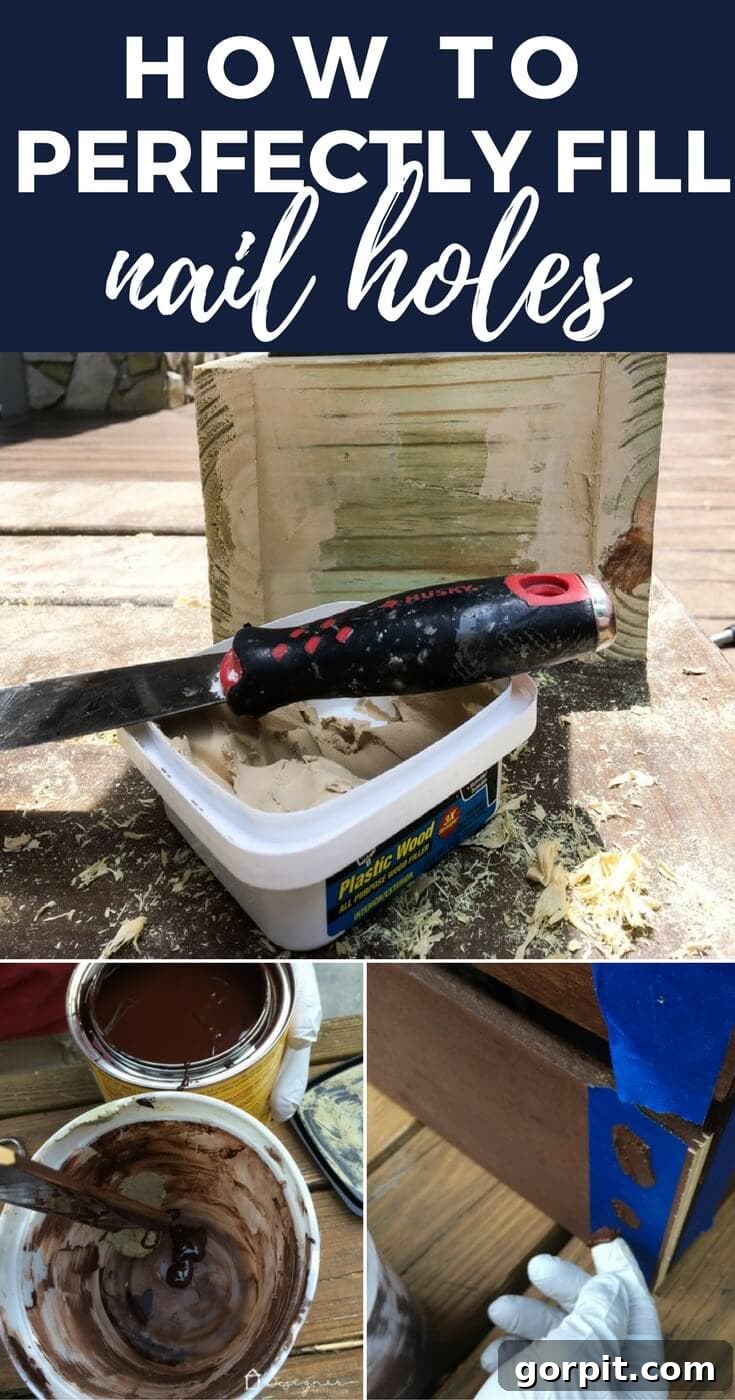
- Mix for Perfect Match: This is where the magic happens. In a small, disposable container, mix a small amount of your wood filler with a tiny bit of the exact stain you used on the wood. Start with a very small amount of stain and gradually add more until you achieve a color that closely matches your pre-stained wood. The goal is to tint the filler, not saturate it.
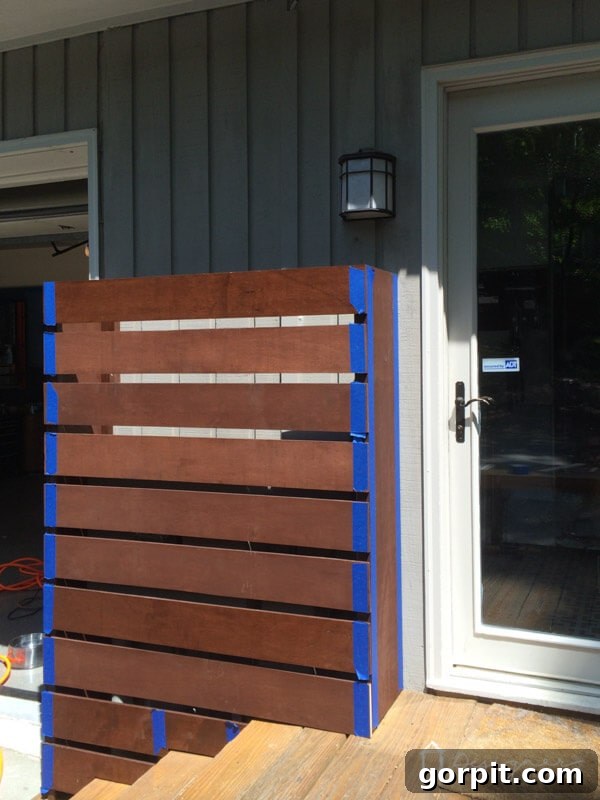
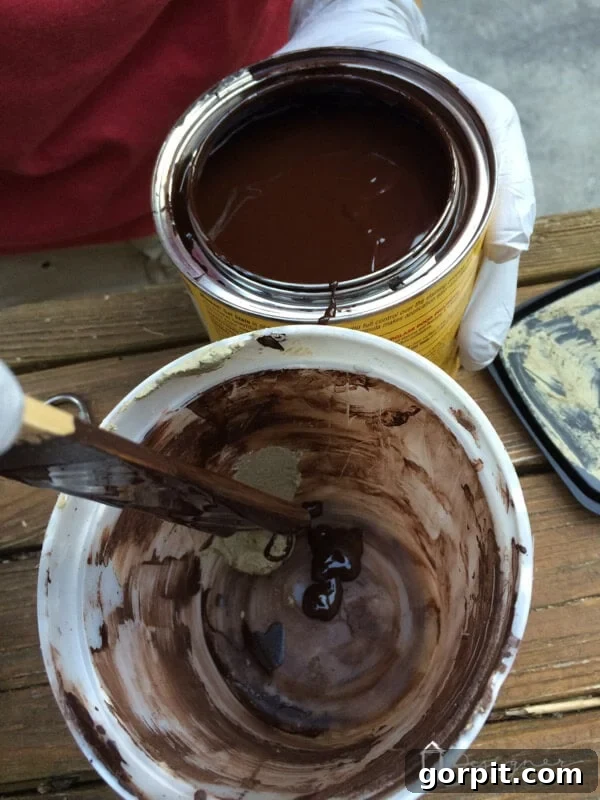
Next, apply the tinted wood filler directly into the screw or nail hole using your fingers or a putty knife. The painter’s tape surrounding the hole will effectively protect the already stained wood from any accidental discoloration or dulling from the filler. Once the hole is thoroughly filled and slightly mounded, use a putty knife to scrape away the excess, ensuring it’s flush with the tape. After removing the excess, carefully peel off the painter’s tape while the filler is still slightly wet. This technique leaves you with a perfectly repaired nail or screw hole that blends seamlessly with the pre-stained finish, requiring no further sanding or staining in that area. It’s a game-changer for those precise finishing touches!
Troubleshooting Common Wood Filler Problems
Even with the best techniques, challenges can arise. Here are solutions to common wood filler issues:
- Filler Shrinks: This often happens with water-based fillers as they dry. To prevent this, apply filler in thin layers for very deep holes, allowing each layer to dry completely. Slightly overfilling the hole in the final application can also help.
- Filler Doesn’t Take Stain Well: This is a classic problem. Ensure you’re using a *stainable* wood filler. If the issue persists, it’s often due to insufficient sanding. The filler might have a different porosity than wood, so sanding thoroughly with fine-grit sandpaper helps it blend in. Sometimes, applying a pre-stain wood conditioner to the entire piece (including the filled areas) can help equalize stain absorption.
- Cracking or Crumbling: This usually indicates the filler was applied too thick in a single layer, or it dried too quickly, or the surface wasn’t clean. For deep holes, apply in layers. For external projects, use a weather-resistant filler.
- Visible Edges After Staining: This is almost always a sanding issue. You need to sand more thoroughly, feathering the edges of the filled area into the surrounding wood with increasingly finer grits until it feels perfectly smooth.
Final Thoughts on Wood Filler Mastery
Mastering the art of filling screw and nail holes might seem like a small detail in the grand scheme of a woodworking project, but it’s these meticulous steps that elevate a good project to a great one. By understanding the types of fillers, using the right tools, practicing proper application and drying times, and perfecting your sanding technique, you can virtually erase imperfections and achieve a finish that truly showcases your craftsmanship. Don’t be discouraged by past struggles; every DIY challenge is an opportunity to learn and improve. We hope these detailed screw and nail hole filler tips empower you to tackle your next project with confidence and achieve results you’ll be proud of for years to come!
So there you have it! I hope you’ve learned a little something and won’t make the same nail hole filler mistakes we used to make 🙂
More OUTDOOR IDEAS
SEE ALL outdoor POSTS
-
Fire Pit Ideas for Every Outdoor Space
-
How to Make a DIY Outdoor Chandelier
-
Modern DIY Garden Trellis
-
DIY Outdoor Electrical Box Cover
-
DIY Diamond Wire Trellis for a Vine
-
A Complete Review of Vego Garden Beds: Pros, Cons, and Everything In-between
Wondering how I approach transforming rooms and spaces in our home? Check out Designer in a Binder®.
And if you want exclusive content and behind-the-scenes sneak peeks, be sure to subscribe to our newsletter for more DIY inspiration and expert tips!