
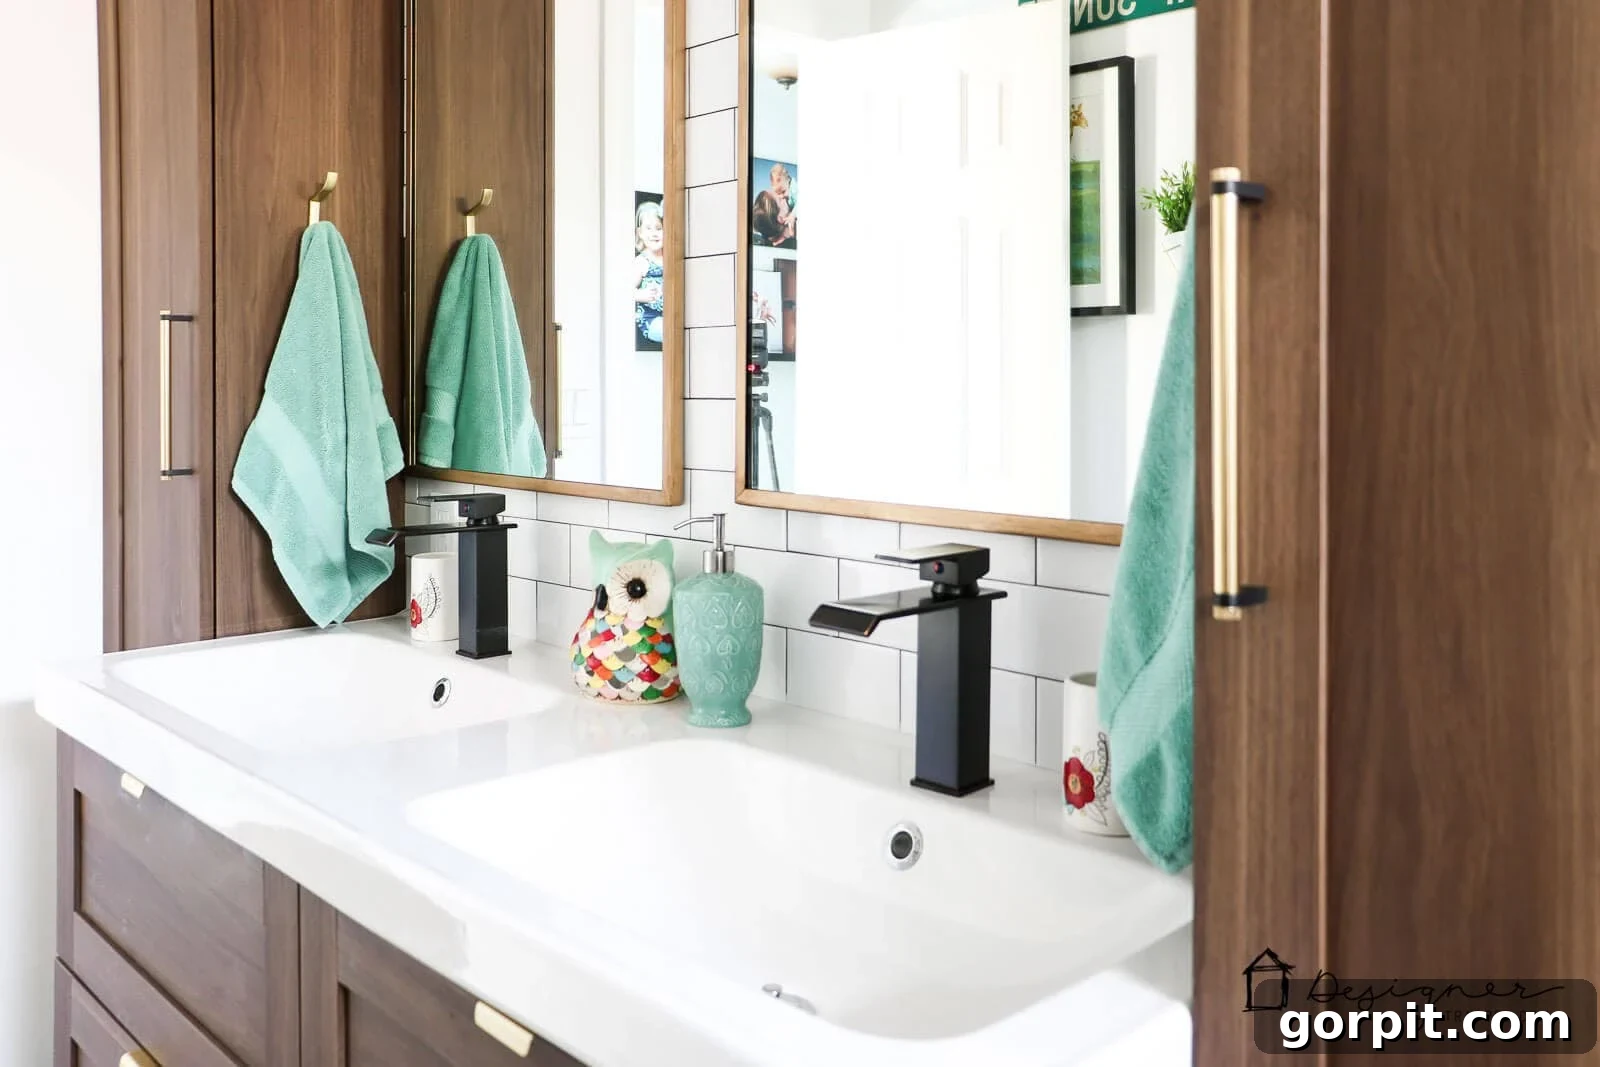
Transform Ordinary into Extraordinary: Achieve a High-End Faux Gold Finish with Rub N Buff – A DIY Guide to Luxury on a Budget
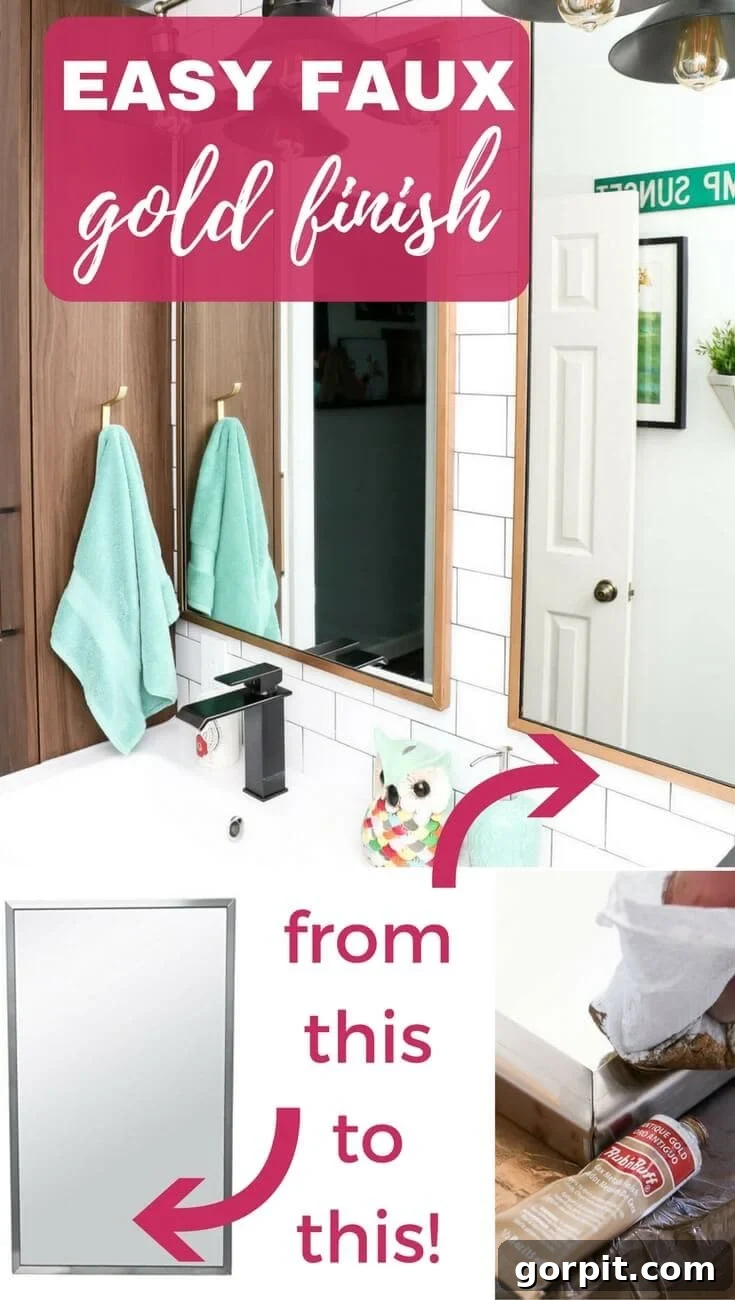
Hello fellow DIY enthusiasts and home decor lovers! Have you, like me, recently found yourself captivated by the opulent allure of rich, gleaming gold finishes? There’s something undeniably luxurious about gold accents that can elevate any space from mundane to magnificent. However, the pursuit of this elegant aesthetic often comes with a hefty price tag, especially when it comes to furniture, lighting, or decorative items like mirrors.
My own journey into the world of budget-friendly luxury began during the renovation of our twin girls’ bathroom. While browsing for mirrors, I was instantly drawn to several stunning gold-framed options. They were absolutely gorgeous, exuding the kind of high-end charm I envisioned for the space. But as quickly as I fell in love, reality set in – these mirrors were incredibly expensive. Mirrors, in general, can be a significant investment, and splurging on designer gold frames was simply not feasible within our carefully planned renovation budget.
Undeterred by the sticker shock, I decided to take matters into my own hands. My mission: to find an ingenious way to create custom gold mirrors without breaking the bank. I opted for some incredibly affordable, standard commercial mirrors. You know the type – the sturdy, practical ones often found in fast-food restrooms or gas stations. They had the perfect size and weight, but their frames were a distinctly unglamorous silver. My resolve, however, was solid: these mirrors would be gold!
I considered several DIY approaches. Gold leaf, while beautiful, felt too delicate for a children’s bathroom, where it would inevitably face toothpaste splatters and splashes (my young girls aren’t known for their impeccable aim!). And frankly, my past experiences with metallic spray paints had been less than stellar in terms of long-term durability; chipping and peeling were common frustrations. I needed a solution that was not only cost-effective and easy to apply but also exceptionally durable.
That’s when I discovered a product that truly blew my mind. It allowed me to transform those utilitarian commercial mirrors into dazzling gold masterpieces in under 10 minutes per mirror! The results were astonishing, proving that high-end finishes are absolutely achievable on a tiny budget, without sacrificing quality or longevity. This isn’t just a quick fix; it’s a lasting upgrade.
DIY Faux Gold Finish Tutorial: Achieving Designer Looks with Rub N Buff
Materials You’ll Need:
- Mirror with a Metal Frame: We specifically used these exact mirrors, but any item with a smooth, non-porous metal surface will work beautifully. Ensure the surface is clean and free of grime before starting.
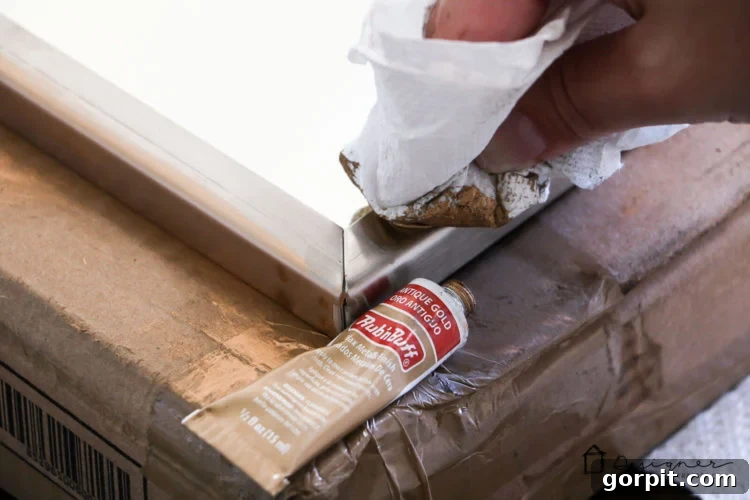
- Rub N Buff in Antique Gold: A single tube of Rub N Buff goes an incredibly long way. This wax-based metallic finish is the secret to a professional-looking result. “Antique Gold” offers a rich, warm tone that looks genuinely aged.
- Painter’s Tape (Optional): Useful for protecting adjacent surfaces, though often not strictly necessary as Rub N Buff is easy to clean.
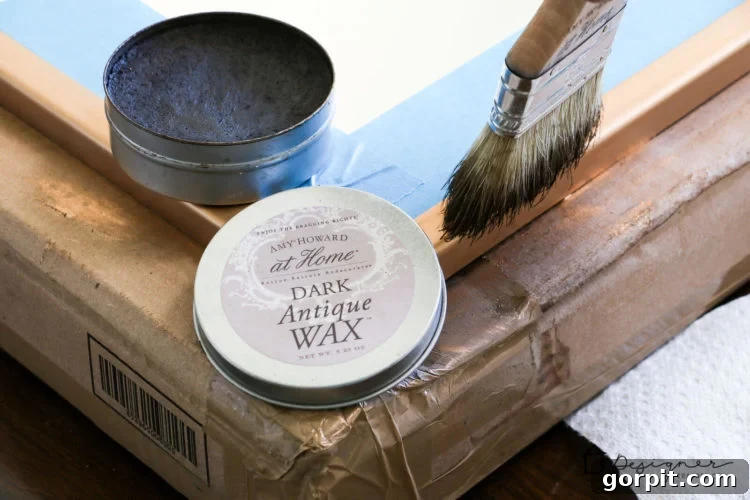
- Amy Howard At Home Dark Wax: This dark wax adds depth and an authentic, antiqued patina to your gold finish, enhancing its high-end appeal.
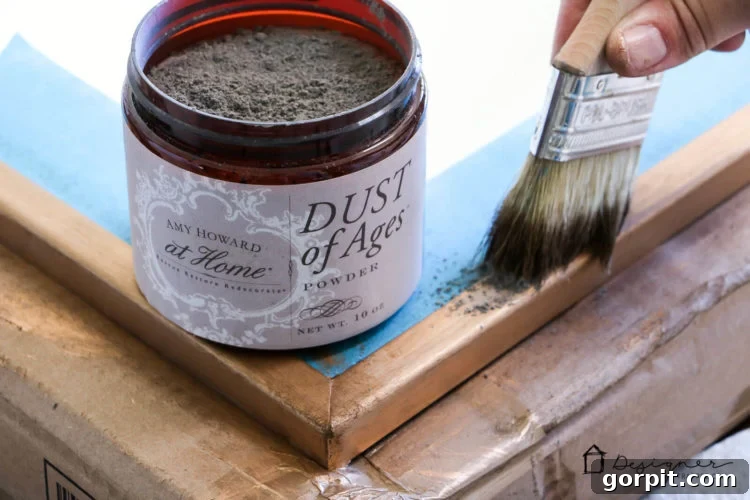
- Amy Howard At Home Dust of Ages: Paired with the dark wax, this powder further accentuates the aged look, mimicking natural oxidation over time.
- Soft Cloths or Paper Towels: An old t-shirt, lint-free cloth, or paper towels are perfect for applying the Rub N Buff and buffing it to a sheen.
Step-by-Step Guide to Your Faux Gold Transformation:
For a visual walkthrough of this project, you can watch our video overview below. Seeing the process in action often clarifies any uncertainties!
(Video Tutorial Placeholder: Watch how simple it is to achieve this stunning faux gold finish!)
Before diving into the transformation, let’s take a moment to appreciate the “before” state of our mirrors. The stark, shiny stainless steel frame was a dead giveaway of its commercial origins. It frankly made our newly renovated bathroom feel more like a fast-food establishment than a chic, personalized space. This was certainly not the aesthetic I was striving for, and the contrast truly highlights the magic of Rub N Buff.
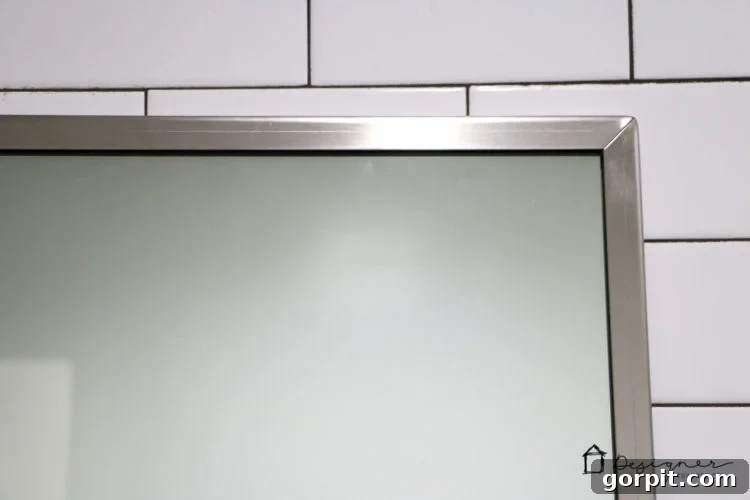
1) Preparation is Key (and Optional Taping): Begin by thoroughly cleaning the metal frame of your mirror or object. Any dirt, grease, or fingerprints can interfere with the adherence and finish of the Rub N Buff. Use a mild cleaner and ensure it’s completely dry before proceeding.
If you prefer to be extra cautious, use painter’s tape to carefully tape off the mirror glass or any adjacent surfaces you want to protect from the metallic wax. For our first mirror, I did use painter’s tape for peace of mind. However, I decided to “wing it” with the second mirror, and to my pleasant surprise, I found that any stray Rub N Buff that got onto the glass could be very easily scraped off with a razor blade or even a fingernail. So, taping is truly optional depending on your comfort level and precision.
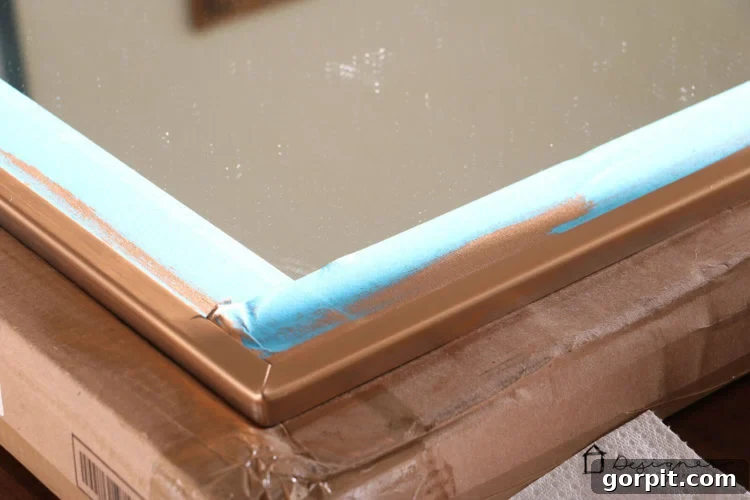
2) Applying the Rub N Buff: The Magic Touch: Squeeze a tiny amount of Rub N Buff onto a paper towel, a soft, lint-free cloth, or even your finger (wearing a glove is advisable to avoid getting product on your skin). The key is to use a very small amount – a little goes a long way!
Gently rub the product along the metal frame in small, circular motions or short strokes. You’ll notice the silver immediately transforming into a beautiful gold hue. Don’t aim for full opacity with the first coat. I applied two light, even coats to achieve complete and consistent coverage. Since Rub N Buff is a wax-based product, it dries incredibly quickly, often within minutes, allowing for quick reapplication. This fast-drying nature also means it’s far less messy and much more durable than traditional metallic spray paints, which often require extensive drying times and ventilation.
3) Enhancing with Patina (Optional but Recommended for Authenticity): To give your newly gilded frame an authentic, aged patina that mimics years of natural wear, I highly recommend this optional step. Once your Rub N Buff is dry to the touch, apply a thin layer of Amy Howard At Home Dark Wax using a separate clean cloth or brush. Focus on getting the wax into any crevices or decorative details on the frame. This will add subtle shadows and depth.
Immediately after applying the dark wax (while it’s still slightly tacky), gently dust Amy Howard At Home Dust of Ages over the waxed areas. This fine powder settles into the wax and crevices, creating a soft, dusty, and authentically aged appearance, much like antique gold pieces develop over time. Lightly buff off any excess powder once the wax has set. This step truly elevates the finish from a simple gold to a rich, time-honored antique gold.
The Unbelievable Results and Long-Term Durability!
And that’s truly all there is to it! This is hands down one of the easiest and most impactful DIY tutorials you’ll ever undertake. The transformation is immediate and remarkable. We completed these mirror makeovers approximately 11 months ago, and I am thrilled to report that they are holding up absolutely perfectly. I had some initial concerns about how the gold finish would react to regular glass cleaner used on the mirrors, but my worries were unfounded – the Rub N Buff finish has remained pristine and unaffected!
Take a look at the stunning final results:
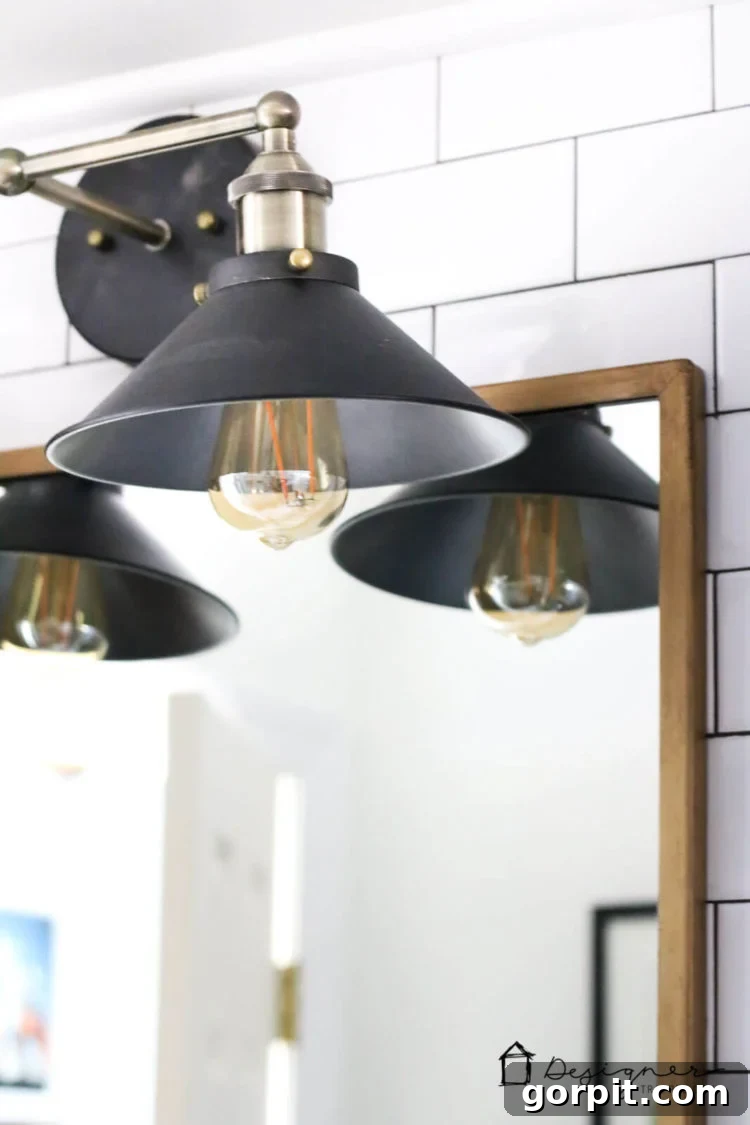
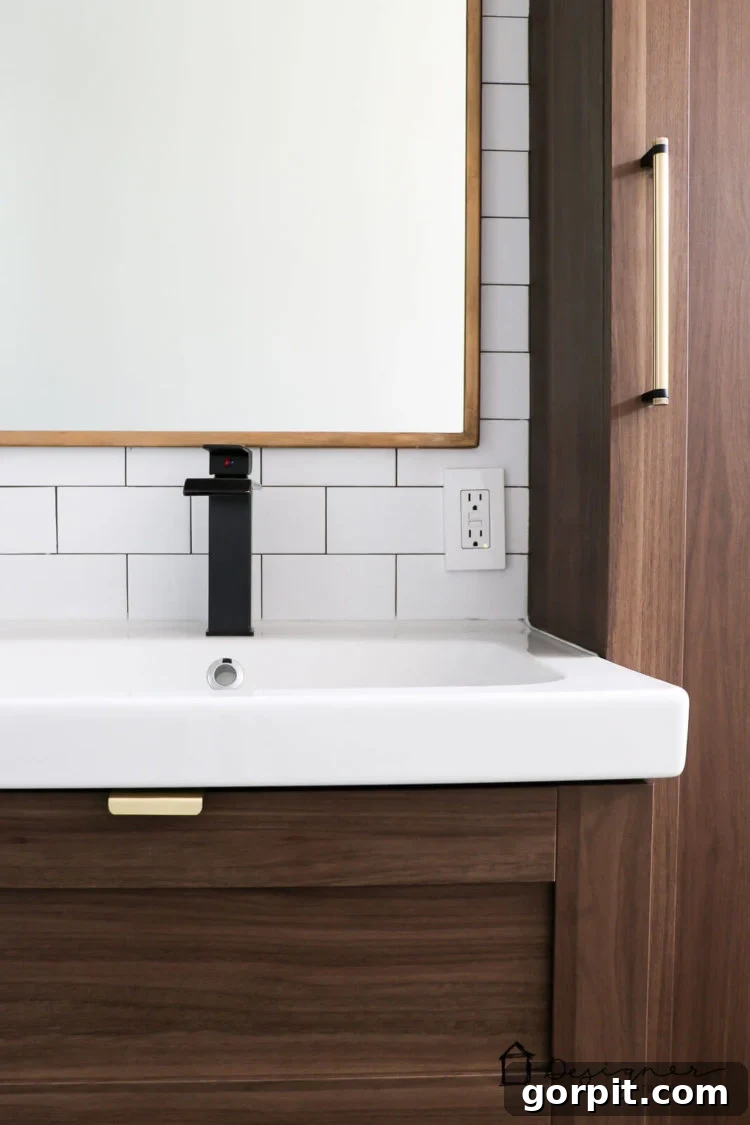
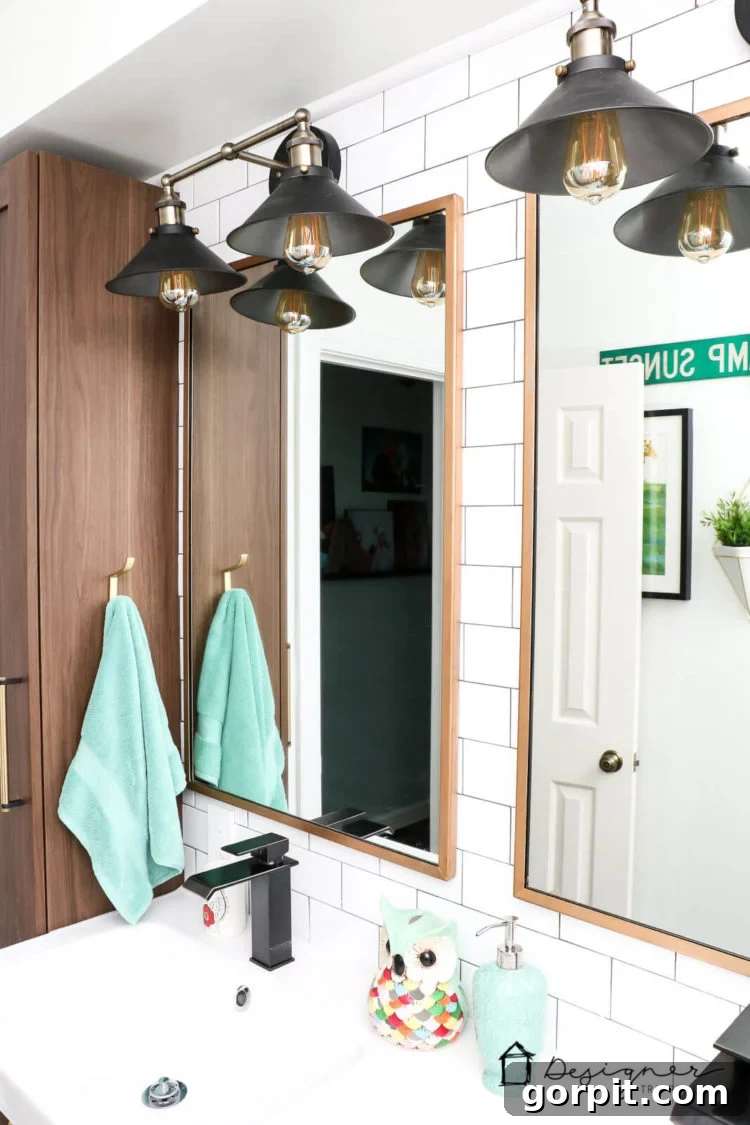
With this simple technique, I achieved the exact high-end, designer look I desired for a mere fraction of the cost of purchasing new gold mirrors. The best part? Because Rub N Buff is a durable, wax-based product – vastly superior to the often-disappointing longevity of metallic spray paints – these stunning results are built to last for as long as these mirrors adorn our bathroom walls. It’s a testament to the fact that you don’t need a large budget to create a luxurious and personalized home.
Why Choose Rub N Buff Over Other Metallic Finishes?
This project truly solidified Rub N Buff as my go-to product for metallic transformations. Unlike spray paints that can be messy, require extensive masking, and often chip or scratch easily, Rub N Buff offers a controlled, brush-on (or rub-on) application with superior adhesion and durability. It’s also much more forgiving than gold leaf, which can be delicate to apply and prone to damage in high-traffic areas. The wax formula provides a protective layer that resists moisture and wear, making it ideal for items that need to withstand daily use, even in a bathroom environment. Plus, the array of metallic shades available means you can customize your finish to perfectly match your decor vision, from bright gold to aged bronze.
Beyond Mirrors: Endless Possibilities with Rub N Buff
Don’t limit this technique to just mirrors! Rub N Buff is incredibly versatile. Consider using it to update:
- Picture frames for an art gallery wall.
- Lamp bases to give old lamps a new lease on life.
- Drawer pulls and cabinet hardware for a custom kitchen or furniture piece.
- Small decorative objects like vases, figurines, or even plastic planters.
- Any item with a metal, wood, or even plastic surface that needs a touch of metallic elegance.
The ease of application and incredible impact make it a secret weapon for any DIY decorator looking to achieve a sophisticated, expensive look on a shoestring budget.
Final Thoughts: Unlock Your Home’s Potential
This faux gold mirror project is a shining example of how a small investment of time and a smart product choice can yield truly impressive results. It’s about being resourceful and creative to bring your vision to life without compromising on style or quality. Your home deserves to reflect your taste and personality, and with DIY solutions like Rub N Buff, you can achieve that high-end aesthetic effortlessly.
If you’ve been inspired by this project and are eager to give it a try, be sure to save it to your Pinterest boards or share it on Facebook so you can easily find it again later. And before you go, don’t forget to grab my free guide on how to design a room you love – it’s packed with tips to help you create spaces that truly feel like home!
Happy DIYing!
