
This is a sponsored conversation written by me on behalf of Schlage. The opinions and text are all mine.
Are you looking for a significant way to refresh your home’s interior without breaking the bank? We’ve all been there – staring at outdated elements that no longer reflect our style or the modern aesthetic we crave. Our home, built in the mid-80s, was a prime example, complete with those ubiquitous brass door knobs (not the charming, antique kind, but the distinctly dated variety) and plain paneled doors that simply didn’t spark joy. While a full door replacement wasn’t in our budget, we discovered an incredibly effective and affordable solution: transforming our interior doors with a fresh coat of black paint and updating the hardware. This DIY project is not only easy to tackle but delivers a truly dramatic “before and after” impact that you’ll absolutely love.
If you’re ready for a low-investment, high-impact interior update that can be completed in as little as a single day (depending on how many doors you tackle), then diving into the world of black interior doors and stylish new hardware is your answer. It’s a surprisingly simple process that yields professional-looking results, adding a touch of sophistication and modern elegance to any space. Read on to discover our step-by-step guide and see just how easy it is to update your interior doors yourself, breathing new life into your home one door at a time.
Transform Your Home: Painting Interior Doors Black & Updating Hardware
Black interior doors are a design trend with staying power, and for good reason. They offer a timeless elegance, create striking contrast against lighter walls, and can instantly elevate the perceived value and style of your home. Paired with modern hardware, they become a focal point, framing each room with sophisticated charm. This DIY project is perfect for homeowners seeking an impactful change without a massive renovation budget or extensive professional help. Let’s gather our tools and dive into the process!
Materials & Tools Needed:
- Door Knobs and Hinges: Select a style and finish that complements your home’s aesthetic. We wholeheartedly recommend Schlage for their extensive range of designs, superior quality, and ease of installation. For our home, we chose the elegant Andover style knobs and trim in an Aged Bronze finish, which beautifully contrasts with the black doors. Schlage offers a vast array of options, and you can explore them all in their comprehensive Style Guide here. Investing in quality hardware like Schlage ensures durability and a refined finish.
- Interior Black Paint: Choose a high-quality paint formulated for interior doors and trim. A semi-gloss or satin finish is ideal as it’s durable, easy to clean, and provides a subtle sheen that enhances the black color. We used Valspar Kettle Black in semi-gloss, and it delivered fantastic results.
- Primer (Optional but Recommended): If your existing doors are a dark color, have an uneven finish, or are made of a material that requires better adhesion, a good quality primer can make a significant difference. It helps the black paint adhere smoothly and provides a uniform base, reducing the number of paint coats needed.
- Foam Paint Roller: Essential for achieving a smooth, lint-free finish on flat surfaces of the door.
- High-Quality Bristle Brush: Perfect for reaching recessed panels, edges, and intricate details that a roller cannot cover effectively.
- Screwdriver Set: Both Phillips and flathead screwdrivers will be needed for removing old hardware and installing new knobs and hinges. A cordless drill with appropriate bits can speed up the process considerably.
- Drop Cloths or Old Sheets: To protect your flooring and furniture from paint drips and dust.
- Painter’s Tape: To tape off door frames, hinges (if not replacing), and any areas you don’t want to paint.
- Fine-Grit Sandpaper (180-220 grit): For light sanding between coats of paint and to scuff up existing glossy finishes.
- Sanding Sponge: Great for contours and hard-to-reach areas.
- Wood Filler (Optional): For repairing any nicks, dents, or screw holes if needed.
- Tack Cloth or Damp Cloth: For wiping away dust after sanding.
- Sawhorses or Work Surface: To elevate doors for easier painting, though painting them in place is also an option.
Step-by-Step Guide to Painting Black Interior Doors:
This project is highly customizable to your pace and preference. We started with the bedroom and closet doors in our twin girls’ rooms and plan to work our way through the entire house, tackling a couple of doors at a time. The satisfaction of each completed door will keep you motivated!
1. Prepare Your Doors and Remove Hardware
The first crucial step is preparation. Begin by laying down drop cloths to protect your workspace. Using your screwdriver, carefully remove all existing hardware – this includes door knobs, hinges, and any strike plates. It’s a good idea to keep screws organized, especially if you plan to reuse any hardware (though we highly recommend updating it all!).
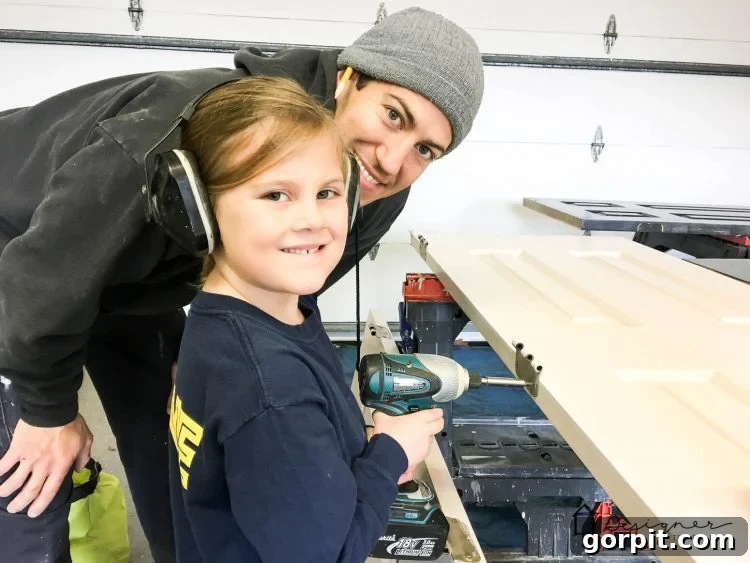
You have two main options for painting: removing the doors or painting them in place. For our initial doors, we removed them and laid them flat on sawhorses. This method allows for easier, more even paint application without drips, especially for the door edges. Going forward, I might experiment with painting doors while they are still hanging to see if it saves time, but for the most professional finish, removing them is often preferred. This step can be a fun family activity; our girls loved helping us unscrew the old hardware!
Once the hardware is removed, give the doors a thorough cleaning. Use a mild degreaser or all-purpose cleaner to remove any dirt, grime, or oils. After cleaning, lightly sand the entire surface of the door with fine-grit sandpaper (180-220 grit). This scuffs up the existing finish, allowing the new paint to adhere better. Pay extra attention to any glossy areas. Wipe down the doors with a tack cloth or a slightly damp cloth to remove all sanding dust.
2. Apply Your Black Paint
Now for the exciting part – painting! If you opted for primer, apply one thin, even coat according to the manufacturer’s instructions, allowing it to dry completely. Once the primer is dry (or if you skipped it), it’s time for the black paint.
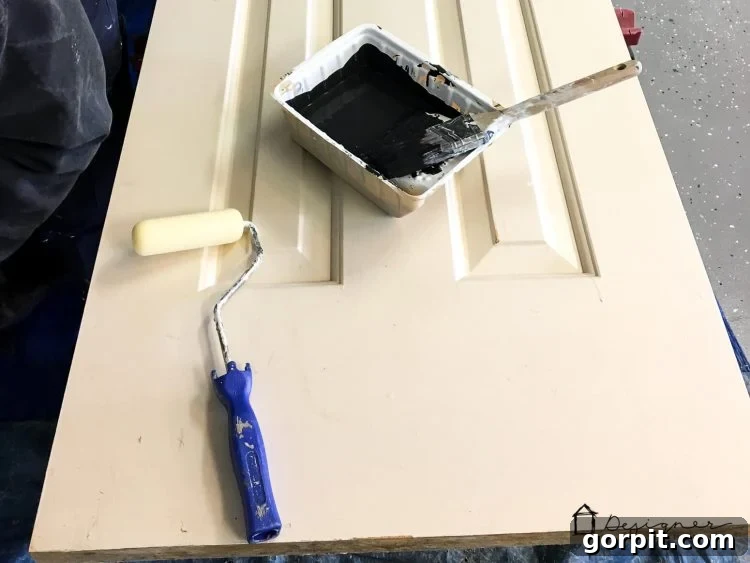
We found the most efficient method was to use a foam roller for all the large, flat portions of the door. The foam roller minimizes brush strokes and provides a smooth, professional finish. For all the recessed panels, grooves, and edges, a high-quality bristle brush is your best friend. Apply thin, even coats to avoid drips and ensure smooth coverage. It’s almost always better to apply two or three thin coats than one thick coat. Allow each coat to dry completely according to the paint manufacturer’s recommendations before applying the next. A light sanding with fine-grit sandpaper (and wiping off dust) between coats can help achieve an even smoother finish.
3. Install Your New Hinges
Once the paint has fully cured (allow ample time for this, as premature handling can damage the finish), it’s time to install your new hardware. Start with the hinges. We selected Schlage Aged Bronze hinges, and the transformation was remarkable. I honestly never anticipated that simply updating the hinges would have almost as much of an impact as changing the knobs, but WOW – the new hinges look infinitely better than the old brass ones! They provide a cohesive, finished look that ties perfectly with the new black doors and knob finish. Carefully align the hinges with the pre-drilled holes in the door and door frame, securing them with the provided screws. Ensure they are straight and tight for proper door function.
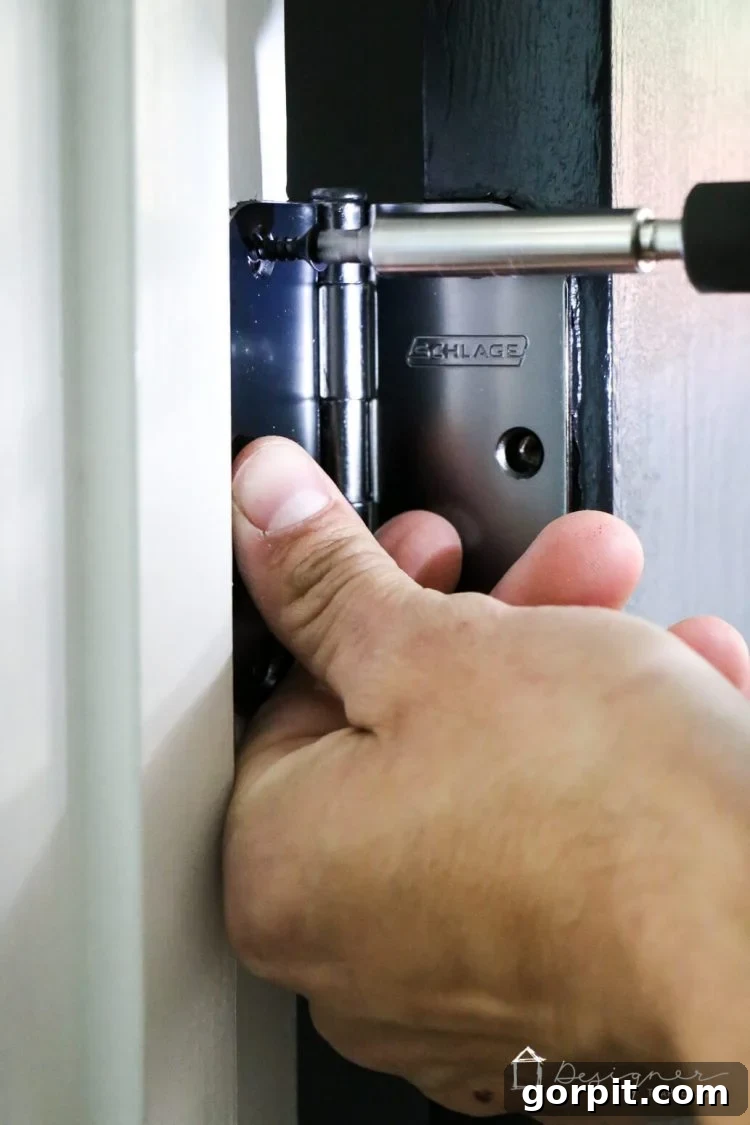
4. Install Your New Knobs
Finally, install your new door knobs. We continued with Schlage knobs and trim in the Andover style with an Aged Bronze finish. This particular finish beautifully complements the black doors, creating a sophisticated and cohesive aesthetic. Think of door knobs as the jewelry for your doors – they are a small detail that can make a huge statement. It’s important to choose a style and finish you love and consider using it consistently throughout your home for a unified and elegant look.
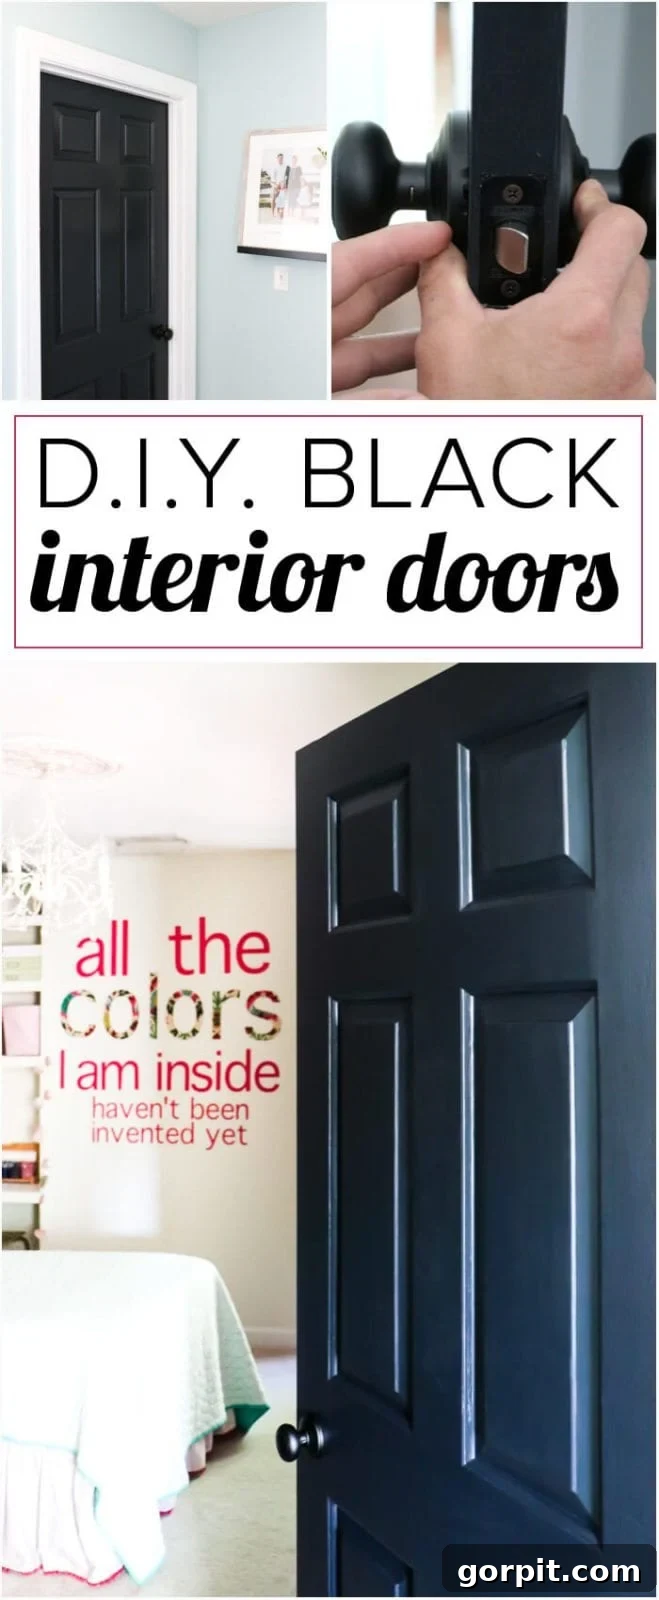
One of the many reasons we chose Schlage knobs is their thoughtful design which conceals all visible screws after installation. This clean, seamless appearance significantly enhances the overall aesthetic. The installation involves pressing a barely visible tab to release the knob’s outer collar, which then reveals an inner plate that screws securely onto the door. Once the plate is fastened, the outer collar presses back into place, completely covering the screws. This design detail is a testament to Schlage’s commitment to both style and functionality, resulting in a truly polished finish.
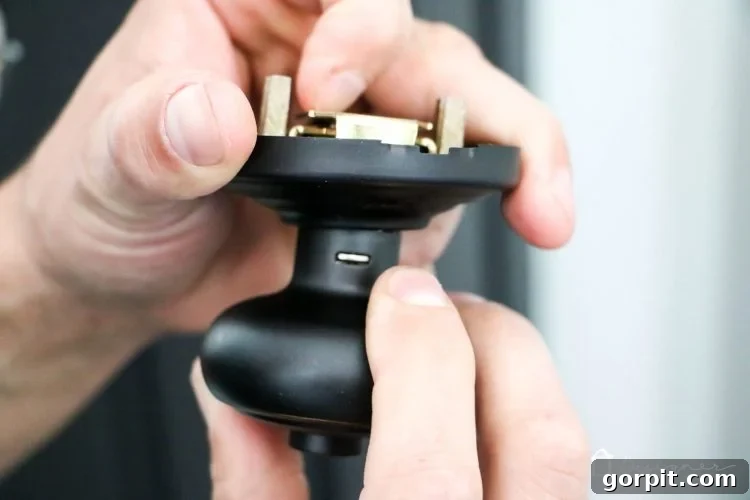
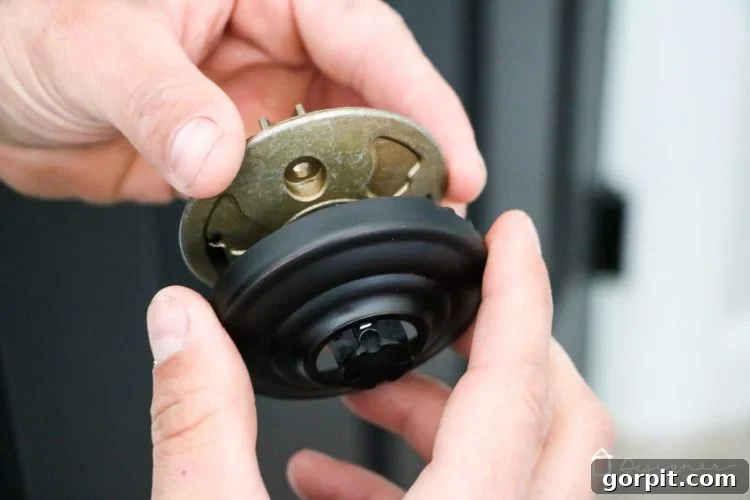
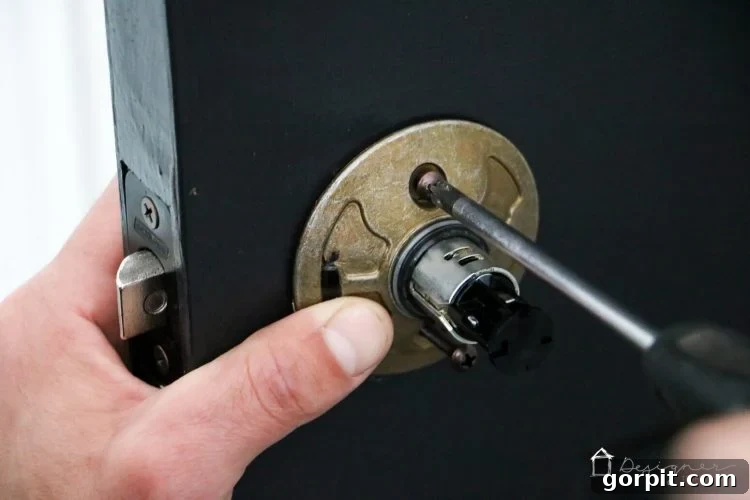
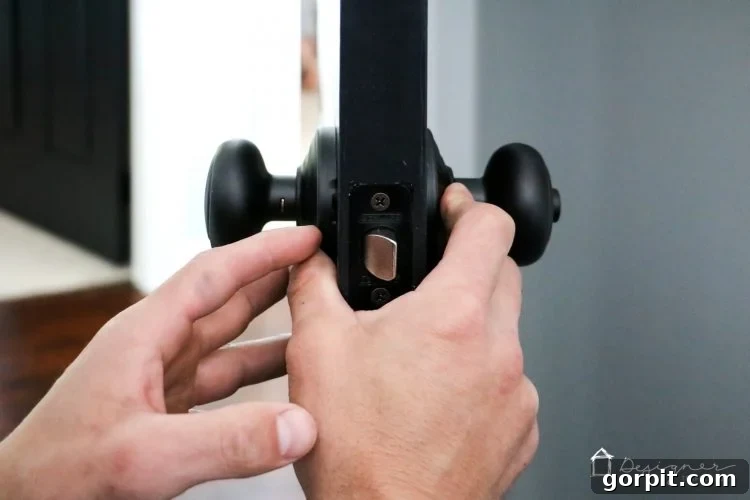
The Dramatic Before & After: See the Transformation!
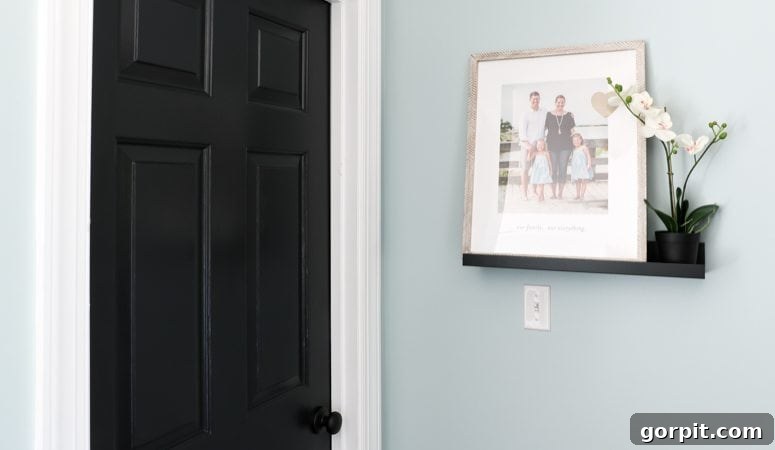
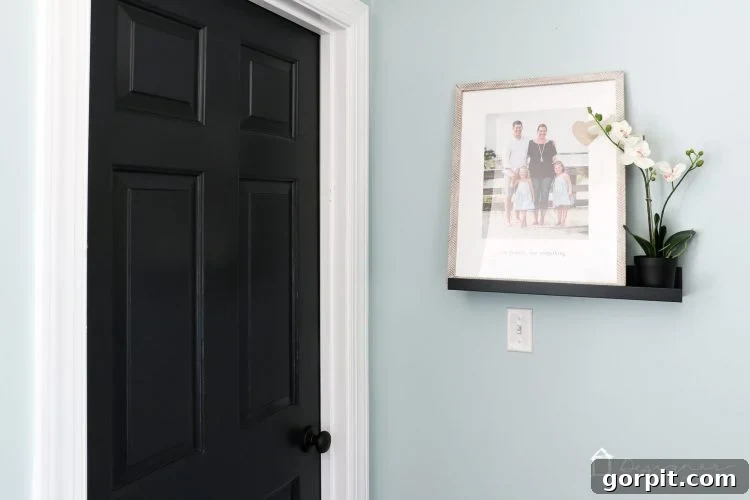
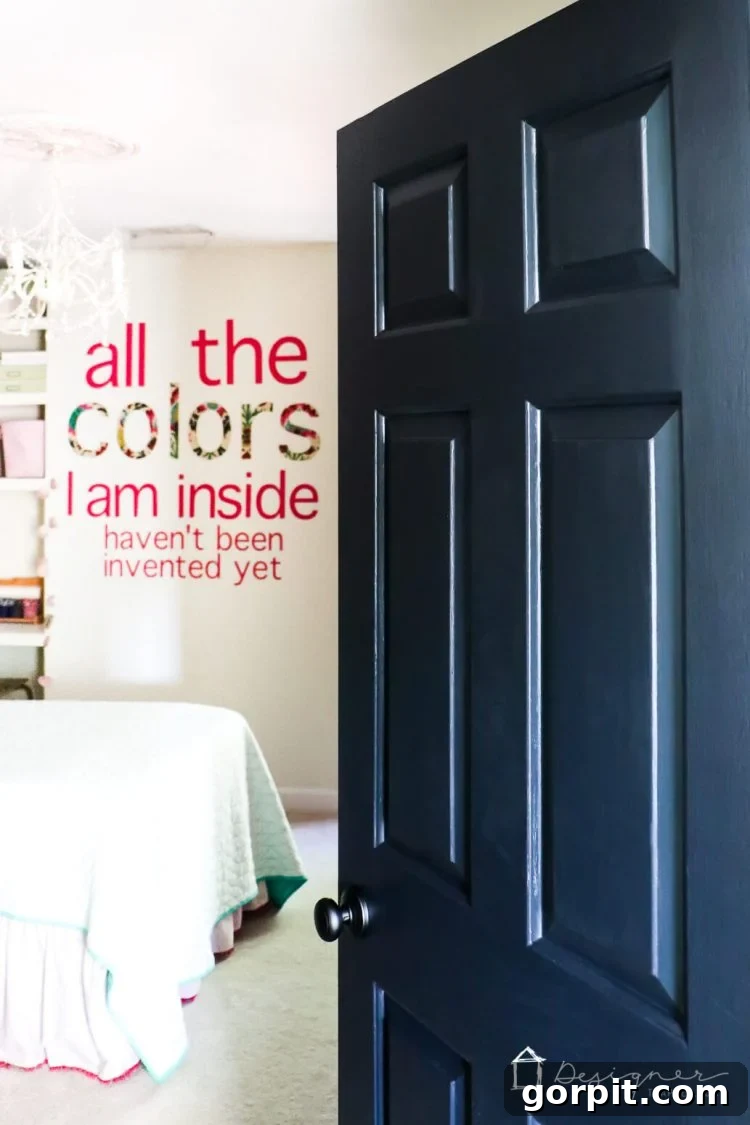
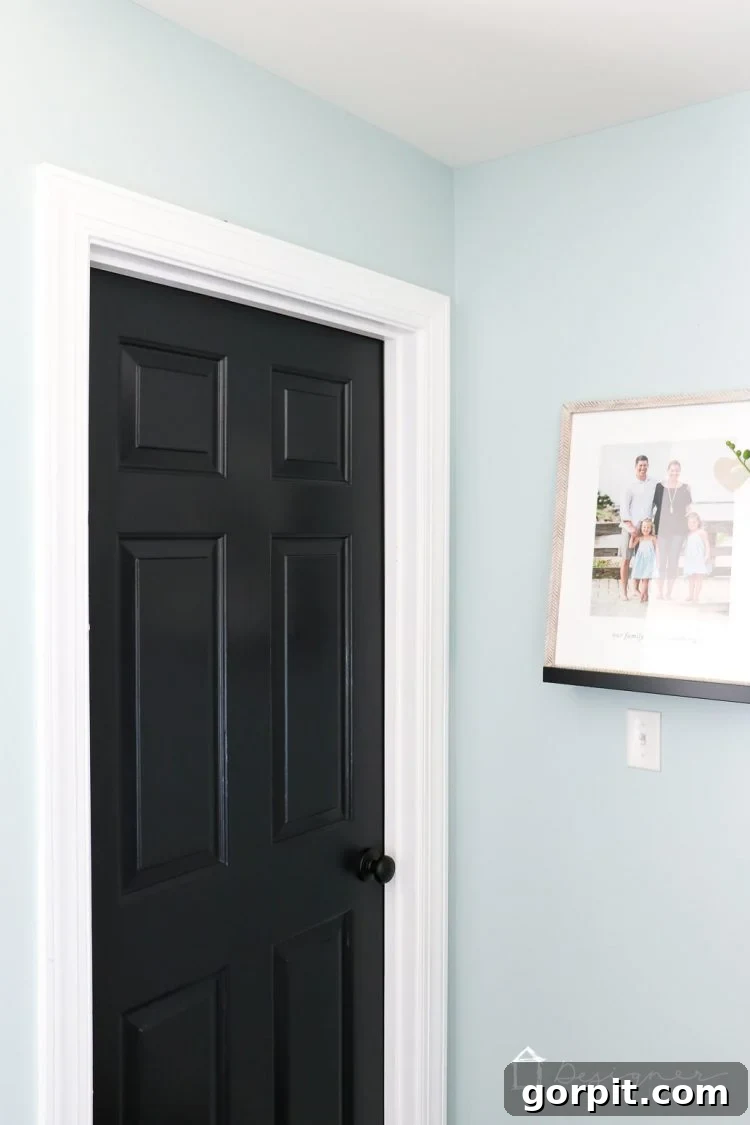
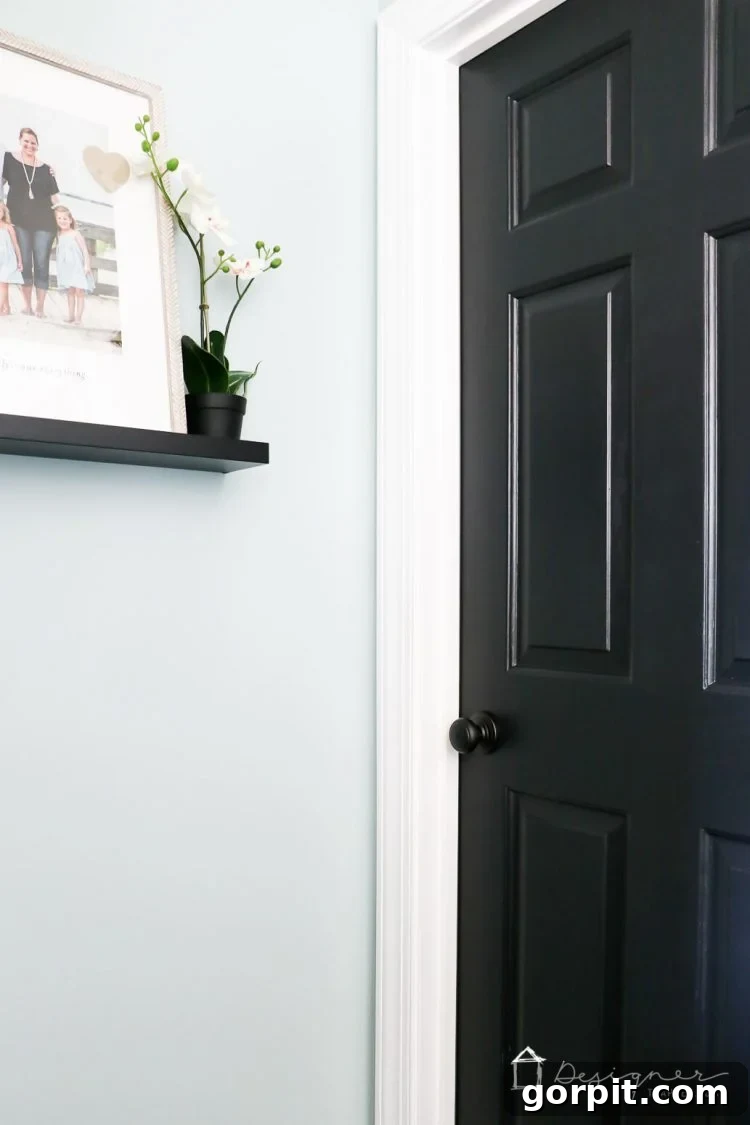
That’s it! Our black interior doors, complemented by the elegant aged bronze Schlage door knobs, delivered a truly significant update to our home without demanding a massive financial outlay. The impact is undeniable, transforming dated spaces into modern havens. To fully appreciate the power of this simple DIY project, take a look at what the doors looked like before we embarked on this journey:
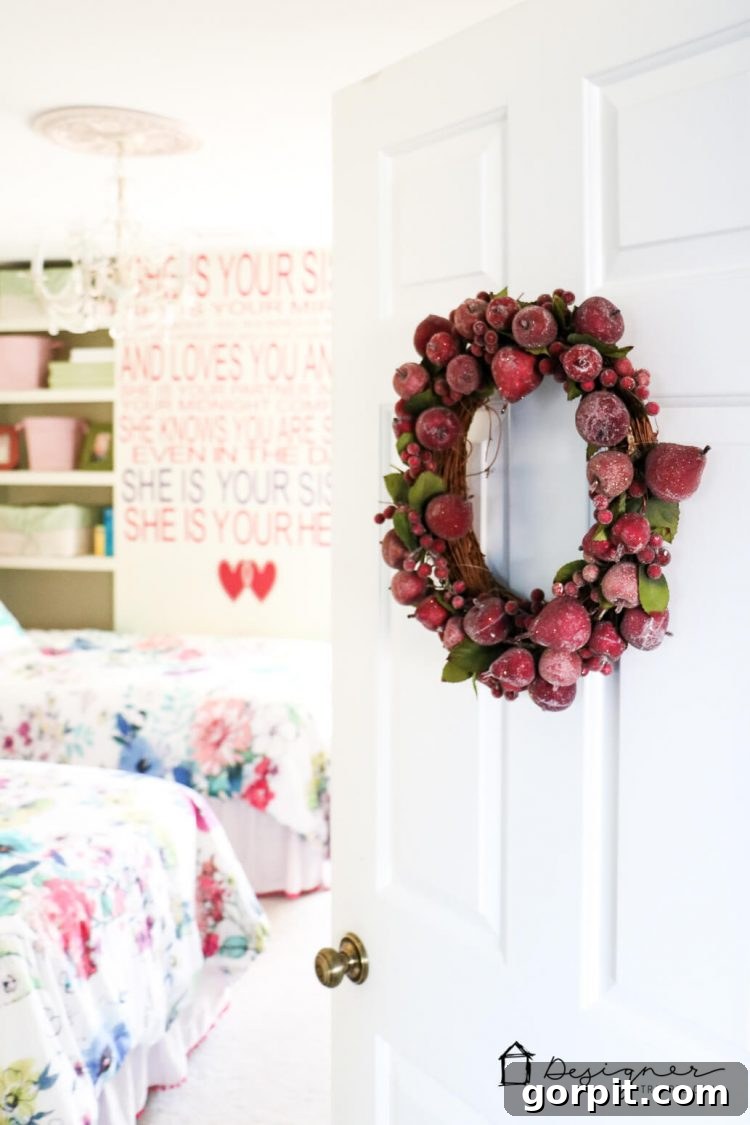
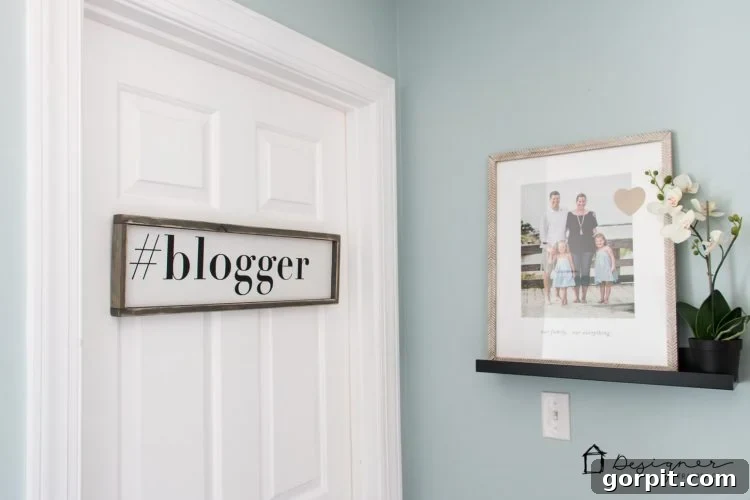
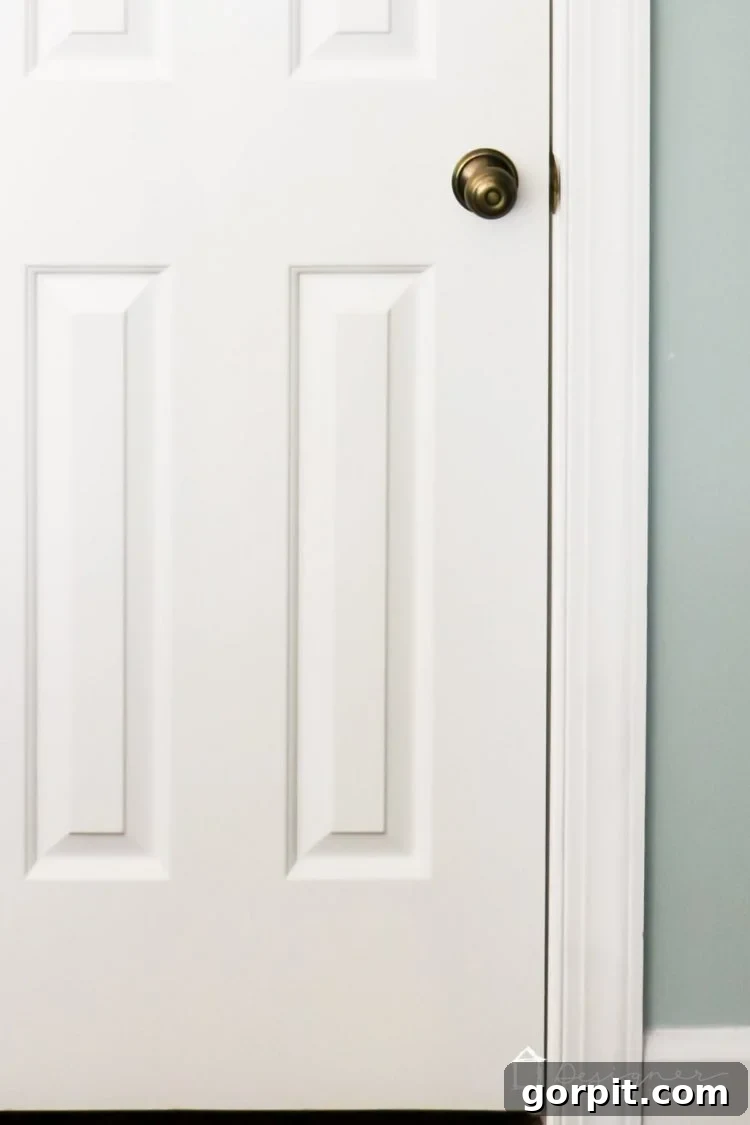
And now, prepare to be amazed by the stunning “after” shots:
Why Choose Black Interior Doors?
Beyond simply updating an outdated look, black interior doors offer a multitude of benefits that contribute to a sophisticated home environment:
- Modern Appeal: Black instantly brings a contemporary and chic vibe to any room, making older homes feel refreshed and current.
- Timeless Elegance: While trendy, black is also a classic. It’s a color that has endured in interior design for centuries and continues to provide a sense of luxury and depth.
- Creates Contrast: Against lighter walls, black doors create a striking contrast that defines doorways and adds architectural interest. They frame each room beautifully.
- Versatility: Black is a neutral color that pairs well with almost any other color palette or design style, from minimalist to industrial, farmhouse to traditional.
- Hides Imperfections: Dark colors can be forgiving, helping to mask minor dents or imperfections on older doors.
- Perceived Value: A well-executed black door transformation can significantly enhance the perceived value and sophistication of your home.
Tips for a Flawless Finish & Longevity:
- Ventilation is Key: Ensure adequate ventilation while painting by opening windows and using fans. This helps with drying time and dissipates fumes.
- Patience with Drying: Resist the urge to rush. Allow each coat of paint (and primer) to dry completely before applying the next or handling the door. This prevents stickiness and ensures a durable finish.
- Cleanliness Matters: Before painting, ensure your doors are completely free of dust and grime. Any particles can get trapped in the paint, compromising the smooth finish.
- Maintenance: Black doors, especially in semi-gloss, are generally easy to wipe clean. Use a soft, damp cloth for routine cleaning to keep them looking pristine.
- Consider Your Trim: While not essential, painting your door trim (casings) the same black as the doors can create a dramatic, cohesive statement. Alternatively, leaving them white provides a sharp contrast.
The doors now boast a much more contemporary and sleek aesthetic, which perfectly aligns with our evolving style! The best part about this interior update is its flexibility. We can tackle the remaining doors at our own pace, fitting the project into our schedule whenever we’re not immersed in other DIY home improvement adventures. This allows us to enjoy the process and the fantastic results without feeling rushed.
For even more inspiring interior door ideas, hardware solutions, and home design trends, be sure to connect with Schlage on their social media channels:
We hope this detailed guide empowers you to take on this rewarding DIY project and transform your home with the timeless elegance of black interior doors and beautiful new hardware. Happy painting!
