
Black Doors and White Trim: The Ultimate Home Transformation Guide
Have you ever truly considered the transformative power of paint? It’s a humble tool, yet capable of orchestrating the most dramatic and often budget-friendly home makeovers. Today, we’re diving deep into one such impactful change: the sophisticated pairing of black interior doors with crisp white trim. This isn’t just a fleeting trend; it’s a timeless design choice that adds unparalleled elegance, definition, and a touch of luxury to any space. Join us as we explore how this striking combination can elevate your home, using our own recent kitchen renovation as a prime example of its incredible impact.
Beyond Beige: The Journey from Drab to Dazzling
For too long, the aesthetic of our main level was dominated by a rather unfortunate color scheme. The trim and doors, ubiquitous throughout the space, were painted in a shade that can only be described as a subdued, somewhat sickly beige – reminiscent of an old manila folder, or perhaps something even less appealing. This pervasive, outdated color cast a dull, uninspired pall over our rooms, diminishing their potential and making everything feel tired and dated.
Over the past few months, we’ve embarked on a systematic mission to eradicate this unappealing hue from our downstairs areas. The results, even in isolation, have been nothing short of astonishing. Merely painting the trim and doors white, without changing anything else in the room, injected an immediate sense of freshness and modernity. It underscored a fundamental truth of interior design: the foundational elements of a room – its trim and doors – play a far greater role in its overall aesthetic than often realized.
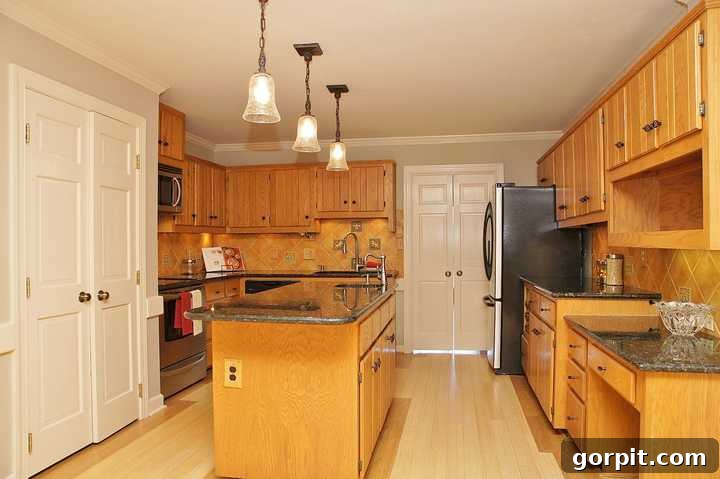
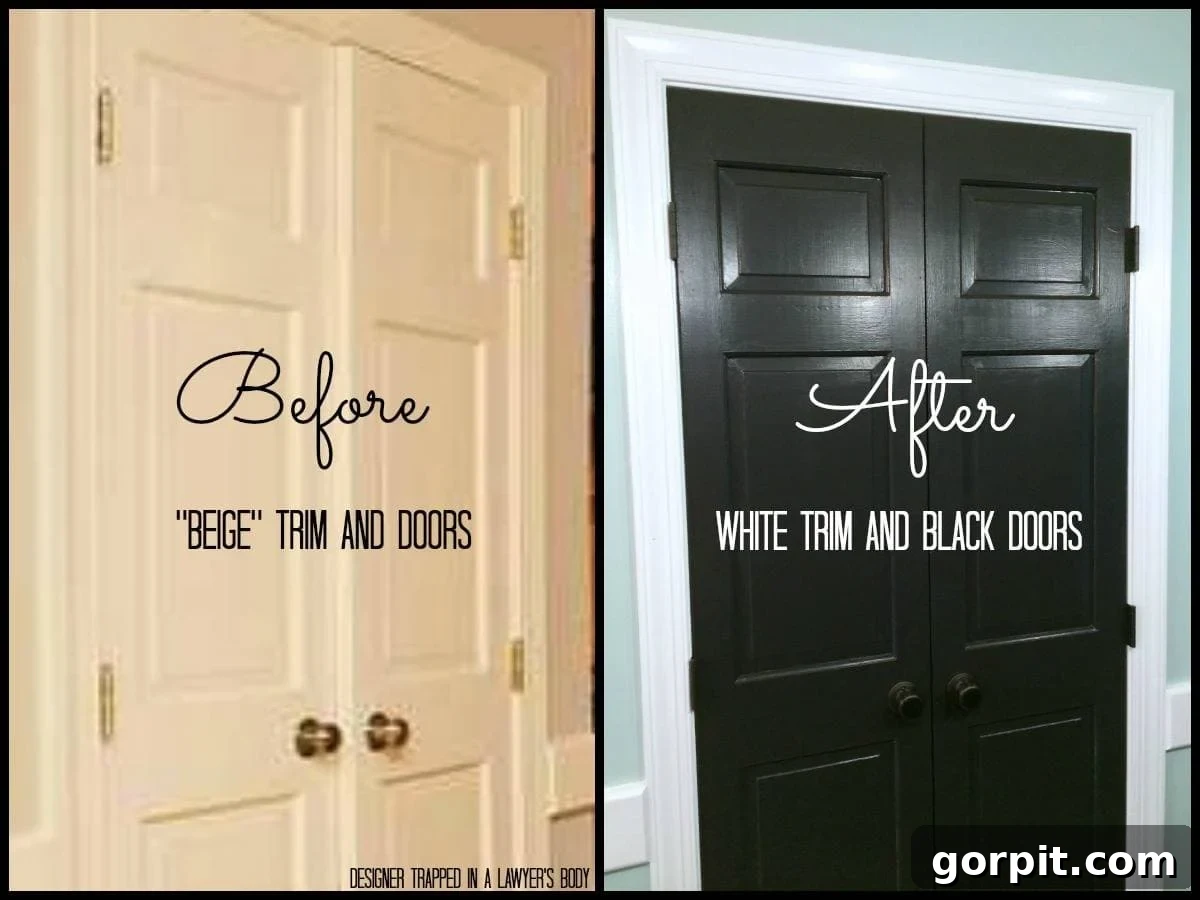
Our kitchen, often considered the heart of our home, was no exception to this beige blight. Before its recent transformation, it too was awash in the same uninspiring beige trim and doors. To truly appreciate the dramatic shift, let’s take a moment to recall its humble beginnings. This initial state perfectly illustrates the ‘before’ in our before-and-after journey, setting the stage for the dramatic reveal:
The Brightening Power of White Trim
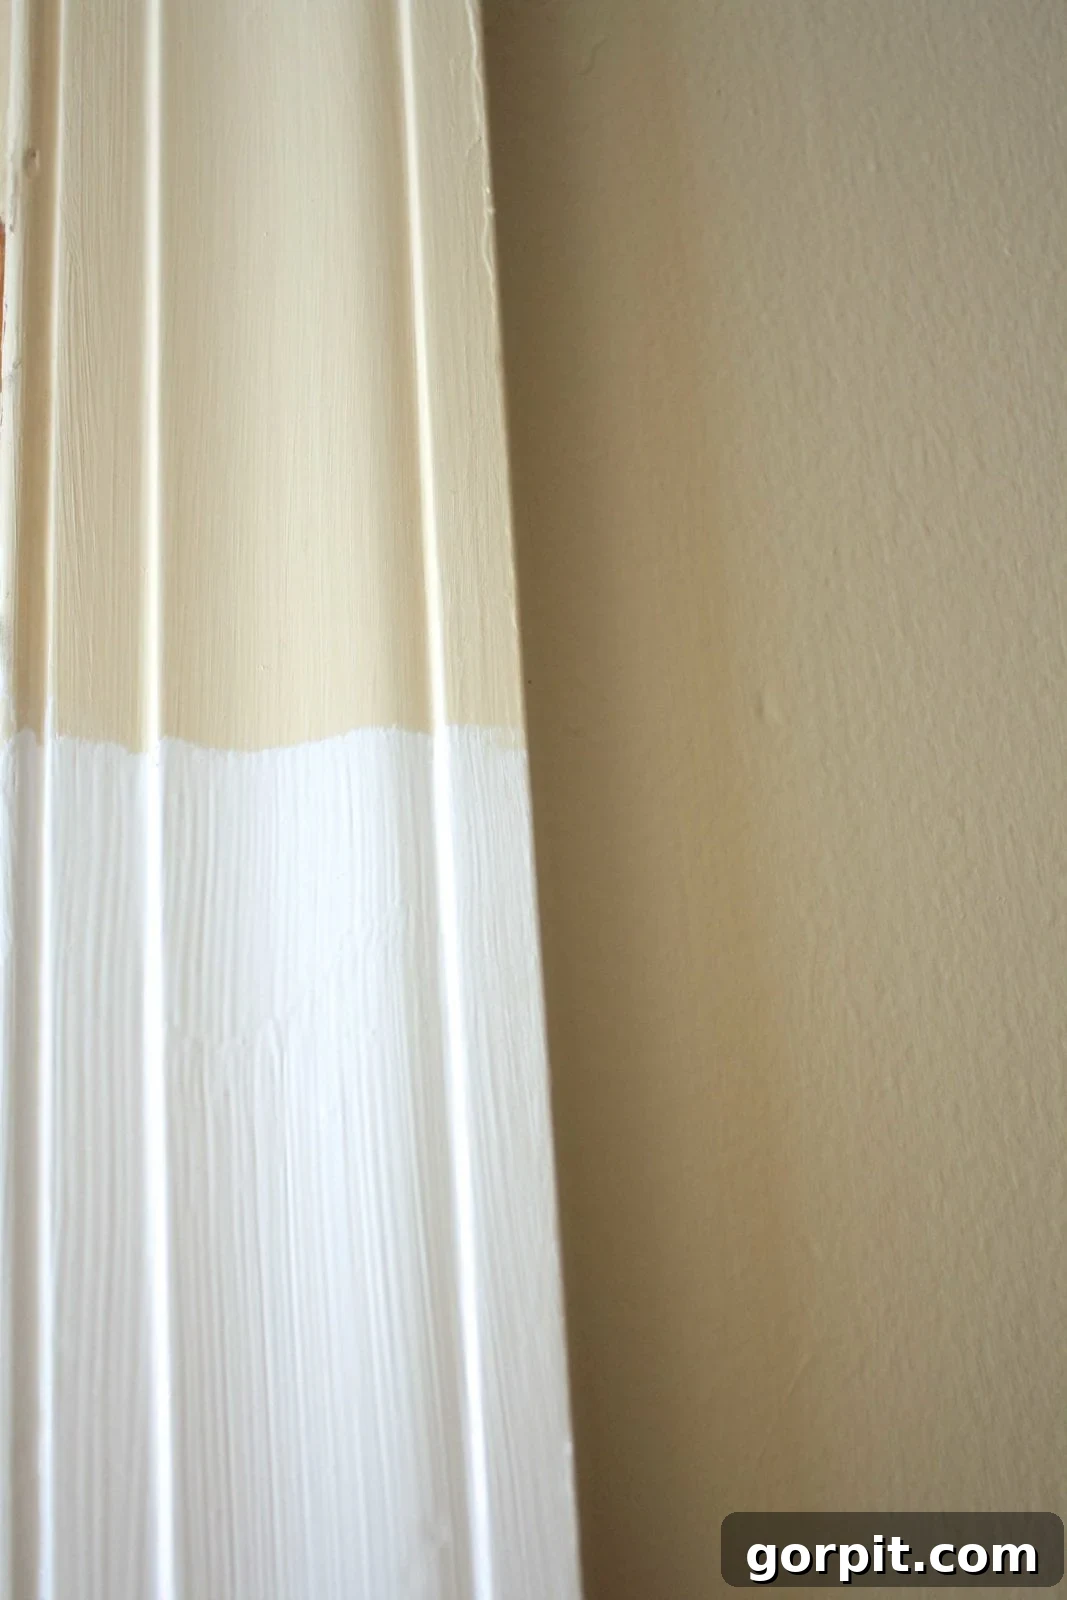
The initial and most fundamental step in our kitchen’s revival was a commitment to white trim. The decision was straightforward: white offers a clean, crisp backdrop that instantly brightens and visually expands any space. However, we know that not all whites are created equal. Instead of a stark, blinding white, we opted for a sophisticated shade with a subtle grey undertone. This particular choice provided warmth and depth, preventing the trim from feeling too cold or overly sterile, thus maintaining a welcoming atmosphere.
The contrast between the original pervasive beige and our newly chosen white was truly remarkable. It wasn’t merely a color change; it was a profound visual awakening. Painting the trim white single-handedly lifted the entire ambiance of the room, making it feel cleaner, significantly more spacious, and infinitely more inviting. This vital step effectively laid the perfect, fresh foundation for the bold and exciting design choice that was soon to follow, preparing the canvas for a truly stunning transformation.
Embracing Sophistication: The Allure of Black Doors
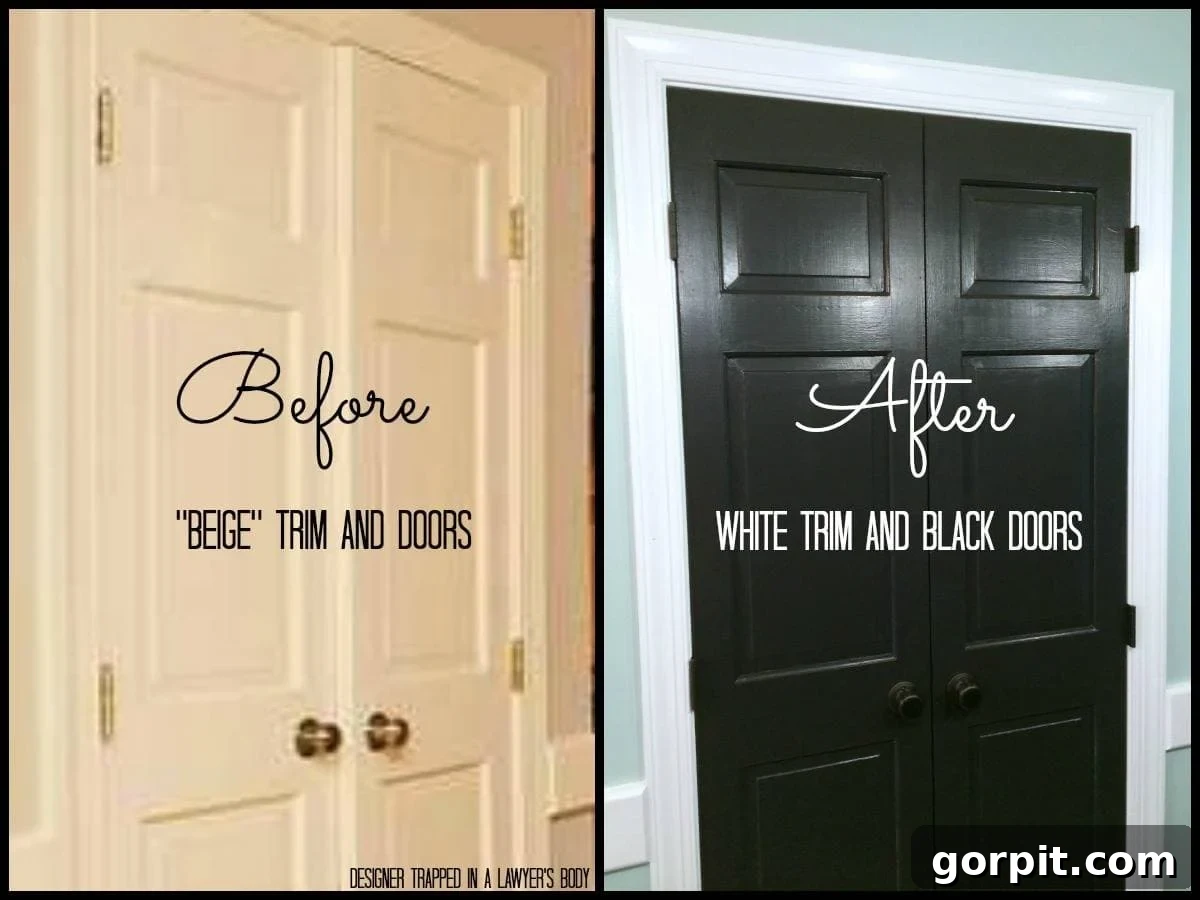
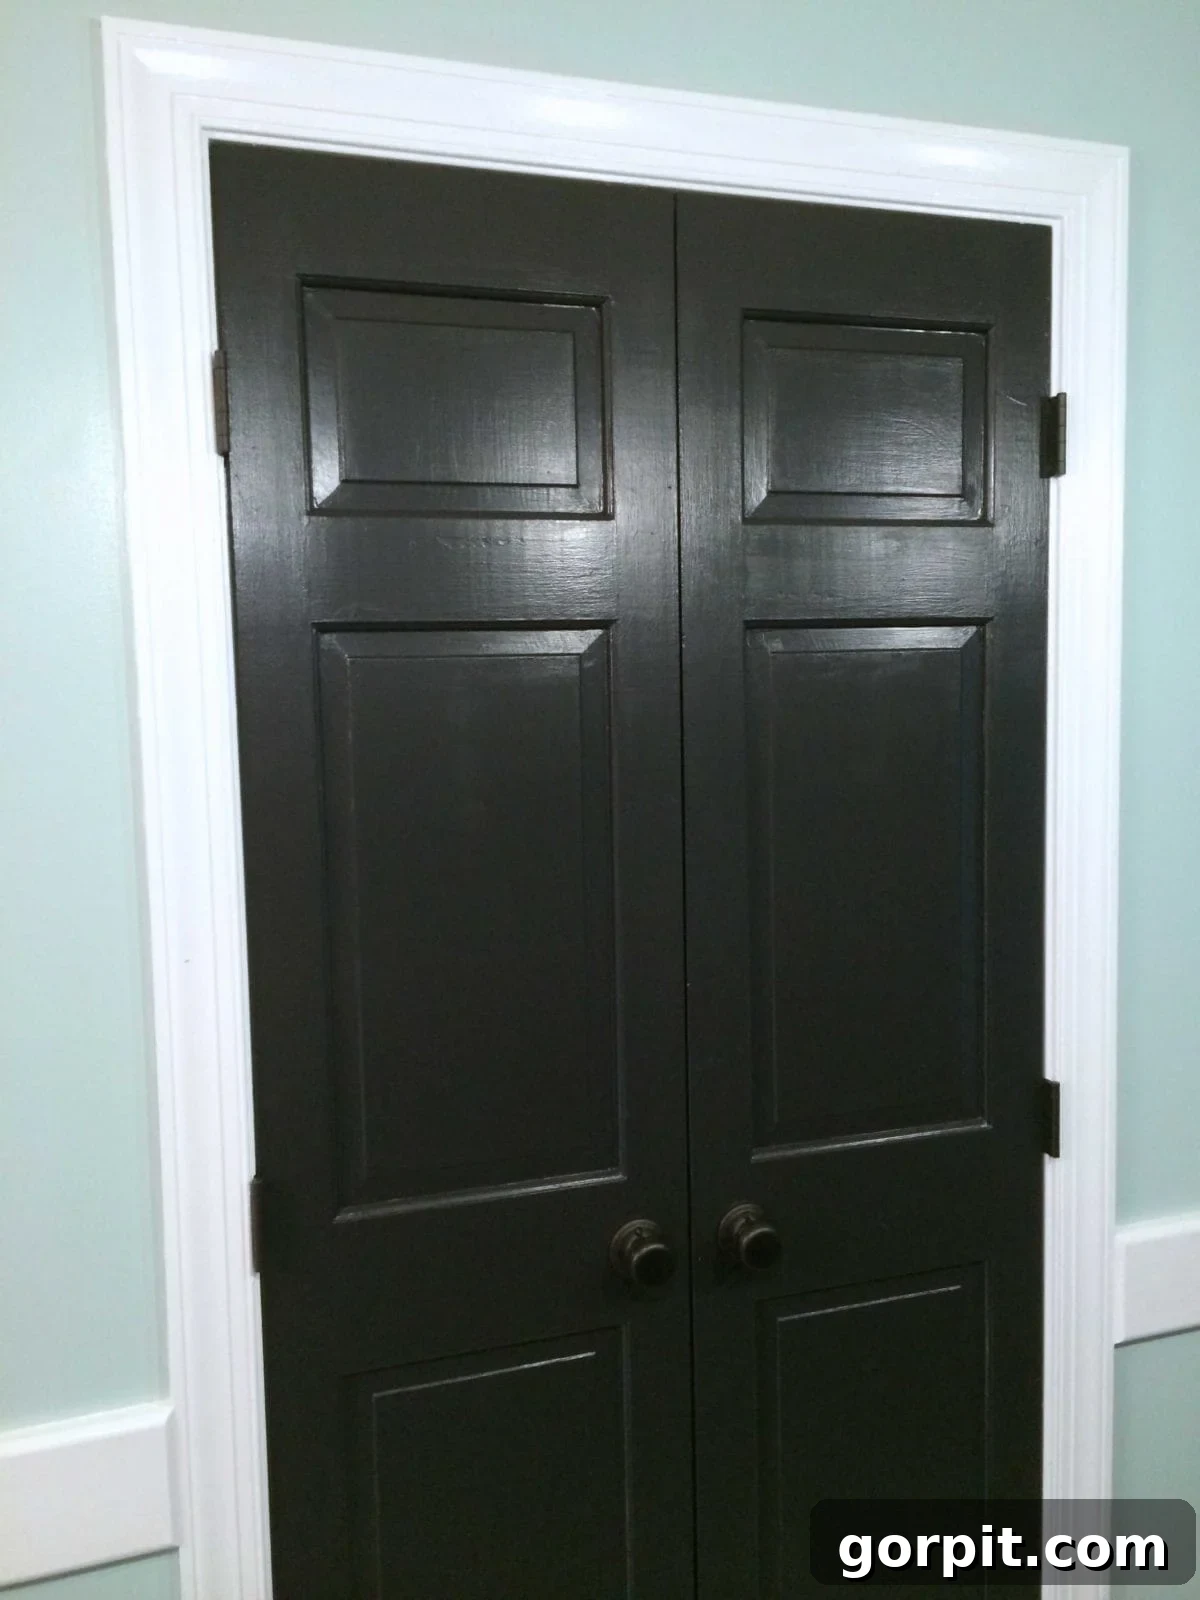
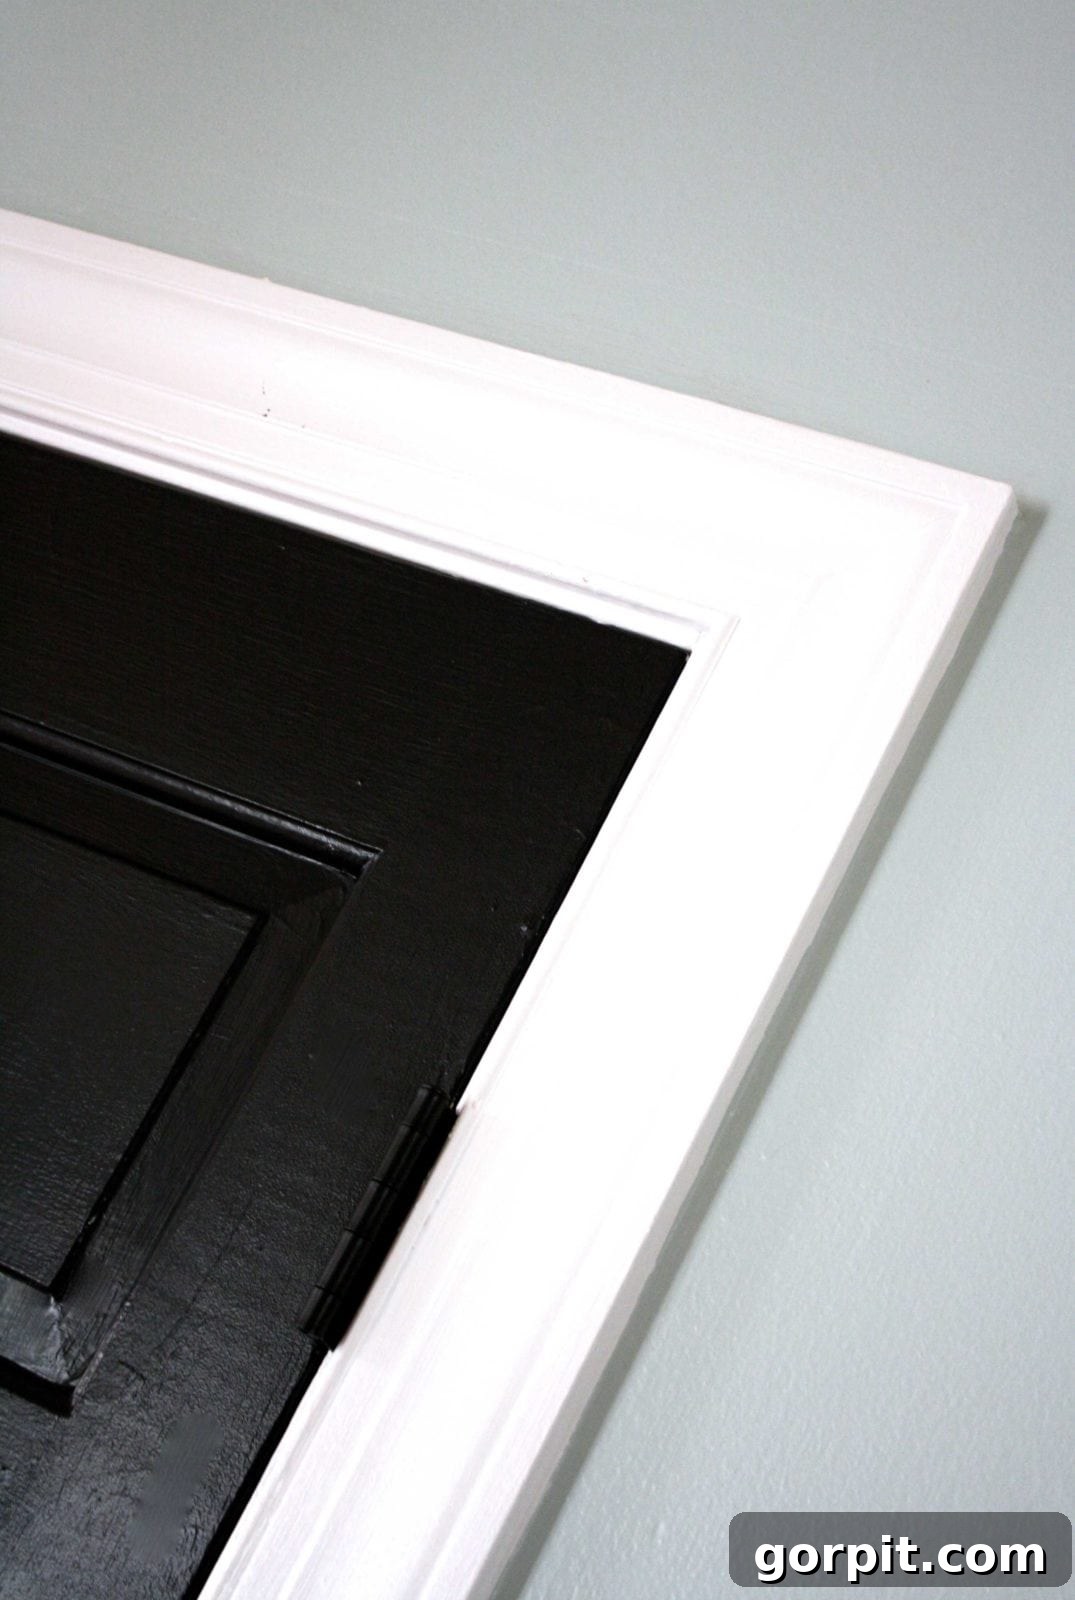
While the freshly painted white trim made a significant and immediate difference, the true “wow” factor, the moment that truly defined our kitchen’s transformation, emerged when we turned our attention to the interior doors. This is where the magic of high contrast truly came to life. We decided to paint the interior doors a striking, deep black. The immediate result was breathtaking: black doors perfectly paired with crisp white trim – a combination that radiates timeless elegance and undeniable modernity. This pairing is far more than just a passing design trend; it’s a bold statement that has captivated designers and homeowners alike, gracing the pages of countless blogs and Pinterest boards globally. And now, this stunning aesthetic graces our very own kitchen!
There is something inherently sophisticated and commanding about black doors. They provide a strong visual anchor, grounding the space and creating a sense of architectural grandeur. When beautifully framed by crisp white trim, the effect is truly akin to a room donning a finely tailored tuxedo – instantly upgrading its status to classy, chic, and distinctly high-end. It’s truly amazing how such a simple, cost-effective change like a fresh coat of paint can yield such a luxurious and impactful outcome, transforming the entire perception of a space.
To further enhance this newly refined and polished look, we also updated our door hardware. The old, rather dated antique bronze handles were meticulously replaced with sleek, contemporary oil-rubbed bronze. This subtle yet impactful detail perfectly complements the new black doors and white trim, contributing significantly to the overall cohesive and polished aesthetic that we aimed to achieve in our kitchen.
The Unmistakable Transformation: Before & After Side-by-Side
To truly grasp the magnitude of this transformation, a direct visual comparison is absolutely essential. Witnessing the side-by-side difference between the original, lackluster beige doors and trim and their current sophisticated black and white iteration is incredibly impactful and undeniable. The visual upgrade is profound, moving from an uninspired and dated aesthetic to one that feels undeniably fresh, modern, and unequivocally high-end. It’s hard to believe it’s the same space, illustrating just how powerful a well-considered paint scheme can be!
Achieving Perfection: Essential Tips for Your Black and White Project
Inspired to tackle your own trim and doors and replicate this stunning black and white look? Here are some essential tips and considerations to ensure a successful and truly stunning transformation that will stand the test of time:
1. Preparation is Paramount for Professional Results
- Thorough Cleaning: Before any paint touches the surface, ensure your doors and trim are spotlessly clean. Use a good quality degreaser or an all-purpose cleaner to remove any grime, oils, fingerprints, or residues that could significantly hinder paint adhesion and compromise the final finish.
- Sanding for Adhesion: A light but thorough sanding is crucial, especially if your surfaces are glossy or have minor imperfections. This creates a better “key” or surface for the new paint to grip. Use fine-grit sandpaper (180-220 grit) and always wipe away all dust afterwards with a tack cloth or damp rag.
- Priming is Non-Negotiable: Whether you’re making a dramatic transition from light to dark or dark to light, a quality primer is absolutely essential. It ensures even color coverage, prevents any unsightly bleed-through (especially critical when painting with intense colors like black), and significantly improves the overall durability and longevity of your paint job. For black doors, consider a grey-tinted primer to reduce the number of topcoats required.
2. Choosing the Right Paint and Finish
- For Trim: A semi-gloss or satin finish is generally ideal for trim. These finishes are significantly more durable and much easier to clean than flat paints, making them perfectly suited to withstand the daily wear and tear that trim often endures.
- For Doors: Similar to trim, semi-gloss or satin finishes are highly recommended for doors due to their resilience and ease of maintenance. For a truly dramatic, reflective, and modern aesthetic, a high-gloss finish can be considered, but be aware that it will highlight any surface imperfections more readily.
- Type of Paint: High-quality latex (water-based) paints are typically easier to work with, offer quicker drying times, and emit fewer harsh fumes. However, some professionals prefer oil-based paints for their superior hardness, exceptional durability, and glass-smooth finish, though they require mineral spirits for cleanup and have longer drying times.
3. Mastering Application Techniques
- Tape Off Carefully: Precision is absolutely key for sharp, professional lines. Use high-quality painter’s tape to meticulously mask off any areas where your trim meets walls, floors, or other surfaces. Press the tape firmly down to create a tight seal along the edges to prevent bleeding.
- Multiple Thin Coats: Resist the urge to apply one thick, heavy coat. Instead, opt for several thin, even coats. This approach will provide a much smoother, more professional finish, drastically reduce the risk of unsightly drips or streaks, and enhance durability. Lightly sand with very fine grit sandpaper between coats for an ultra-smooth, flawless result.
- Consider Removing Doors: For the most professional and impeccable finish on your doors, strongly consider removing them from their hinges and painting them horizontally on sawhorses. This technique eliminates any potential for drips, allows for significantly easier, more even application, and ensures complete coverage without missed spots.
- Invest in Quality Tools: The quality of your tools directly impacts your results. Invest in good quality brushes (angled brushes are excellent for cutting in trim and edges) and rollers (foam rollers are perfect for achieving smooth, lint-free finishes on doors and larger flat surfaces).
More Than Just a Kitchen Corner: A Sneak Peek at the Full Picture
You might be wondering why we’re only showcasing a tantalizing glimpse of our kitchen transformation, focusing specifically on the pantry doors and the surrounding trim. Rest assured, this is merely a teaser! We firmly believe in building anticipation for the grand, full reveal. You’ve already had a look at our creative upcycled DIY herringbone plank wall and caught a sneak peek of our unique painted kitchen floors, haven’t you? We promise you, the complete kitchen reveal is just around the corner, packed with all the intricate details, design choices, and a comprehensive overview of this ambitious project!
UPDATE: The wait is finally over! Our comprehensive kitchen reveal, complete with all the breathtaking details and inspiring transformations, is now live on the blog. Click HERE for all the dazzling insights and inspiration!
The Lasting Impact of Simple, Thoughtful Choices
Ultimately, our primary aim with this post is to vividly demonstrate the profound and often underestimated impact that seemingly simple, inexpensive changes can have on your living environment. The color of your trim and interior doors, elements often overlooked or taken for granted, possess an immense capacity to define the character, style, and overall ambiance of an entire room. This isn’t a complex, high-cost renovation project; it’s an accessible, empowering DIY endeavor that anyone with a brush, a little patience, and a clear vision can undertake to dramatically refresh their home.
Have you embarked on a similar journey, transforming a space with just a fresh coat of paint on your trim or doors? We would absolutely love to hear about your experiences, your own inspiring before-and-after stories, and any clever tips or tricks you’ve discovered along the way. Share your creativity and inspire fellow DIY enthusiasts!
Most Popular Projects You Might Love
If you’re inspired by this stunning transformation and ready to take on more DIY challenges, explore some of our other reader-favorite home decor and renovation projects:
- Creating a Stunning Gallery Wall on a Budget: Your Step-by-Step Guide
- From Drab to Fab: Upcycling Old Furniture with a Mid-Century Modern Twist
- Building Custom Shelves for an Organized and Functional Pantry
- An Easy Bathroom Refresh: Painting Cabinets and Adding Stylish Hardware
- Transforming Your Backyard with Beautiful DIY Planter Boxes and Greenery