
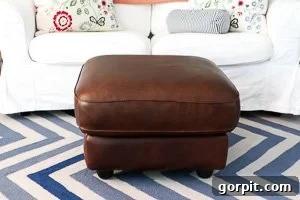
Unveiling the Secret: How to Restore Leather Furniture to Its Former Glory in Minutes!
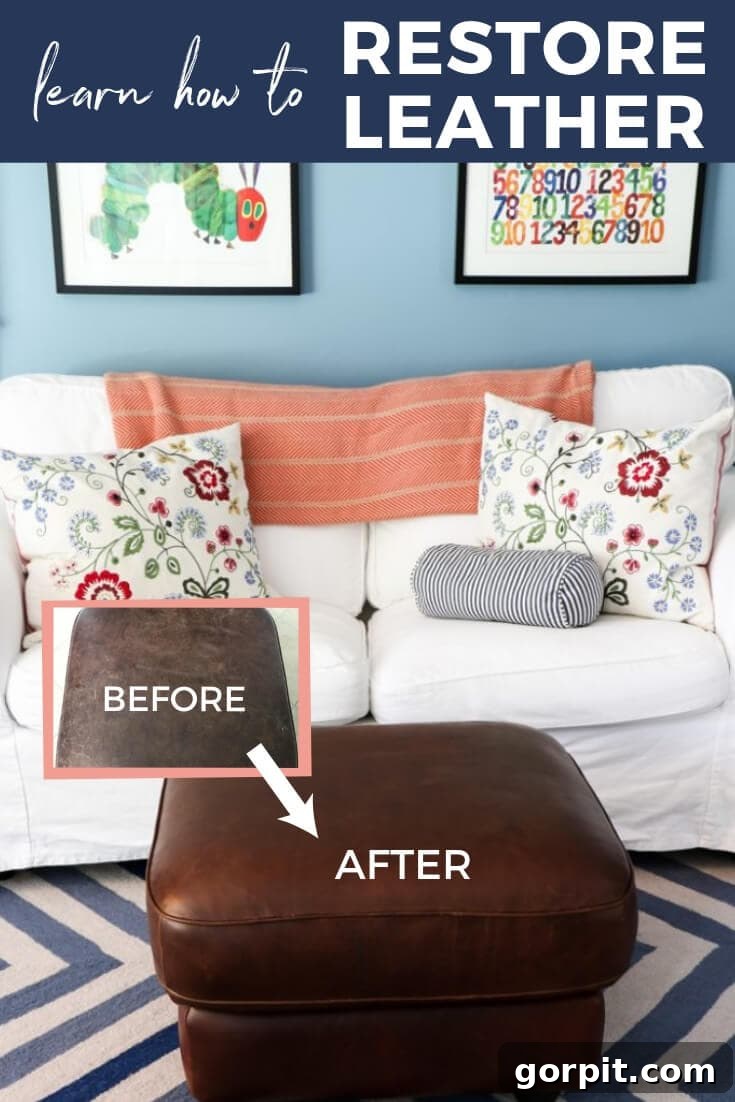
This comprehensive guide on leather furniture restoration is proudly sponsored by Mohawk. All opinions expressed are 100% my own, shaped by my personal and incredibly positive experience using these fantastic products.
Leather furniture holds a special place in interior design, revered for its sophisticated elegance, remarkable durability, and timeless appeal. A well-maintained leather piece can elevate any room, adding a touch of luxury and comfort that few other materials can match. However, the everyday realities of life, especially in homes bustling with active young children or beloved pets, can often challenge the pristine appearance of these cherished items. From the playful scuffles of pets leaving behind tell-tale claw marks to the accidental scratches from children’s toys, leather furniture can quickly accumulate signs of wear and tear, making it seem like an impossible task to keep it looking its best.
Many homeowners might shy away from investing in leather furniture due to these concerns, fearing that the beauty won’t last. But I’m here to tell you that these worries are largely unfounded! The truth is, preserving the beauty of your leather furniture, or even bringing a well-loved piece back to life, is far simpler and quicker than you might imagine. With the right techniques and a few exceptional products, you can learn how to restore leather furniture in a matter of minutes, transforming scuffed, scratched, and faded pieces into items that look as good as new. It’s an incredibly satisfying DIY project that not only saves you money but also extends the life and beauty of your furniture, proving that leather can indeed be a practical and stylish choice for any home.
The Allure of Upcycling: Rescuing a Diamond in the Rough
Our journey into the world of leather restoration began with a specific need: finding the perfect ottoman for our twin girls’ vibrant playroom. As they grew older, their bean bag chairs were seeing less use, and we were looking for a more substantial, yet equally comfortable, addition. The idea of spending a significant amount of money on a new piece, however, didn’t quite appeal to us. We love the thrill of finding hidden gems and giving them a new lease on life.
So, imagine my absolute delight and surprise when my husband, Joe, arrived home one day with exciting news. He led me down to our garage, revealing a large leather ottoman he had literally “trash picked” from the side of the road! While some might cringe at the thought, for me, this was better than a bouquet of flowers. I possess a deep passion for rescuing discarded furniture, recognizing its potential for transformation and the unique character it brings to a home. It’s an eco-friendly approach that allows for truly unique pieces without breaking the bank. This post may contain some affiliate links to help you find the products I recommend. Click here to read my full disclosure policy.
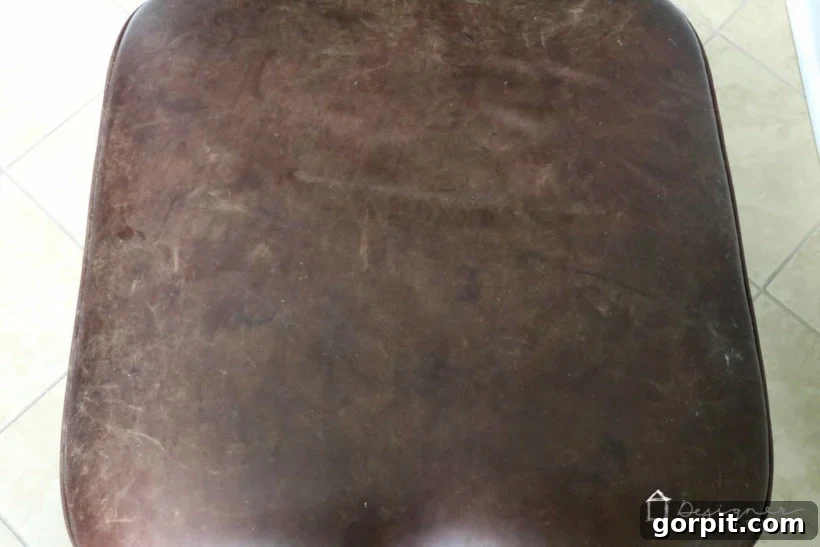
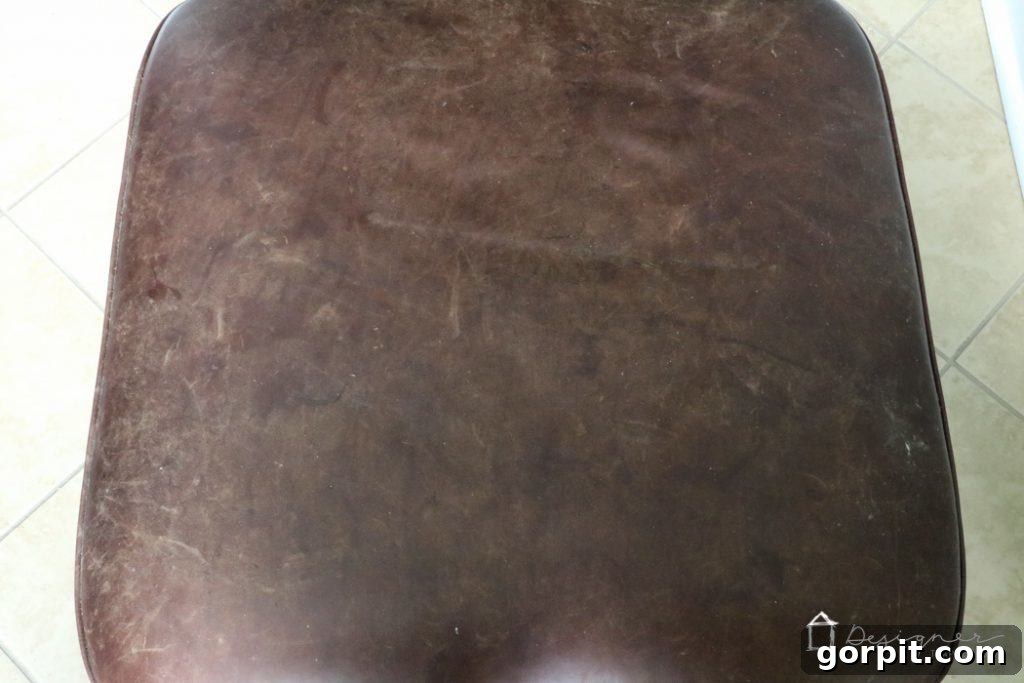
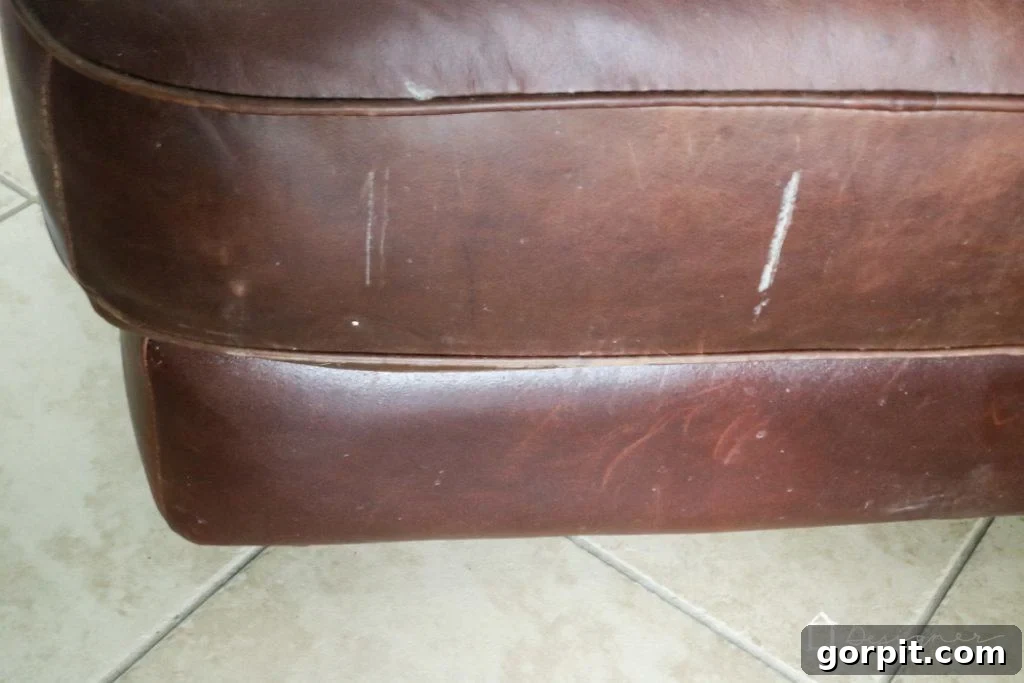
Upon closer inspection, the ottoman was certainly a fixer-upper. It was quite beat up, covered in numerous scratches of varying depths, and adorned with several peculiar marks that I strongly suspected were remnants of dried paint. The previous life of this ottoman was clearly visible, but beneath the surface, I saw incredible potential.
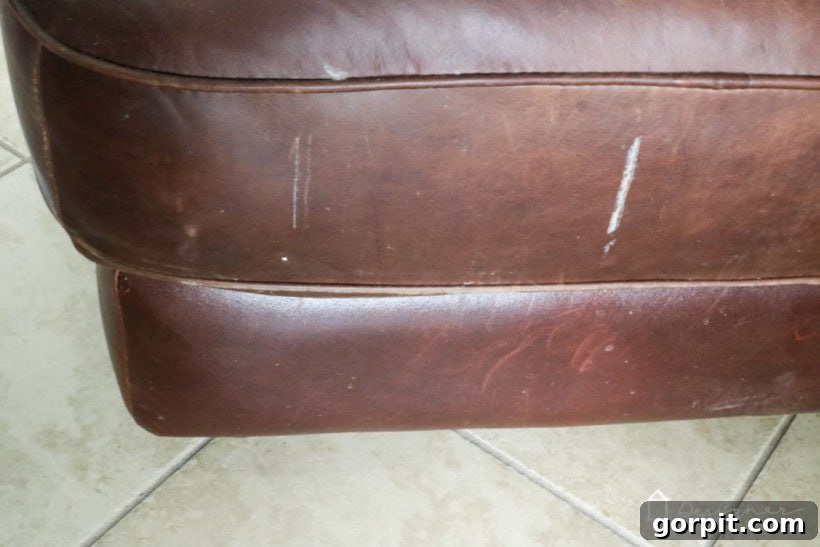
Visually, it looked pretty sad, right? But despite its current condition, my excitement was through the roof. I had a strong hunch—a confidence, even—that with the right approach and products, I could bring this free find back to life, making it a beautiful and functional piece for our playroom. And indeed, I was right! There’s nothing quite as satisfying as turning a seemingly lost cause into a cherished household item. Continue reading to discover exactly how I achieved this remarkable transformation.
The Ultimate Guide: How to Restore Leather Furniture with Ease
Restoring leather furniture doesn’t require extensive experience or specialized tools. The key lies in selecting high-quality products designed for the task and following a few straightforward steps. Our project transformed this heavily damaged ottoman into a stunning centerpiece in mere minutes, proving just how accessible leather repair can be for anyone.
Essential Materials Needed for Leather Restoration:
To embark on your own leather furniture restoration project, gather these key items. The quality of your materials can significantly impact the final outcome, which is why I highly recommend the Mohawk products, known for their effectiveness and ease of use.
- Mohawk Finishing Products Leather Care Kit: This kit is your foundation, containing essential cleaners and conditioners to prep and protect your leather.
- Mohawk Leather Scratch Remover: Specifically formulated to address surface scratches and scuffs, blending them seamlessly with the surrounding leather.
- Mohawk EZ Flow Leather Marker: An invaluable tool for color matching and touching up deeper scratches or areas where color has faded. Choose a shade that closely matches your furniture.
- Paper towels: For initial cleaning and wiping away excess product.
- Lint-free cloth: Essential for buffing and achieving a smooth, streak-free finish.
- Foam sponge: Often included in leather care kits, perfect for applying cleaners and conditioners evenly.
Step-by-Step Leather Restoration Process:
The entire restoration of our ottoman, from start to finish, took me approximately 20 minutes, and that includes the necessary drying time between applications. This is truly a quick project that yields dramatic results.
- Initial Cleaning and Assessment: Begin by thoroughly cleaning the entire leather surface with a specialized leather cleaner. Use a lint-free cloth or the foam sponge from your Leather Care Kit. This step removes dirt, grime, and any surface contaminants, preparing the leather for repair. As you clean, carefully assess the type and extent of damage. Note areas with deep scratches, paint marks, or general wear. For stubborn spots like the paint marks on our ottoman, a slightly more targeted scrubbing with the cleaner might be necessary.
- Addressing Scratches with Leather Scratch Remover: Once the leather is clean and dry, it’s time to tackle those unsightly scratches. Apply a small amount of Mohawk Leather Scratch Remover onto a clean, soft cloth. Gently rub the product into the scratched areas using a circular motion. The scratch remover works by softening the leather fibers and filling in minor imperfections, making scratches less visible. For deeper scratches, you may need to apply a bit more pressure and repeat the application. Allow the product to penetrate and dry according to the manufacturer’s instructions.
- Color Restoration with EZ Flow Leather Marker: For scratches that have penetrated the leather’s finish, or areas where the color has significantly faded, the Mohawk EZ Flow Leather Marker is a game-changer. Select a marker that matches the color of your leather as closely as possible. Carefully apply the marker directly to the compromised areas, using light, even strokes. For fine scratches, a precise touch is key. For larger faded spots, you can gently blend the color. The marker helps to recolor the exposed leather, making the damage virtually disappear. Be sure to test the marker in an inconspicuous area first to ensure a perfect color match. Allow the treated areas to dry completely.
- Conditioning and Protection: The final and crucial step is to condition and protect your newly restored leather. Using the foam sponge or a clean, lint-free cloth, apply a high-quality leather conditioner from your Leather Care Kit evenly over the entire surface of the furniture. Conditioning moisturizes the leather, restores its suppleness, and helps prevent future cracking and drying. It also adds a protective barrier against spills and daily wear. Gently buff the leather until it has a soft sheen and no residue remains. This step is vital for maintaining the health and longevity of your leather.
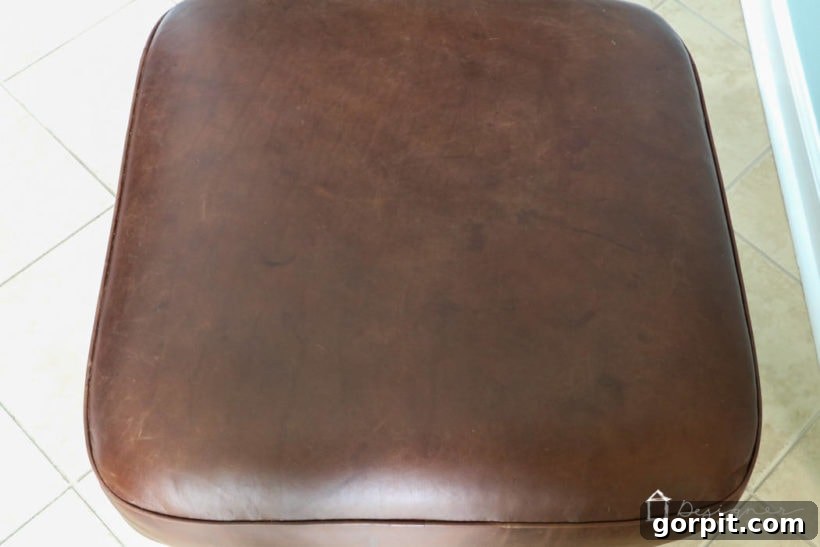
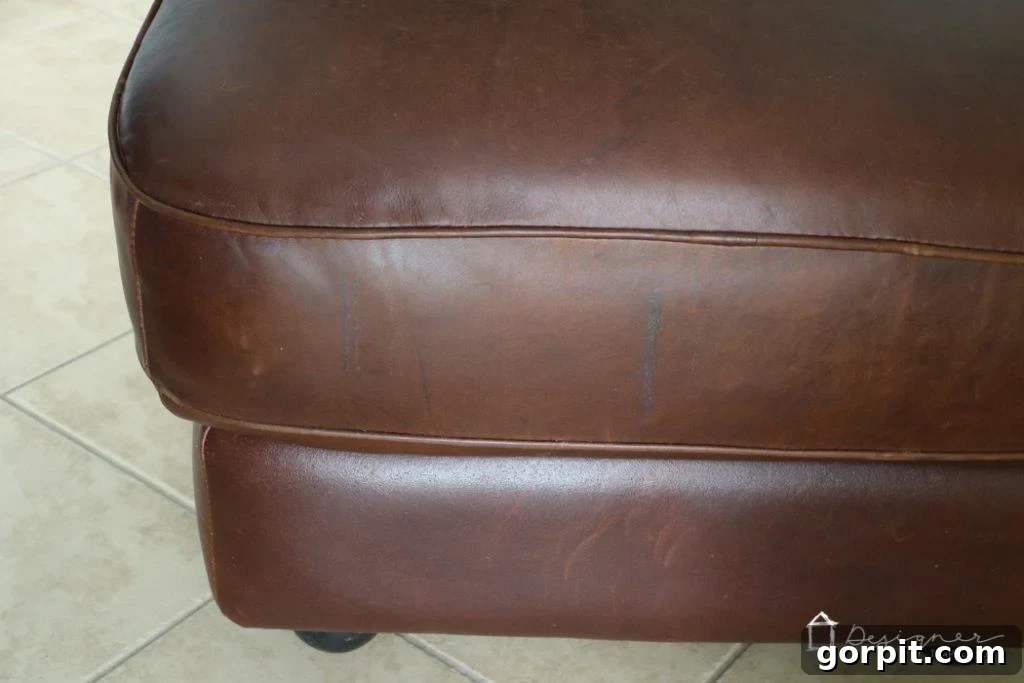
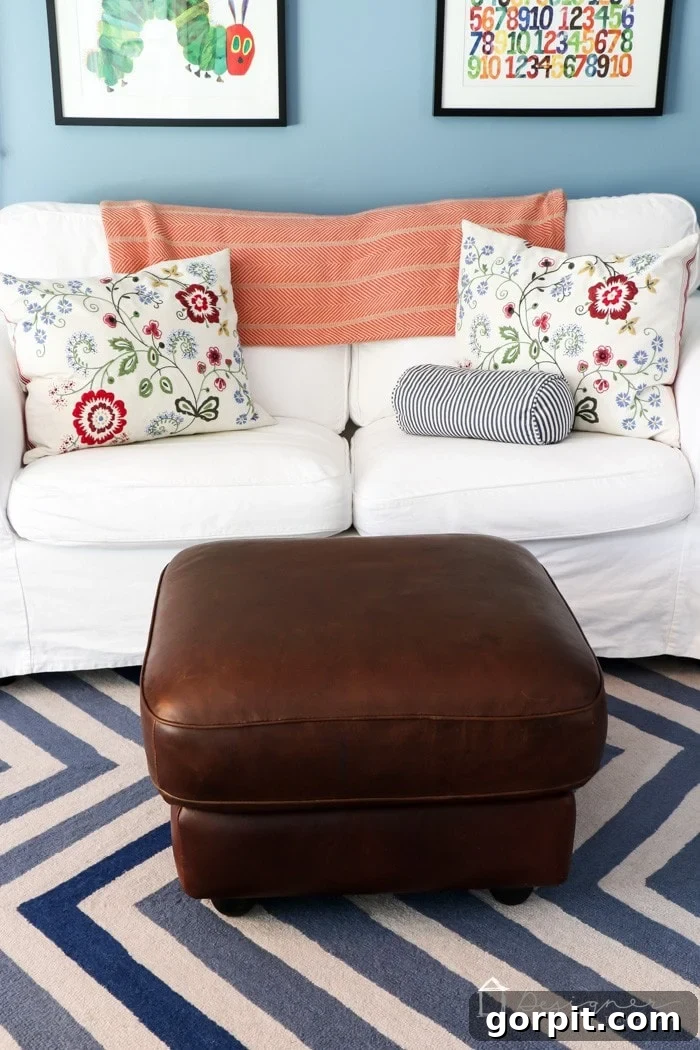
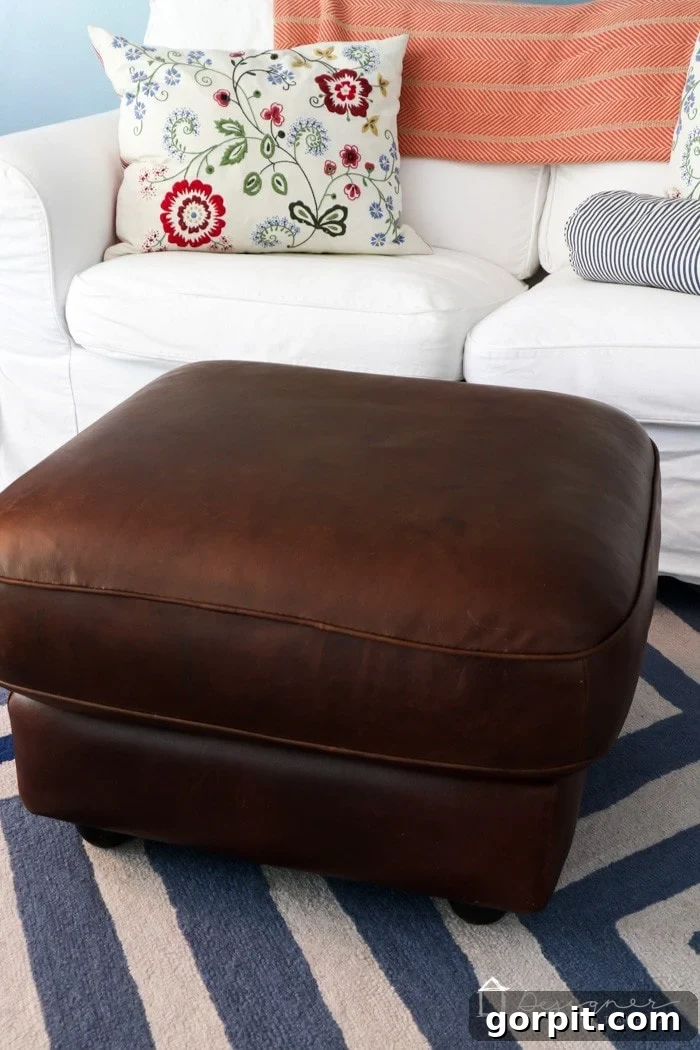
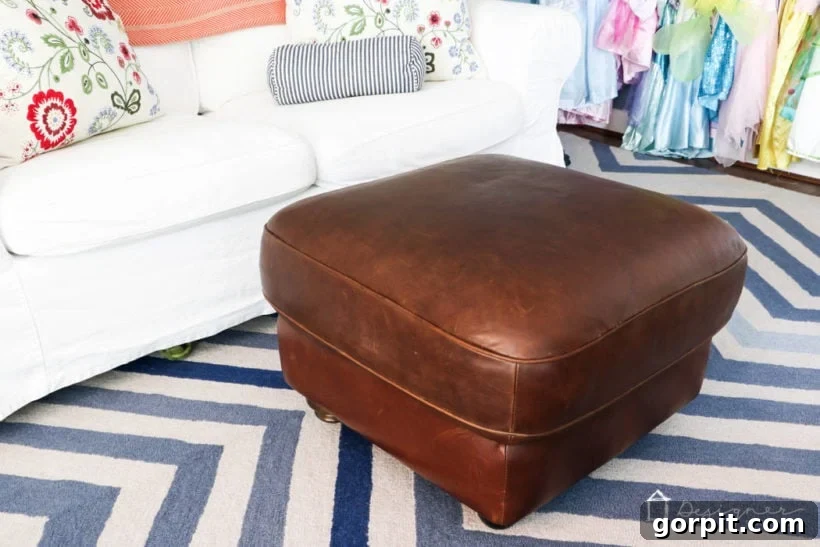
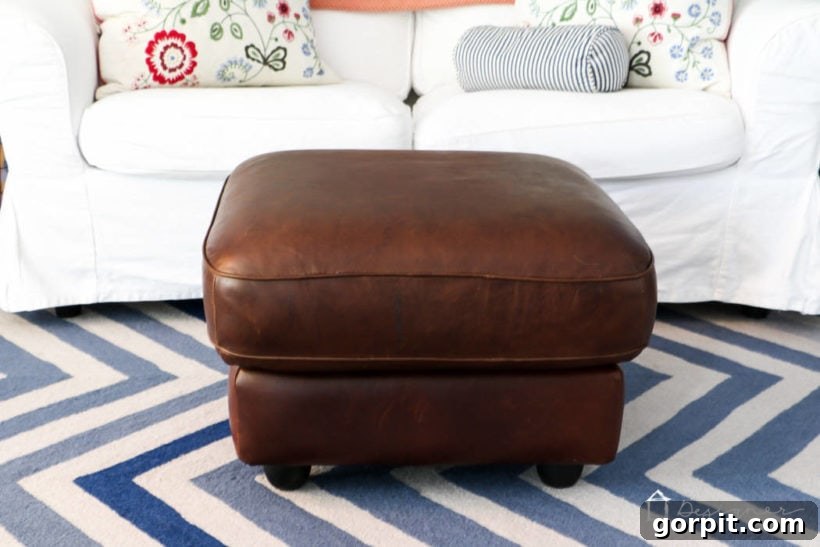
The transformation is truly remarkable. Don’t just take my word for it; compare the striking before and after photos below!
 |
 |
 |
 |
And now, for the grand reveal: a look at our beautifully restored leather ottoman in its new home, nestled perfectly in our twin girls’ vibrant playroom. It blends seamlessly with the colorful decor, offering both a comfortable seating option and a stylish accent piece. The best part? This transformation cost us almost nothing, proving the incredible value and satisfaction of DIY upcycling. It’s truly rewarding to give an item a second chance at life!
Beyond Restoration: Maintaining Your Leather Furniture’s Beauty
Pretty amazing, isn’t it? The difference is truly night and day, proving that even heavily damaged leather can be given a new lease on life. But the journey doesn’t end with restoration. To ensure your leather furniture retains its renewed beauty and withstands the test of time, it’s absolutely crucial to **clean and protect your leather furniture regularly**! This ongoing care will prevent future damage and keep your piece looking its best for years to come. Consider a consistent cleaning and conditioning routine, perhaps once every 3-6 months, depending on usage and exposure.
Regular maintenance involves using a gentle leather cleaner to wipe away dust and light spills, followed by a good quality leather conditioner. This conditioning step is vital as it keeps the leather supple, prevents drying and cracking, and maintains its natural luster. Avoid harsh chemical cleaners, direct sunlight, and excessive heat, which can all prematurely age and damage your leather. By integrating these simple maintenance habits, you’re not just preserving the look of your leather; you’re investing in its longevity and protecting your investment.
Transform Your Space: Love Your Home, Love Your Leather!
Now that your leather furniture is beautifully restored and looks as good as new, doesn’t it deserve to be showcased in a room you truly adore? A freshly restored piece can be the catalyst for refreshing an entire space, inspiring you to create an environment that reflects your personal style and brings you joy every day.
Before you head out to tackle your own leather restoration project, take a moment to explore possibilities for enhancing your entire home. I offer a collection of FREE design guides, thoughtfully crafted to help you design spaces you’ll absolutely love. These guides cover everything from color palettes to furniture arrangement, empowering you to create harmonious and inviting rooms. Unlock my exclusive design vault and gain instant access to all these valuable resources in one convenient digital library. Let’s make every corner of your home a testament to your style and comfort, starting with your beautifully restored leather furniture!
Related Posts You Might Love
Discover more inspiring DIY projects and home design tips to transform your living spaces.
