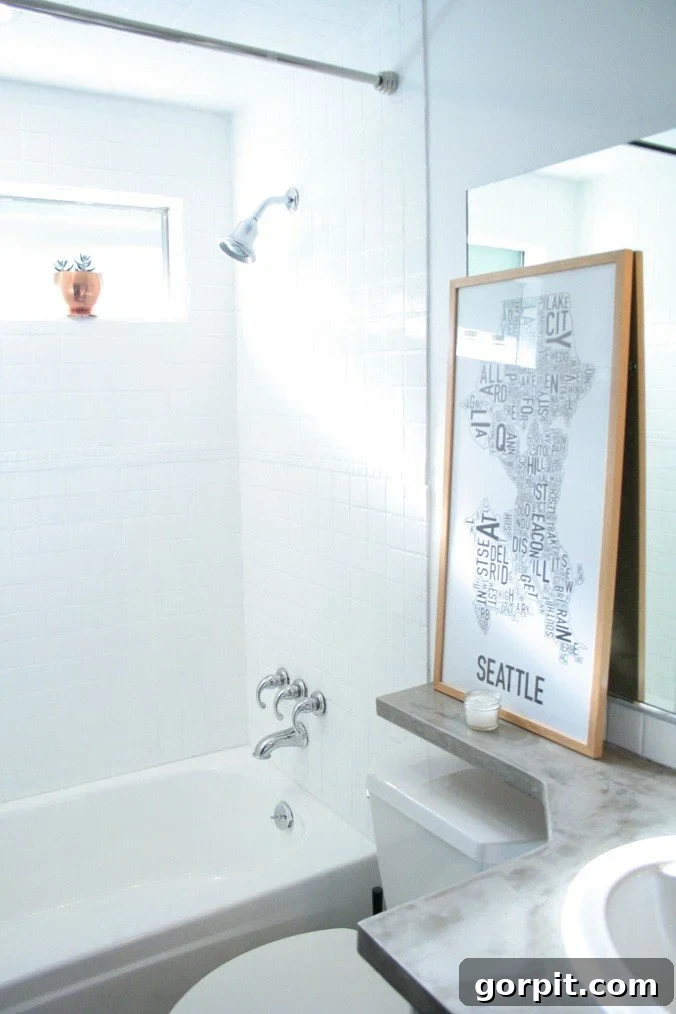
Transform Your Bathroom: A Complete Guide to Painting Shower Tiles for a Modern Look on a Budget
Do you dream of a brighter, more modern bathroom but hesitate at the thought of a costly, messy demolition? What if we told you that achieving a stunning shower tile transformation is possible on a budget, simply by painting your existing tiles? Believe it or not, painting shower tiles can deliver beautiful, long-lasting results when done correctly. The secret lies in using the right products and following a precise process. This comprehensive guide will walk you through every step, ensuring you achieve a durable and aesthetically pleasing finish that breathes new life into your outdated shower.
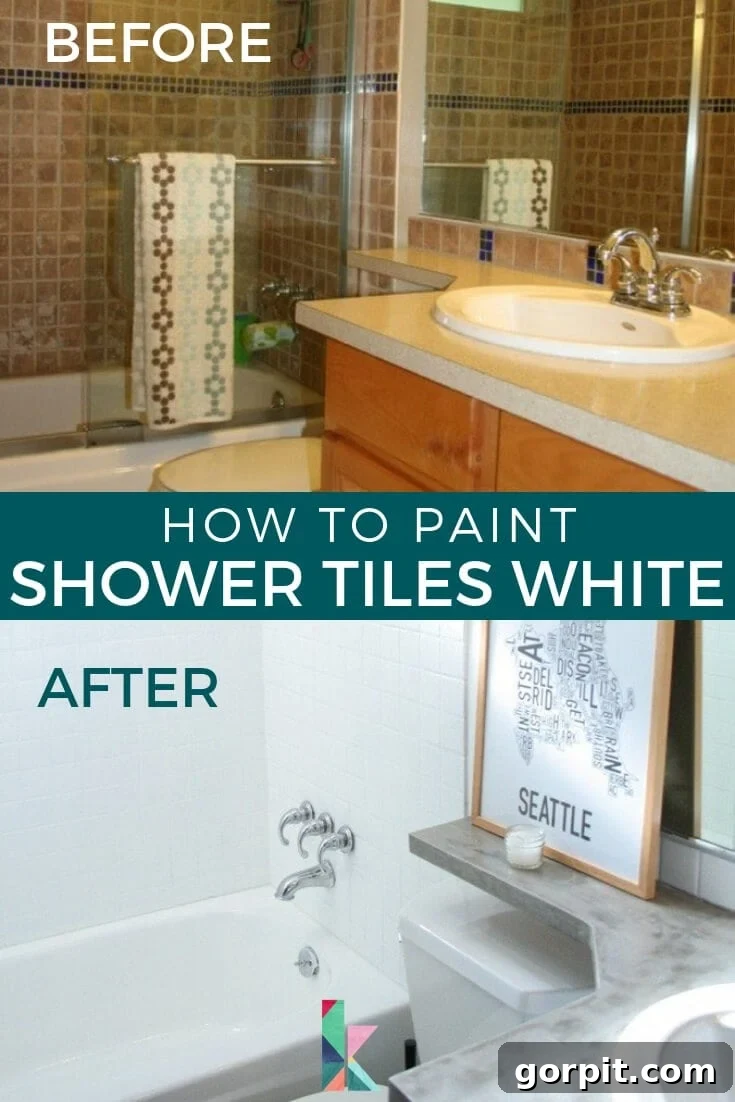
Table of Contents
This inspiring post is brought to you by Karisa, a talented blogger from Petite Modern Life, who graciously shares her stunning home improvement projects with us.
Why Painting Your Shower Tiles is a Game Changer
Are you tired of staring at those drab, outdated shower tiles that drag down your entire bathroom’s aesthetic? You’re not alone! Many homeowners dream of a bright, clean, and modern bathroom, but the prospect of a full renovation—complete with messy demolition, costly new tiles, and weeks of disruption—can be daunting. This is where painting your shower tiles emerges as a brilliant, budget-friendly alternative.
I, like many others, envisioned a shiny white bathroom but inherited a guest bathroom updated by previous owners that just didn’t quite capture my dream. I considered several options: 1) A full demo and re-tile, which was far too expensive and time-consuming. 2) Tearing out only the accent tiles, but that still left the main tiles looking dated. 3) Finding a way to paint over the existing tiles.
This post contains some affiliate links. Click here to read my full disclosure policy.
Option 3 was by far the least messy and most cost-effective, but for a long time, I wasn’t aware that an effective tile paint even existed for showers. That all changed when I discovered the Rust-Oleum Tub And Tile Refinishing 2-Part Kit, White. This incredible product boasted excellent reviews for durability and ease of application, making it the perfect solution for my project. At around $26 a box (I ultimately used three for my entire shower and tub), it was a fraction of the cost of new tiles and saved me immense labor. This kit is a true game-changer for anyone looking to refresh their bathroom without breaking the bank.
Essential Materials for Your Shower Tile Painting Project
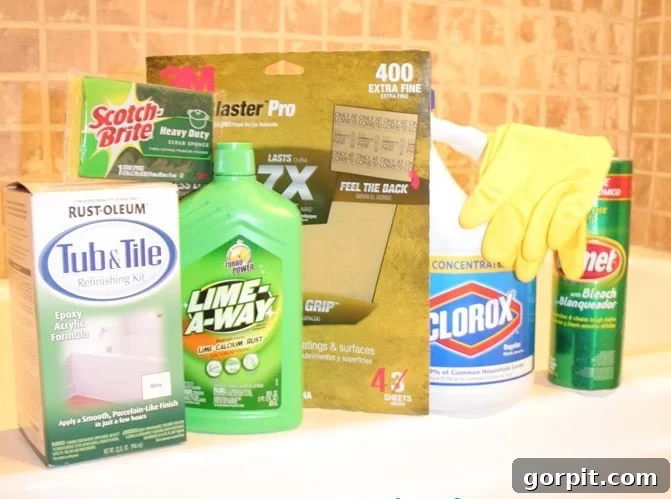
Successful shower tile painting hinges on using the right tools and products. Gathering everything before you start will ensure a smooth, uninterrupted process and a professional-looking finish. Here’s a detailed list of what you’ll need:
The Star Product: Rust-Oleum Tub & Tile Refinishing Kit
The core of this project is the Rust-Oleum Tub And Tile Refinishing 2-Part Kit, White. This epoxy acrylic paint is specifically designed to provide a durable, porcelain-like finish on ceramic, porcelain, fiberglass, and acrylic surfaces. Its two-part formula (base and activator) creates a hard, protective coating that withstands the harsh, wet environment of a shower. Ensure you purchase enough kits for your project; I used nearly two full kits for my shower tiles and an additional half kit for the tub, totaling three boxes for the entire area.
Comprehensive Materials List
- Rust-Oleum Tub And Tile Refinishing 2-Part Kit, White (Multiple boxes, based on your shower size)
- Utility knife or X-Acto knife: Essential for precisely removing old caulk and glue.
- Flathead screwdriver or chisel: Helps pry up stubborn caulk or glue, especially with the aid of a hammer.
- 400-grit sandpaper: For light sanding to ensure proper adhesion of the paint.
- Fan (multiple if possible): Crucial for ventilation, especially with strong chemical fumes.
- Multipurpose Respirator with organic vapor cartridges: Absolutely essential for your safety when working with strong cleaning agents and the paint. Do not skip this!
- Cleaning gloves + extra pairs: Protect your hands from harsh chemicals and paint.
- Scotch-Brite heavy-duty sponge: For vigorous scrubbing during the cleaning phase.
- Lime-A-Way or similar lime/calcium remover: To tackle hard water stains and mineral deposits.
- Bleach: For sanitizing and removing mold/mildew.
- Comet with bleach powder: Provides abrasive cleaning power combined with bleaching action.
- Small high-density foam paint roller and paintbrush: High-density foam rollers minimize brush strokes and provide a smooth finish. Have several rollers and cheaper brushes on hand, as this paint is extremely difficult to remove from tools.
- Small paint tray: For mixing and holding the paint.
- Plastic wrap: To tightly wrap rollers and brushes between coats to prevent them from drying out.
Step-by-Step Guide: How to Successfully Paint Shower Tiles White
Time needed: 2 days (plus additional curing time)
Transform your shower with this detailed guide on how to paint outdated shower tiles white, ensuring a durable and stunning finish!
- Step 1: Meticulous Preparation: Removing Old Caulk and Glue
The foundation of a long-lasting painted tile finish is thorough preparation. Begin by completely removing any existing caulk, silicone, or adhesive that is touching the tiles you intend to paint. In my case, we decided to remove our entire glass shower door system to replace it with a curtain, which meant a significant amount of old glue needed to be peeled from the walls. Utilize a utility knife, X-Acto knife, or a flathead screwdriver (carefully tapped with a hammer) to meticulously scrape away all remnants. Pay close attention to corners and edges where caulk often hides. This step is critical because the paint needs a clean, smooth, and bondable surface to adhere properly and create a watertight seal. This can be a time-consuming and exhausting task, easily taking several hours, so consider tackling it ahead of time. This is also an opportune moment to repair any cracked or broken tiles and chipped grout lines using appropriate tile repair compounds, ensuring a perfect canvas for your paint.
- Step 2: Deep Cleaning for Optimal Adhesion
Next, you’ll embark on a rigorous cleaning regimen to ensure no soap scum, mildew, or mineral deposits compromise paint adhesion. It’s crucial to follow the instructions on your paint kit, but generally, this involves a multi-step chemical cleaning process. Always wear your respirator and gloves, and ensure robust ventilation before starting these steps.
– Vacuum and Rinse: Start by vacuuming any loose dust, hair, and debris from the shower and tub. Then, give the entire area a thorough rinse.
– Bleach Application: Apply bleach generously across all tile surfaces. Scrub vigorously with a Scotch-Brite heavy-duty sponge, paying extra attention to grout lines and areas prone to mildew. Rinse thoroughly, preferably with a strong spray from a garden hose if accessible, to ensure no bleach residue remains.
– Comet Scrub: Next, sprinkle Comet with bleach powder across the tiles. This provides an abrasive scrub that helps remove stubborn grime and stains. Scrub hard, then rinse meticulously until all powdery residue is gone.
– Lime-A-Way Treatment: Finally, apply Lime-A-Way or a similar lime/calcium/rust remover. Let it sit for 5-10 minutes (check product instructions) to dissolve any hard water stains or mineral buildup. Scrub once more, and then rinse exceptionally well. Any lingering chemical residue can prevent the paint from bonding effectively, so rinse, rinse, rinse! - Step 3: Ensuring Complete Dryness
After your intensive cleaning, the tiles must be absolutely bone dry before painting. Any residual moisture will prevent proper adhesion and can lead to bubbling or peeling. Allow your tiles to air dry for at least 90 minutes, or even longer if your bathroom is particularly humid or poorly ventilated. Using your fan during this period will significantly accelerate the drying process. You can also use clean, lint-free cloths to wipe down surfaces, but ensure they are truly dry to the touch afterward, with no damp spots, especially within the grout lines.
- Step 4: Critical Ventilation & Safety Precautions
This step cannot be overstressed: proper ventilation is paramount for your safety when working with the Rust-Oleum Tub & Tile Refinishing Kit. The fumes are potent and potentially hazardous. Before mixing or applying paint, ensure maximum airflow. Set up your fan (or multiple fans) to pull air out of the bathroom and direct it towards an open window. If possible, configure it so that fumes are expelled directly outside and do not circulate into the rest of your home. Keep the bathroom door shut to contain the fumes, and consider opening windows in other parts of the house (while keeping internal doors closed) to create cross-ventilation without drawing fumes inward.
Always wear your multipurpose respirator with organic vapor cartridges during mixing, painting, and for some time afterward while fumes are strong. I personally felt my heart rate accelerate if I briefly removed my respirator while in the bathroom due to the intensity of the fumes. This product is powerful, and taking all precautions is vital. The odor will linger for several days, so be prepared. Some individuals even choose to undertake this project just before going on vacation to allow adequate airing time. While I found it manageable as long as the bathroom door remained closed and fans ran continuously for about 3 days, individual sensitivity varies, and extreme caution is advised.
- Step 5: Mixing Your Refinishing Kit
With your gloves and mask firmly in place, it’s time to prepare the paint. The Rust-Oleum kit consists of two parts: an activator and a base. Shake both cans thoroughly to ensure the contents are well mixed. Then, pour the entire contents of the activator can into the base can, or follow the ratio instructions on the can if you plan to mix smaller batches. Stir the mixture thoroughly for several minutes until it reaches a uniform consistency. When initially mixed, the paint may appear surprisingly watery, but rest assured, it will thicken as it cures and goes on like a solid, durable coating. Work relatively quickly once mixed, as the product has a limited pot life (typically 6 hours).
- Step 6: The Art of Painting Your Tiles
Now for the exciting part: painting! Use a small, high-density foam roller for the main tile surfaces to achieve a smooth, even finish with minimal texture. For the grout lines and tight corners, switch to a small paintbrush. The grout can be tricky to cover completely, so this is where the paintbrush is your best friend; ensure it gets into all crevices. Apply the paint in thin, even coats, working in one consistent direction. Avoid overloading your roller or brush, as this paint dries quickly and can lead to unsightly drips or thick spots if not feathered properly. If you notice any dribbles, try to smooth them out immediately. Don’t worry if the first coat doesn’t provide full coverage; subsequent coats will build up the opacity and smooth out any imperfections. This paint adheres remarkably well, so strive for evenness rather than heavy coverage in the initial passes.
- Step 7: Drying, Recoating, and Achieving Flawless Coverage
Patience is key during the drying and recoating process. Allow the first coat to dry for approximately 2 hours before applying the second. Between coats, tightly wrap your paint roller and brushes in plastic wrap to prevent them from drying out and hardening. The product instructions might suggest waiting a full day before applying a third coat, but it’s important to remember that your mixed paint has a limited pot life—typically not more than 6 hours. If you anticipate needing more than one mixed batch for multiple coats, the can provides ratios for mixing smaller portions. For my project, I applied three full coats plus an additional touch-up session, which consumed almost two full kits. The third coat was crucial for completely obscuring the original tile color and achieving a uniform, bright white finish. After completing the tiles, I realized our existing bathtub was a “biscuit” color rather than pure white, so I purchased another kit and used half of its contents to apply two fresh coats to the tub, resulting in a cohesive, pristine look.
- Step 8: Curing Time and Final Touches
While the paint may be dry to the touch after a few hours, it needs significantly more time to fully cure and achieve maximum durability. Most manufacturers recommend waiting at least 3 days (72 hours) before exposing the painted surface to water, and ideally, up to 7 days for full hardness. During this curing period, avoid scrubbing or placing heavy items on the tiles. After the curing time, you may wish to apply new caulk around the perimeter of your shower and tub, using a high-quality, mold-resistant silicone caulk to seal any gaps and complete the professional finish. Reinstall any shower fixtures or hardware once the paint is fully cured and caulk is dry.
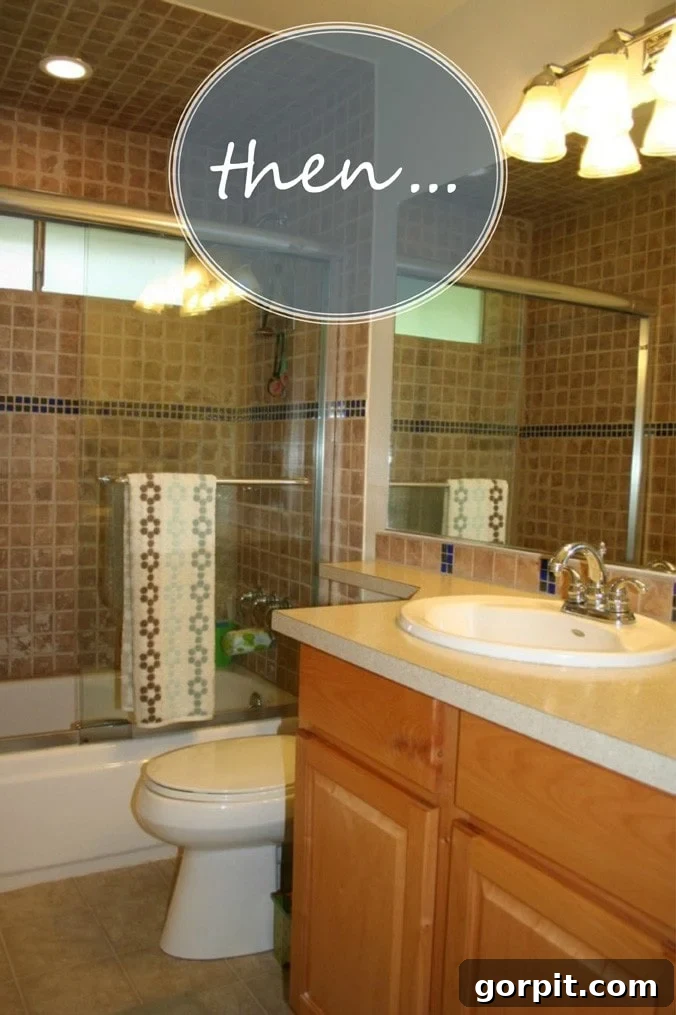
Witness the Transformation: Before & After
Just look at the incredible difference painting my shower tiles made in our bathroom! It truly went from dated to dazzling with just a few coats of paint.
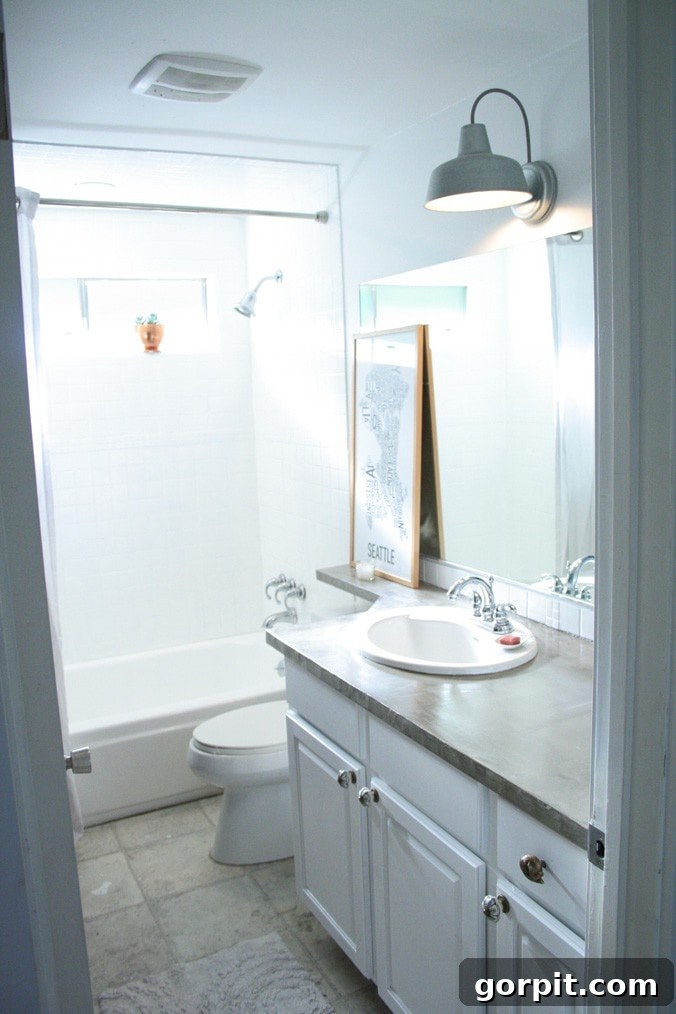
If you love this amazing transformation, be sure to pin it to your DIY or Bathroom Renovation boards so you can easily refer back to it when you’re ready to tackle your own project!
Maintaining Your Newly Painted Shower Tiles
Once your shower tiles are beautifully painted and fully cured, proper maintenance is key to ensuring their longevity and pristine appearance. Always use gentle, non-abrasive cleaners. Avoid harsh chemicals, scouring pads, or abrasive brushes, as these can scratch or dull the painted surface over time. Mild soap and water or non-abrasive bathroom cleaners are ideal for daily cleaning. Wipe down the shower after each use to minimize water spots and soap scum buildup, which will help preserve the fresh look of your white tiles for years to come.
My next project is updating the floors with a dark grey rectangle tile. I absolutely cannot wait to see this bathroom in its complete, transformed state! I hope my journey inspires you to tackle your own dated or “just not right” bathroom and create a space you truly love.
If you enjoyed this project and found it helpful, you’ll find plenty more inspiring ideas and tutorials on my blog, Petite Modern Life!
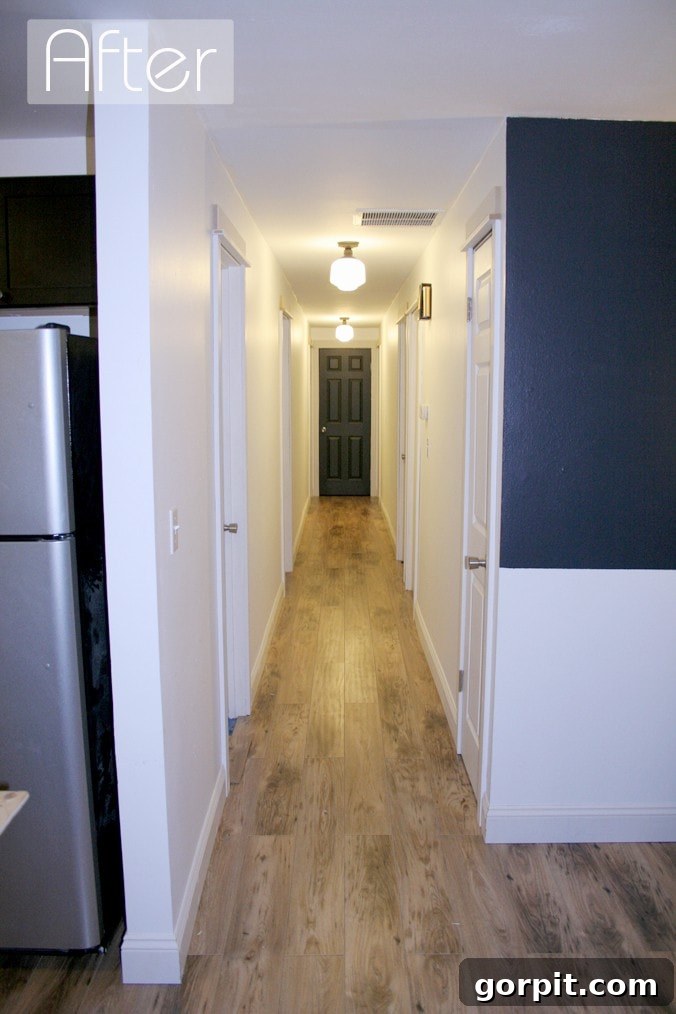
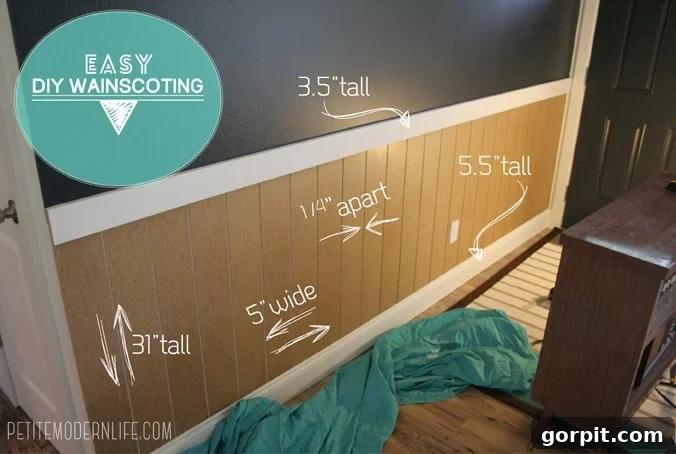
Isn’t it incredible what a dramatic difference painting shower tiles made in Karisa’s bathroom? We hope you thoroughly enjoyed her guest post and feel empowered to tackle your own home refresh!
Other Budget-Friendly Bathroom Ideas You Will Enjoy
If you’re looking for more ways to update your bathroom on a budget, explore these fantastic projects:
- The Easy Way to Update Bathroom Tile Without Replacing It!
- Affordable Primary Bathroom Remodel REVEAL
- Attley’s Budget-Friendly Bathroom Makeover REVEAL
- Avery’s Budget-Friendly Bathroom Makeover REVEAL
Continue Your Home Transformation Journey
Wondering how to approach transforming other rooms and spaces in your home with confidence? Discover the proven strategies and organized approach within Designer in a Binder®, your go-to resource for affordable and simple home decorating.
And if you want exclusive content, behind-the-scenes sneak peeks, and direct tips from us, be sure to subscribe to our newsletter before you head out!