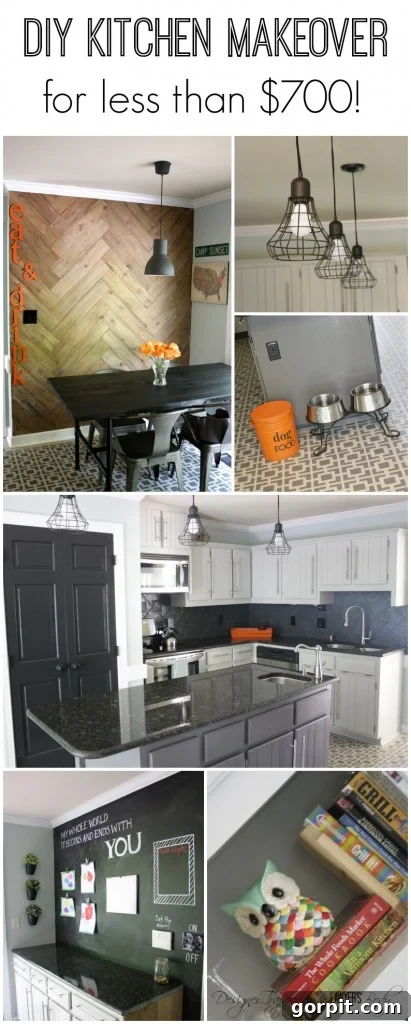
Welcome back, design enthusiasts and DIY dreamers! If you’re ready to be inspired by an incredible transformation that proves you don’t need a massive budget to achieve stunning results, you’ve come to the right place. This is Part 2 of our budget kitchen makeover reveal, and trust me, it’s packed with visual delights and smart, affordable solutions. Grab a comfortable seat because this post is, as promised, generously filled with inspiring photos that highlight every detail of our revamped kitchen space.
If you missed the beginning of our journey, be sure to check out Part 1 of the reveal. There, you’ll discover the foundational strategies behind our budget kitchen makeover, including our secret weapon: paint! We practically painted EVERYTHING, even our kitchen cabinets, using a revolutionary method that requires absolutely no sanding or priming. It’s a game-changer for anyone looking to update their kitchen without the usual hassle and expense.
And for those eager to replicate any elements you see, you can find a comprehensive source list for the entire kitchen here, or simply scroll to the very end of this detailed post. We believe in transparency and empowering you to create your own dream spaces!
While I cherished everything we accomplished and showcased in Part 1, I must admit, I’m bursting with excitement to unveil Part 2 of this transformation. You’re about to witness what I consider the absolute favorite parts of our kitchen, areas that truly encapsulate the spirit of our budget-friendly design philosophy and bring immense joy to our daily lives.
Creating a Functional and Inviting Eat-In Kitchen Area
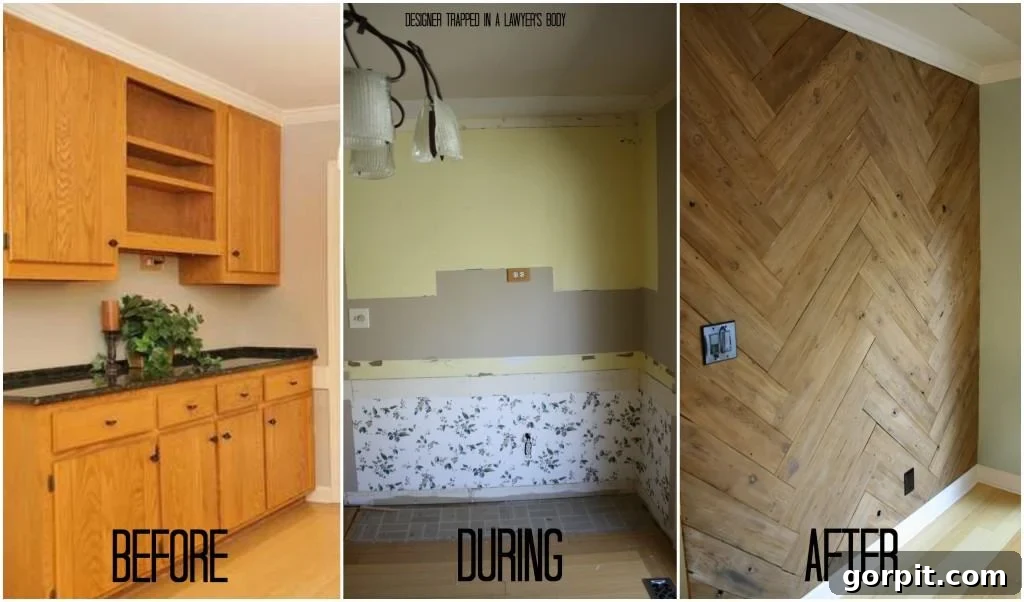
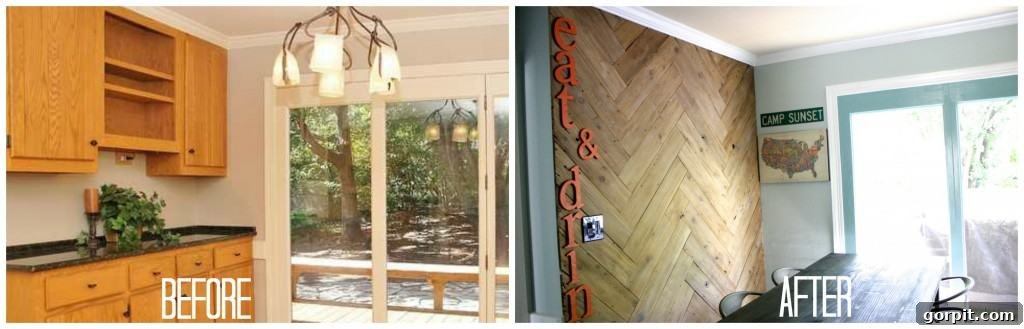
One of the most crucial objectives of our budget kitchen makeover was to craft a truly functional and inviting eat-in kitchen area. Before we embarked on this project, the designated dining space felt incredibly cramped and unwelcoming. It was cluttered with extraneous cabinets and dominated by a chandelier that was decidedly “not my style.” There simply wasn’t enough room to accommodate a table large enough for our family of four to comfortably gather around. To truly appreciate the scale of this transformation, here’s a glimpse of what we started with in this particular section of the kitchen.
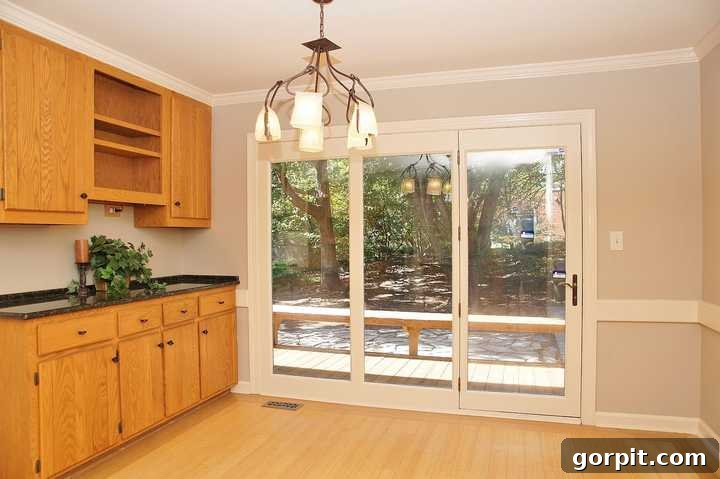
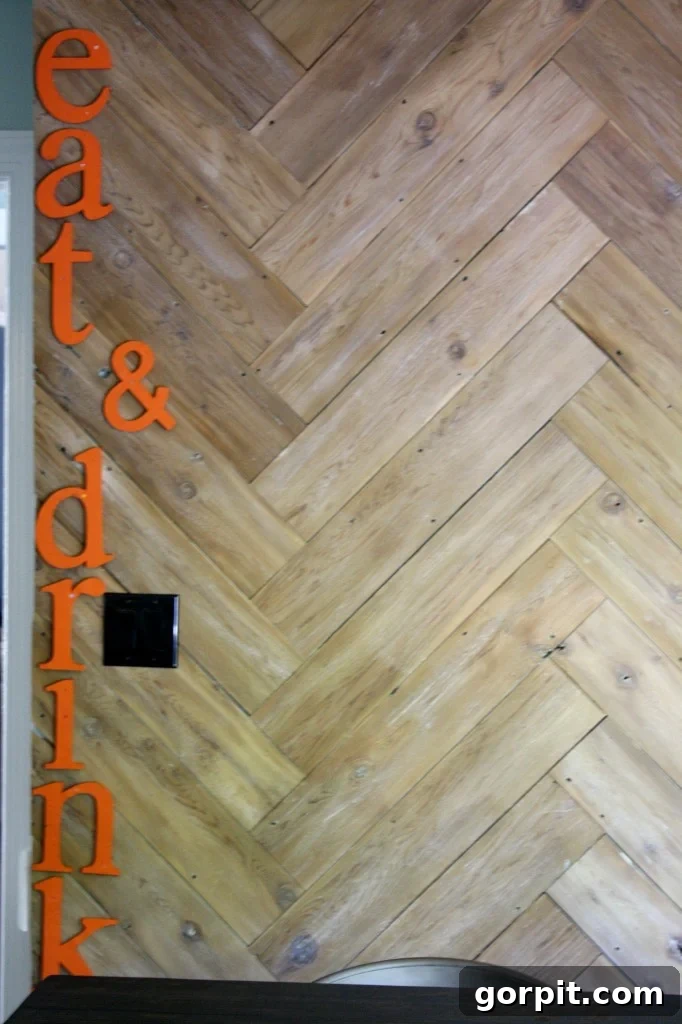
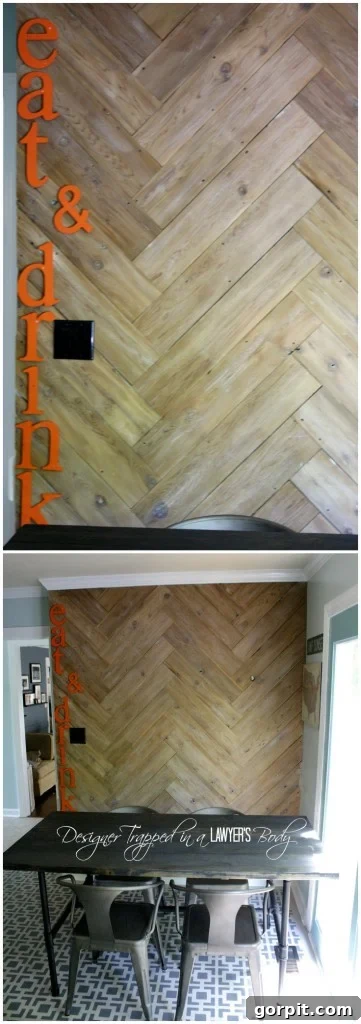
As those who have been following our budget kitchen makeover journey know, we made a bold decision that completely revolutionized this space: we removed those bulky upper cabinets and ingeniously relocated the base cabinets to the other side of the kitchen. This proved to be the single BEST DECISION EVER! This strategic move instantly freed up an incredible amount of valuable floor space, transforming a tight, impractical corner into an expansive and open area. This newfound space not only allowed us to create a more functional flow but also provided the perfect canvas for our show-stopping stunning herringbone plank wall, an incredible DIY project we crafted by upcycling an old, unsightly fence. It’s a testament to how creative thinking and a little elbow grease can turn discarded materials into a masterpiece.
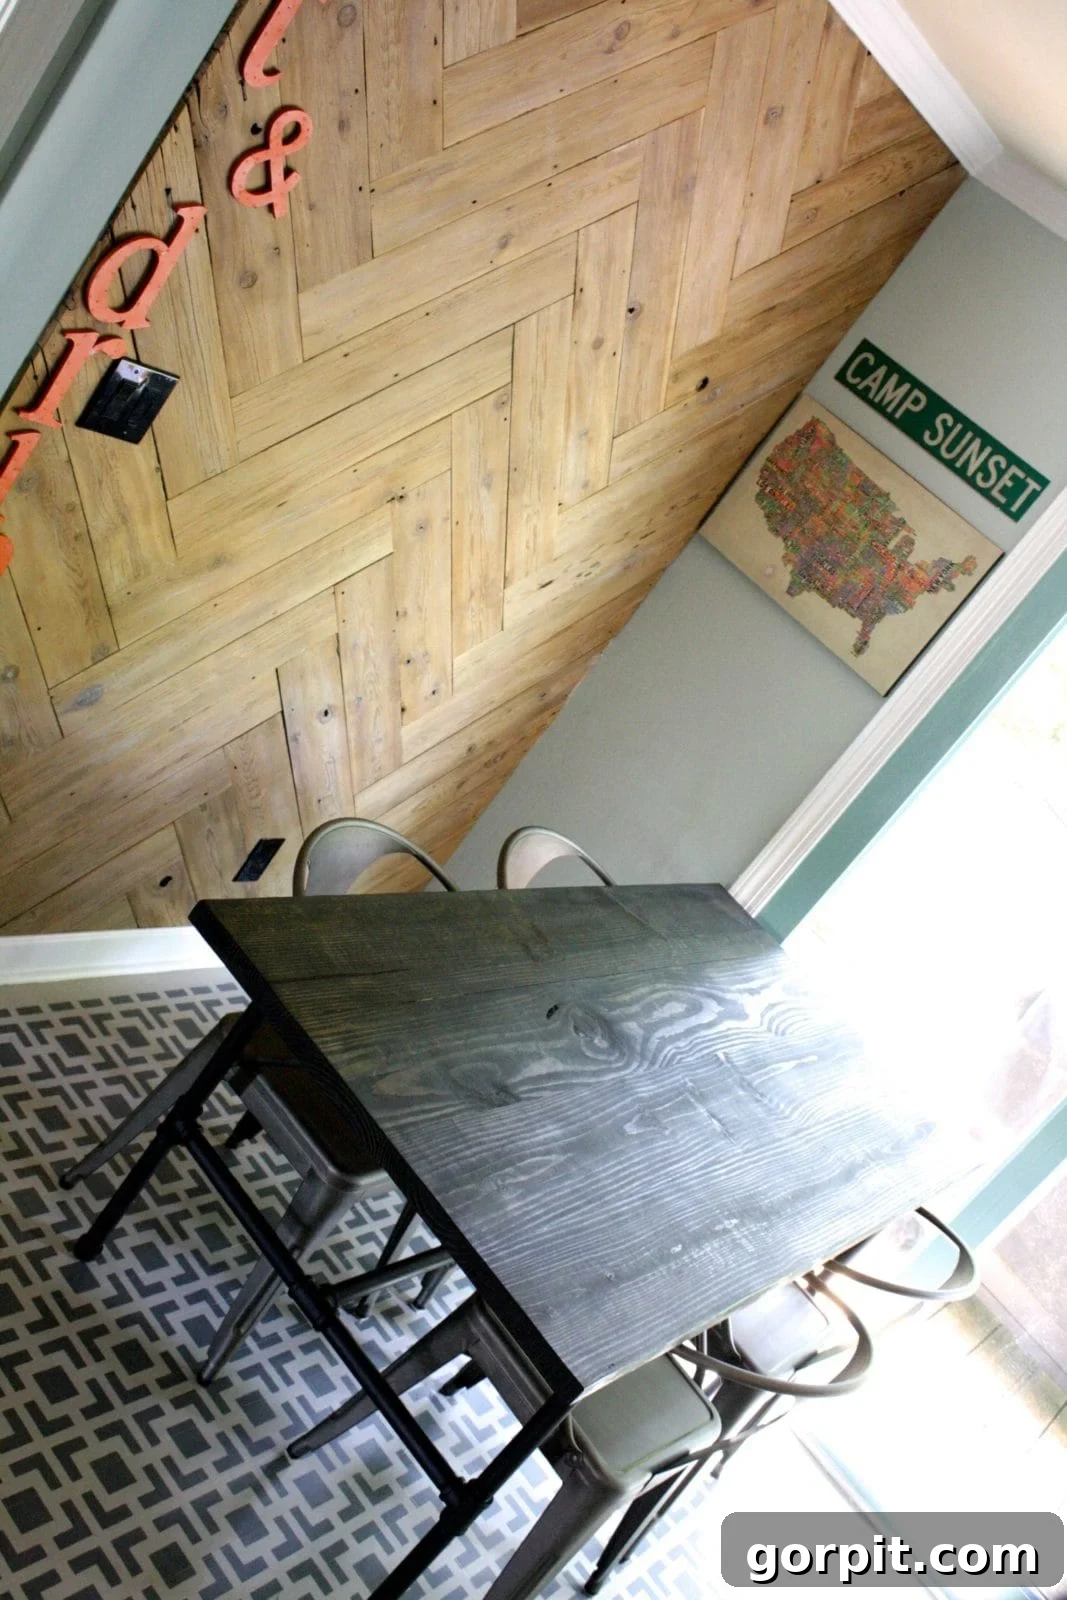
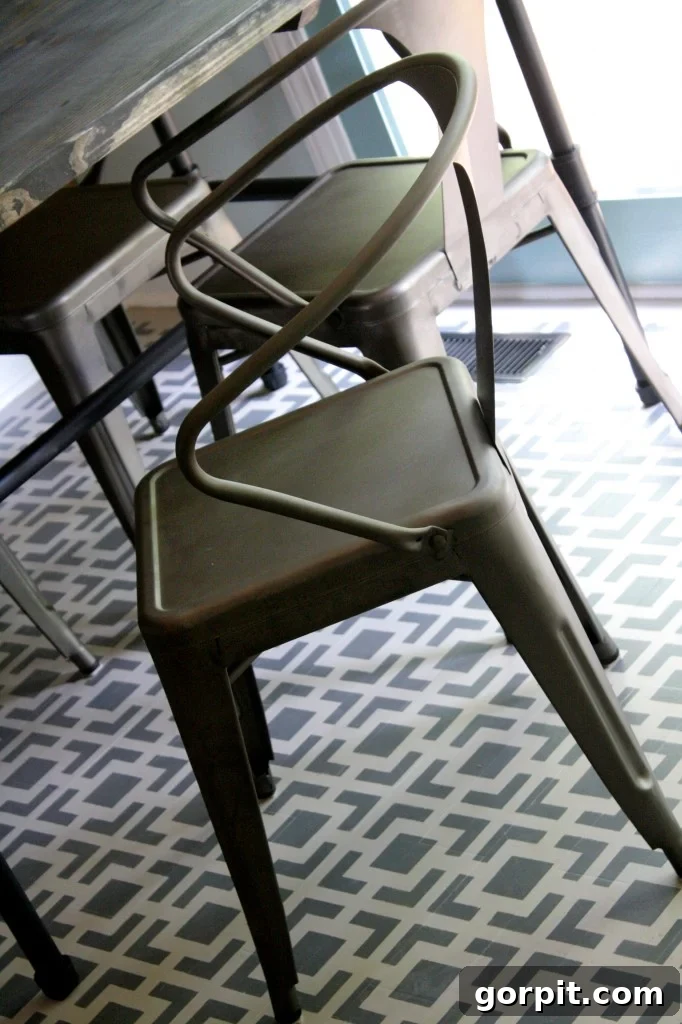
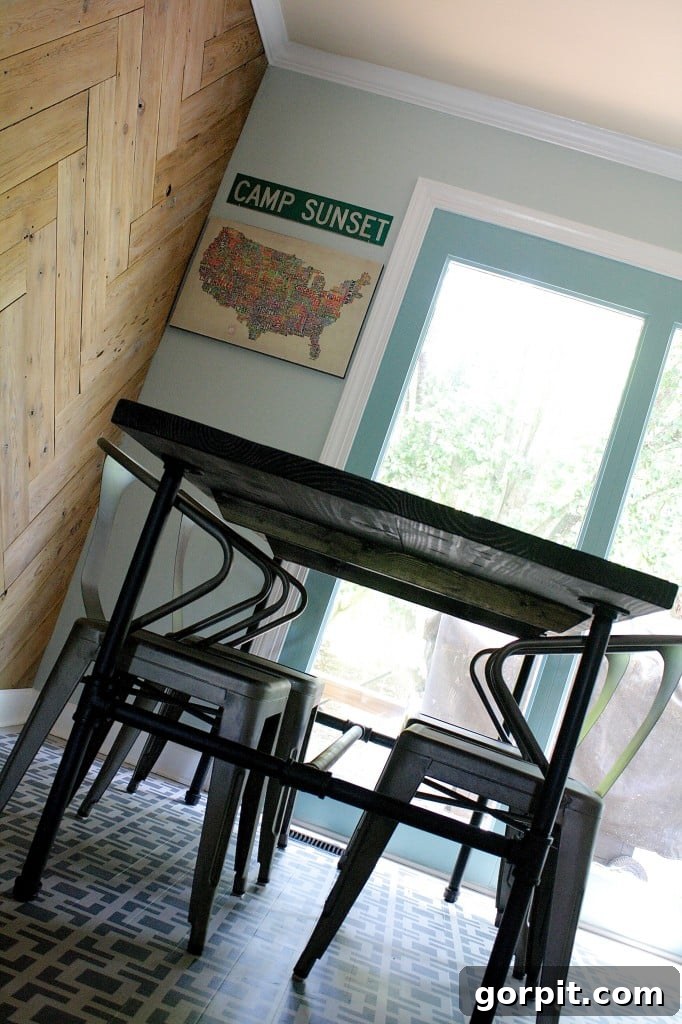
And NOW, with our magnificent herringbone plank wall serving as the captivating backdrop, our eat-in area is complete with a stylish and functional table and chairs. We are absolutely enamored with our DIY industrial pipe table, for which you can find the detailed tutorial here, and our fabulous, comfortable industrial metal chairs. This combination creates a perfect blend of rustic charm and modern industrial aesthetics, offering a durable and inviting spot for family meals, homework, or simply enjoying a cup of coffee.
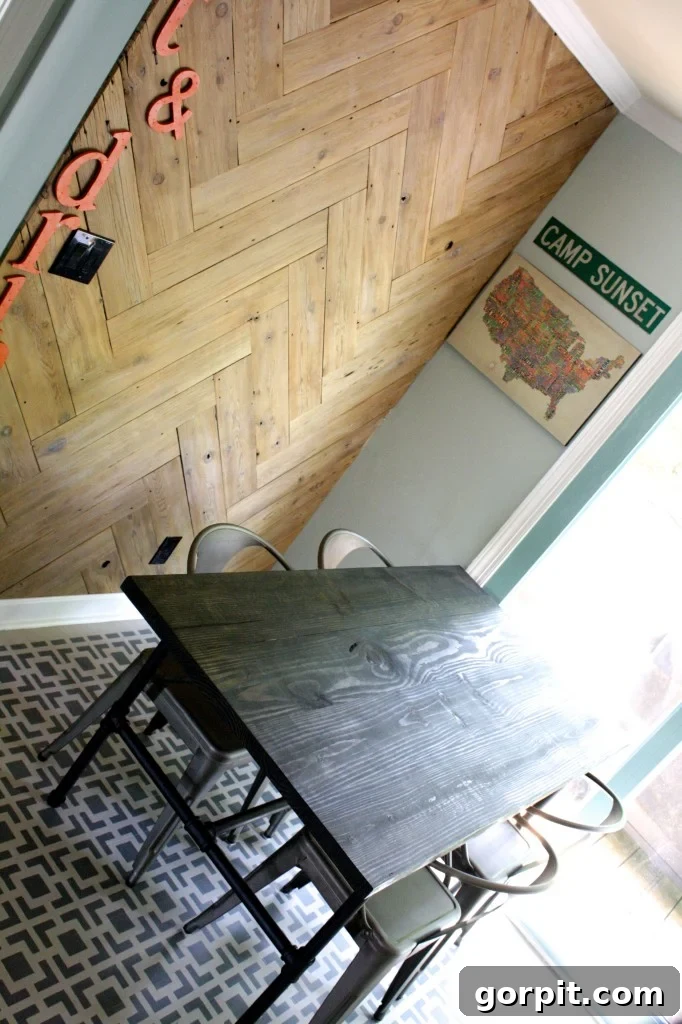
 I absolutely adore how my “eat & drink” letters pop against the unique texture of the herringbone plank wall! They add a playful, personalized touch to our dining space.
The Dynamic Chalkboard Wall: Functionality Meets Creativity
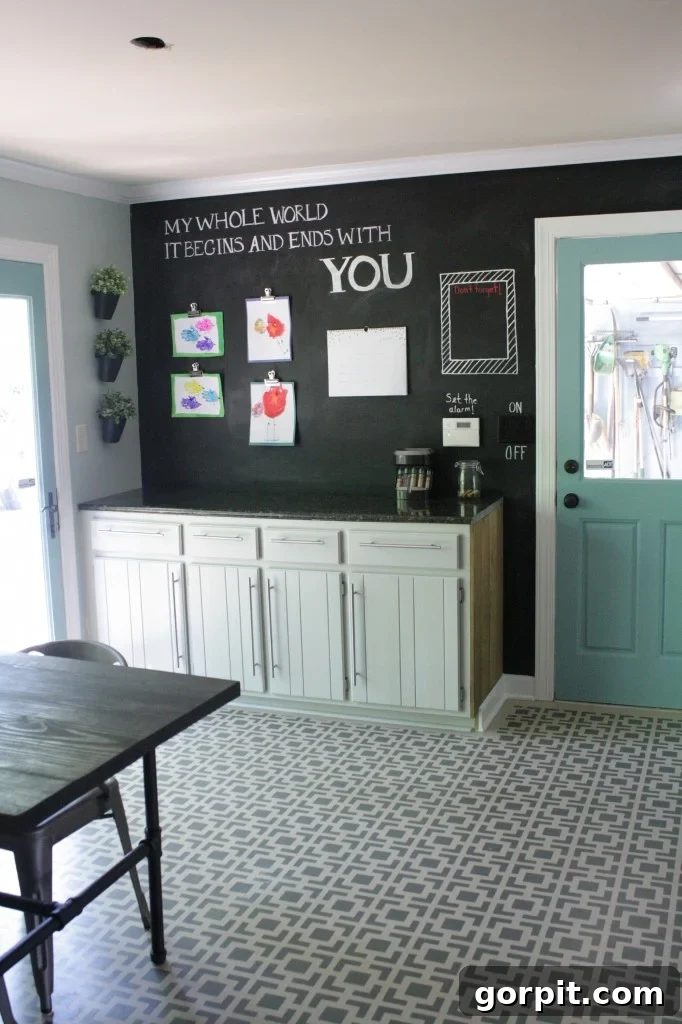
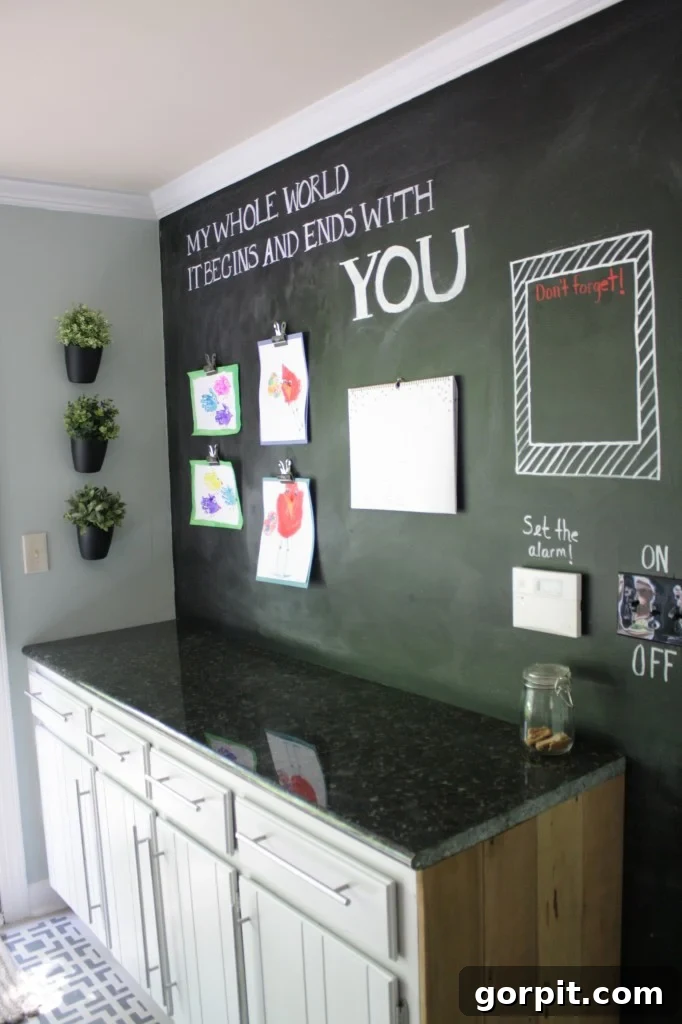
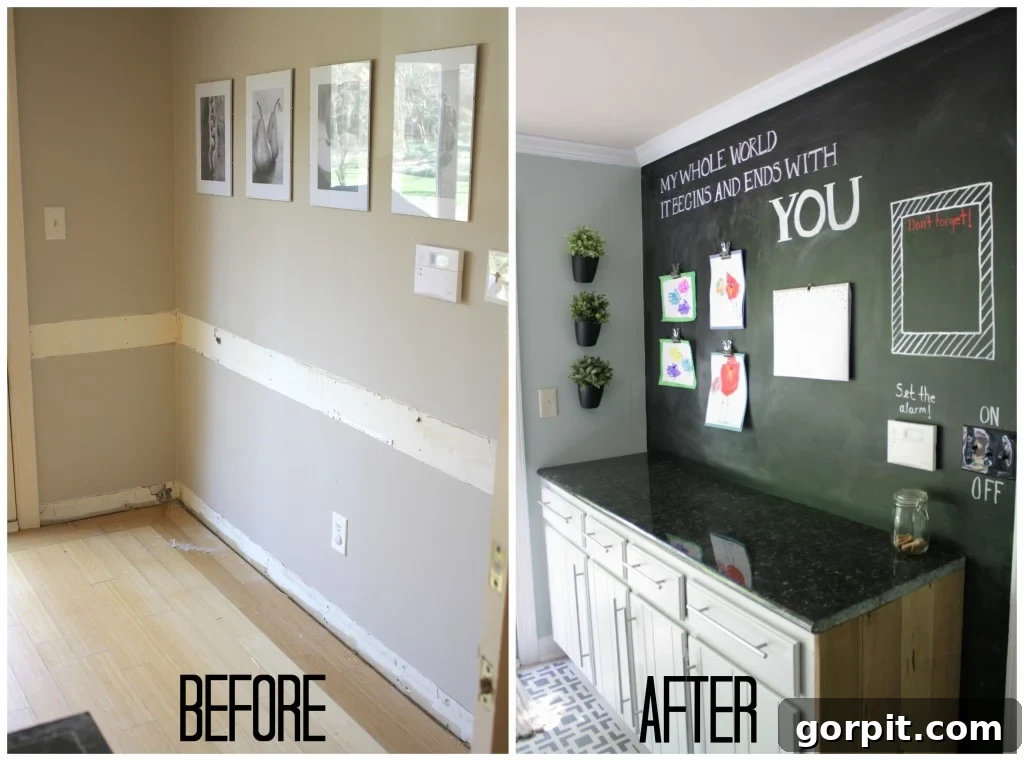
Now, let’s turn our attention to the opposite side of our newly designed eat-in area, where functionality and creativity converge in our fantastic chalkboard wall. This space is a true highlight of the kitchen. The door you see here leads directly to our garage, making it the most frequently used entrance to our home, approximately 95% of the time. Having the relocated base cabinets right by this door is incredibly convenient for stashing bags, keys, or anything we need to grab on our way out or drop off as we walk in. If you’re wondering about the painting process for these cabinets, you can dive into my stress-free tutorial for painting kitchen cabinets without losing your mind right here.
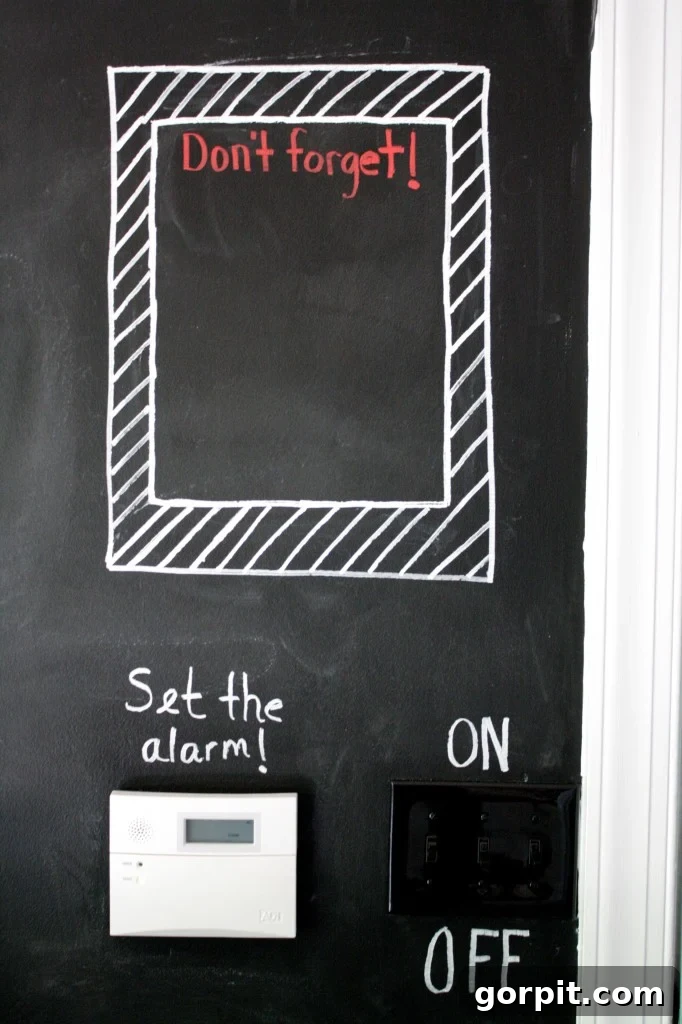
Beyond its practical benefits, this chalkboard wall provides the perfect, ever-changing canvas for our daughters, Attley and Avery, to display their vibrant artwork. It also proudly features one of my favorite lines from a beloved Zac Brown Band song, “Highway 20 Ride,” adding a touch of sentimental charm. We’ve also hung our family calendar here, a vital tool that helps us keep track of appointments and activities from one day to the next. And to ensure we never forget important reminders, I created a dedicated “frame” on the chalkboard where we can jot down crucial notes.
You might have noticed some holes in the ceiling in this eat-in area (visible in the photo below). That’s because we had already removed the old, unsightly chandelier but hadn’t yet replaced it when these photos were taken. Don’t worry, a fabulous new lighting update will be revealed very soon!
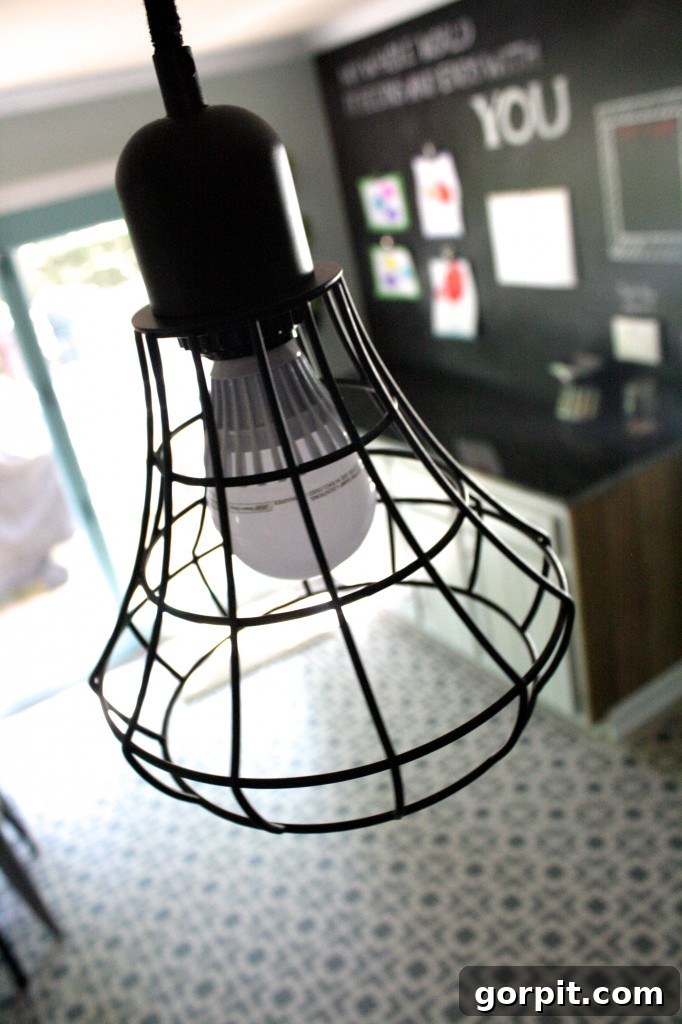
And because I am utterly smitten with the industrial pendant lights gracefully suspended over our kitchen island (which you likely read all about in Part 1 of the reveal), I simply can’t resist sharing another glimpse of their beauty. Their rugged elegance adds so much character to the space. For those of you who are just as captivated and wish to incorporate them into your own homes, you can easily find these stylish fixtures at Target!
Thoughtful Decorative Touches and Sentimental Accents
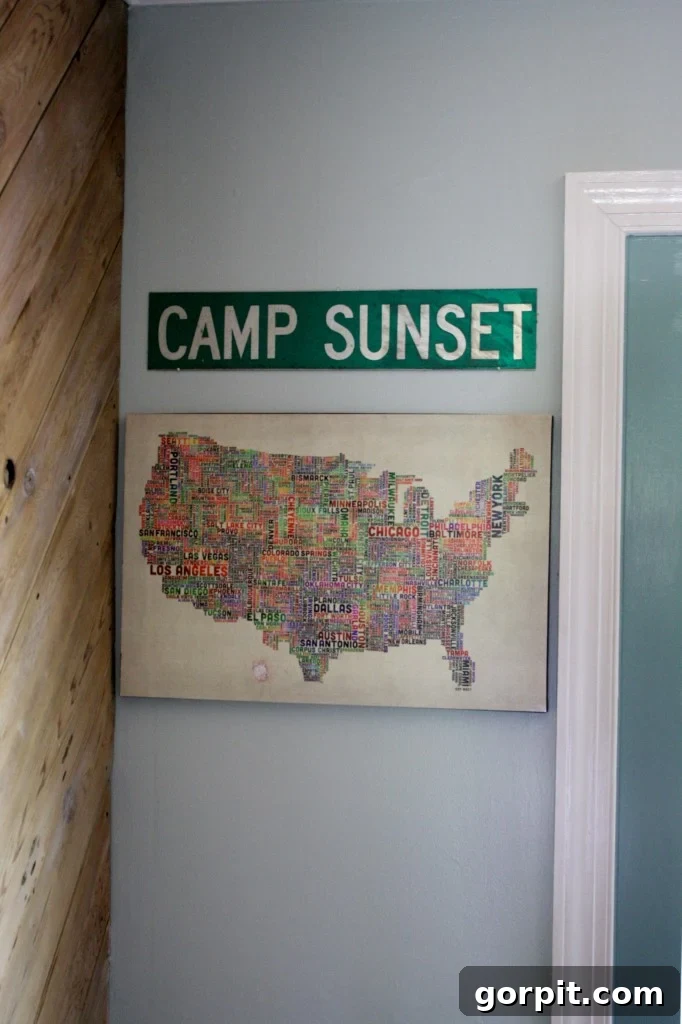
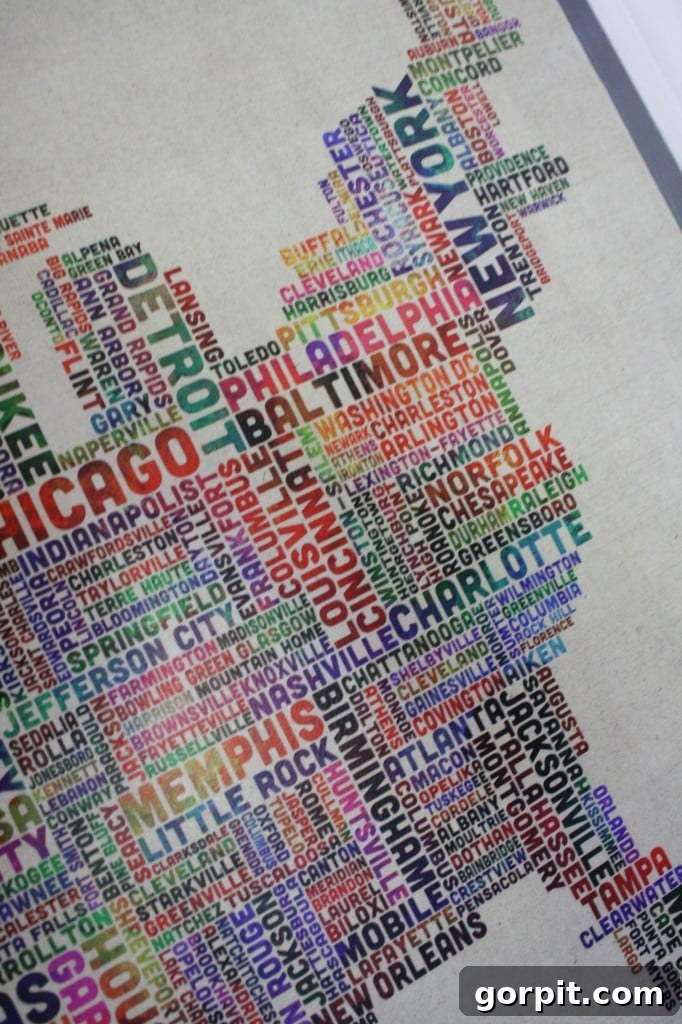
Now, let’s delve into the decorative touches – truly the most enjoyable part of any design project. I hung this captivating typography map, an art piece I am absolutely obsessed with, primarily because I made it myself! You can find the full tutorial for creating your own personalized map here. Above it, I placed a cherished street sign from Joe’s childhood backyard. This simple, sentimental detail adds a layer of personal history and warmth to our kitchen, making it feel even more like home.
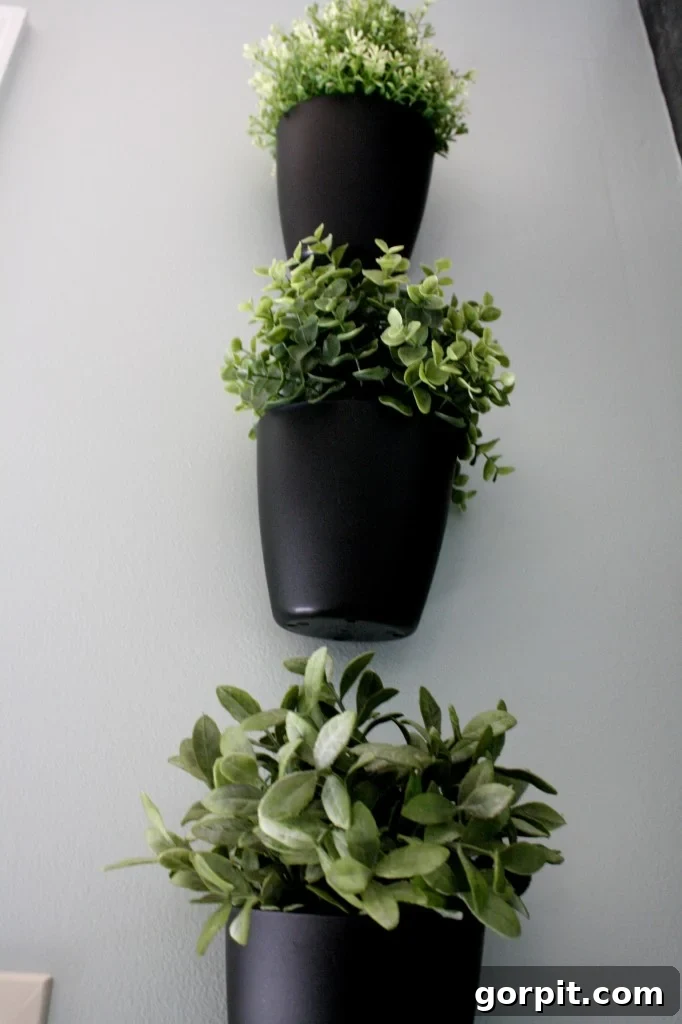
And I must confess my adoration for my vertical succulent “garden.” It’s a small, vibrant touch of nature that brings a consistent burst of happiness and freshness into our kitchen, proving that even a budget makeover can include lively, green elements.
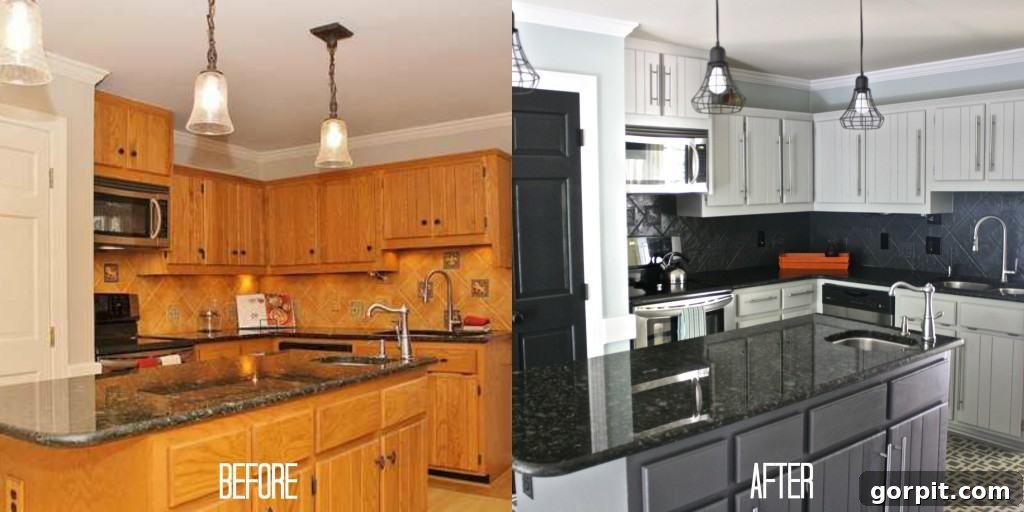
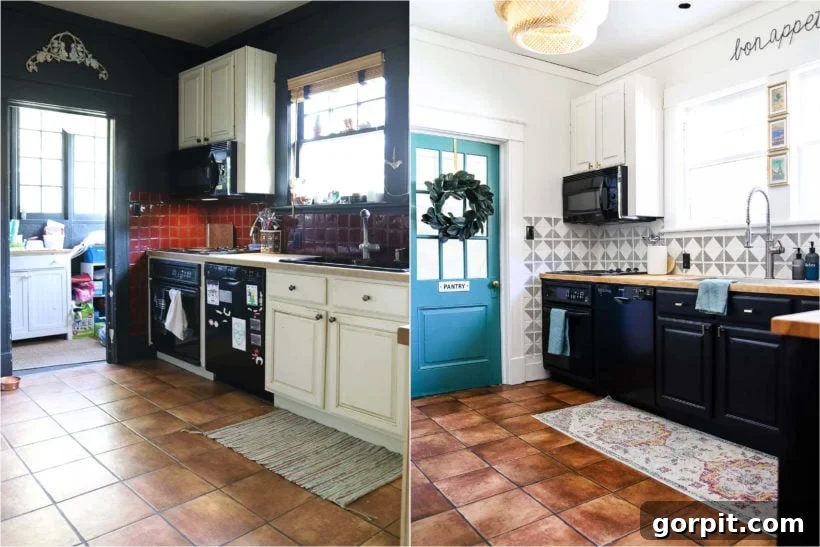
Whew! Told you there would be lots of photos. But before I conclude this reveal, I want to leave you with a powerful reminder of how far this kitchen has come with a few compelling before-and-after comparison shots. These transformations truly highlight the dramatic impact that a thoughtful, budget-conscious design approach can have.
Budget Kitchen Makeover Source List
And now, for the much-anticipated source list, complete with helpful photo legends to guide you through our product choices and DIY elements:
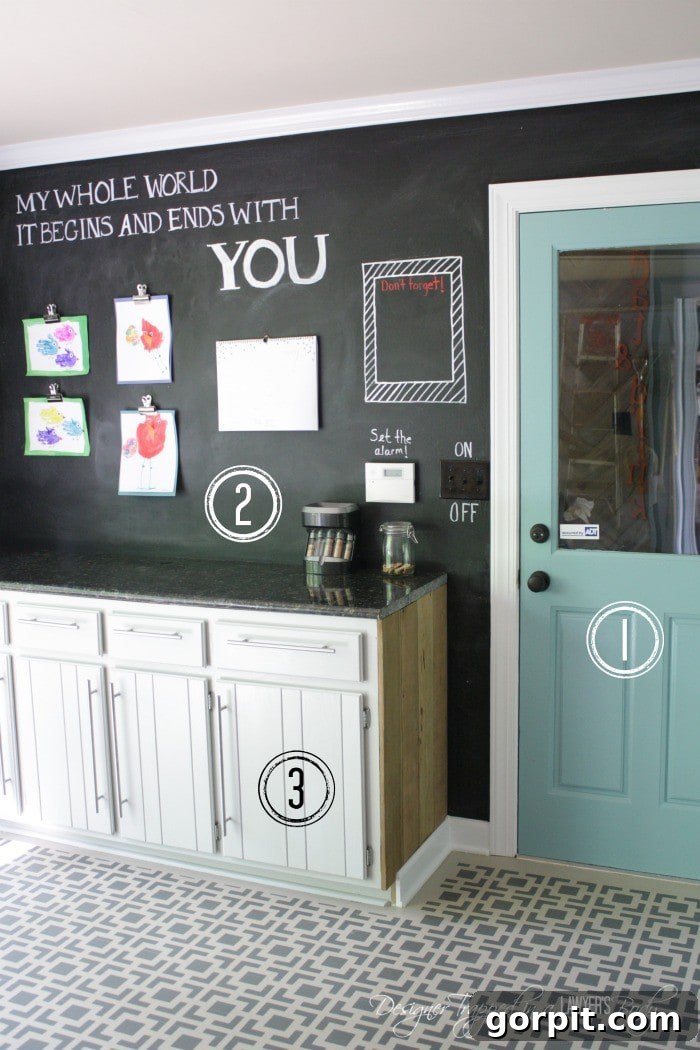
- **Wall Paint: Lyndhurst Duchess Blue by Valspar (semigloss finish).** This beautiful, rich blue brings a calming yet sophisticated feel to the space. We also cleverly used this same color on our windows on the exterior wall not visible in this specific photo, ensuring a cohesive design flow.
- **Chalkboard Paint by Valspar.** The secret to our dynamic and functional chalkboard wall! Easy to apply and incredibly versatile for family messages and art.
- **Seagull Grey Milk Paint by General Finishes.** This lovely, subtle grey was essential for updating our cabinets, providing a fresh, modern look with minimal effort.
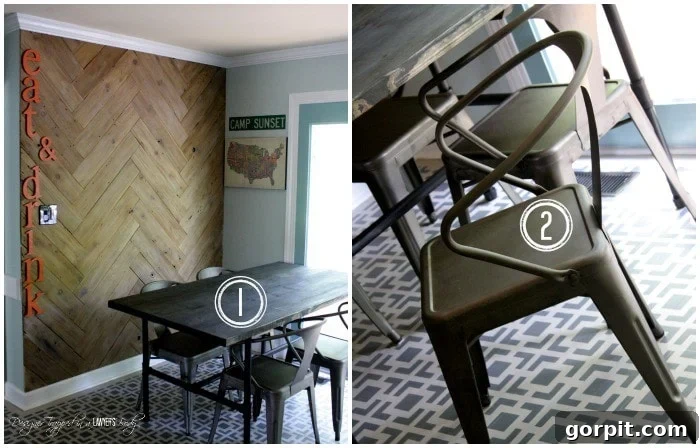
- **DIY Industrial Pipe Table.** This sturdy and stylish table was a rewarding DIY project, marrying industrial aesthetics with personalized craftsmanship. The tutorial provides all the steps to create your own.
- **Vintage Tabouret Stacking Chairs, Set of 4 from Overstock.com.** These fabulous industrial metal chairs were an incredible find at around $50 per chair – a deal I still can’t believe! They add a perfect touch of vintage industrial flair and are surprisingly comfortable.
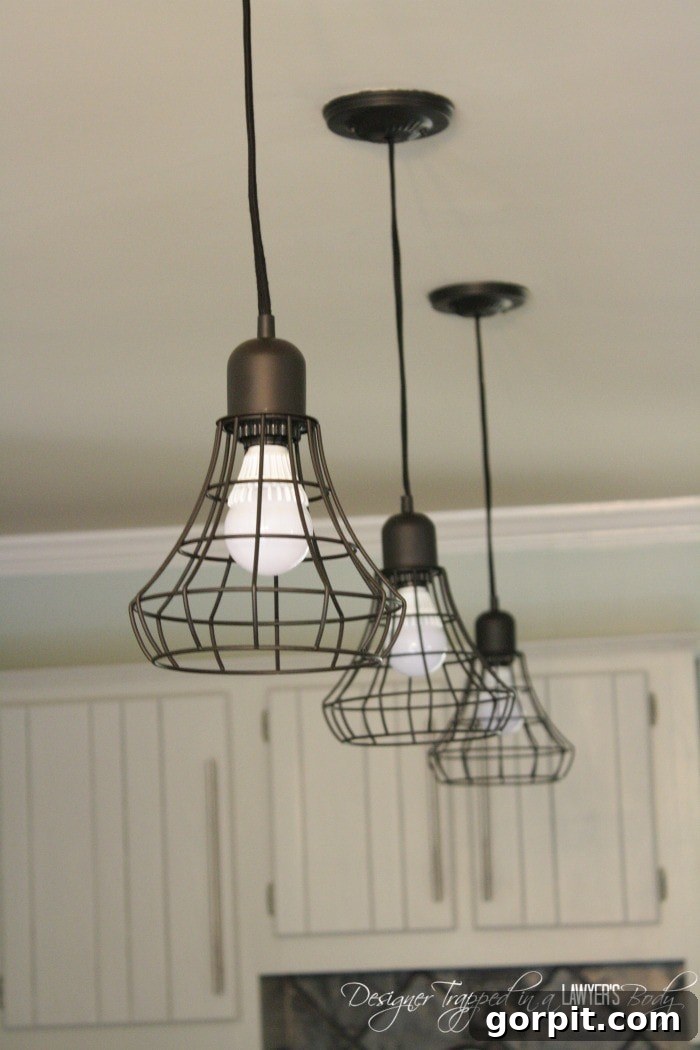 These beautiful, budget-friendly industrial pendant lights over our island came from Target and are an absolute steal at only $22.99 each! They prove that stylish lighting doesn’t have to break the bank.
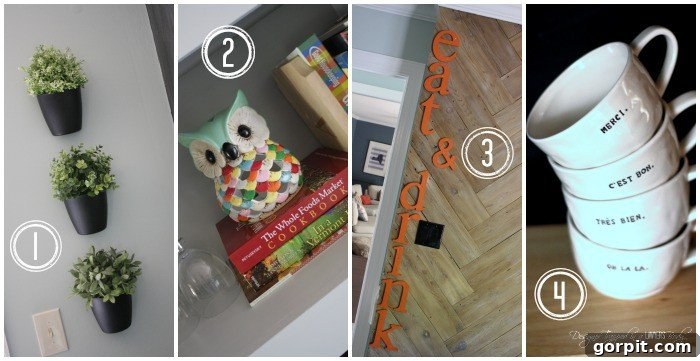 1. All of the faux succulents and practical plastic wall pots (Bygel containers—a steal at only $.99 each!) were sourced from Ikea. These are currently available, and for those not near an Ikea, you might be able to order them online, making this vibrant vertical garden accessible to many.
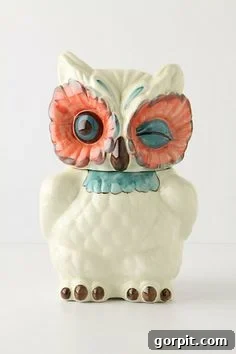
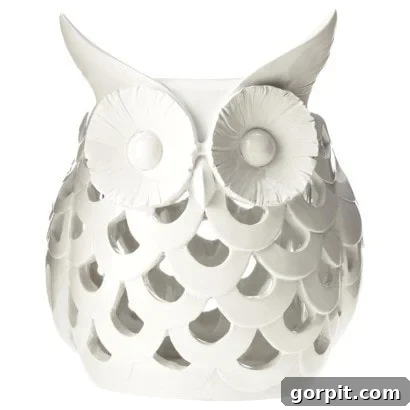
2. You guys, that fabulous owl, which adds such a whimsical touch, came from Urban Outfitters and is sadly no longer available. I’ve searched high and low for similar alternatives and found three excellent options for you. The first is from Anthropologie, a beautiful but pricier option at $68.00. The second is another stylish choice from Urban Outfitters for $12.99. The third, from Target at $29.99, is particularly versatile and could easily be painted to perfectly mimic the one in my kitchen. In fact, I love the Target owl so much I plan to order one for myself!

 3. The charming “eat & drink” letters are a vintage find from Viva Terra years ago. Originally made from misprinted cans, they were previously displayed with their original print. For this kitchen, we spray-painted them a vibrant orange, and I adore the resulting bold, personalized look. If you’re looking to replicate this unique typography art, there are many fantastic options available today, including these amazing galvanized metal letters that are currently in stock. And of course, don’t forget to check out how we created that show-stopping herringbone plank wall for FREE right here.
 4. Ahhhh, I am so incredibly in love with my mugs from Bambeco. And it turns out, many of you are too! The fantastic news is that these stylish and eco-friendly mugs are still available for purchase, so you can easily add them to your own kitchen. Finally, some consistently good news in the accessories department!
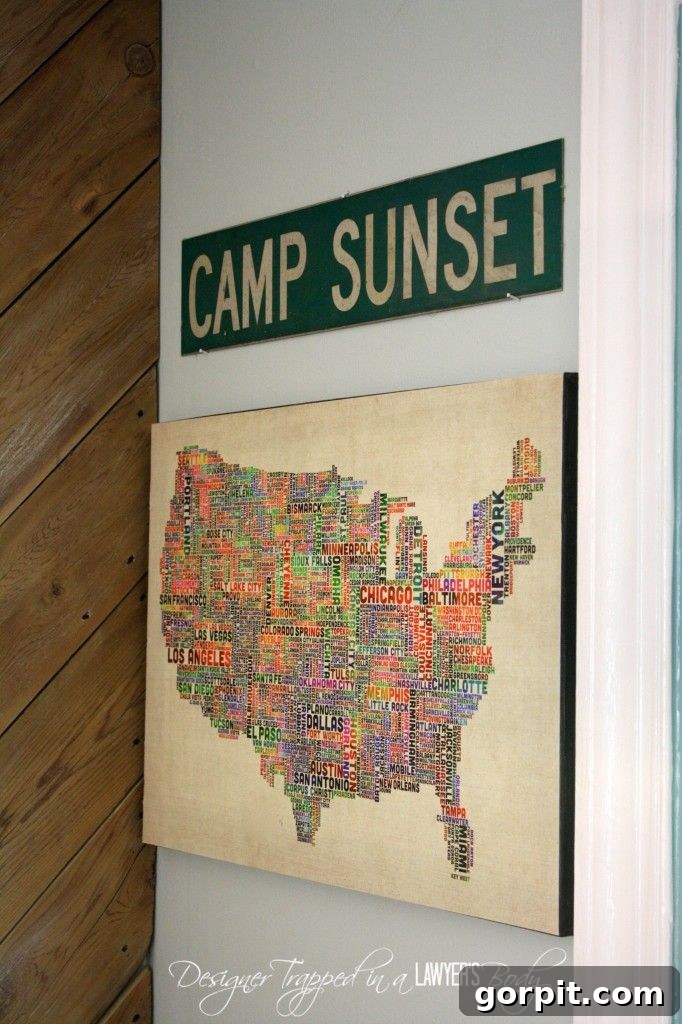 Here’s the scoop on our unique typography map: I found my original poster at a random store, but you can easily order a similar design at GreatBigCanvas.com. I then transformed it into my own art canvas. You can find the complete tutorial detailing how I created this personalized piece right here.
What element of our budget kitchen makeover resonated most with you? Was it the dramatic herringbone plank wall, the versatile chalkboard command center, or perhaps the ingenious DIY industrial table? If you’re still curious about specific items or processes, remember you can always check out the full source list for the rest of the kitchen here. What do you think was the most surprising aspect of this transformation? And what other brilliant, budget-friendly ideas do you have for reimagining a kitchen?
Want to See Another Incredible Budget-Friendly Kitchen Makeover?
If you’re hungry for more design inspiration and want to witness a $1,000 kitchen makeover that will truly blow your mind, then click here to explore what I accomplished in my friend Thea’s kitchen. It’s a seriously budget-friendly kitchen makeover that is guaranteed to leave you feeling incredibly inspired and ready to tackle your own home projects!
Wondering about my unique approach to transforming rooms and spaces throughout our home? Discover the strategies and secrets within Designer in a Binder® – your ultimate guide to affordable and stylish home decorating.
And if you crave exclusive content, behind-the-scenes sneak peeks, and direct inspiration delivered to your inbox, be sure to subscribe before you head out! Join our community of DIY enthusiasts and never miss a brilliant budget transformation.