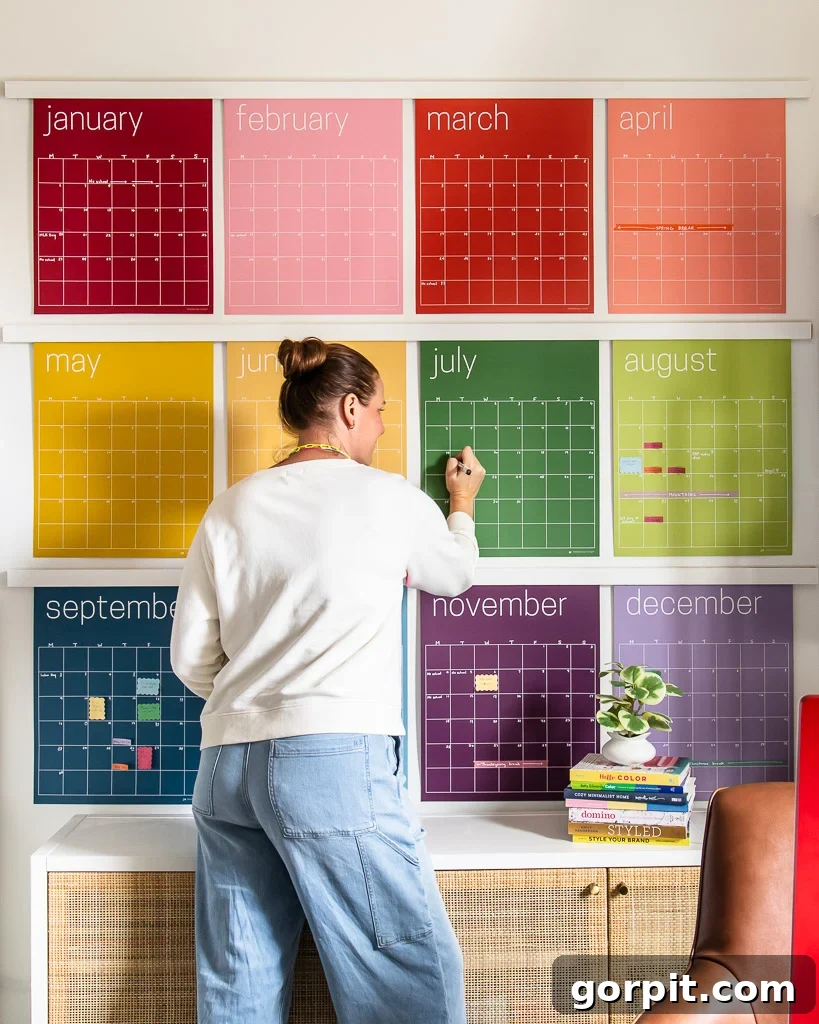
Transform your living space and elevate your cherished posters, art prints, or even oversized calendars with a sophisticated display solution. While magnetic poster hangers are undeniably stylish, finding extra-long or custom-sized options can be a challenge. This guide offers a brilliant, budget-friendly, and incredibly easy DIY method to create stunning, faux oversized poster hangers – no power tools required! Perfect for beginners, this project delivers a high-end look without the complexity, making it an ideal way to beautifully showcase everything from children’s artwork to large-scale wall calendars.
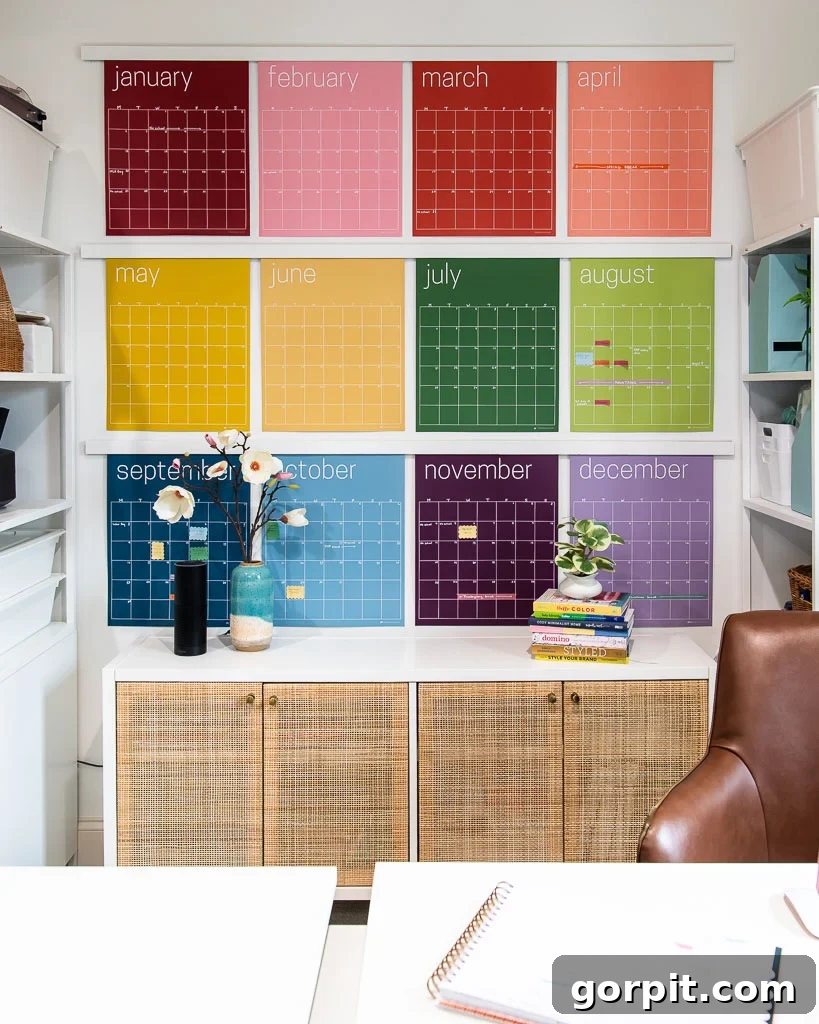
For years, I’ve adored the clean, modern aesthetic of magnetic poster holders. They offer a far more polished look than simply taping artwork to a wall, which often evokes memories of hastily hung teen magazine posters. This elegant display method instantly upgrades any print, giving it a gallery-worthy presentation.
However, when faced with the task of hanging my impressive 6-foot reusable wall calendar, I quickly ran into a dilemma: commercially available magnetic hangers rarely extend beyond 4 feet. This left me searching for an alternative that offered both the desired length and the minimalist style I loved. While we’ve previously tackled a DIY magnetic poster hanger project which was fantastic, many people seek a simpler path to achieving a similar elevated aesthetic without the added effort of embedding magnets. This inspired me to innovate. After some creative brainstorming, I devised a “faux” magnetic hanger technique that’s surprisingly effective and incredibly easy to execute. I recently rehung my own calendars using this ingenious method, and the results were flawless, proving that you don’t need complex tools or expertise to achieve a sophisticated art display.
Materials Needed for Your Faux Poster Hangers
One of the many benefits of this DIY project is its minimal material requirements. You’ll likely find most of these items at your local hardware store, making it both accessible and affordable. Here’s everything you’ll need to create your custom oversized poster hangers:
- 1/4″ x 2″ Lattice Strips: These thin wood strips are the foundation of your faux hangers. Purchase them in lengths suitable for your project – for instance, 8-foot lengths can be easily cut down. They are incredibly inexpensive, offering excellent value. Choose straight pieces without significant warping or knots.
- Hand Saw and Miter Box: Essential for making precise, straight cuts if you need to shorten your lattice strips. This combination allows for accurate angles without the need for electric power tools. If you own a compound miter saw, that will make the job even quicker and more effortless.
- Sandpaper: A crucial step for achieving a smooth, professional finish. Medium to fine-grit sandpaper (around 120-220 grit) will be sufficient to smooth out any rough edges or imperfections that are common with inexpensive lattice strips.
- Paint or Wood Stain (Optional): To customize the look of your hangers. You can match them to your wall color for a seamless, built-in appearance, or choose a contrasting color or wood stain to make them a prominent design feature.
- Command Picture Hanging Strips: These heavy-duty strips are specifically designed to securely hold frames and other decor items on walls. You’ll use these to attach your finished wooden lattice strips to the wall. Ensure you select the appropriate weight-rated strips for your wood length and any potential future additions.
- Command Poster Hanging Strips: These lighter-duty strips are perfect for attaching your posters, art prints, or calendars directly to the wall beneath the faux hangers.
- NOTE: Command strips are renowned for their clean removal from compatible surfaces. However, it’s paramount to always read the product limitations and instructions carefully for your specific wall type and item weight to prevent damage.
- Level: An indispensable tool to ensure your faux hangers and artwork are perfectly straight and visually appealing. A bubble level or a laser level will work equally well.
How to Craft Your Own Faux Oversized Poster Hangers
Visual Guide: Quick Video Overview
Before diving into the detailed instructions, I highly recommend watching the concise video overview of this project below. It provides valuable visual context and clarifies each step, making the written tutorial even easier to follow. The video is less than 2 minutes long and will play after a brief advertisement – I promise it will be incredibly helpful!
Step-by-Step Tutorial: Creating Your Elegant Poster Display
Follow these simple steps to construct your beautiful and functional faux oversized poster hangers:
Step 1: Precisely Cut Your Lattice Strips to Length
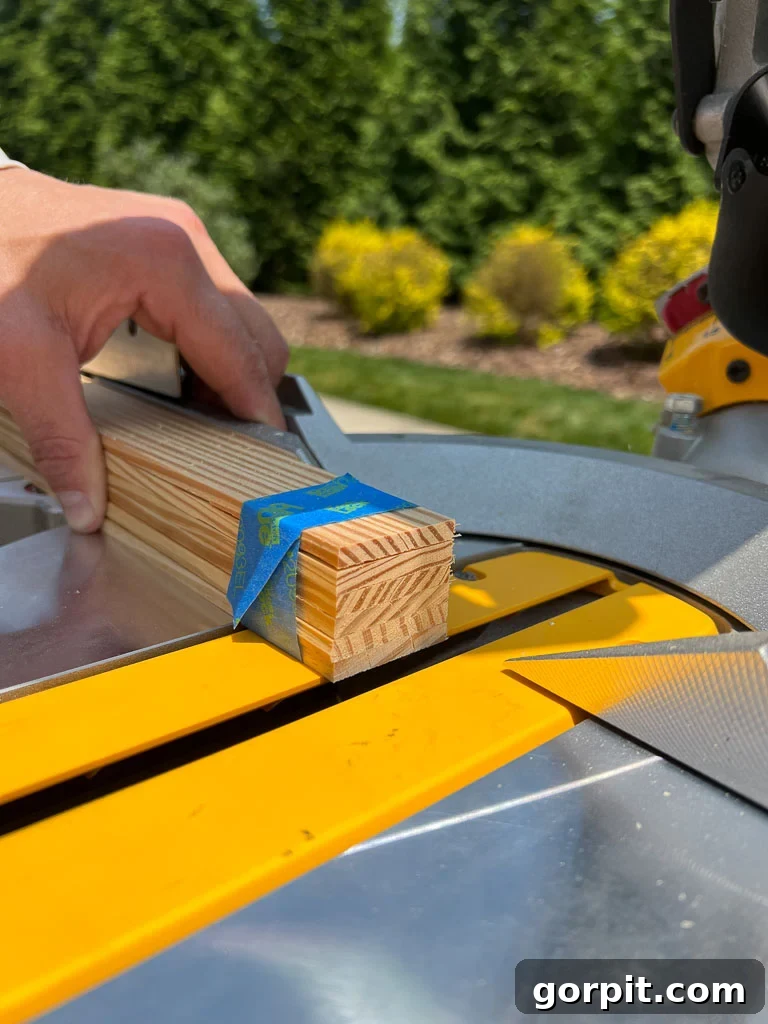
Begin by measuring the exact width of your poster, art print, or calendar. You’ll want your lattice strips to be slightly wider than your artwork for a balanced and aesthetically pleasing look. Once you have your desired length, it’s time to cut. If you don’t have access to a compound miter saw, a hand saw and miter box will allow you to make clean, straight cuts. For an even easier option, many hardware stores like Home Depot and Lowe’s offer cutting services where they can trim your lattice strips to your specified length. We cut ours down to a perfect 6-feet using our compound miter saw, ensuring a perfect match for our large calendar.
Step 2: Smooth and Refine Your Lattice Strips with Sanding
While this step is technically optional, I highly recommend it for a truly polished finish. Inexpensive lattice strips can sometimes have rough spots, splinters, or minor imperfections. A quick sanding will dramatically improve the feel and appearance of the wood, making it smoother to the touch and ensuring a better surface for painting or staining. Use medium-grit sandpaper (around 120-150 grit) to remove any major roughness, then follow up with fine-grit sandpaper (200-220 grit) for a silky-smooth finish. This small effort makes a significant difference in the overall quality and longevity of your DIY poster hangers.
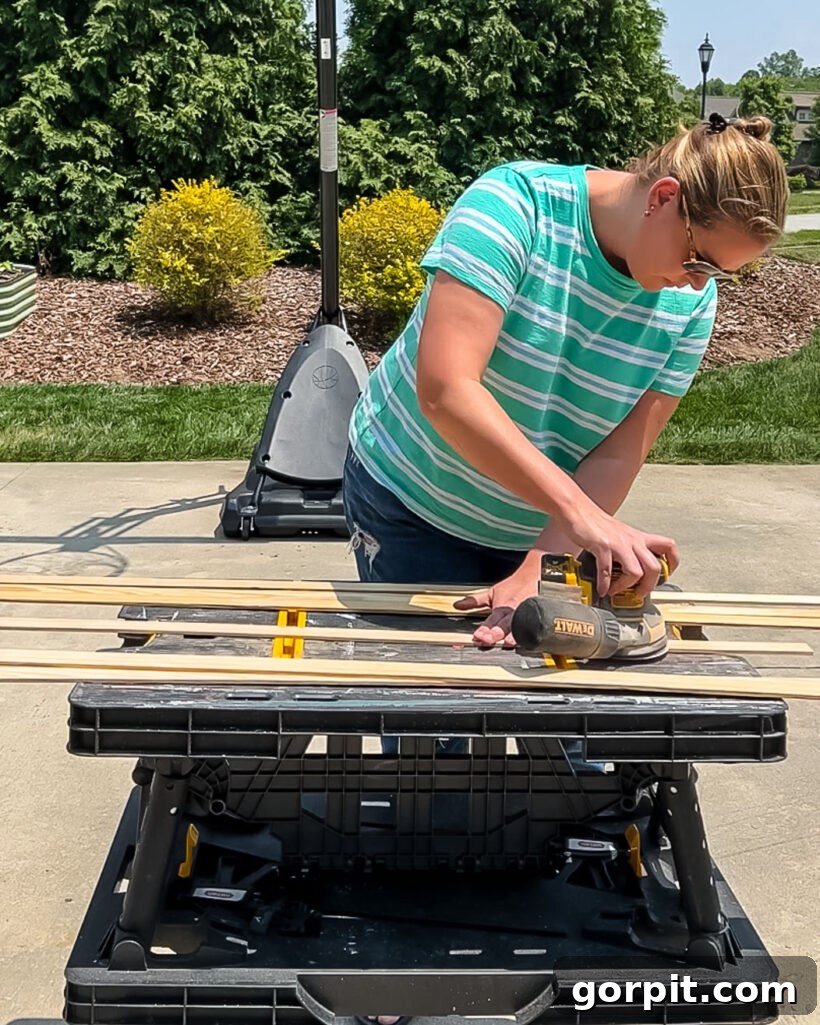
Step 3: Customize Your Hangers with Paint or Stain
Now comes the fun part: customizing your lattice strips to match your decor. You can paint them any color you desire or apply a wood stain to highlight the natural grain. For my office, I wanted my faux magnetic poster hangers to seamlessly blend with the walls, so I used the exact same paint color – Pure White by Sherwin-Williams. This creates a minimalist, almost invisible hanging system that lets the artwork truly shine. If you opt for paint, apply thin, even coats, allowing each to dry completely before applying the next. If staining, follow the product instructions for application and drying, and consider adding a clear topcoat for added durability and protection.
Step 4: Securely Hang Your Artwork Using Command Poster Strips
This step is critical for a successful and damage-free display. Carefully apply Command poster hanging strips to the top edge of your poster, art print, or calendar, ensuring it is compatible with the strips and your wall surface. For best results, place strips near each corner and spaced evenly across the top edge, especially for wider pieces. I cannot stress this enough: *always read and follow the instructions provided with your Command strip products.* This includes proper application, waiting times for adhesive to bond, and careful removal techniques. I speak from extensive experience, having used countless Command products without issue (and no, 3M has never sponsored me!). My smooth office walls, which weren’t freshly painted, proved to be an ideal surface, and the strips held perfectly.
In the video, you’ll see I made a small error and initially hung my calendar incorrectly. Thanks to adhering strictly to Command’s instructions, I was able to remove the calendar and the strips easily without any damage to my wall or the calendar itself. When removing, avoid bending your artwork excessively, especially if it’s made of thick paper, as this can cause unsightly creases. Patience and adherence to instructions are key here.
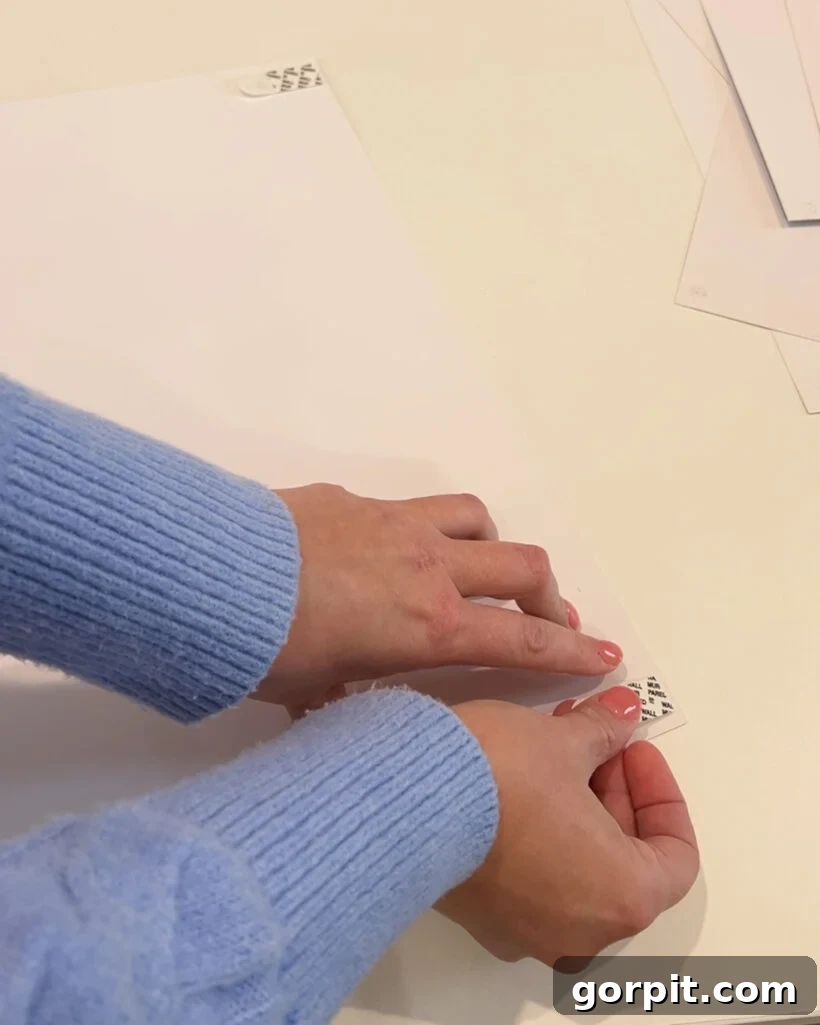
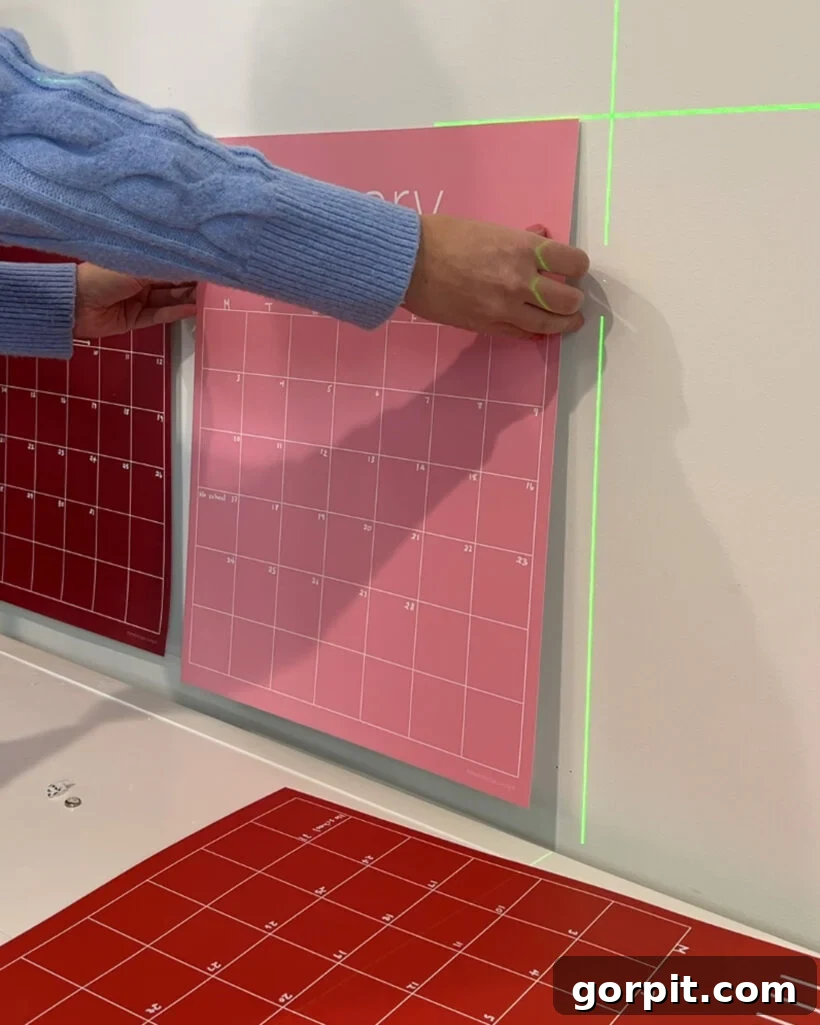
Step 5: Install Your Faux Wood Rails with Command Picture Hanging Strips
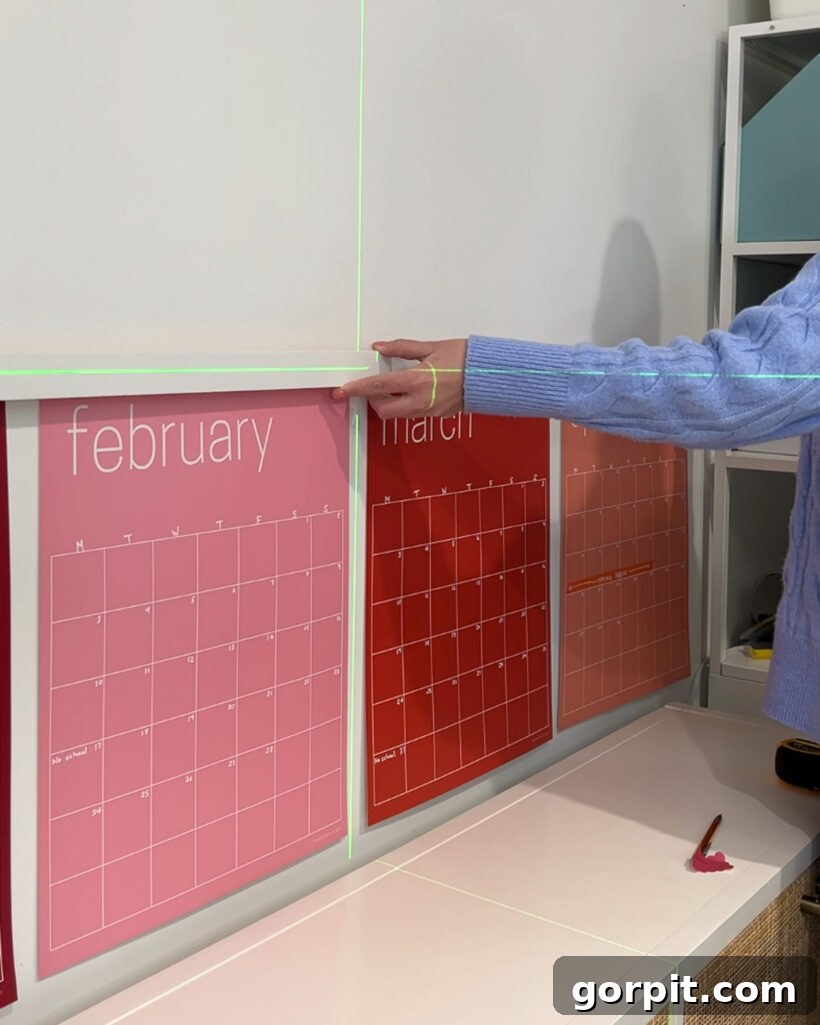
Now, it’s time to add the “faux” magnetic rails. Attach two Command picture hanging strips to each lattice strip – one positioned at each end. It’s crucial to use these stronger picture hanging strips, as the lighter poster strips would not be sufficient to hold the weight of the wood. Make sure the long edge of each strip sits flush with the top edge of the lattice strip. This precise placement is essential because you will hang the wood strip directly on the wall, precisely above your artwork, creating the illusion of a continuous hanger. Be extremely careful to ensure the Command strip adheres *only* to the wall and *not* to your poster or calendar. Refer back to the video if you have any uncertainties about this step.
Once the strips are attached to the lattice, position your wood rail above your hanging artwork. Use a level to ensure it is perfectly horizontal before firmly pressing it onto the wall. This step completes the sophisticated, custom look you’re aiming for.
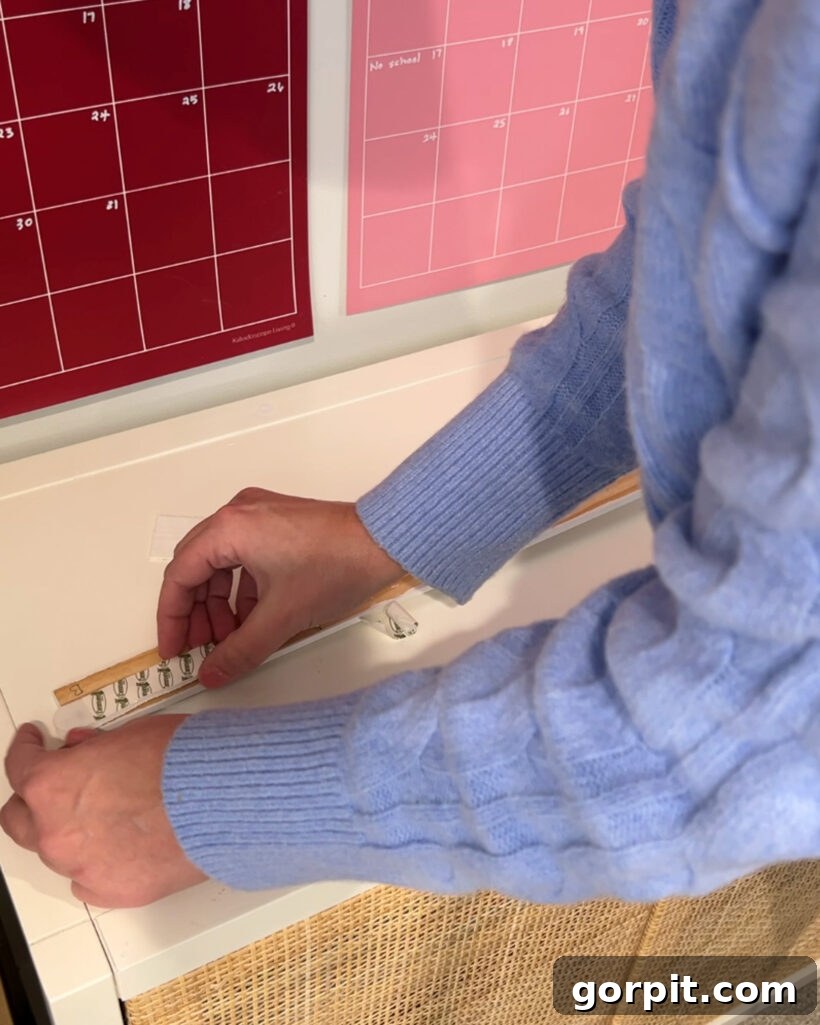
And just like that, you’ve created a custom, elegant faux magnetic poster hanger! This method bypasses the intricate process of counter-sinking and perfectly aligning multiple magnets within the wood strips, which can be quite challenging. The primary trade-off with this simplified approach is that if you frequently like to rearrange or swap out your posters, it will be a bit more time-consuming as you’ll need to remove the artwork and use fresh poster hanging strips each time.
For example, I enjoy refreshing my wall calendars a few times a year, repositioning upcoming months to the bottom for easier viewing. This means reapplying new poster strips with each update. It’s a minor consideration, but worth keeping in mind when deciding on your display method. If frequent redecorating or artwork rotation is a high priority for you, investing the extra effort into crafting true magnetic poster hangers might prove to be a more convenient long-term solution.
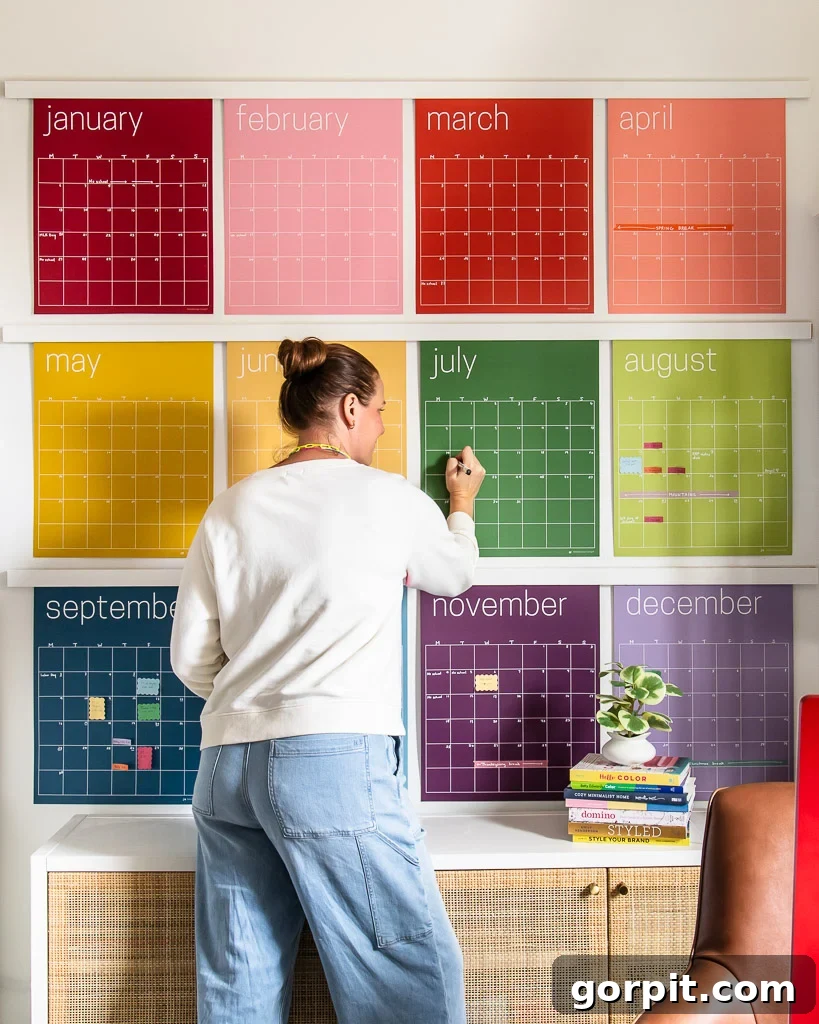
This easy, no-power-tools DIY project offers a fantastic way to display oversized posters and art with a custom, elevated look. What do you think? Are you ready to give your walls a chic upgrade?
More ART & Wall decor IDEAS
SEE ALL art POSTS
-
How to Display Art On Almost Any Smart TV
-
How to Make Faux Oversized Poster Hangers
-
DIY Light Up Wall Art
-
Make Large DIY Picture Frames For Less than $20 Each
-
DIY Magnetic Poster Hangers
-
27 Gallery Wall Ideas + Practical Tips to Inspire You
Curious about my unique approach to transforming rooms and spaces within our home? Discover the secrets with Designer in a Binder® – your ultimate guide to affordable and stylish home decorating.
For even more exclusive content, behind-the-scenes glimpses, and expert decorating tips, be sure to subscribe to my newsletter before you go! Stay inspired and keep creating beautiful spaces.