Butcher block countertops are a cherished feature in countless kitchens, celebrated for their timeless appeal, natural warmth, and exceptional functionality. Far more than just a surface, they offer a tactile connection to nature and a versatile workspace for all your culinary endeavors. However, like any heavily used surface, butcher block can develop signs of wear over time, manifesting as scratches, stubborn stains, or minor dents. If you’ve been pondering how to breathe new life into your beloved butcher block countertops, this comprehensive guide is precisely what you need.
The good news is that restoring the beauty of your butcher block is surprisingly straightforward and incredibly rewarding. A simple refinishing project can dramatically revitalize your kitchen’s aesthetic without demanding a significant financial investment. In this detailed article, we’ll walk you through a clear, step-by-step process for refinishing your butcher block countertops, even if it’s your very first time tackling such a DIY task. We’ll cover the essential products you’ll need, explain critical techniques, and provide invaluable tips for ongoing maintenance to ensure your countertops remain stunning for many years to come.
Understanding Butcher Block: More Than Just Wood
It’s a common misconception that all wooden countertops are butcher blocks. To clarify, let’s delve into what truly defines a butcher block. Unlike solid slabs of wood that showcase the full width of a single tree, butcher block countertops are meticulously crafted by laminating numerous strips of wood together. These strips, typically thick and straight, are carefully glued and pressed, forming a robust, durable, and structurally sound slab. The beauty of this construction lies in its inherent strength and stability, making it ideal for a surface that can withstand rigorous use, much like a traditional cutting board.
The name “butcher block” itself originates from its historical use in butcher shops, where these sturdy surfaces were indispensable for cutting and preparing meat. Today, while they remain excellent for all types of food preparation, their versatility and aesthetic appeal have elevated them to a favored choice for kitchen countertops, islands, and even dining tables in homes worldwide. Different construction styles exist, including end-grain (most durable for cutting), edge-grain (common and strong), and face-grain (showcases wood’s natural beauty), each offering unique characteristics and visual textures.
Why Choose Butcher Block? Unpacking Its Many Benefits
Butcher block countertops offer a compelling combination of advantages, making them a popular choice for homeowners and DIY enthusiasts alike. They stand out as one of the most aesthetically pleasing and surprisingly affordable DIY countertop options available. Here’s a closer look at what makes them so desirable:
- Natural Beauty & Warmth: The inherent beauty of wood brings an unparalleled warmth, character, and texture to any kitchen. Each piece of butcher block is unique, with distinct grain patterns and color variations that add rustic charm or modern elegance, depending on the wood species and finish.
- Affordability: Compared to many other high-end countertop materials like granite, marble, or quartz, butcher block is often a more budget-friendly option, especially for larger kitchen remodels.
- DIY-Friendly Installation: You can purchase butcher block slabs at most home improvement stores and, with basic woodworking tools and a little patience, cut and install them yourself. This DIY potential significantly reduces labor costs, making it accessible even for beginners. We’ve personally installed them numerous times over the last two decades, most recently in transforming an outdated office nook into a functional butler’s pantry with a stunning butcher block counter.
- Durability & Longevity: When properly cared for, butcher block countertops are incredibly durable. Minor scratches and dents, which would permanently mar other surfaces, can be easily sanded out, allowing the wood to be restored to its original glory repeatedly. This ability to be refinished makes them a long-lasting investment.
- Hygienic Properties: Wood naturally possesses antimicrobial properties, making it a surprisingly hygienic surface for food preparation when regularly cleaned and maintained.
- Eco-Friendly Option: Many butcher block products are sourced from sustainably managed forests, making them an environmentally conscious choice for your home.
Can You Refinish Butcher Block Countertops? Absolutely!
The short answer is a resounding yes! If the surface of your butcher block countertops has begun to show its age – perhaps looking a bit damaged, worn, or dull – there’s no need to despair. Or worse, to consider the costly and disruptive process of replacing them entirely. You absolutely do NOT need to replace your butcher block countertops. One of the most significant advantages of this material is its remarkable capacity for renewal. With the right approach and a few hours of dedicated effort, you can easily restore them to their original gorgeous state, making them look brand new.
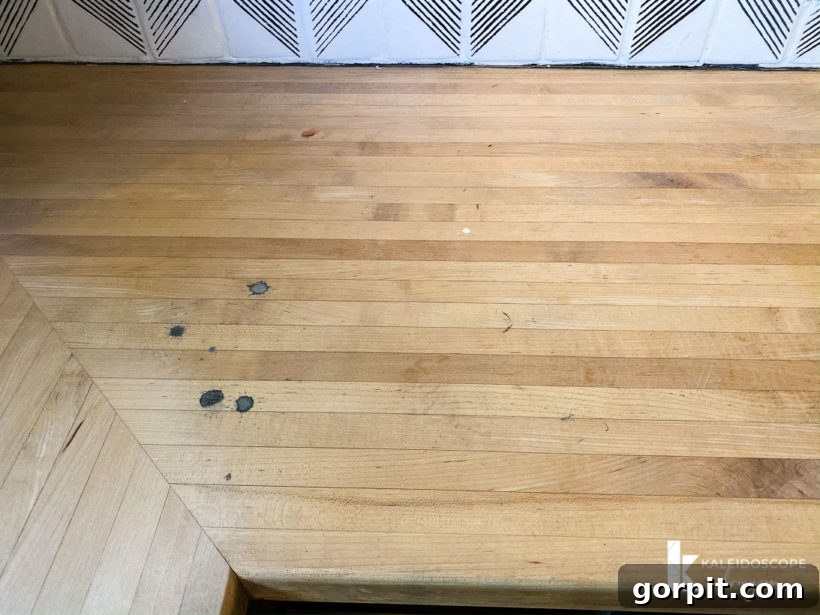
This countertop revitalization project is a prime example of the transformative power of DIY. We recently undertook this exact update as part of Thea’s incredible $997 budget-friendly kitchen makeover, and the results were nothing short of astonishing. For less than $30, the impact was tremendous. Prior to refinishing, her countertops were severely scratched, stained, and looked quite beaten up, resembling the “before” photo below. The difference after just the initial sanding and first coat of finish was truly remarkable, breathing fresh life into the entire kitchen.
This post contains affiliate links for your convenience. Click here for our full disclosure policy.
Your Step-by-Step Guide: How to Refinish Butcher Block Countertops
Refinishing butcher block countertops is a rewarding project that yields impressive results with minimal time commitment. Typically, this process shouldn’t take more than a couple of hours of active work, and you’ll be amazed by the transformation. This method is also perfectly suitable for refinishing butcher block table tops or cutting boards.
Essential Materials and Tools You’ll Need
Gathering all your supplies before you begin will ensure a smooth and efficient refinishing process. Here’s what you’ll need:
- Electric Orbital Sander: This is arguably the most crucial tool. An orbital sander (our favorite one for its efficiency and ease of use) makes quick work of removing old finishes, stains, and imperfections, ensuring an even and smooth surface.
- Assorted Sandpaper: You’ll need a range of grits to progressively smooth the wood. Start with 60-grit (coarse) for heavy damage, then move to 100-grit (medium) for general sanding, and finish with 150-grit (fine) for a silky smooth finish. Higher grits like 220 can be used for an even finer feel if desired.
- Shop Vacuum: Essential for dust control. Connecting a shop vac directly to your sander (if compatible) or having a helper hold the nozzle nearby will significantly minimize cleanup and create a healthier working environment.
- Food-Safe Wood Finish (e.g., Hemp Oil): Choose a finish specifically designed for food-contact surfaces. We achieved excellent results with Hemp Oil, known for its non-toxic properties and ability to deeply nourish and protect wood without forming a film that can chip or scratch. Mineral oil, beeswax, or specific butcher block conditioners are also viable options.
- Foam Paintbrush or Clean Cloths: For applying the chosen finish evenly.
- Old T-shirts or Rags: For wiping off excess oil and final buffing.
- Painter’s Tape: To protect adjacent surfaces like your backsplash or walls.
- Safety Gear: Dust mask, safety glasses, and gloves are highly recommended for your protection.
Time needed: 2-4 hours (active work, excluding drying/curing time)
Refinishing your butcher block countertops is a quick and straightforward process that yields incredibly satisfying results. You can expect to complete the active steps within a few hours, and the transformation will truly impress you. This method is also perfect for revitalizing a butcher block tabletop or cutting board.
-
Step 1: Thorough Preparation of the Area
Begin by completely clearing your countertops of all appliances, decorative items, and any other clutter. This gives you a clean, unobstructed workspace. Next, meticulously tape off your kitchen backsplash, adjacent cabinetry, and any other surfaces you wish to protect from sawdust or accidental contact with the sander. This step is particularly crucial if you’ve recently completed other kitchen updates, such as painting your tile backsplash, and want to avoid damage. Ensure good ventilation by opening windows and doors, and wear your safety gear (dust mask, safety glasses).
-
Step 2: The Sanding Process – Restoring a Smooth Surface
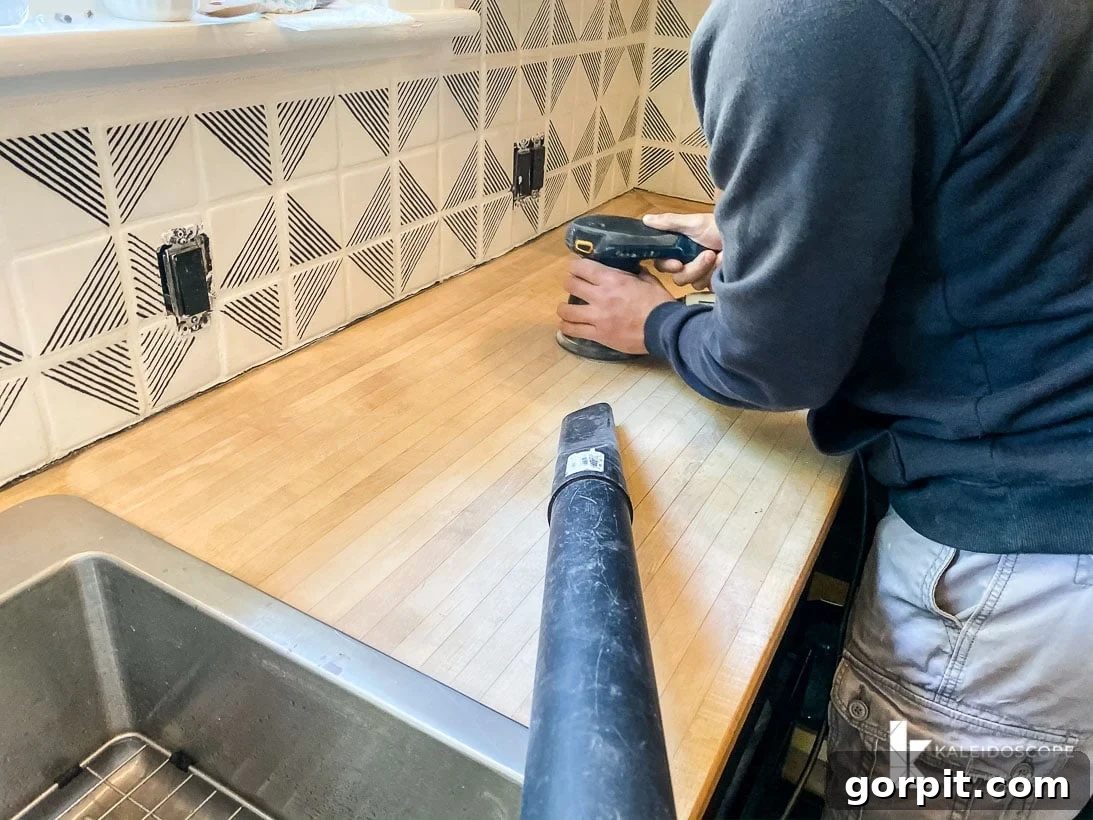
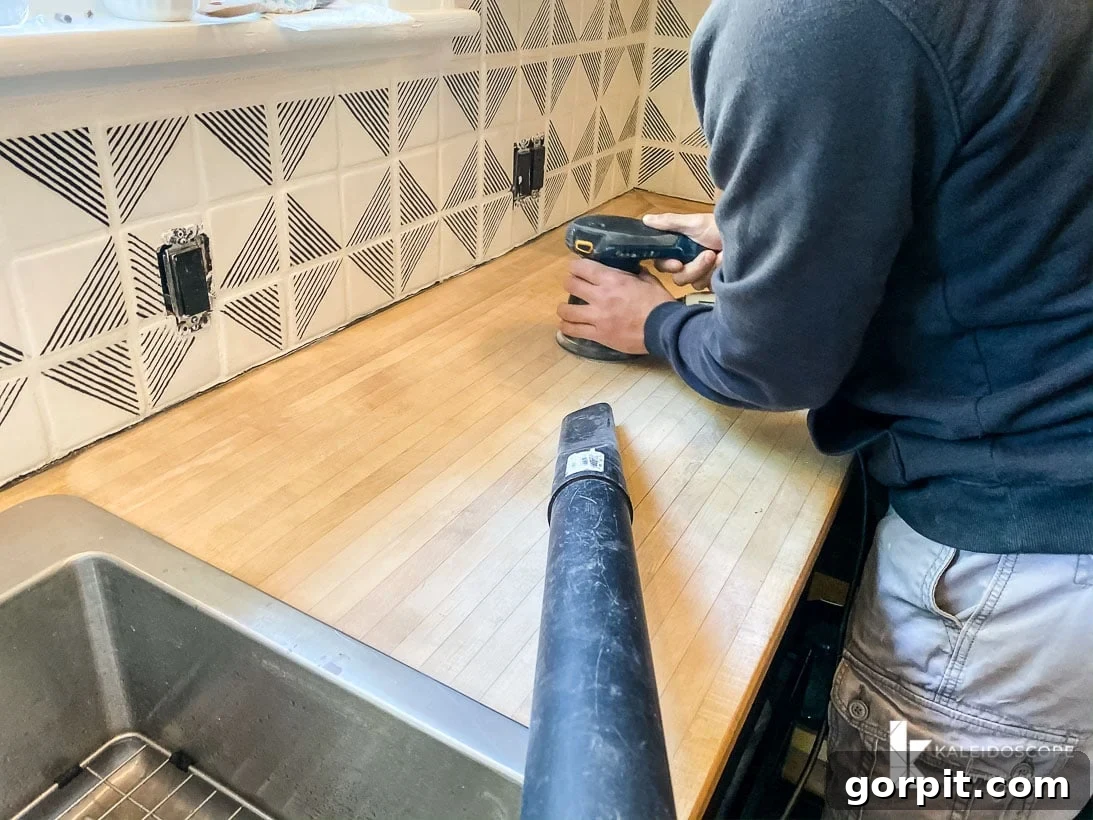
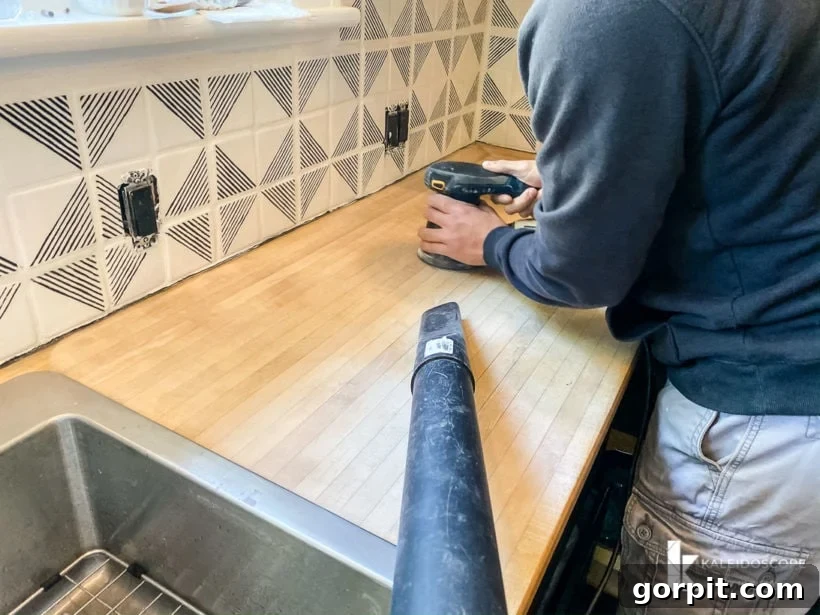
Now, you’re ready to tackle the sanding! An electric orbital sander will make this stage remarkably fast and effective. Start with a coarse 60-grit sandpaper if your countertops have deep scratches, stubborn stains, significant burn marks, or knife gouges. Apply even, consistent pressure and move the sander in circular motions, overlapping each pass slightly. Be careful not to over-sand in one spot, which could create an uneven dip in the counter surface. The goal here is to remove the heaviest damage and old finish. Once the major imperfections are gone, switch to 100-grit sandpaper and sand the entire surface again, ensuring you remove the marks left by the coarser grit. Finally, sand the entire countertop with 150-grit sandpaper until the wood feels wonderfully smooth to the touch. This progressive sanding ensures a perfectly prepared surface for your finish. For maximum efficiency and cleanliness, consider having one person operate the sander while another holds a shop vac nozzle close to the sanding area to immediately suck up sawdust. This entire sanding process, depending on the countertop size and damage, can take less than 15-30 minutes of active work.

-
Step 3: Thorough Dust Removal
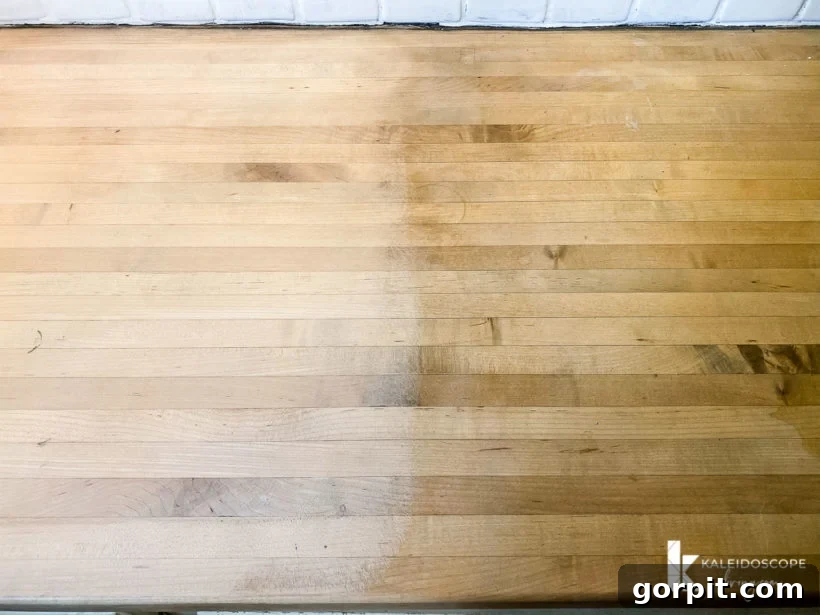
After completing all sanding, it’s crucial to remove every trace of sawdust. Use your shop vac to thoroughly vacuum the entire countertop surface and surrounding areas. Then, take an old, clean T-shirt, a microfiber cloth, or a tack cloth and wipe down the surface multiple times. You’ll be surprised how much fine dust remains. Run your hand over the surface; if you feel any grit, continue wiping until it’s perfectly clean and smooth. The photo below beautifully illustrates the dramatic difference sanding makes, with the raw, freshly sanded wood on the left.
-
Step 4: Sealing and Conditioning Your Butcher Block
With your countertops impeccably clean, you’re ready for the transformative step of sealing and conditioning. This process not only enhances the natural color and grain of your butcher block but also provides vital protection to the raw wood. We highly recommend using a food-safe product like Hemp Oil for its non-toxic properties and deep penetrating action. Pour a small amount of hemp oil into a plastic cup or directly onto the countertop. Using a foam brush or a clean, lint-free cloth, apply a generous, even coat to the entire surface, always brushing or wiping in the direction of the wood grain. The wood will immediately begin to drink up the oil, revealing its rich tones. Allow the oil to soak in for about an hour. During this time, the wood will absorb what it needs. After an hour, use clean, old rags to thoroughly wipe off any excess oil from the surface. Ensure no sticky residue remains. We then repeated this entire application and wipe-off process a second time to ensure maximum penetration and protection. This step is surprisingly fast – excluding the soaking time, applying and wiping off each coat typically takes less than 15 minutes. For optimal protection and durability, consider applying a third coat after another hour or two, especially for heavily used areas.
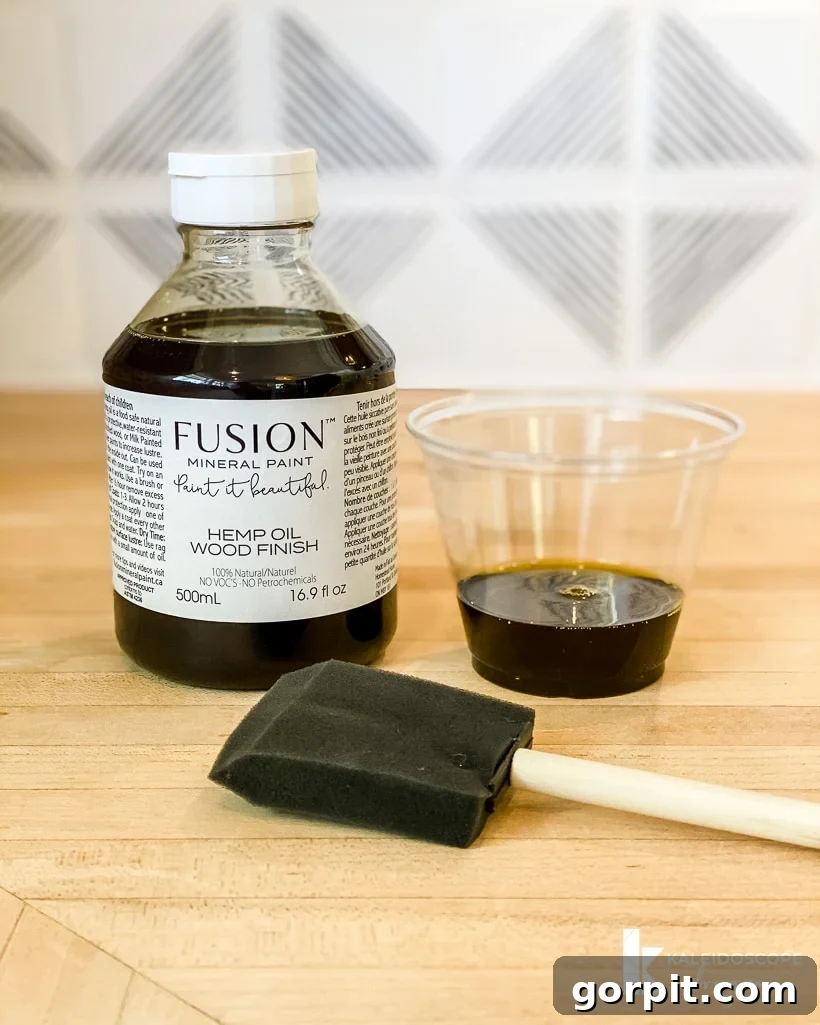
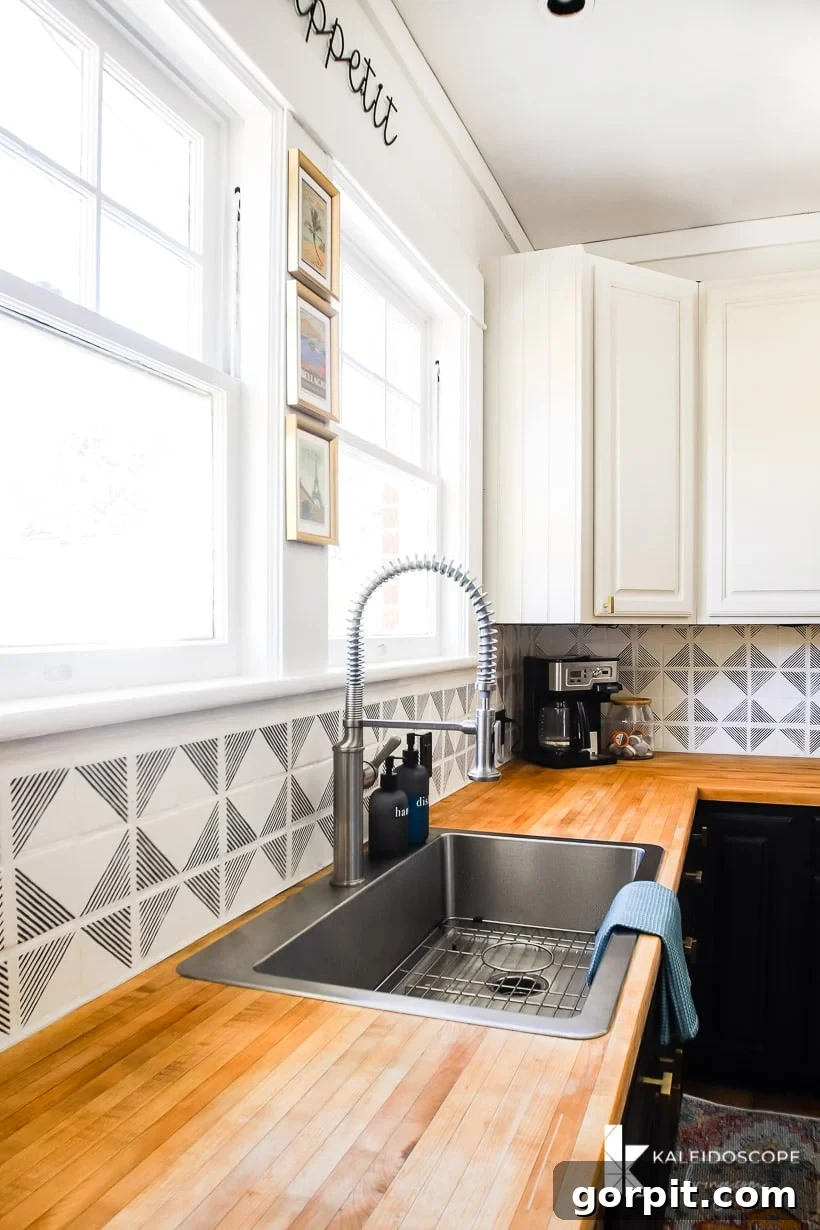
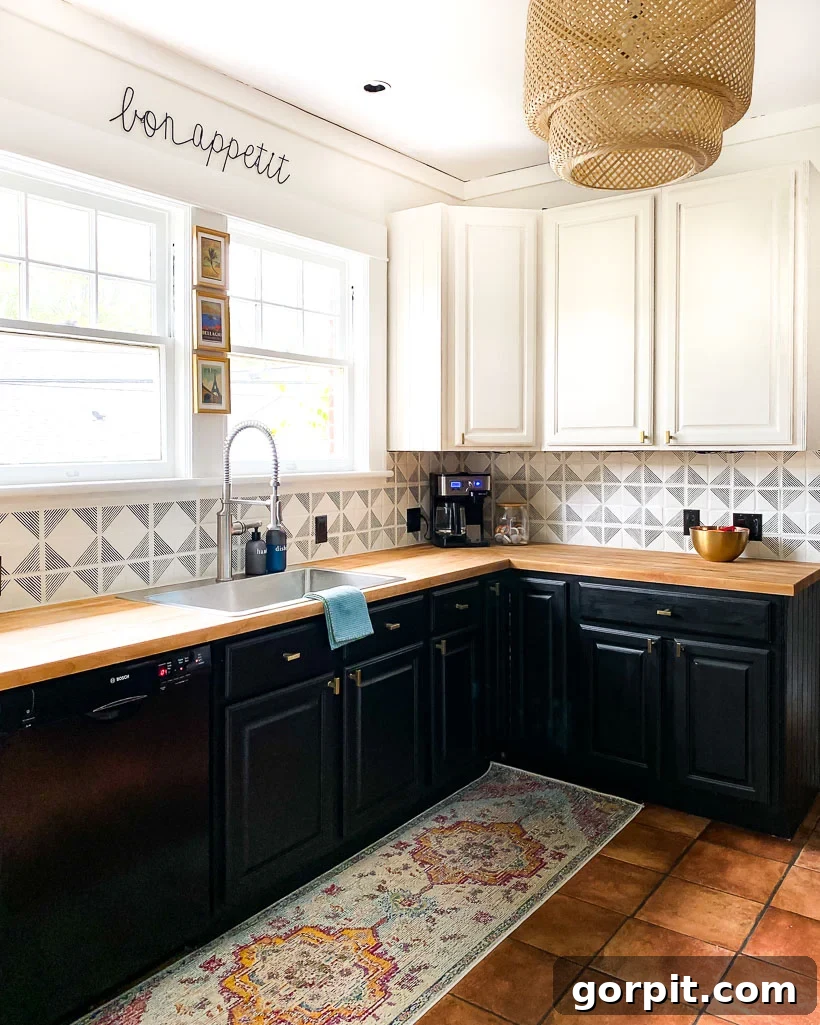
The total investment for this stunning transformation was under $30 – we used less than a fifth of the bottle of Hemp Oil and only a minimal amount of sandpaper. In less than 2 hours of active work, these previously damaged and worn butcher block countertops were restored to top condition, looking absolutely beautiful and ready to be the centerpiece of the kitchen once again!
Butcher Block Countertops: Your Top Questions Answered
Daily maintenance is key to preserving the beauty and longevity of your butcher block. For everyday cleaning, simply wipe down your countertops with a damp cloth after each use. Promptly clean up any spills to prevent them from soaking into the wood and causing stains. It’s crucial to avoid using harsh chemical cleaners, abrasive scrubbers, or excessive water, as these can strip the protective finish, dry out the wood, and lead to damage. For slightly tougher messes, a mixture of mild dish soap and warm water applied with a soft cloth works perfectly. Always dry the surface thoroughly with a clean, dry cloth immediately after cleaning to prevent water spots and moisture damage.
For deeper cleaning or to tackle specific issues: Every few weeks, you can clean the entire surface with a solution of mild soap and water. For particularly stubborn stains or to neutralize odors, an effective natural remedy is to sprinkle the affected area with coarse table salt, then gently scrub it with half a lemon. The acidic lemon juice and abrasive salt work together to lift stains and refresh the wood. Rinse the surface with a damp cloth and dry thoroughly.
Applying a food-grade conditioner to your butcher block countertop is an absolutely essential step in its long-term care. This process does much more than just make the wood look good; it actively protects it from drying out, cracking, and warping, while also bringing out the natural luster and depth of the wood grain. A variety of food-safe conditioning options are available, including hemp oil, mineral oil, beeswax, or specially formulated butcher block conditioners (often a blend of oils and waxes). The specific application instructions might vary slightly depending on the product you choose, but generally, they involve applying a generous coat, allowing it to penetrate the wood for a recommended period, and then wiping off any excess until the surface feels smooth and non-greasy. Regular conditioning creates a protective barrier that helps repel water and food particles, extending the life and beauty of your countertops.
The frequency of oiling or conditioning largely depends on how often your countertops are used, how frequently they are cleaned, and the general humidity levels in your kitchen. As a general guideline, we recommend conditioning them every 2 to 3 months to keep them thoroughly nourished and to restore their natural sheen. However, if you notice the wood looking dry, dull, or starting to show light spots, it’s a good indicator that it’s time for another application, even if it’s sooner than the recommended interval. Heavily used areas around the sink or prep zones might benefit from more frequent spot treatments.
Our choice of Hemp Oil came after an initial less-than-satisfactory experience with Tung Oil, which, despite being a common choice for butcher block, did very little to enhance the aesthetic of Thea’s counters. Having some hemp oil readily available, and knowing it was completely non-toxic and food-safe, we decided to give it a try – and the result was truly transformative! It immediately brought out the wood’s rich, warm tones and its beautiful natural grain. Hemp oil is an exceptional wood conditioner because it penetrates deeply into the wood fibers, nourishing and protecting them from the inside out. Crucially, unlike some other finishes, hemp oil does not leave a surface film that can eventually chip, crack, or scratch. Instead, it cures within the wood, offering durable protection while maintaining the natural feel of the wood. We simply rubbed it in and wiped off the excess with a dry cloth, achieving a perfect, natural-looking finish. Other popular food-safe options include mineral oil (requires more frequent application), beeswax (often blended with mineral oil for a protective wax coating), and walnut oil (note: avoid if anyone in your household has nut allergies).
Yes, staining is a fantastic option if you wish to alter the natural color of your butcher block or effectively conceal minor imperfections that couldn’t be sanded out. When choosing a stain, it is absolutely paramount to select a product that is food-safe and non-toxic, especially since it will be used on a food preparation surface. Water-based stains or natural dyes are generally the safest choices. To apply, ensure your butcher block is clean and thoroughly sanded. Apply the stain evenly with a brush or a clean cloth, working in the direction of the wood grain. Allow the stain to penetrate for the recommended time (typically 10-15 minutes), then wipe off any excess with a clean, lint-free cloth. Allow it to dry completely for several hours, or even overnight, according to the manufacturer’s instructions. If you decide to stain your butcher block, it is imperative to then seal it with a durable, food-safe sealer, such as a food-safe polyurethane or a varnish specifically labeled for countertops. This topcoat will protect the stain and provide a resilient barrier against moisture and wear.
Water is the biggest enemy of wood countertops. Always wipe up spills immediately, especially standing water around the sink. Use a good quality, food-safe sealant or oil regularly to maintain the wood’s water resistance. For heat protection, always use trivets or hot pads under hot pots, pans, and slow cookers. Never place hot items directly on the butcher block, as this can cause scorching or severe discoloration that may be difficult to remove.
One of the beauties of butcher block is its repairability. For small dents, you can often “steam” them out: place a damp cloth over the dent and lightly iron it with a hot iron. The steam can cause the wood fibers to swell back into place. For deeper scratches or gouges that regular sanding can’t fully remove, a targeted application of wood filler (food-safe if it’s on a prep surface) followed by sanding and re-oiling might be necessary. Always match the wood filler color as closely as possible.
More Kitchen IDEAS
SEE ALL kitchen POSTS
-
Budget-Friendly DIY Backsplash Ideas for Kitchens
-
How Durable are DIY Painted Kitchen Cabinets?
-
How To Refinish Butcher Block Countertops & Maintain Them
-
Designer Tips for Choosing Perfect Kitchen Rug Runners
-
How to Paint Kitchen Cabinets (From a DIYer Who Has Done it 3 Times)
-
Our Kitchen Renovation Reveal- It’s Neutral AND Colorful
Long-Term Maintenance for Lasting Beauty
While refinishing your butcher block countertops provides a spectacular refresh, consistent long-term maintenance is vital to keeping them in pristine condition and prolonging their lifespan. Think of it as a continuous care routine that prevents future damage and preserves their natural beauty.
- Regular Cleaning: As discussed, daily wiping with a damp cloth and prompt spill cleanup is essential. Avoid leaving standing water on the surface, especially around sinks.
- Frequent Conditioning: Re-oil your countertops every 1-3 months, or whenever the wood starts to look dry or dull. This replenishes the protective barrier and prevents the wood from drying out, cracking, or warping. The more frequently you use and clean your countertops, the more often they will need re-oiling.
- Use Cutting Boards: Although butcher block is designed for cutting, using separate cutting boards for heavy chopping will help minimize knife marks directly on your countertop surface.
- Protect from Heat: Always use trivets or hot pads for hot pots, pans, and appliances like slow cookers or toaster ovens. Direct heat can cause irreparable burn marks and discoloration.
- Address Stains Promptly: For acidic or pigmented foods (e.g., berries, red wine, turmeric), clean immediately. If a stain sets, refer to the lemon and salt method in the FAQ section.
- Monitor for Wear: Regularly inspect your countertops for any signs of excessive wear, deep scratches, or areas where the finish might be thinning. Addressing these issues early can prevent them from becoming larger problems requiring another full refinishing.
There you have it: a complete guide on how to refinish your butcher block countertops and maintain them to look beautiful once again! Remember that thorough sanding and consistent conditioning are the cornerstones of successful butcher block care. By diligently following these steps and committing to regular maintenance, your butcher block countertop will not only become a stunning focal point in your kitchen but will also serve as a durable and cherished surface for many years to come.
Curious about transforming other rooms or spaces in your home with expert guidance? Explore our signature program, Designer in a Binder®, for an affordable and simplified approach to interior design.
For exclusive content, behind-the-scenes glimpses, and inspiring home decor insights, be sure to subscribe to our newsletter before you leave!