
Transform Your Furniture: A Step-by-Step Guide to a Long-Lasting Paint Finish
This post is sponsored by BEHR Paint Company. This post contains some affiliate links for your convenience. Click here to read my full disclosure policy.
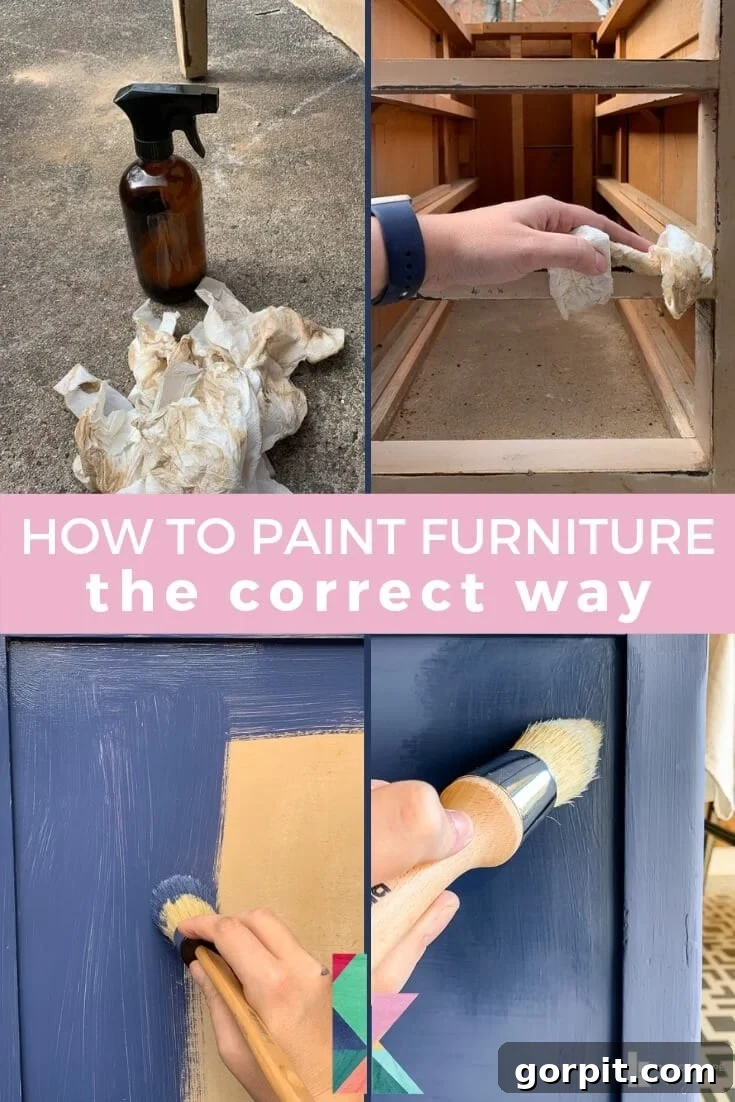
Have you ever spent hours lovingly painting a piece of furniture, only to see the paint begin to chip, peel, or scratch within days or weeks? It’s a frustrating experience that many DIY enthusiasts encounter, and it can deter you from future furniture makeovers. The good news is, achieving a durable, factory-like finish on your painted furniture is not only possible but also incredibly rewarding. The secret lies not in complex techniques, but in understanding the right preparation methods and choosing the perfect products for the job.
Imagine transforming a worn-out thrift store find or an inherited family heirloom into a stunning, functional piece that looks brand new and withstands the test of time and daily use. This comprehensive guide will walk you through everything you need to know to paint furniture with a long-lasting, beautiful finish that you’ll adore for years to come. Say goodbye to chipping paint and hello to professional-quality results!
The Ultimate Guide to Painting Wood Furniture for a Durable Finish
Before we dive into the details, it’s crucial to understand that this guide specifically addresses how to paint wood furniture. Different materials require different approaches. For instance, laminate furniture, often found in IKEA pieces, demands a distinct preparation process to ensure paint adhesion and durability. Applying the same techniques to laminate as you would to wood will likely result in a poor, easily chipped finish. If you’re tackling laminate, be sure to consult a guide on painting laminate furniture to avoid common pitfalls.
Why Your Paint May Be Chipping (And What NOT to Use)
One of the most common mistakes people make when painting furniture is using the wrong type of paint. Specifically, avoid using standard latex wall paint. That leftover can of interior wall paint in your garage might seem convenient, but it’s fundamentally designed for vertical surfaces and different wear patterns than furniture. Latex paint, while excellent for walls, tends to be too flexible and soft for the rigors furniture endures, making it highly susceptible to peeling, scratching, and general wear. For furniture, it simply won’t hold up. As the old saying goes, “Just do it!” but when it comes to latex paint on furniture, your mantra should be, “Just don’t do it.” I’ve learned this lesson through disappointing projects, so take it from experience!
Instead, for a truly durable and beautiful finish on wood furniture, you’ll want to opt for a specialized furniture paint, and in this guide, we’ll focus on the transformative power of chalk-based paint. Why chalk paint? We’ll delve into its numerous benefits shortly, but for now, trust that it’s a game-changer for furniture makeovers.
Essential Supplies for a Flawless Furniture Painting Project:
- Cleaning Agent: A multi-purpose cleaner like Simple Green, or any household degreaser of your choice.
- Water: For rinsing and diluting cleaners.
- Paper Towels or Clean Rags: For wiping down surfaces.
- Sandpaper: Start with 80-grit for rough spots, then transition to a finer grit (120-180) for overall light sanding if needed.
- Optional: Electric Sander: A cordless orbital sander, such as this inexpensive and highly effective model, can significantly speed up the sanding process and provide a smoother finish.
- Primer (Optional but Recommended): A quality stain-blocking primer if dealing with unfinished wood or wood prone to tannin bleed.
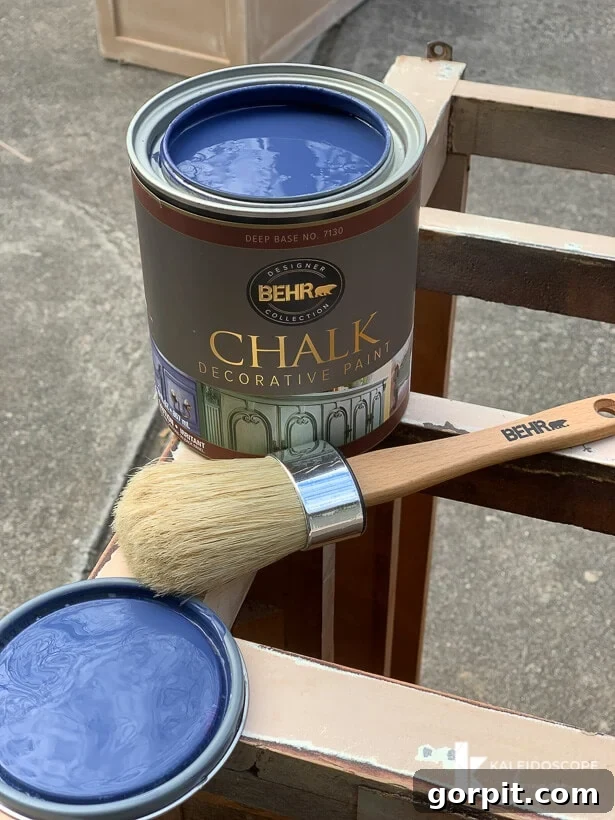
- Chalk Decorative Paint: We highly recommend BEHR® Chalk Decorative Paint (used in “Timeless Blue” for the desk exterior, and various custom tints for drawer sides in our example). Its unique formulation provides excellent adhesion and a beautiful matte finish.
- Decorative Wax Finish: BEHR® Wax Decorative Finish (Clear used here) is essential for protecting the chalk paint and enhancing its durability.
- High-Quality Brushes: Using natural bristle brushes is ideal for applying chalk paint and wax evenly.
- Behr® Chalk Decorative Paint Brush
- Behr® Chalk Decorative Wax Brush
- Scrap Cardboard: For offloading excess wax from your brush.
- Soft Cloth: For buffing the wax finish.
- Screwdriver/Drill: For removing hardware.
The Fail-Proof Steps to Painting Furniture with Chalk Paint:
Step 1: Preparation is Key – Sanding Your Furniture
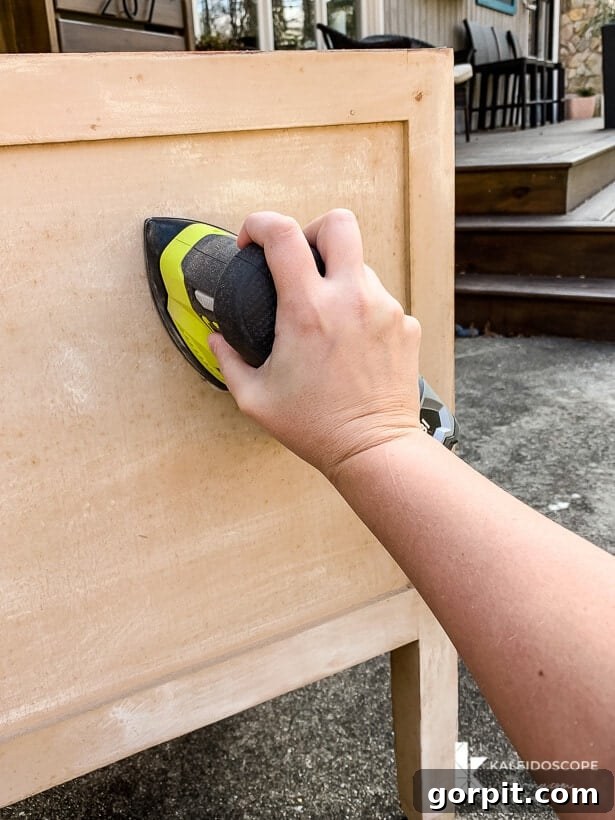
The first and arguably most critical step for a long-lasting finish is proper preparation. Begin by removing all hardware from your furniture piece – knobs, pulls, hinges, and any other removable components. This ensures an even paint application and protects the hardware from paint. Next, assess the surface of your furniture. If there are any significantly rough patches, gouges, or areas of damage, address these first. For deep imperfections, you might need wood filler (see this guide on repairing wood damage). Use 80-grit sandpaper on these specific problematic areas to smooth them out. The goal here is not to strip the entire finish, but to create a uniform surface.
For the rest of the piece, light sanding is typically sufficient, especially when using chalk paint which boasts excellent adhesion. However, if the existing finish is glossy, a light scuff sanding over the entire surface is highly recommended. This process creates a “tooth” or a slightly abraded surface, allowing the new paint to grip better and adhere strongly, preventing future chipping. I generally use 80-grit for general scuffing, but you can move to 120-180 grit for an even finer feel. Remember, we’re not aiming to remove all the old finish, just to dull the shine and create microscopic valleys for the paint to bond with. Always wipe away sanding dust before moving on.
Step 2: Thorough Cleaning
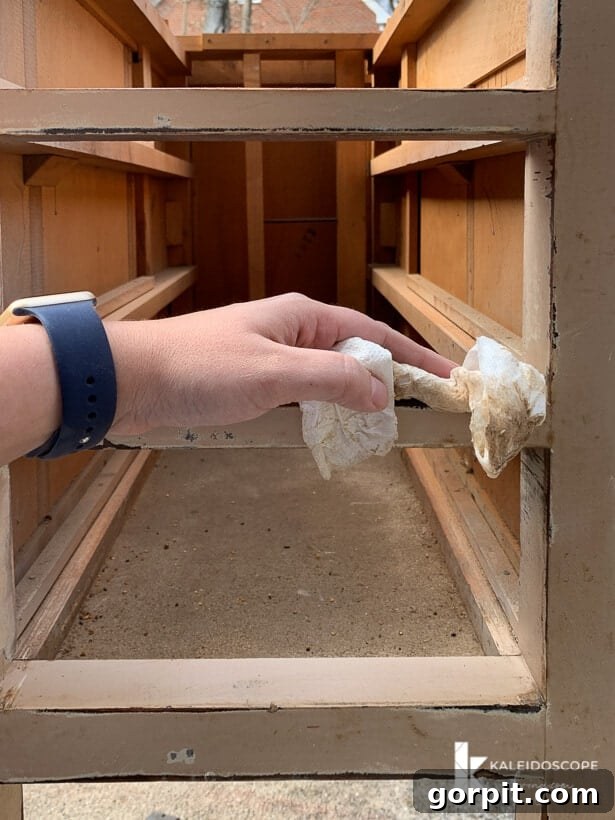
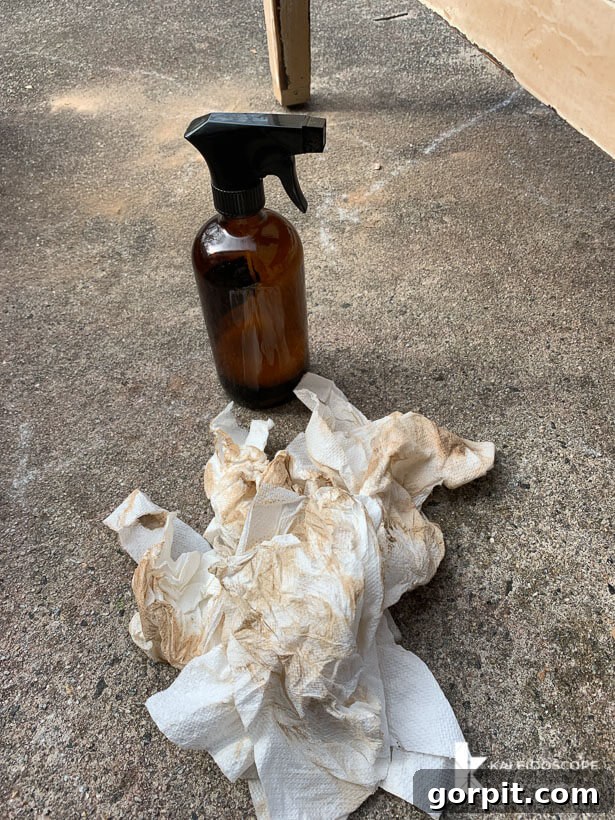
After sanding, a deep clean is imperative. Any lingering dirt, grime, grease, or even invisible hand oils can compromise paint adhesion, leading to peeling. I typically reach for Simple Green, as it’s effective at cutting through various residues without being too harsh on the wood. However, any good quality household degreaser or even a mixture of mild soap and water will work. Apply your chosen cleaning spray generously, then wipe down the entire piece with clean paper towels or a rag. You’ll often be surprised by how much dirt comes off, even from seemingly clean furniture. Continue wiping with fresh paper towels until no more grime transfers. Allow the furniture to dry completely before proceeding to the next step. Any residual moisture can also prevent proper paint adhesion.
Step 3: Priming (When Necessary)
Priming is an optional step but highly recommended in specific scenarios. If you are painting a previously unfinished piece of wood, or a type of wood known for its natural tannins (such as redwood, cedar, or knotty pine), a coat of stain-blocking primer is essential. Tannins are natural wood oils that can seep through layers of paint, creating discolored yellow or brown spots, even after multiple coats. A quality shellac-based or oil-based stain-blocking primer will seal these tannins, preventing them from bleeding through your beautiful new paint finish. For most previously painted or sealed wood furniture, especially when using chalk paint, priming may not be strictly necessary, but it never hurts to add an extra layer of protection and adhesion, especially if you’re going from a dark color to a light one.
Step 4: Painting with Chalk Paint
Now for the fun part – applying the paint! This is where chalk paint truly shines. Its superior durability compared to standard latex paints is just one of its many advantages. Chalk paint naturally dries to a smooth, ultra-matte finish that is both elegant and timeless, a look that other paints struggle to replicate. When combined with a wax finish, chalk paint creates a robust, factory-quality appearance that feels luxurious to the touch. Beyond its aesthetic benefits, chalk paint is incredibly user-friendly. Its thicker consistency allows for excellent coverage, often requiring fewer coats, and it’s forgiving to work with, making it ideal for both beginners and experienced DIYers. Plus, it dries quickly to the touch, minimizing project time.
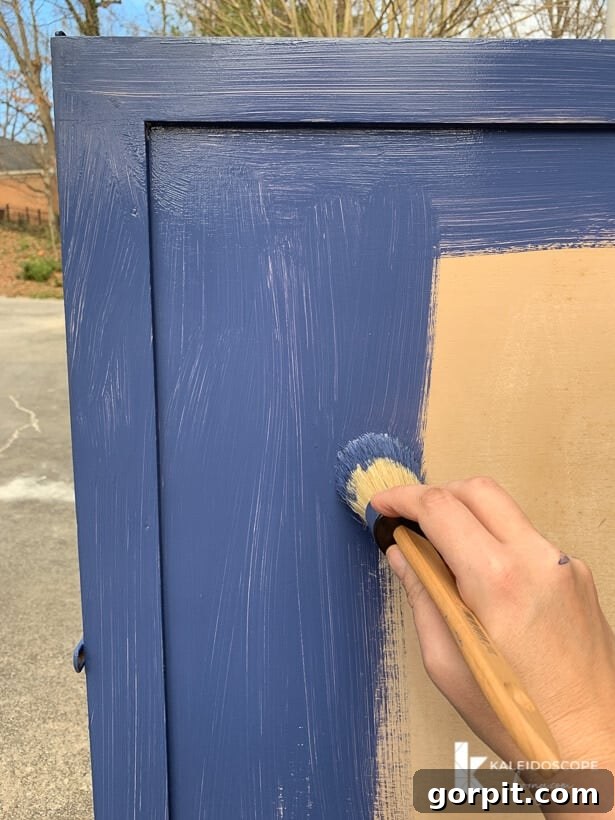
Applying chalk paint is straightforward. Using your Behr® Chalk Decorative Paint Brush, simply brush it on in thin, even coats. Avoid overloading your brush, which can lead to drips or uneven texture. I typically apply two coats for full, opaque coverage. While chalk paint dries to the touch in less than an hour, it’s crucial to wait at least two hours between coats to ensure proper adhesion and curing, preventing the first coat from lifting when the second is applied. Always paint in a well-ventilated area and avoid painting in direct sunlight or extreme temperatures, which can affect drying and finish quality.
Step 5: The Protective Seal – Waxing Your Furniture
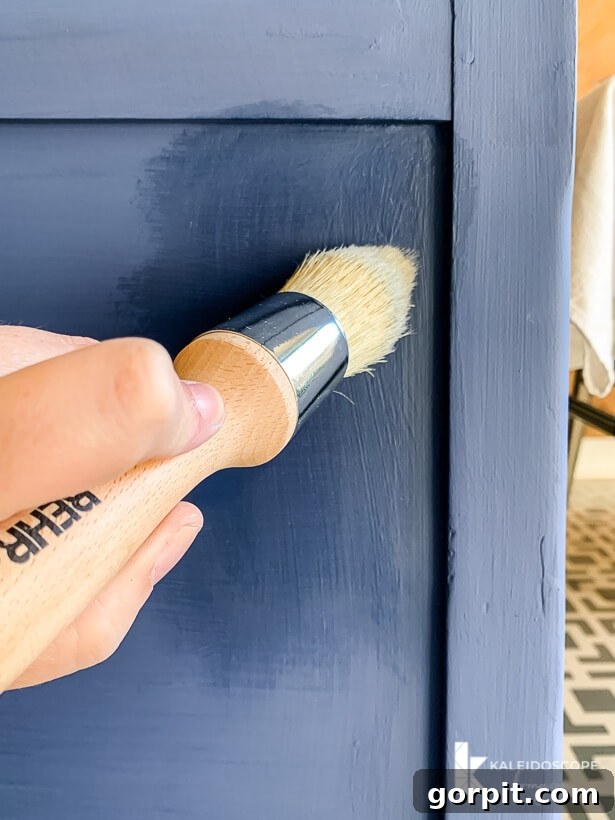
Once your final coat of chalk paint is completely dry (ideally after waiting at least 24 hours to ensure full paint cure), it’s time to apply the protective finish: wax. This step is non-negotiable for achieving a truly durable and long-lasting result with chalk paint. I used BEHR® Wax Decorative Finish in Clear. The wax penetrates the porous chalk paint, hardening it and creating a protective barrier against moisture, scratches, and everyday wear. It also adds a beautiful subtle sheen and depth to the finish, elevating the overall appearance.
The key to waxing is to apply thin, even coats – less is definitely more here. Over-applying wax can result in a tacky, uneven, or cloudy finish. Load your Behr® Chalk Decorative Wax Brush with a small amount of wax, then gently offload any excess onto a piece of scrap cardboard. This ensures you only have a minimal amount on your brush. Apply the wax using very light, circular, or “x” motion strokes, covering your entire piece. Work in small sections to ensure even coverage. After applying a thin coat, allow the wax to “set” for just a few minutes, until it becomes slightly tacky to the touch. This typically takes only 5-15 minutes, depending on humidity and temperature. Do not let it dry completely.
Once tacky, use a clean, soft cloth to buff the waxed surface. Buffing helps to work the wax into the paint, remove any excess, and create a smooth, subtle sheen. Continue buffing until the surface feels smooth and has a consistent luster. The wax will continue to cure and harden over the next few weeks, reaching its full durability. During this curing period, treat your furniture with extra care, avoiding harsh cleaners or heavy use. Following these simple steps will result in a beautifully finished piece that stands the test of time.
Bringing Old Furniture Back to Life: A Real-World Transformation
As you can see, painting wood furniture with a lasting finish doesn’t have to be complicated. By focusing on proper preparation and utilizing the right products like BEHR Chalk Decorative Paint and Wax, you can achieve professional-grade results right in your own home. If you’ve been following me on Instagram, you might remember how I stumbled upon these rather beat-up drawer bases from the Facebook Marketplace. Many of you even voted for me to transform these for an exciting new project – and if you did, thank you for your input!
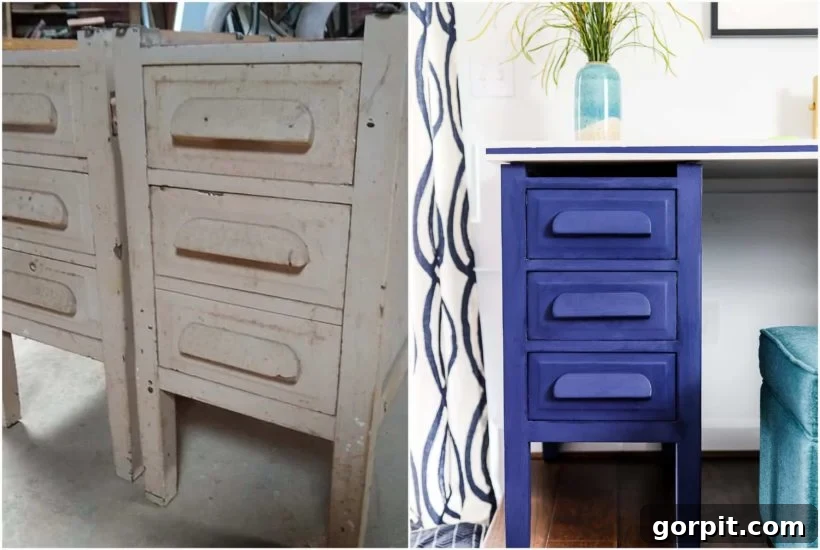
You may also have caught my Instagram Live session, where I gave a live demonstration of how to expertly paint and incorporate BEHR® Wax Decorative Finish to seal in the beauty and durability. This project perfectly illustrates how a simple, yet fail-proof, furniture painting method can completely transform a piece. These drawer bases went from looking like this:
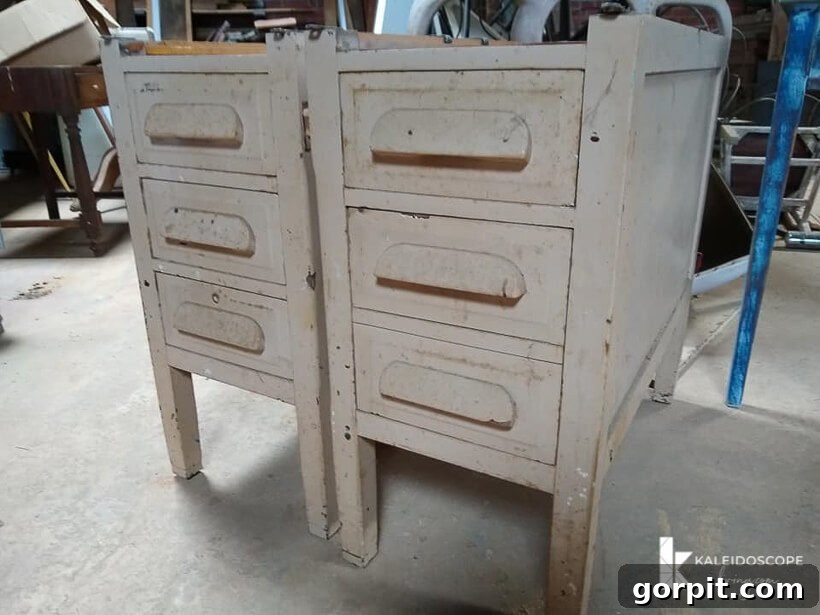 |
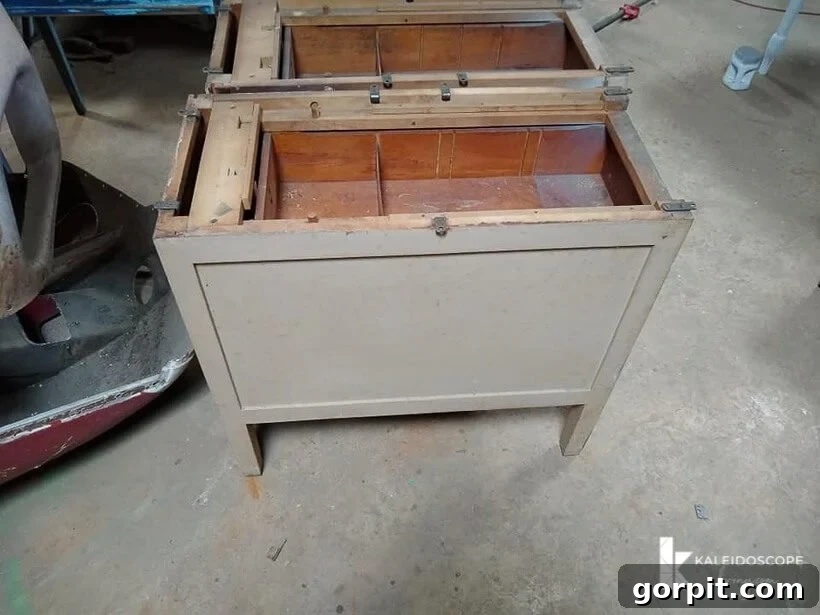 |
…to this incredible new desk for our girls!
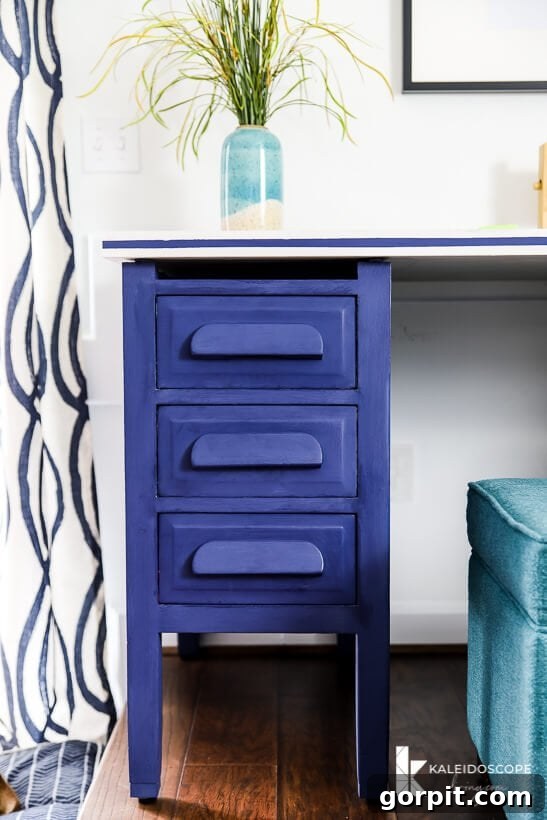
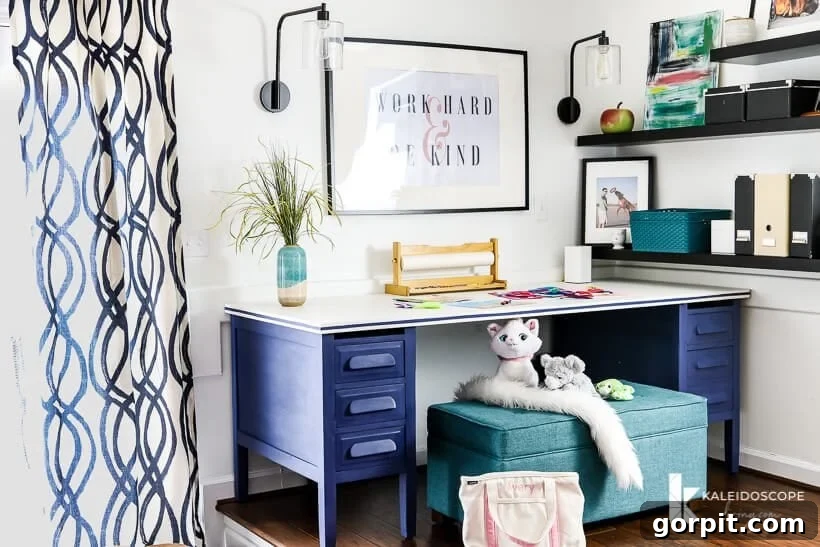
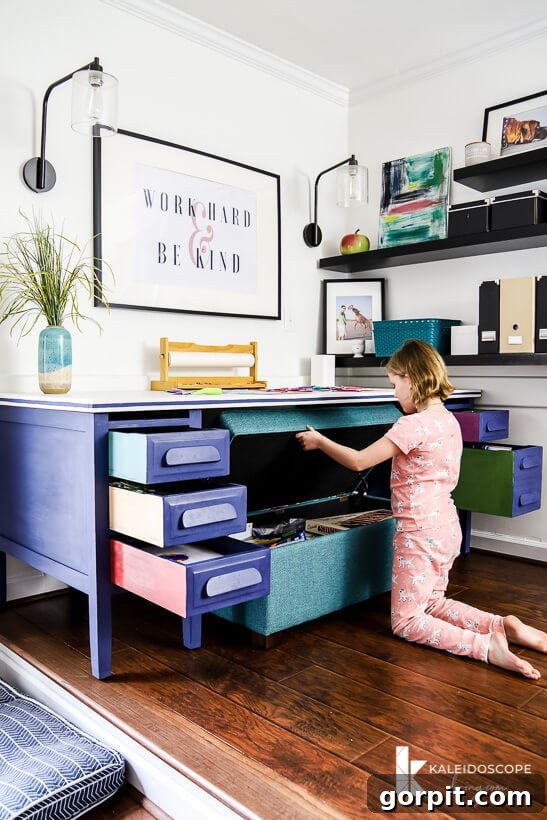
These refurbished drawer bases are the perfect, functional addition to our girls’ art table. Previously, we simply had a tabletop on pipe legs with open storage, which inevitably led to markers, colored pencils, and crayons being strewn about. These drawers have revolutionized their creative space! To maximize organization, I even picked up some affordable interior organizers from The Dollar Store, which fit perfectly and keep everything tidy.
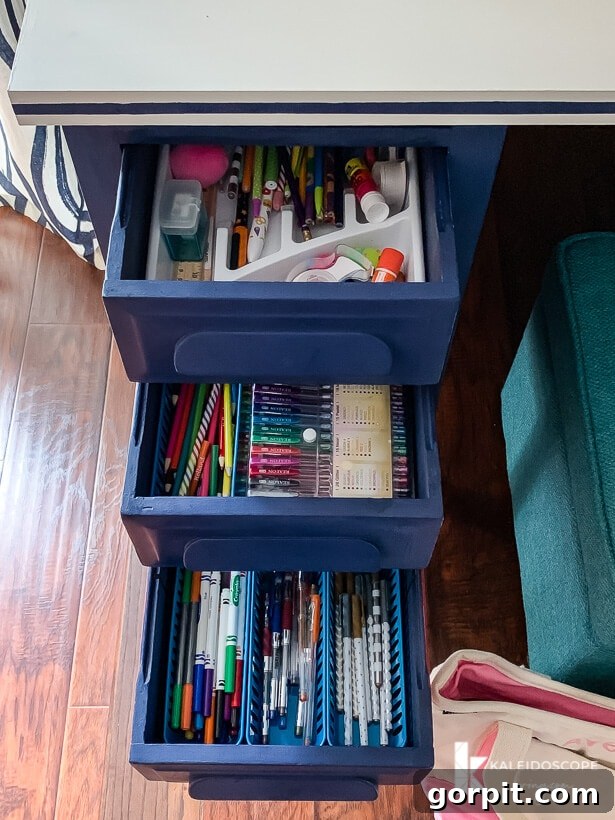
We just finished installing everything this past weekend, and our girls are already putting their new, organized art station to excellent use. It’s incredibly satisfying to see a formerly neglected piece of furniture become such a vibrant and useful part of our home.
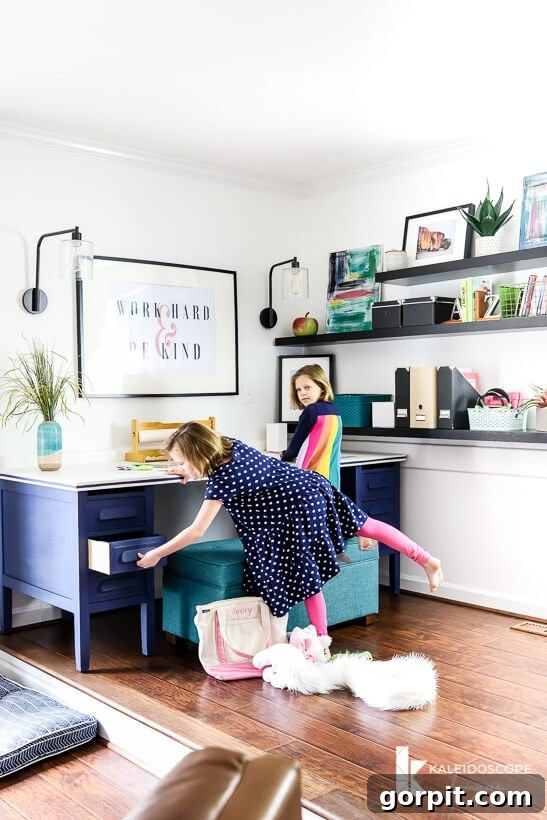
Achieve Your Own Furniture Masterpiece!
I genuinely hope this comprehensive guide has empowered you with the knowledge and confidence to paint furniture from start to finish. This process, when followed diligently, is truly fail-proof, and your painted finish will last for years, bringing renewed beauty and function to your beloved pieces. Remember, the difference between a frustrating, chipping finish and a durable, stunning transformation lies in the preparation and the quality of products used.
Ready to start your own furniture transformation project? Be sure to head over to my Instagram profile and find the photo of this project. You can enter to win a $100 The Home Depot® eGift card! That’s enough to invest in a fantastic cordless sander and plenty of BEHR® Chalk Decorative Paint for your next inspiring furniture makeover!
Related Projects & DIY Inspiration
- How to Repair Gouges and Wood Rot with Epoxy Wood Filler
- The Best Paint for Every Kind of Furniture
- Painting IKEA Furniture: The Right Way
- Creative Ways to Upcycle Old Dressers
- DIY Home Decor Projects You Can Do This Weekend