Transform Your Home: Create a Stunning DIY Giant Christmas Canvas Art
Are you ready to infuse your home with an undeniable festive spirit this holiday season? Imagine a striking piece of Christmas decor that’s not only unique and personal but also makes a magnificent statement in any room. This huge Christmas canvas is precisely that—an easy DIY project that promises to deliver a colossal impact, transforming your living space into a winter wonderland! Forget generic store-bought decorations; this project allows you to craft a focal point that reflects your personal style and holiday joy.
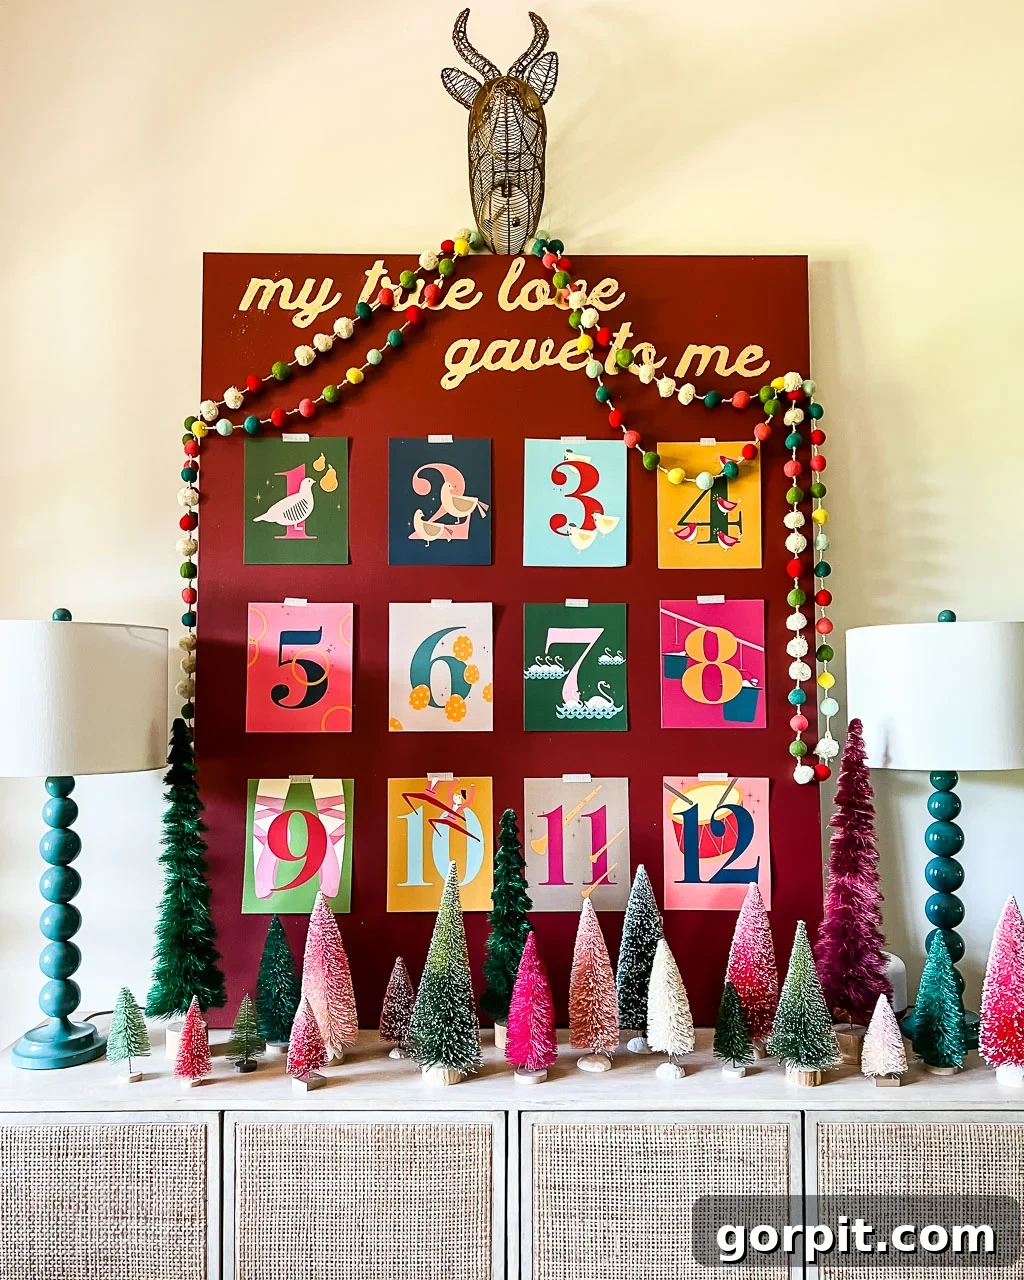
For those who follow my journey on Instagram, you might recall the enormous DIY Christmas canvas I crafted a couple of years ago. It served as a vibrant and eye-catching display for my beloved “12 Days of Christmas” art prints. The inspiration behind this project was simple yet impactful: I needed a creative and economical alternative to purchasing twelve individual 8″ x 10″ frames, and I knew a large-scale art piece would make a far grander statement in our entryway than a collection of smaller frames ever could. This project isn’t just about hanging prints; it’s about creating an entire art installation that truly captures the magic of the holidays. Its sheer size and custom elements ensure it becomes an instant conversation starter and a cherished part of your seasonal decor for years to come.
Ready to embark on this rewarding creative journey? Continue reading to discover the detailed, step-by-step process of making your very own show-stopping DIY Christmas canvas art!
This post contains affiliate links for your convenience. Click here for my full disclosure policy.
DIY Christmas Canvas Art: A Comprehensive Tutorial
Essential Materials for Your Holiday Masterpiece
Gathering the right materials is the first step towards creating your magnificent Christmas canvas. While the exact items are listed below, remember that creativity often flourishes with adaptation. Don’t hesitate to substitute where possible or incorporate items you already have on hand to make this project uniquely yours. Thrift store finds can also significantly reduce costs without compromising the final look.
- A Large Canvas (40 x 60 inches recommended): The size is key for that “huge impact.” I was fortunate to find mine at a local art supply store during a 50% off sale, securing it for less than $50. Alternatively, consider checking Goodwill or other thrift shops. Since you’ll be painting over it, the original artwork or condition of the canvas doesn’t matter, making second-hand options perfect for this project and very budget-friendly!
- Quality Paint: For this project, I opted for Highlander from Fusion Mineral Paint. This type of paint offers excellent coverage and a beautiful, durable finish. Choose a color that complements your existing holiday decor or one that truly speaks to your festive vision. (Don’t forget to save 10% with code AFFMP10 at checkout!)
- Paint Roller and/or Brush: A roller is ideal for achieving smooth, even coverage across a large surface quickly. Use a brush for cutting in edges or if you prefer a more textural finish.
- “12 Days of Christmas” Art Prints: These colorful prints are the heart of the canvas design. You can find the exact ones I used here. Feel free to use any set of prints that inspires you, or even create your own!
- Washi Tape: This decorative tape is perfect for temporarily securing your prints. Its low-tack adhesive means it won’t damage your art or the painted canvas, making it ideal for repositioning until you achieve the perfect arrangement.
- Quake Hold or Poster Hanging Strips (Optional, if needed): While washi tape is often sufficient, if your prints feel like they need extra security or if your washi tape isn’t strong enough, these alternatives provide a more robust hold without causing damage.
- Carbon Paper: Essential for transferring your chosen phrase onto the canvas with precision. This allows you to achieve a professional-looking, hand-lettered effect without needing advanced freehand skills.
- Gilding Adhesive: This specialized glue creates the perfect tacky surface for applying gold leaf. Its quick-drying nature is beneficial for working in sections.
- Gold Leaf: To add a touch of glamour and shimmer! I used this exact imitation gold leaf, which provides a luxurious look at an affordable price.
- Bristle Brush (for gold leaf removal): A dry, stiff bristle brush is crucial for gently buffing away excess gold leaf, revealing crisp, clean lines for your gilded lettering. Ensure it’s not used for painting to avoid contamination.
Step-by-Step Guide to Crafting Your DIY Christmas Art Canvas
To give you a visual overview of the entire process, I’ve included a short video demonstration below. For detailed written instructions and helpful tips, keep reading after the video.
1) Prepare and Paint Your Canvas: Begin by thoroughly cleaning your large canvas to ensure there’s no dust or debris. If your canvas has existing artwork or stains, you might consider applying a coat of primer first for optimal, even coverage. Once prepped, it’s time to apply your chosen paint color. Using a paint roller, apply thin, even coats across the entire surface. This method helps prevent streaking and ensures a professional-looking finish. Allow each coat to dry completely before applying the next, typically requiring 2-3 coats to achieve full, opaque coverage. Patience during this step will result in a beautifully smooth base for your artwork.
2) Design Your Gilded Phrase: Now for the creative text element! Decide on a festive phrase or lyric you wish to incorporate onto your canvas. I chose the classic “my true love gave to me” to complement the “12 Days of Christmas” theme. Using a word processor, type out your phrase in a script font that evokes a festive and elegant feel. I set my font size to approximately 400 pt to ensure it would be prominently visible on the large canvas. Print your phrase across multiple sheets of standard printer paper, ensuring each letter is large enough for easy tracing. This printed template will be your guide for the next steps.
3) Precisely Position Your Lettering: With your phrase printed, carefully arrange the individual paper sheets onto your painted canvas. Experiment with different placements until you find the perfect balance and symmetry for your design. Consider the overall layout, ensuring there’s ample space for your art prints and that the text is centered and visually appealing. Once you’re satisfied with the positioning, secure the printed phrase to the canvas using gentle painter’s tape or washi tape. These tapes are designed to be easily removable without damaging your fresh paint job, allowing you to make minor adjustments if needed before the final transfer.
4) Transfer Your Design with Carbon Paper: This step is where your design comes to life on the canvas. Carefully slide carbon paper underneath each section of your printed phrase, ensuring the carbon side faces the canvas. Using a pen (one that you won’t use for writing again, as the tip might get a bit dull from pressure) or an embossing tool, firmly trace over the outline of each letter. Apply consistent pressure to ensure a clear transfer of the design onto the canvas. Periodically lift a corner of the carbon paper and the printed sheet to check if the transfer is occurring successfully. Take your time to trace every detail, as this outline will guide your gilding adhesive application.
5) Apply Gilding Adhesive and Gold Leaf: With your lettering transferred, it’s time for the dazzling gold leaf application. Using a small artist’s brush, meticulously paint the gilding adhesive directly over your traced letters. The key here is to work in small sections, perhaps one letter or a couple of words at a time. This is because gilding adhesive becomes tacky quite quickly, which is essential for the gold leaf to adhere properly. As soon as a section of adhesive becomes noticeably tacky (it will feel sticky to the touch but not wet), carefully apply sheets of gold leaf over the adhesive. Gently press the gold leaf onto the tacky surface. If the adhesive dries too much before you apply the gold leaf, it won’t stick effectively, so speed and working in manageable sections are crucial.
6) Reveal Your Golden Lettering: Once the gold leaf has been applied over the tacky adhesive and allowed to set for a few moments, it’s time to reveal your shimmering letters. Take a dry, stiff bristle brush (ensure it’s clean and never used for painting) and gently begin to “buff” or brush away the excess gold leaf from the areas where no adhesive was applied. The gold leaf will only adhere where the adhesive is present, leaving crisp, golden letters. This buffing motion also helps to smooth down any remaining leaf fragments, creating a seamless finish. Don’t worry if you miss a few spots or if some areas look thin; you can easily go back, apply a tiny bit more gilding adhesive to the bare spots, and then apply another small piece of gold leaf to fill them in. Continue this process until all your lettering is beautifully gilded and polished.
7) Attach Your “12 Days of Christmas” Art Prints: The final step brings your entire Christmas canvas together. Now that your gilded phrase is complete and dry, it’s time to arrange and attach your 12 Days of Christmas Art prints. Carefully decide on the layout of your prints. You might opt for a grid, a staggered pattern, or a more organic arrangement, depending on your aesthetic preference. Use washi tape to adhere them to the canvas. Its gentle adhesive allows for easy adjustments until you achieve the perfect look. If you find the washi tape isn’t holding firmly enough, or if you plan for a long-term display, consider adding a small amount of Quake Hold putty or discreet poster hanging strips to the back of each print for extra security. Step back and admire your personalized, large-scale Christmas art piece!
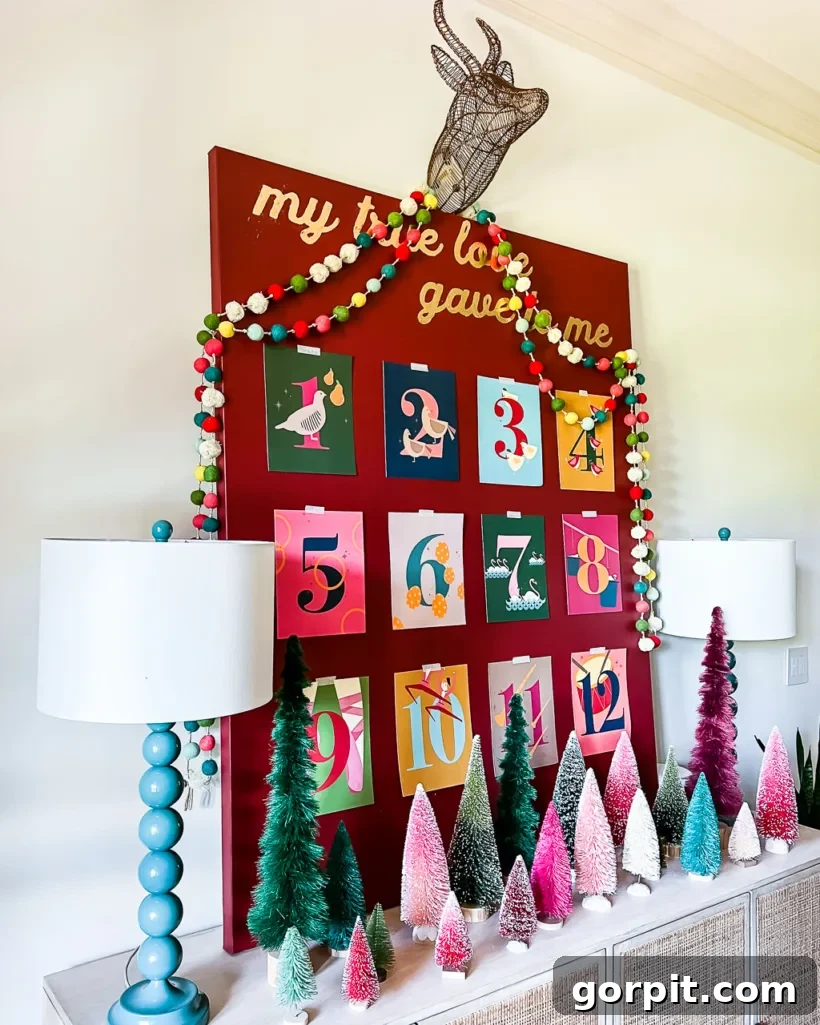
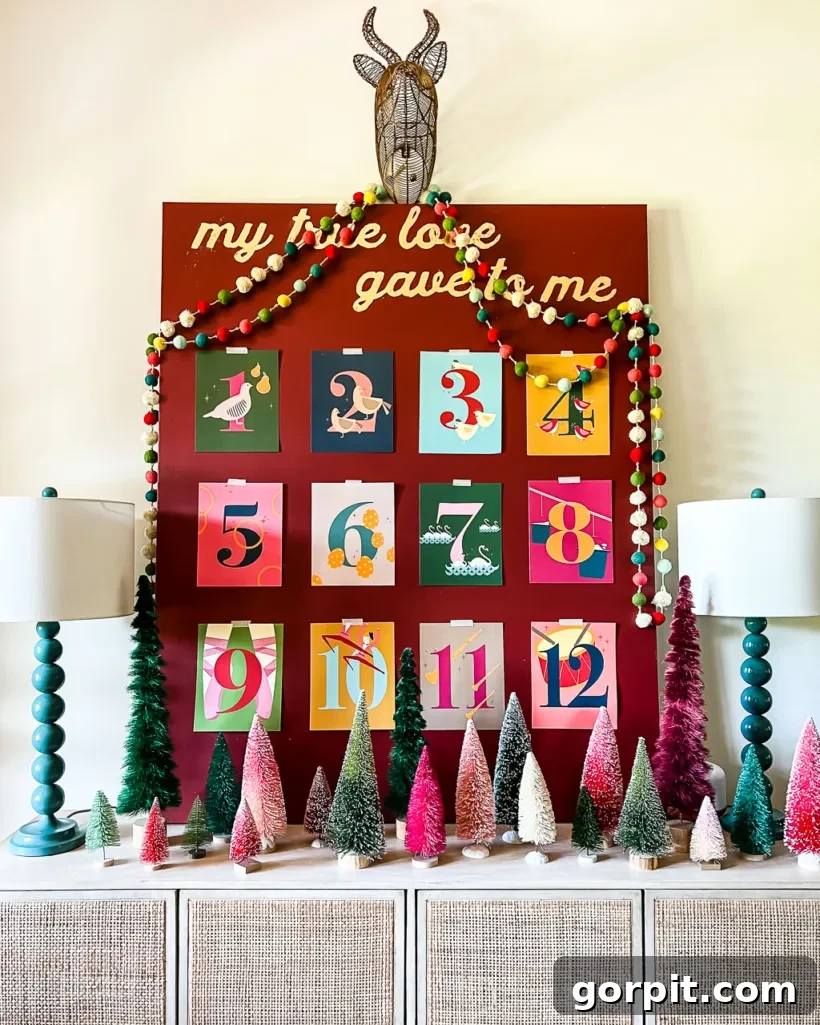
And there you have it! Your stunning DIY Christmas canvas art is complete. This project is not just about crafting a decoration; it’s about creating a personal statement piece that radiates holiday cheer. I styled ours with a cherished colorful garland that we’ve enjoyed for many years and an antique copper stag head—items that add character and warmth. The result is a vibrant, enchanting display that perfectly captures the festive spirit.
What are your thoughts? I’d love to hear how you plan to personalize your own giant Christmas canvas!
More Seasonal Posts
SEE ALL holiday POSTS
-
The Most Realistic Faux Garlands for 2025
-
Stunning Light-Up Paper Snowflake Lanterns
-
How to Decorate Bedroom Doors to Look Like Apartment Doors
-
DIY Santa Sacks Your Kids Will LOVE!
-
Magical Light-Up Paper Christmas Lanterns
-
Inspiring Front Porch Christmas Decorations & Tips
Curious about my approach to transforming rooms and spaces in our home? Explore the strategies and tips found in Designer in a Binder®. It’s an affordable and simple system designed to help you decorate your home with confidence and ease, guiding you through every step of the design process.
For even more exclusive content, behind-the-scenes sneak peeks, and fresh DIY inspiration delivered directly to your inbox, be sure to subscribe before you leave! Join our community of creative decorators and make your home shine year-round.