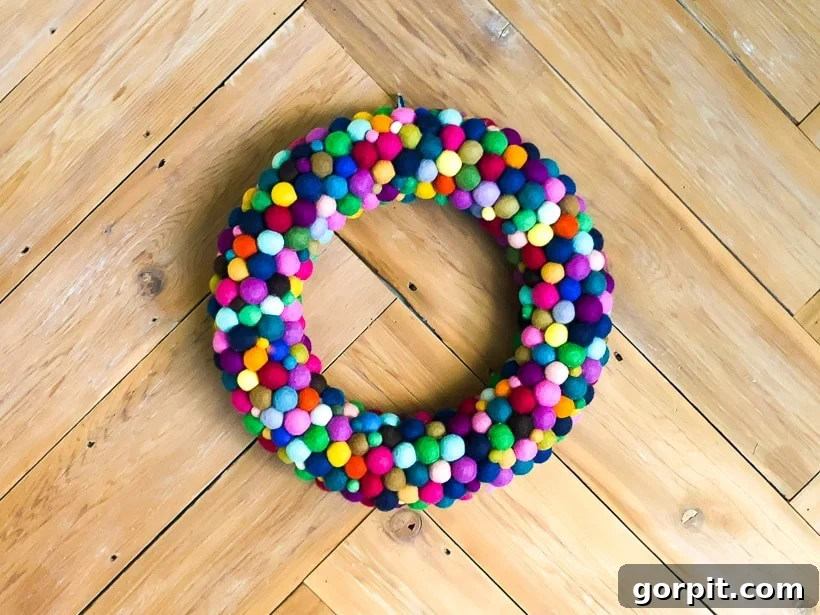
Create a Vibrant DIY Felt Ball Wreath: An Easy Step-by-Step Tutorial for Colorful Home Decor
If your heart beats for bold hues and playful textures in your home decor, then get ready to fall in love with this exceptionally vibrant and fun DIY felt ball wreath! Crafted from an array of colorful felt spheres, this project is remarkably easy to make and promises to infuse any space with instant charm and personality. In this comprehensive guide, we’ll walk you through the simple, step-by-step tutorial, ensuring you can create your own stunning felt ball wreath with confidence. Prepare to unleash your inner crafter and brighten your home!
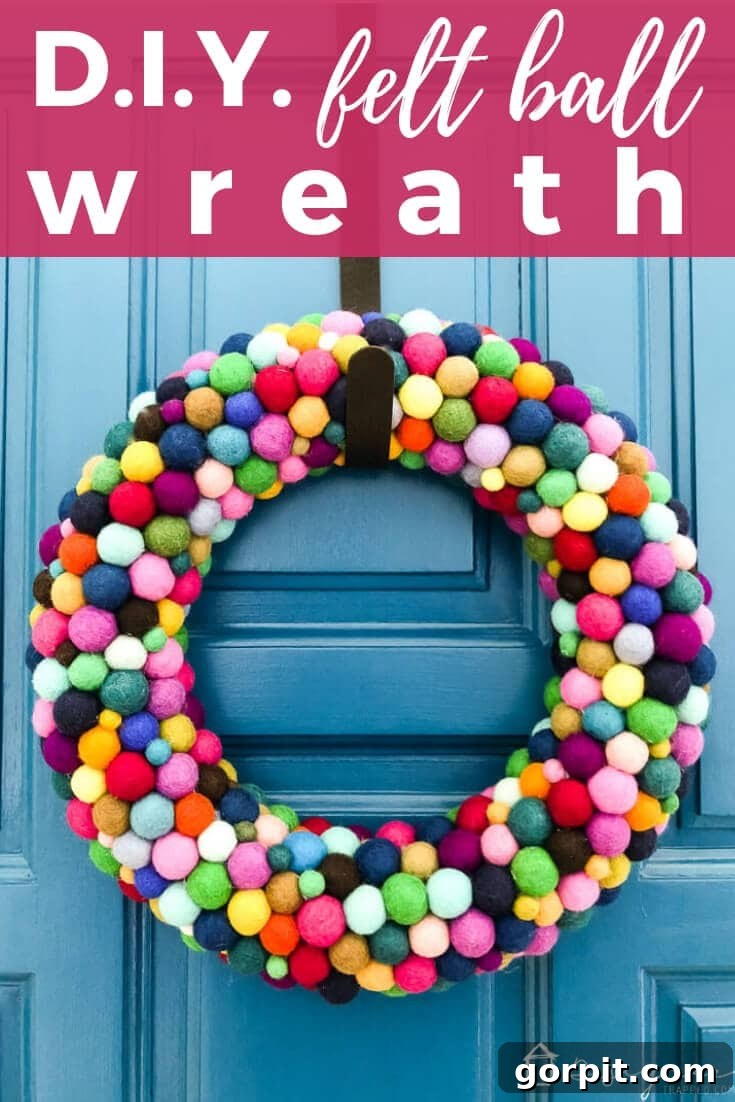
Embrace the Spectrum: Why a Colorful Felt Ball Wreath?
For those who believe that life is simply better in color, the search for truly vibrant and unique seasonal or holiday decor can often be a disappointing journey through a sea of muted tones. This is precisely why DIY projects become indispensable! My love for all things colorful often leads me to create my own accents, much like my recent DIY pom-pom wreath, which became a personal obsession for Fall and Winter. This year, as I envisioned a Christmas decor scheme bursting with more than just traditional reds, whites, and greens, I knew I needed a wreath that could truly reflect that desire. Making it myself was the obvious solution, allowing for complete creative freedom to make it as colorful as my heart desired.
Unlike some DIY endeavors that can be quite time-consuming (my delightful pom-pom wreath, for instance, was a labor of love!), this DIY felt ball wreath offers a refreshing change. It’s a quick, satisfying, and incredibly easy project that yields spectacular results. So, if you’re ready to add a burst of handmade joy to your home without dedicating an entire weekend, read on to discover how to craft your very own felt ball masterpiece.
This post contains some affiliate links for your convenience. Click here to read my full disclosure policy.
DIY Felt Ball Wreath Tutorial: A Guide to Handmade Vibrancy
Creating your own felt ball wreath is a rewarding experience, combining simple techniques with stunning visual impact. This tutorial breaks down every step, ensuring even novice crafters can achieve a professional-looking result.
Gather Your Crafting Essentials
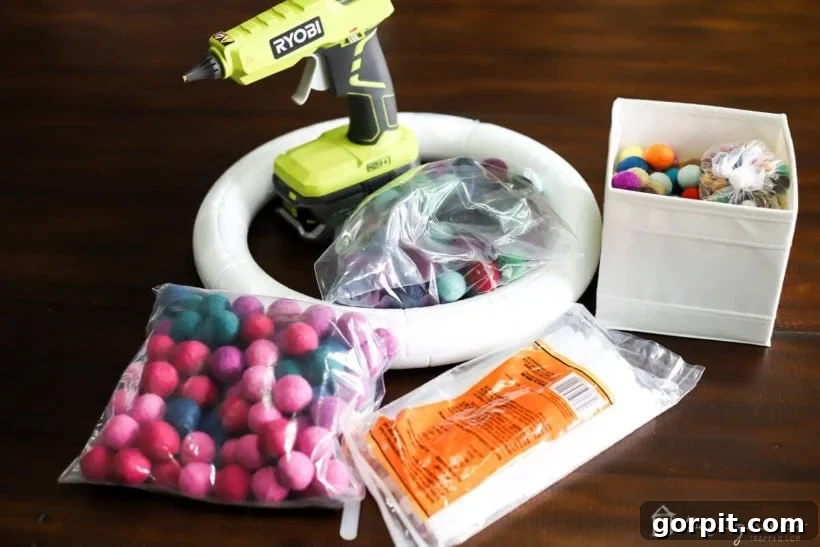
Before diving into the fun, gather all your materials. Having everything at hand will make the process smooth and enjoyable.
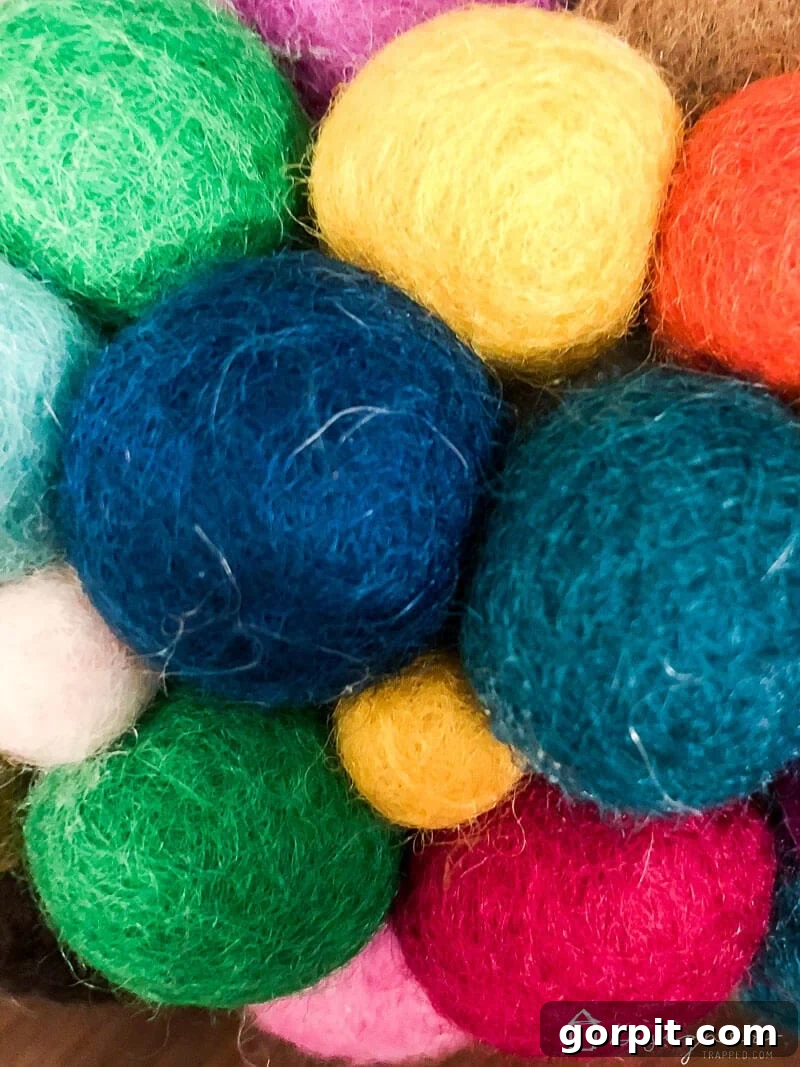
- Felt Balls: You’ll need a good assortment. I utilized approximately 170 2cm felt balls from this shop for the main coverage. To fill in any smaller gaps and add extra fullness, I also used about 30 10mm felt balls from this variety pack. Consider a diverse range of colors to create a truly vibrant effect!
- 14-inch Foam Wreath Form: A sturdy foam base provides the perfect foundation for your felt balls. Its solid surface makes gluing straightforward and ensures your wreath holds its shape beautifully.
- Hot Glue Gun: A reliable hot glue gun is your best friend for this project. If you’re still using an old, basic model, now might be the time for an upgrade. A good quality glue gun heats quickly and maintains a consistent temperature, making the process much more efficient and less frustrating. The one I have is a major upgrade and works wonders!
- Hot Glue Sticks: Stock up! You’ll use quite a few to secure all those lovely felt balls.
- Ribbon: Choose a ribbon that complements your felt ball colors. This will be used to create a sturdy hanger for your finished wreath.
Step-by-Step Felt Ball Wreath Creation
This project is designed to be straightforward, but focusing on technique will ensure a beautiful, lasting result. While a video overview might exist (imagine one showing the process here!), these detailed written instructions will guide you through every critical step.
1. Begin the Felt Ball Placement: There’s no complex secret to getting started – just dive right in! Using your hot glue gun, apply a small dab of hot glue to each 2cm felt ball. Immediately press the felt ball onto your foam wreath form, holding it in place for a few seconds to allow the glue to cool and set. You’ll repeat this step numerous times, placing the balls as close together as possible, creating a dense and uniform coverage. For this initial phase, focus on covering the entire visible portion of your wreath form with the larger 2cm felt balls. Don’t worry about the smaller balls just yet; they come into play later. This part moves surprisingly quickly, so enjoy the process!
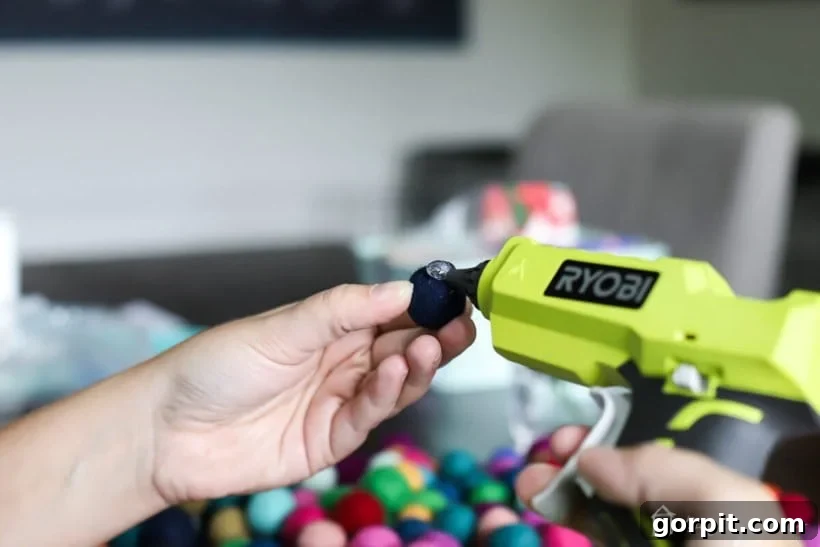
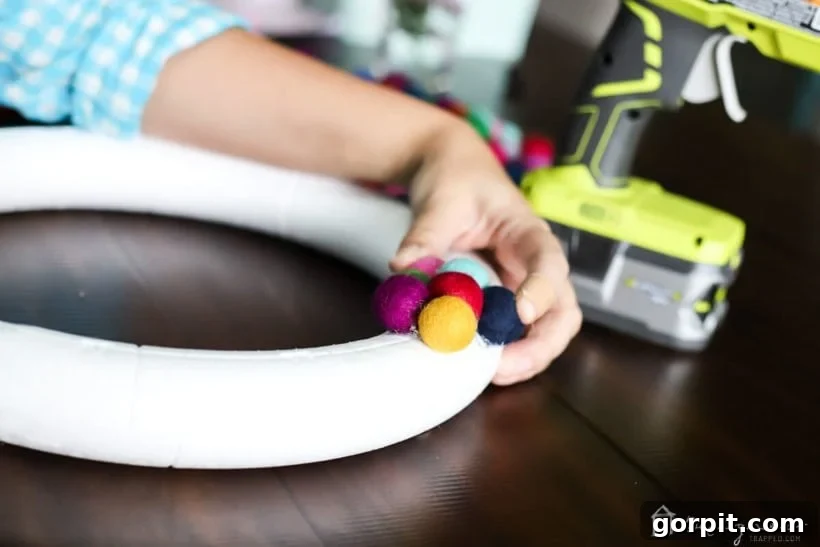
Strategic Placement for a Flush Hang: As you work, it’s highly recommended to lay your wreath form flat on your crafting surface. This approach ensures that you only apply felt balls to the front and sides of the wreath, deliberately leaving the very back uncovered. Why? Because you want your finished wreath to sit flush and flat against the wall or door where it will be displayed, preventing any awkward tilting or gaps.
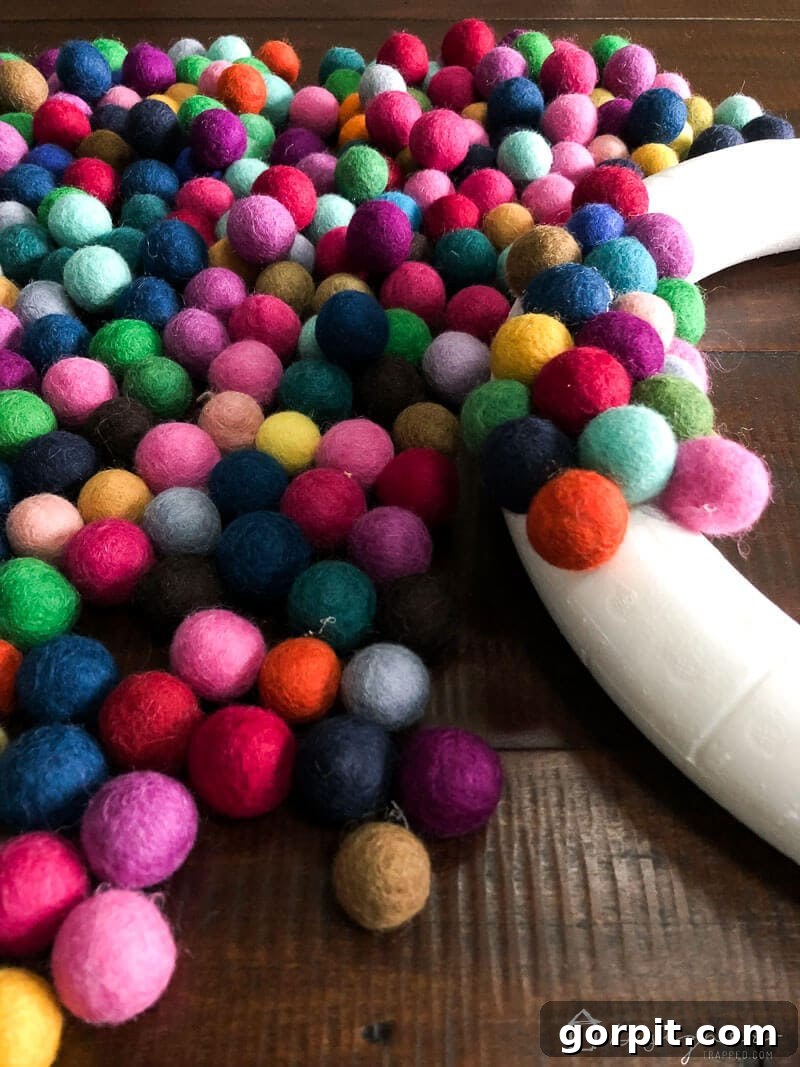
Once the front and the majority of the sides of your wreath form are covered, carefully flip your wreath upside down. This position allows you to comfortably finish filling in any remaining exposed areas on the sides, ensuring a seamless and full appearance from all angles.
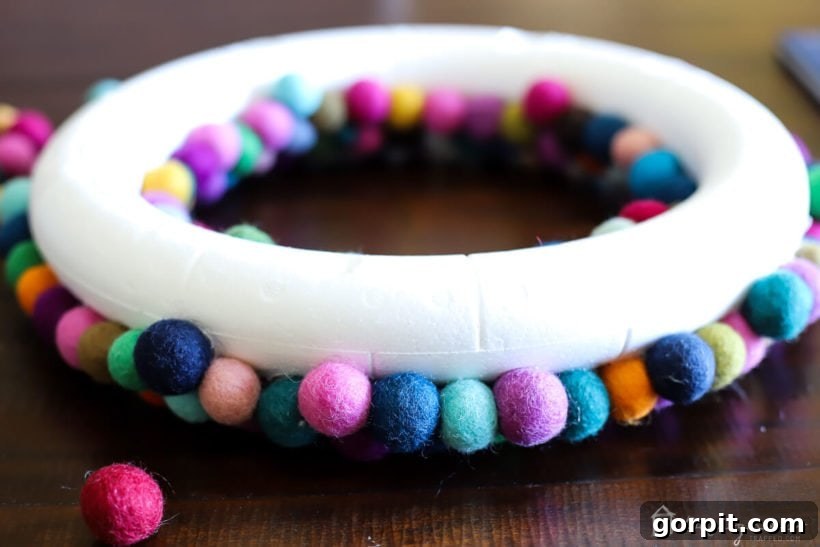
Upon completion of this step, the back of your wreath should resemble the image below—neatly filled on the inside and outside curves, but with the flat back surface remaining clear. This thoughtful design choice will make hanging your beautiful creation effortless and visually appealing.
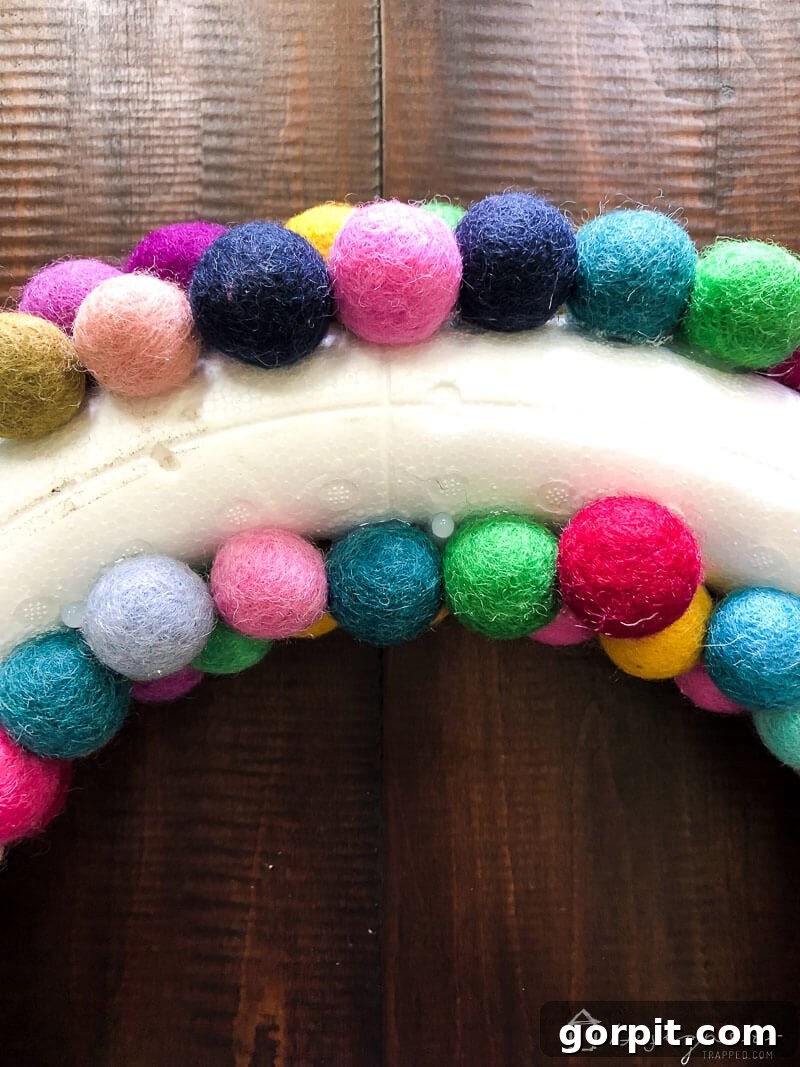
2. Fill in the Gaps with Smaller Felt Balls: After the entire visible portion of your wreath form is thoroughly covered with the larger 2cm felt balls, take a moment to inspect your work. Look for any small gaps where the white foam of the wreath form might still be peeking through. This is where your smaller 10mm felt balls come into play! Apply tiny dabs of hot glue to these smaller balls and carefully tuck them into any visible spaces. This step is crucial for achieving a lush, full, and professionally finished look, ensuring no part of the wreath form shows through.
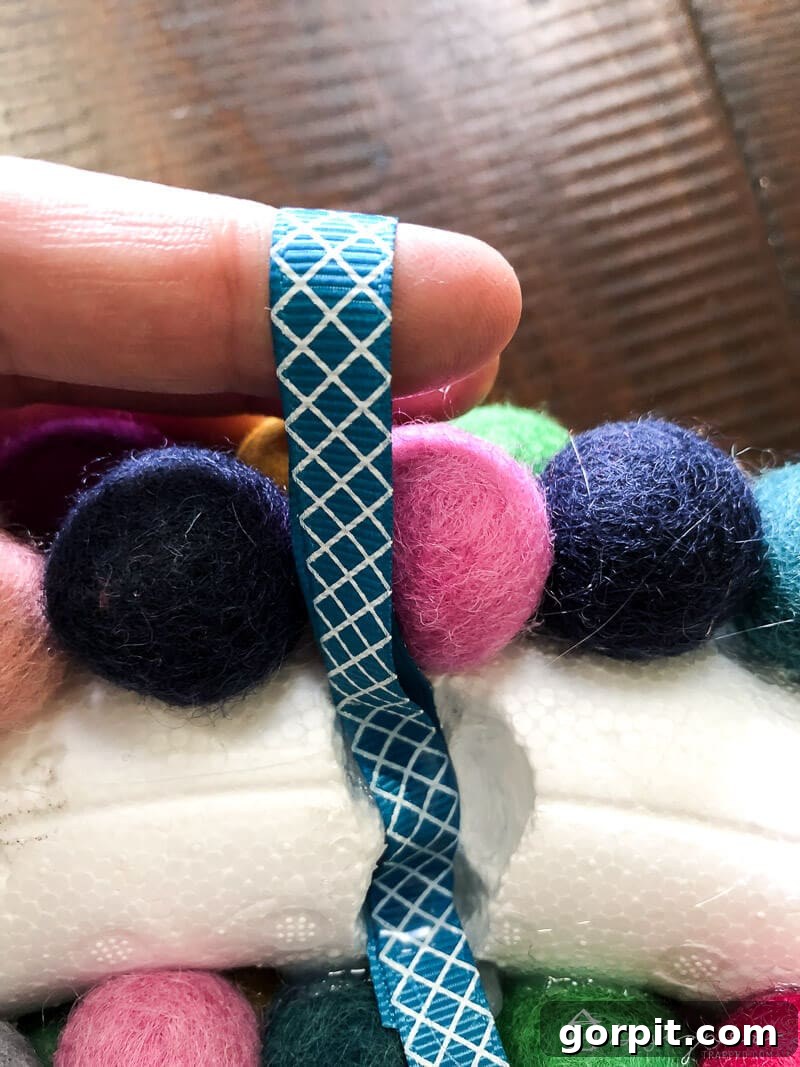
3. Attach the Hanging Ribbon: With all your felt balls securely in place, it’s time to add the finishing touch: a hanger. Select a length of ribbon that complements your colorful design. Apply a generous amount of hot glue to the back of your wreath form, specifically where you want the ribbon to be anchored for hanging. Press the ends of your ribbon firmly into the hot glue, holding them until the glue cools and creates a strong bond. CAUTION: Be aware that if your hot glue gun operates at a very high temperature, it might slightly melt the foam wreath form upon contact. While this is a minor cosmetic imperfection hidden on the back, the good news is that the ribbon will be incredibly secure, and no one will ever see this small detail!
Displaying Your Handmade Masterpiece
That’s it! Your stunning DIY felt ball wreath is complete. Now, step back and admire your handiwork. The explosion of color and delightful texture is truly captivating! I’m absolutely in love with how mine turned out and can’t wait to integrate it into our Christmas decor, though you’ll have to wait to see the full reveal! This wreath isn’t just for holidays; its vibrant appeal makes it a fantastic year-round accent, bringing cheer to any space.
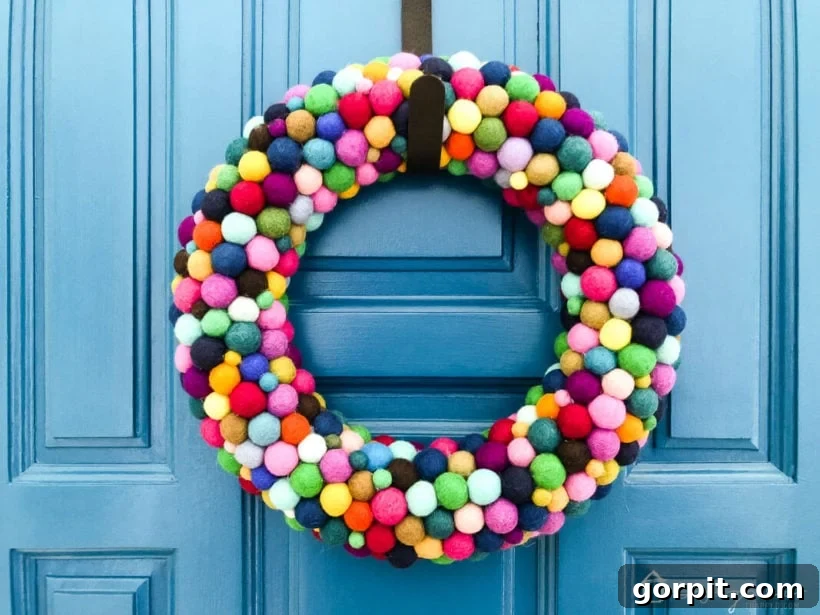
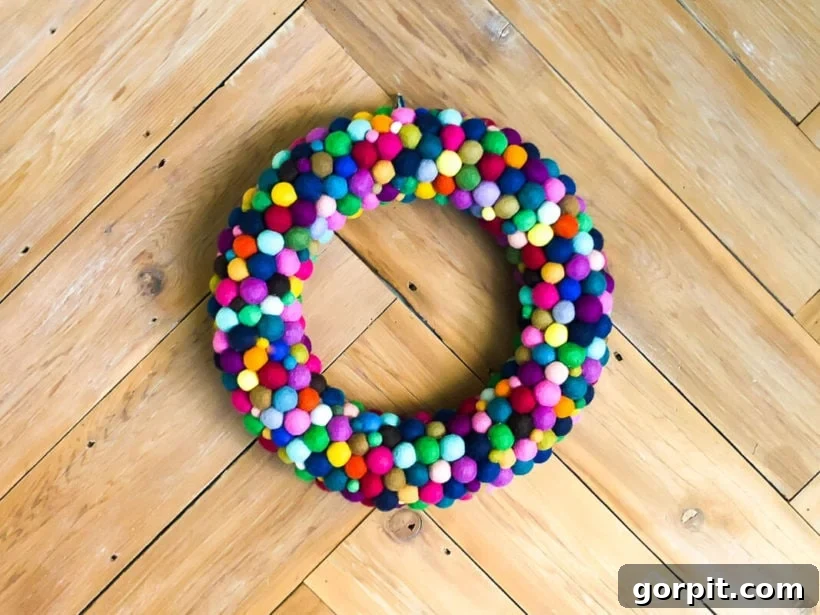
What do you think? Isn’t it a delightful way to add personality and cheer to your home?
Tips for a Flawless Finish and Creative Customization
To ensure your felt ball wreath is nothing short of perfect and uniquely yours, consider these additional tips:
- Color Arrangement: Before gluing, lay out your felt balls in a pattern on a flat surface to visualize your color scheme. Decide if you want a random mix, a gradient, or repeating patterns.
- Glue Gun Safety: Always exercise caution when using a hot glue gun. Work in a well-ventilated area and keep a silicone mat or old newspaper underneath to protect your work surface from drips.
- Patience is Key: While this is a quick project, taking your time with each felt ball ensures a strong bond and prevents them from falling off later.
- Alternative Hangers: Instead of ribbon, you could use a piece of twine, a decorative chain, or a strong wire for hanging, depending on your desired aesthetic.
- Seasonal Themes: Adapt the felt ball colors to suit different seasons or holidays. Think pastels for spring, patriotic colors for summer, earthy tones for fall, or a classic red and green for Christmas.
- Added Embellishments: Elevate your wreath with extra touches! Small bows, miniature faux leaves, tiny jingle bells, or even a few glittery accents can be hot-glued on for extra flair.
- Care and Storage: Felt wreaths are quite durable. To keep yours looking fresh, store it in a cool, dry place in a box to protect it from dust and pressure when not in use.
Frequently Asked Questions About Felt Ball Wreaths
Here are some common questions about making and caring for your DIY felt ball wreath:
- How many felt balls do I really need?
- The number of felt balls depends on the size of your wreath form and the density you desire. For a 14-inch foam wreath, approximately 170 2cm balls and 30 smaller 10mm balls provide excellent, full coverage. If you prefer a less dense look, you might use slightly fewer. Always err on the side of having a few extra!
- Can I use a different type of glue?
- Hot glue is highly recommended due to its quick drying time and strong hold, which makes the project fast and efficient. Craft glue or fabric glue might work, but they will take much longer to dry, requiring you to hold each ball in place for an extended period, which can be very tedious for a project with so many components.
- How long does this project take?
- One of the best features of this felt ball wreath is its speed! Depending on your pace, you can typically complete this project in 1-2 hours. The gluing process is repetitive but straightforward, allowing for a satisfyingly quick turnaround.
- Where can I find quality felt balls?
- Felt balls are widely available online through craft suppliers, Etsy shops specializing in felt goods, and large e-commerce retailers. Look for wool felt balls for the best quality, softness, and vibrant colors.
- Is this wreath suitable for outdoor display?
- While felt is a durable material, this wreath is best suited for indoor use or covered outdoor areas where it will be protected from direct moisture and harsh weather elements. Prolonged exposure to rain, snow, or intense sunlight can damage the felt and glue.
More Inspiring DIY & Seasonal Ideas
SEE ALL holiday POSTS
-
The Most Realistic Faux Garlands for 2025
-
Stunning Light-Up Paper Snowflake Lanterns
-
How to Decorate Bedroom Doors to Look Like Apartment Doors
-
DIY Santa Sacks Your Kids Will LOVE!
-
Magical Light-Up Paper Christmas Lanterns
-
Inspiring Front Porch Christmas Decorations & Tips
Wondering how I approach transforming rooms and spaces in our home? Check out Designer in a Binder® – your affordable and simple guide to decorating your home with confidence.
And if you want exclusive content, behind-the-scenes sneak peeks, and more DIY inspiration delivered straight to your inbox, be sure to subscribe before you head out! Join our community of color-loving crafters and never miss another vibrant project.